
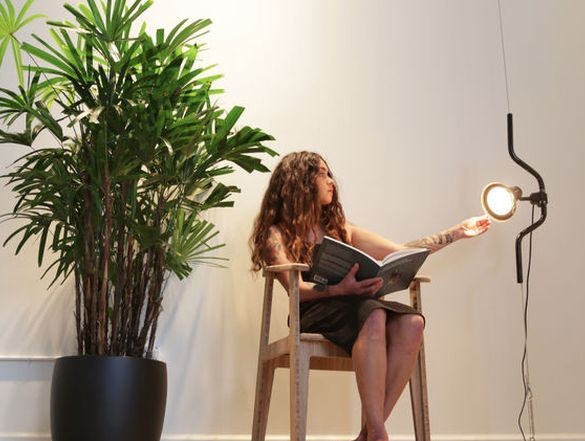
The original lamp was made by the author. He saw something similar in one of the online stores, at a price of 550 dollars. In view of the high price, the idea arose to make something similar from cheaper and more affordable materials.
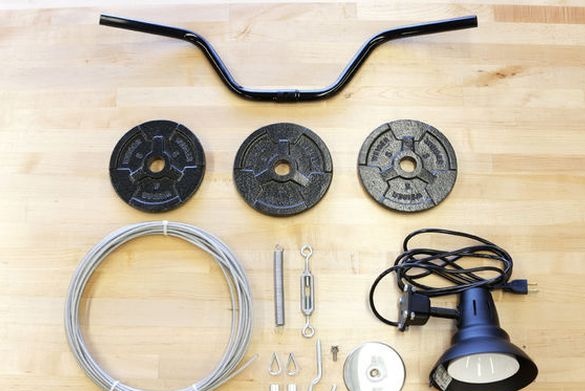
Tools and materials:
-Lamp;
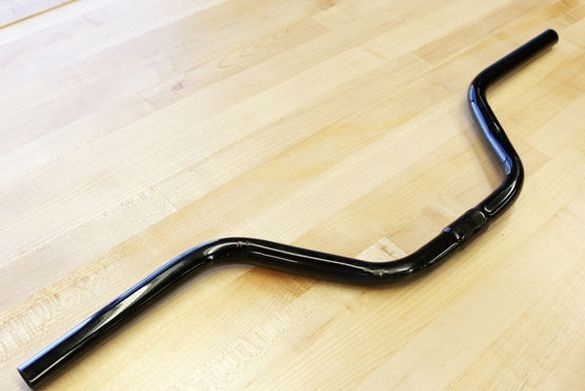
-Bicycle steering wheel;
- Disks on the bar;
-Bracket;
-Steel cover;
-Talrep (tensioner);
-Cable in plastic insulation;
-Cable clamps;
-Koshi;
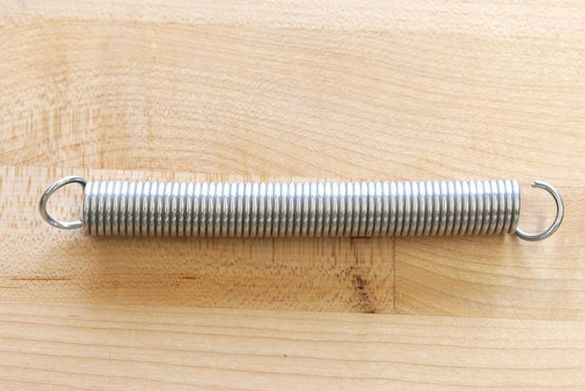
-Spring;
-Bolts and nuts;
-Screw hook;
-Light bulb;
-The wire;
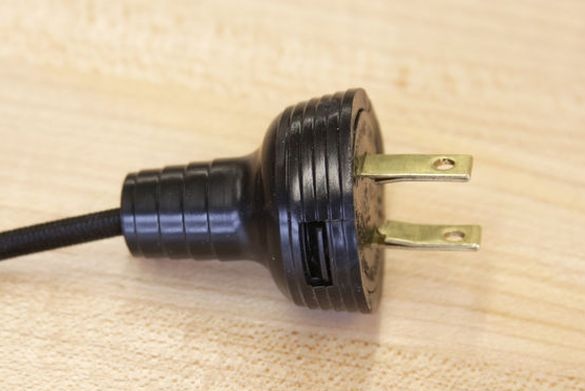
-Fork;
-Heat-shrink tubing;
-Vise;
-Keys;
-Screwdriver;
-Nippers;
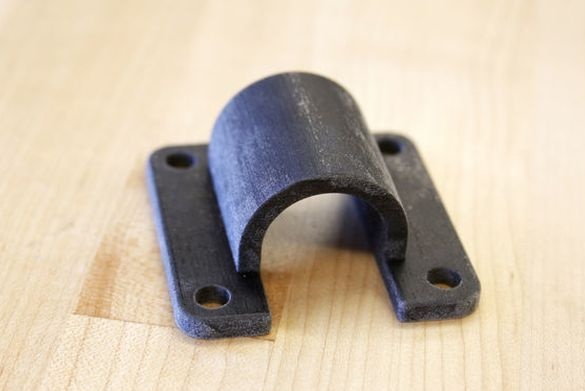
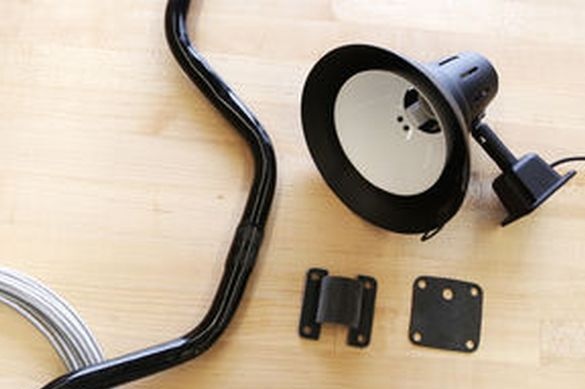
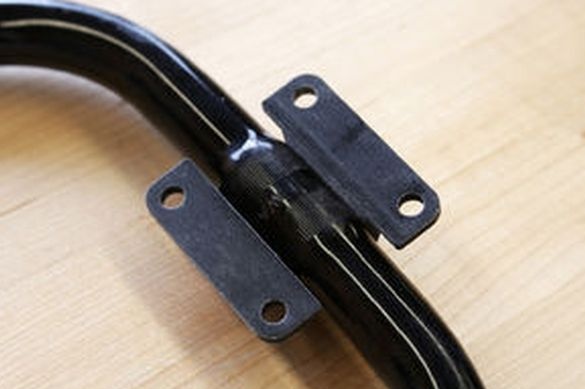
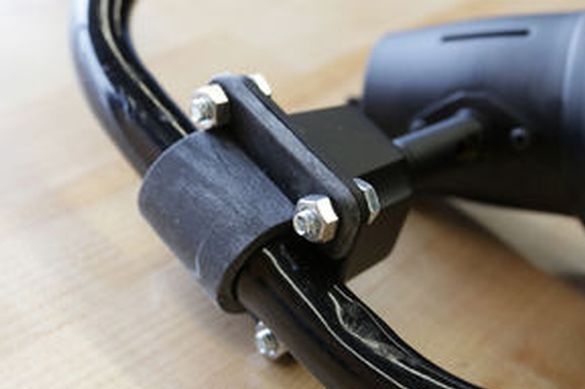
Step One: Bracket
The author printed the bracket on a 3D printer. If it is not possible to print the bracket, then the author advises using a cable tie.
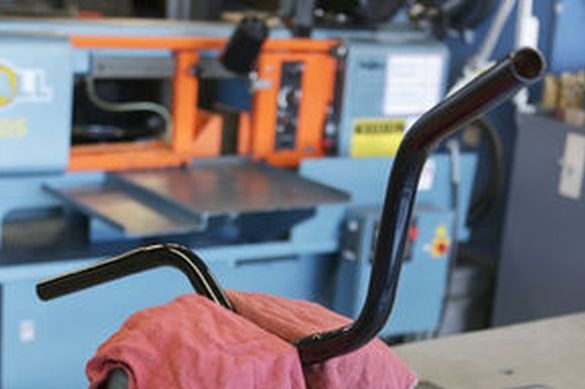
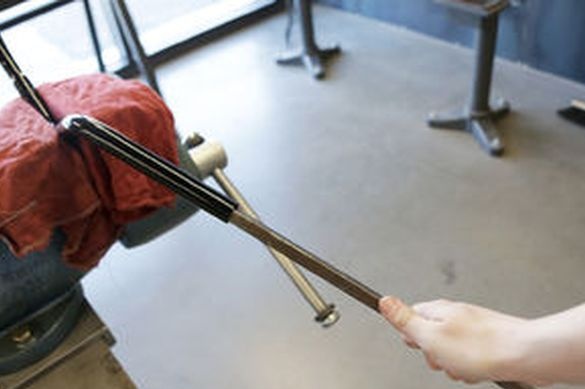
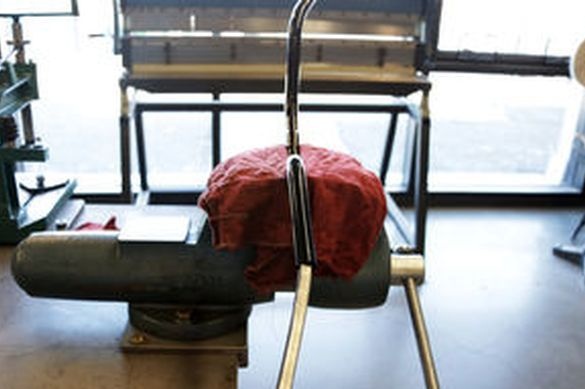
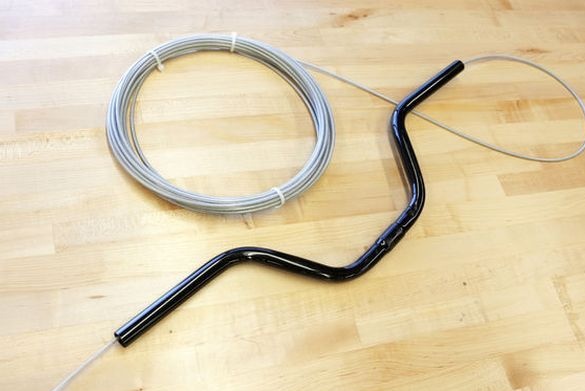
Step Two: Steering Wheel
Handlebar handles must lie in the same plane with the steering tube. To align the steering wheel, clamp it in a vice and, inserting a metal rod into the handles, bends them. Checks the plane on a flat surface if everything proceeds normally to the next step.
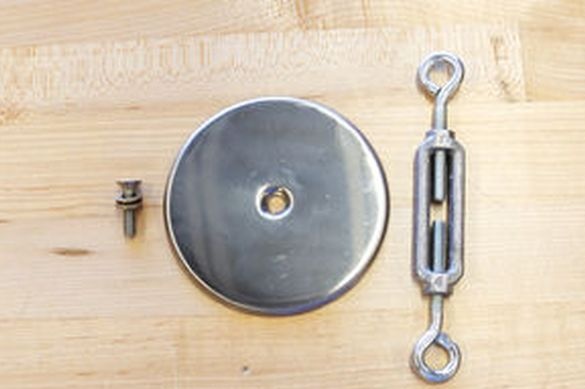
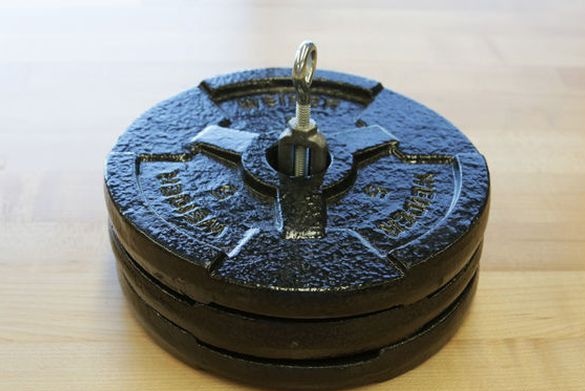
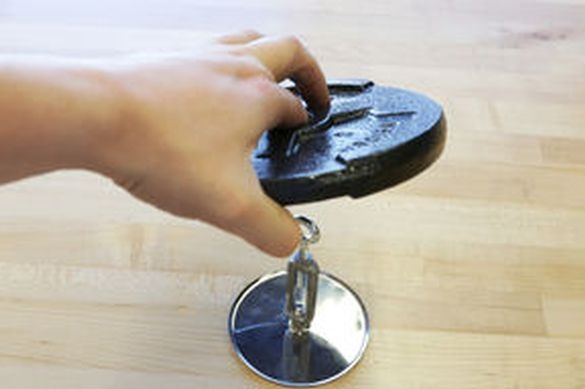
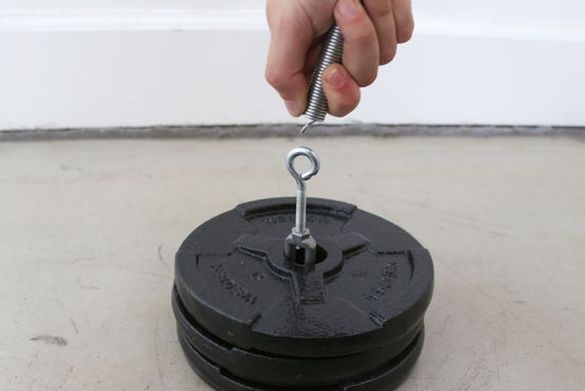
Step Three: Prop
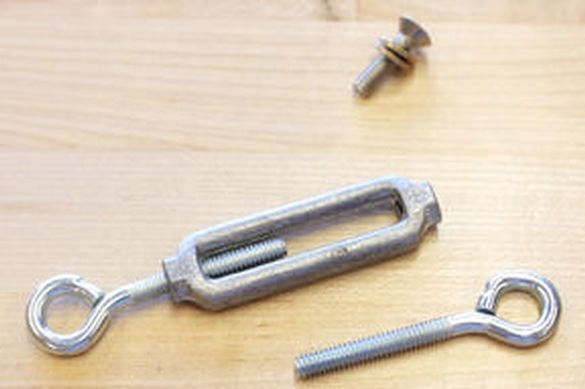
A hole is drilled in the center of the metal cover. Removes one bolt from the tensioner. Screws the cover onto the tensioner with a flat head screw.
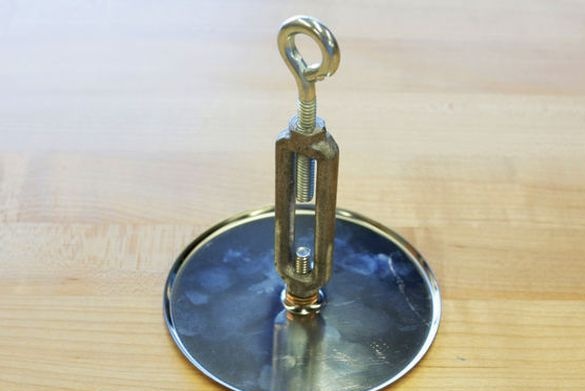
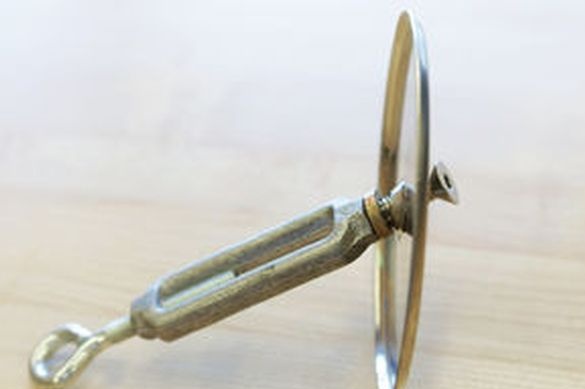
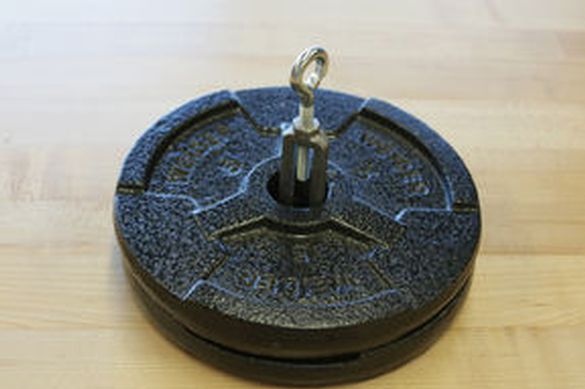
Stack discs on top of the cover.

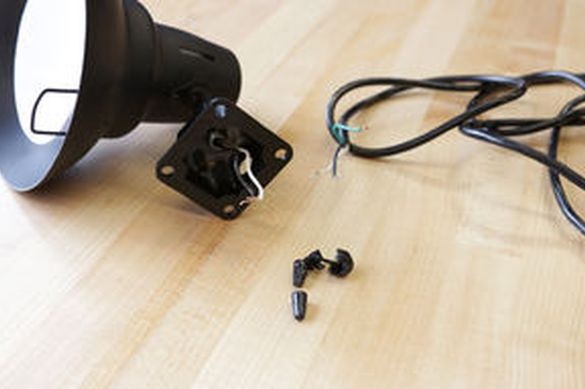
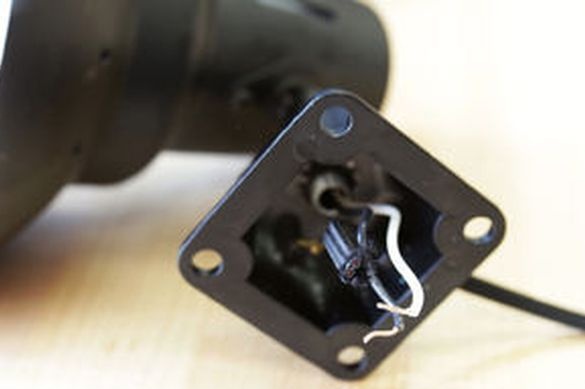
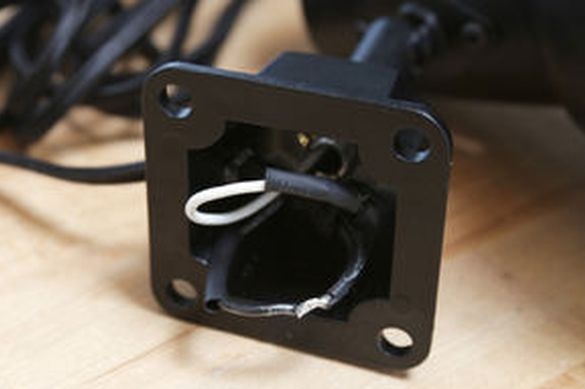
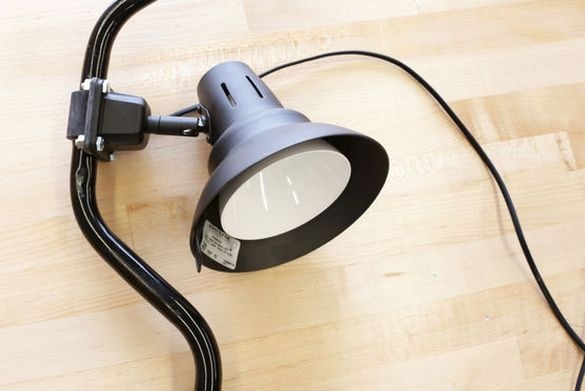
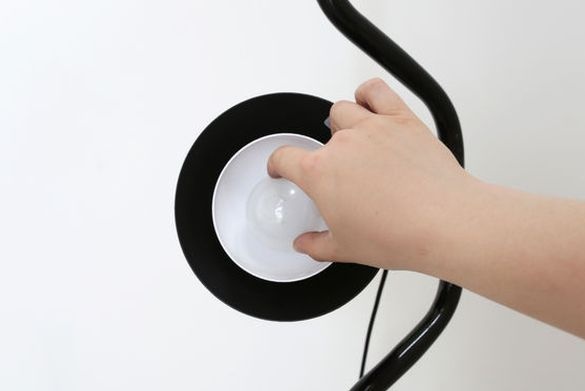
Step Four: The Light
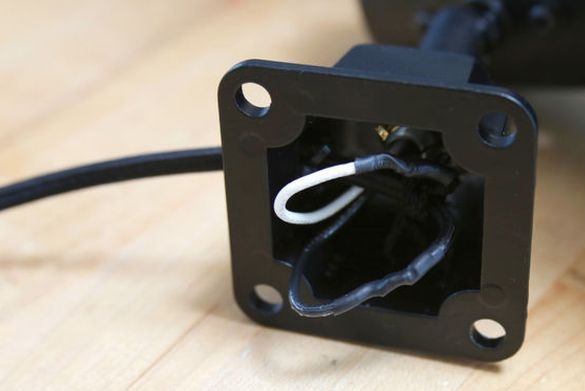
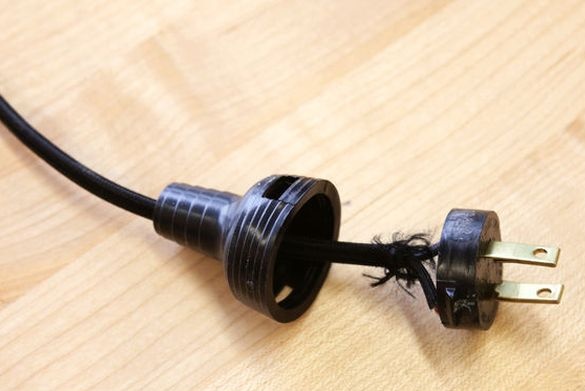
Replaces the electric wire on the lamp with a longer one, installs the plug.
Fastens the lamp on the steering wheel.
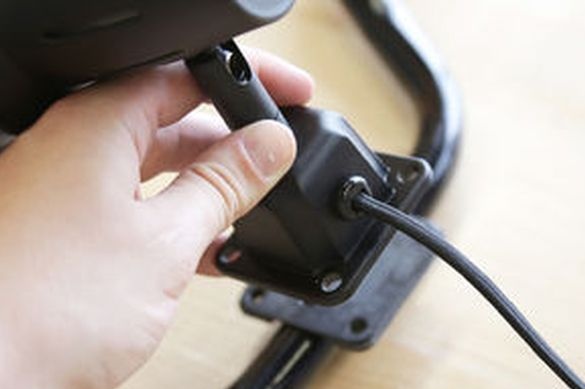

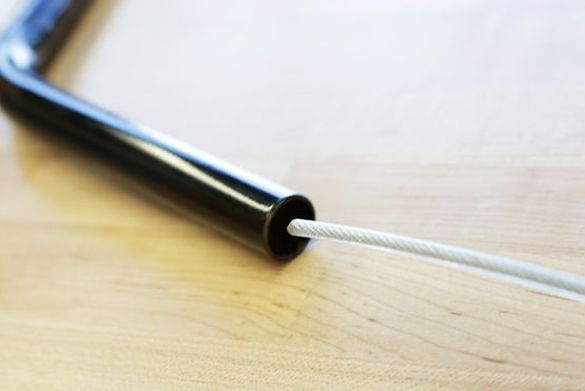
Step Five: Installing the Lamp
Pulls a cable through the steering wheel tube.
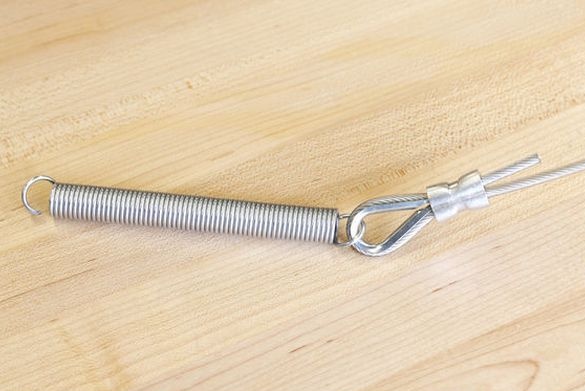
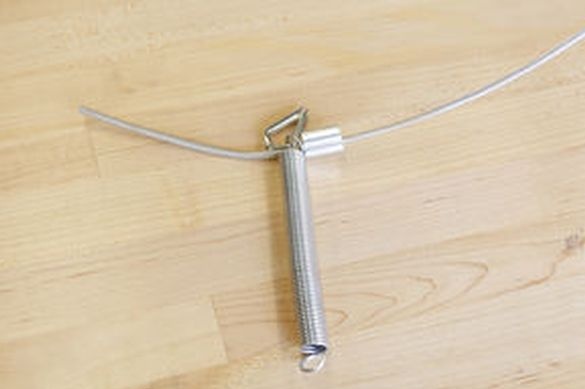
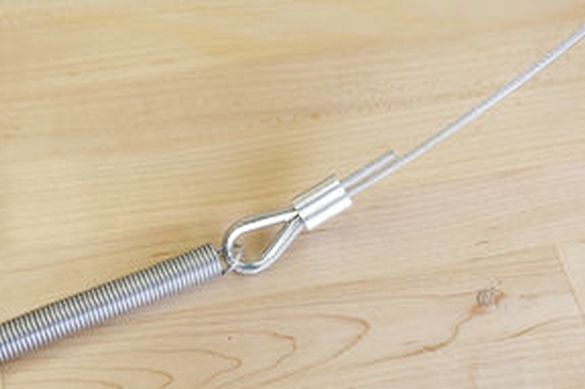
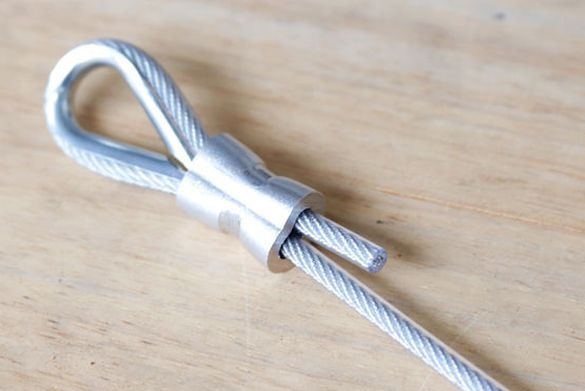
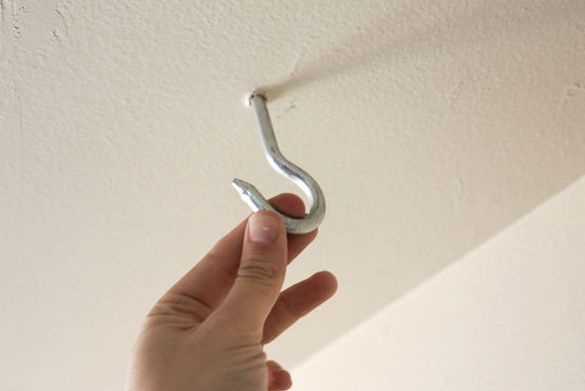
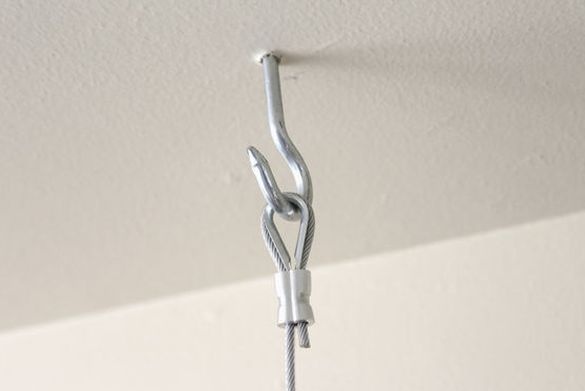
At the ends of the cable sets thimbles. The ends of the cable are fixed with clamps. Fastens one side of the cable through a spring to the support. The second end is attached to a hook screwed into the ceiling.

All is ready. It remains to screw in the bulb and you can use an unusual lamp.
Such a lamp can be positioned, not only horizontally, but also vertically and even diagonally. The application can also be different, from design solutions to the workshop or the garage.
