

We all use usb flash drives, which we occasionally connect to a computer. Someone does this directly through the built-in connectors on the system unit, someone buys and uses additional devicesuch as usb hub, card readers. In this article, the author offers his own connection option, which is inexpensive and easy to manufacture. In order to visually understand what it will be, and how to do it, we look at the detailed photo report and read the description.
To make a usb connector, we need the following:
Instruments :
- soldering iron;
- a clerical knife, or other available sharp cutting tool;
Materials:
- standard usb socket;
- unnecessary usb cable;
- heat shrink.
Let's start manufacturing homemade !
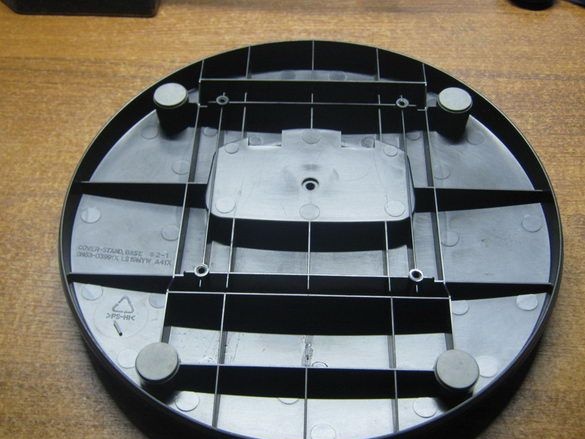
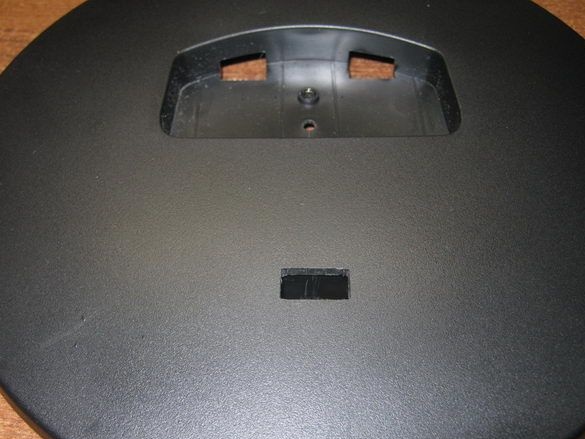
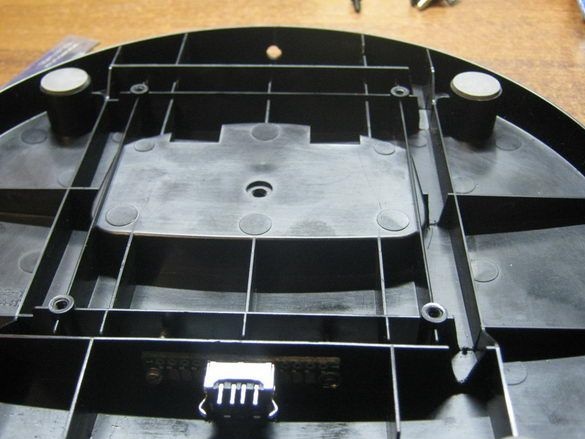
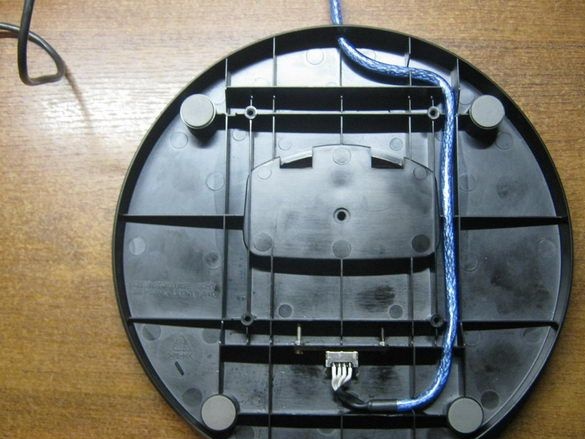
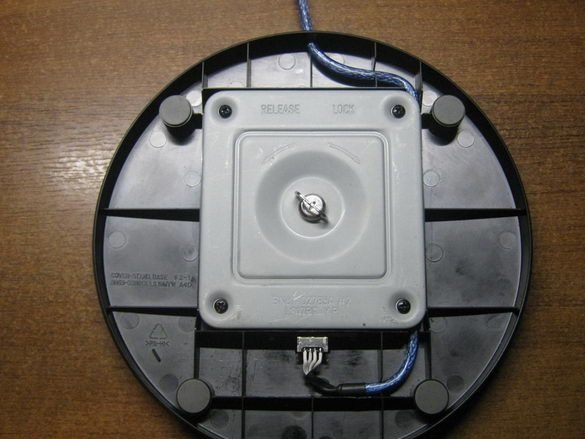
To begin with, we remove the supporting part of the monitor. In this case, we have a round base.
Next, we need here is such a standard usb socket, it was removed from the old broken usb hub.
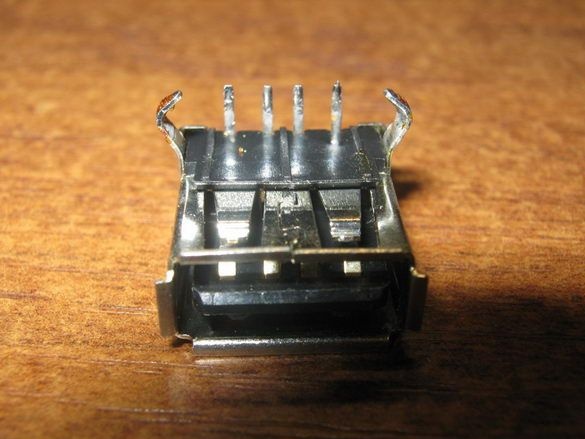
We take a usb socket and try it on with respect to the height of the case, it turned out to be almost the same, but taking into account that it will still be cut in plastic, the socket should fit perfectly.
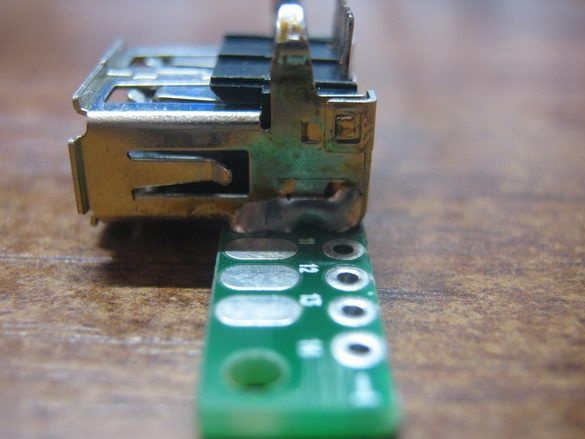
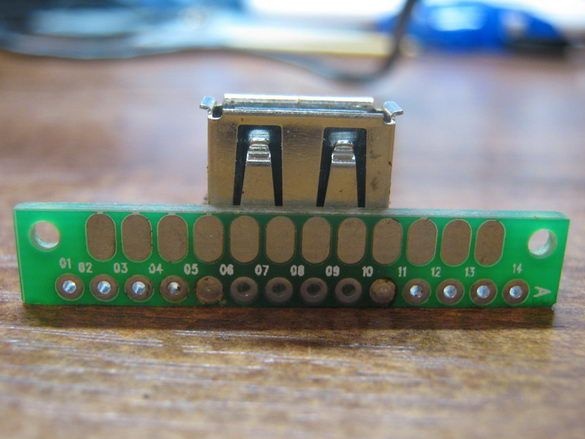
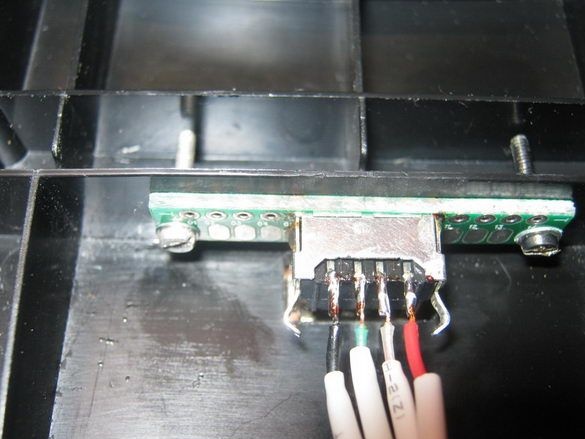
As a fixing element of the usb socket, here was taken such a board on which there are holes for the bolts.
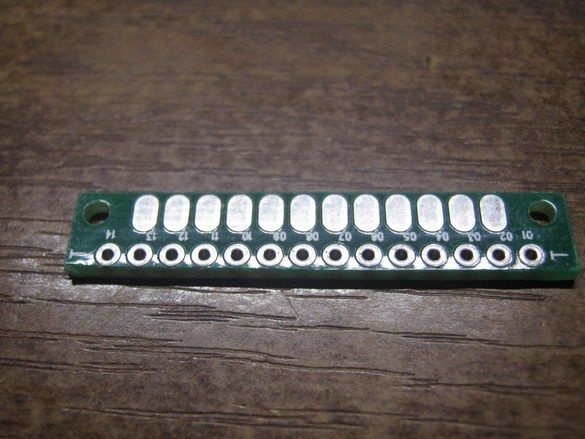
Solder the socket to the board using a soldering iron.

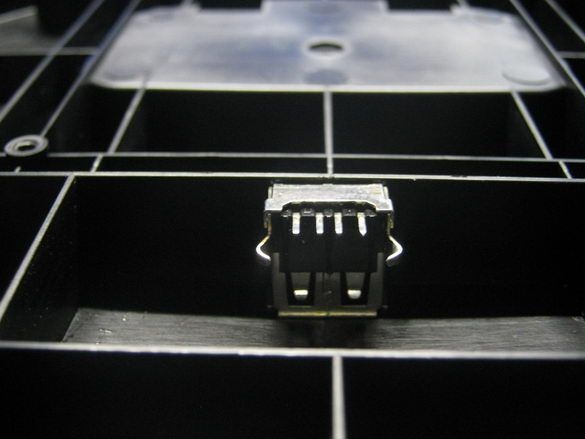
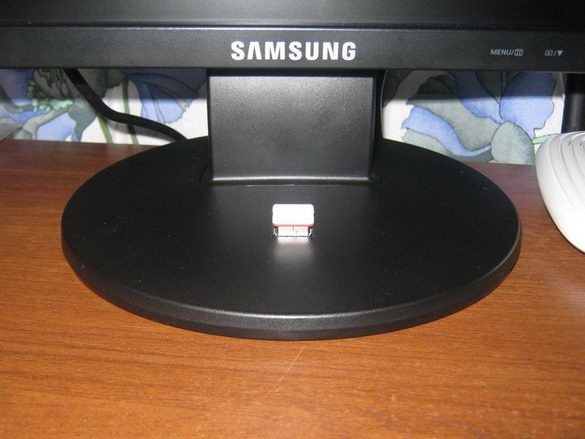
Then, using a sharp cutting tool, we make a rectangular window, after having previously made measurements of the usb socket, we choose the place on the case ourselves, or we do as in this case.
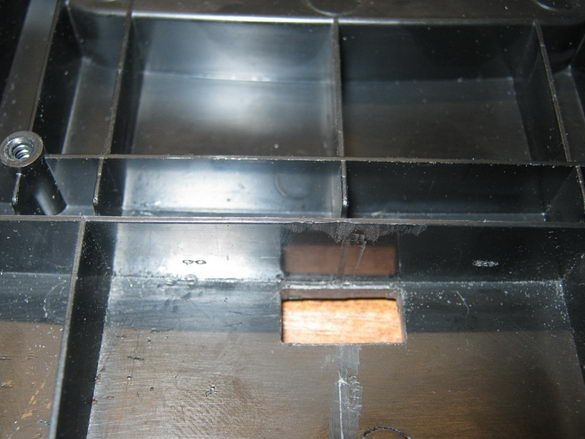
When the cutout is ready, we attach a board with a usb socket and mark out the mounting holes, after which we drill.
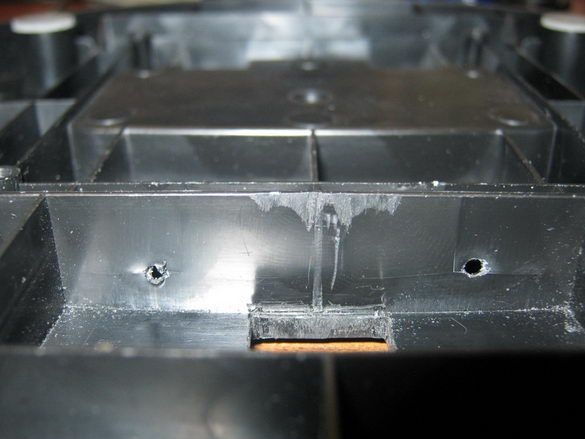
Next, fix the nest with small boots.
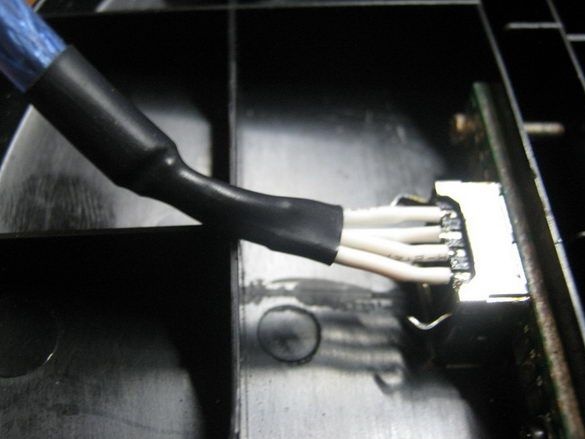
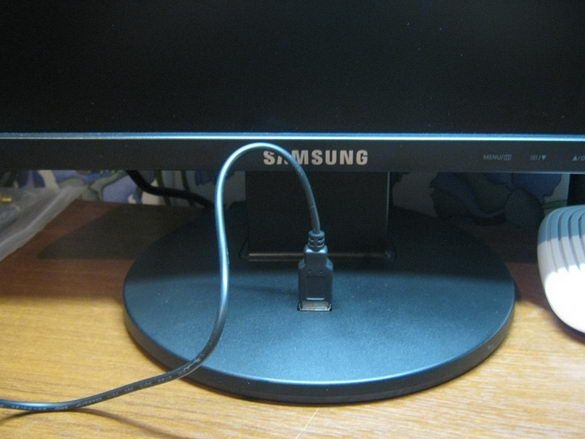
Now we take the unnecessary usb cable, remove the insulation from the wires, put on them shrink and solder according to this pinout.
With the help of a lighter we shrink heat shrink.
Next, lay the cable, and output it to the back of the case.
We return to the place the details of the case.
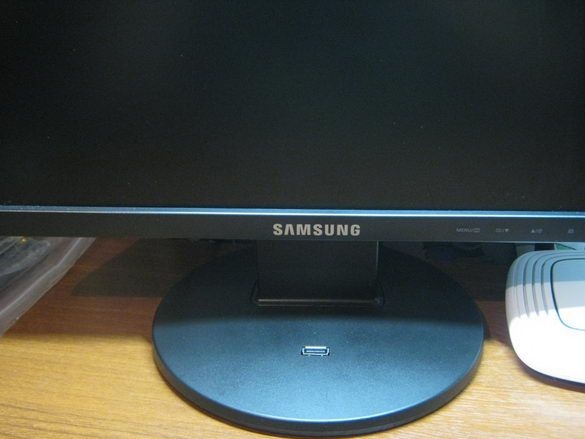
We fasten the stand back to the monitor, connect the output cable to the system unit.
We test, connect different usb devices for this.
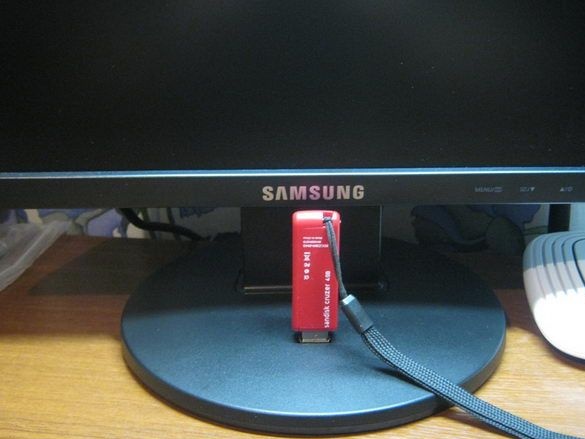
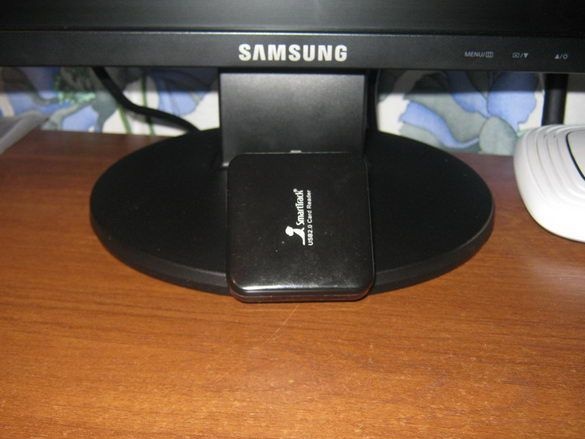
Everything works, the necessary result is achieved, usb output is ready for use.
This article is over, thank you all for your attention!