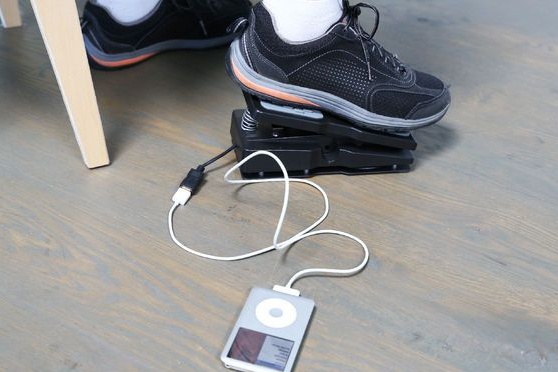
Surely many of us, when busy at the table with something important and nervous, shake our feet under the table. This author has homemade there was just such a problem, in order to turn this problem into a favor, he decided to build a generator, with which now it will be possible to charge a mobile and other devices from his leg. The generator is a pedal, when pressed, an electric current is generated.
How to assemble such a homemade product, consider below.
Materials and tools for homemade:
- expression pedal;
- 3D printer;
- stepper motor;
- PC Board;
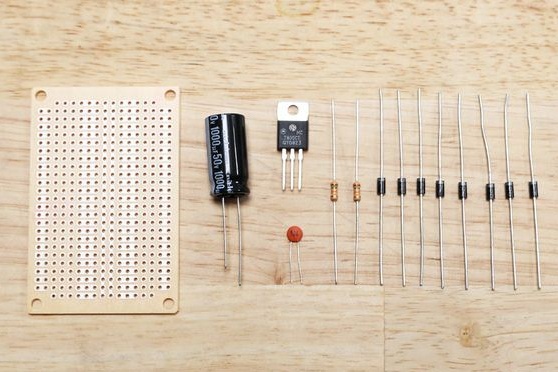
- voltage regulator type LM7805;
- a capacitor with a capacity of 1000 uF;
- a capacitor with a capacity of 10 uf and one capacitor at 0.1 uF;
- eight diodes type 1N4007;
- two transistors at 15K;
- USB-A and USB-B extension cable;
- seven 1/2 ”spacers;
- seven metal screws 3/4 ";
- nut and bolt М4Х8 mm;
- four bolts with M4X12 mm nuts;
- four 1/4 "plastic dividers;
- four bolts with nuts M3 x 12 mm;
- wire to create a spring or spring;
- acrylic disk (made according to the template);
- a disk from felt (also done according to the template);
- glue gun.
Homemade manufacturing process:
Step one. Disassemble the pedal
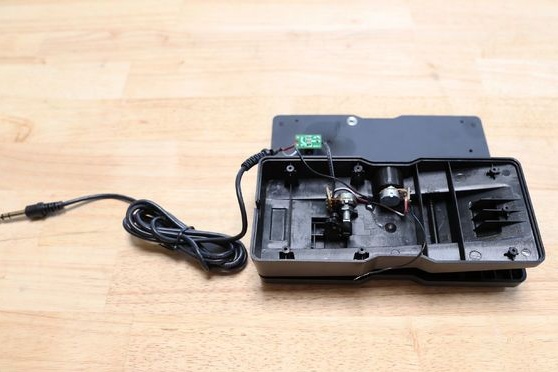
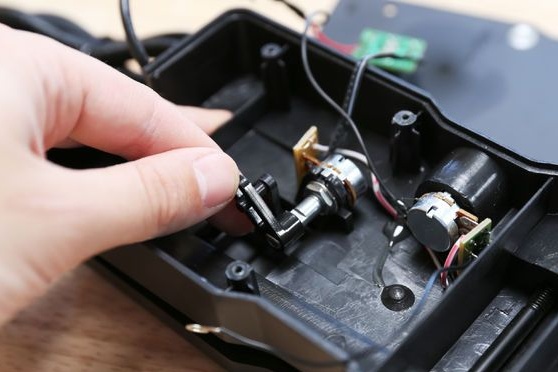
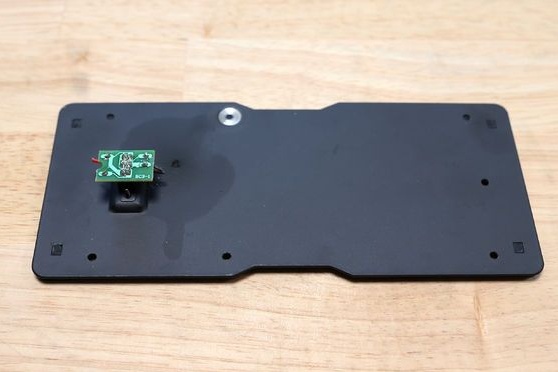
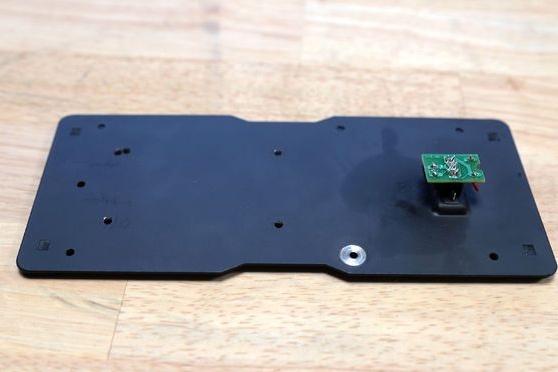
First of all, you need to disassemble the expression pedal, for this you need to unscrew a couple of screws. Inside you can find a potentiometer with a lever, this lever must be removed by pulling it. Then you can remove both potentiometers from the pedal, they will not be needed. A printed circuit board is located on the base plate, all wires must be cut from it.
Step Two 3D printer operation
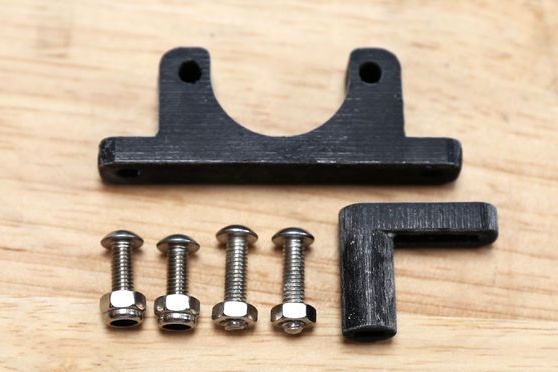
Now you will need to print a couple of parts on a 3D printer. The necessary files in STL format are attached for download.
Step Three Engine installation
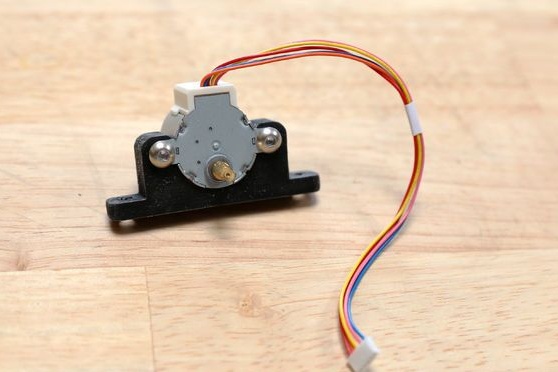
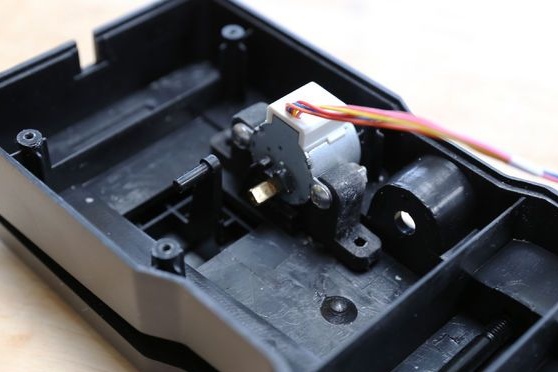
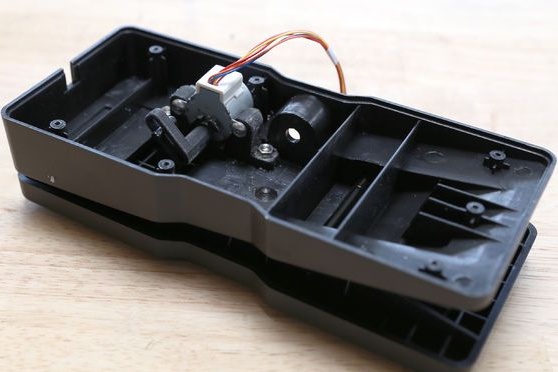
The engine is mounted using a 12 mm bracket using bolts and nuts. The engine itself is attached to the inside of the pedal so that the lever worn on the shaft looks up, that is, as it was on the potentiometer.
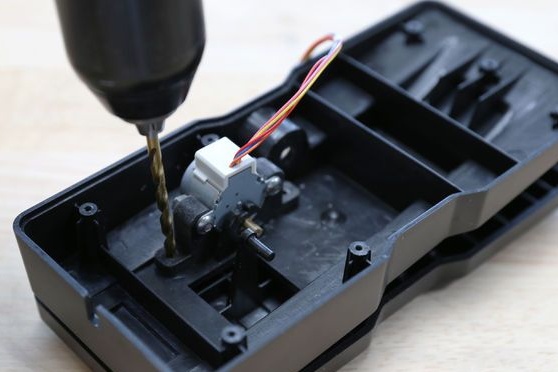
Now you need a drill and a 3/16 drill, using it you need to drill holes as guides. But here you need to be careful not to make a through hole in the paw pad. Well, then the engine is attached to the body with screws with 12 mm nuts.
Step Four Circuit device
Step Five Set the lever
The motor shaft must be turned so that when the lever is mounted, it looks up.As a result, when you press the pedal, the motor shaft will rotate.
Step Six Power circuit
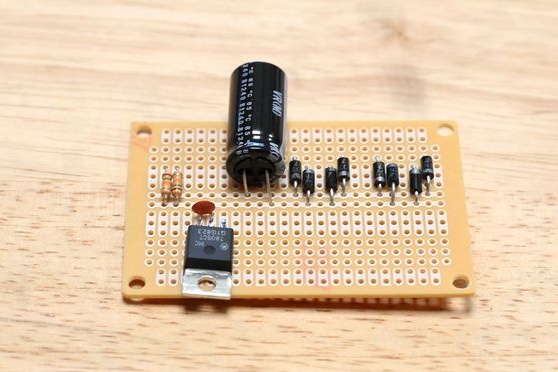
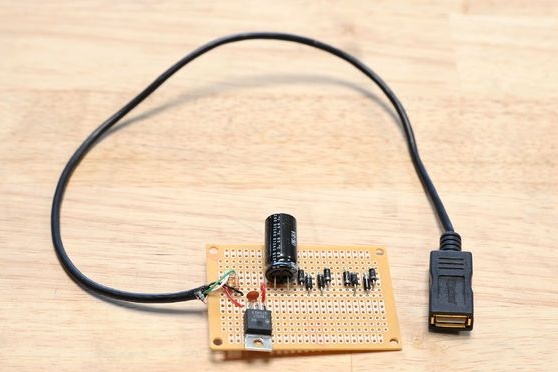
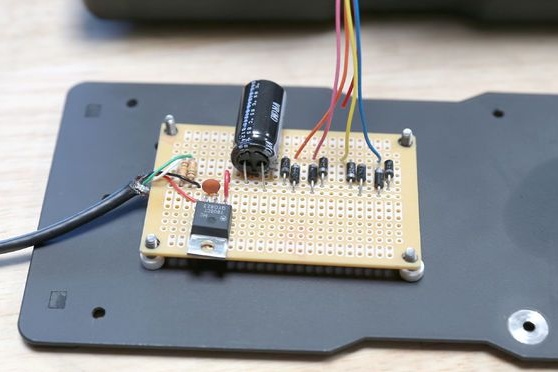
The circuit for power control should be arranged as in the photo. It is made up of two rectifier bridges, one bridge goes to each motor coil. To accumulate charge and filter noise, a capacitor with a capacity of 1000uF is used, then with the help of the LM7805 generator this energy is converted to the confident 5Volts needed to charge the phone.
There are also 10uF and 0.1uF capacitors in the circuit; they work as additional filters in the generator.
It is also necessary to install two resistors, without them the mobile may not be charged from such a power source.
Seventh step. Cable mounting
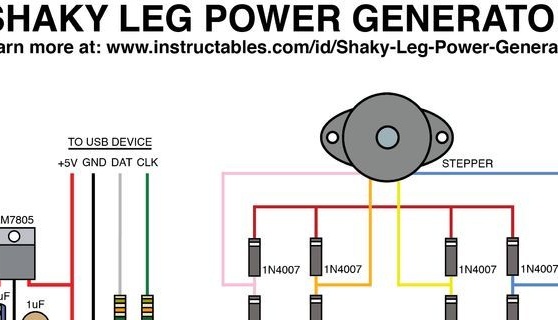
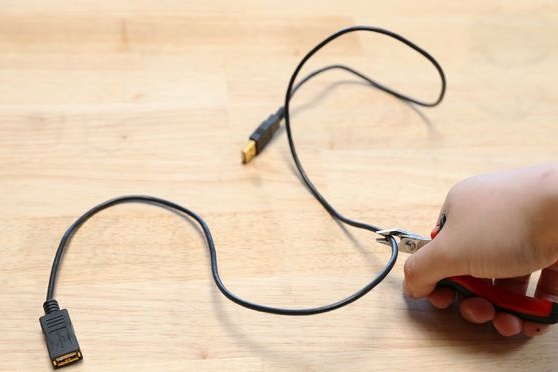
You need to take a USB cable and cut it into two parts, in total there will be four wires in the cable. The cable must be connected to the printed circuit board as shown in the diagram.
Step Eight. Spring setting
To install the spring, you need a drill and a 3/16 drill, they need to make a hole in the center of the plastic pad of the expression pedal. Then, an acrylic disk is installed in the upper part of the platform, for fixing the author applied a 8 mm bolt and nut.
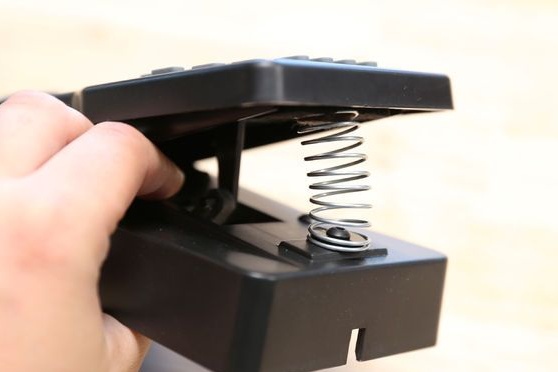
Opposite the plastic pad there is a felt pad; you need to glue a felt disc onto it. After the glue dries, you can install the spring in the pedal.
Step Nine. DIY assembly
Now all the elements need to be put together. First you need to solder the motor wires to the printed circuit board in accordance with the diagram.
To fix the printed circuit board, the author used a drill and screws with nuts. The whole thing is mounted on four screws. Spacers are also needed here.
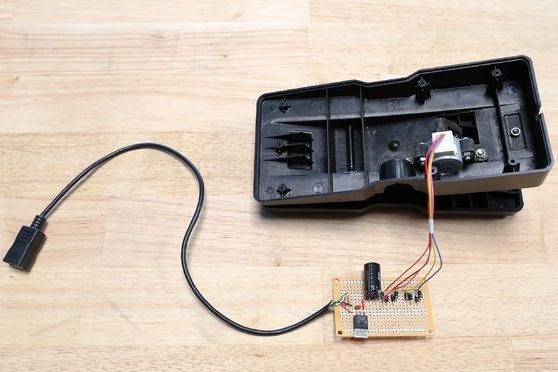
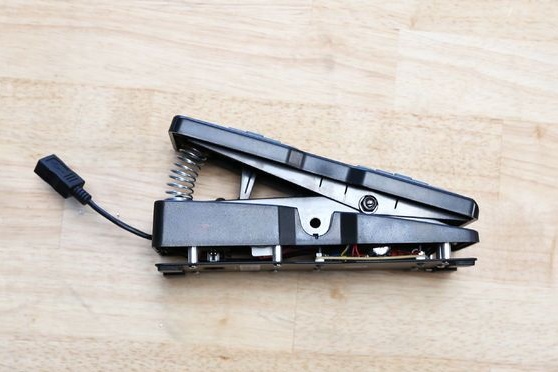
To prevent the wires from falling off the circuit board, they must be fixed with hot glue.
That's all, now you can close the case and start testing the pedal.
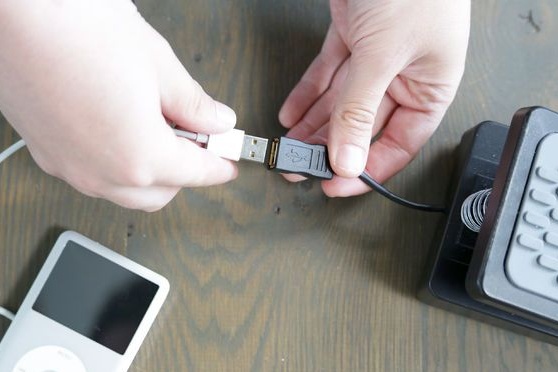
Now you can connect the mobile to the USB output of the wire and try to charge the device. According to the author, charging is not very fast, but it is quite confident and the phone will charge if you use the pedal periodically throughout the day. In addition, you can take such a pedal with you when hiking.
