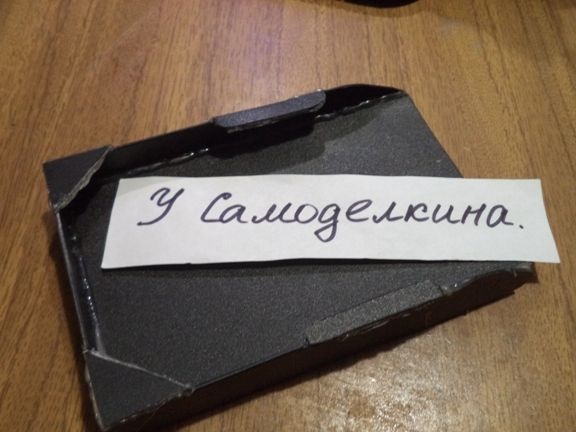
Hello, dear friends and those interested in them!
Modern smartphones have learned to do many different things, successfully replacing us with a clock, voice recorder, navigator, player. Therefore, they are increasingly becoming uncomfortable in their pockets or bags and smartphones are successfully occupying a place near us on the desktop. It happens that when charging the phone, the cable does not reach the outlet and you have to put the phone anywhere, not in a place convenient for use, or when the phone falls to the floor and due to a strong blow the screen breaks, the back cover and battery fly off and some kind of other damage. And to make them comfortable there and there are no such cases, you can make a convenient stand for the phone. Moreover, you probably have everything you need for this at your home.
There are many techniques and methods using which you can make a stand for a smartphone. Stylish little things can not only decorate the interior, but also make the use of the phone comfortable. In this article I will tell you how to make do it yourself wall stand for the phone.
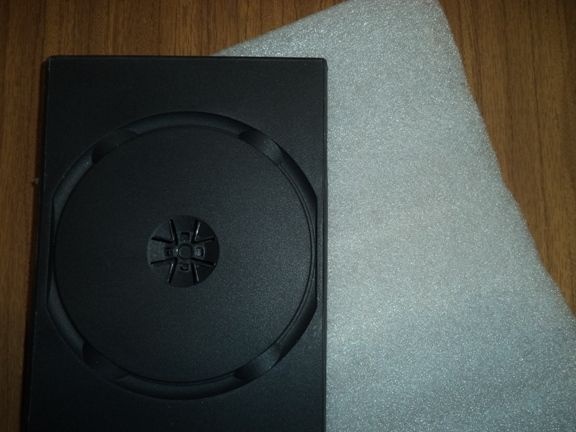
1) Polyethylene sheet
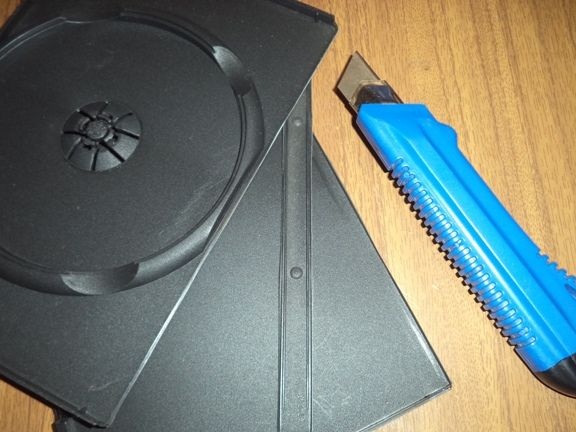
2) A plastic case from a CD disc.
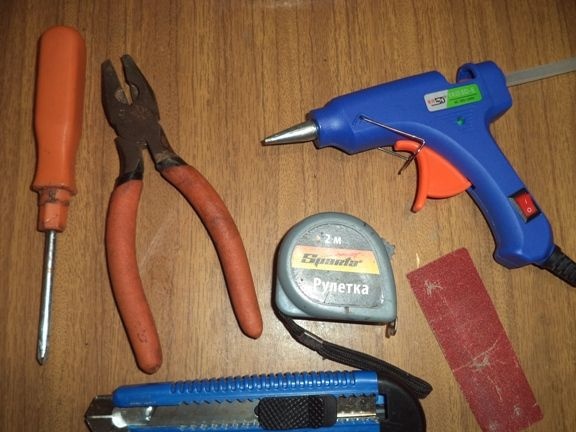
1) screwdriver,
2) Pliers
3) Hot-melt adhesive and thermal gun,
4) A sharp clerical knife,
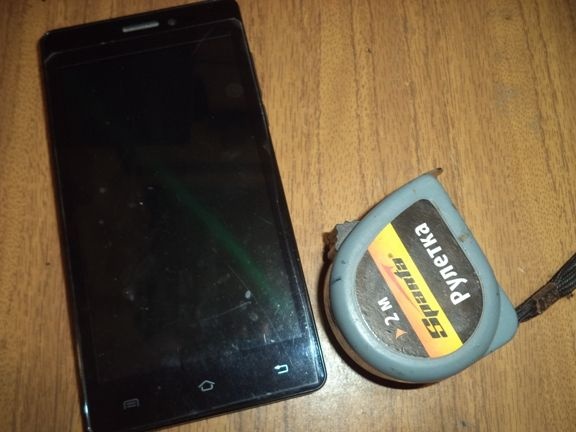
5) Roulette,
6) Sandpaper,
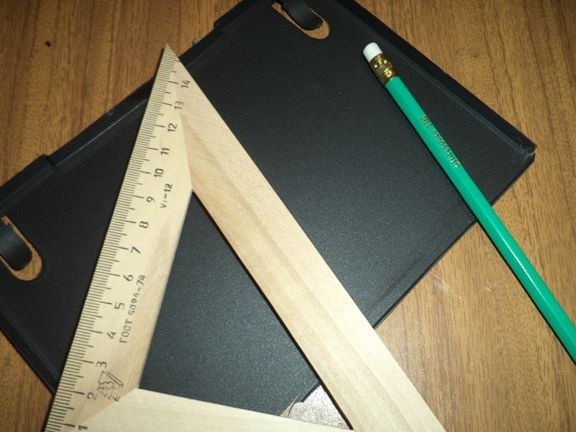
7) Square,
8) A simple pencil,
9) drill and drill,
10) Two screws.
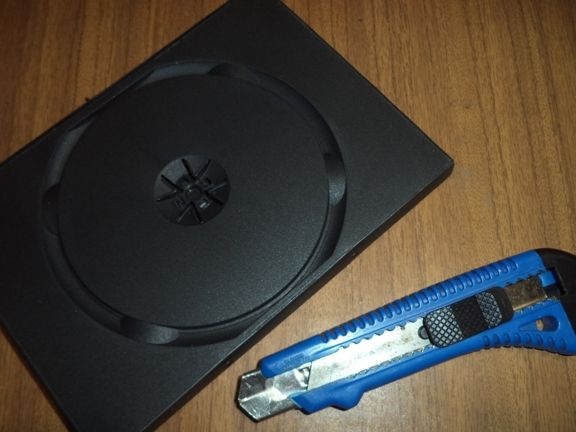
Step one: production of parts for a wall stand for the phone.
We take a plastic case and cut it into pieces.
Using a measuring tape measure the thickness, length and width of the phone. In order not to forget the measurements, they must be written down somewhere.
We take a piece of plastic from the past case and draw a drawing on it along the length and width of the phone. According to the drawing with a clerical knife, we cut our plastic.
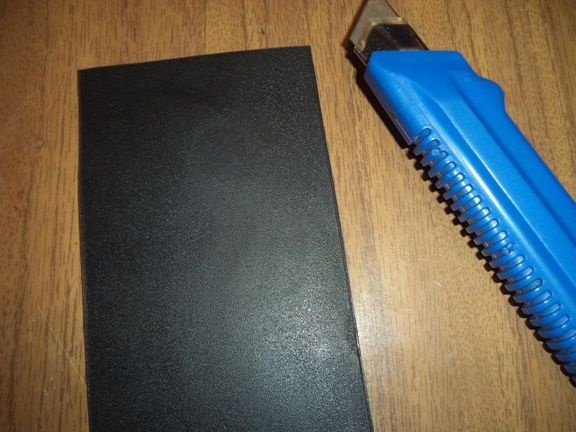
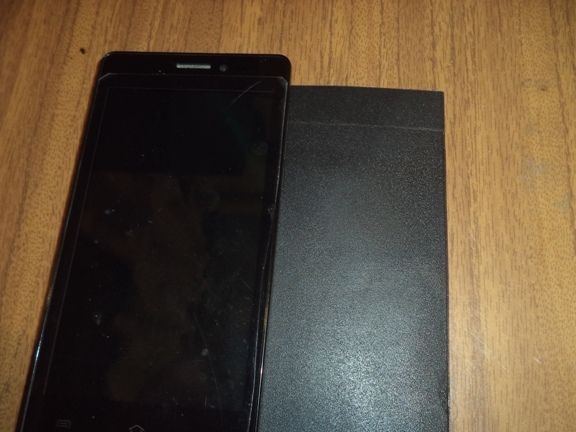
Grind uneven parts with sandpaper.
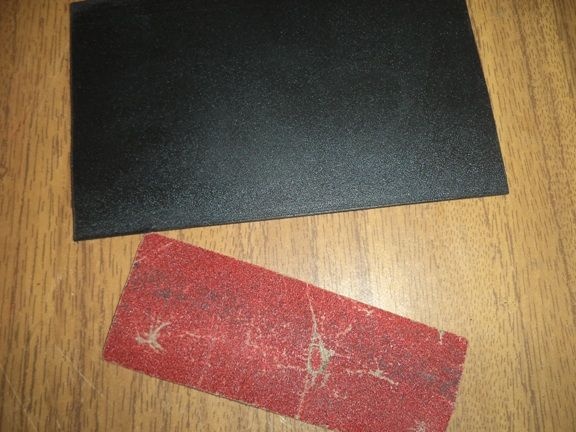
We begin to produce the second part, slightly less than the width of the previous part.
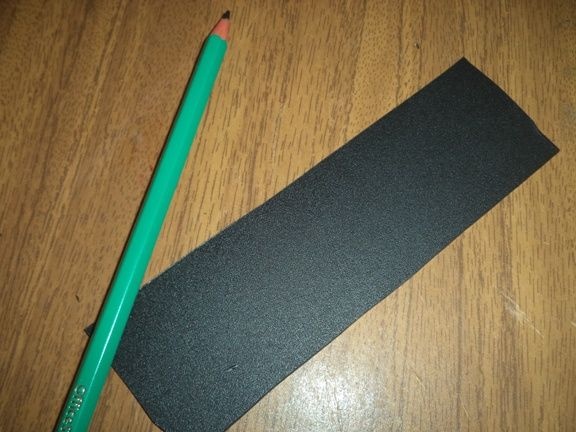
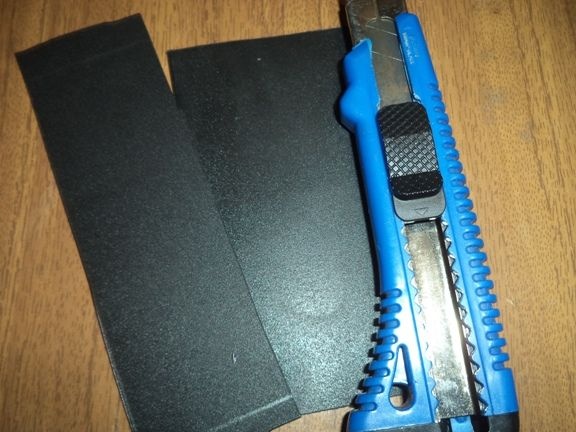
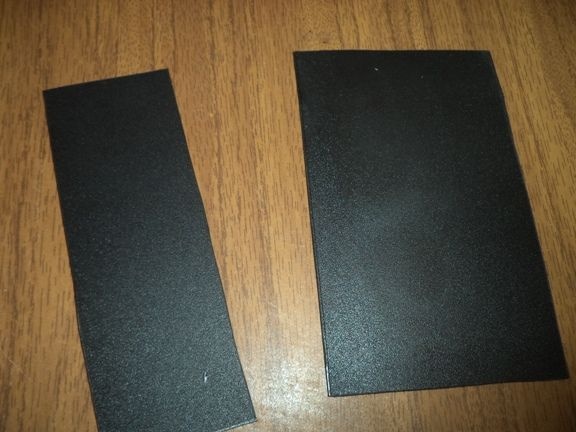
With a knife, cut it into two identical parts.
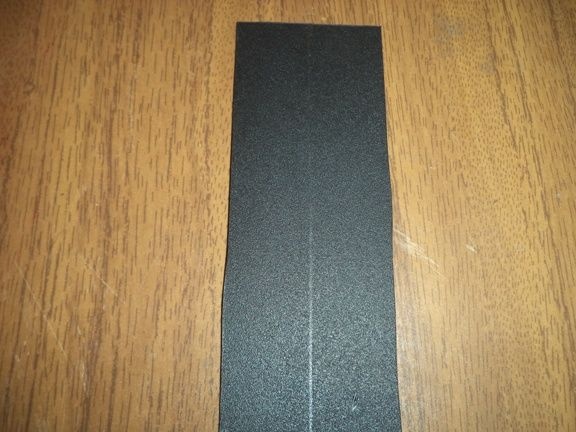
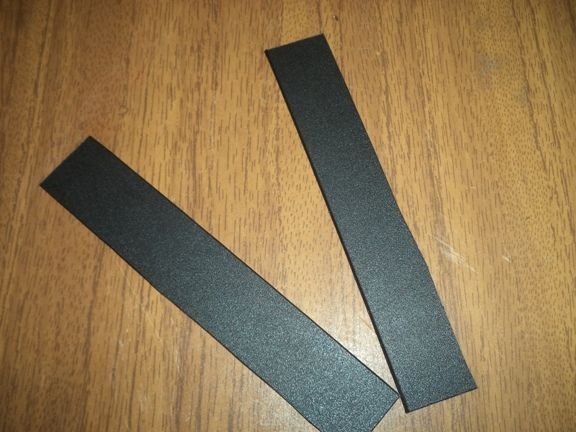
We also grind uneven places.
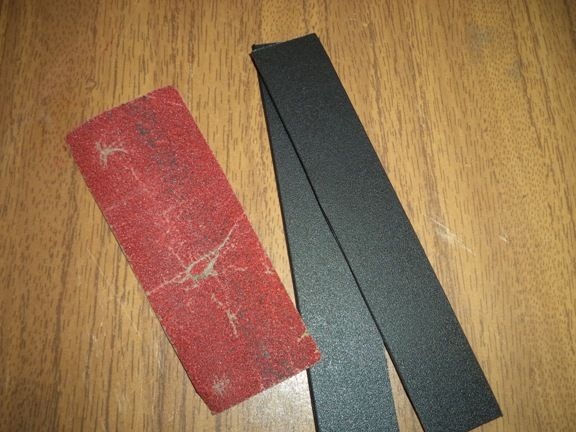
We begin to make the next part.
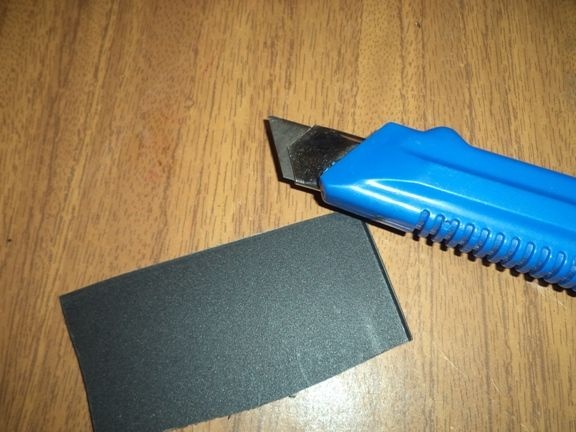
The length of this part will be equal to the width of the largest part.And the width is at your discretion.
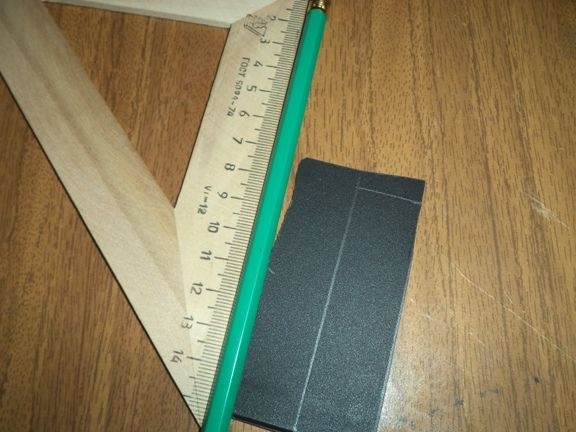
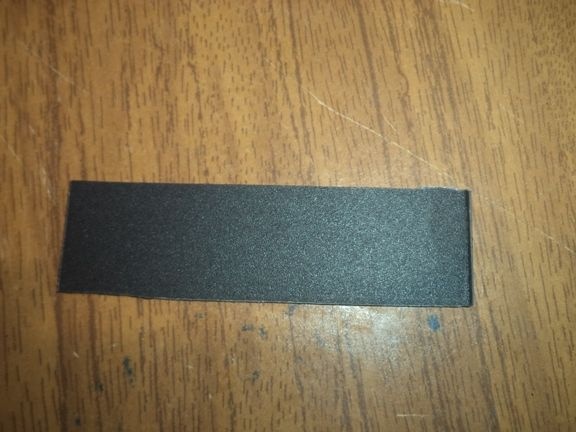
We make one more exactly the same detail.
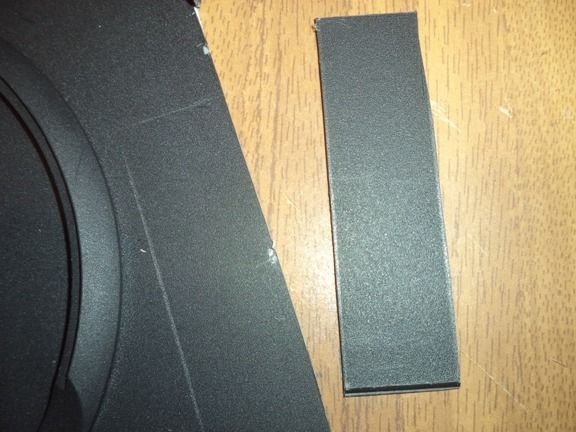
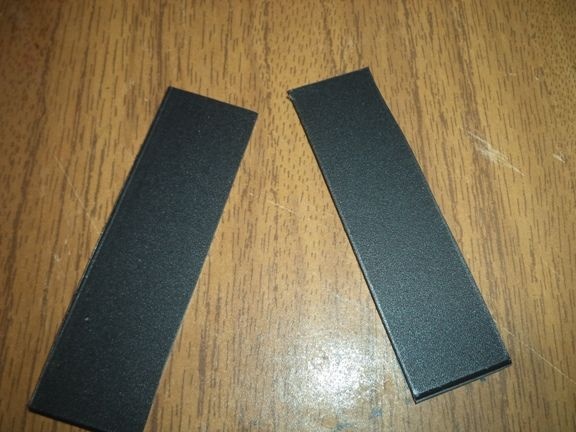
Again we make the next part. Its length will be equal to the width of the largest part, and the width is slightly more than the thickness of your phone, about 2-3 millimeters.
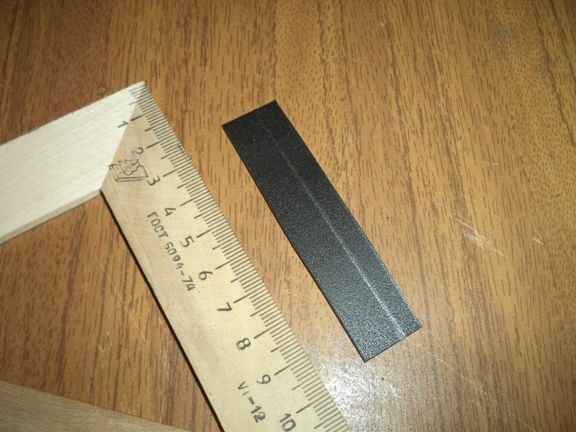
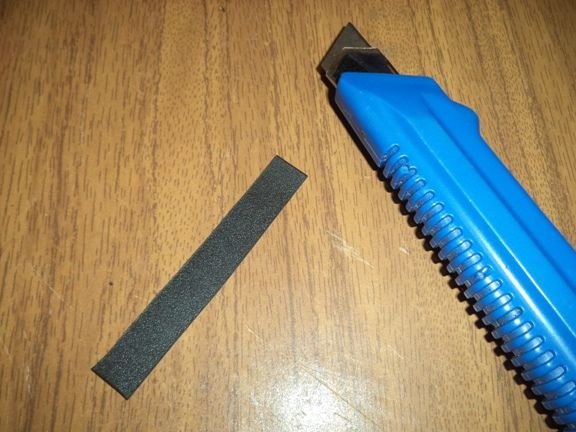
Here is a bunch of details I got. Of these, you now need to assemble the contour for the stand.
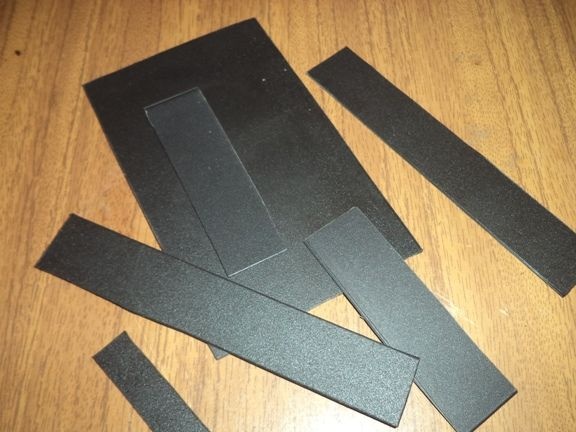
Step Two: Now we need to glue them with a thermogun onto each other.
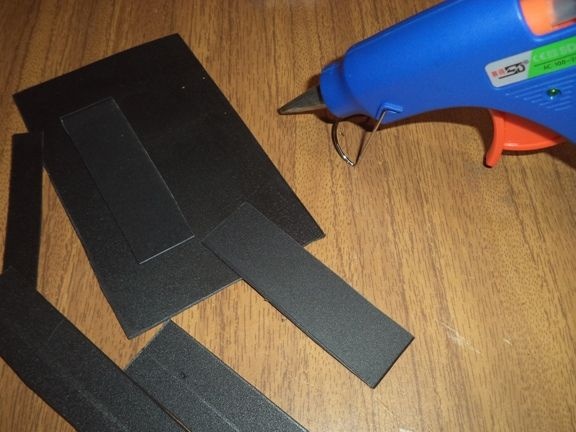
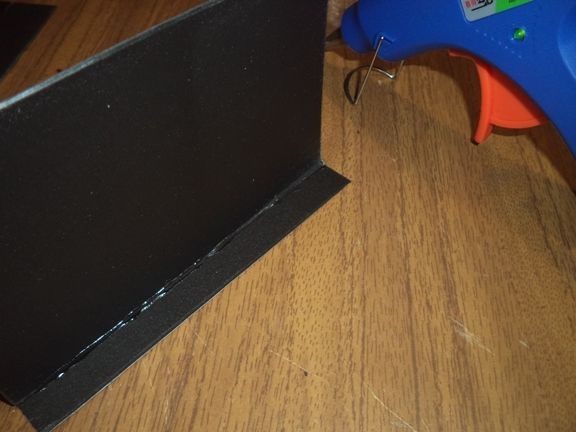
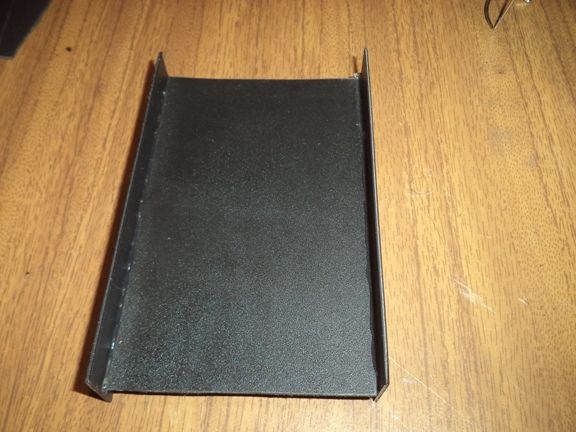
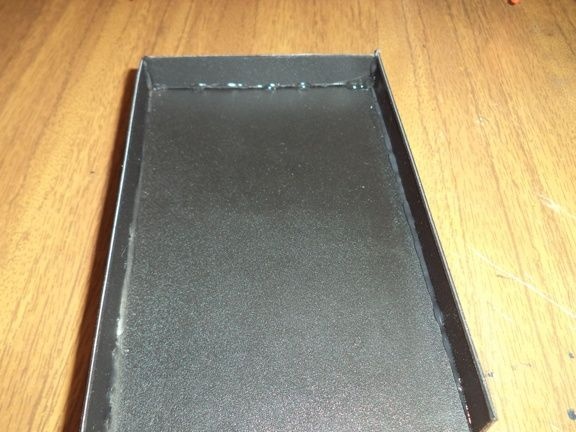
The remaining two parts must be glued to each other so that there are two layers of plastic and so that it is stronger.
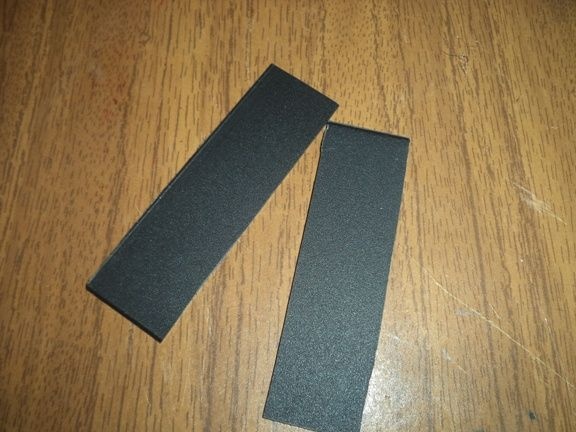
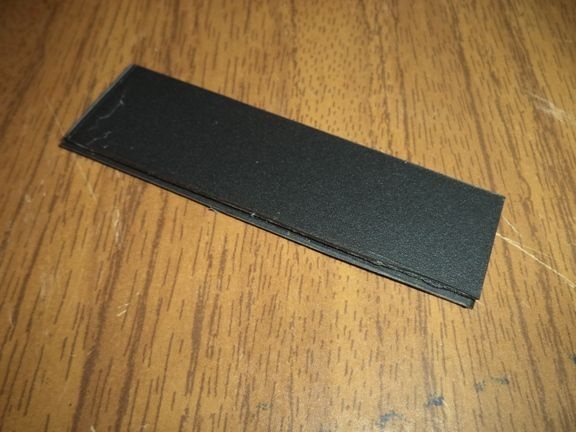
Next, we take a drill and on this two-layer part we drill two large holes so that the caps of the screws penetrate there.
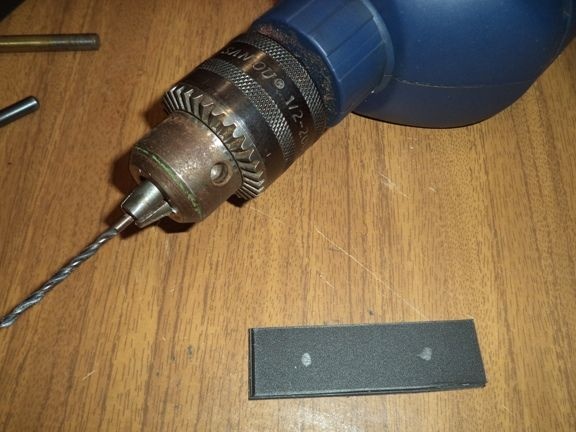
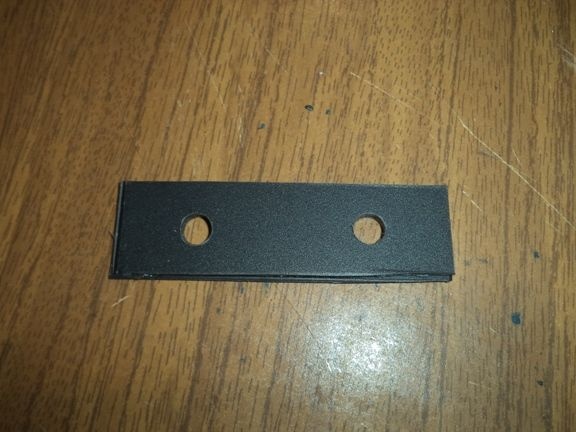
We drill holes again, but fewer large holes.
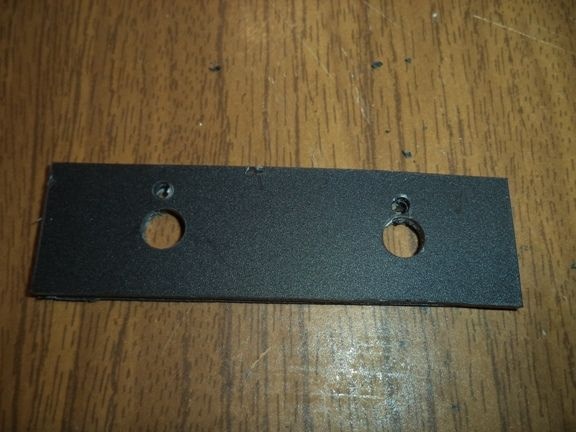
Next, do as shown in the photo.
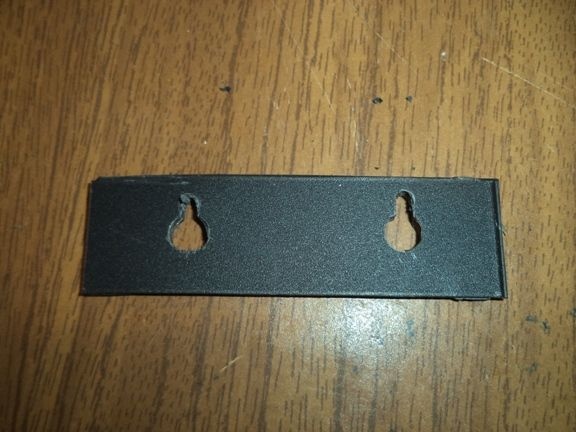
We glue the resulting part from the back of the stand.
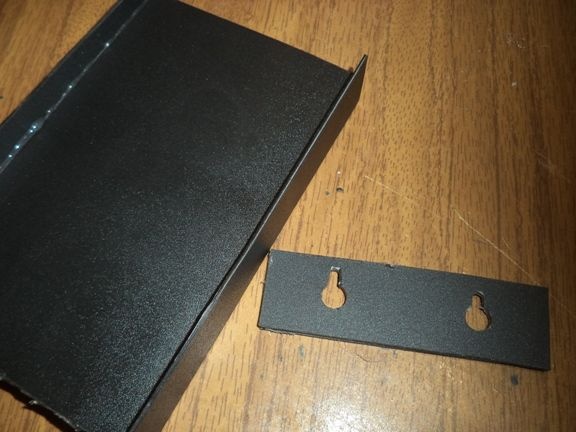
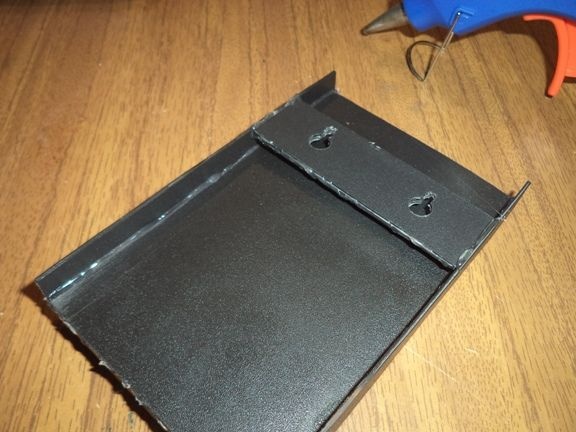
We make two small plastic triangles and glue them with polyethylene.
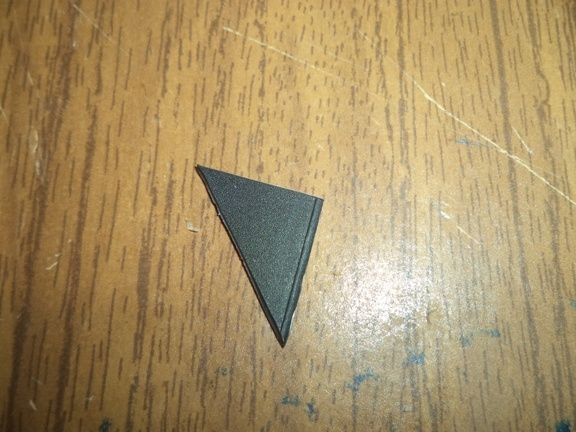
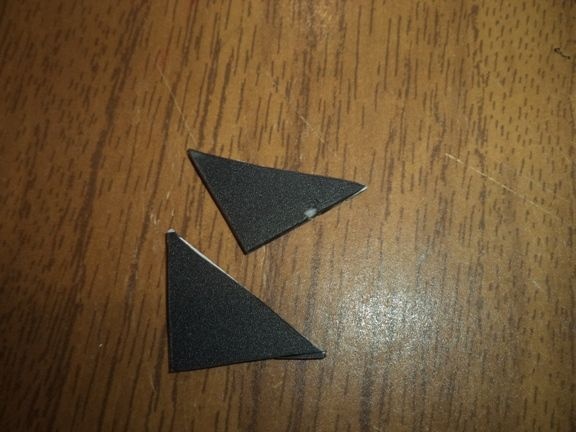
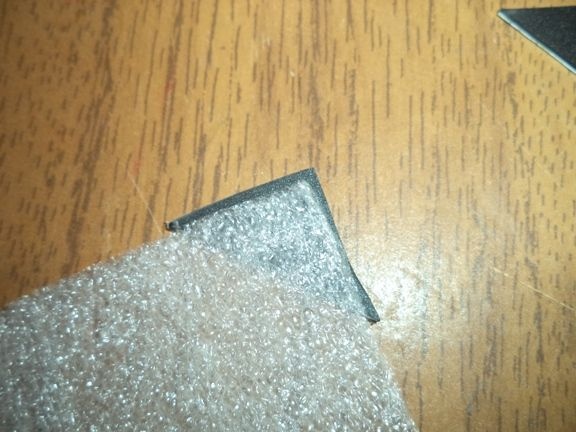
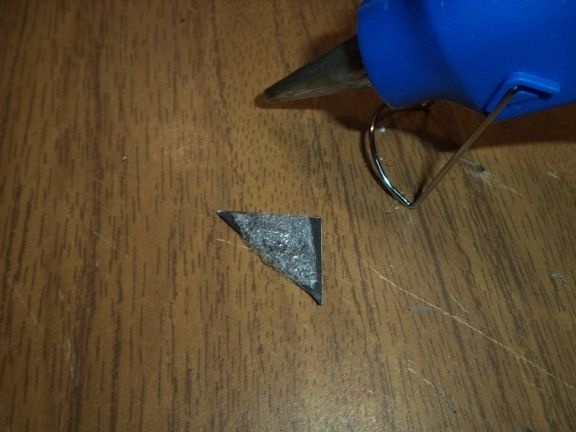
Glue these two parts to the stand.
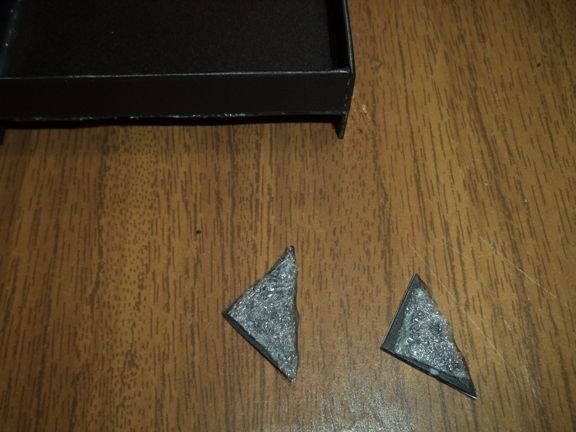
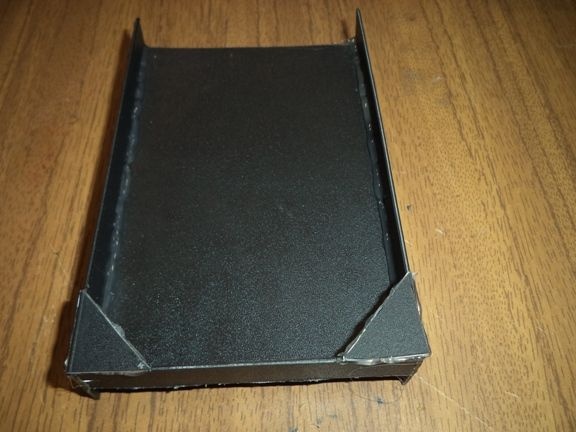
Now we need to remove the sharp corners of the stand with an office knife.
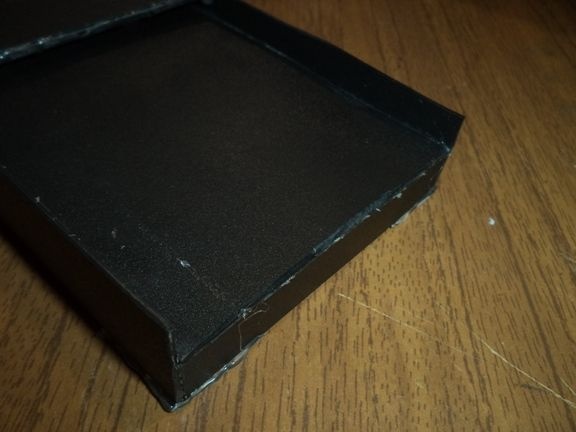
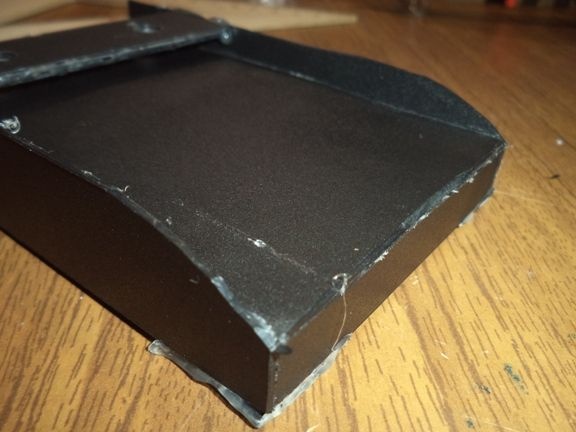
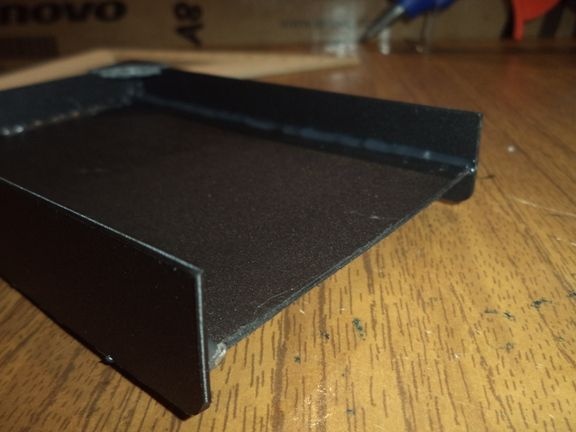
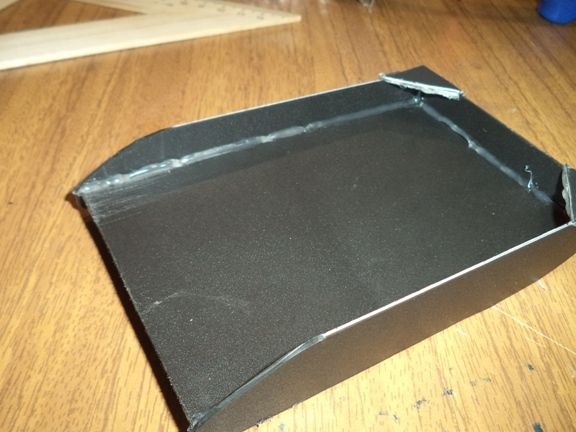
We make two more parts and glue them with polyethylene.
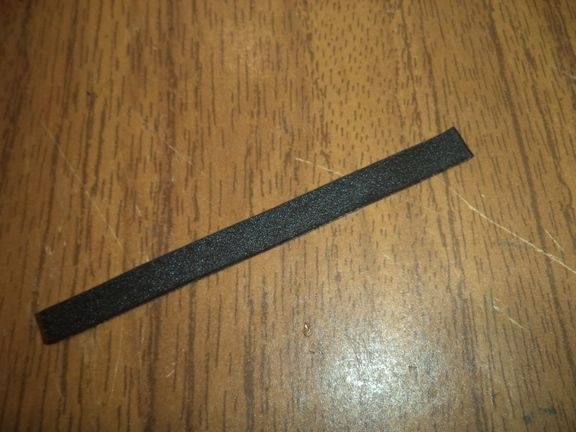
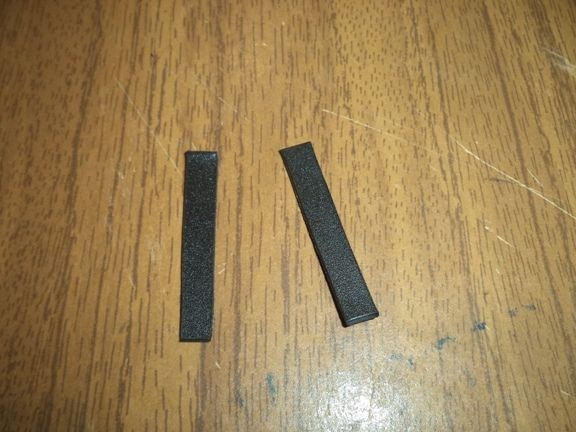
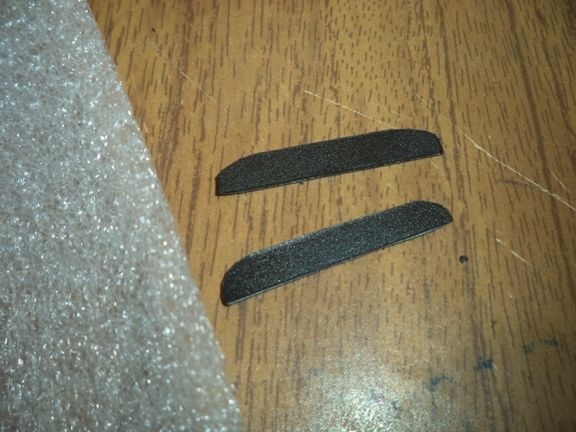
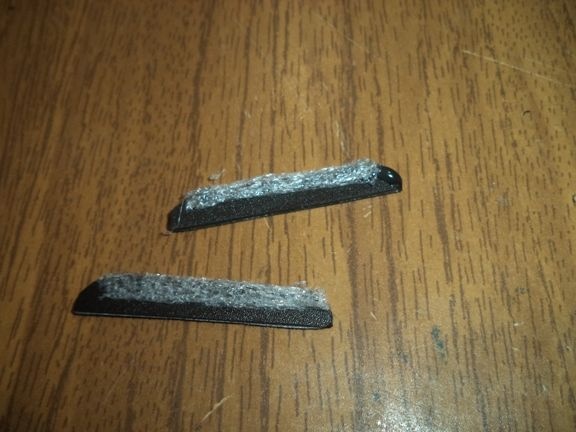
We paste them with polyethylene because the smartphone screen does not scratch the plastic.
On the stand we make two such recesses in size of the resulting two parts.
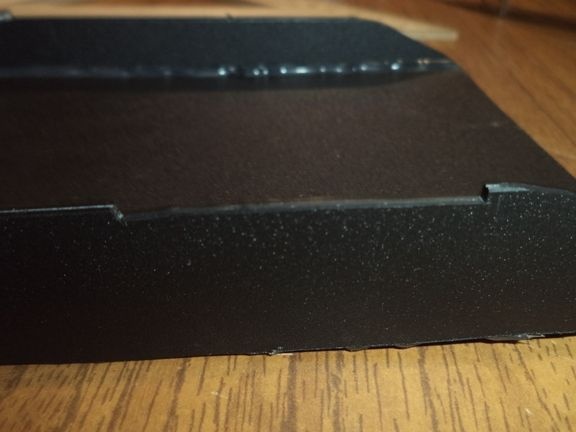
We apply hot melt there and glue the details.
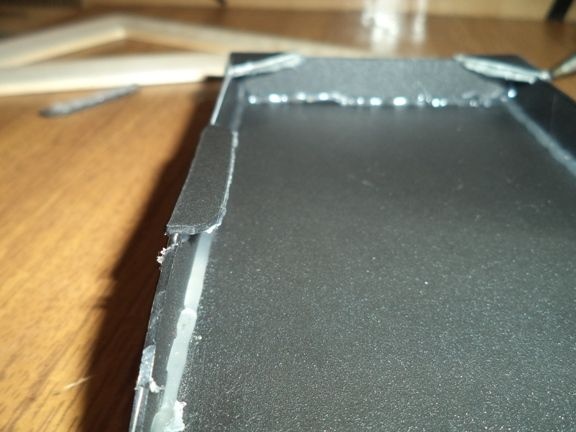
That's all, ours homemade ready. It remains only to screw on the wall two screws and hang a wall stand on them.
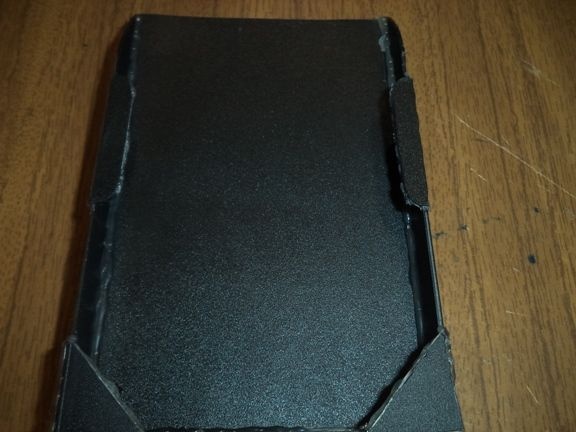
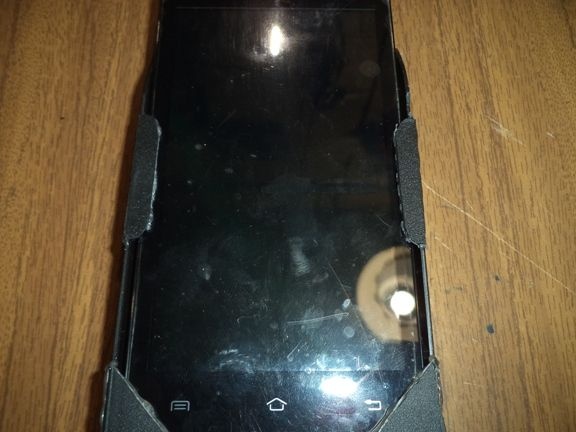
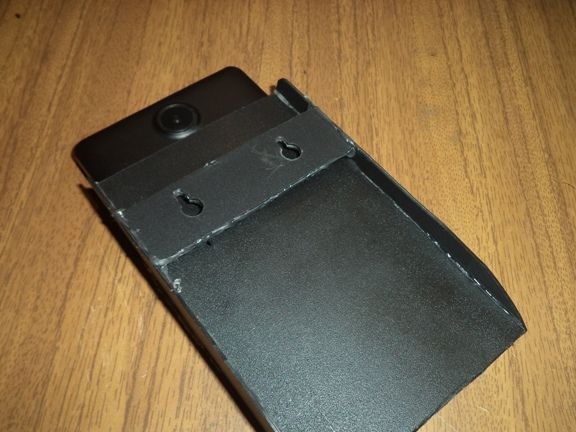
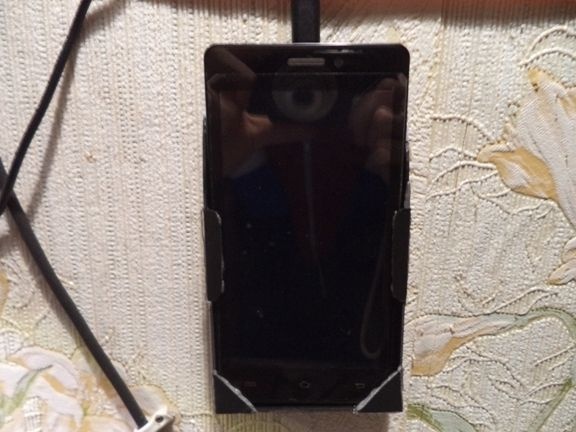
I hung this stand closer to the outlet so that it was more convenient to charge the smartphone. The micro usb connector of my smartphone is located on the top honor, but if it is located on the bottom, then a hole or recess should be made so that you can connect the smartphone to charging or to a laptop.
And that's all for me. Thank you all for your attention !!! Good luck to everyone and bye !!!

