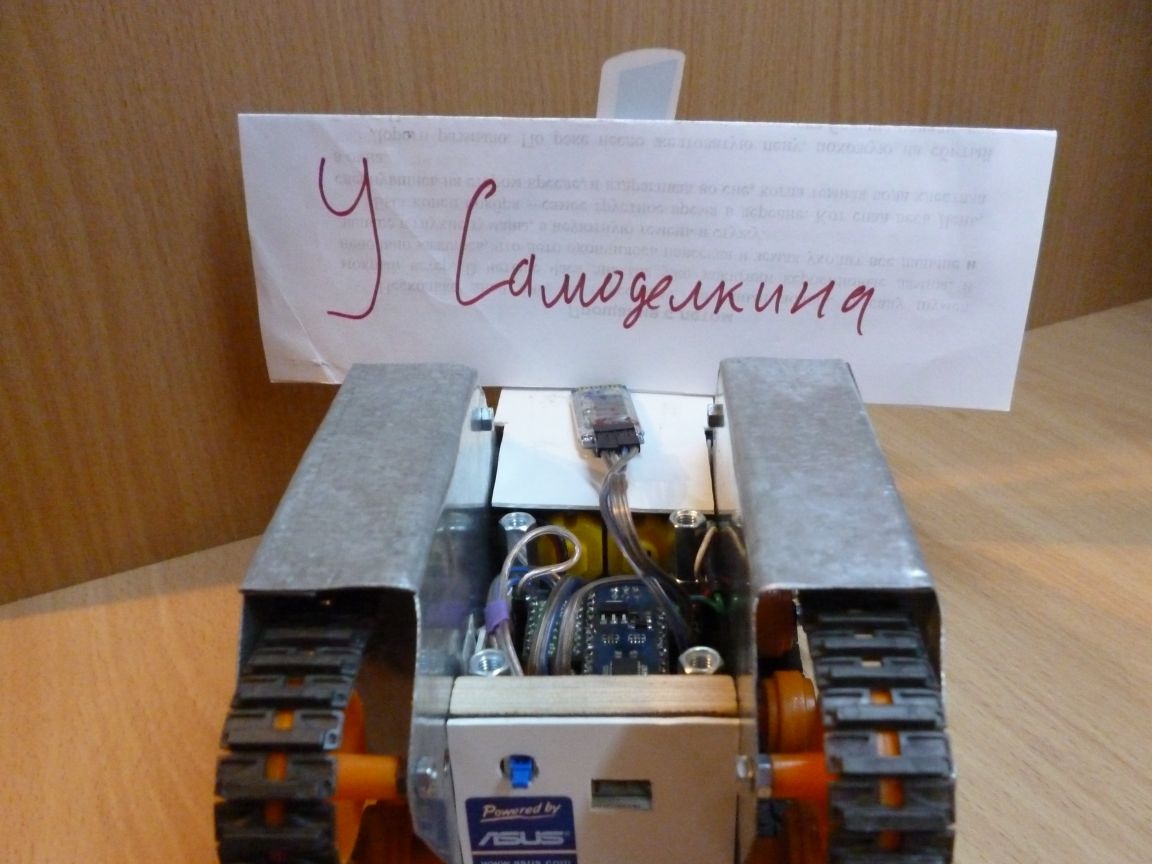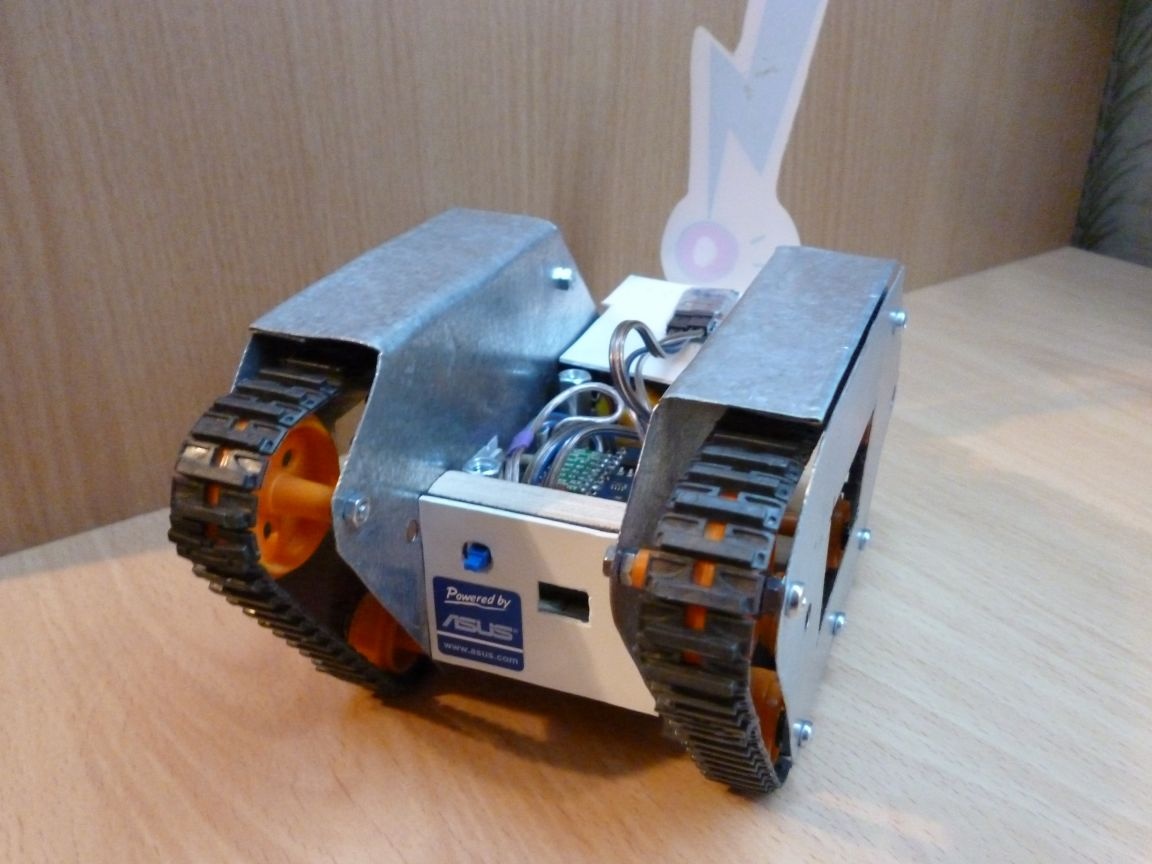
Recently, I described the manufacture of a universal tracked chassis. Today I want to talk more about connecting a Bluetooth module to our chassis. And here he himself:
To implement this homemade need to make a chassis. Detailed manufacture, which is described here
In addition, you need the following:
- Bluetooth module HC-XX (or its clones)
- Android phone
- Connecting wires "mother - mother"
Step 1 module selection.
There are many Bluetooth modules. And everyone has different characteristics. In short, the list looks like this:
- HC-03, HC-04 (HC-04-M, HC-04-S) on the BC417143 chip - for industrial applications;
- HC-05, HC-06 (HC-06-M, HC-06-S) on the BC417143 chip - for commercial use;
- HC-05-D, HC-06-D (with a debug board for evaluation and testing);
- HC-07 - a module with a CSR 41C6 chip, designed to replace the HC-06 (fully compatible with it);
- HC-08 - module with ultra low power consumption and Bluetooth 4.0 protocol;
- HC-09 is the newest module designed to replace the HC-06 and HC-07.
Brief characteristics of the modules:
- Bluetooth chip - BC417143 manufactured by
- communication protocol - Bluetooth Specification v2.0 + EDR;
- radius of action - up to 10 meters (power level 2);
- Compatible with all Bluetooth adapters that support SPP;
- The amount of flash-memory (for storing firmware and settings) - 8 Mbit;
- the frequency of the radio signal - 2.40 .. 2.48 GHz;
- host interface - USB 1.1 / 2.0 or UART;
- power consumption - the current during communication is 30-40 mA. The average current value is about 25 mA. After the connection is established, the current consumption is 8 mA. There is no sleep mode.
The most affordable Bluetooth modules today are the HC-05 and HC-06. They are abundant in Chinese online stores. The differences between them are that the first can work both in master mode (slave) and in slave mode (master). The second is a purely slave device. In other words, HC-06 cannot detect a paired device and establish a connection with it, it can only obey the master.
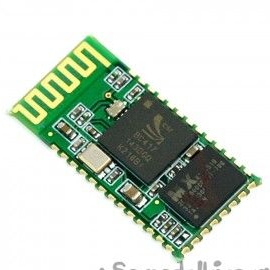
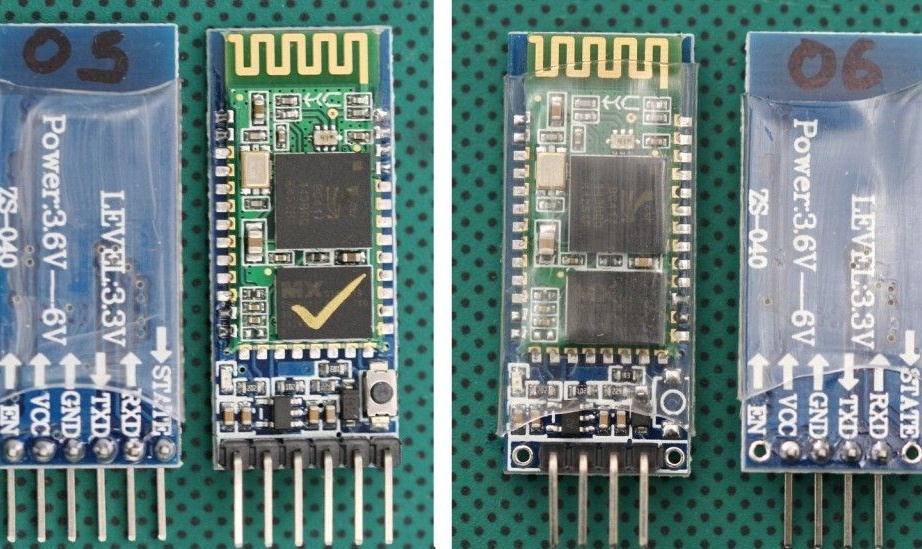
Usually, modules are sold as two boards soldered together. The smaller one is a factory module, widely used in various electronic devices. Large - a special breadboard for DIY. It looks like a smaller board with a BC417 chip:
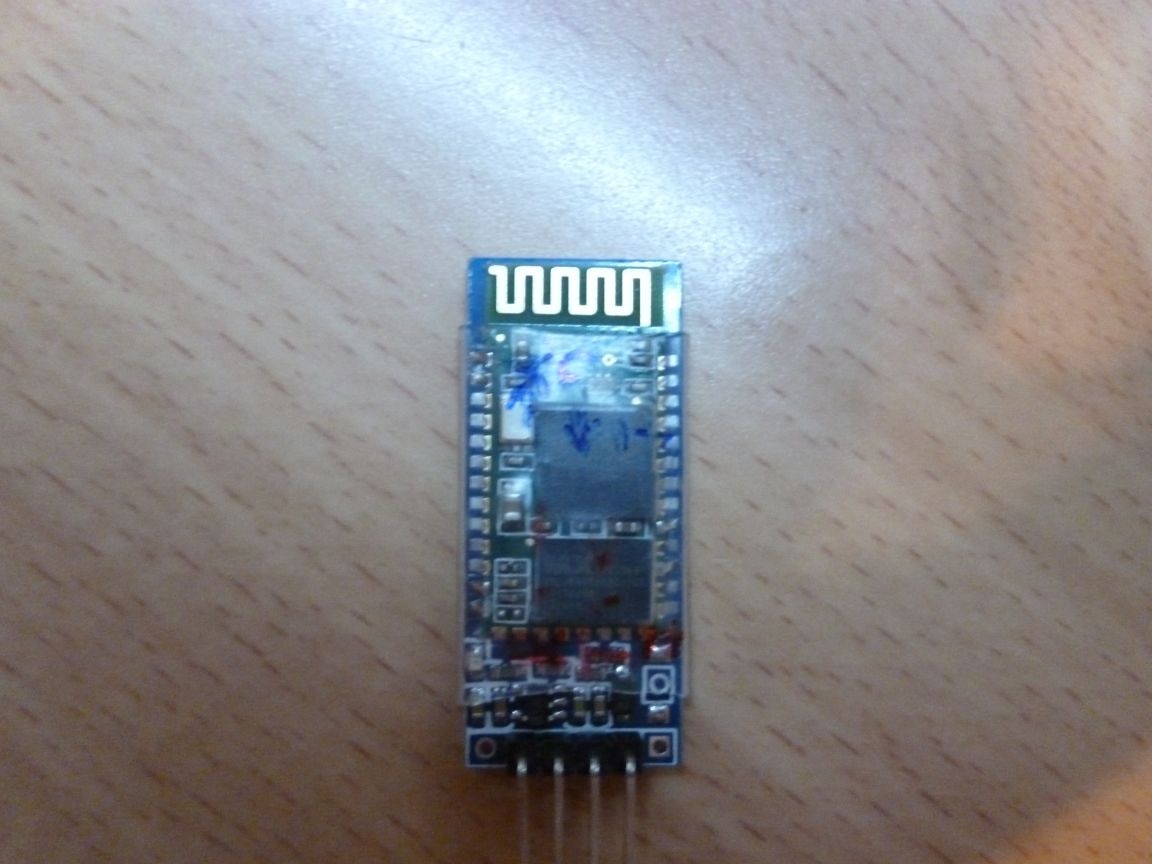
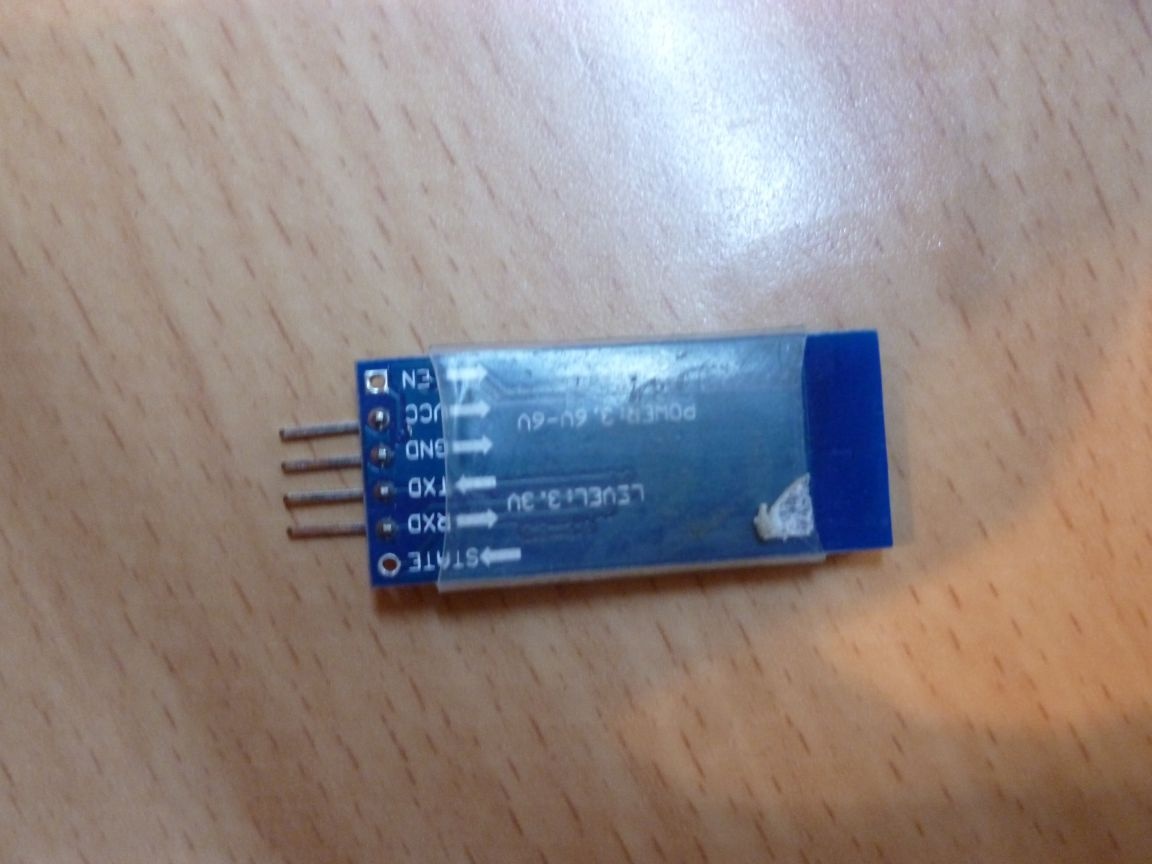
And so the DIY modules HC-05 and HC-06 themselves:
In principle, you can use any module you like. A module without a breadboard costs less, but then you will have to take care of the 3.3 V power supply for the module and torment yourself by soldering wires to the module, since the terminals are very close. I chose the optimal, in my opinion, in the price / functional ratio HC-06.
Step 2 connection.
We connect as follows:
Arduino Nano bluetooth
D7 - RX
D8 - TX
5V - VCC
GND - GND
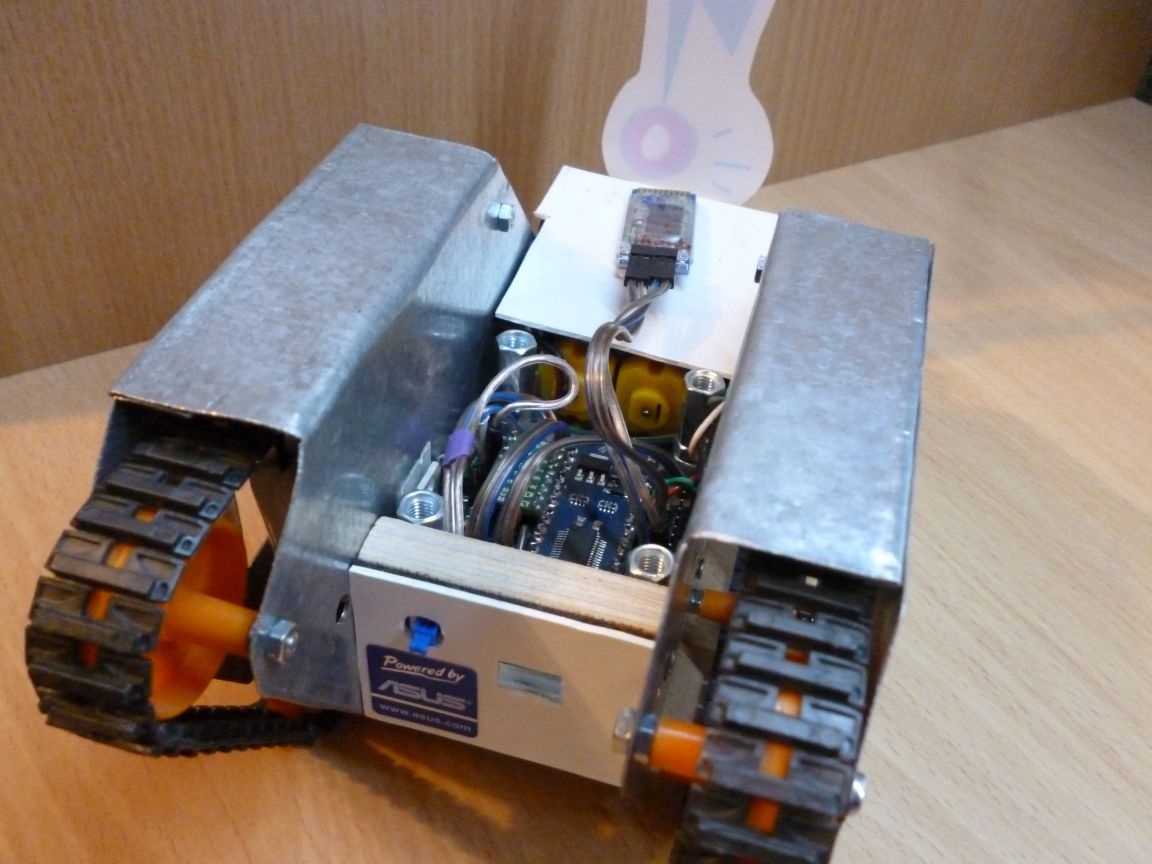
For convenience, glue the module on a double-sided tape in the chassis:
Step 3 module setup.
For proper operation, the module must be configured. We will configure AT commands entered into the terminal window. I give an example of setting up the HC-06 module. If you have a different one, the settings may differ. In order for our module to receive commands, first we flash the Arduino with the following firmware:
In this case, Arduino act as a bridge between computers and the module. In the firmware, I use the SoftwareSerial library. At high speeds, it works unstably. If you want high speed, you can connect the module directly to the Arduino RX and TX contacts and rewrite the firmware. But in my case, we will work with the module at a speed of 9600. In my opinion, this is enough. So after the firmware, open the terminal and enter:
“AT” (without the quotes) the answer “OK” should come (it means that everything is connected correctly and the module is working).
“AT + BAUD96000” (without the quotes) the answer “OK9600” should come.
If you have the right answer, go to the next step.
Step 4 firmware.
To write the firmware and the firmware itself, I use the Arduino IDE. The current version for today is 1.8. I post several firmware options:
BT_RobotControl - for Robot Control on Android
BT_WASD - for control from a computer, sending commands through the terminal.
Step 5 set up your phone.
On an Android phone, you need to install a program to control the robot via Bluetooth. There are a lot of them. You can enter “Bluetooth Arduino” in Google play and choose to your taste. I liked the BT Controller. Download and install on your Android phone or tablet. Next, through the Android settings, you need to establish a connection with our module. The password for the connection is “1234” or “0000”.
Step 6 computer setup. (if it's necessary)
If necessary, or just convenience for control, you can use a computer or laptop. To do this, the computer must have Bluetooth. We establish communication with our module through the controls on the computer. Next, we need a terminal to send commands. Any convenient for you. Having written the BT_WASD firmware, the control is performed by the following buttons (commands):
w forward
e - left and forward
q - right and forward
s - back
z - back and left
x - back and right
a - left in place
d - right in place
f - stop
Constantly entering commands is inconvenient, so I recommend using the program to send commands. I am using Z-Controller. In the program, select the port (com port through which the connection is made) and configure the keys for the commands. Set up idle and intuitive.
I hope it was interesting and useful.