The hostess of the hearth needed a table for cutting material on the patterns.
The table should have the following qualities:
• Have a significant working area.
• Disappear when not required and quickly appear if necessary.
• Have minimal financial and labor costs.
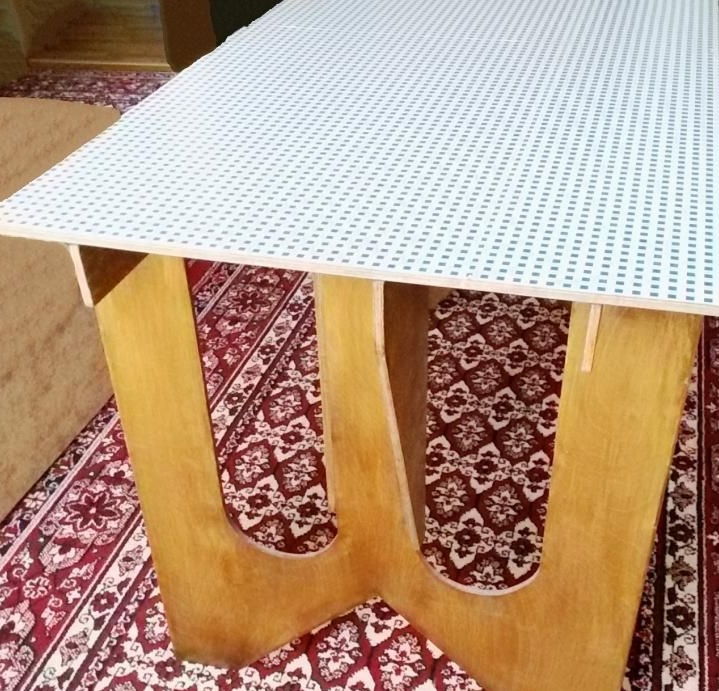
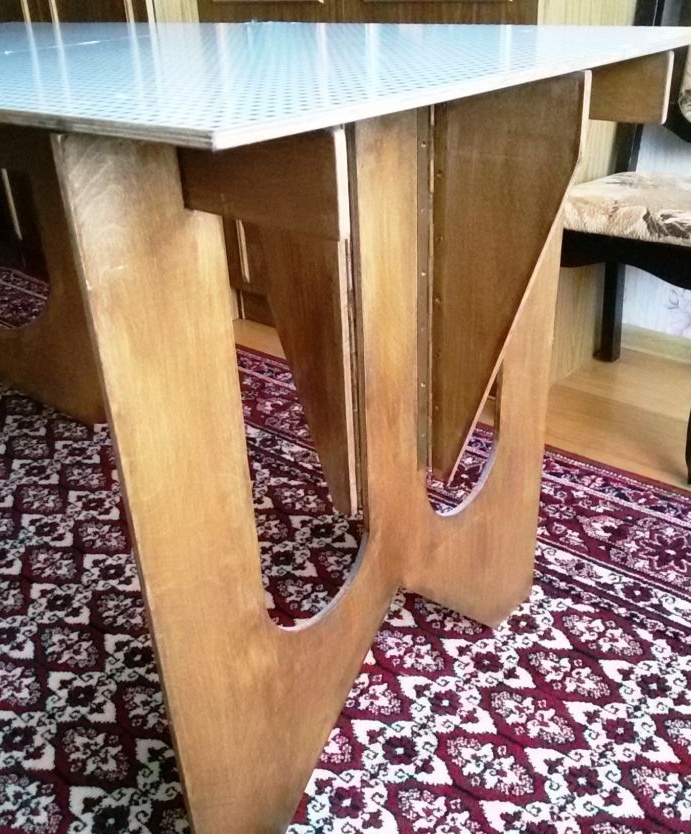
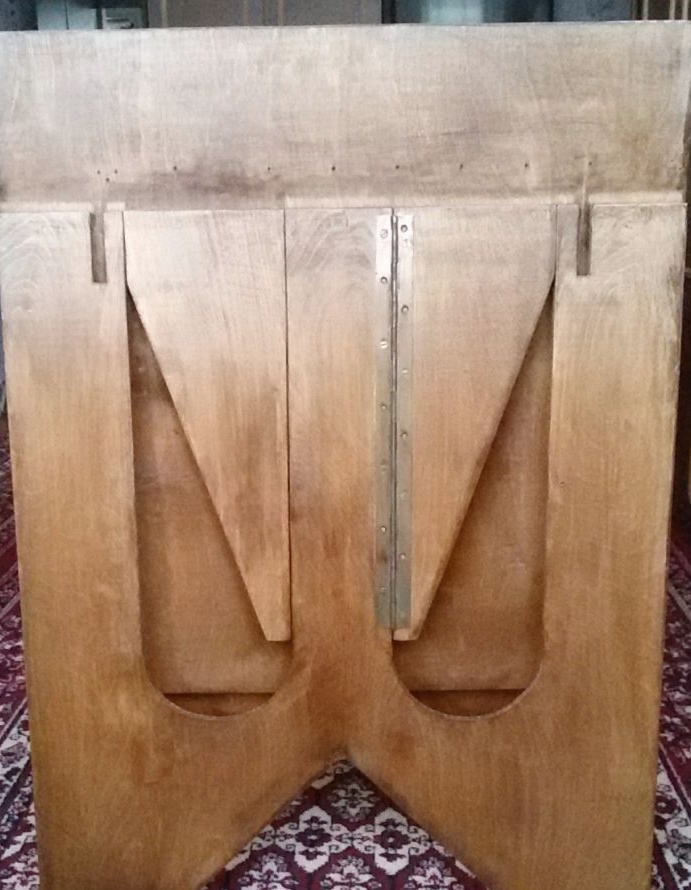
As a result, the design of a folding table with the indicated properties, shown in the photo above, appeared.
In the working (deployed) position, the dimensions of the table plane are 650 x 1300 mm, the height of the table is 770 mm. When folded, it is a bag measuring 650 x 920 mm and a thickness of 50 mm, which quickly hides in a suitable place.
The design of the table is stable, withstands workloads without problems, and is easily and quickly transformed.
The table is made of birch plywood 10 mm thick.
To make a folding table, you need
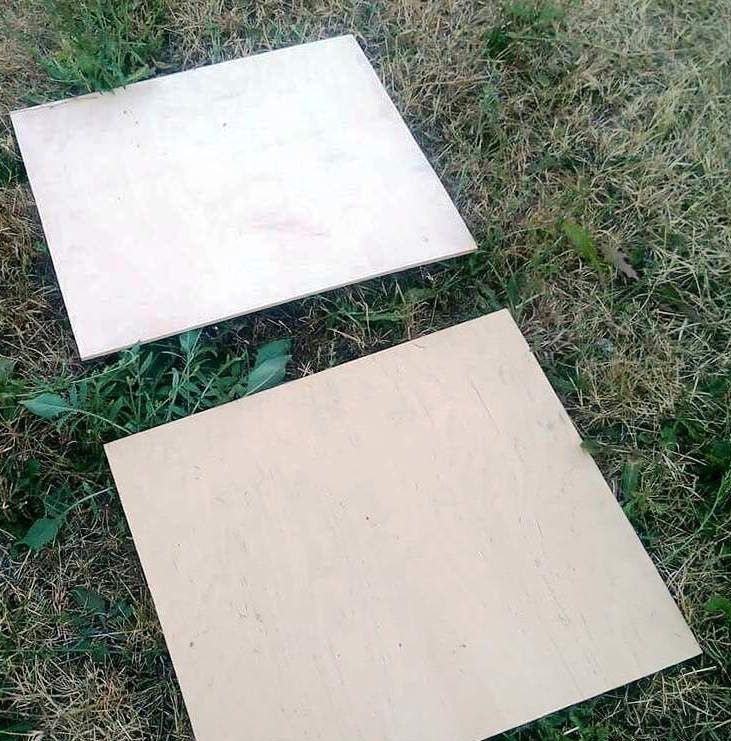
1. Cut rectangular blanks from a plywood sheet:
- Worktop (mm) 650 x 650 2 pcs.
- Feet (mm) 760 x 640 2 pcs.
- Supports (mm) 1100 x 150 2 pcs.

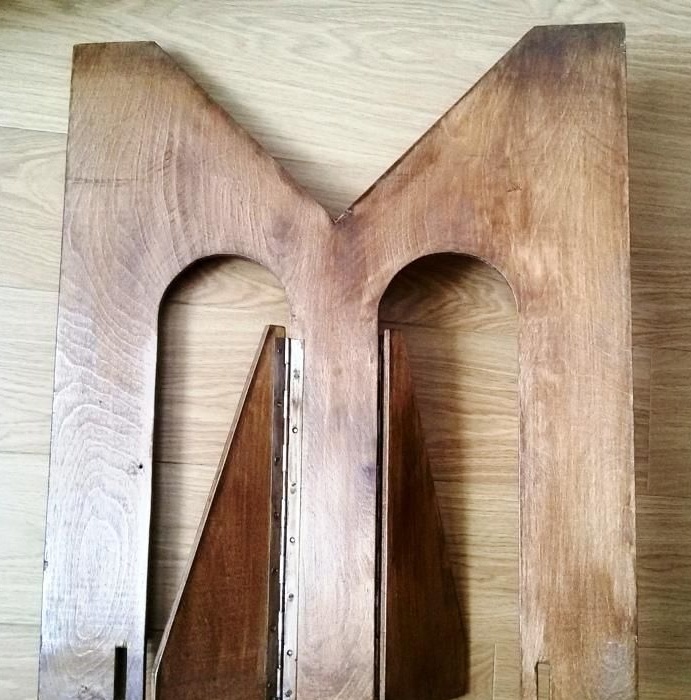
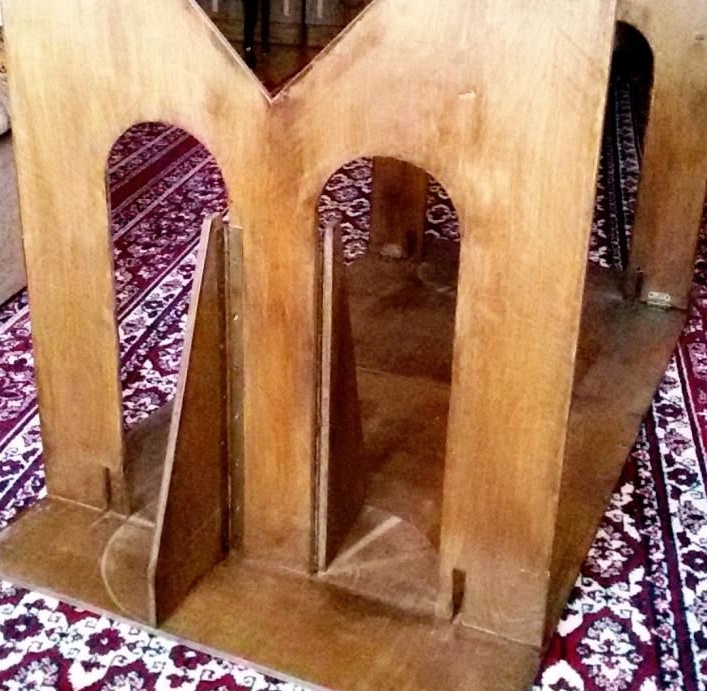
2. Modify both blanks of the table leg plates:
- in the upper part, cut two vertical grooves under the supports, measuring 11 x 70 mm at a distance of 90 mm from the edge;
- cut in each two lightweight samples with a length of 500 mm and a width of 150 mm with a radius at the base
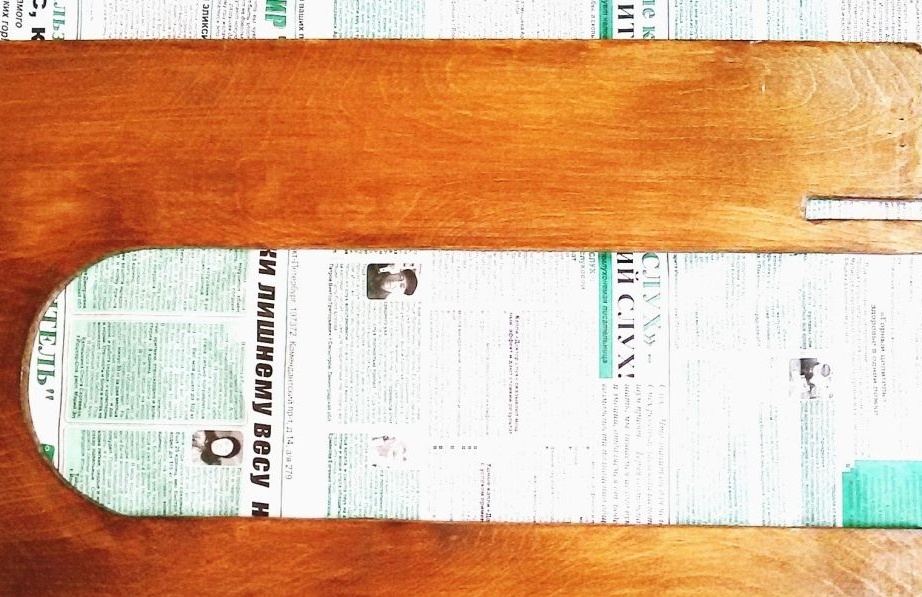
- cut a triangular discharge at the base
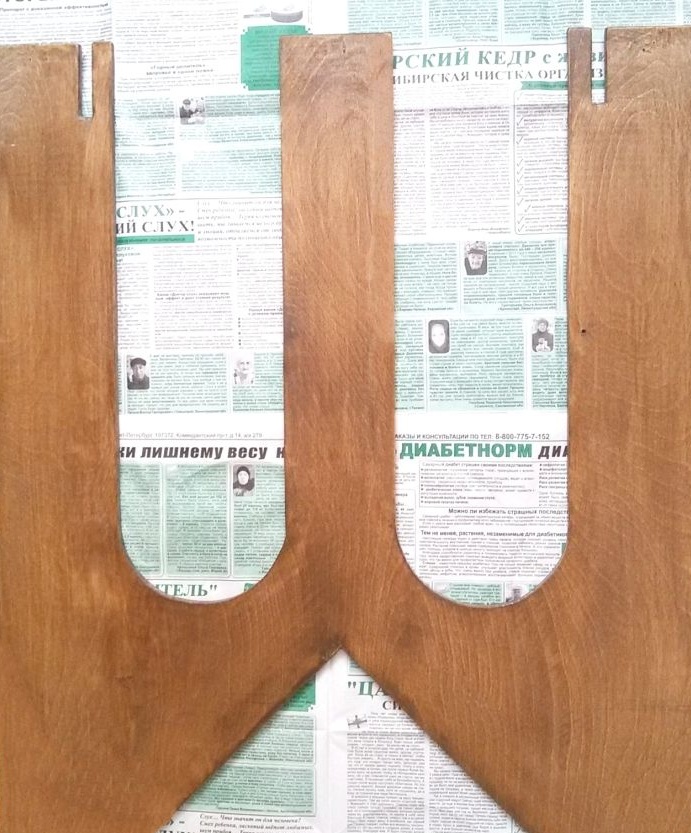
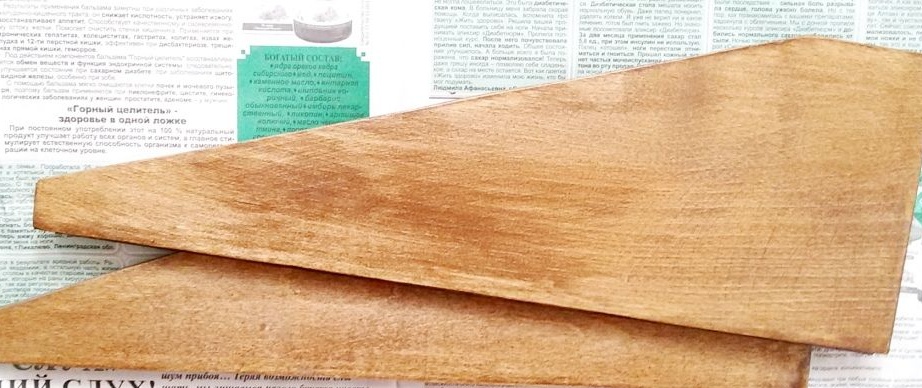
- from cut parts 150 mm wide, cut 4 stops 150 x 420 mm in size.
To facilitate, cut off part of the base at an angle (see photo).
The proposed option for the size of the table elements can be changed by adjusting them to your needs.
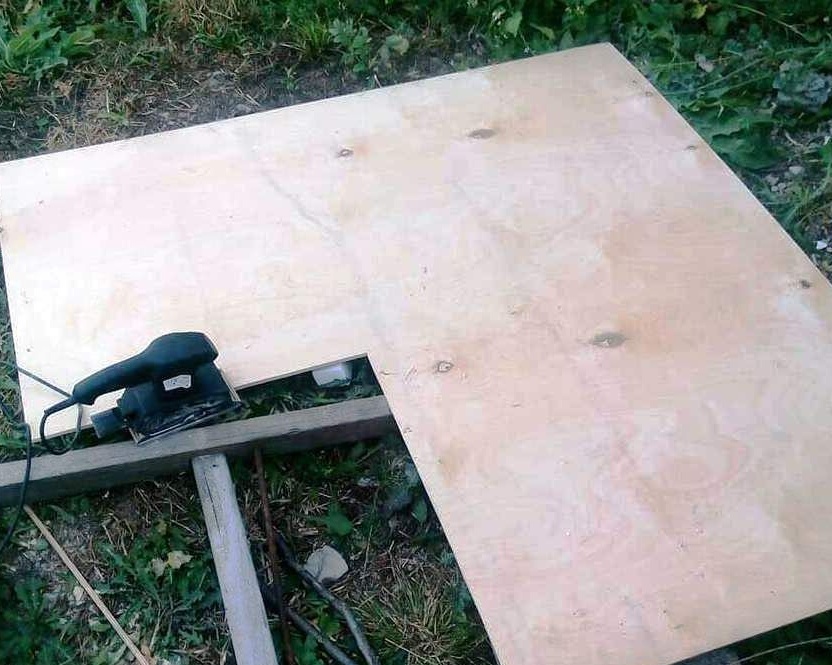
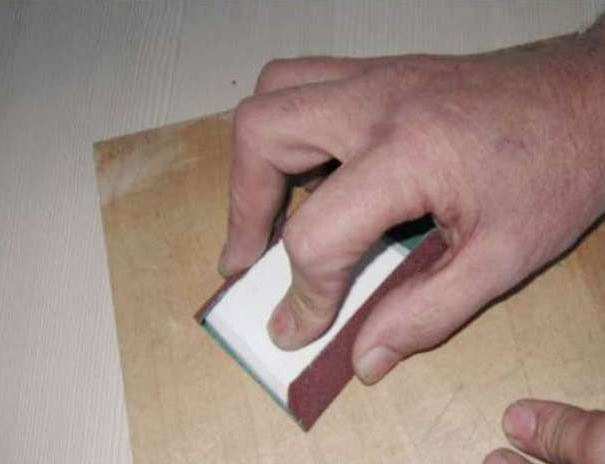
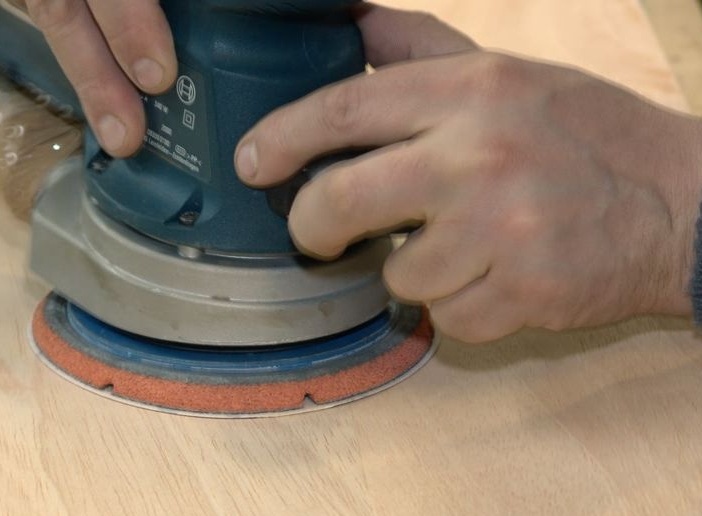
3. Grind the cut blanks with sandpaper manually or using a tool.
Process the workpieces with varnish, choosing a color according to your preferences.
Before the varnish gets on the wood sheet, plywood undergoes some preparation. It is primed and, if necessary, putty. After complete drying, proceed to grinding the surface. It will allow the varnish to penetrate as deep as possible into the plywood. Most often, fine-grained sandpaper is used as an abrasive material. The resulting grinding dust is carefully removed. Otherwise, the remaining dust will create roughness and roughness on the finished canvas. And only dry, even, peeled plywood is varnished.
We must not forget about health safety. When varnishing surfaces, it is advisable to use gloves and goggles. If the amount of work is large, a respirator is also needed, and the room will not be out of place.But care should be taken - drafts can degrade the quality of the surface to be varnished.
Varnish plywood in several passes. Each run is a new coat of varnish. Uniform long strokes distribute varnish over the entire surface of the canvas, preventing smudges. As a tool, use rollers or brushes. Before applying the next coat, it is important to allow the plywood to dry, in order to prevent the appearance of a poor-quality product. As soon as the varnish dries up - this layer is sanded to improve the quality of the surface. The number of layers depends on the quality of the varnish used and the type of plywood. The more layers of varnish, the more durable the product.
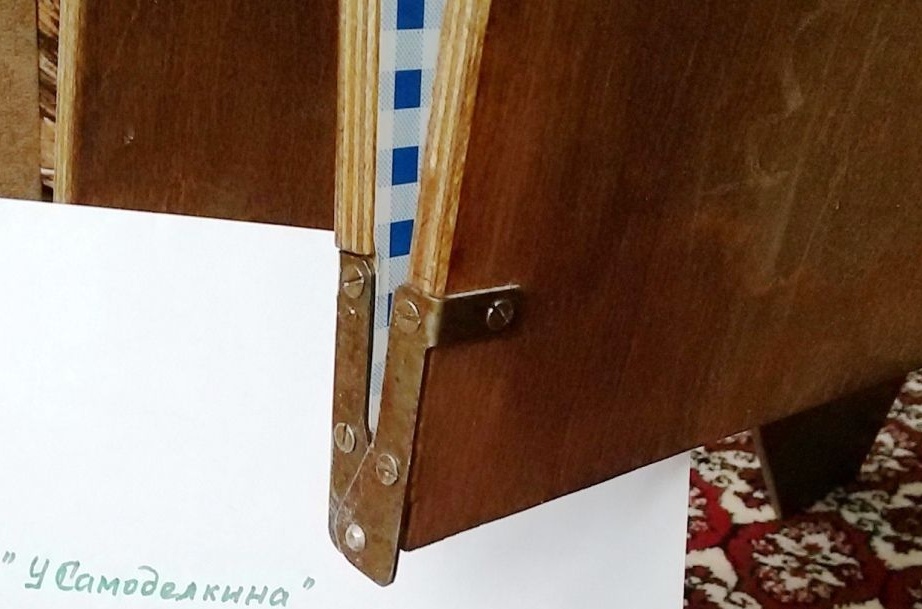
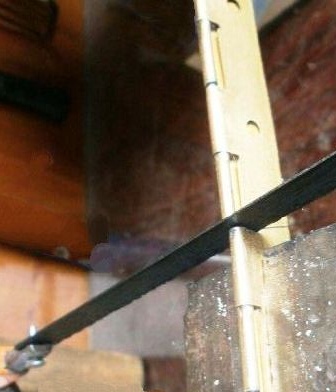
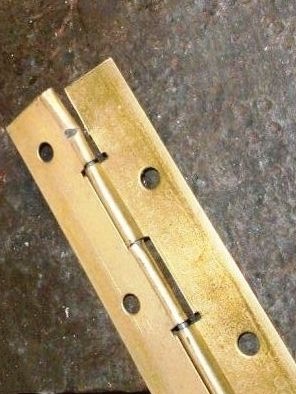
4. Purchase piano hinges and cut from them elements 410mm long (4 pcs.), 80mm (6 pcs.). The use of piano hinges ensures the strength, compactness and reliability of the table design.
5. Assemble table elements using hinges.
• Secure the piano hinge with a length of 410 mm with screws to the stop
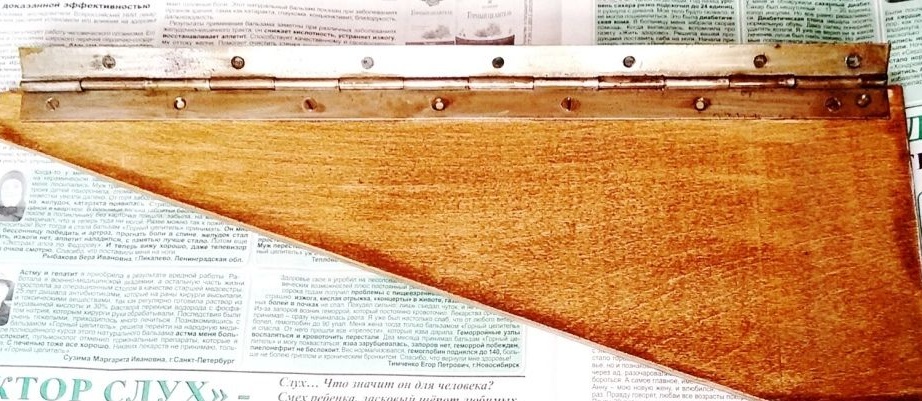
• After aligning the edge, fix the stop with screws to the plate of the table legs
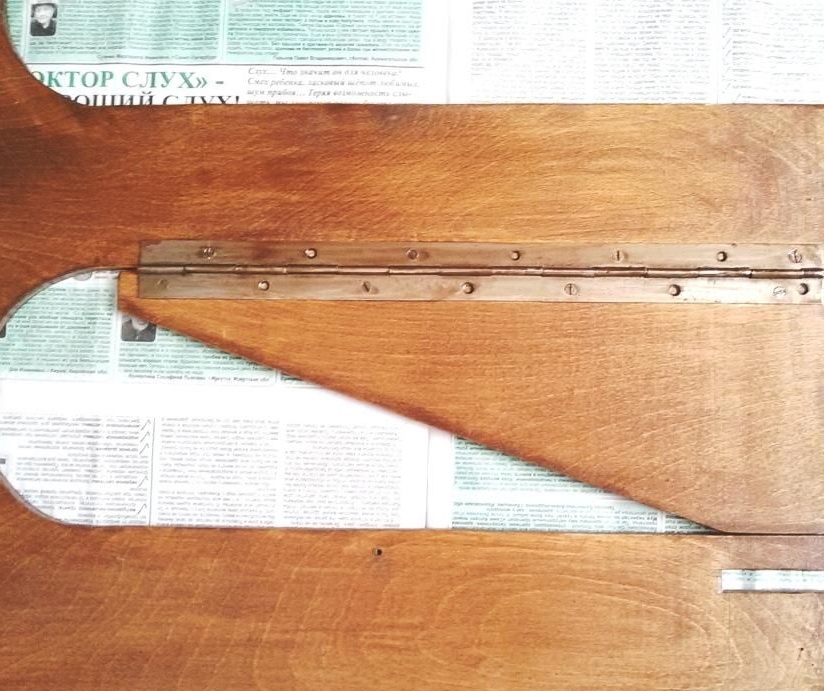
• Install the second stop on the plate of the table legs so that the stops rotate in opposite directions.
Saw the protruding ends of the screws until they merge with the surface of the plywood. To prevent cracking, the place of installation of the screws in the plywood is pre-drilled with a diameter smaller than the size of the screw.
• Connect the two halves of the countertop using the hinges so that they fold flush. The working plane of the table is formed from two identical halves measuring 650 x 650 mm.
• Fasten the plate of the legs of the table to the tabletop with hinges 80 mm long, at three points.
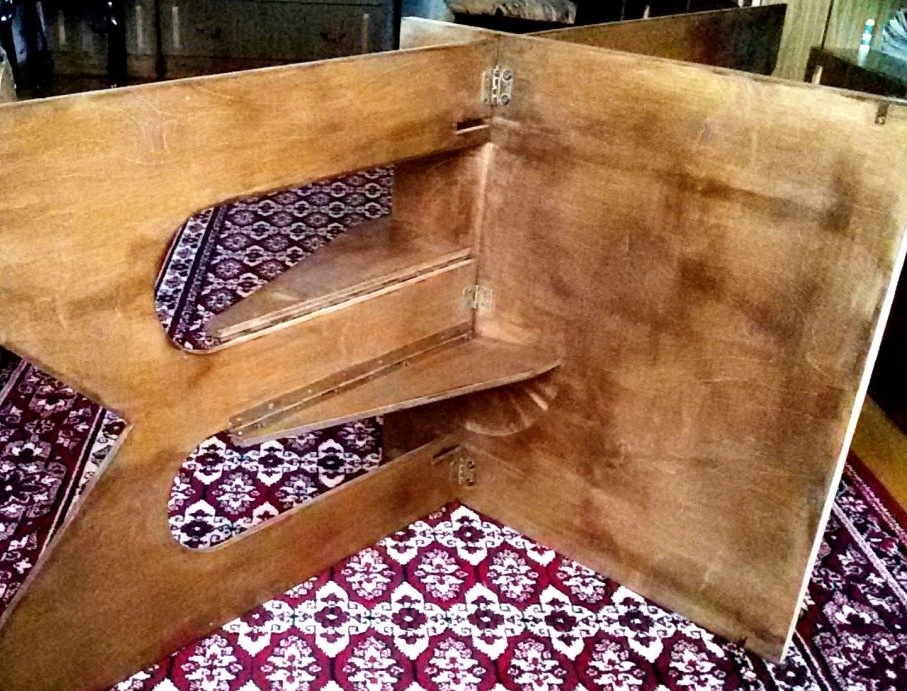
Stability and flatness of the table provides the design of the stops.
The plane of the table, in the deployed position, is supported by two longitudinal support plates mounted on an edge 70 mm wide and 1100 mm long. When assembling the table, these plates are installed in the grooves of both legs of the table, along the edges of the countertop.
Two opposite stops are held from the pitching table, pivotally mounted on each of the plates that perform the functions of the table legs. The length of the abutment support surface is 150 mm, the height of the abutment (connected via a hinge) is 420 mm.
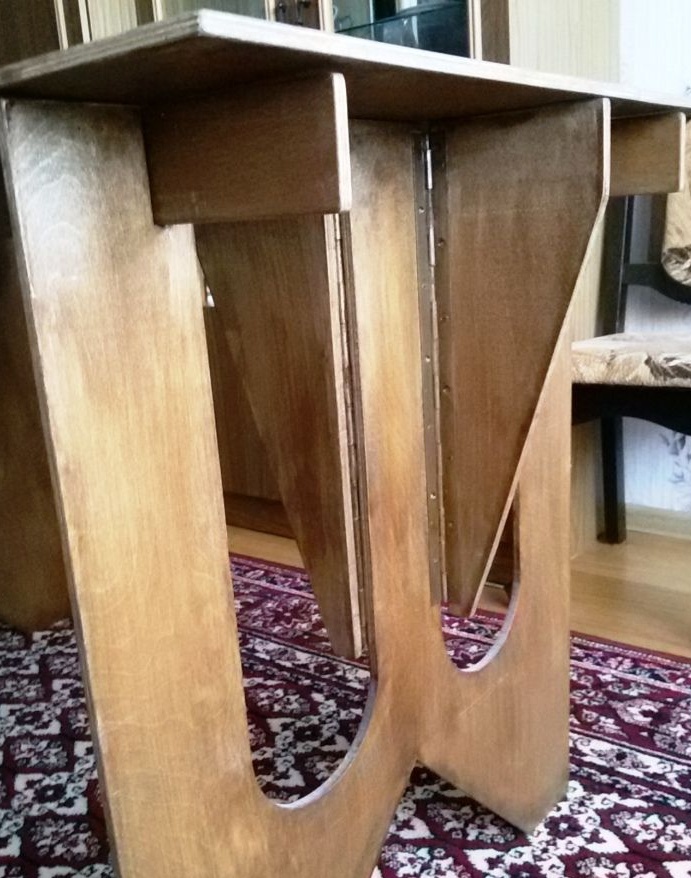
The rigidity and stability of the table, in the working position, largely depend on the accuracy of manufacture and adjustment of the location of the stops, on the strength of the fastening of the piano hinges.
6. It is advisable to stick a self-adhesive film with a small repeating pattern on the working surface of the table, which will facilitate the work with patterns.
This table design allows you to quickly decompose it without the use of tools and fasteners. To do this, it is enough to open the working surfaces of the countertop, insert the longitudinal bars into the grooves and turn the stops 90 degrees in opposite directions, on each side of the table. These operations are faster when the table is on its side.
The table is laid in the reverse order.
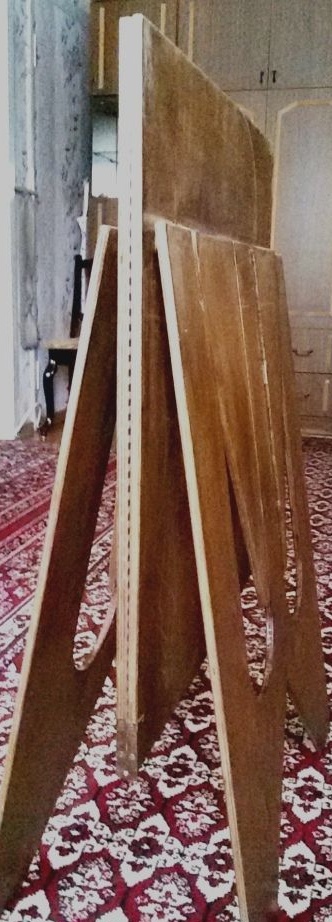
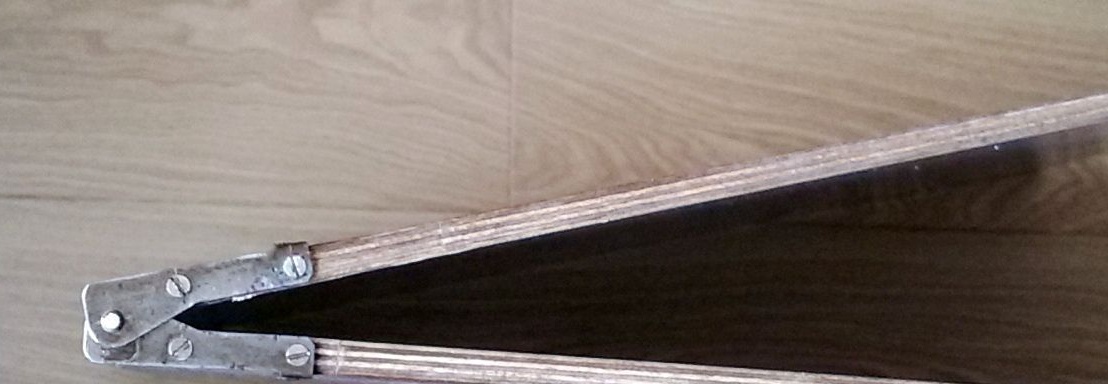
To connect the working surfaces of the table closely, when folding the table with an accordion, I had to make a pair of hinges of this design, because they could not find similar ones in the store.