Dear visitors of the site From the material presented by the author, you will learn how to make a wooden mug yourself.
The truth is based on a stainless mug of the master, so he decided to stylize it like a tree. For this, I took a pre-dried billet of wood (it is desirable that the texture was beautiful) and turned a wooden glass on a lathe, into which I inserted my favorite metal mug.
Let's look at how the master made his mug? What exactly did he need for this?
Materials1. wooden beam 10 inches (25.4 cm)
2. Camping mug (stainless steel)
3. linseed oil
4. cotton fabric
5. carpentry glue or epoxy
Instruments1. wood lathe
2. a set of chisels
3. brush
4. drill and 3 circular drills (to create a cavity in the workpiece)
5. sandpaper
6. hacksaw
7. ruler
The process of creating a wooden mug do it yourselfAnd so, the first thing of course is to find the right material, it is better if the pattern and texture of the tree is not uniform. For this, the species of fruit trees (apple tree, cherry, bird cherry) are suitable. Their drawing is very beautiful and unique. You can also use the “Cap” pattern which is very similar to marble, but its wood is quite hard and difficult to process.
Then the workpiece must be dried in vivo. or in a special drying chamber (who has it)
Attention!The wood must be absolutely dry before processing, if it is not dry and damp, later it will simply crack and all your work "down the drain"
Many of you in high school classes in high school, studied a wood lathe and grind it on (wood, balusters, candlesticks, door handles, etc.) That is, you are familiar with the device and principle. But not everyone was allowed to grind it on this machine (glasses and nesting dolls), but especially neat and attentive! Because when inaccurate work on turning the inner cavity, the workpiece often flew to where the nesting doll, where the chisel)))
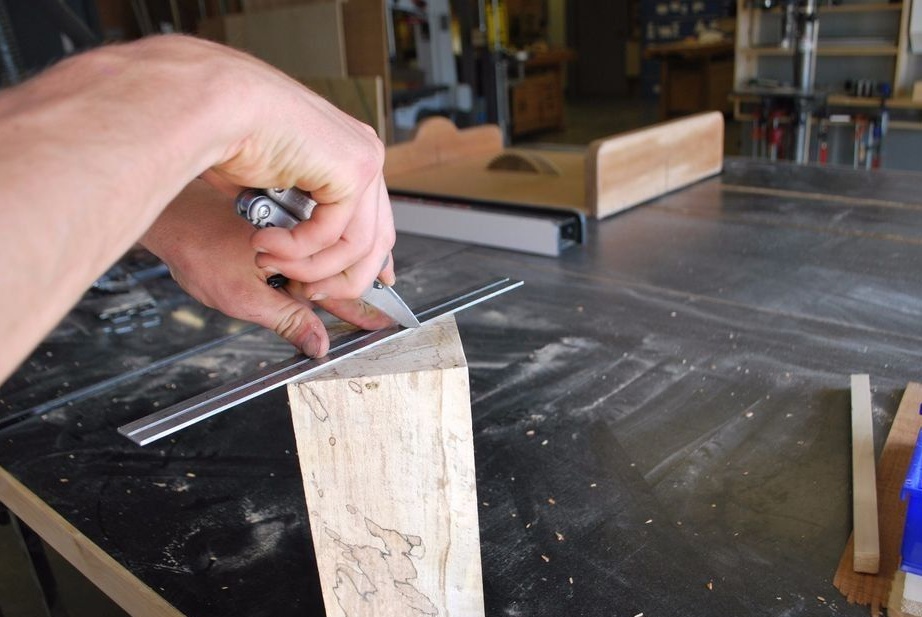
Next, the resulting beam needs to be marked with a ruler and a pencil in order to find the center by drawing 2 lines from corner to corner, the crosshair will be the center. Alignment must be strictly observed !!! Curved marking is a potential blow to the forehead that flew off the blank))) By the way, here on the site there are articles on making wood on your own
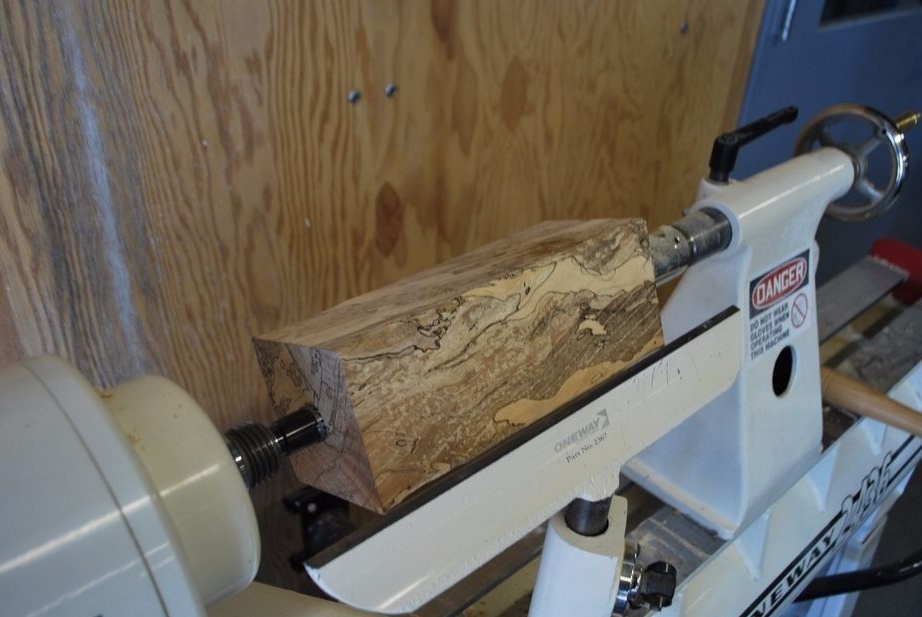
It is inserted into guides and clamped.
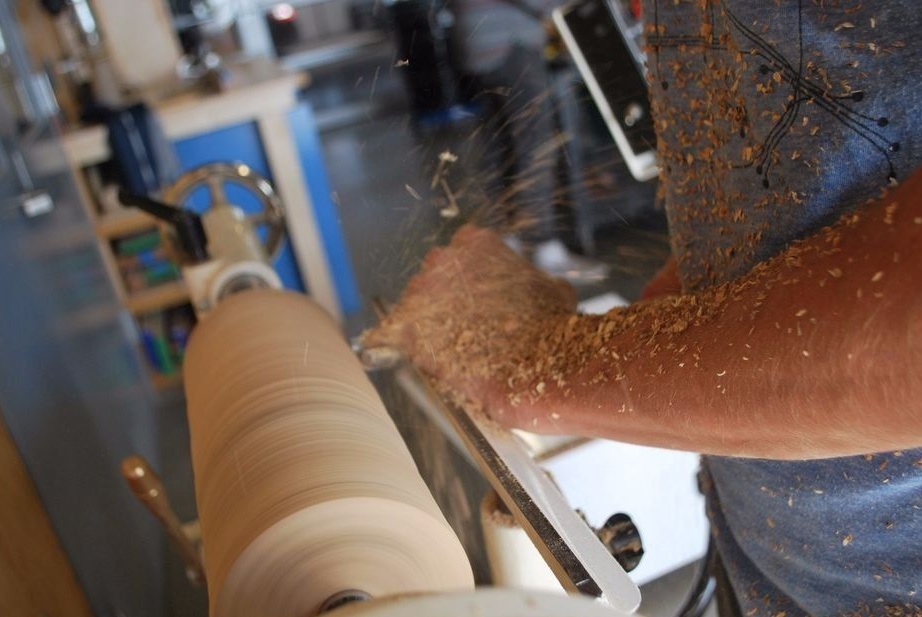
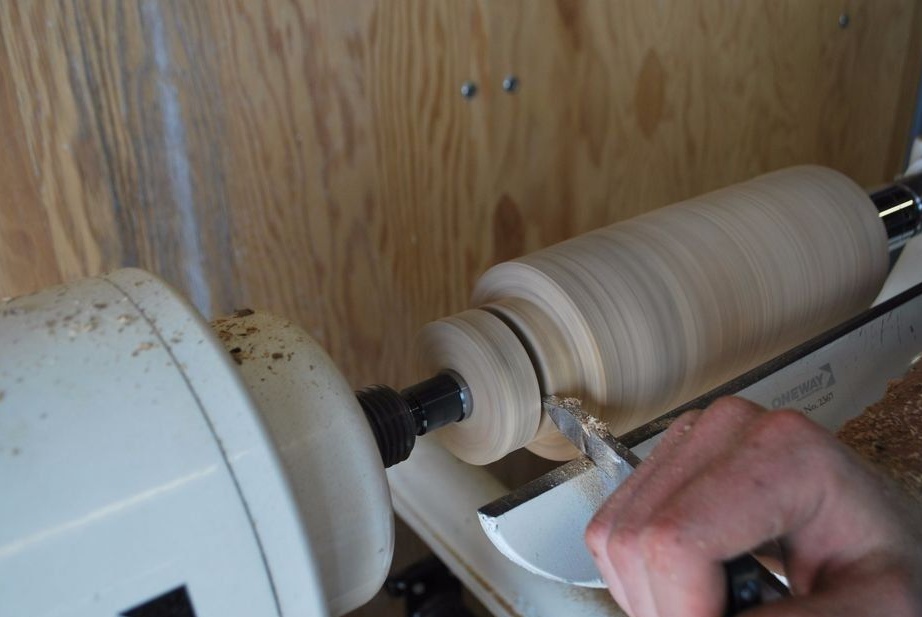
The machine turns on and the master begins to grind the excess, giving the workpiece a cylindrical appearance.
An important point! On the left side there is a “thorn” which will then be inserted into the chuck and will hold the workpiece without 2 fulcrum.
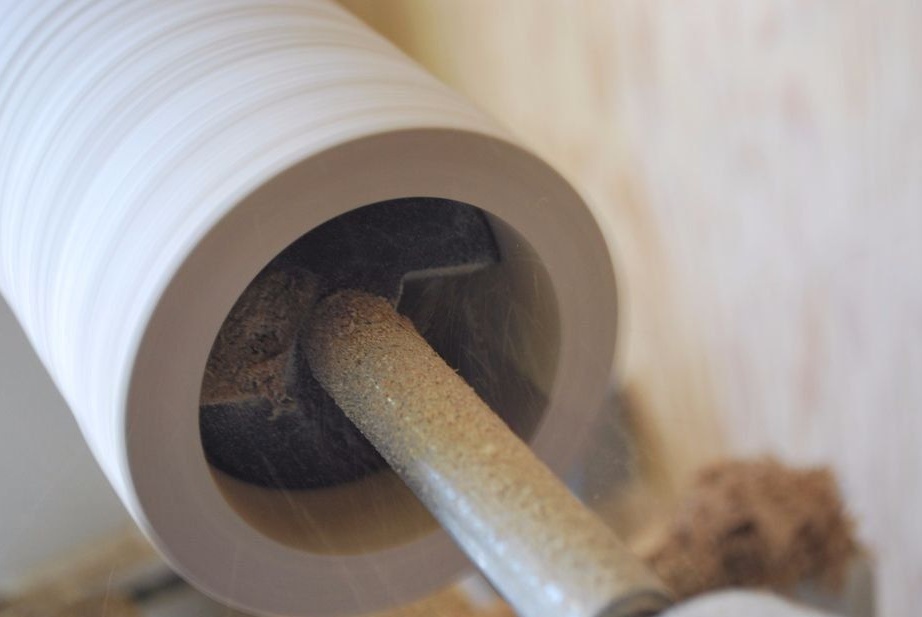
Further, the internal cavity is drilled with drills, the author uses 3 drills of different diameters, starting with the smallest one. After that, the inside must be sanded with sandpaper dressed on a stick - this is necessary for subsequent turning in order to ensure a smooth surface.
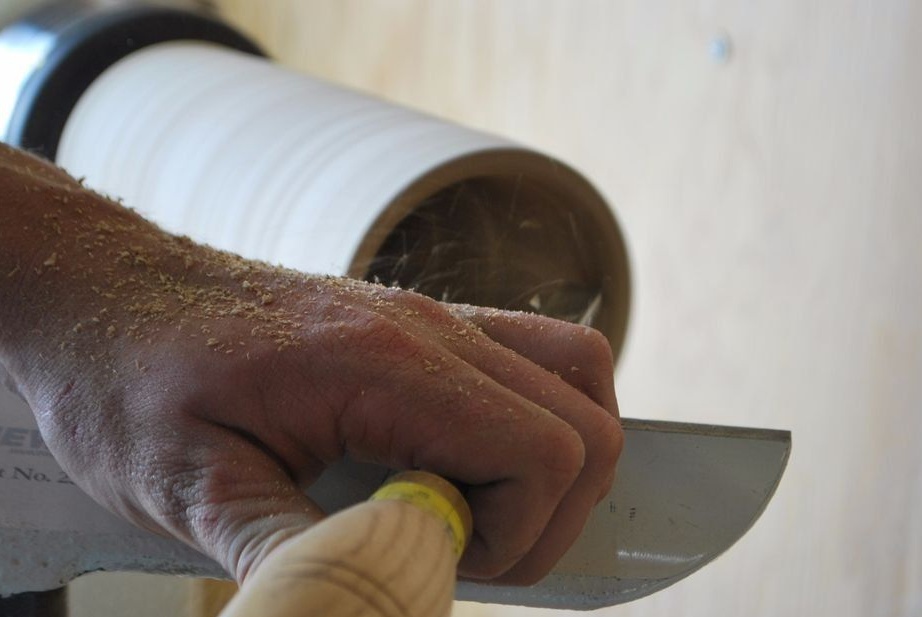
With the help of a chisel, the inside is pierced.
Periodically, the master puts the bottom of a metal mug, so as not to drain too much. Once again, he stopped the machine in order to evaluate the work done.
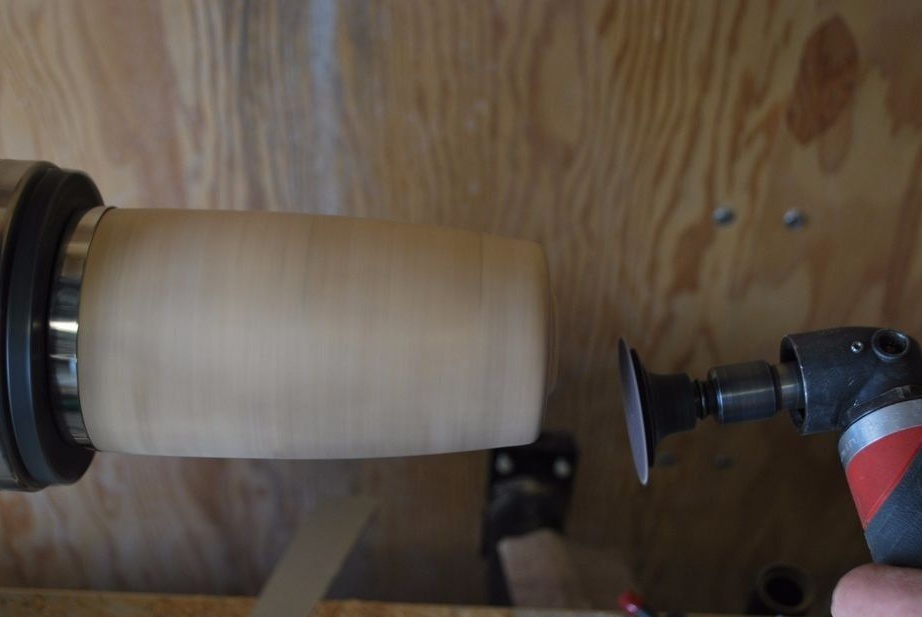
The surface of the wooden cup is ground using sandpaper.
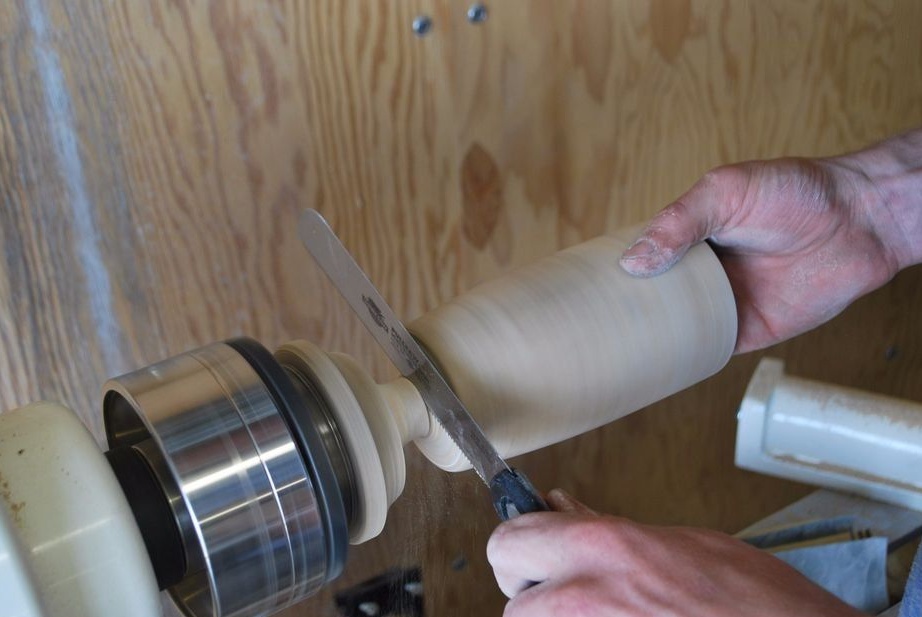
And so, the inside is turned and now the master cuts the spike with a hacksaw.
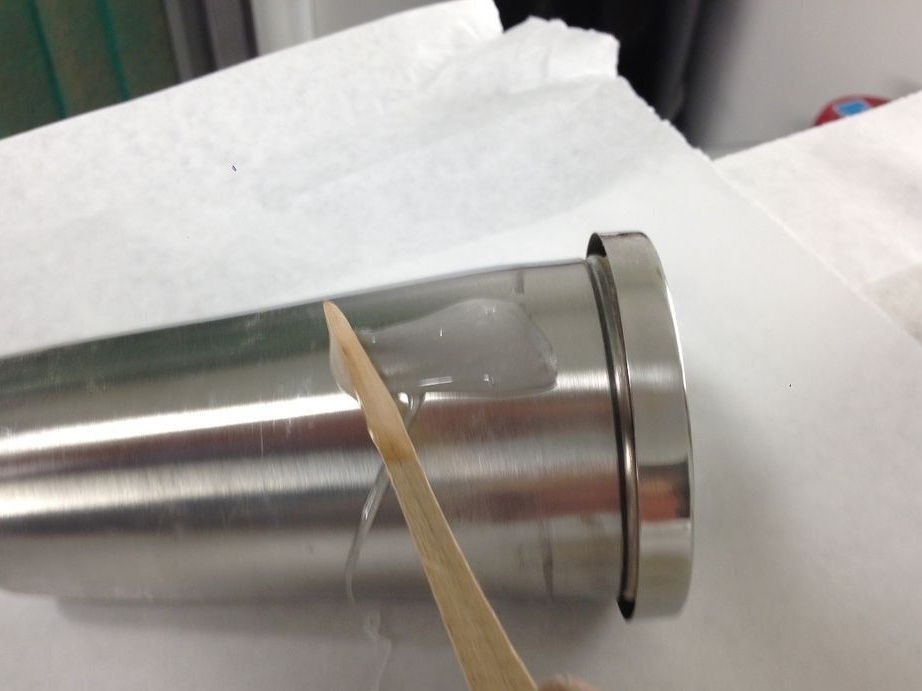
Next, the master takes his camping glass from stainless steel and covers it with epoxy resin, you can also use glue that is not afraid of temperature effects.
Attention!Do not use toxic types of glue of the “Moment” type because when you pour boiling water into a mug, the metal will heat up and this glue will begin to evaporate its chemical elements. Be careful!
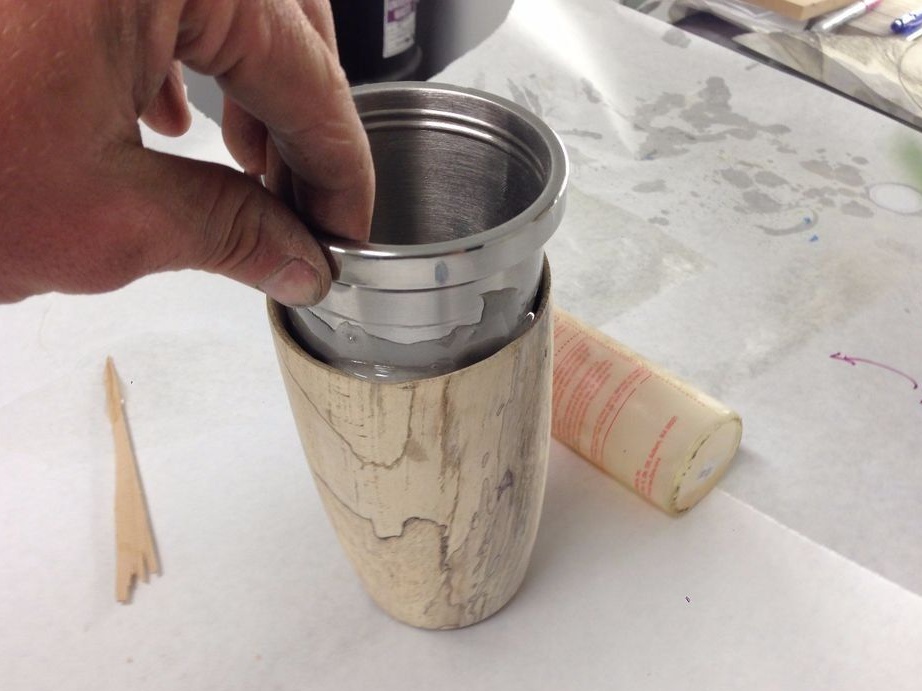
Epoxy coated surface is placed in a wooden glass.
Then it is necessary to wait until the adhesive composition dries, and then the master puts the glass back into the clamping chuck of the lathe, this is necessary in order to align the bottom of the camp circle to the maximum.
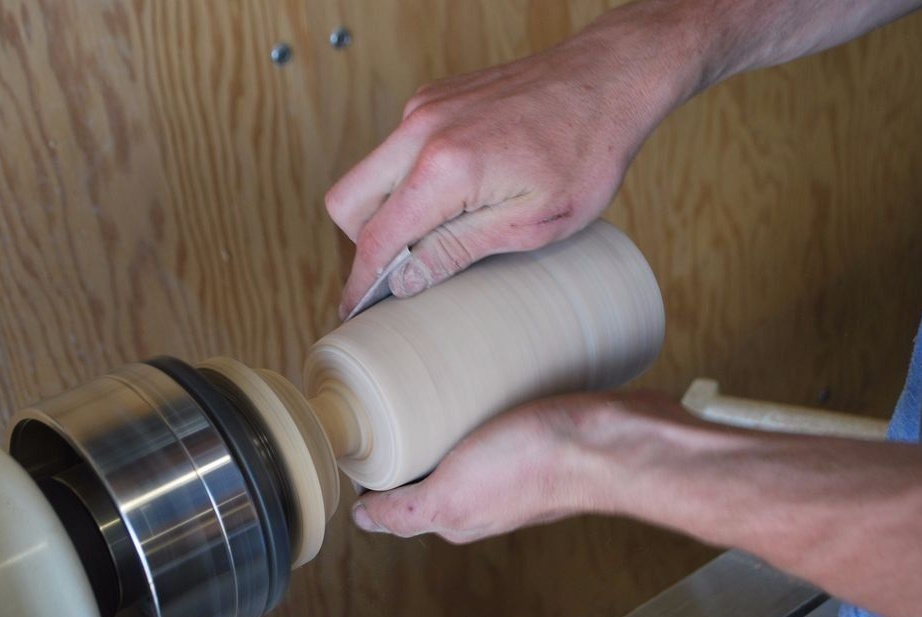
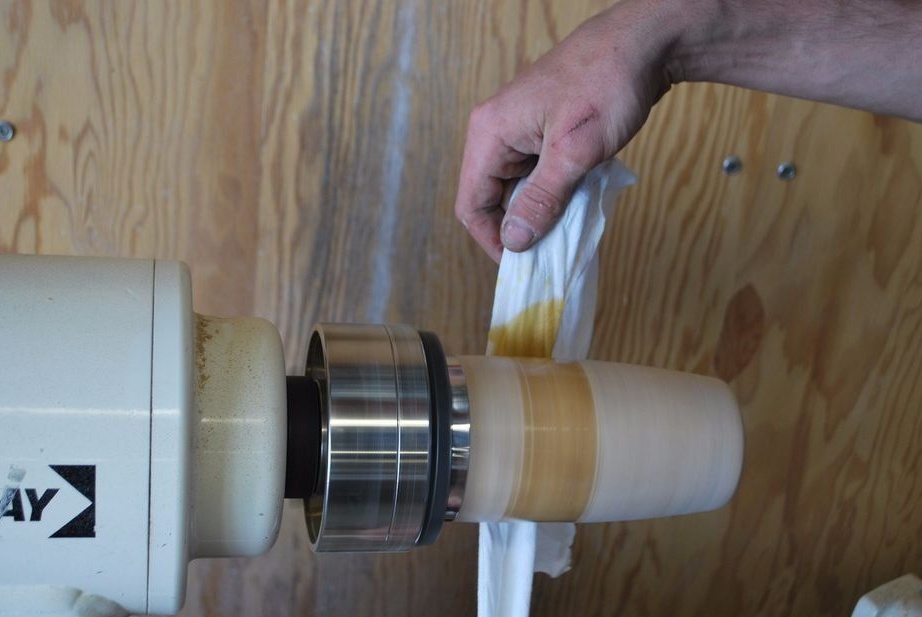
And one more strict instruction from the author !!! Do not cover the wooden surface with stain and all kinds of varnishes (because they contain chemistry) The only thing that can be used to give a more noble appearance to the tree is only "linseed oil". That master did with success without removing the mug from the machine. he took natural cotton fabric (cotton) moistened with oil and soaked wood at low speeds of the machine. Why does the master do this on the machine? Because it’s necessary to rub the product for a long and painful period with oil (manually) and everything is done on the machine promptly)
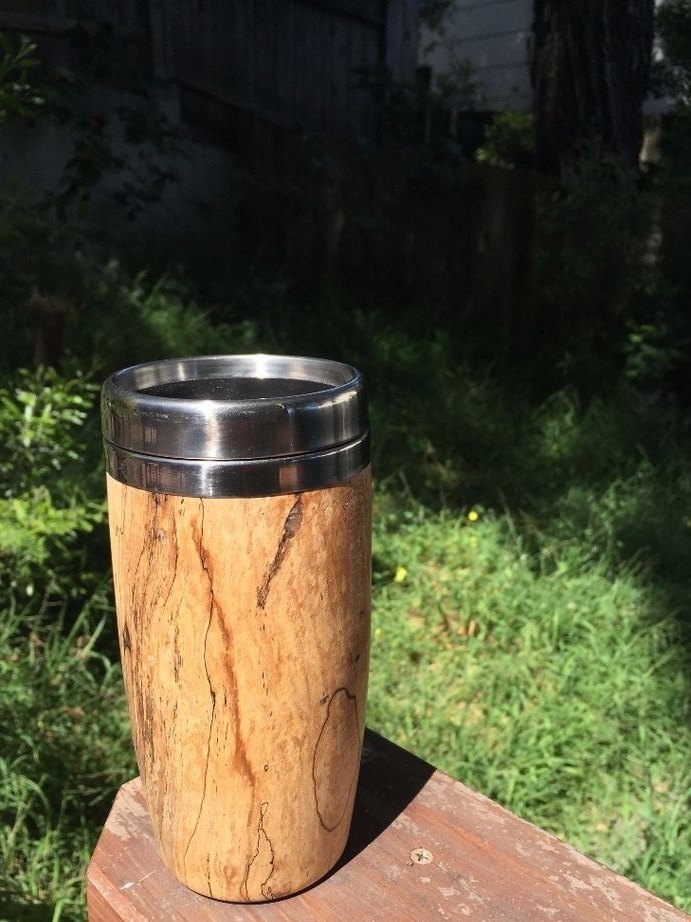
As you can see, the author’s metal mug has a lid, and so in a wooden case with the lid closed, the liquid will remain hot or cold longer, whichever is poured. Accordingly, the mug has become very beautiful and already unique, because the pattern of the tree does not repeat)
The work is certainly not easy, but the result is worth it. By the way, you can also burn some sort of drawing, or inscription, as they say "at your discretion"
This concludes the article. Thanks for attention!
Come visit often, do not miss the latest in the world of homemade goods!
This article is for informational purposes only!