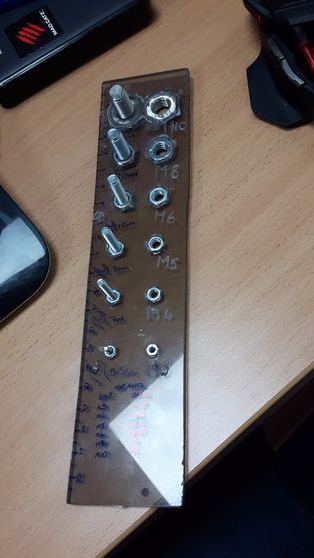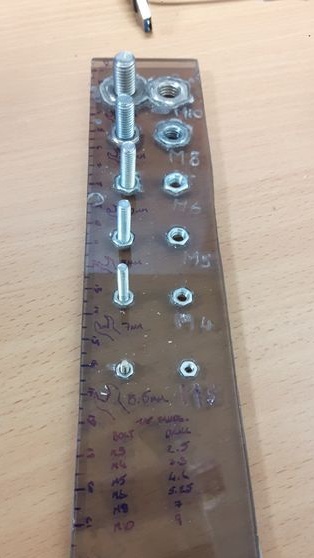
Even experienced professionals are sometimes mistaken when you need to pick a nut to a bolt or vice versa. Of course, you can buy a special template, but the author decided to make it himself. Device which he made no worse, and in some situations better than the one he bought.
Tools and materials:
Polycarbonate;
-Drill;
-Nuts;
-Bolts;
-Soldering iron;
-Hair dryer;
- Hacksaw for metal;
-Taper drill;
-Super glue;
-Marker;
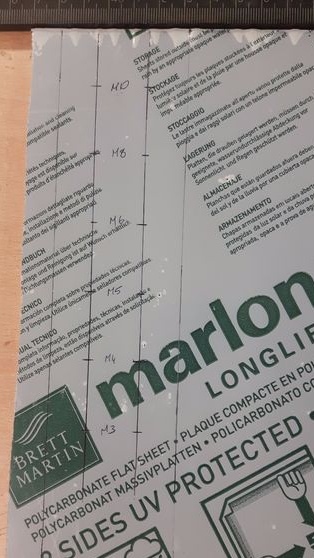
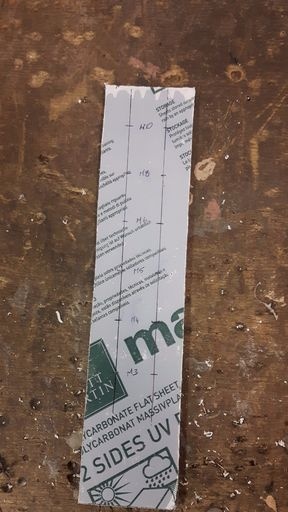
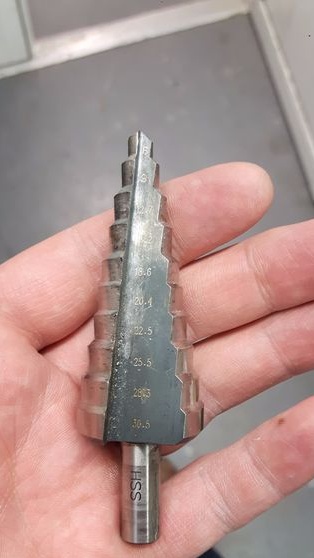
Step One: Holes
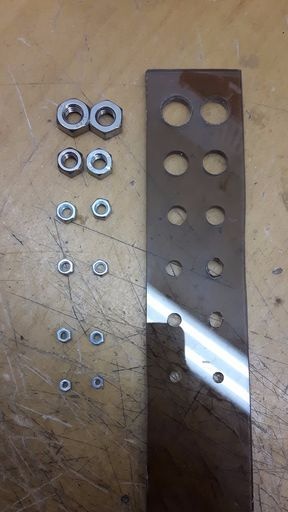
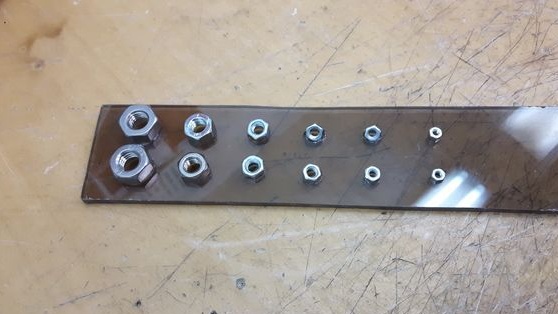
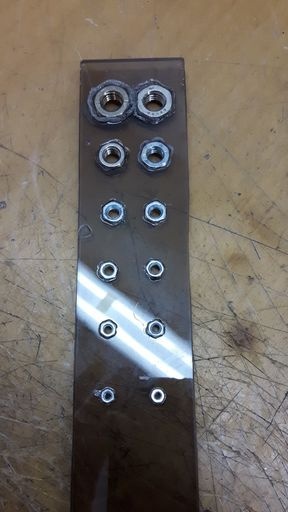
For the template, the author used the nuts M3, M4, M5, M6, M8 and M10. Nuts will be placed in two rows.
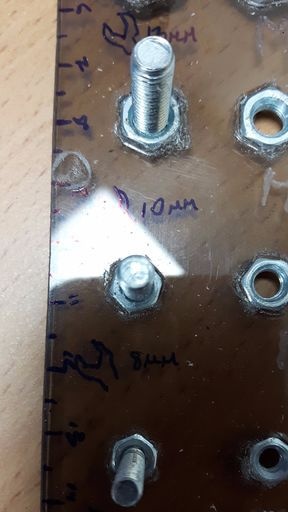
Drills in polycarbonate, for nuts, the following holes: M3 - 5.5 mm, M4 - 7 mm, M5 - 8 mm, M6 - 10 mm, M8 - 13 mm, M10 - 17 mm.
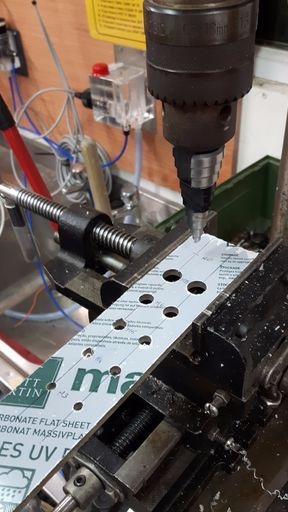
Step two: fixing the nuts
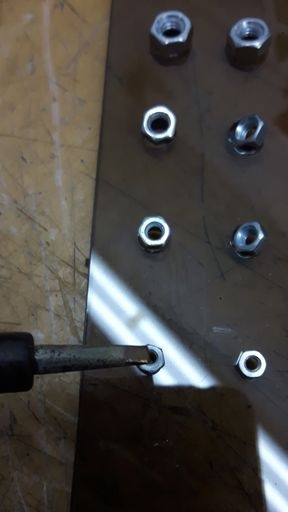
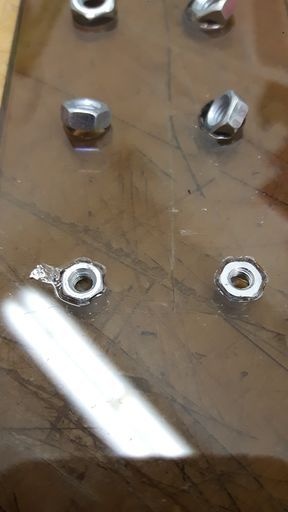
To fix the nuts, the author used a soldering iron and a hairdryer. After installing the nuts in the holes, he heated them with a soldering iron until they “melted” into the plastic. Larger sizes, M8 and M10, were heated with a hairdryer.
Step Three: Bolts
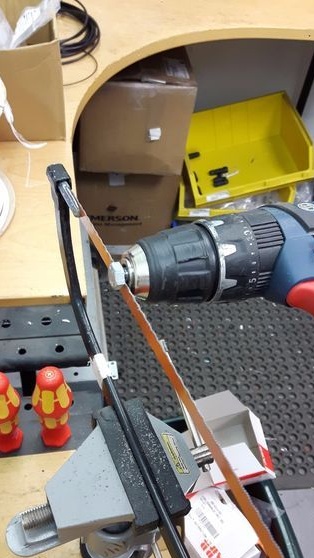
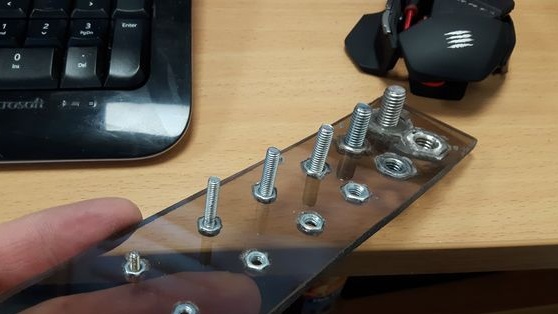
Screw the studs into the second row of nuts. The author had no hairpins, and he cut off the heads of the bolts.
To cut off the heads, the author clamped them into the chuck of a screwdriver and cut them off with a hacksaw clamped in a vice.
I screwed the studs into the nuts and fixed them with super-glue.
Step Four: Markup
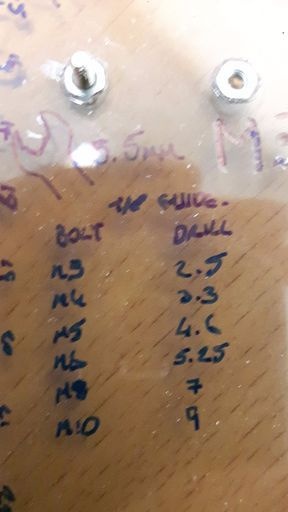
Along the template, the author drew a ruler. Now you can measure the length of the bolt. Near each bolt and nut I wrote their sizes. The author also wrote a table of drill sizes for each bolt. The author inscribed with a marker. According to him, if you put an inscription on the plastic with a marker and then heat it with a hairdryer, the inscription will not be erased.
