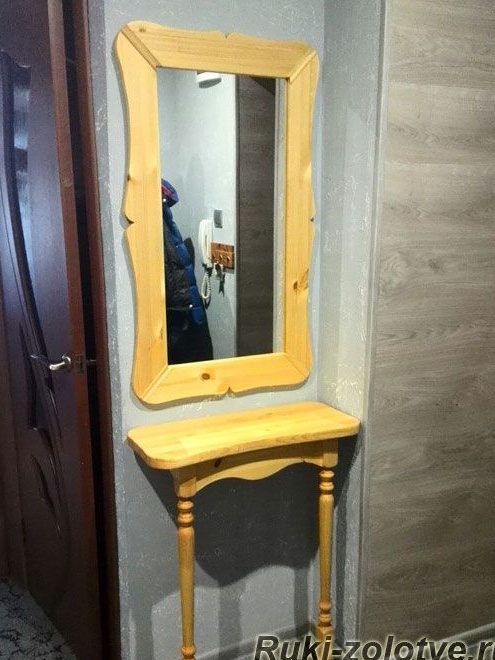
Dear visitors of the site, from the material presented by the author, you will learn how to independently make a "console and mirror"
The master here went a rather easy way, because he purchased the components in a hardware store (2 balusters and a furniture panel), which significantly reduced the time to create this type
of furniture.
It is also an indisputable plus in the fact that even when buying material, the author saved a lot, you know what the price tags for finished furniture are today.
Let's look at the entire creation process in more detail, as well as find out what exactly the wizard needed to make the “console and mirror”
Materials1. baluster 2 pcs
2. furniture board
3. wood screws
4. board 25 mm
5. wood glue
6. mirror clips
7. mirror
Instruments1. circular saw
2. Planer
3. hacksaw
4. chisel
5. grinding machine
6. grinding drum
7. mallet
8. hammer
9. drill
10. milling cutter
11. corner
12. ruler
13. pencil
14. thicknesser
15. sandpaper
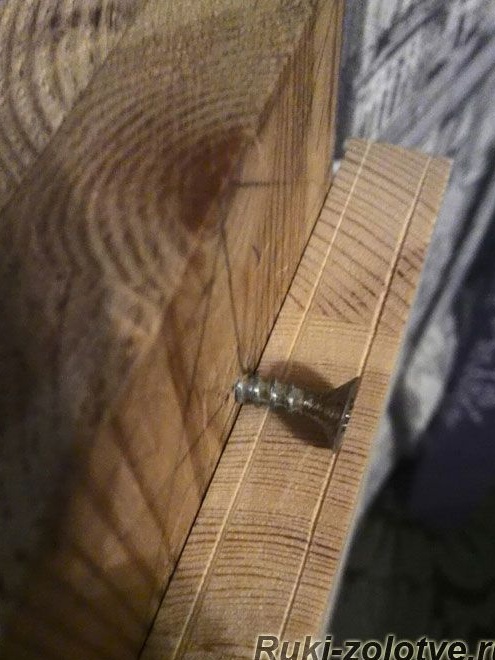
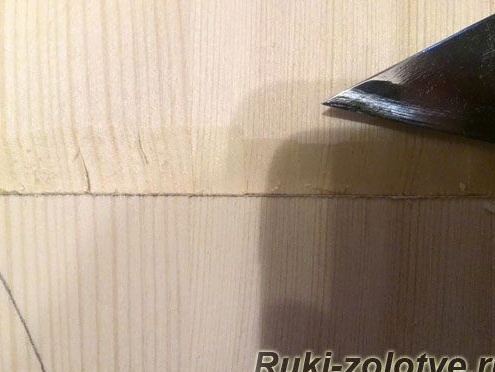
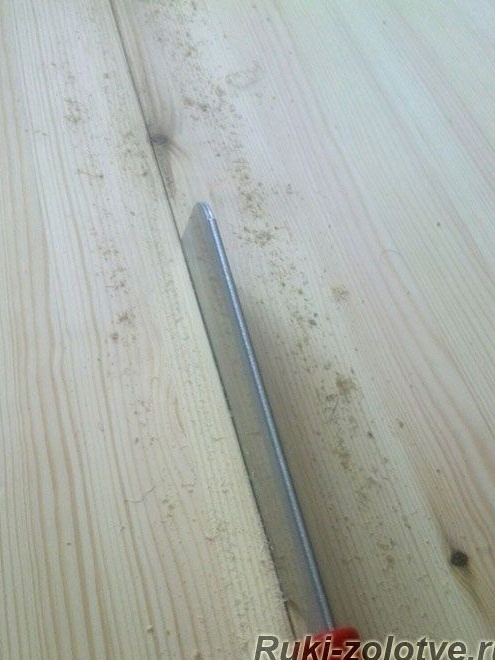
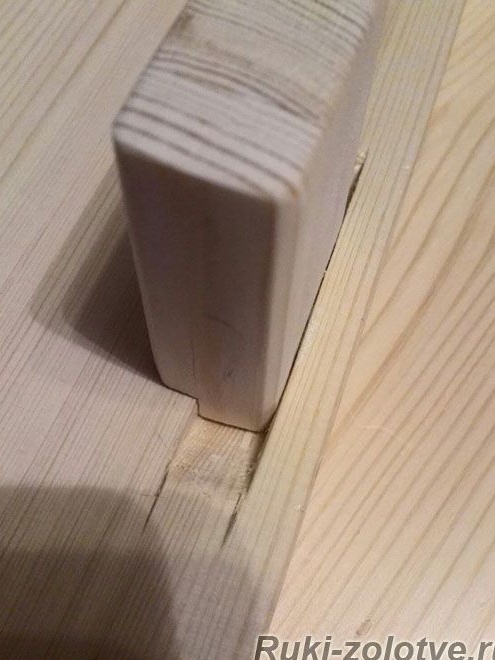
The process of creating a console and mirror do it yourselfAnd so, the first thing the author did was mark up future furniture details. The construction joints will be fastened with a "tongue groove" and for marking the master uses a home-made and very simple tool (similar to a surface gage), a screw is screwed into the 25 mm board with a pointed edge of the cap, the line height is adjusted by screwing and unscrewing the screw. That's actually this "ingenious invention."
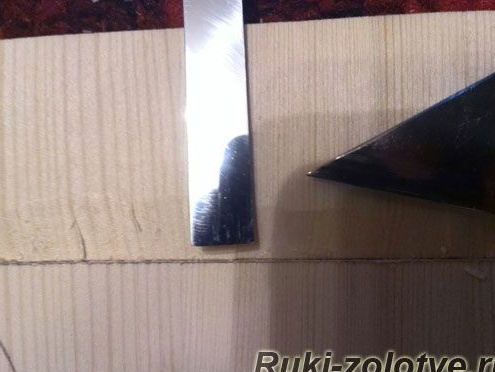
Thus, the master made the marking of the spikes, and then with the help of a hacksaw he made files.
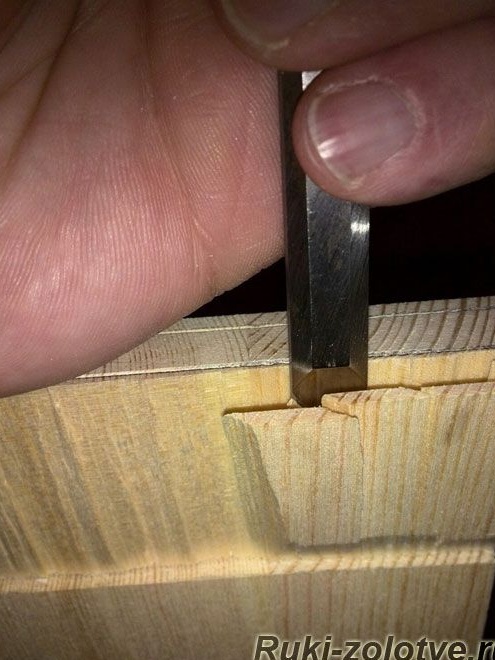
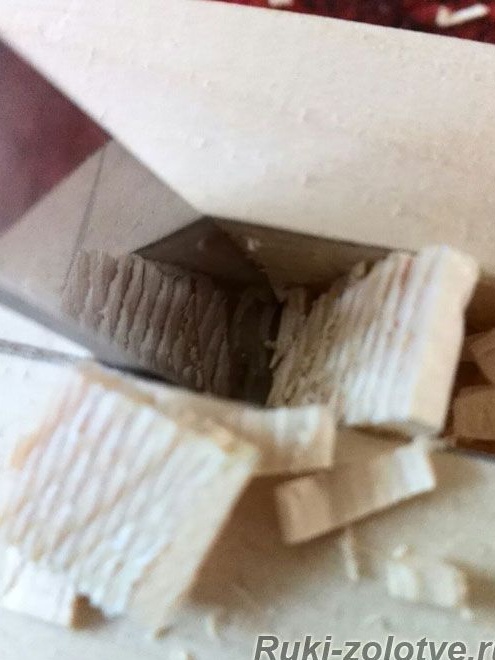
Excess wood can be removed with a chisel, this is done gradually, and not all seam at once! Otherwise, you can just ruin the workpiece.
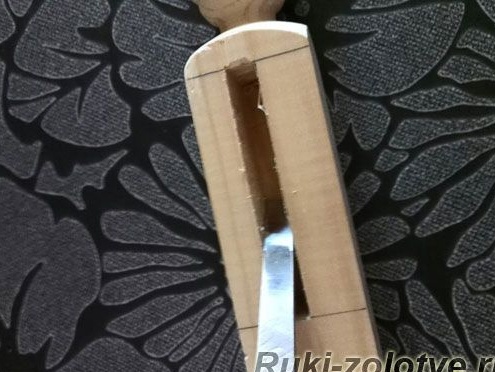
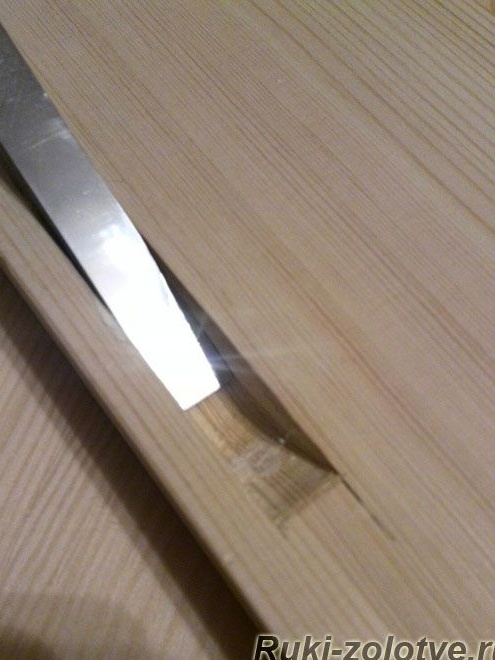
The edge is equalized with the help of a shoe knife, making it slightly under the cone closer to the edge, this is necessary so that the spike freely enters the groove. But with a slight interference!
You can also use a chisel.
Then the groove itself is made directly using the same chisel.
The author does everything very carefully so as not to remove the excess part of the wood.
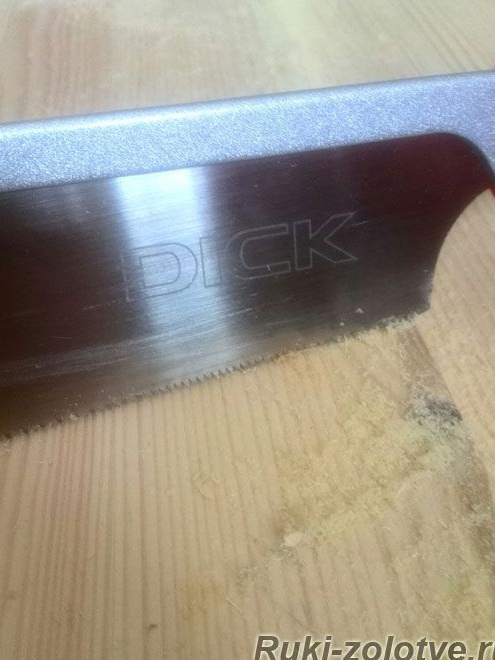
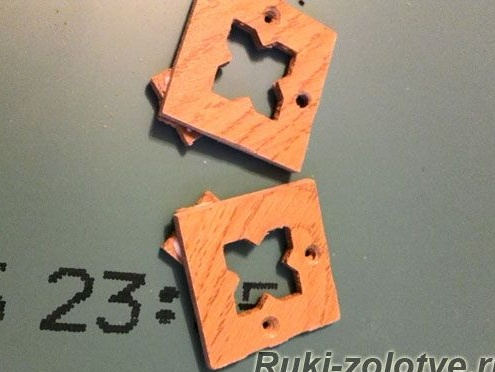
Then, using a hacksaw, the master cuts the blanks for the mirror frame.
Saws strictly according to the marked markings, observing the geometry.
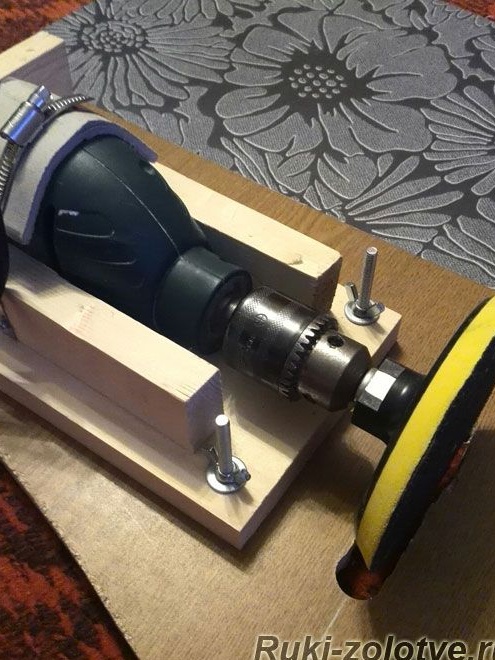
The author polished billets on such a makeshift machine.
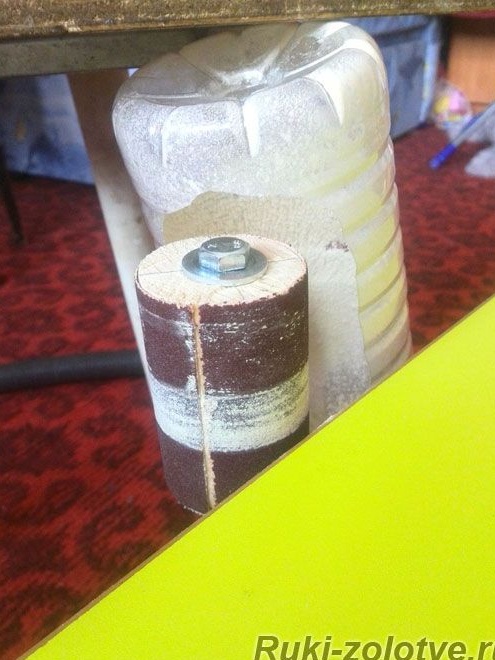
He also has a grinding drum with the option of removing dust, also homemade.
Going mirror frame.
Here is the result.
Glues and tightens.
Then a mirror is inserted and fastened with home-made clamps.
It looks like an inserted mirror from the back.
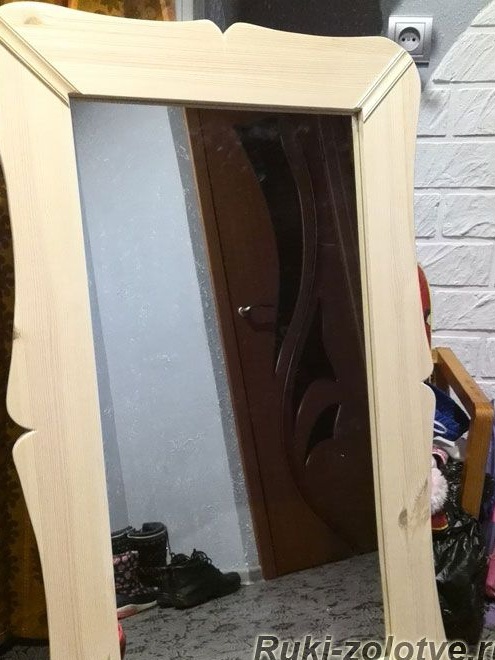
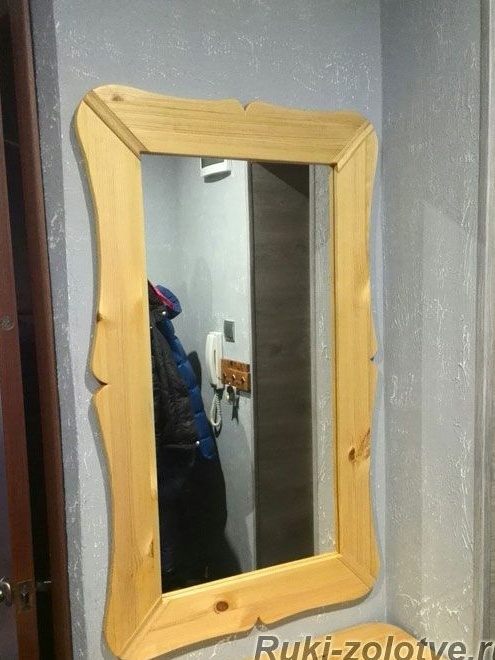
And this is how the mirror looks from the front.
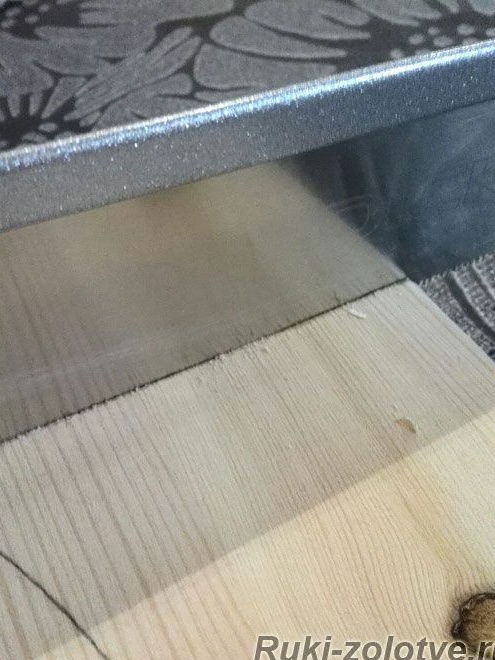
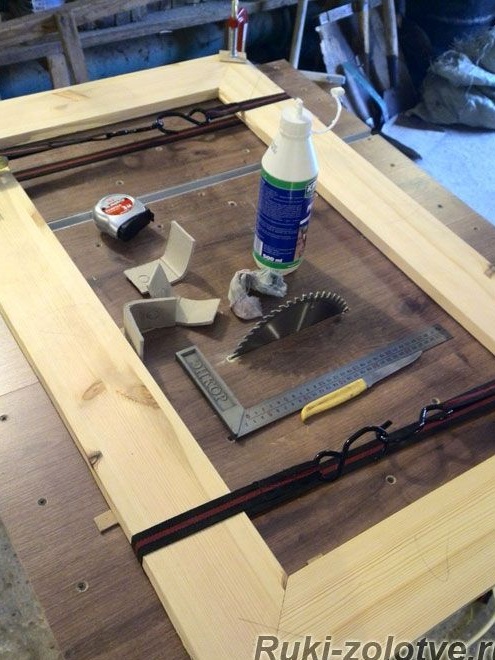
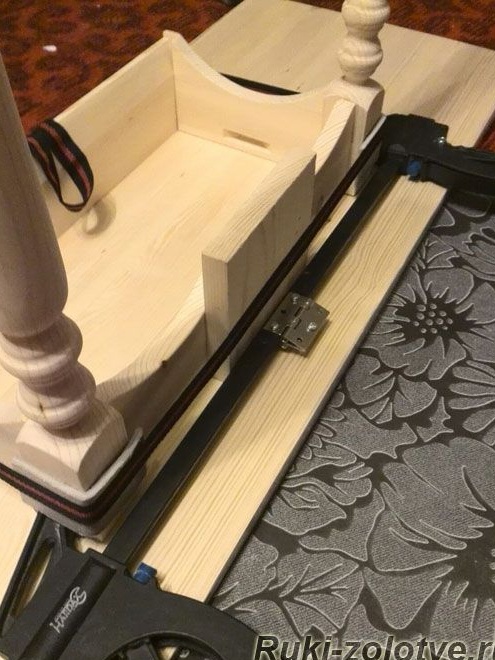
When the mirror frame is ready, the next step will be the manufacture of countertops, before everything is done dry (without glue).
The mount here will be on “breadcrumbs” for which a groove is also made using a chisel.
Rusks are made and tried on.
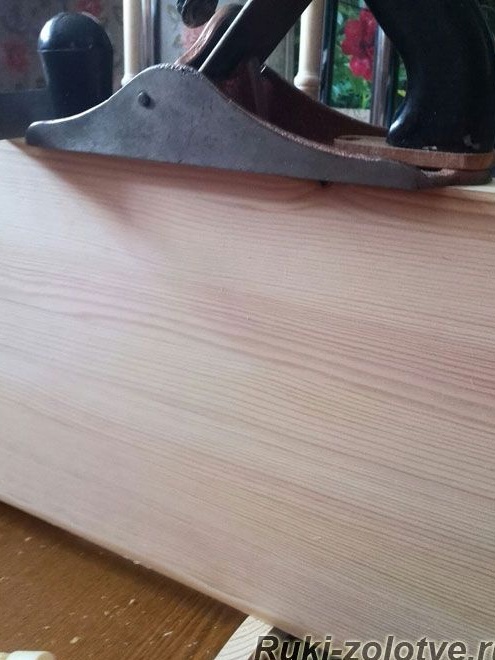
Wood is processed using a planer.
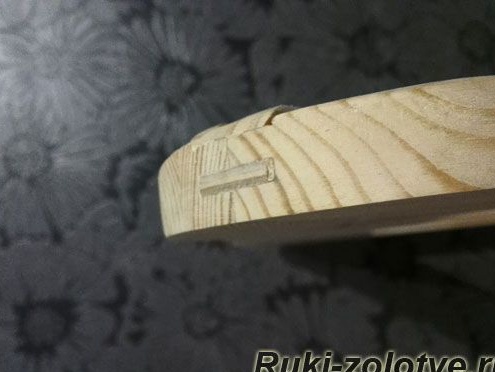
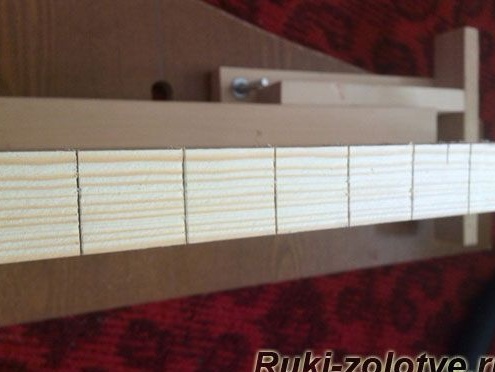
The edges of the countertops will be wavy, the master makes cuts for subsequent removal of wood.
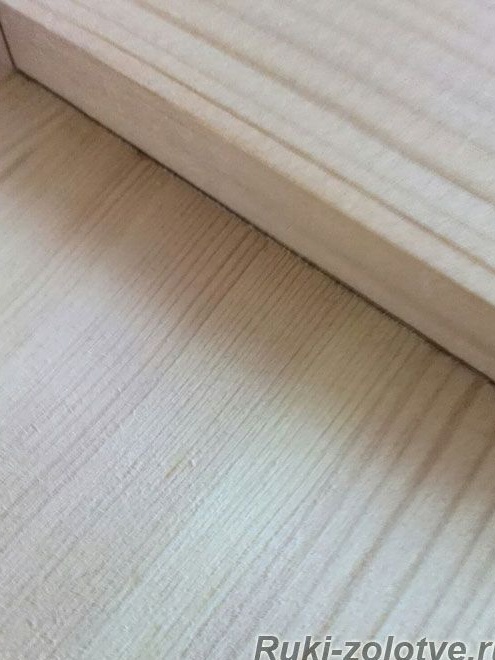
This is how the surface of the countertop (pine) looks like
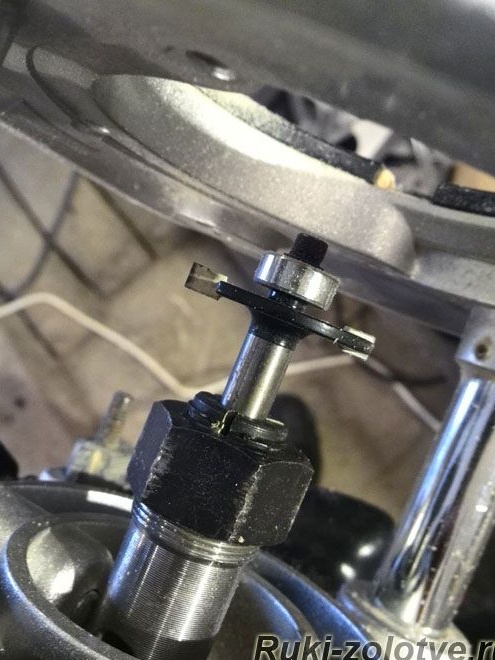
Sawed edges are milled.
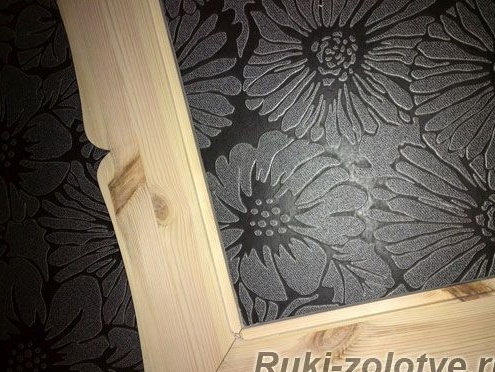
Everything is assembled into a single structure, glued and tightened with clamps and screed.
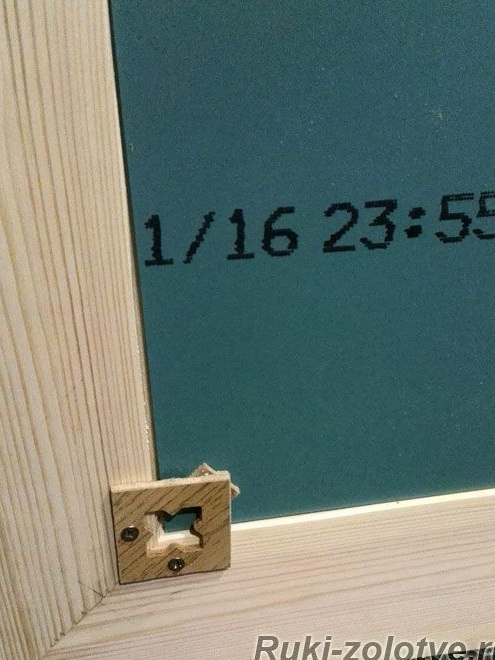
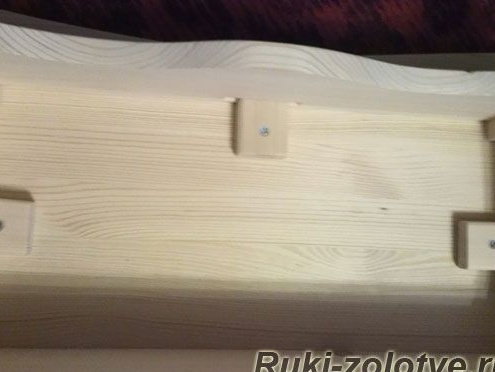
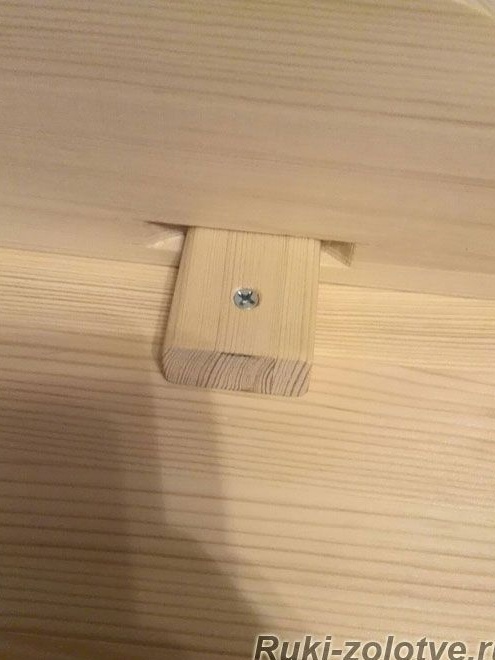
After which the countertop is installed, and fastened with these crackers, which will prevent the deformation of the wood with increasing or decreasing humidity, this is such a little trick.
The cracker itself is attached with a self-tapping screw.
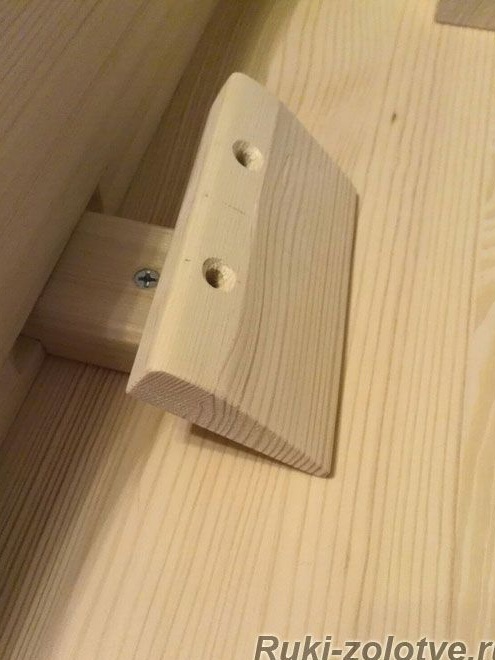
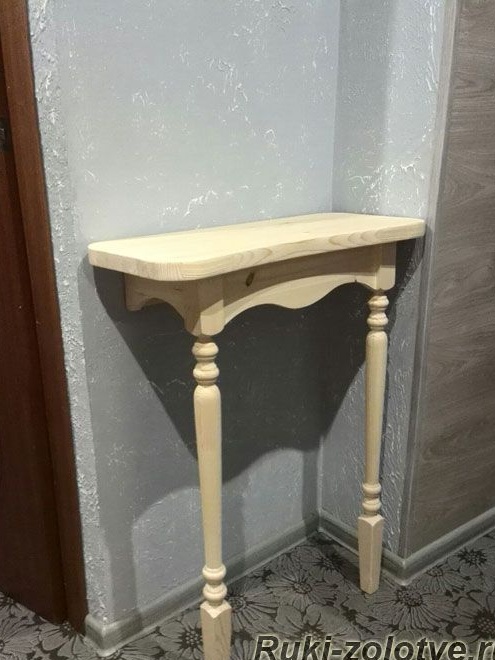
Also, the master made the "French suspension" for mounting the console to the wall.
Something like that)
Well, actually a test installation for the future place of "permanent deployment".
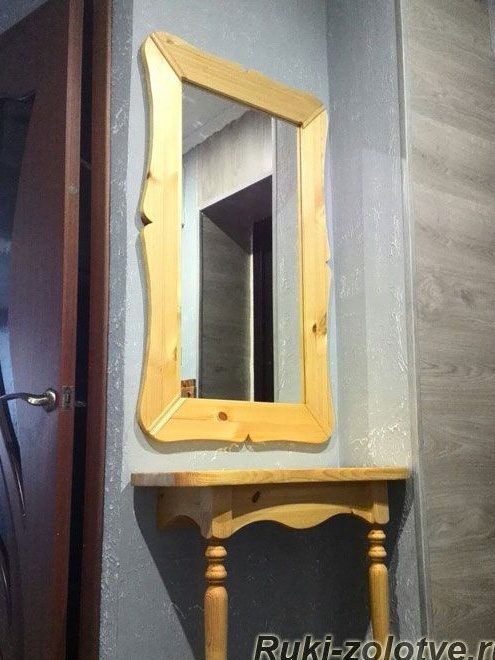
The master rubbed the finished product with linseed oil, because he wanted his furniture to be environmentally friendly.
That's actually what happened to the master after all the work done.
As can be seen from the presented material, making furniture with your own hands is not so difficult) the main thing is that there is a desire and everything will turn out.
It is worth recalling the rural way of life and decoration in the house, where all the furniture was absolutely made by the master owner of the house. It was done in good faith and served the household for more than a dozen years, or even more.
This concludes the article. Thanks for attention!
Come visit often, do not miss the latest in the world of homemade goods!
This article is for informational purposes only.