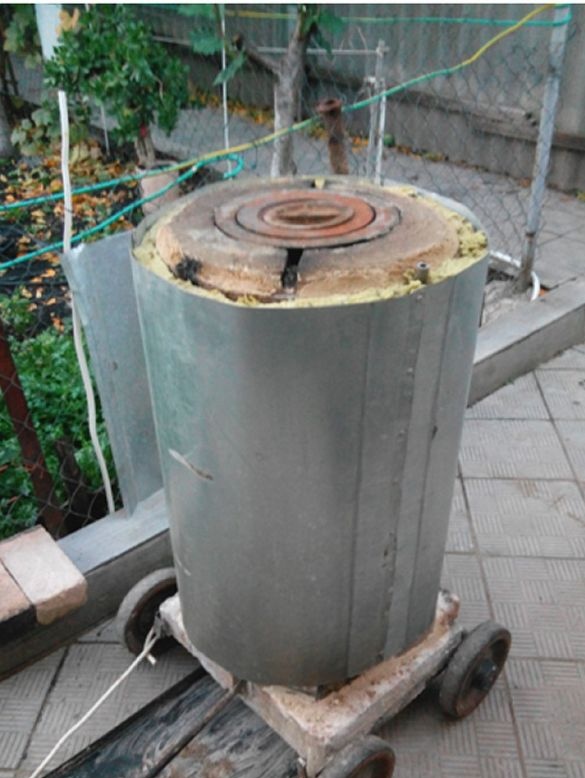
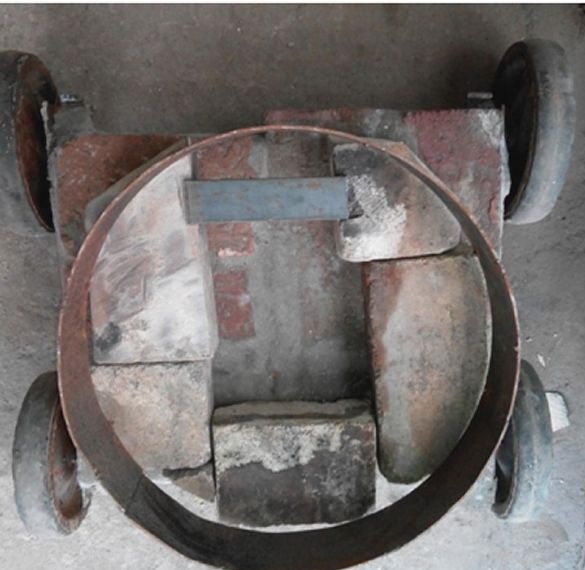
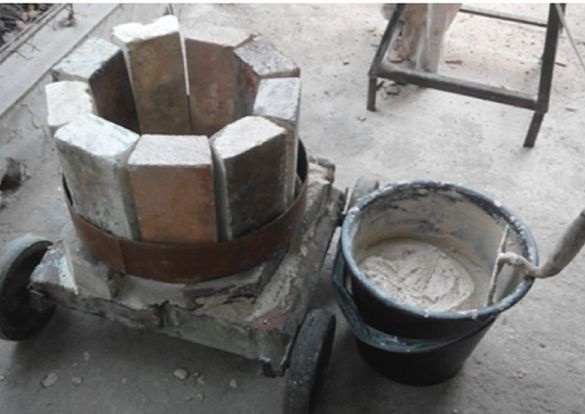
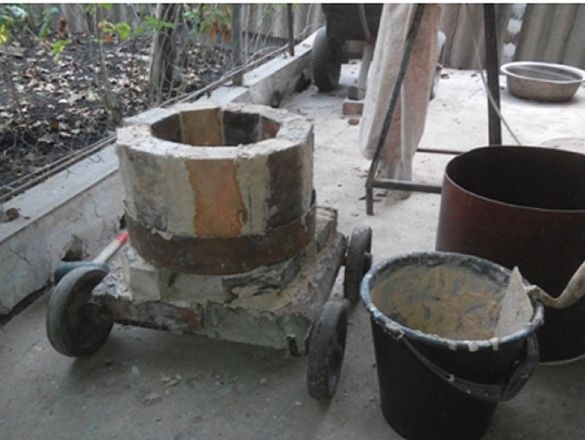
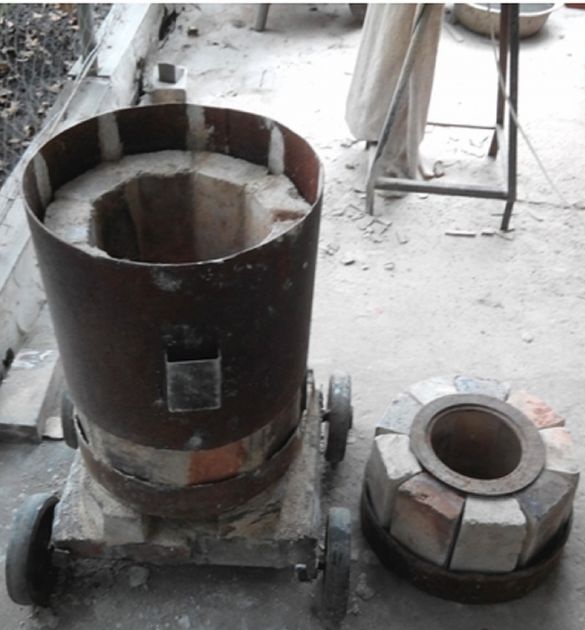
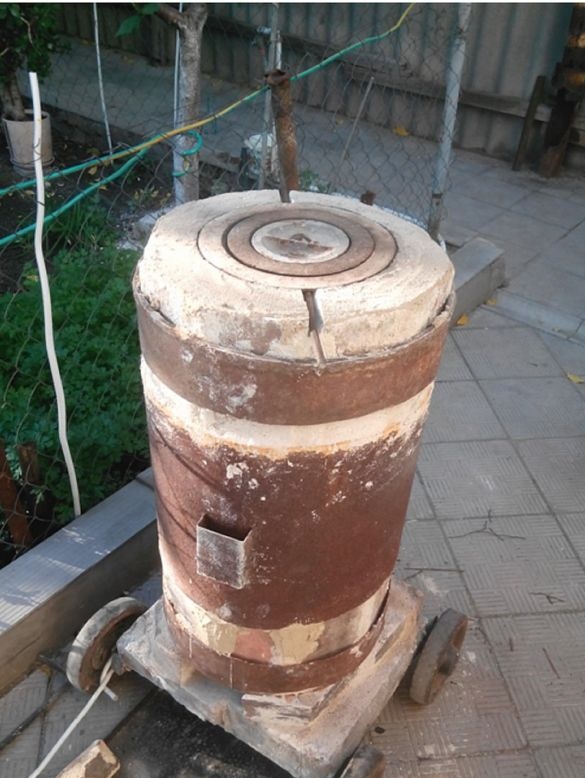
Let's look at an example of how to do it yourself make a small mobile tandoor. Such a furnace can be moved around the site, for example. It will be convenient in the country, homemade if necessary, it can be hidden in the house or rolled up under the cover so that it does not deteriorate. Everything was assembled on the basis of a cart with four wheels. Let's consider home-made items in more detail.
Materials and tools for homemade:
- a trolley with four wheels (must be strong, since the weight of the furnace is large);
- the author used the old gas titanium AGV-120 as a holder for the furnace;
- refractory brick;
- grinder and circle on concrete;
- components for the “Mortar” composition or a ready-made composition (used for masonry furnaces);
- the author used removable cast-iron circles for stoves on wood instead of the lid (you can fry something, warm them, etc.);
- a steel rod (a mesh is made from it for hanging skewers);
- basalt wool (for insulation of the furnace);
- grinder;
- welding and more.
The process of making a homemade furnace:
Step one. Truck
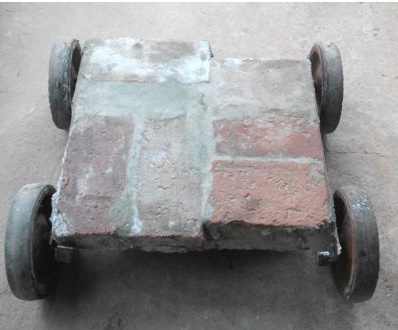
The manufacture of such a cart by the author was left overs. So you have to do it yourself from scratch. You may have to use welding here to weld a strong steel frame first, which then needs to be welded to the axles of the wheels. Further, in this steel frame, brick is laid on the cement mortar. After the solution solidifies, there will be a ready-made mobile platform for the furnace.
The wheels must be chosen strong, no plastic, the author they are completely steel with a small rubber coating.
Step Two Material preparation and masonry
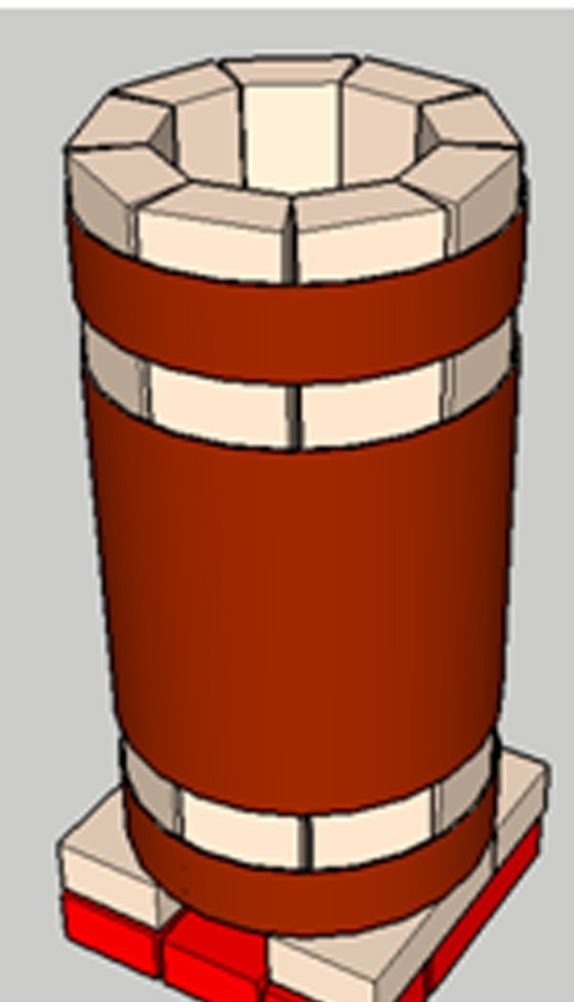
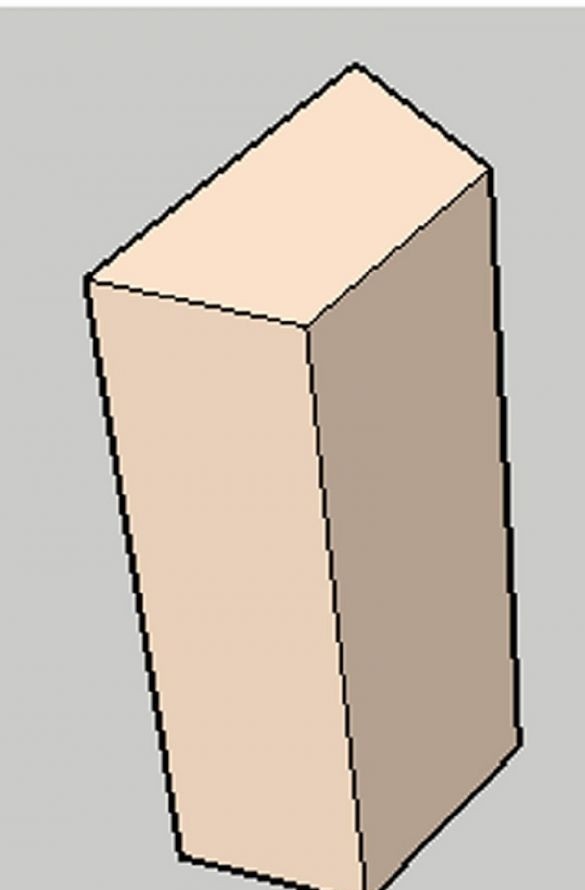
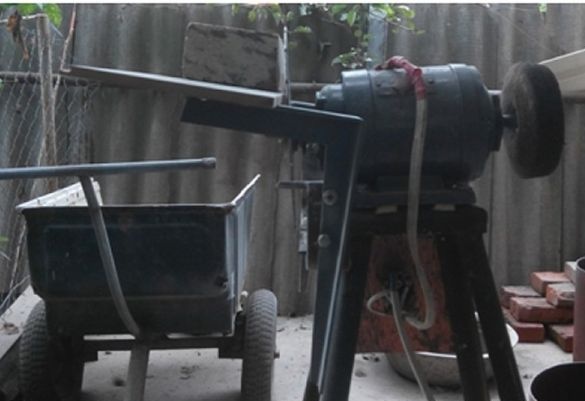
Perhaps the most difficult and to some extent hilarious in the construction of such a furnace will be the marking and trimming of bricks to the desired size. Bricks will need to be cut so that they fit in a metal clip.
The masonry begins to dry, then the author puts them on the Mertel refractory mortar. The first row of the furnace includes an ash pan. The arrangement of an ashpit is mandatory, since without it the stove will not be able to burn. As a result, step by step, slowly, the stove is going.
Step ThreeFurnishing
After the oven is assembled, it will still be necessary to make a lid, as well as a grate, on which skewers will be hung. As a cover, the author used ordinary cast-iron rings for stoves on wood. This will allow you to use the oven for additional purposes, for example, you can put a frying pan and heat something or fry something.
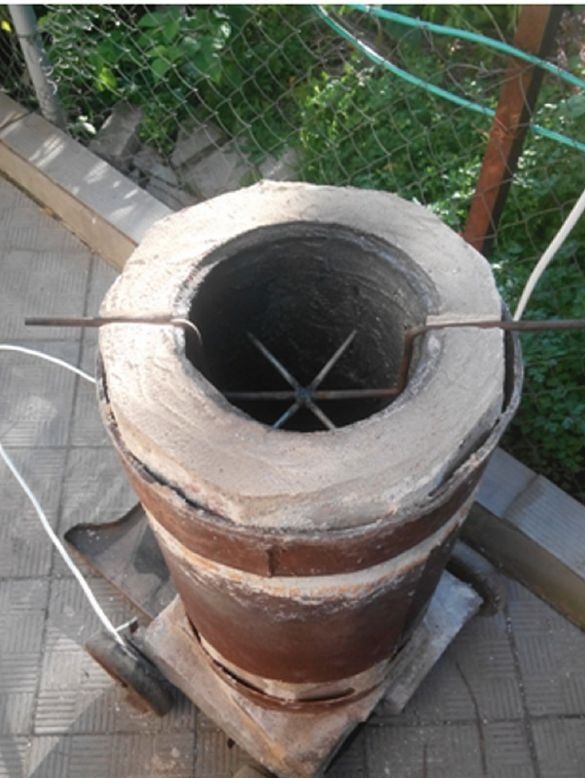
Concerning fixtures for hanging skewers, the author welded it from steel rods. How exactly this should look can be seen in the photo. The fixture is removable and inserted into the oven.
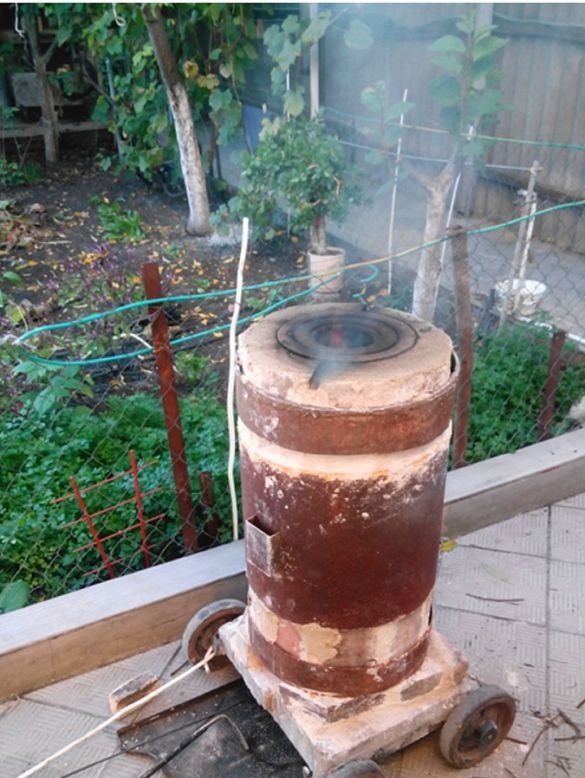
That's all, the stove is assembled, now it can be tested. At first, the author made several not strong floods so that the oven dried out well. The slower the oven dries, the stronger the masonry will be, since in this case moisture comes out slowly and does not leave large pores.
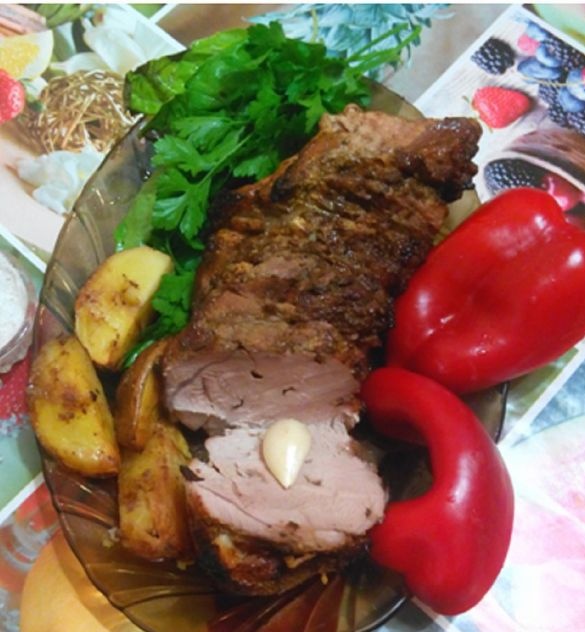
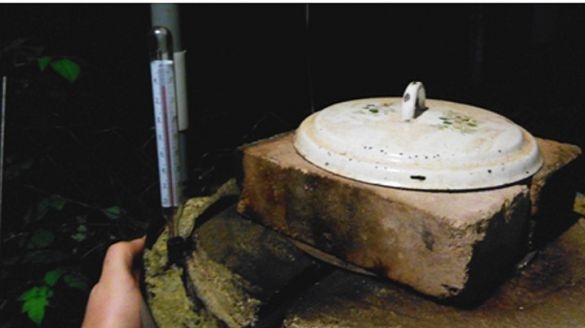
After drying, the oven was already melted to its full capacity, the author baked meat and potatoes in it. During testing, it turned out that the furnace was losing a lot of heat, it was heated outside to 150 degrees. In this regard, it was decided to warm it using basalt cotton wool.
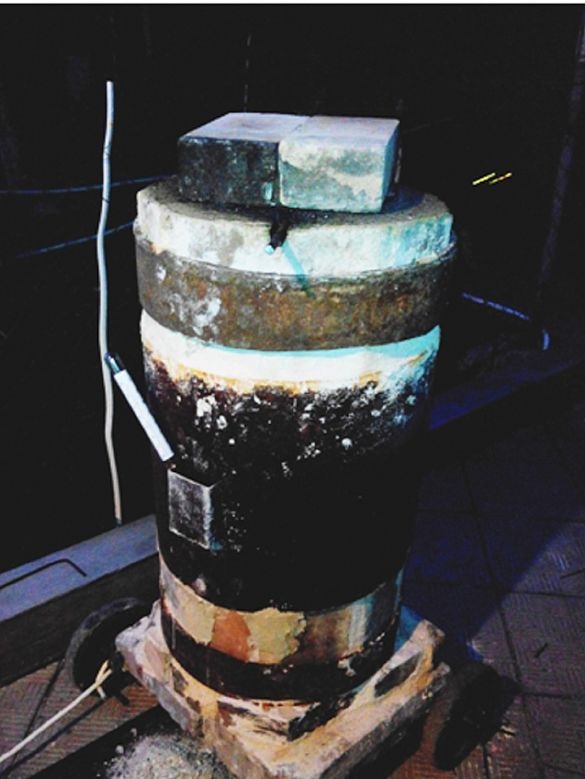
After warming, the stove on the outside became already warm and safe in the sense that it was impossible to burn yourself, which is not the case with the earlier version. That's all, now the furnace is finalized and completely ready. It produces very tasty dishes from vegetables, meat or fish, they have a slight smell of haze.

