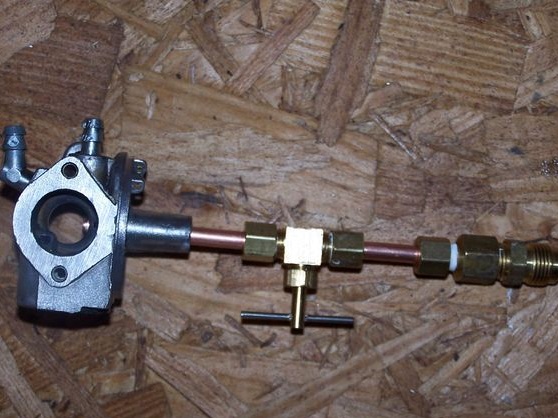
This article will help those who can not solve the problem how to power a gas engine. do it yourselfusing improvised means. In fact, it is not as difficult as it seems, you just need to figure out how to dose gas and air. The author used a carburetor for such purposes, and as an experiment an electric generator was launched, now it can run on propane.
The use of gas is good in that it is cheaper than gasoline, and it can be stored in large volumes without much difficulty.
[media = https: //youtu.be/Em7A7kfF2uE]
Dangerously!
Using this generator indoors can be very dangerous. If the engine stalls, the gas will not stop flowing, and this will lead to an explosion. Of course, this can be avoided by equipping homemade special protective system that will turn off the gas if the engine stalls.
Materials and tools for homemade:
- old carburetor (the author used a broken one from the map);
- drill and drill;
- a tube with a diameter of 1/4 inch;
- sealant or other similar substance to seal unused openings;
- regulator from the gas grill BBQ;
- 1/4 inch copper compression needle valve;
- adapter with a torch 3/8;
- an adapter for connecting to a propane regulator and more.
Homemade manufacturing process:
Step one. We prepare the carburetor
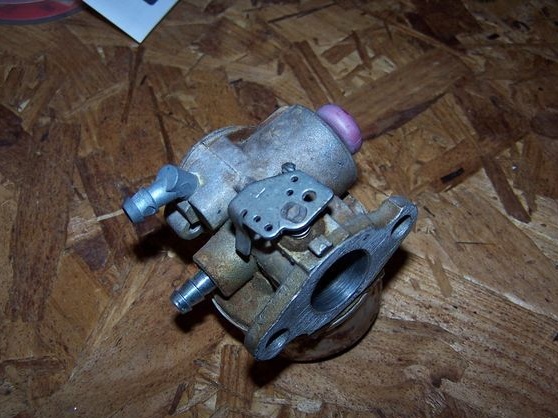
You will need a small carburetor, it’s suitable for some kind of moped, lawn mower and other similar equipment. It can be searched at various metal depots, workshops, or even found in a landfill. In principle, you can redo the existing carburetor on the engine, but then it will never be able to work as before, since its design will be radically changed.
It’s still good not to touch the native carburetor because in this case it will be easy to switch to liquid fuel again by putting the native carburetor back.
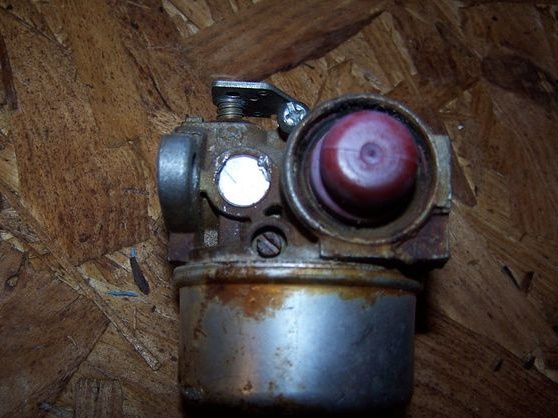
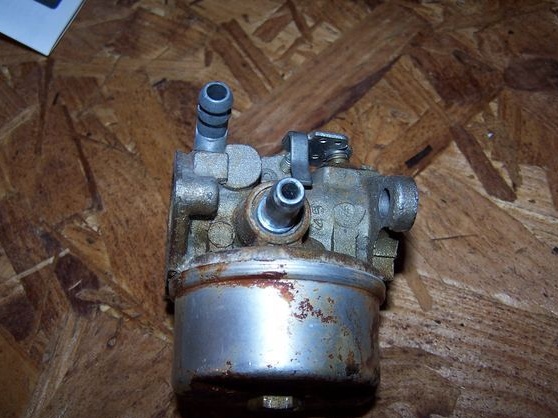
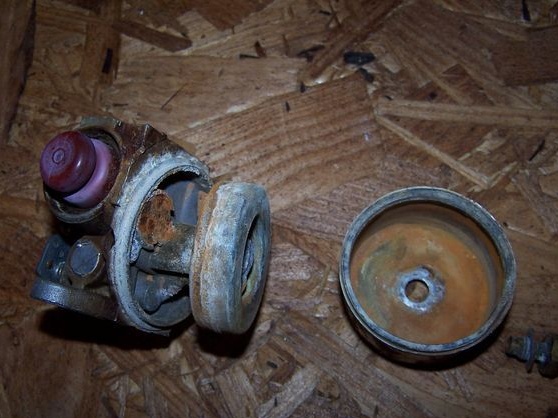
The first step is to disassemble the carburetor and remove all unnecessary components. The author begins disassembling from the float chamber, from here the float and the needle valve are removed.
Then you can remove the throttle, it is fastened, as a rule, alone with a small screw. When the shutter is unscrewed, it will be possible to remove from the carburetor the shaft on which it sits.
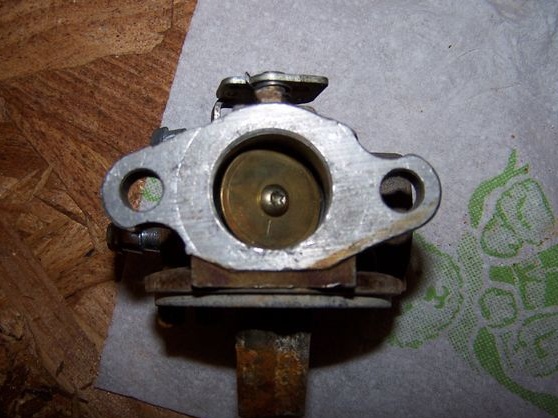
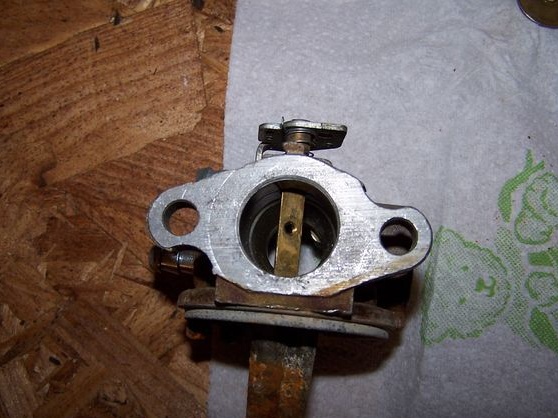
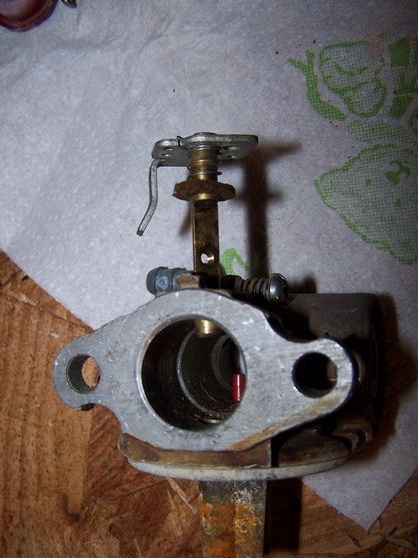
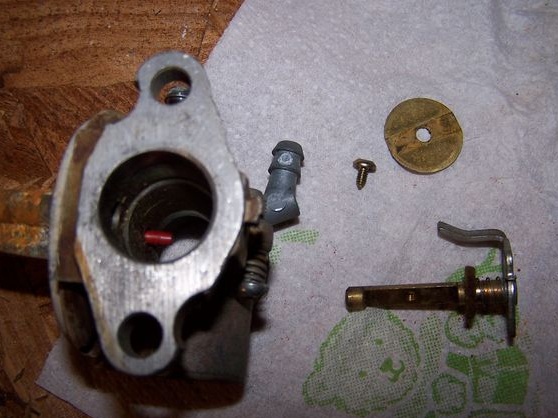
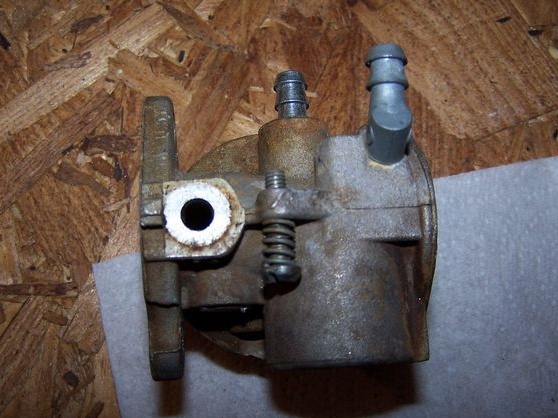
You also need to remove all quality / quantity screws, all tubes, sprays, etc.Instead, the needle valve will control the fuel supply.
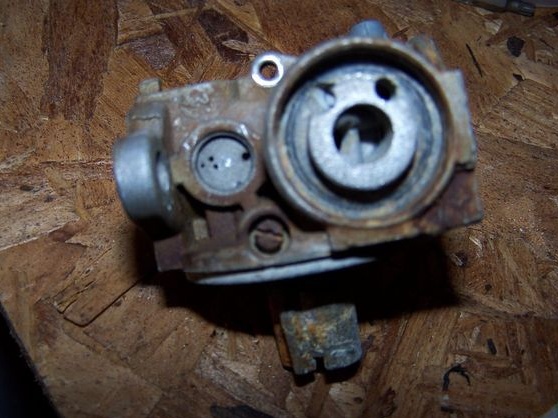
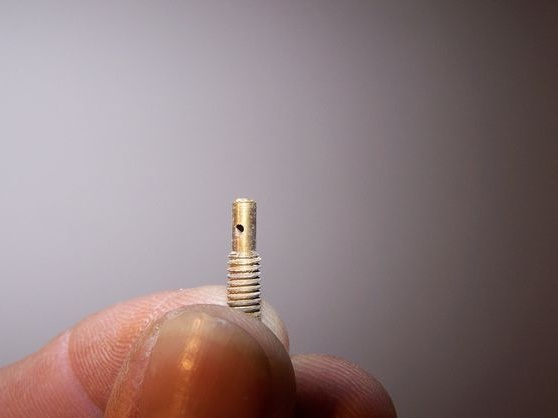
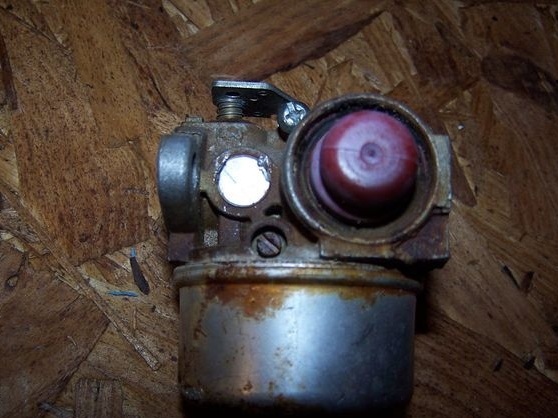
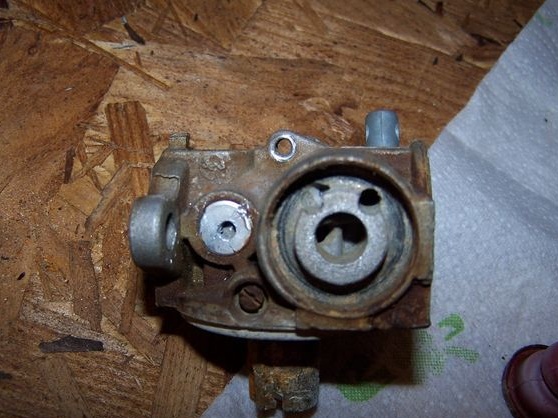
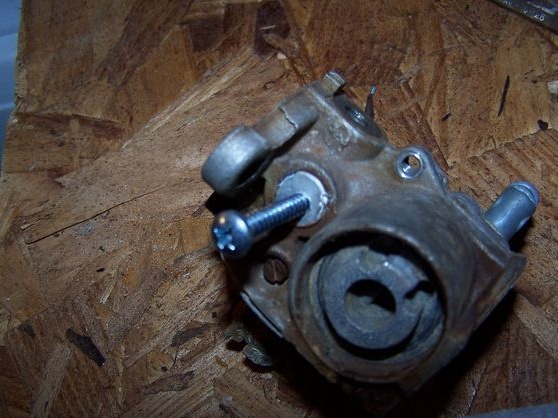
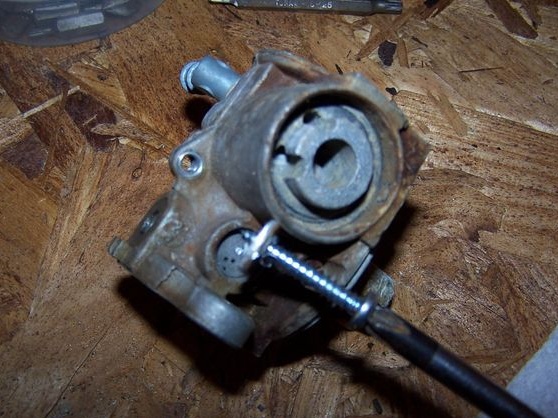
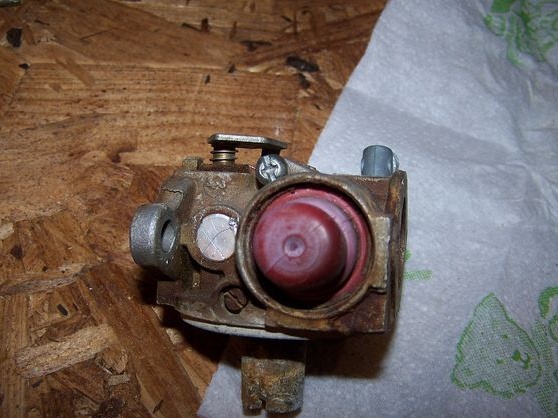
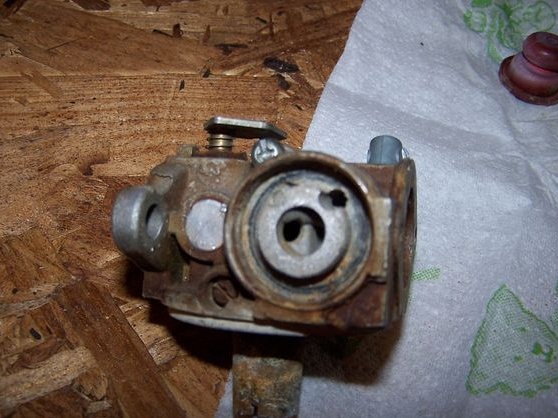
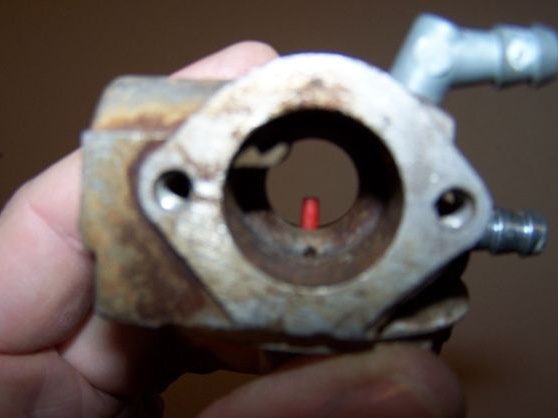
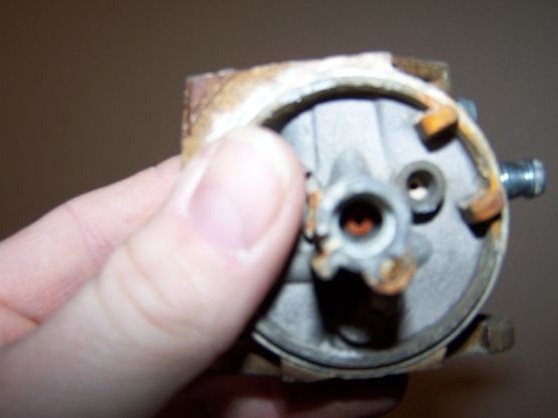
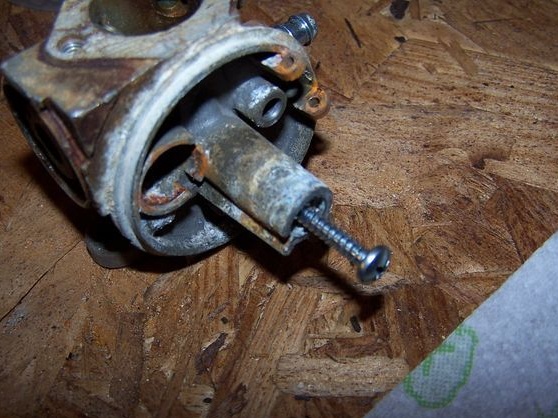
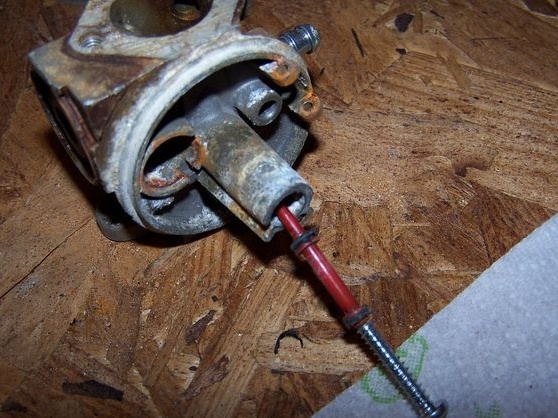
Inside the carburetor diffuser there is a fuel atomizer (copper tube), it must also be removed. For such purposes, you can use a screw.
Step Two Carburetor cleaning
After disassembling, the carburetor will need to be brought to perfect cleanliness, because now it has been given a second life. This can be done chemically or mechanically. The author used Dremel with a small nozzle, as well as an iron brush.
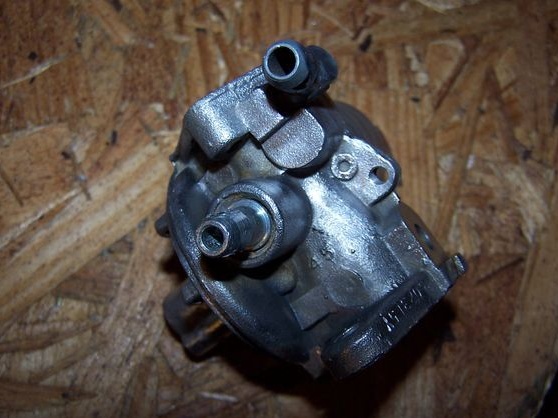
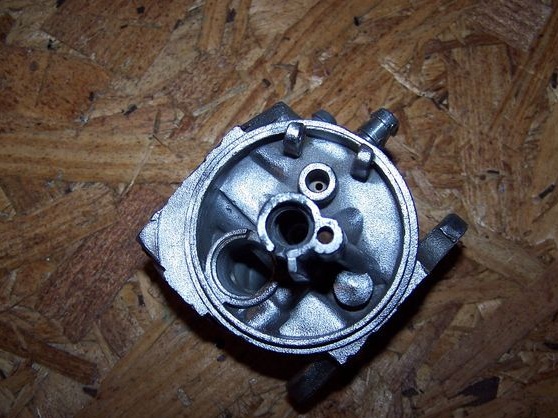
Step Three Drill carburetor
You need to take a drill and a drill with a diameter of 1/4 inch, with it you need to drill a hole in the center of the diffuser (in place of the old sprayer). After this, the carburetor must be thoroughly cleaned of chips, otherwise it will fall into the engine. The author used a chemical cleaner for such purposes.
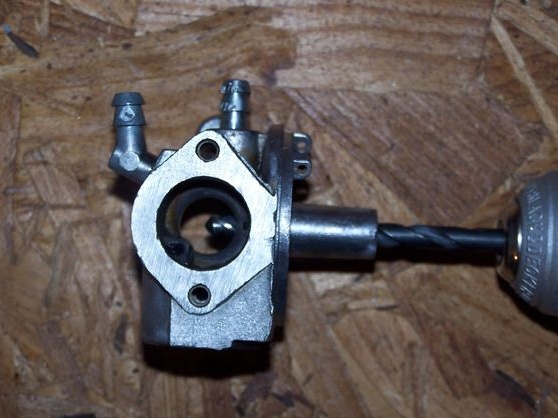
Step Four Muffle unnecessary holes
After disassembling, there will be many holes in the carburetor that we will not need. To seal them, you can use a sealant. It is necessary to close all the holes, except for what was drilled in the step earlier.
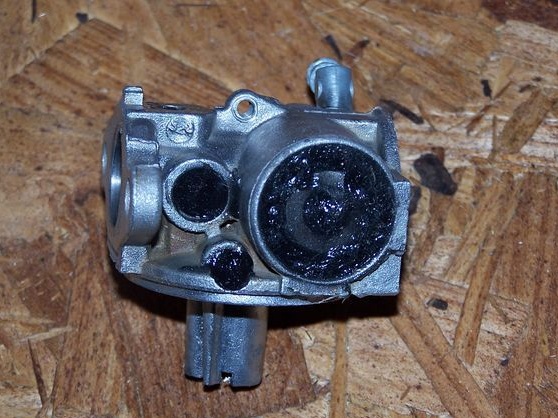
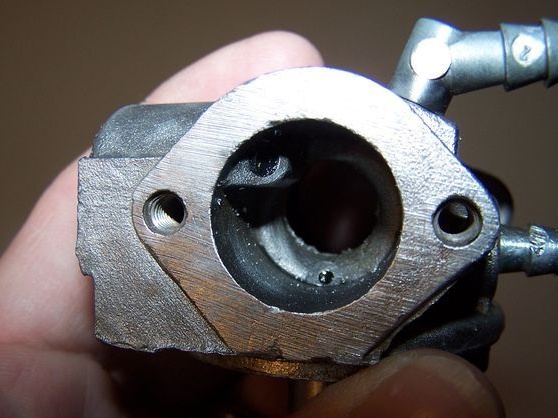
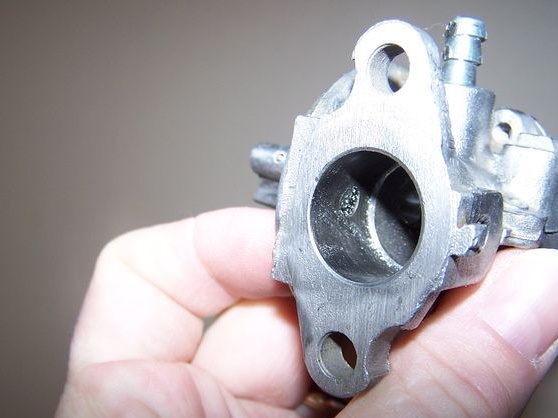
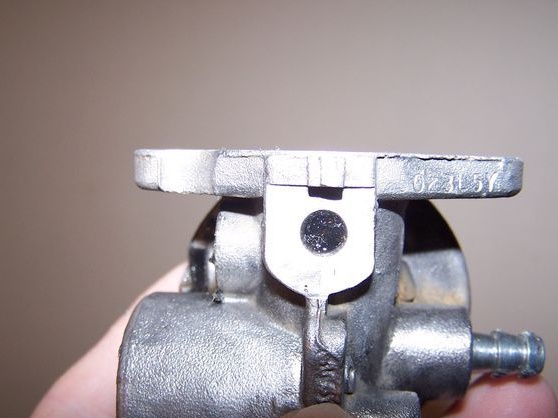
Step Five We assemble and install a gas supply system
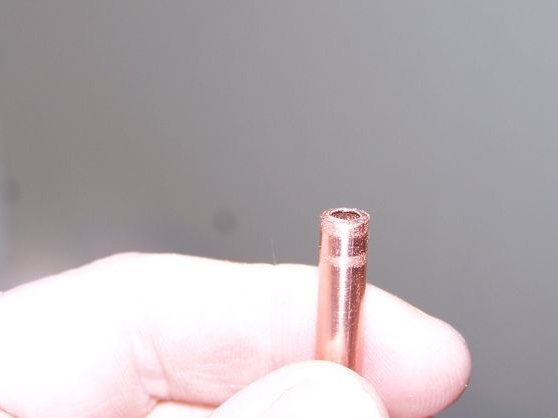
Gas will be supplied to the area with the lowest pressure, this area is in the diffuser, that is, its narrowest part. The nozzle is made from a tube 1/4 inch in diameter and 3 inches long. Everything is going as you can see in the photo. Teflon tape is used to seal all nodes.
Then the nozzle is inserted into the diffuser, according to the author, the best result is achieved when the tube goes 3/4 of the way. In other words, you need to experiment and adjust this parameter for your engine.
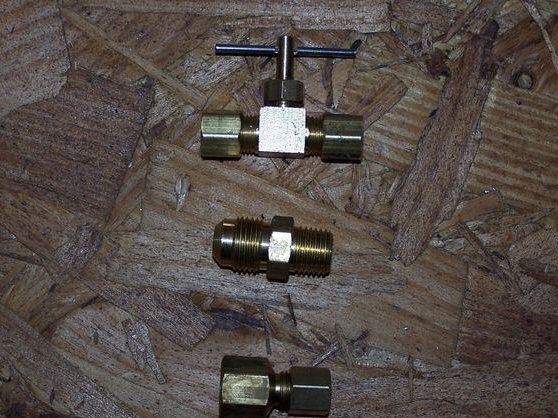
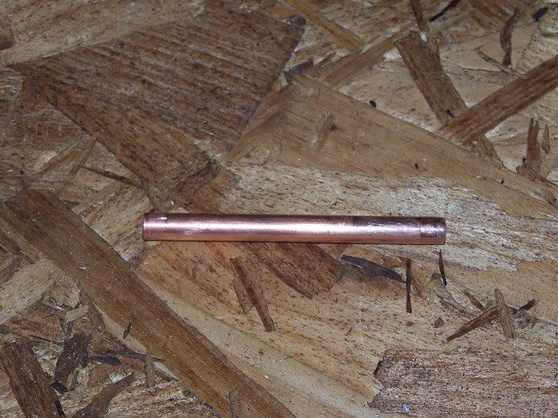
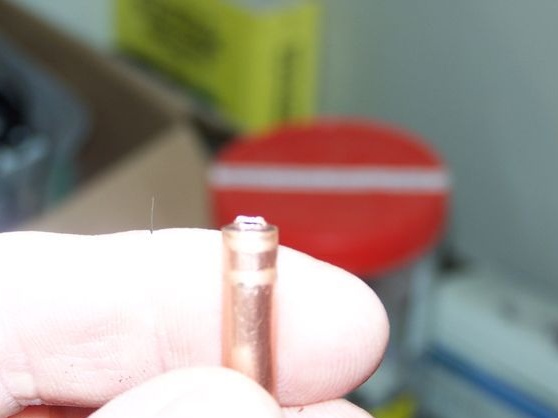
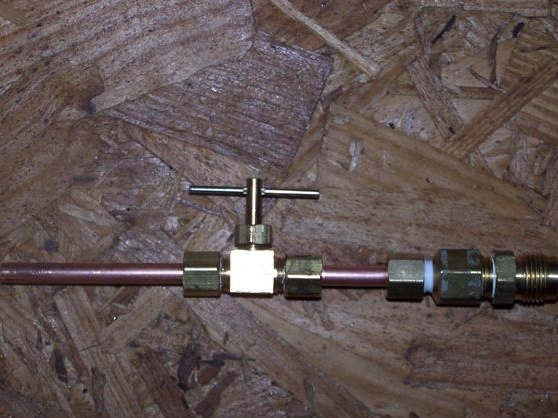
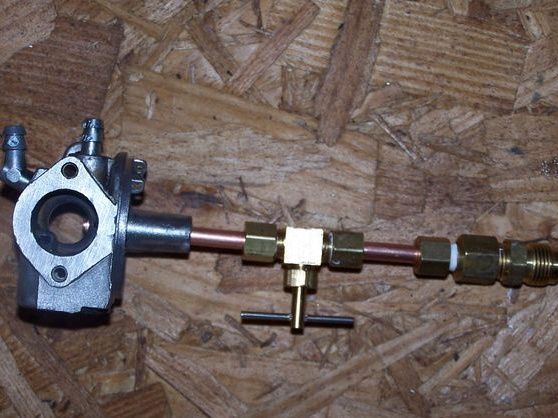
Even at the first start it turned out that a lot of air enters the motor, that is, the mixture is too lean. To fix this, the author equipped the carburetor with an additional damper that allows you to control the amount of incoming air.
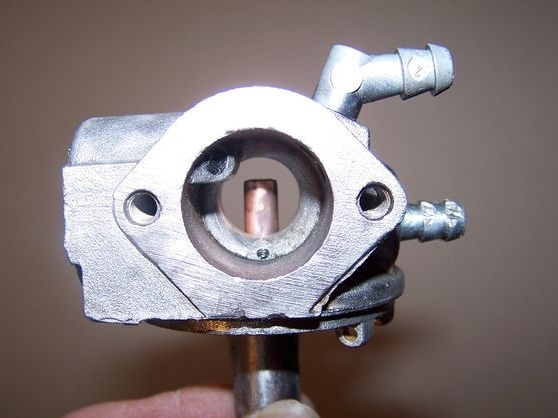
The final stage. Testing and launch
Before starting, you need to check whether the valve is closed, and then open the gas supply from the cylinder. Then the needle valve needs to be turned about 3 turns and after that it is necessary to immediately start the engine. If after several attempts it does not start, you need to shut off the gas supply and wait a bit until the gas escapes.
After the engine is started, you need to try to raise or lower the tube supplying gas to the diffuser. Having found the optimum value, the tube is fixed with epoxy.
