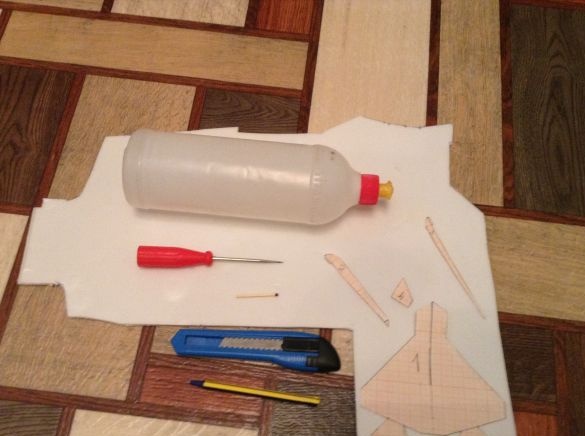
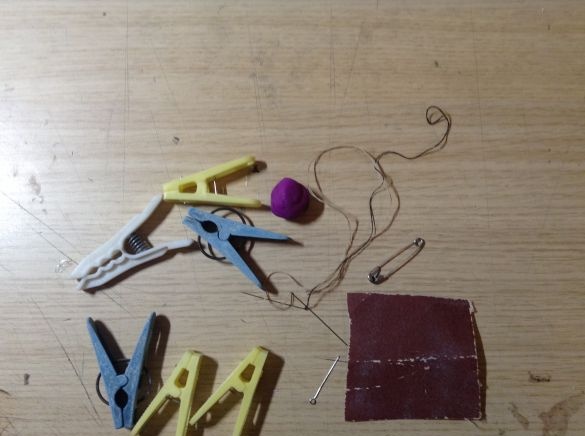
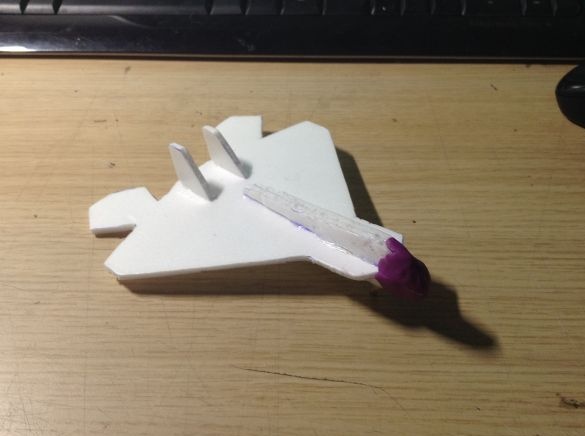
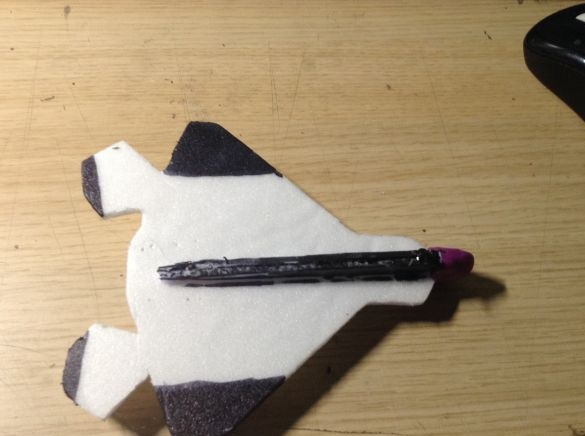
In this article I will show how to make flying model aircraft made of ceiling tiles. In order to complete the work we will need the following materials and tools:
- Ceiling tile
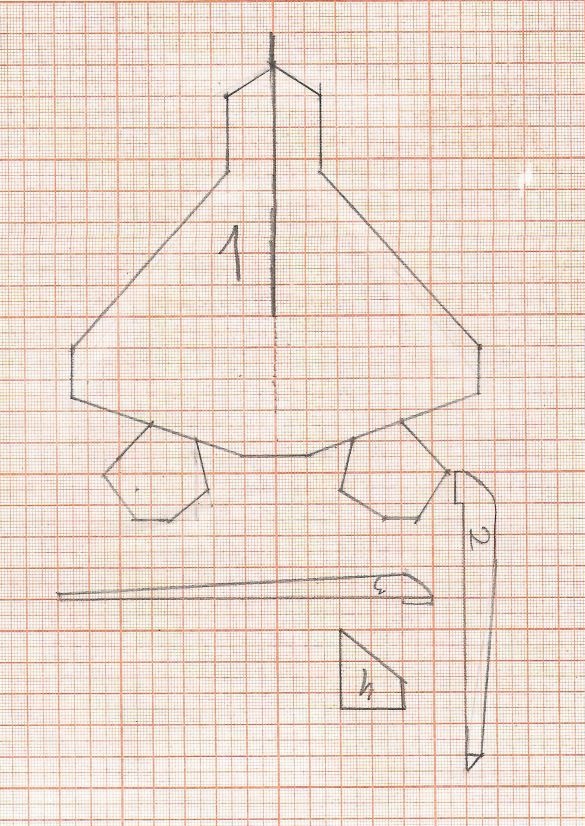
- Drawing (shown just below)
- Match
- Clay Titan or PVA
- A pen
- Awl
- Stationery knife
- Clothespins
- A piece of plasticine
- Needles
- Fine sand paper
Step 1: cut out the patterns according to the drawing.
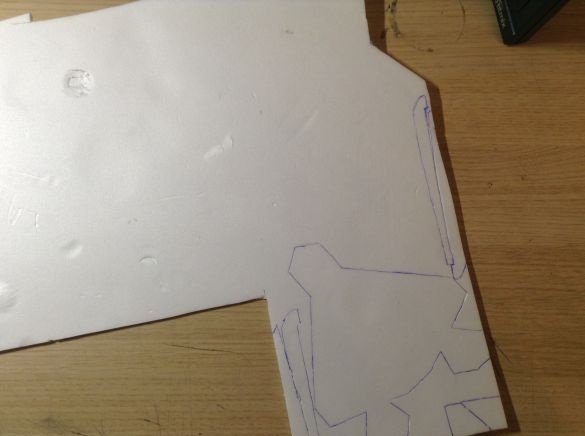
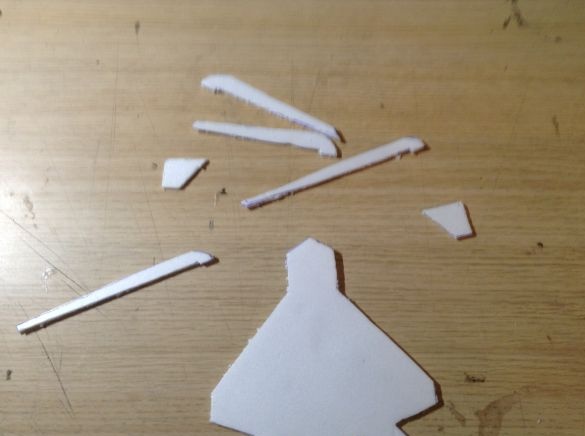
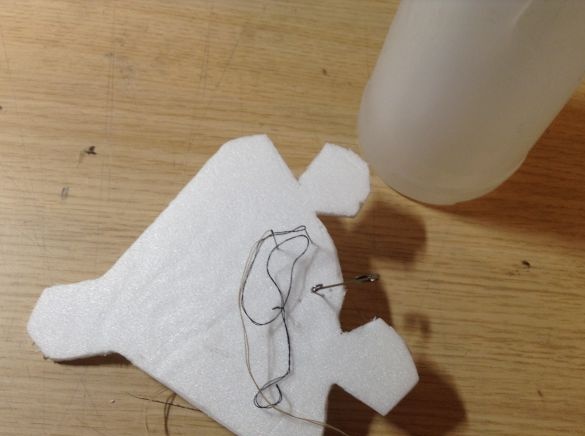
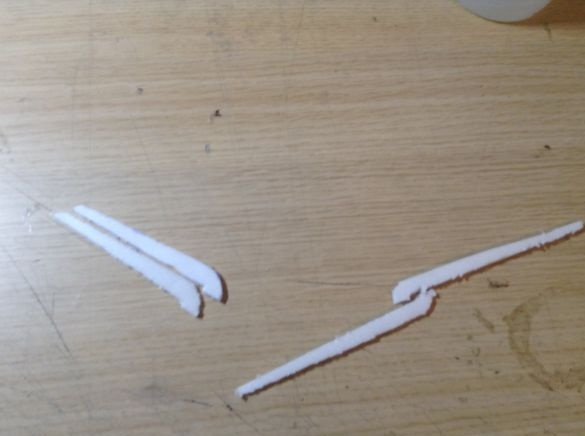
Step 2: we apply the cut out patterns to the tile, circle and cut out. All details except for part 1 (they are all signed on the drawing) are cut out by 2.
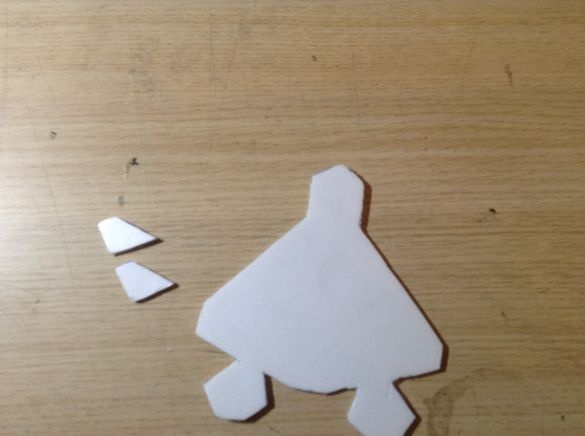
Step 3: We process parts 1 and 4 with sandpaper.
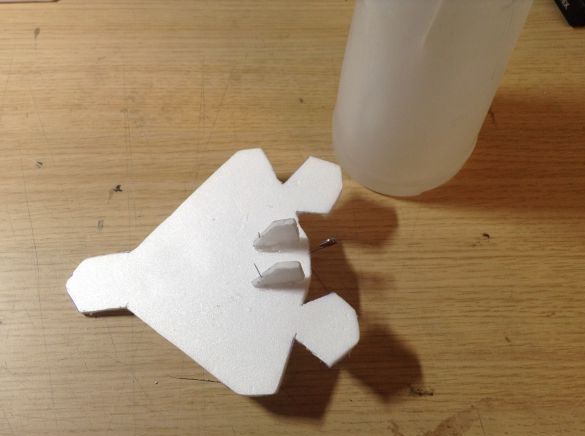
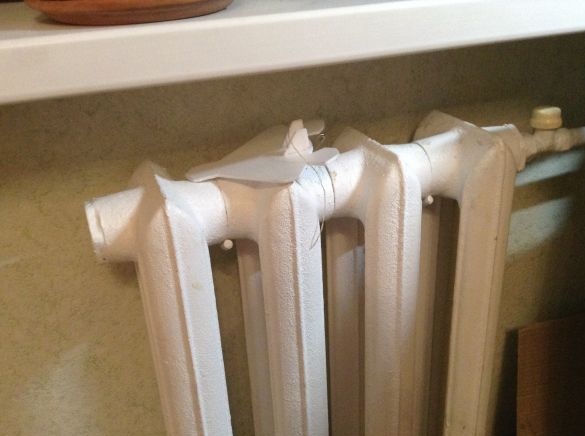
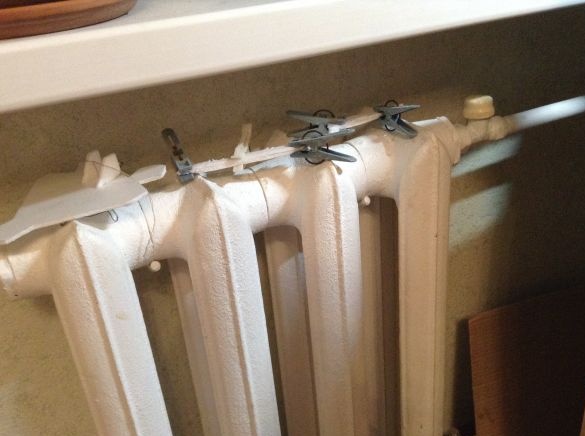
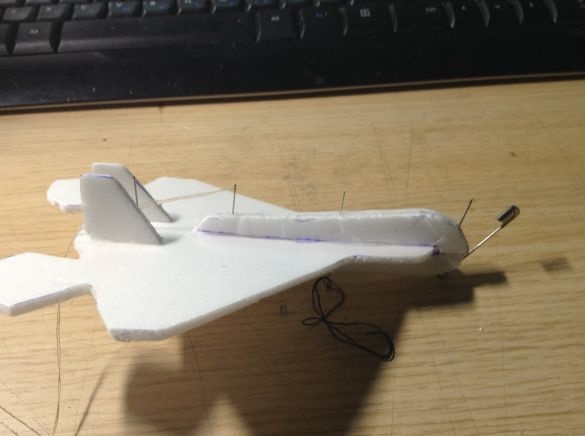
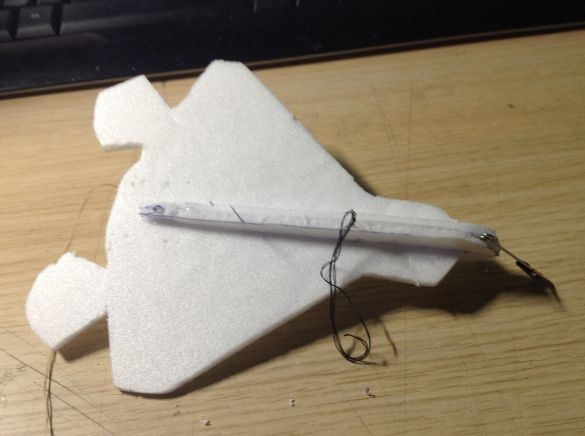
Step 4: glue them as shown in the photo and fix with needles. For faster drying, put the glued parts on the battery.
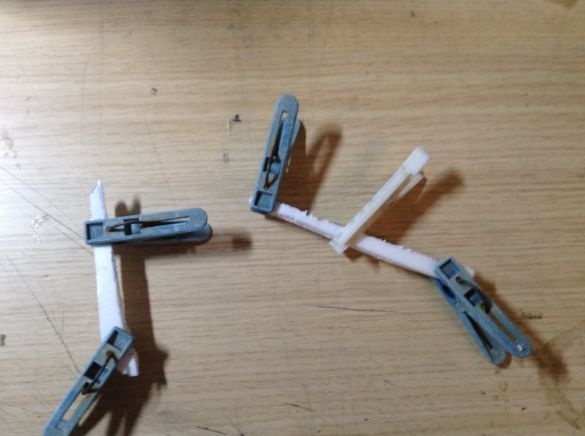
Step 5: parts 2 and 3 must be glued together and clamped with clothespins. We also put them on the battery.
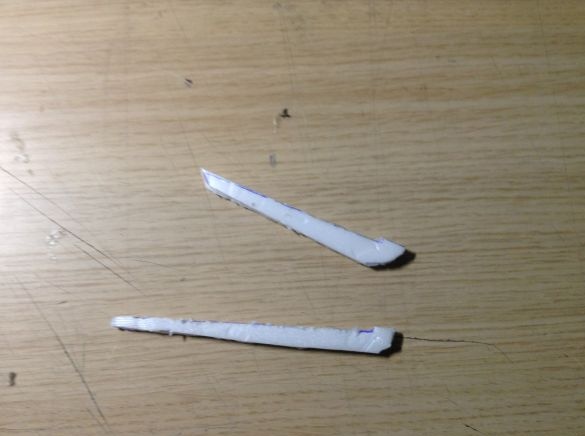
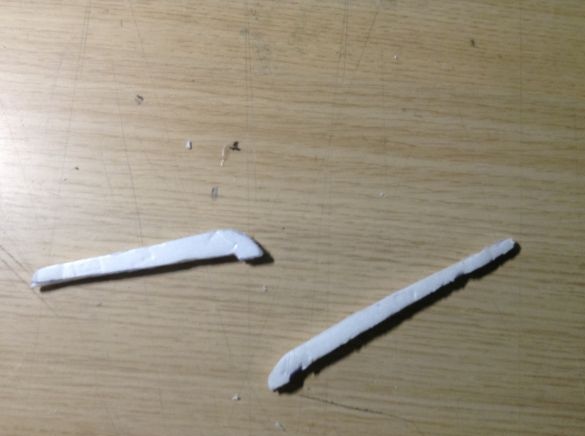
Step 6: after the parts 2 and 3 have completely dried, with the help of sandpaper we fit them under the general profile.
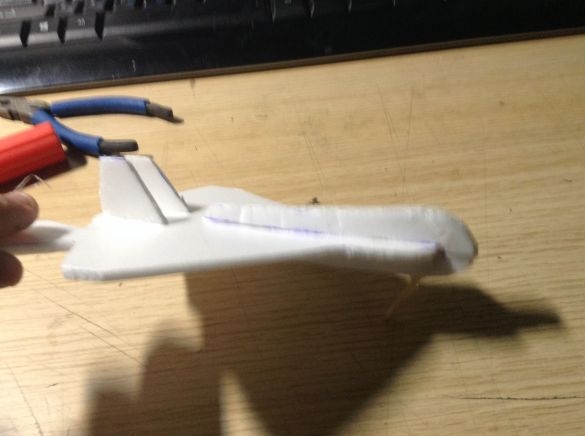
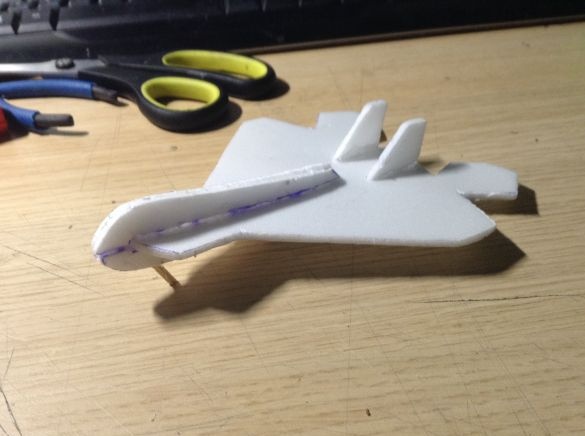
Step 7: remove parts 1 and 4 from the battery and glue the other parts to them as shown in the photo.
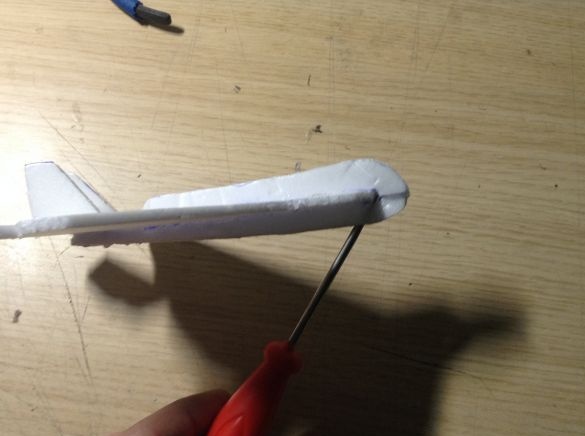
Step 8: when all the parts are stuck together, in the lower part of the nose of the aircraft you need to make a hole with an awl and stick a match there without a sulfur head. Excess match length is cut off.
Step 9: stick a small piece of plasticine to the nose of the plane. It is needed so that the plane does not slow down with air.
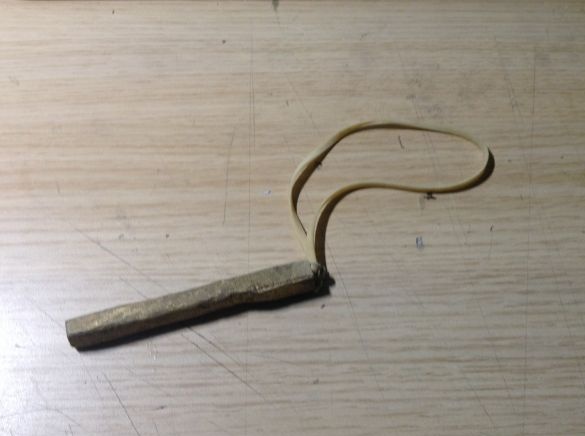
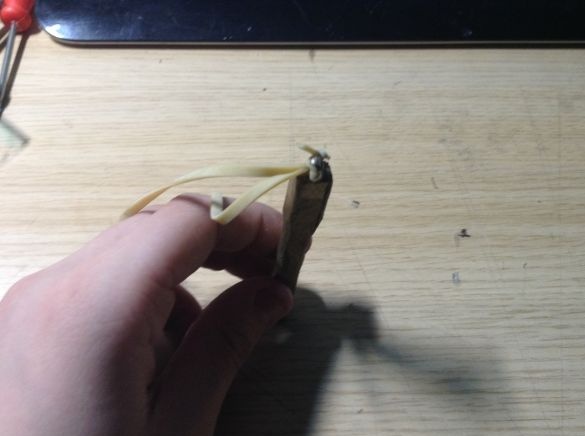
Step 10: to launch the aircraft we need a special slingshot. To make it you need:
- small fist-length timber
- awl
- screw
- elastic
The bar is rounded with sandpaper. In the upper plane in the center a small hole is made with an awl where the bolt will be screwed. We do not screw the bolt to the end, we leave the distance between the bar and the cap of the bolt 3 mm. At this point we tie the elastic with 3-4 knots. Unfortunately, there is no photo of how I did it (I did it about 3 years ago).
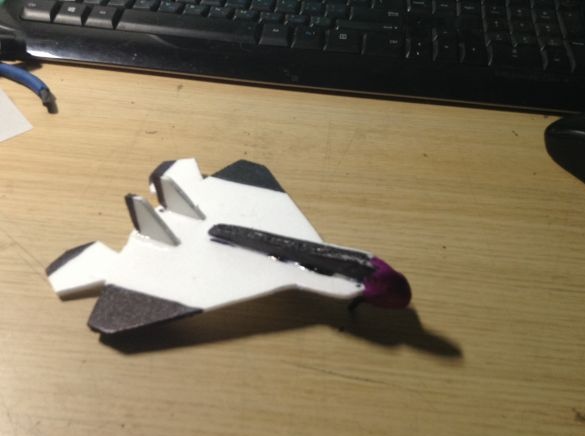
Step 11: decorate the aircraft. The aircraft can be painted with permanent markers. If painted, it will become heavier.
Step 12: model setup and troubleshooting. If the plane decreases rapidly during flight, remove a little plasticine or bend the stabilizers slightly up (located at the end of the plane, marked with a marker). If you make a loop - lower the stabilizers down. If you make a “barrel” (spiral movements around the axis) - bend the aileron (rear end of the wing) of the wing toward which the “barrel” is being made.If the plane sharply turns in any direction - turn the back of the keels (marked with a marker, located on the top of the plane) in the opposite direction. For other questions, write in the comments.
In the friends campaign, you can hold competitions on these models in length. Also, everyone can make such an airplane model. I wish you success in creating this crafts!


