

I ordered both relay options at once.
Smaller and cheaper W1209 costs not much more than 100 rubles.
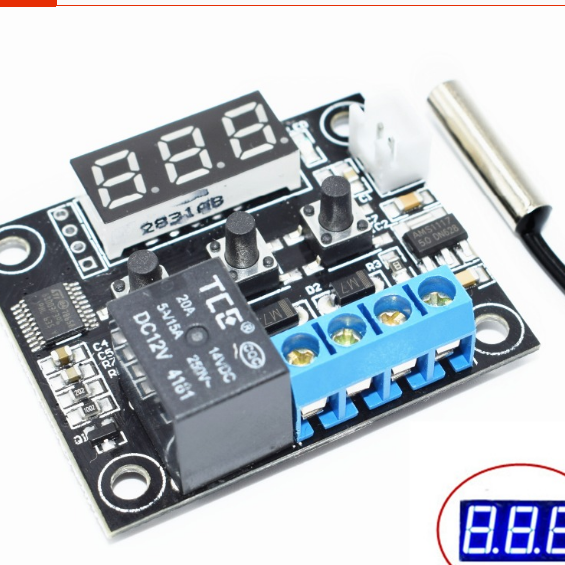
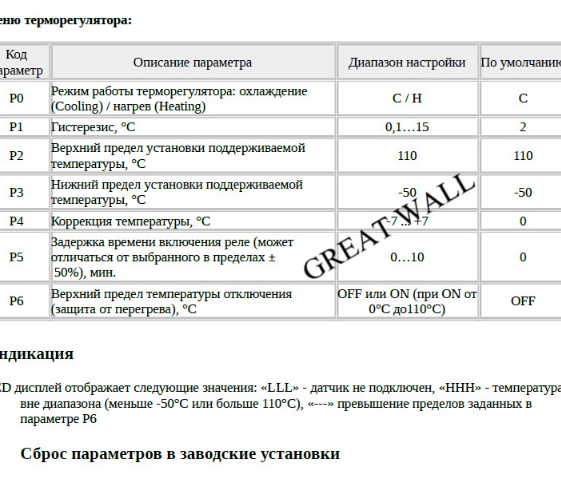
But the way to configure it is complicated. You need to have a printout of the settings table on hand.
I was never stopped by the lack of instruction. Poking at random menus with my finger is my calling. But still, this tuning method is far from ideal. In addition, if you mediate between Chinese craftsmen and the end user (whom such a complicated way can frankly scare), this device loses its attractiveness.
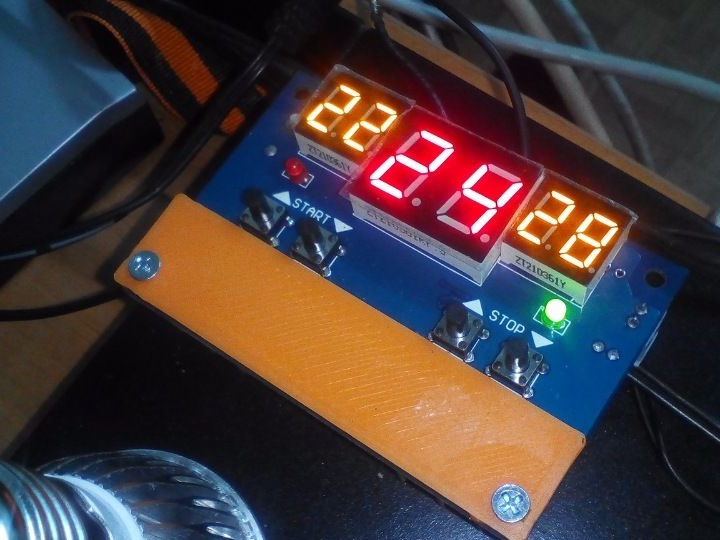
And here the big brother of this controller - the W1401 thermal relay () becomes more and more beautiful. It costs not much more - about 200 rubles, but it looks much more textured, thanks to the presence of as many as 3 LED displays. But the main thing is ease of setup.
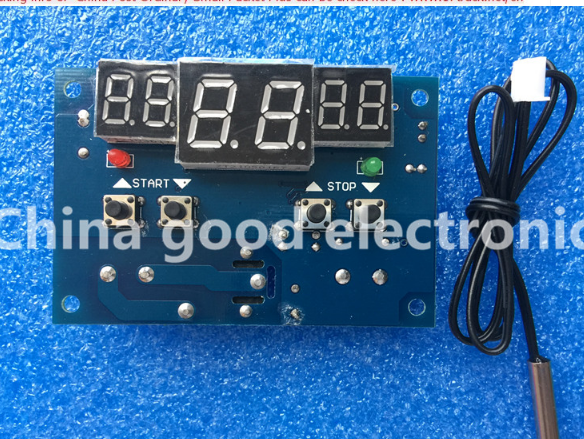
Like the previous controller, this can work with both heating elements and cooling / ventilation systems. But here the setup comes down to fairly simple steps. Under the left indicator, use the up / down buttons to set the temperature at which the relay closes. The central indicator, which is much larger, displays the current temperature. The right pair of buttons sets the relay opening parameter. It would seem beauty!
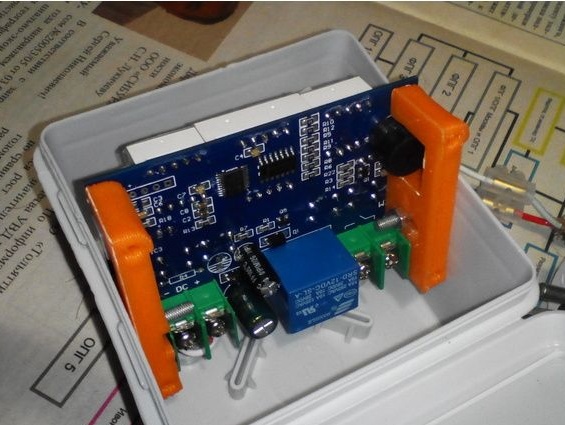
But there are also unpleasant moments. In the lower left corner of the board are two wide tracks with soldered legs. There will be 220 volts on these legs, because this is all from the relay. With a flick of the wrist, instead of pressing the settings button, you can touch a live contact.
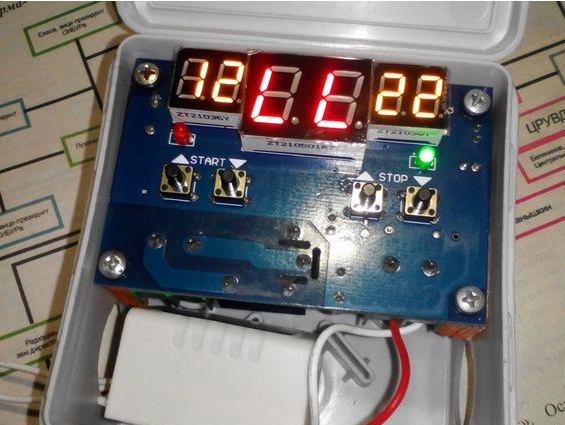
I decided this quite easily by printing out the protection.
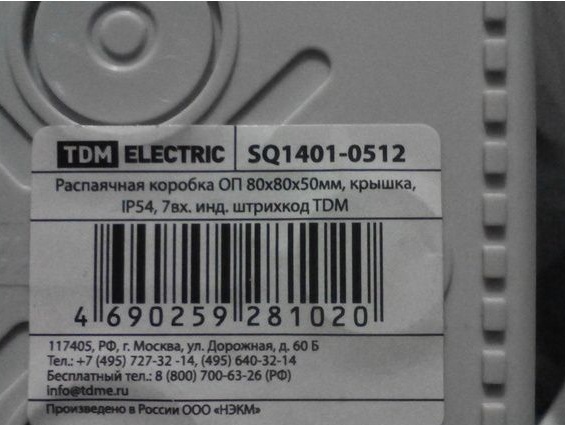
Another point inherent in both relay models is the need for a 12 volt power supply and a power of at least 1 ampere. Polampernye do not light these devices. If we consider from the point of view of the end user of this product, it begs the use of compact power supplies built into one housing with the relay itself.As a case, the easiest way is to use a box of 80x80 mm, which is available almost everywhere. The size of the W1401 board seems to be made for it.
Although still cramped. And it’s not convenient that all screw connectors for wires are located on the back of the board. The issue is decided by the manufacture of a rotating adapter bracket.
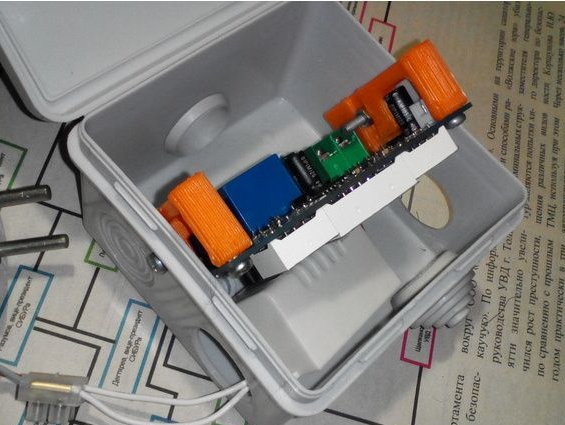
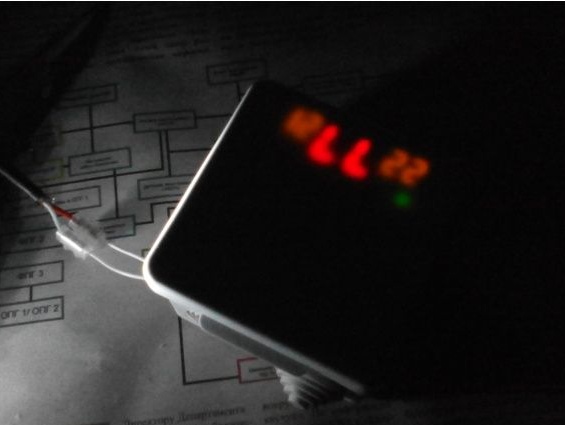
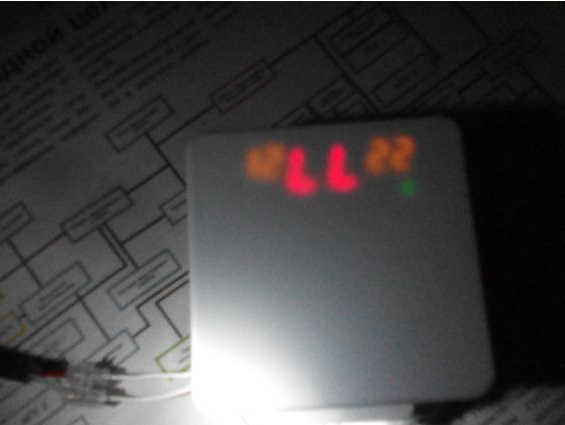
As you can see, the readings of the left and right scoreboards are more blurry. This is because there is a gap between the cover and the surface of the indicators. The main central indicator shines acceptable. I note that at the time of the photo shoot the thermal sensor was not connected, so it seems LL instead of numbers. So here. when the device is assembled, oval holes allow the temperature controller board to be positioned so that the large indicator abuts against the box cover after it is closed and tighten the screws that secure the brackets to the case.
The lid of the box opens without much difficulty. Yes, and that climb there once again. It’s not necessary to configure every day.
The brackets and the protective plate are not large in size. Plastic consumption for manufacturing and printing time are not significant. The cost goes penny.
The costs of the final product are as follows:
Thermal relay module ....... 200 r
BP 12 volt 1 ampere ... 170 r
Box 80x80 .................. 50 r
3D printed parts ....... 100 r (average ceiling value taking into account printing time)
Assembly of 1 person / hour ............. 100 r (more than enough)
Terminal blocks ........... 10 r
Screws, nuts m3, 6 pcs. Each 20 r
The cost of manufacturing the final product is 650 p. With a 3D printer, of course. Although, if you order printing on the side, the cost will be 100 rubles, perhaps. After all, a particularly high quality print (and therefore production time) is not necessary.
The market value of such a device will be at least 1000 p. for friends and acquaintances. In stores, temperature controllers with digital display come from 2000 r. Your price, for example, at 1500 r, will include the replacement of a guarantee fee if necessary.