In this article I will describe how to make the simplest bugnack. Yes, it’s not perfect, and perhaps it can’t be weapons, just a decoration, a way to show off to your friends your little forging skill or to amuse yourself with the process of manufacturing the product and getting the result. Bagnak can be brittle due to the use of soldering and quickly dull due to the use of insufficient carbon iron, but it is quite simple to manufacture.
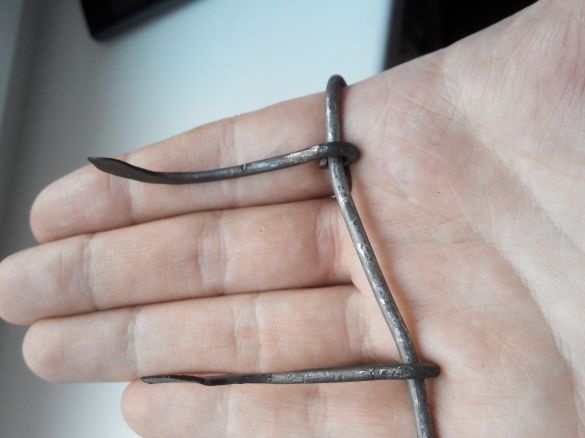
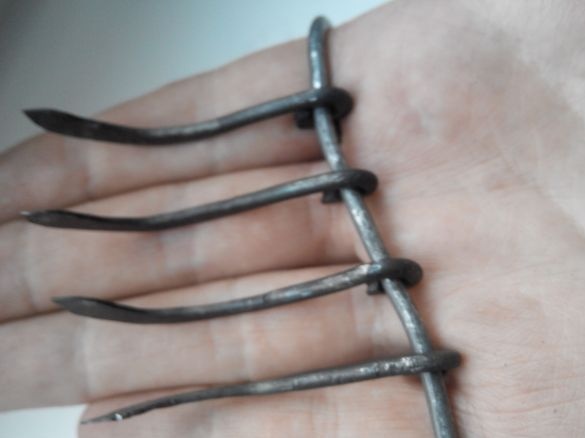
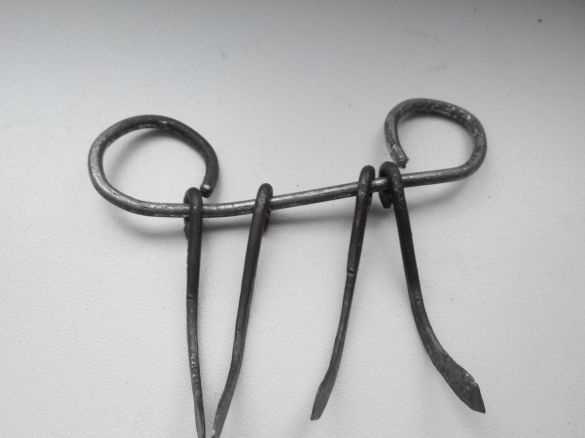
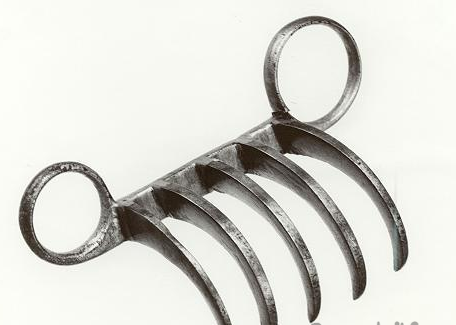
Bagnak (Bagh Nakh), - Indian edged weapons - artificial claws worn on the hands. The word Bagh Nakh in Hindi means "tiger claws." Bagnak consists of several spikes connected by a plate with rings at the edges. Dressed on the hand, such claws remain invisible to the enemy. Only two rings are visible on the outside of the fist, on the index finger and little finger. There are options for a bugnak with ties at the ends or with holes for the central fingers of the hand. The number of claws varies from three to five, and the metal plate to which they are attached sometimes protrudes from one or both sides of the fist, turning into points.
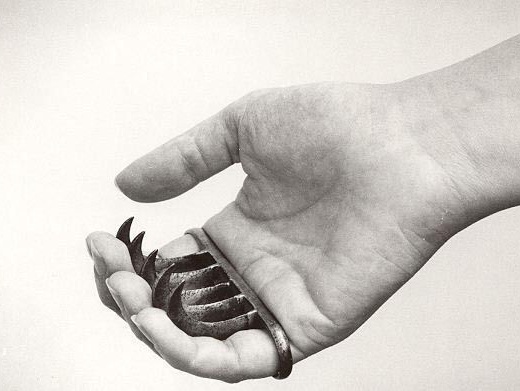
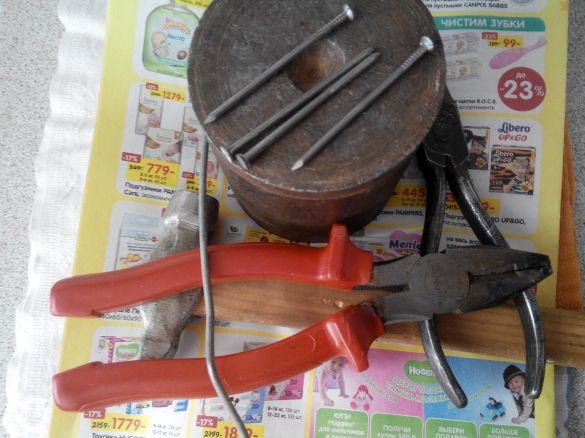
Materials:
1. Nails
2. Steel wire 2 mm
Instruments:
1. Hammer and anvil
2. Burner / stove / high heat source
3. Soldering iron and all related
Manufacture:
Step 1: foundation
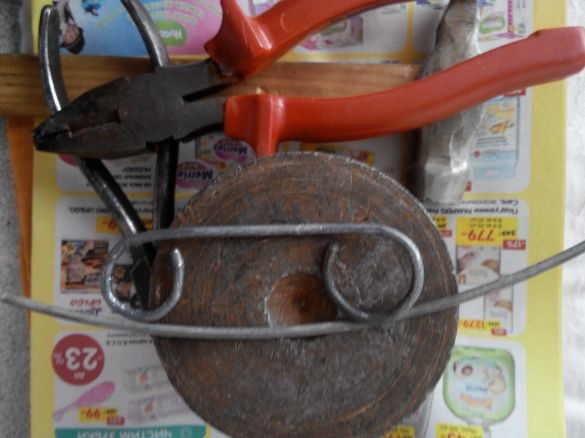
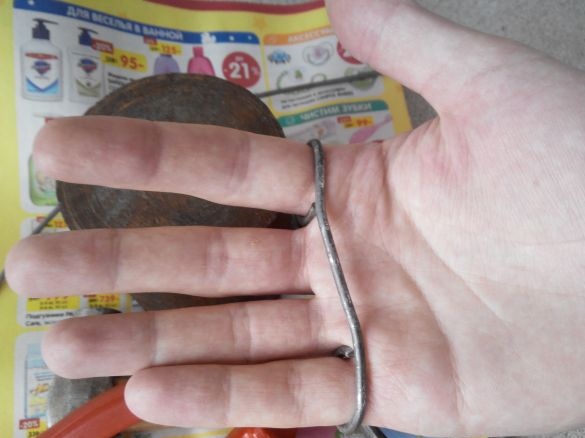
Let's start with the manufacture of the base, for this we take the wire, pliers and a hammer. We bend two rings from the wire under the index finger and little finger.
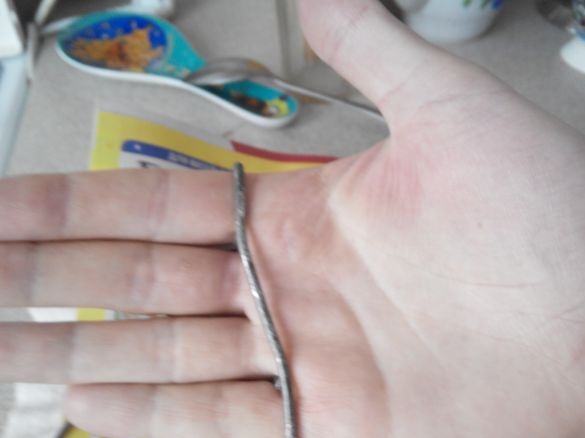
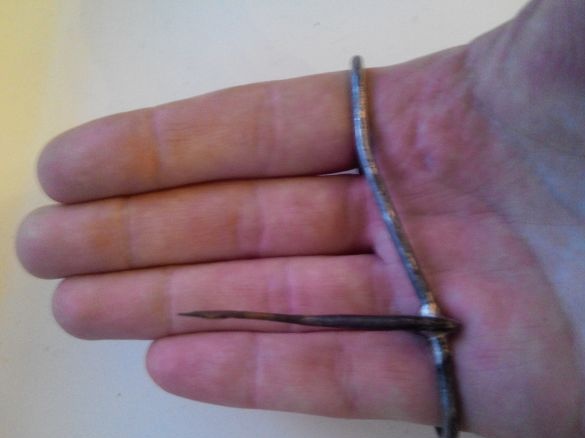
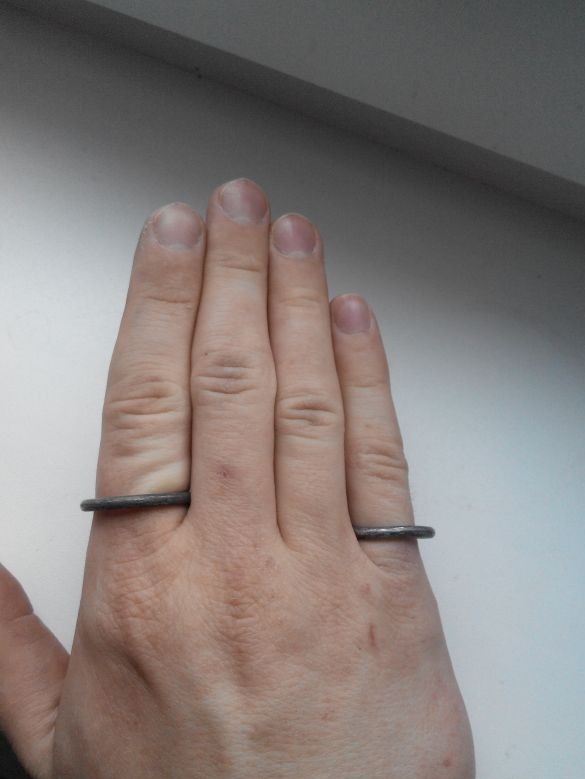
And now a small, but rather important nuance: for plausibility, the rings should be parallel to each other on the arm. To do this, you need to slightly bend the wire, as in the photo:
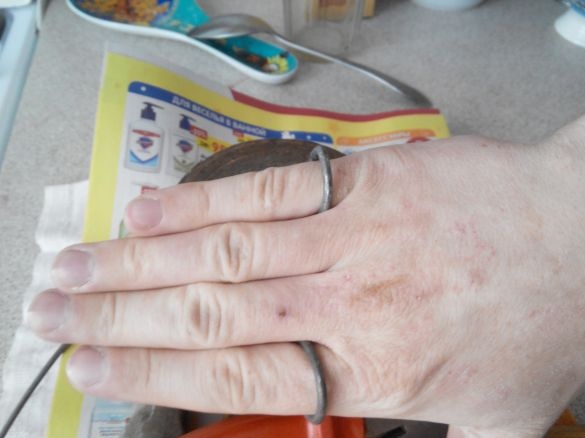
You also need to make sure that you are comfortable and not hurt, so that the mobility of the fingers is preserved and the product does not fly off your hand. To do this, check with spread fingers.
Another important point: do not bend the rings to the end, you need to have gaps, they will serve to strengthen our "blades" more firmly, or the gaps will serve to resize, for example, under the arm of another owner.
Step 2: the blades
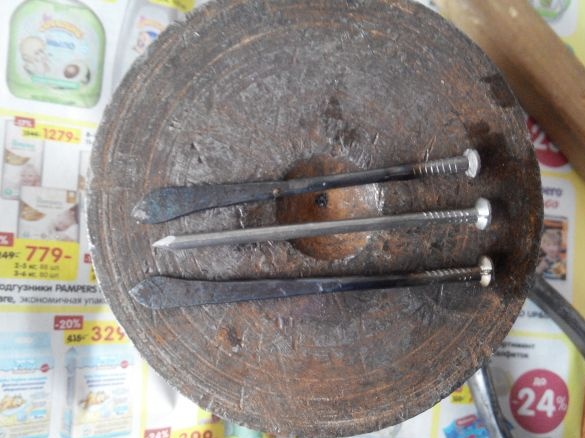
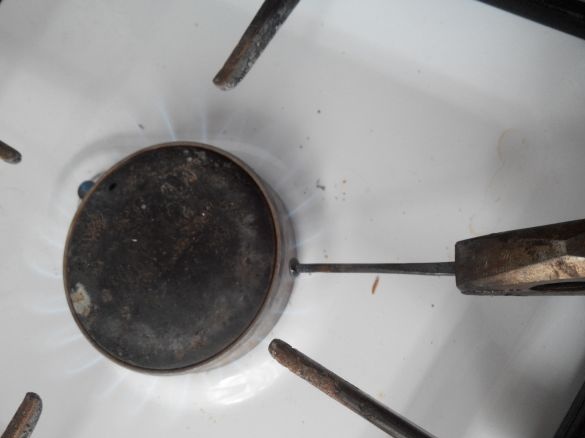
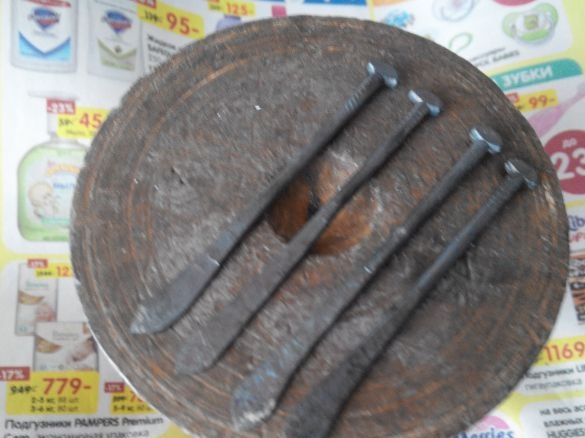
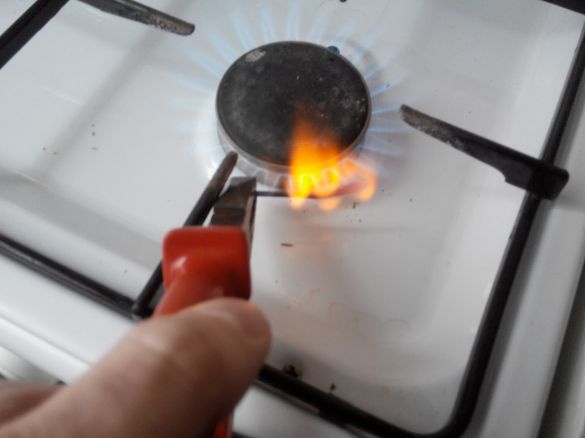
And now the funniest job begins: we heat the nails and flatten them with a hammer from the sharp end! You can also do this without heating, but I really did not like the result, and I had to make a lot more effort.
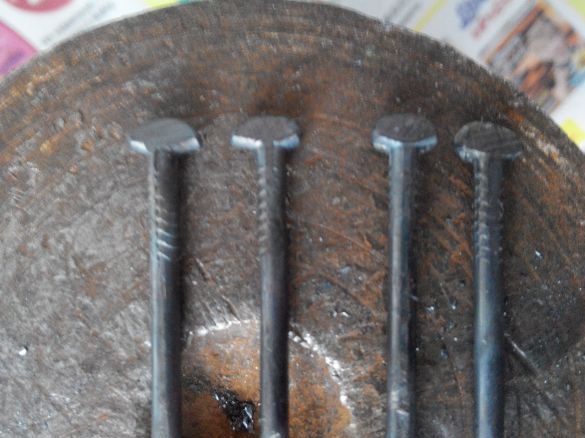
Flatten on the side of the hats of nails and bite off the half of the cap with nippers. This is necessary for greater reliability of the design.
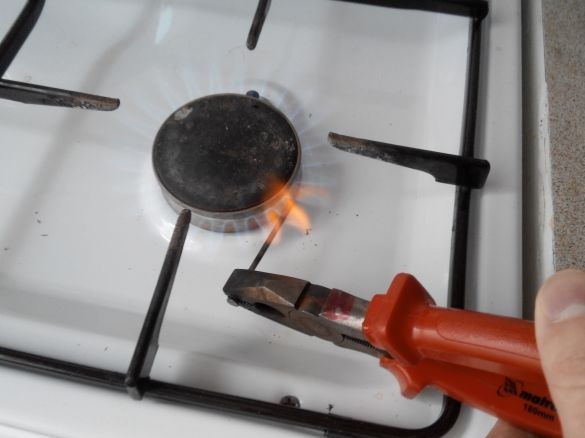
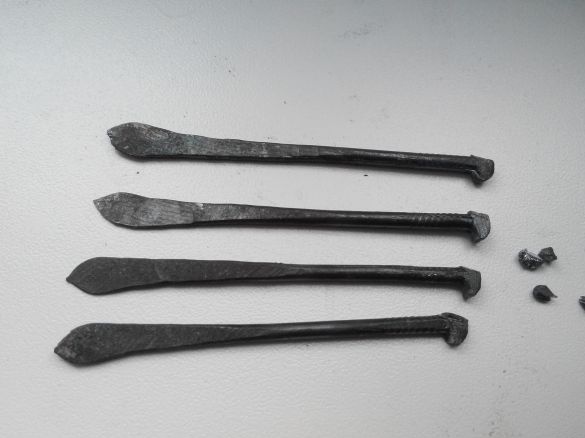
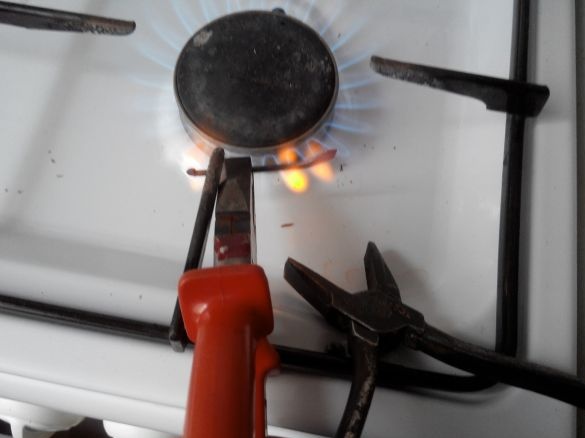
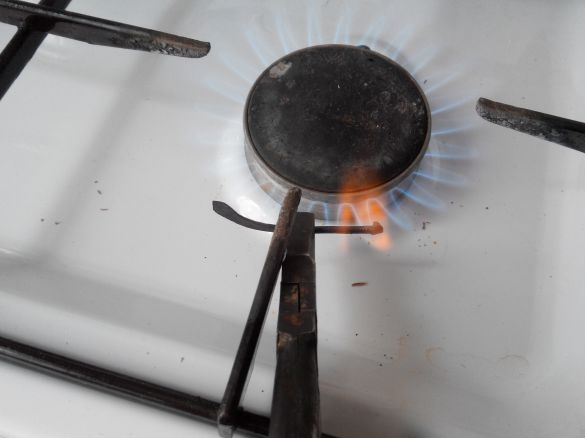
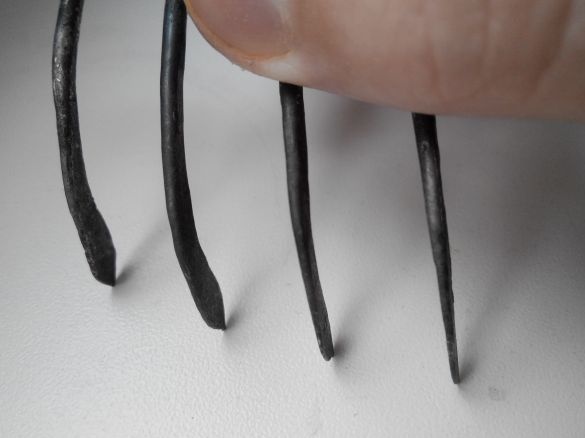
Again we heat the flat ends and bend them as in the photo, this can be done directly on fire, using two pliers.
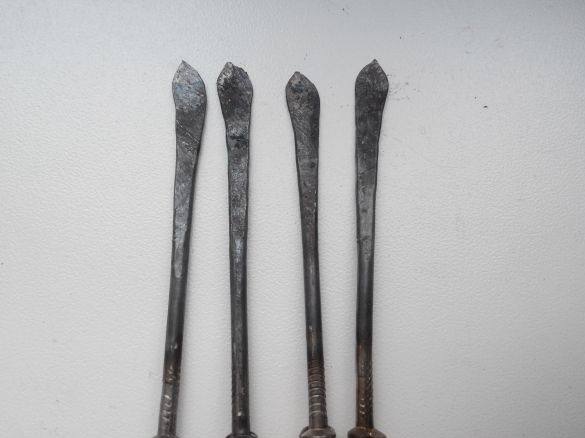
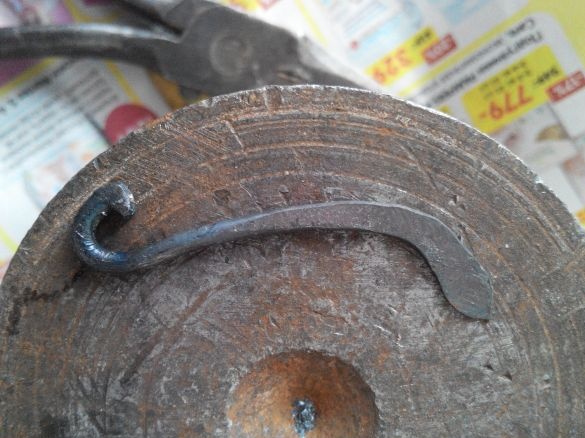
Then we heat and bend the nails from the end of the caps in the opposite direction. The following detail should turn out:
It is necessary to bend the nails with the rest of the caps inside and not bend them too much so that they can be put on the base, and then clamped. Or put on the base with the help of the gaps left.
Step 3: Build
We dress our blades on the base and clamp them. I decided to put more emphasis on the strength of the structure and therefore put the extreme nails in the gaps.
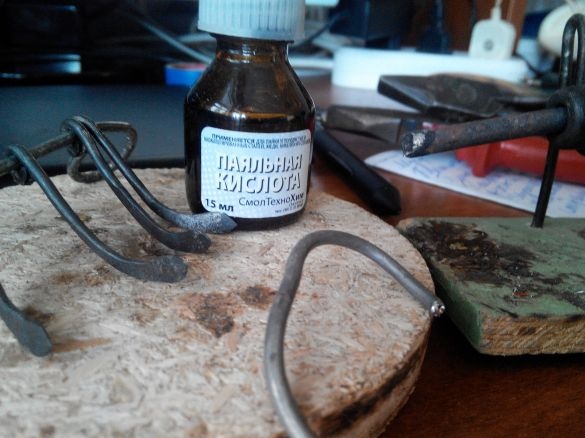
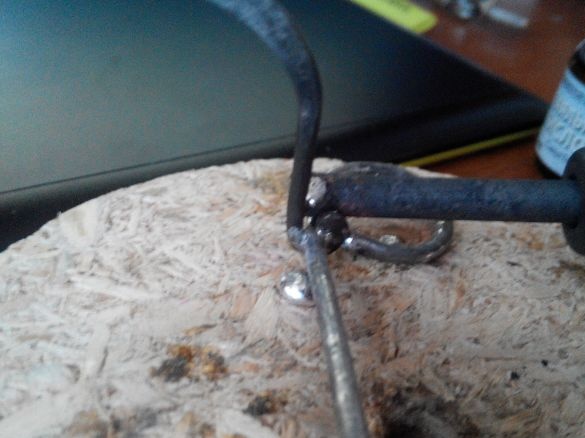
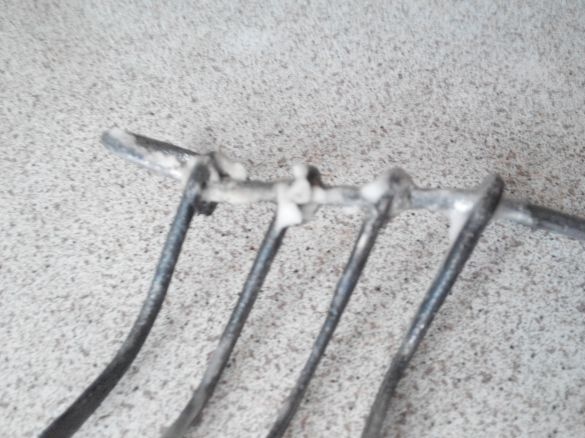
And now, perhaps the most pleasant: soldering. It is necessary to solder with acid. Solder starting from the extreme blades and pay special attention to the first blade, it should stand parallel to the fingers and so that the fingers support it, rest against it.
Then we solder the second, it should also stand up straight. The third and fourth blade is soldered along the already standing extreme.
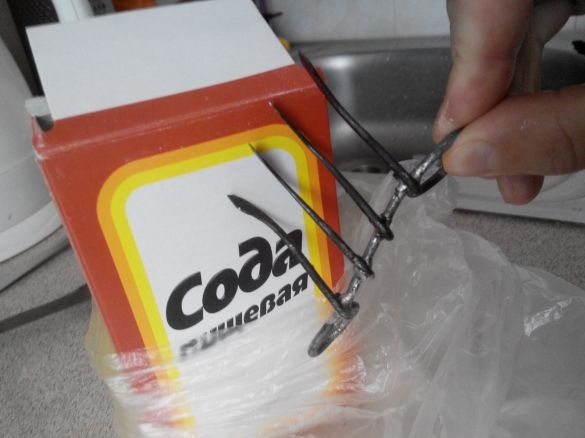
After soldering, we wash the soldering places with soda.
Step 4: final trivia
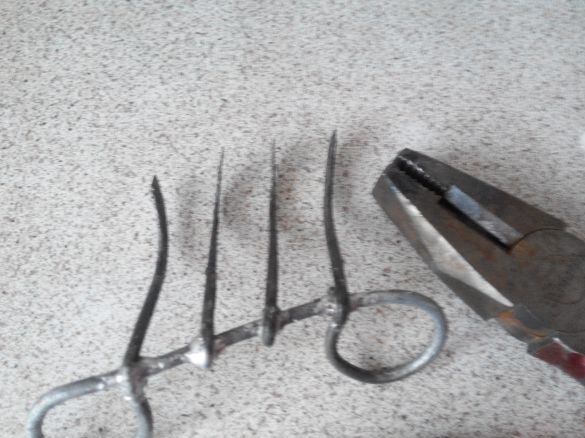
Our impromptu blades are not very even, we are straightening out with the help of pliers. It is necessary to make sure that they are all parallel and all touch the surface.
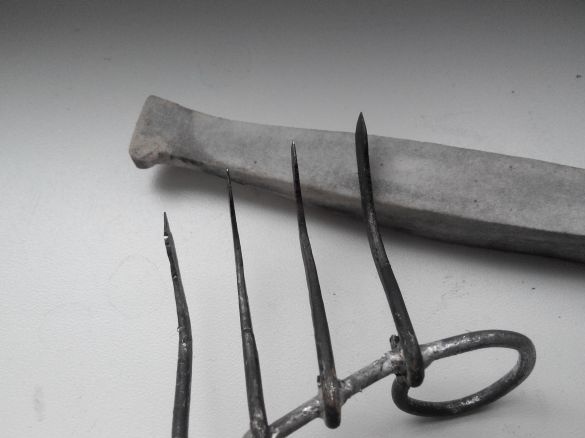
Next, we sharpen the blade with a grindstone. (This could be done before soldering.)
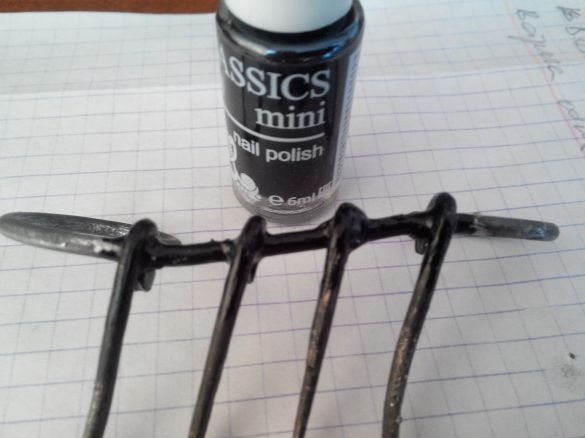
In order for the bugnak not to rust, coat it with nail polish.
Step 5: fitting
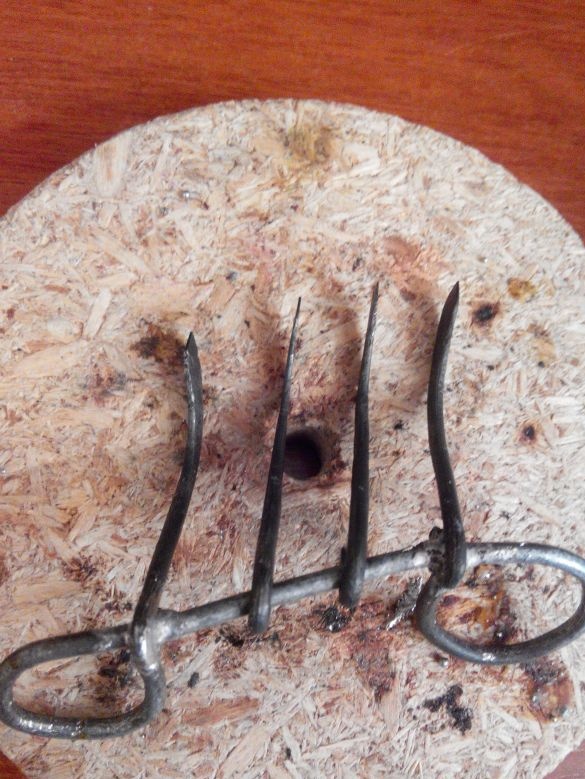
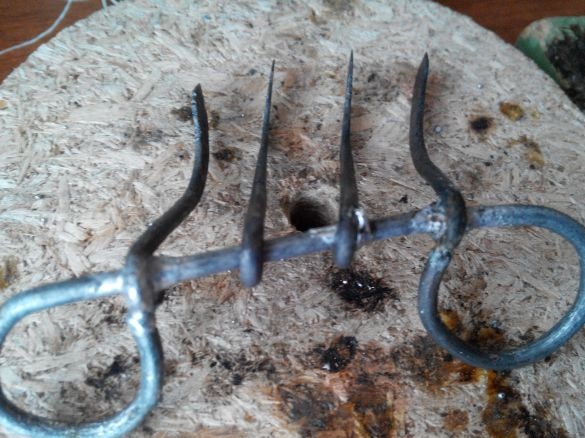
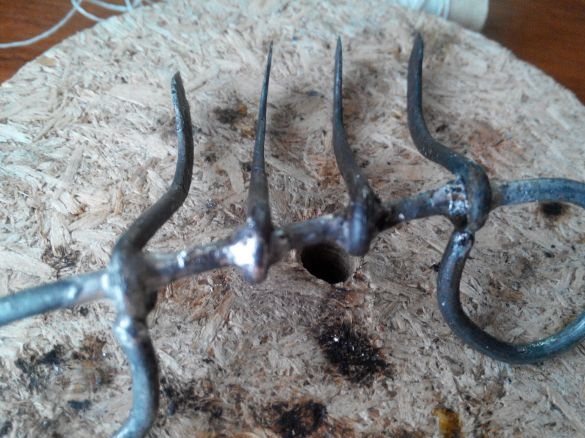
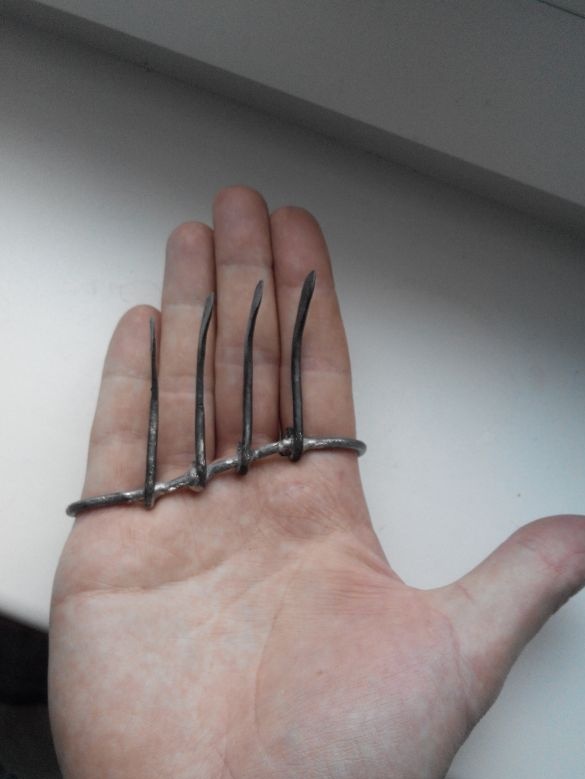
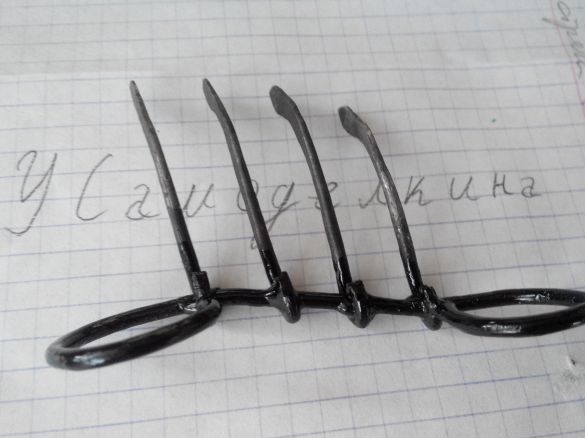
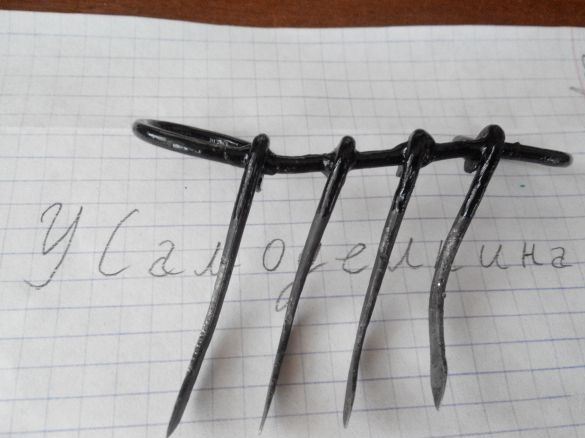
That's all! Our product is ready! It remains only to try on it! For me, it looks very personal! (Showing photos before painting.)
And in the end, we got such a beautiful product:
Bagnak may not be very functional, because our blades will become dull rather quickly, but then you will get a lot of pleasure from the work done!


