Today we consider how the author of this article made an acoustic shelf for a Muscovite.
You will need: Two sheets of particleboard (one sheet with dimensions 39x108x2 cm. Second 26.5x108x2 cm), Putties approximately 1.5 kg. Foam mounting somewhere and a half spray cans. Two furniture canopies, nails or screws, wood lacquer, and lining material.
Instruments: Stationery knife, file, drill, jigsaw, sandpaper, screwdriver or screwdriver.
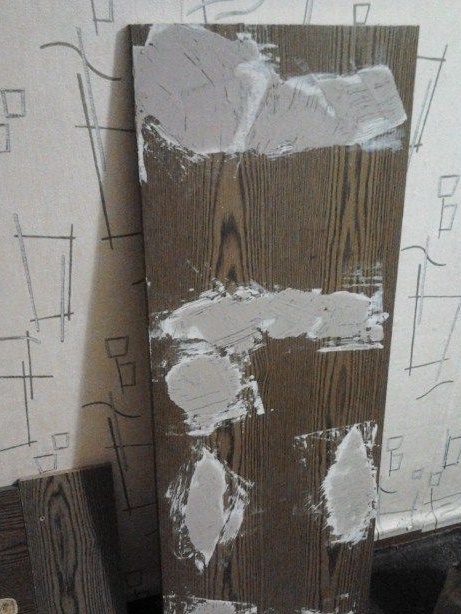
The author took chipboard from an old cabinet as a basis. Sheets need to be cut into two pieces, one part will rise, and the speakers will be mounted in the second. Particleboard needs to be varnished so that in the future it would not be exposed to moisture. Since the author of the chipboard from the cabinet had bumps and holes on it, we remove everything with the help of putty. Under each auto their individual sizes, the author describes the approximate sizes. On the second piece, the elongation on the sides was cut off.
The part where the speakers will be installed wider.
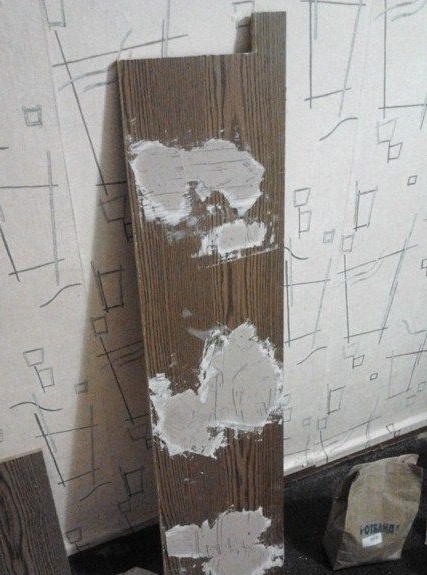
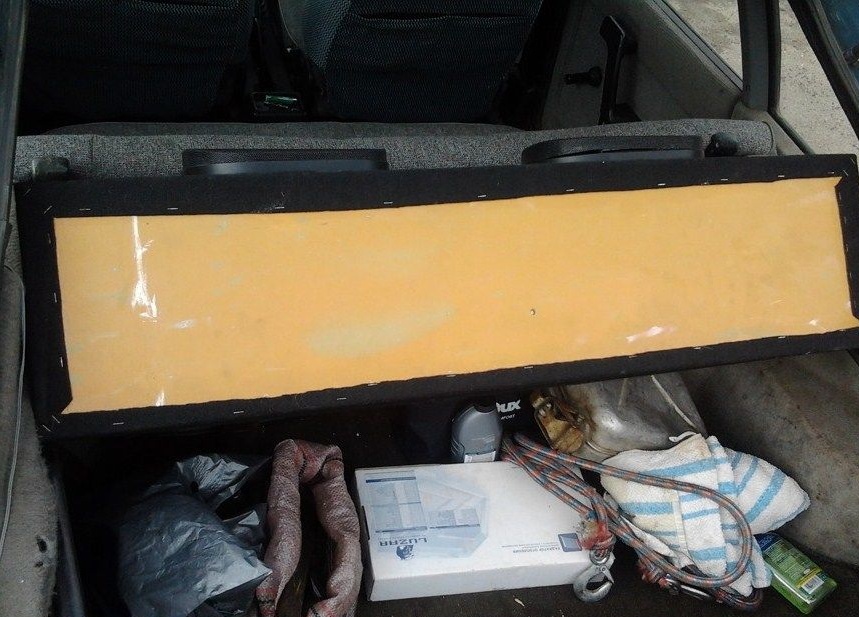
The part that will rise.
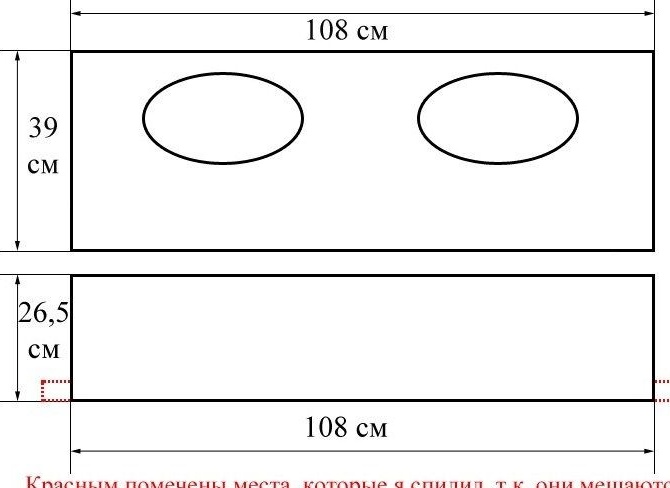
The approximate dimensions in the diagram.
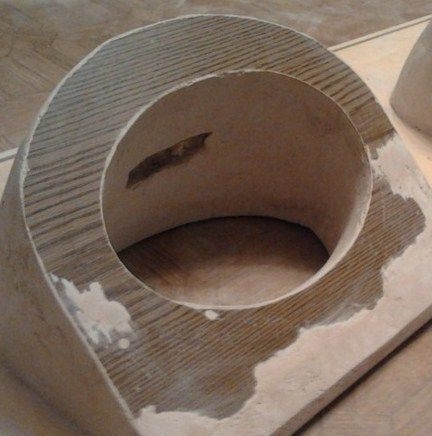
Further, all of the same chipboard needs to be done for the dynamics of the podiums. Using a ruler and a pencil, we make the markup of the dynamics can be used as a template. In order to start sawing with a jigsaw, you will need to drill a hole in the center.
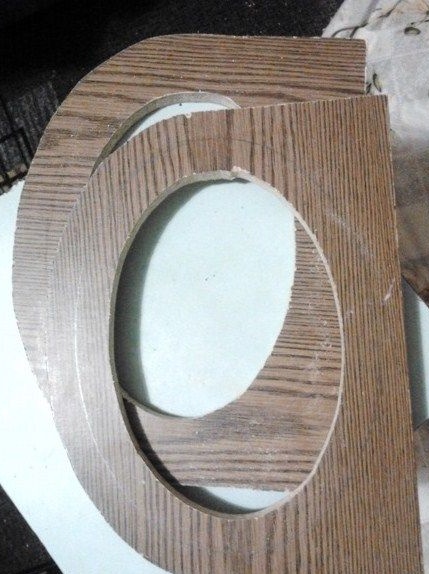
The same holes need to be cut out on the shelf itself.
For podiums, holders of 4 pcs are needed. The author made them from the remnants of particleboard. You can choose any angle at your discretion, the author has 45 degrees. We connect the holders and podiums with self-tapping screws, having previously smeared them with some kind of glue for reliability and fastened them to the shelf.
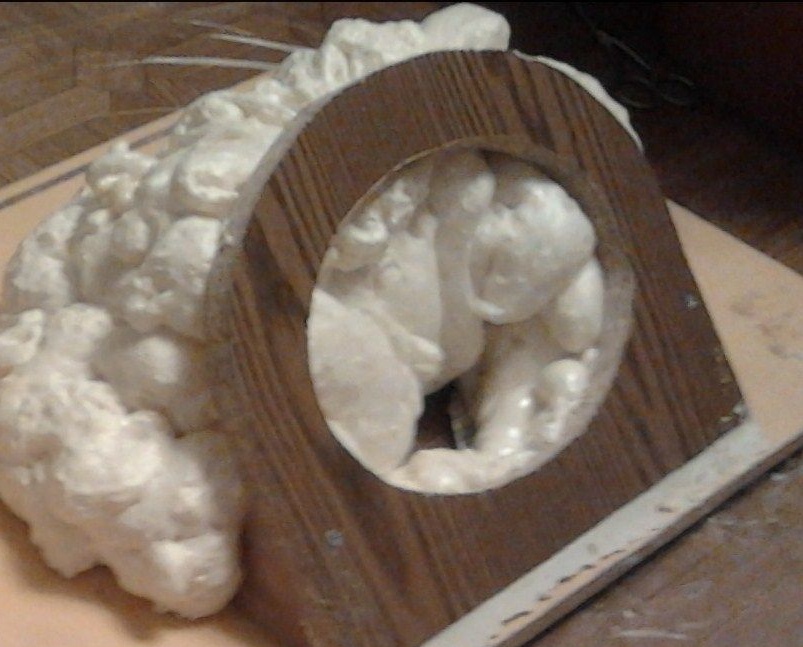
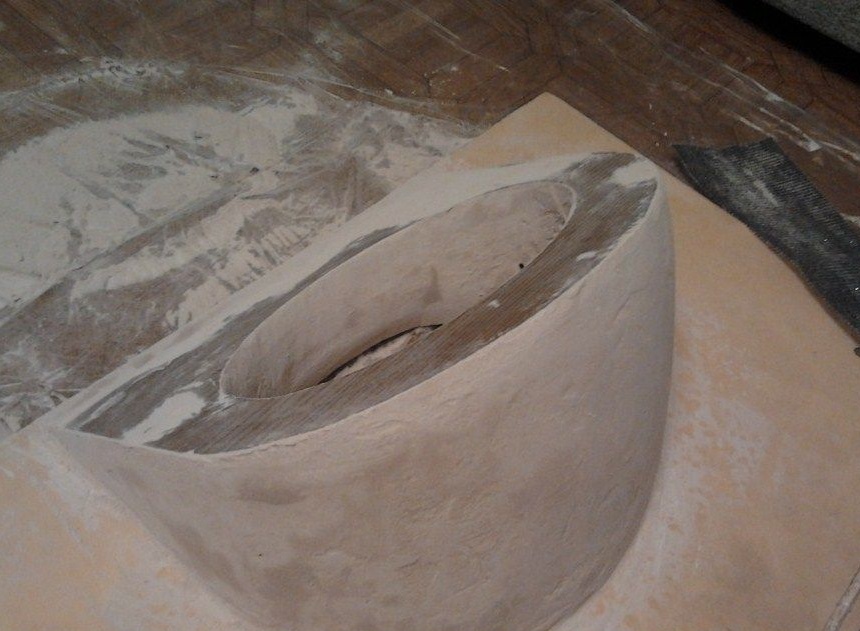
Next, the podiums need to be made voluminous, for this, apply foam in the form of podiums with mounting foam.
Before applying the next coat, the previous one should dry.
When the foam dries with a clerical knife, cut off all unnecessary. To make amends for all the bumps, the author puttied. After everything dried well, he polished with sandpaper.
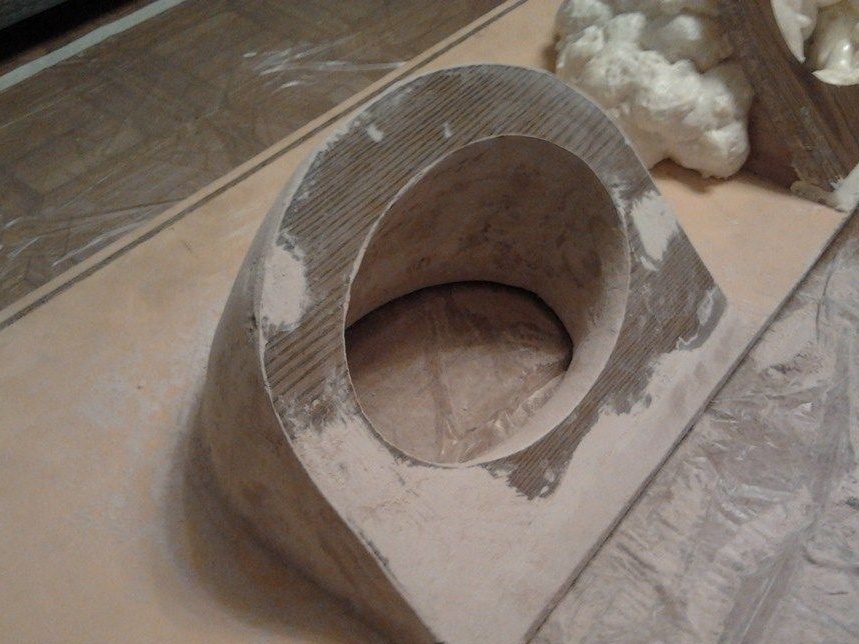
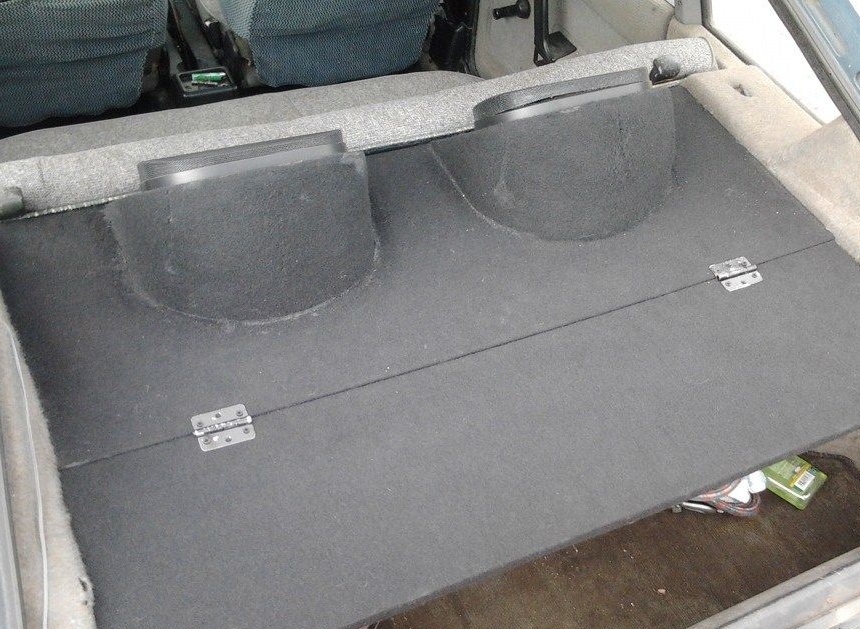
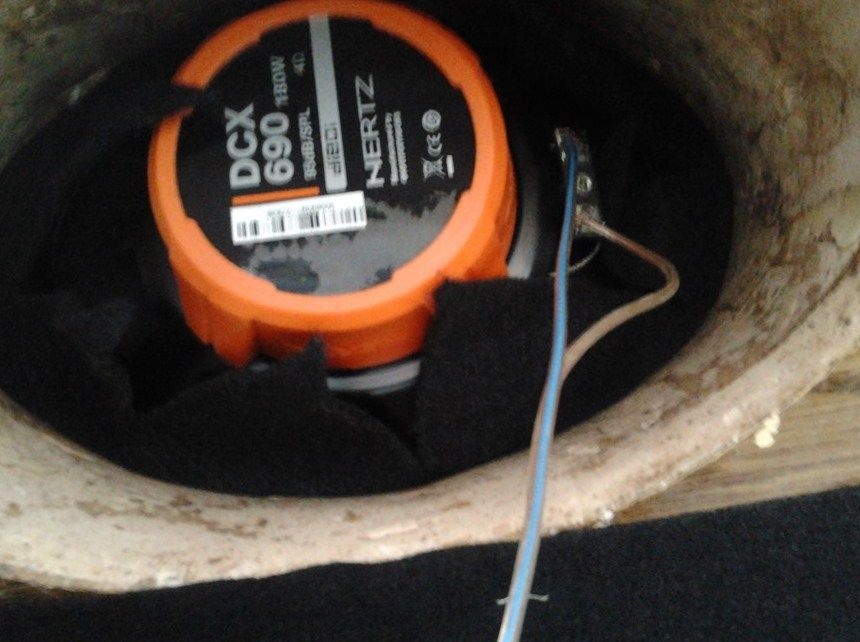
Everything is ready, you can try on the speakers.
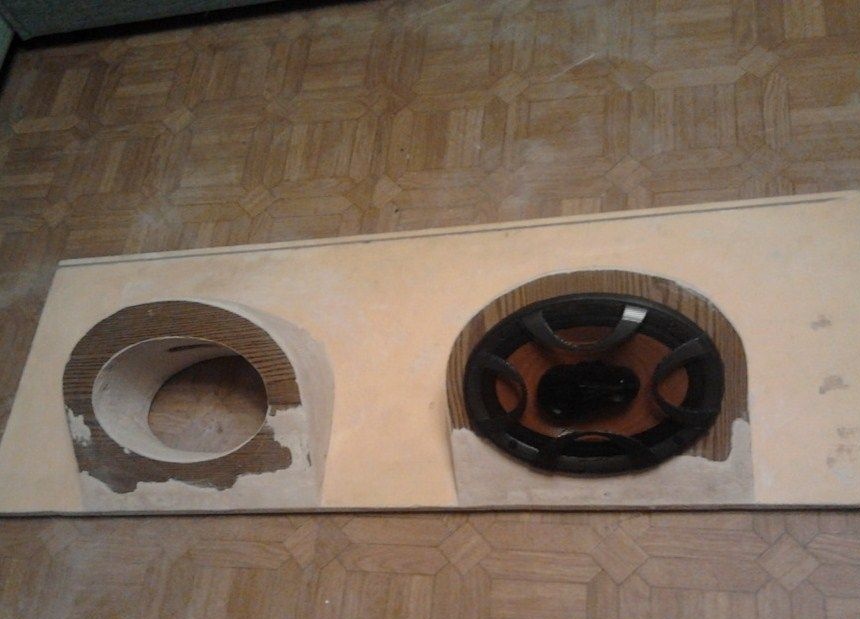
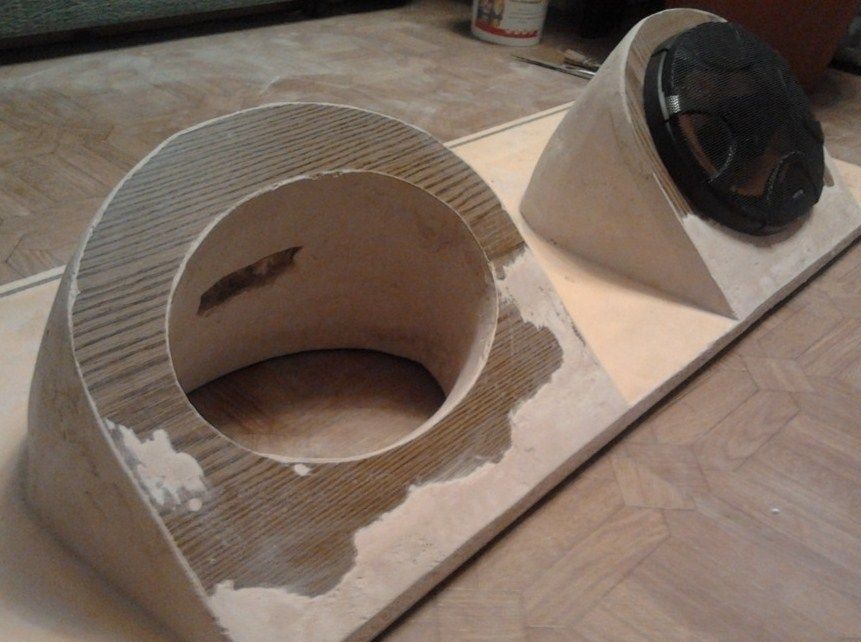
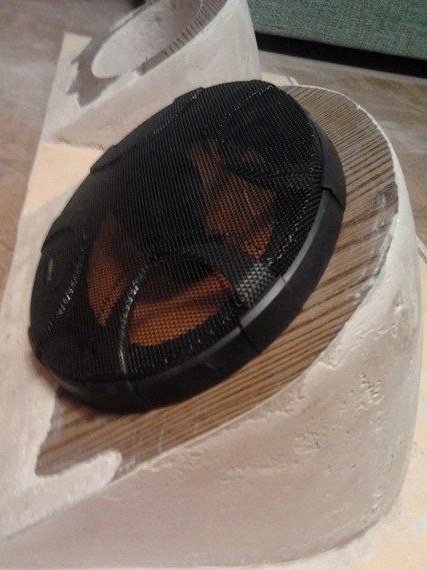
If the speakers have become normal, you can proceed to the next stage, covering the material.
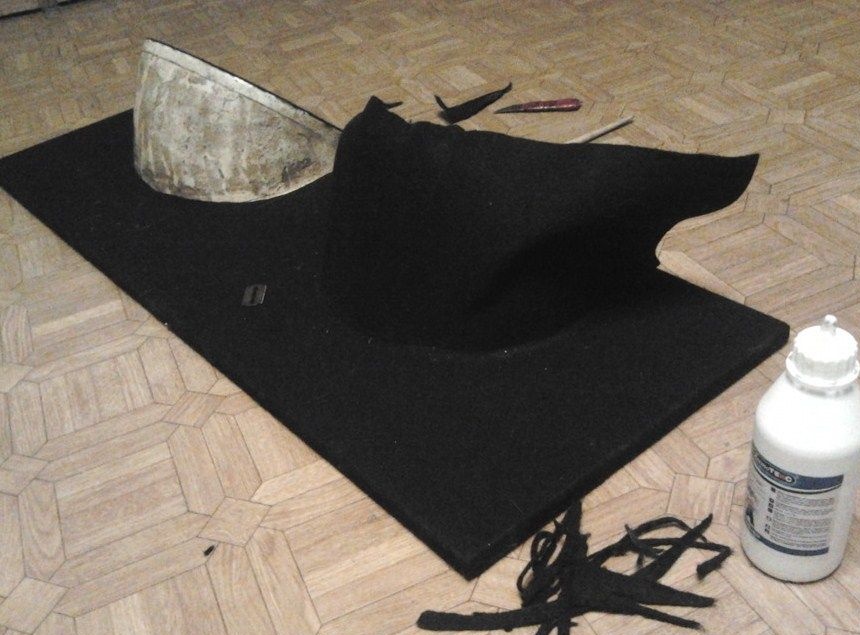
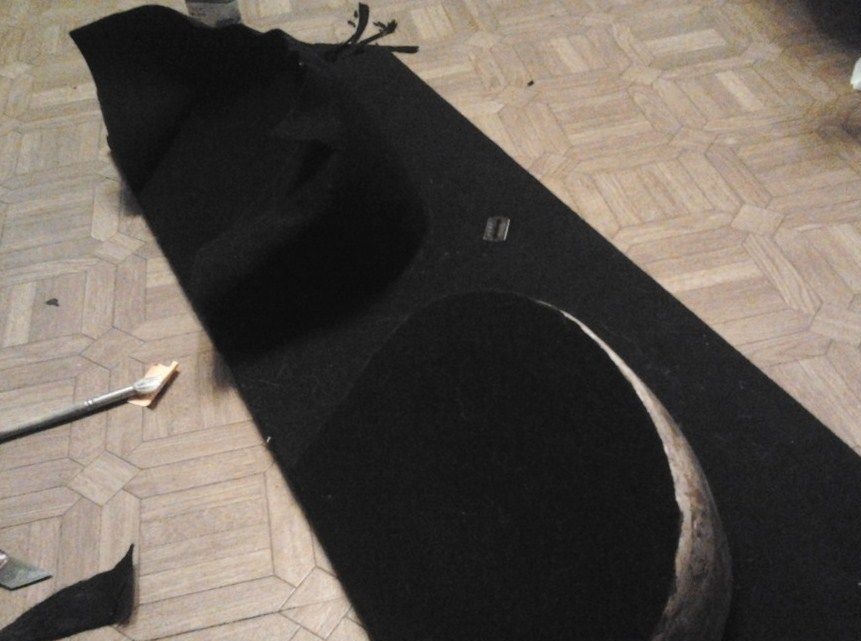
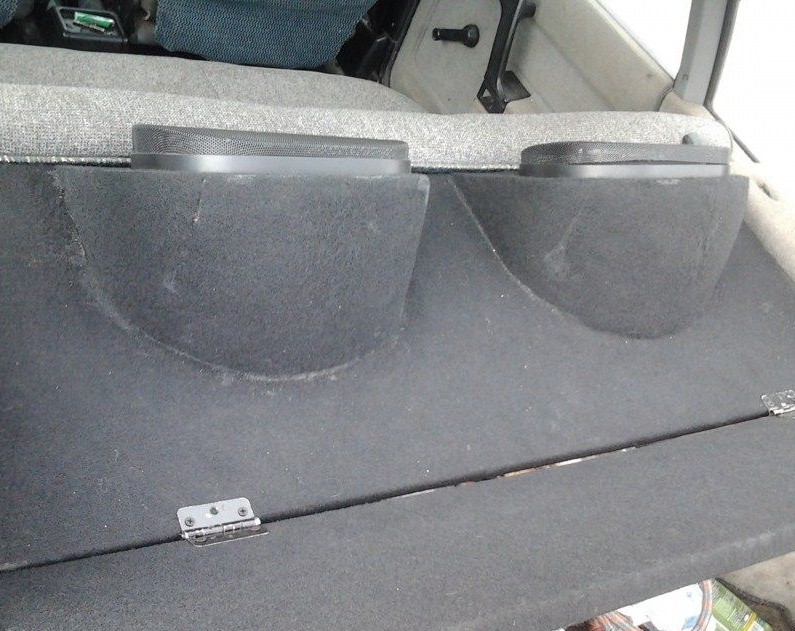
The shelf is sheathed only on the outside. Speakers are connected from below, in the hole.After complete sheathing, you can screw the black hinges, but the author painted them separately (the usual color of the metal does not fit in any way.)
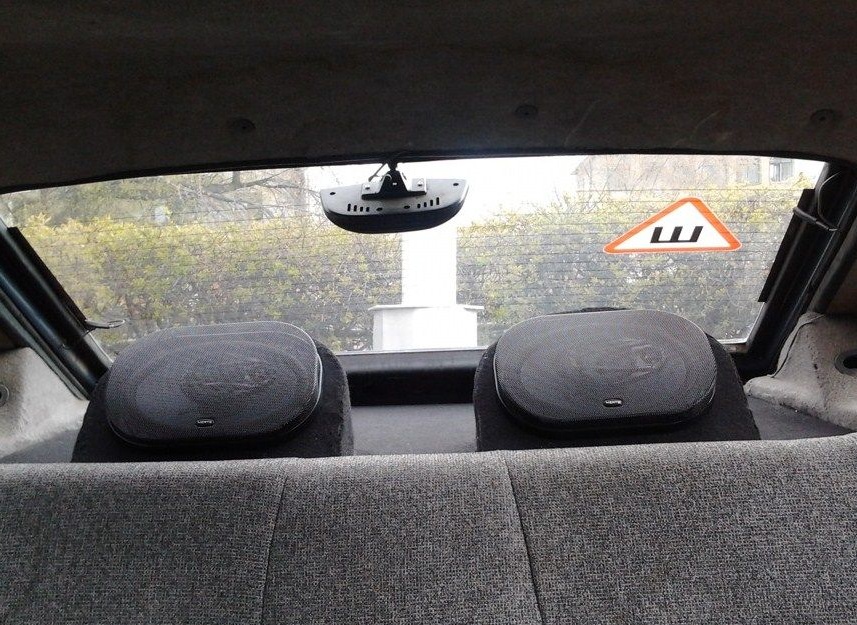
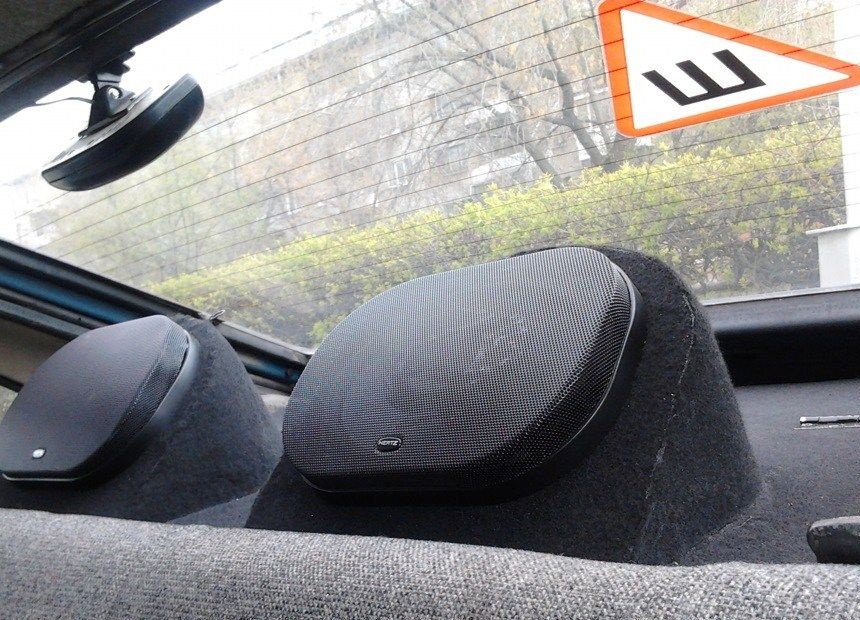
Here are the final photos of the shelf that the author has already installed in the car.