
Hello to all the masters and those interested. In this article I will tell you how to construct a mini USB soldering iron from a pencil lead and from other materials at hand do it yourself.
The property of graphite to conduct electric current has been used for a long time, for example, graphite brushes are used in electric motors. The stylus of a modern pencil has low resistance and enough current can pass through it to illuminate the bulb. In the manufacture of pencils, dry graphite powder is mixed with clay and water. The more clay, the harder the pencil, the more graphite - the softer the lead. After the formation of a pasty paste from the mixture, it is passed through a molding press, getting thin sticky ropes. They are straightened, cut to size, dried and sent to the kiln. Wooden blanks of cedar or pine are cut in half along the length and a groove for the stylus is cut. Both lead halves are then glued together. Plates are cut into pencils, their outer side is polished. This is how a pencil and its stylus are made. And so, the electrical resistivity of graphite is 13 (Ohm * mm2) / m at normal temperature (20 degrees). Well enough theory, it's time to move on to the manufacture of a soldering iron.
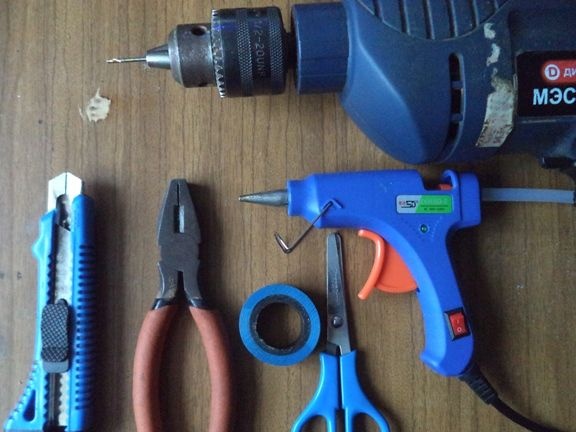
To make a soldering iron, I needed:
1) drill,
2) Glue gun and hot glue,
3) Clerical knife,
4) Insulating tape,
5) scissors,
6) Pliers.
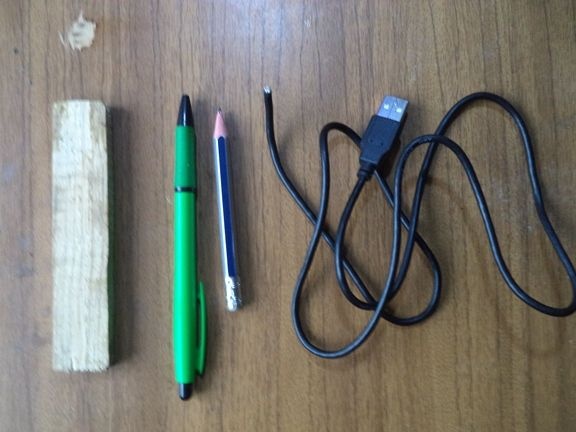
1) wooden plank,
2) Handle with a push
3) A simple pencil,
4) USB cable from charging the phone.
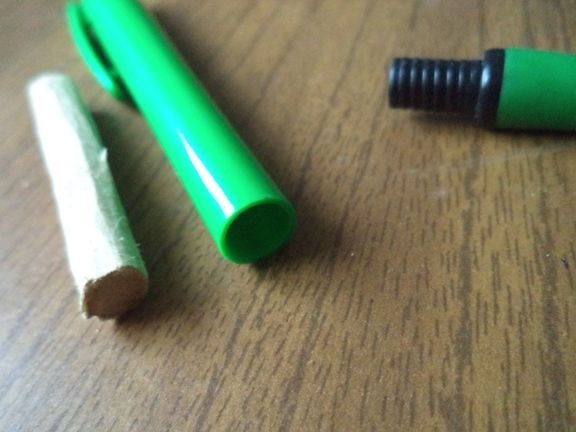
First, take a wooden plank and cut it with a sharp clerical knife.
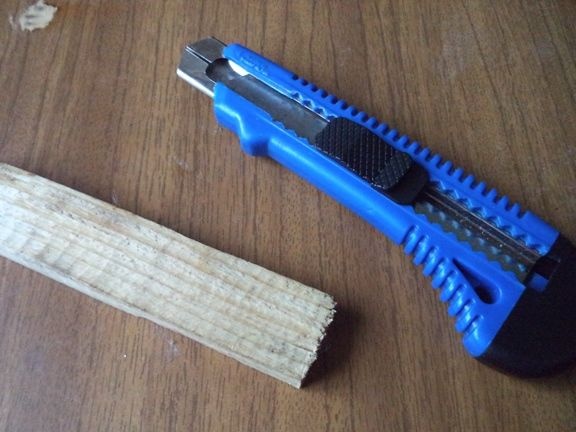
It is necessary to cut so that the plank is round in shape with a diameter that crept into a fountain pen.
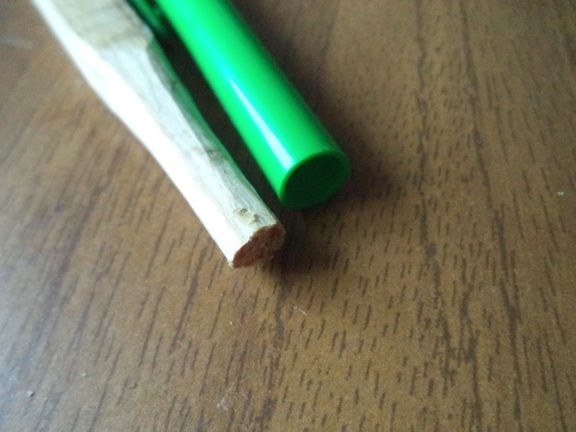
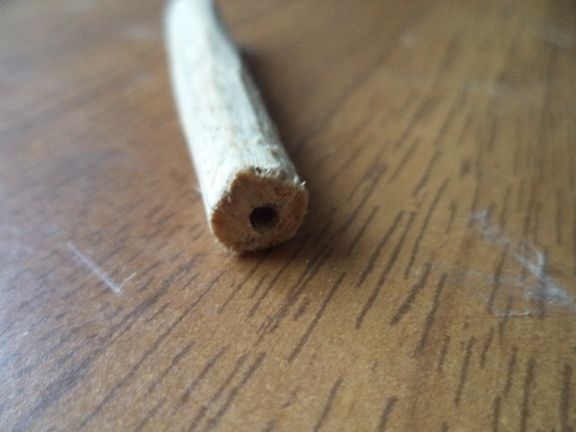
On one side we drill a hole with a drill, equal in diameter to the pencil lead.
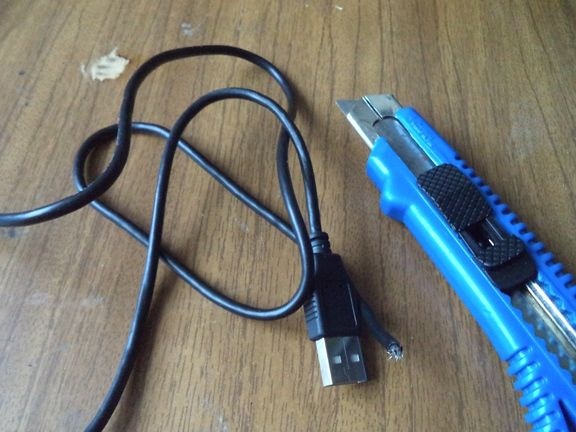
We begin to strip the USB cable from insulation with a clerical knife.
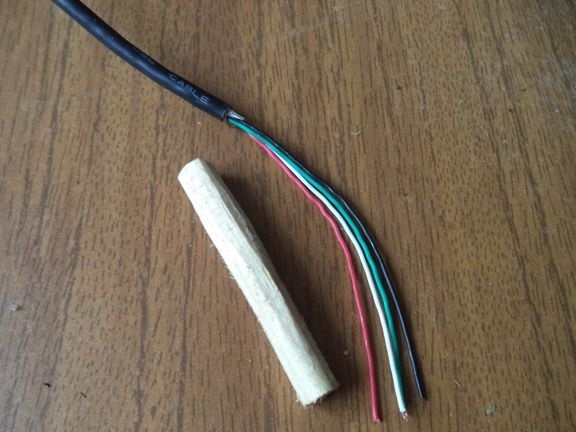
We take the pen and free it from unnecessary parts.
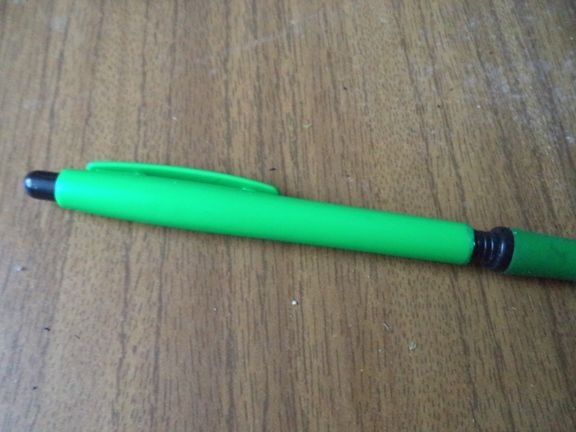
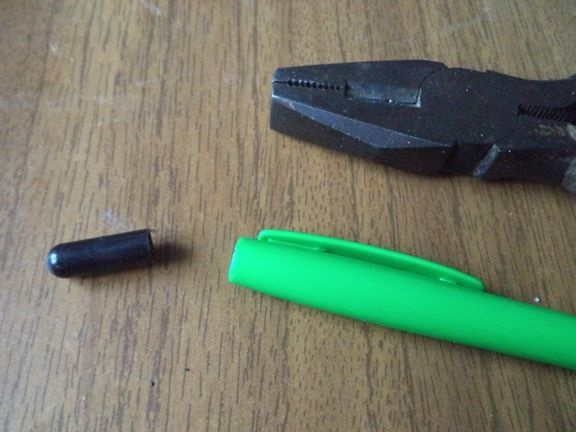
The spring from the handle must be left. We still need it.
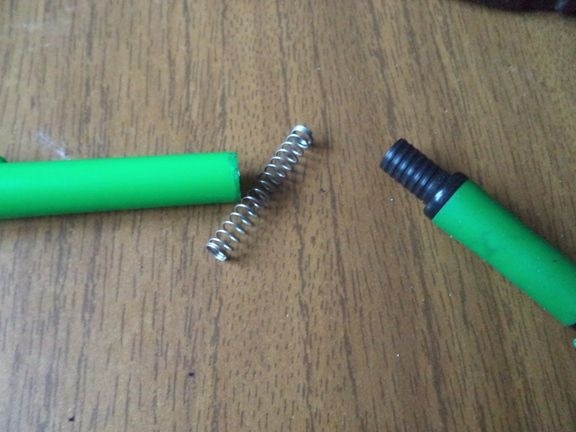
We stick our USB cable into the handle.
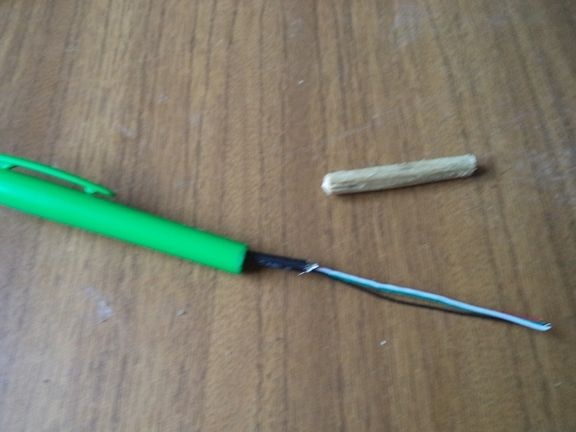
It's time to cut off the extra wires: green and white.Black and red do not cut.
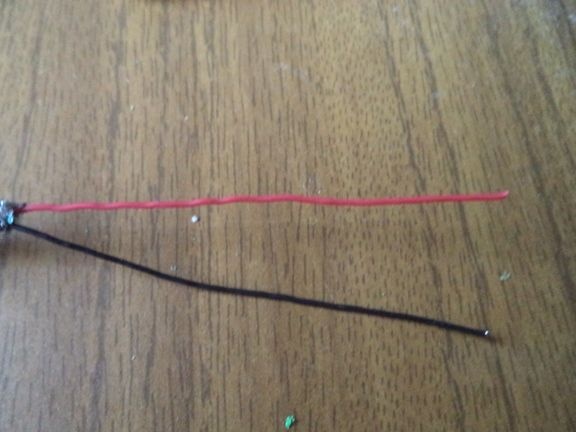
We push our wooden blank into the hole in the handle. The workpiece hole should be outside, and not inside the handle.
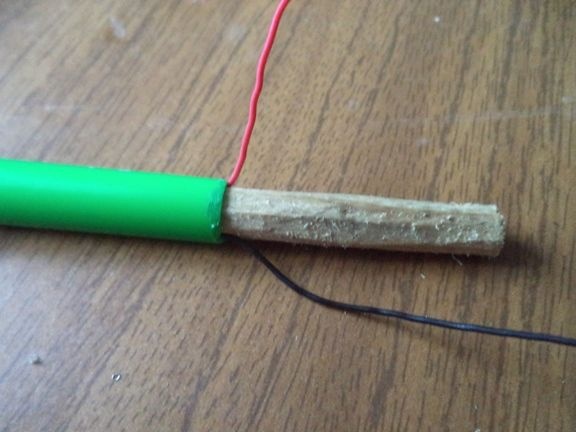
Now you need to strip the remaining wires from insulation.
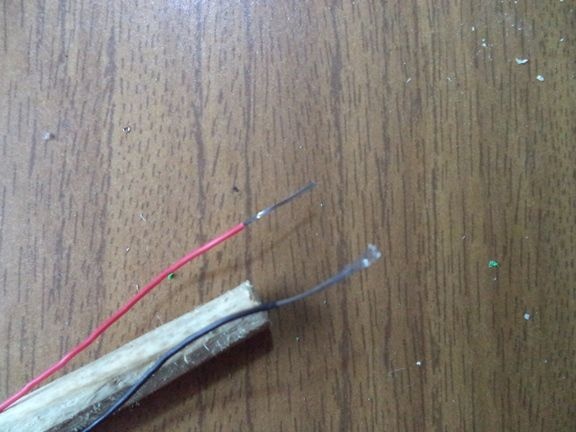
Now we need a pencil lead. To do this, take the pencil itself.
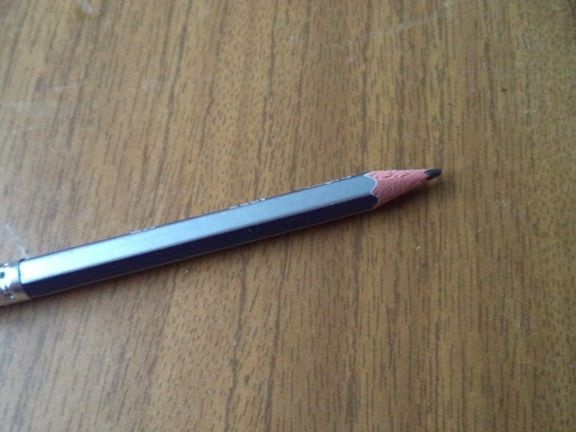
Cut off a small part of the pencil.
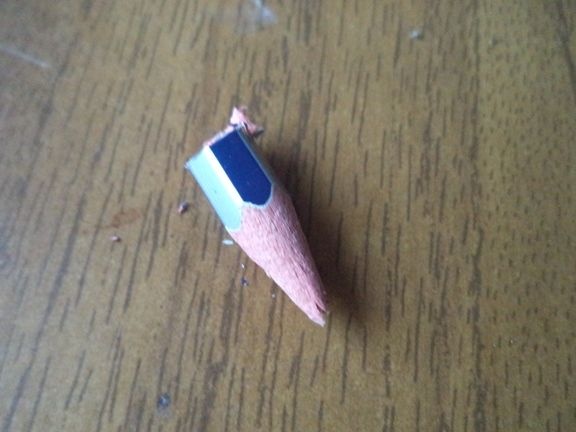
Now, carefully, cutting with a clerical knife, we get the pencil lead itself.
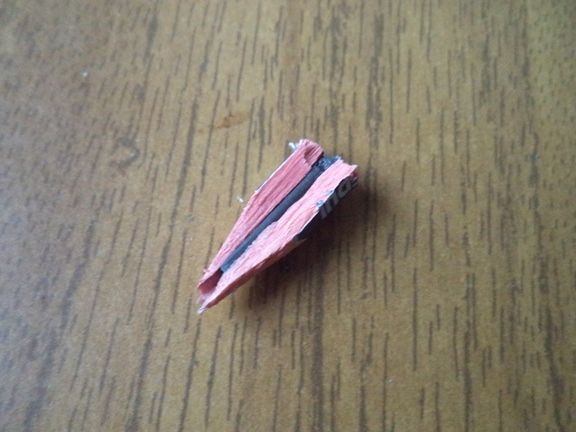
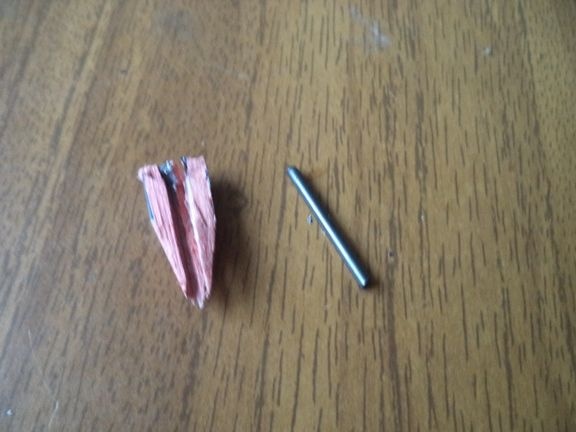
The resulting lead is pushed into the hole of the wooden blank. The main thing is not to break the stylus, so this process must be performed carefully.
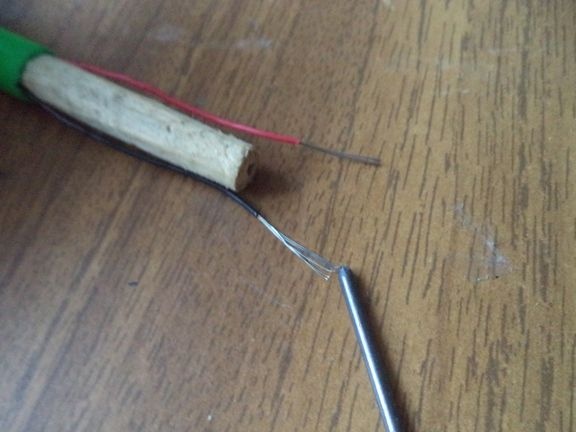
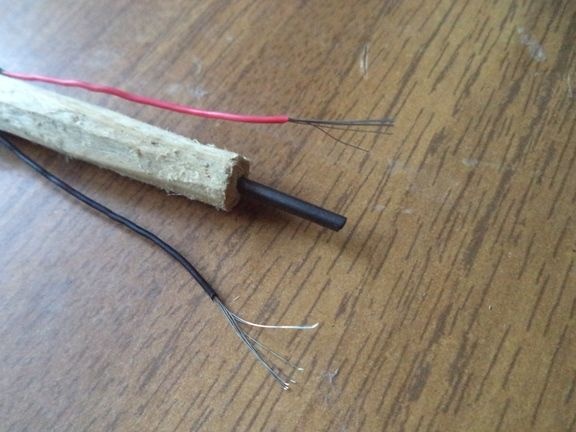
We wrap the red wire on the stylus.
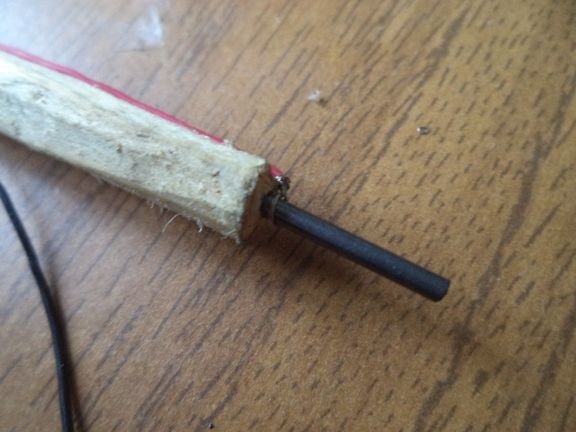
Next, take the spring pending for later from the handle.
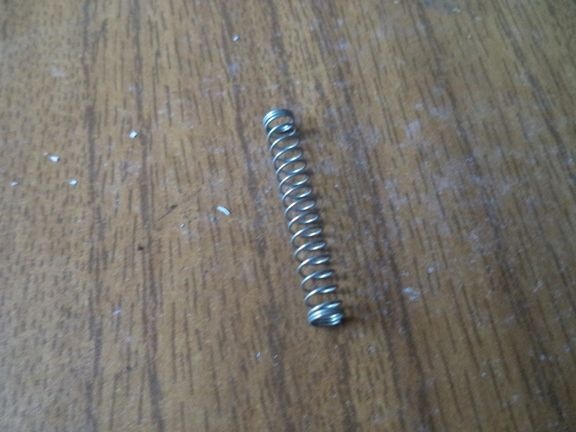
With pliers we bend its end, as shown in the photo.
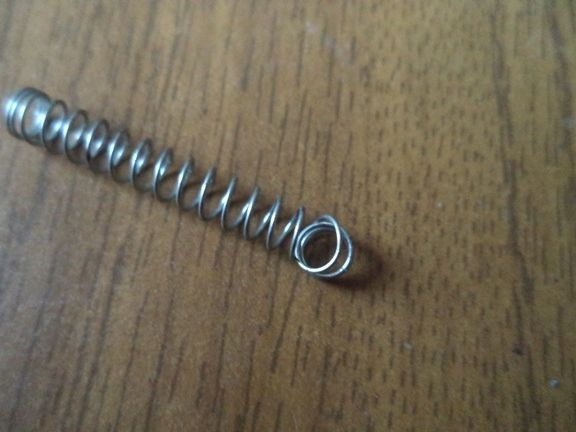
We hang the spring on the pencil lead and glue it on the wooden part with a glue gun.
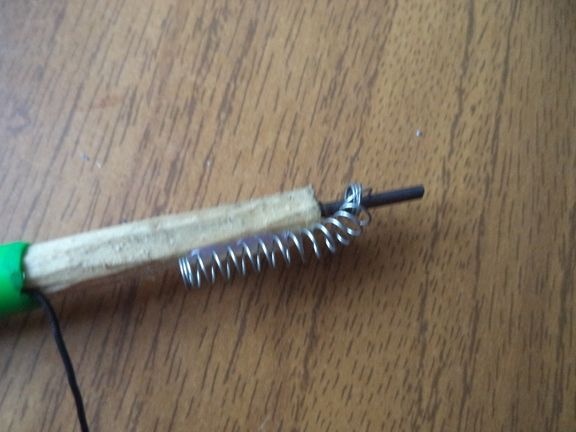
We wind the black wire onto the spring and insulate it with hot glue.
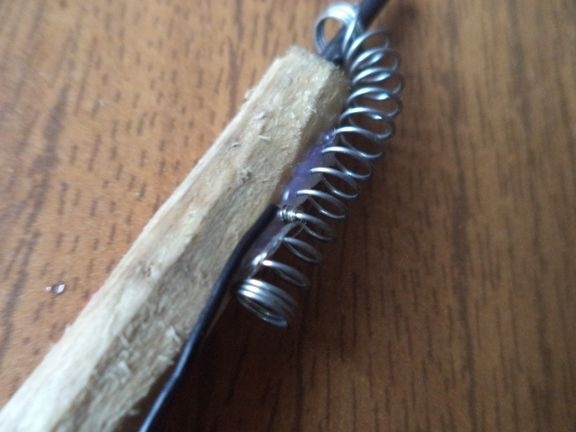
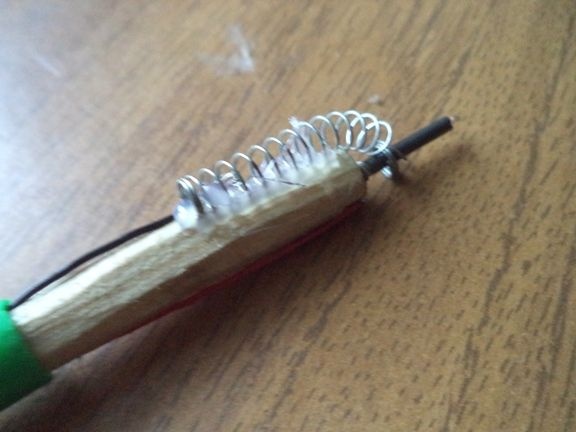
For greater strength, we wind our design with electrical tape.
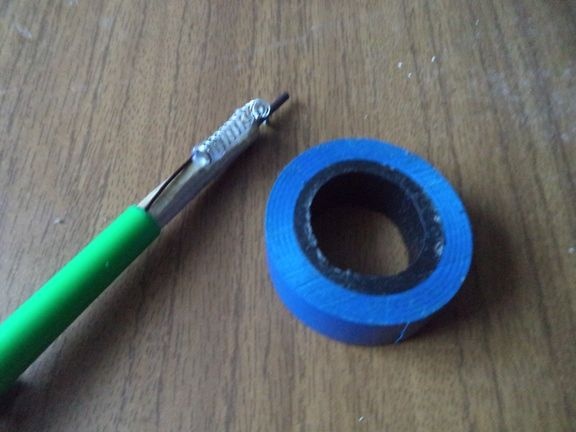
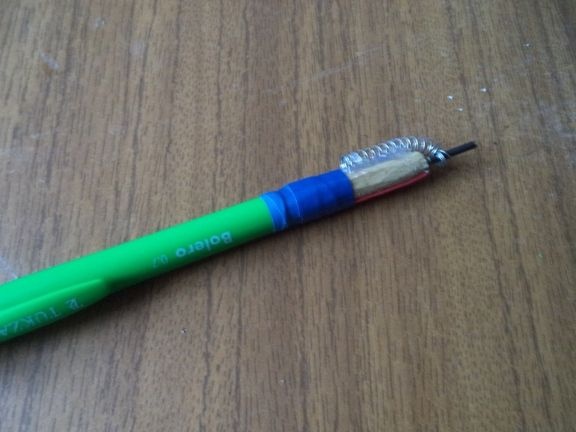
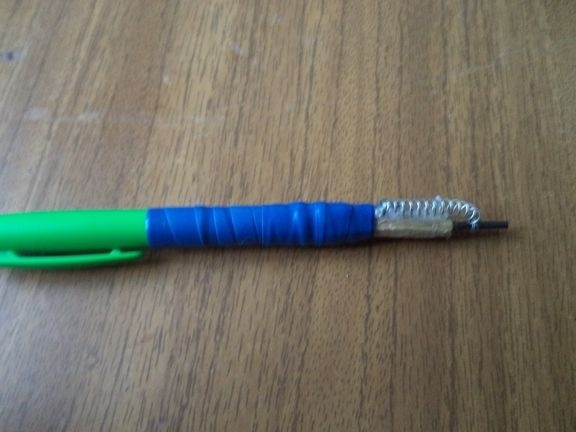
Well, that’s it, the mini USB soldering iron is ready. The design, of course, was not very powerful, but soldering thin, small wires is possible. And that’s all for me. Thank you all for your attention! Good luck to everyone and bye!

