

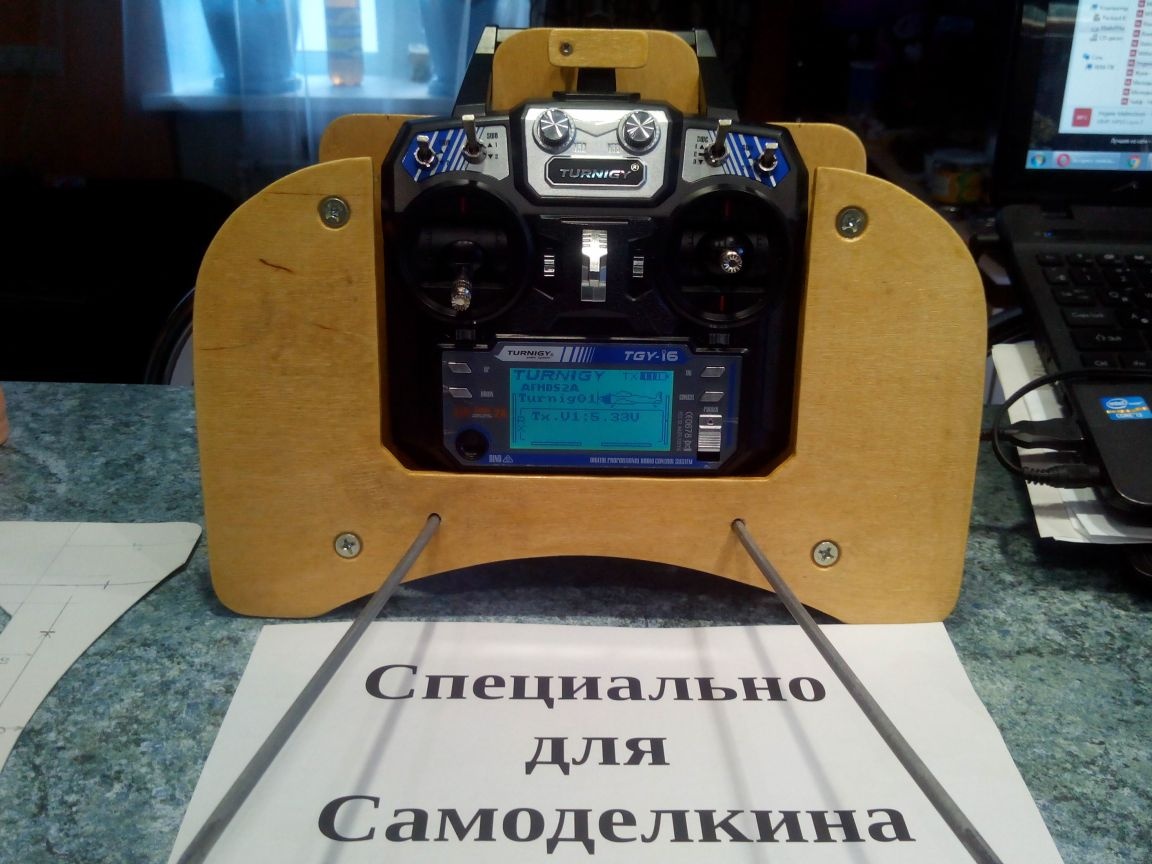
This article describes the step-by-step process of creating a table for Turnigy TGY-i6 equipment. Of course, this table can be made absolutely for any equipment, but the sizes on the templates are indicated specifically for Turnigy TGY-i6 equipment.
Materials:
- Whatman
- Plywood 3-5 mm
- 5 mm steel rods or welding electrodes
- Bolts and nuts
- Self-tapping screws
- Dural tube (old ski pole)
- Strap from an old sports bag with carbines
Instruments:
- Ruler
- pencil
- scissors
- Jigsaw
- Drill and drill
- Hacksaw
- Hammer
- Anvil
- File
- Sandpaper
- pliers
- screwdrivers
- Acrylic varnish and brush
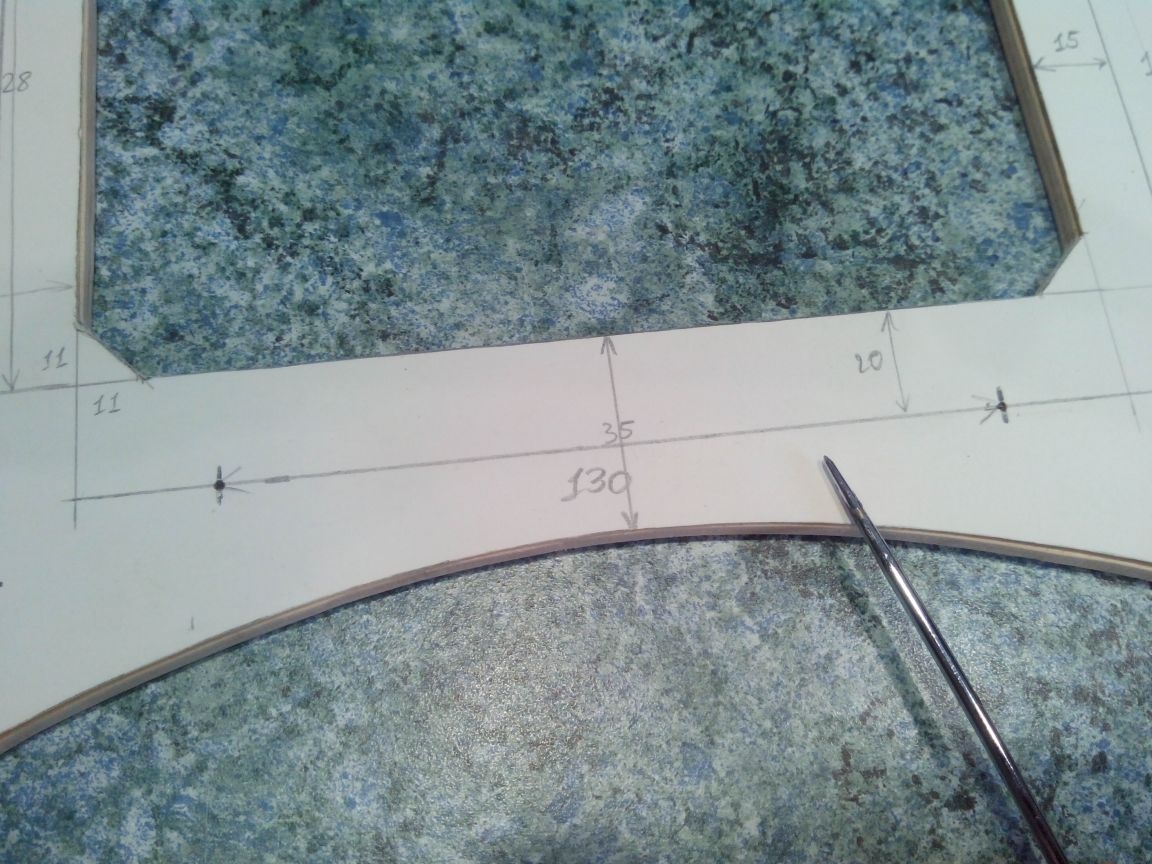
Step 1. Templates
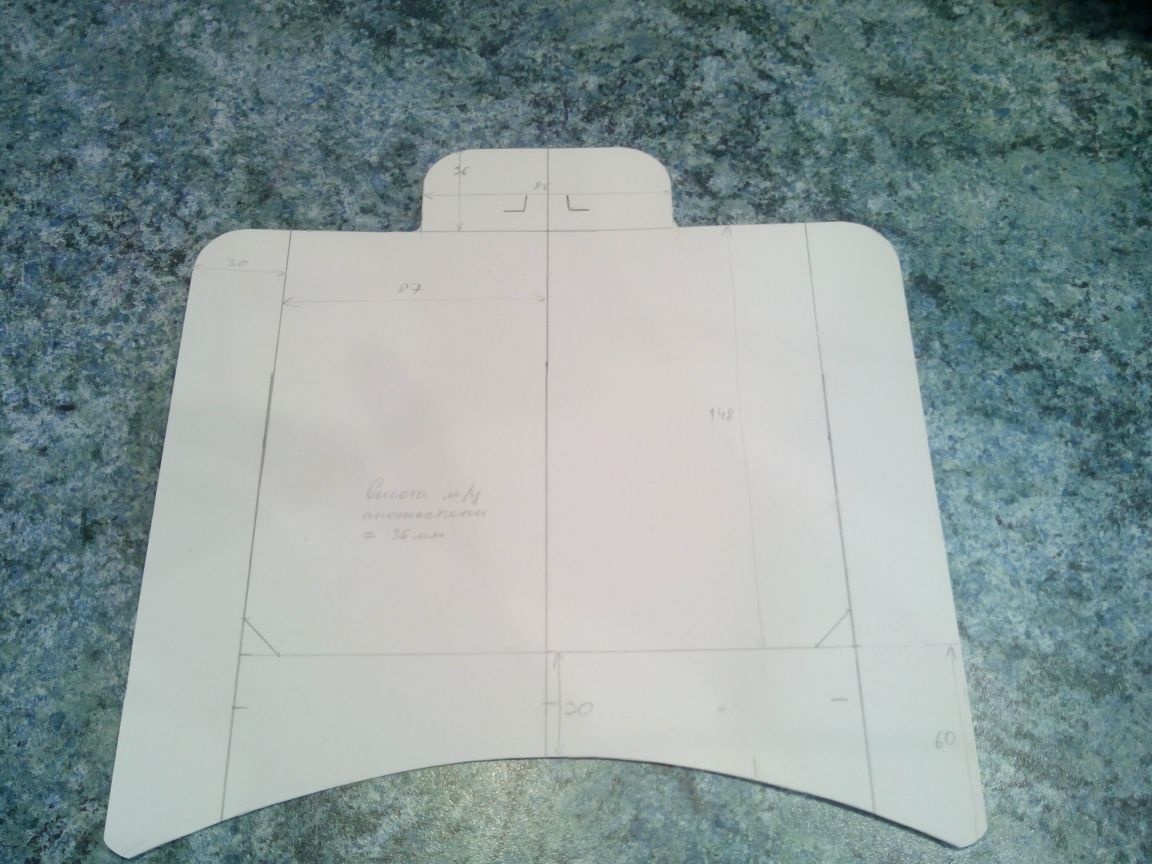
We measure the remote control with a ruler, transfer the dimensions to the Whatman paper and cut out the templates. In this case, I repeat, I indicated the sizes on the templates for a specific Turnigy TGY-i6 remote control.
Table top template:
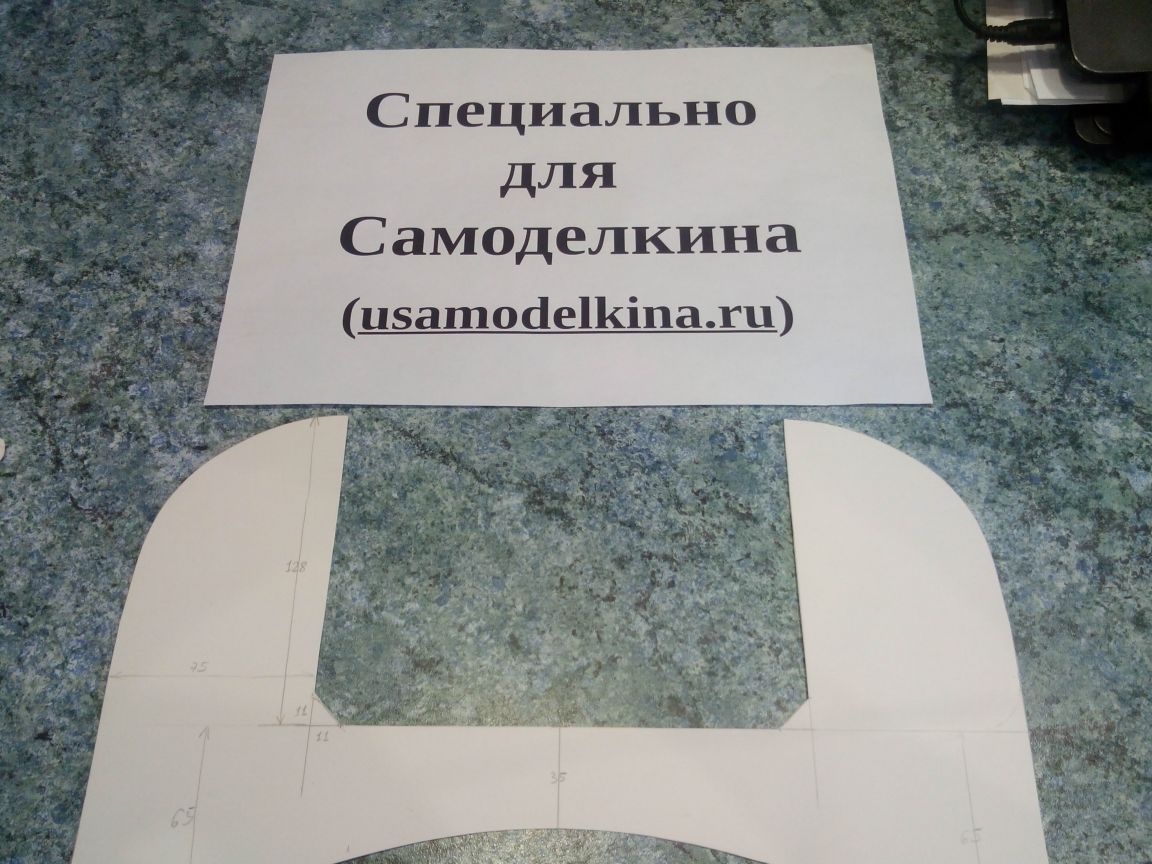
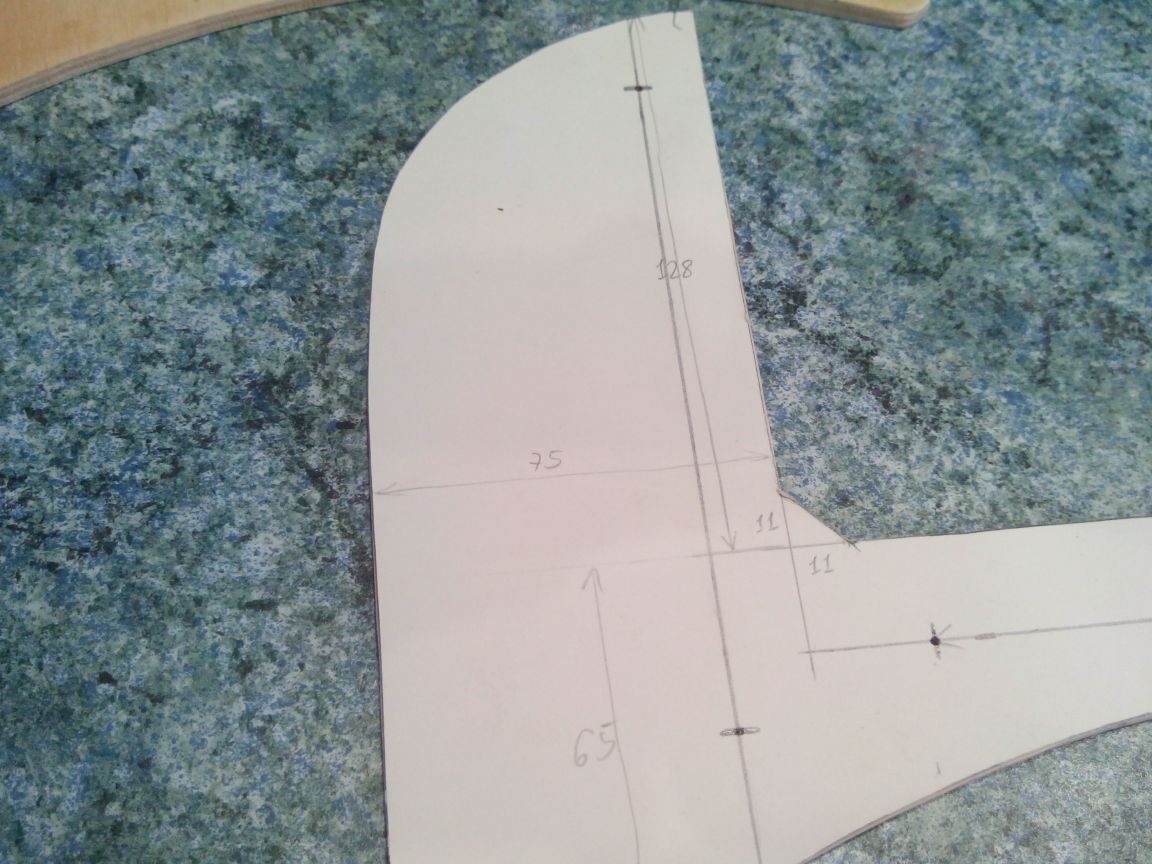
Template for the bottom of the table:
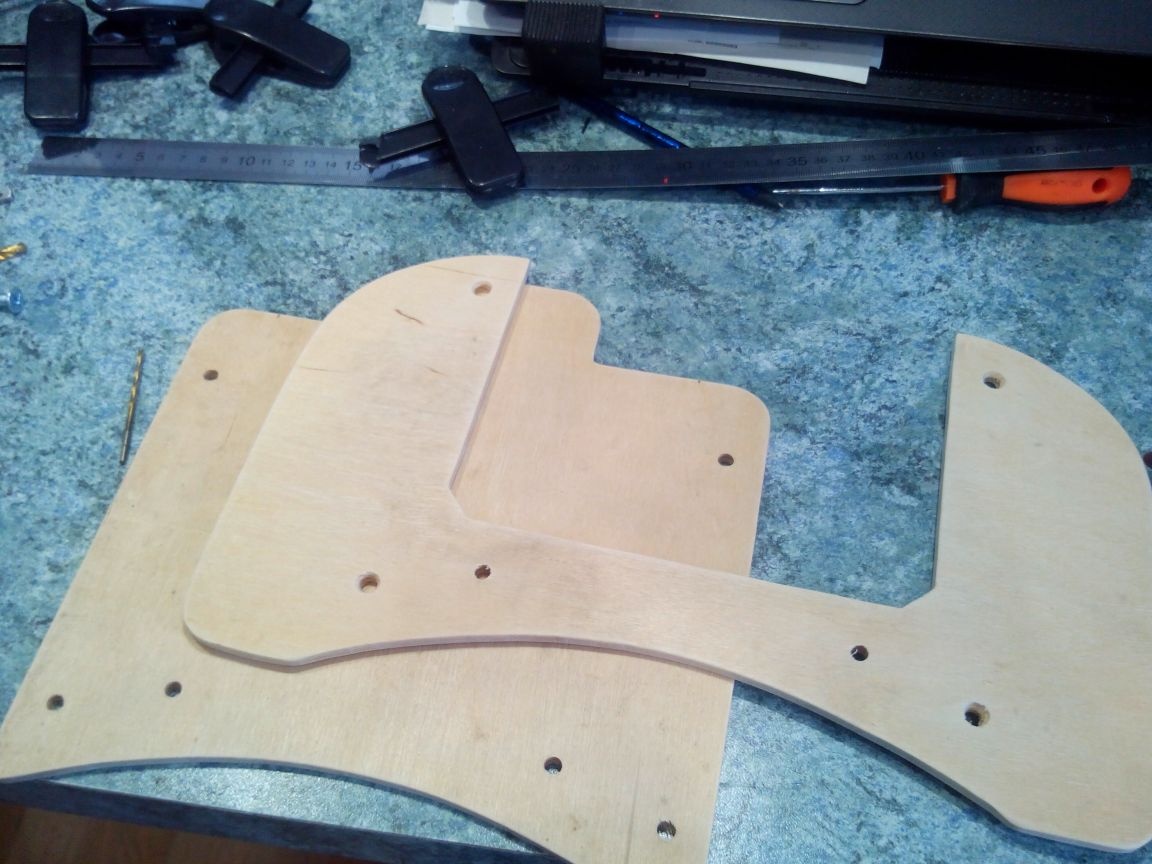
Step 2. Sawing out the parts of the table
We attach the template of the upper part to the plywood and draw around with a pencil. Markers that are ideal for ceiling tiles, for this I do not recommend - they are very absorbed into the wood and the contours are lost.
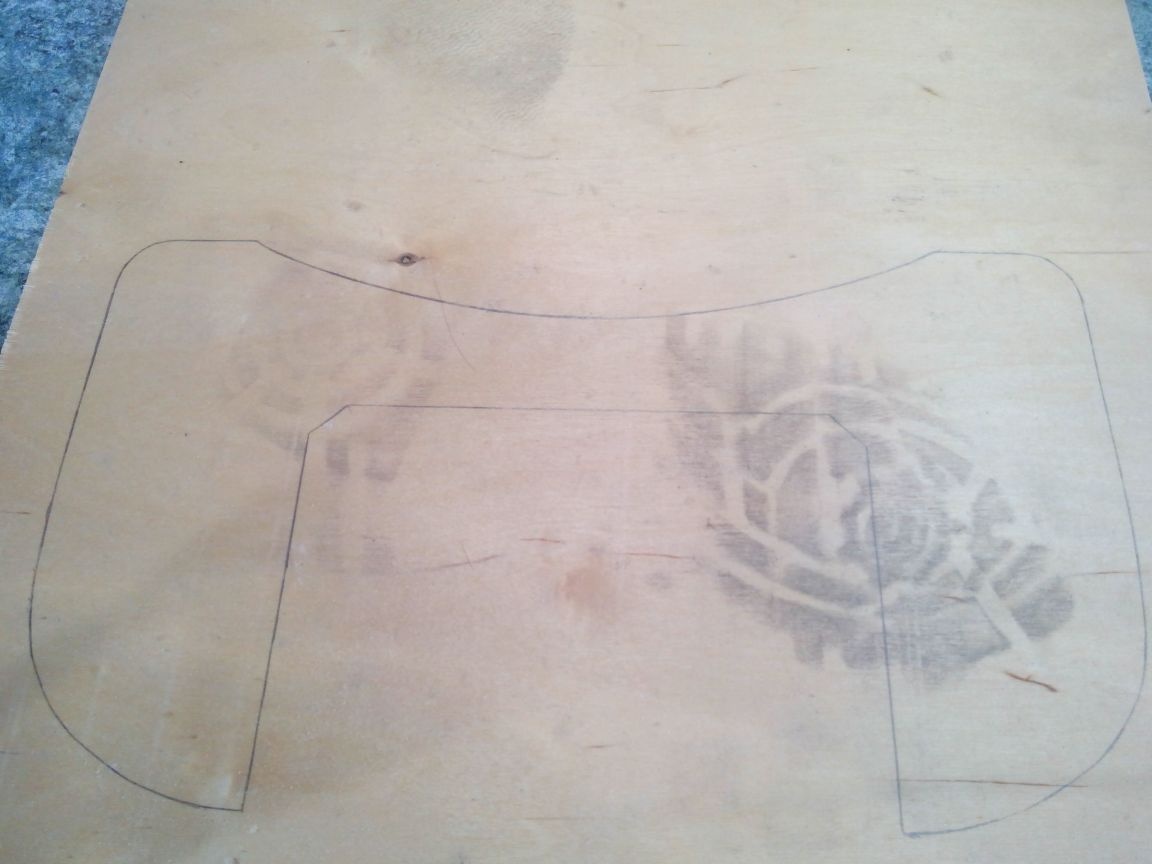
Similarly, we apply the template of the lower part and circle with a pencil.
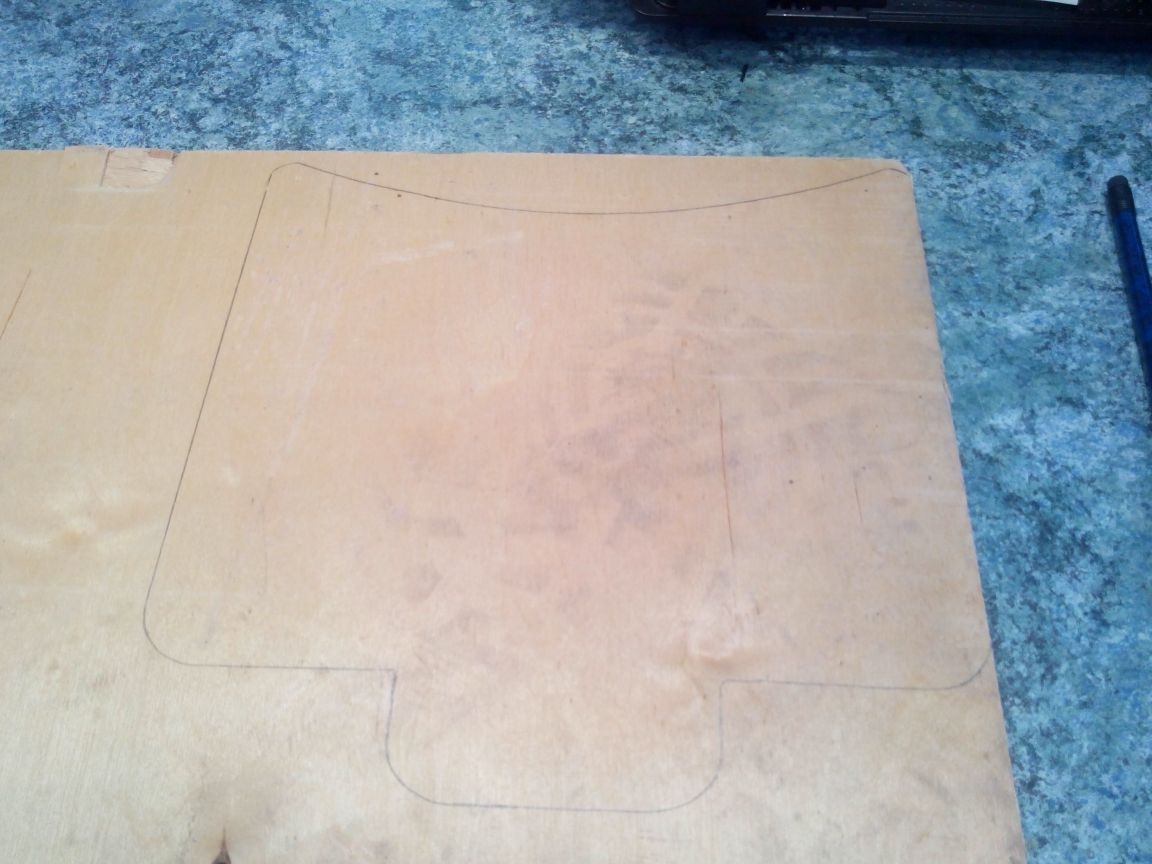
Traces of boots - due to the fact that this piece of plywood is a substrate for building materials, which I bought at a hardware store for 20 rubles. But they are easy to clean with sandpaper.
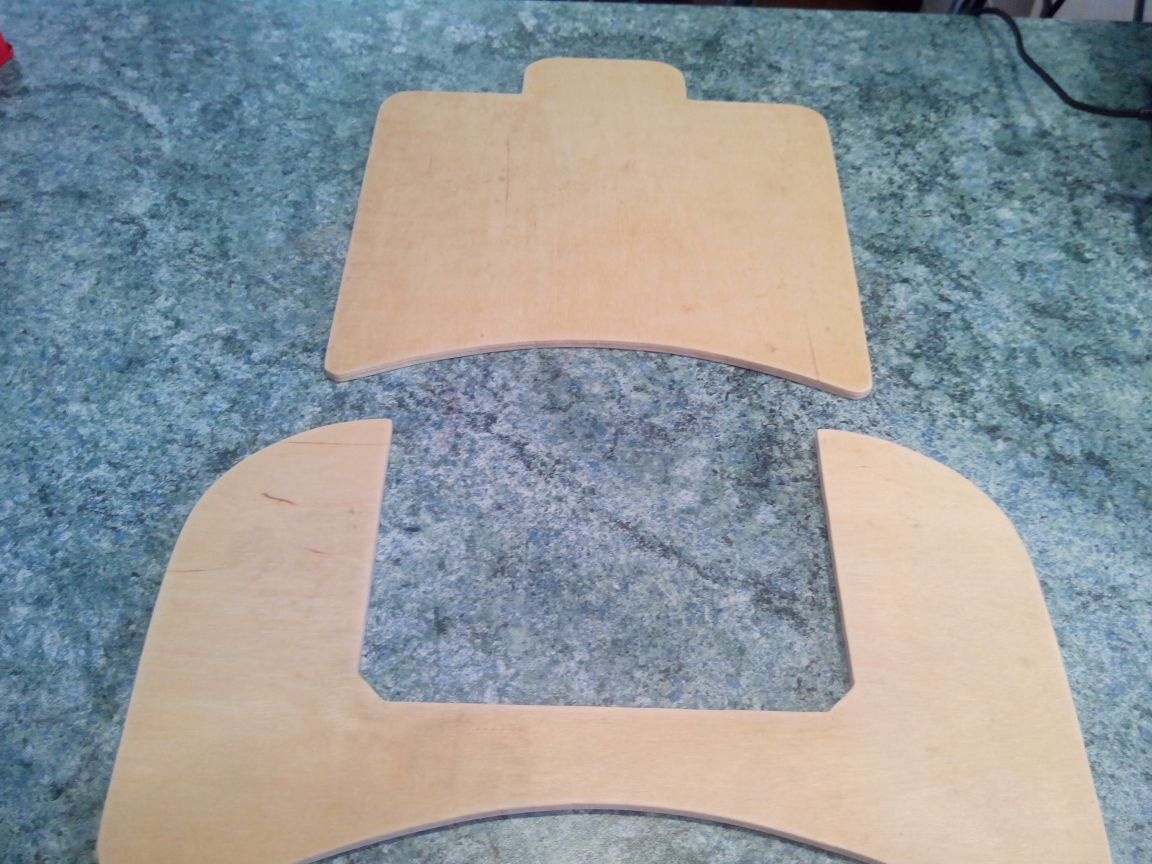
We cut both parts with a jigsaw and process it with sandpaper.
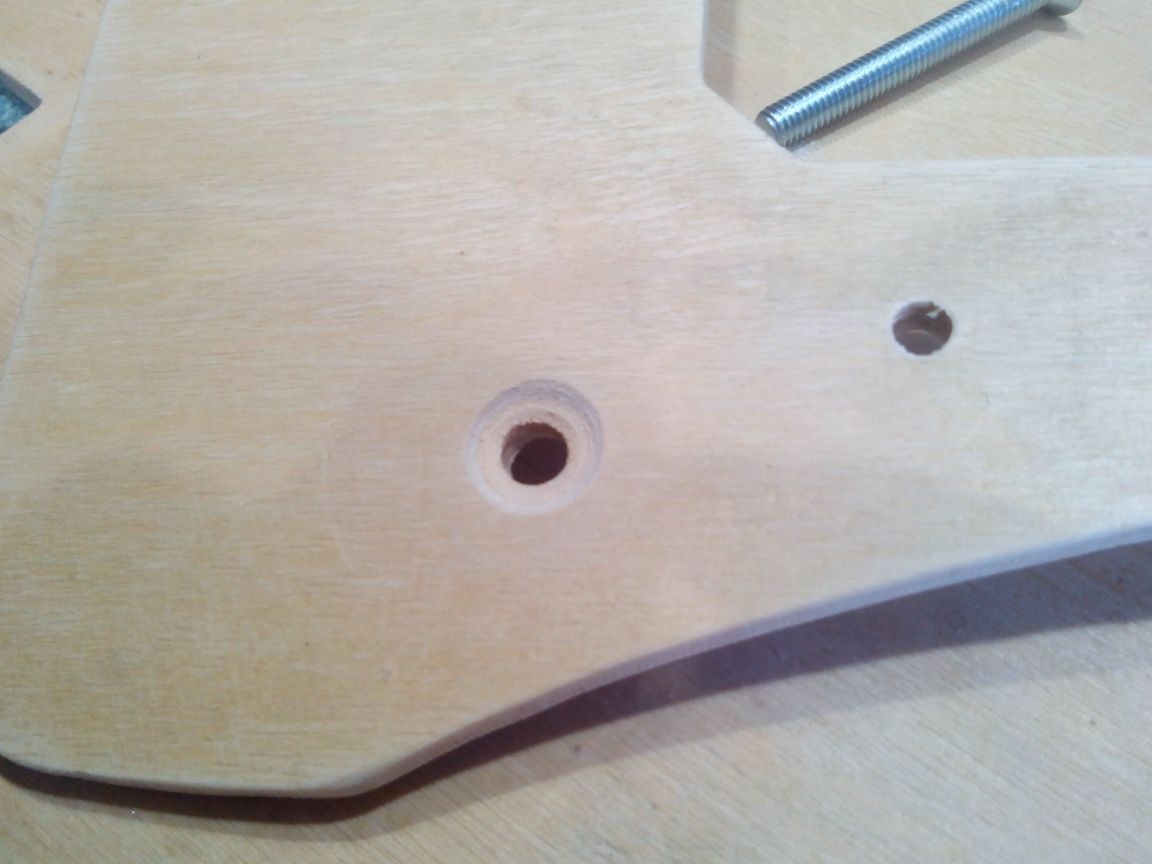
Step 3. Drilling holes
We mark on the template (dimensions indicated) the places of the holes for the bolts and directly through the template with an awl we mark them on the top of the table.
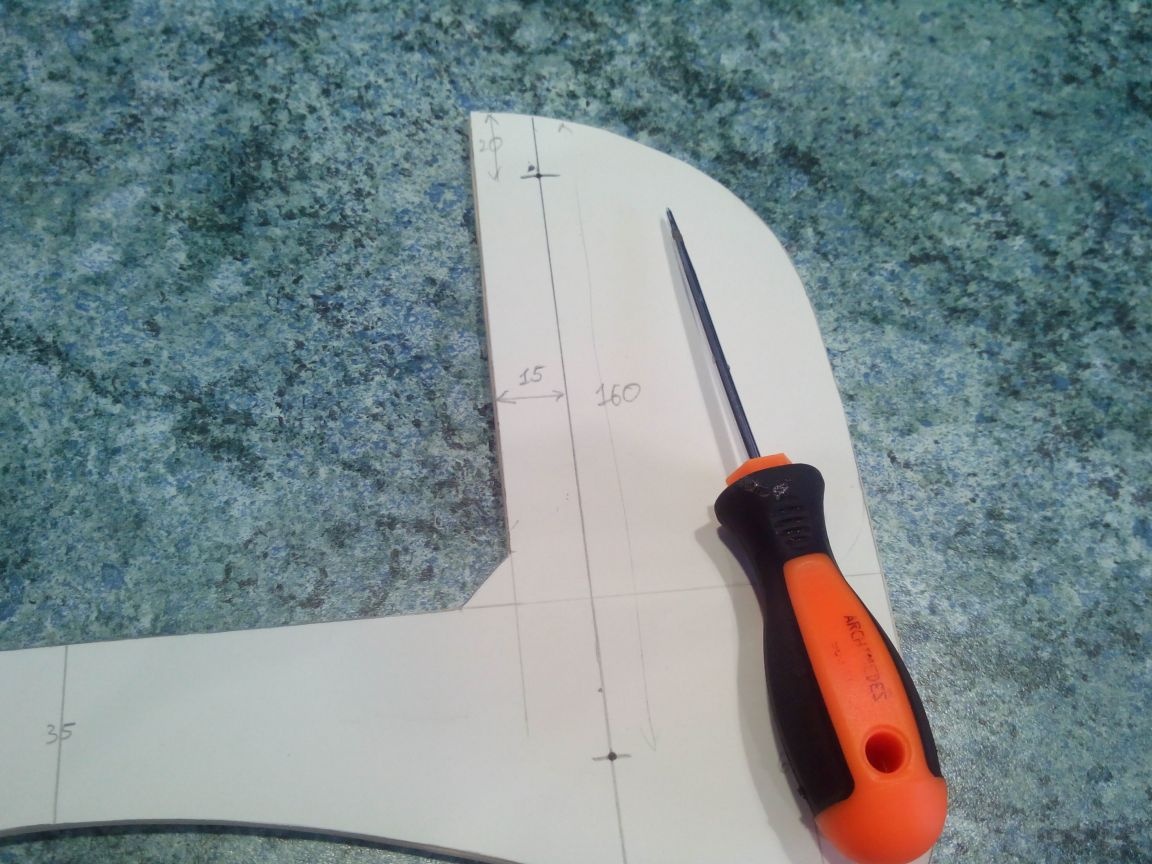
In the same way, we mark the holes in the upper part under the racks.
We attach the upper and lower parts to each other (can be fixed with clothespins) and drill holes with a 5 mm drill through both parts.
Under the bolts in the upper part, we make the recesses with a thick drill so that they do not protrude.
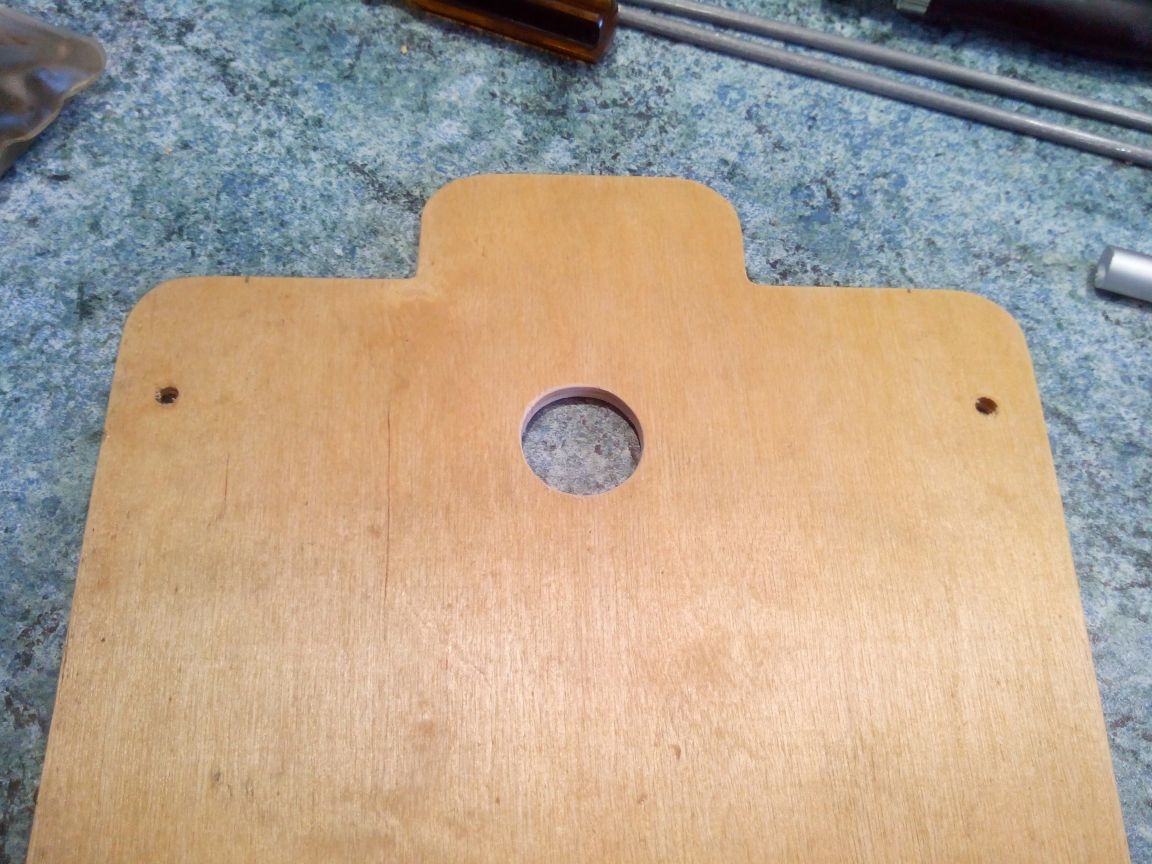
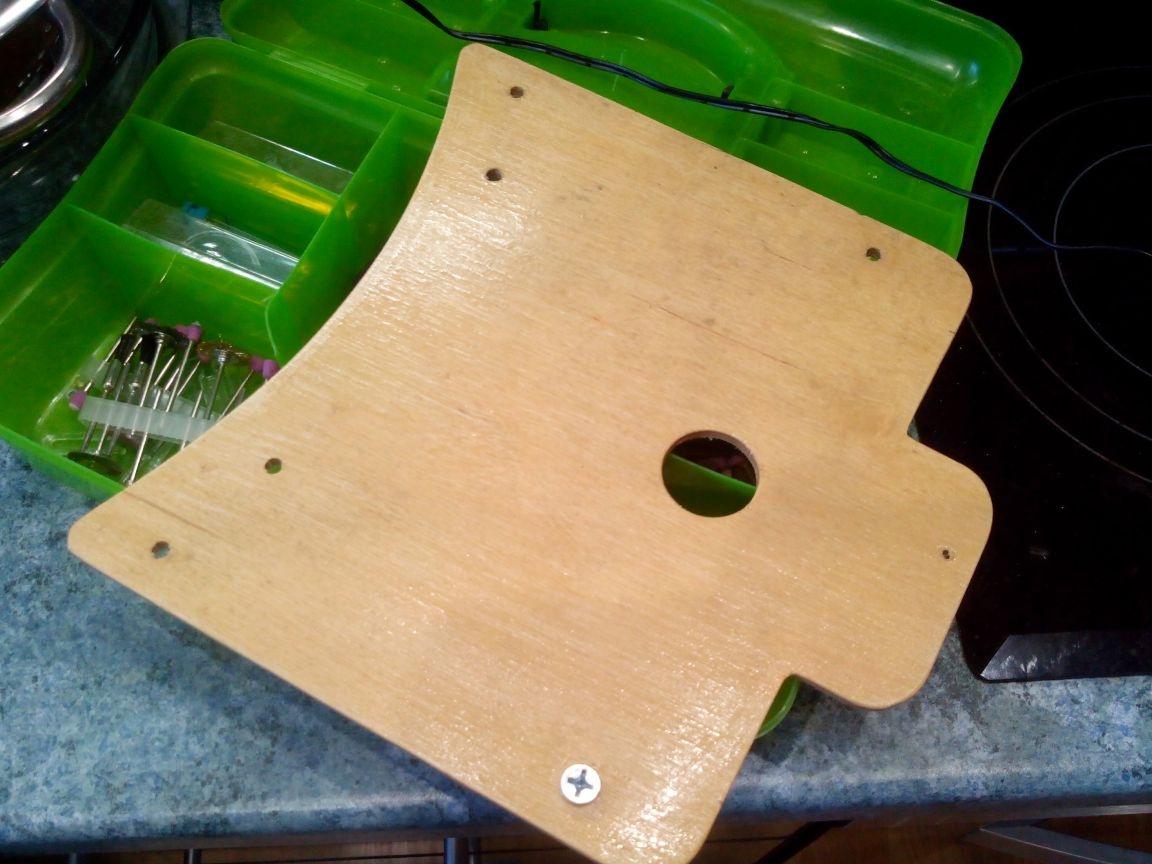
Since this equipment has the so-called coaching S-Video connector (I will use it more often in flight simulators), it needs access. Using a pen drill or a jigsaw, make a hole in the bottom of the table.
Step 4. Making Racks and Tubes
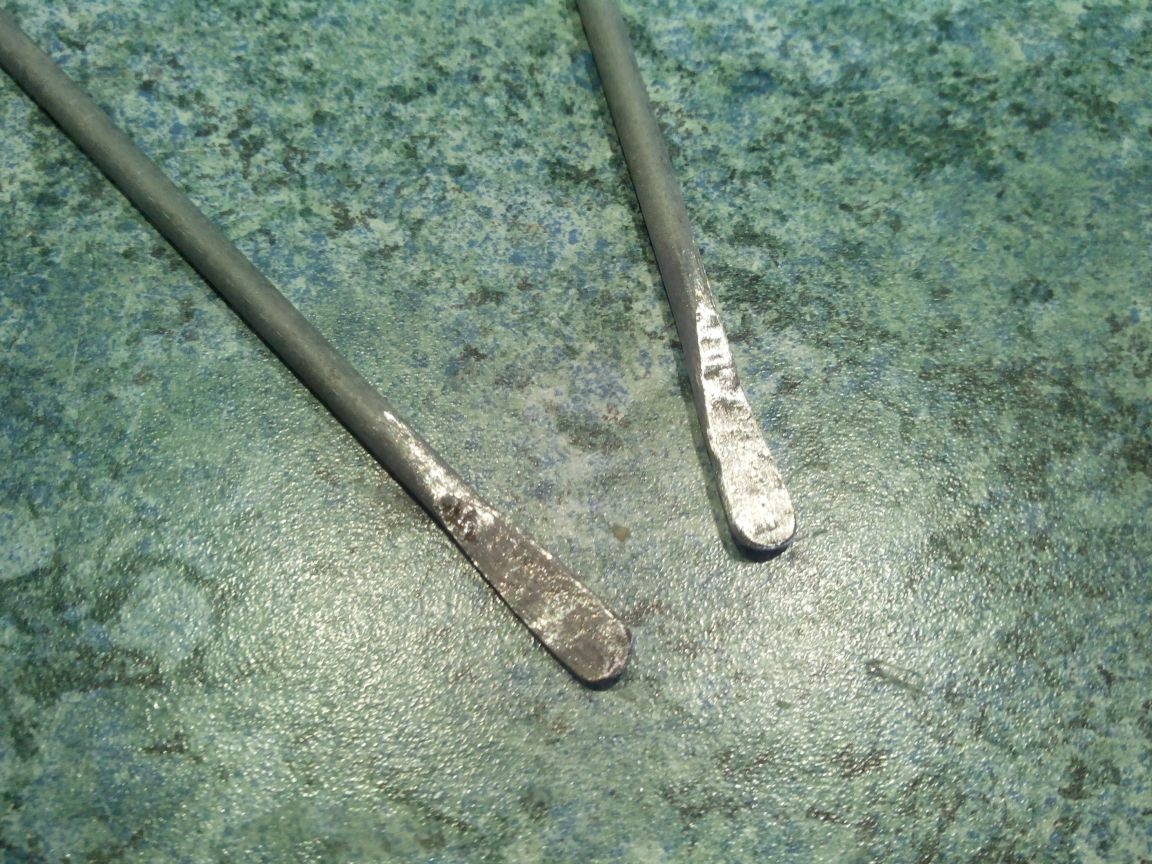
We take two electrodes for welding, hammer a powder coating from them with a hammer on the anvil and flatten one end. If there is no anvil, you can go outside and use the cast iron manhole cover or concrete curb as an anvil.
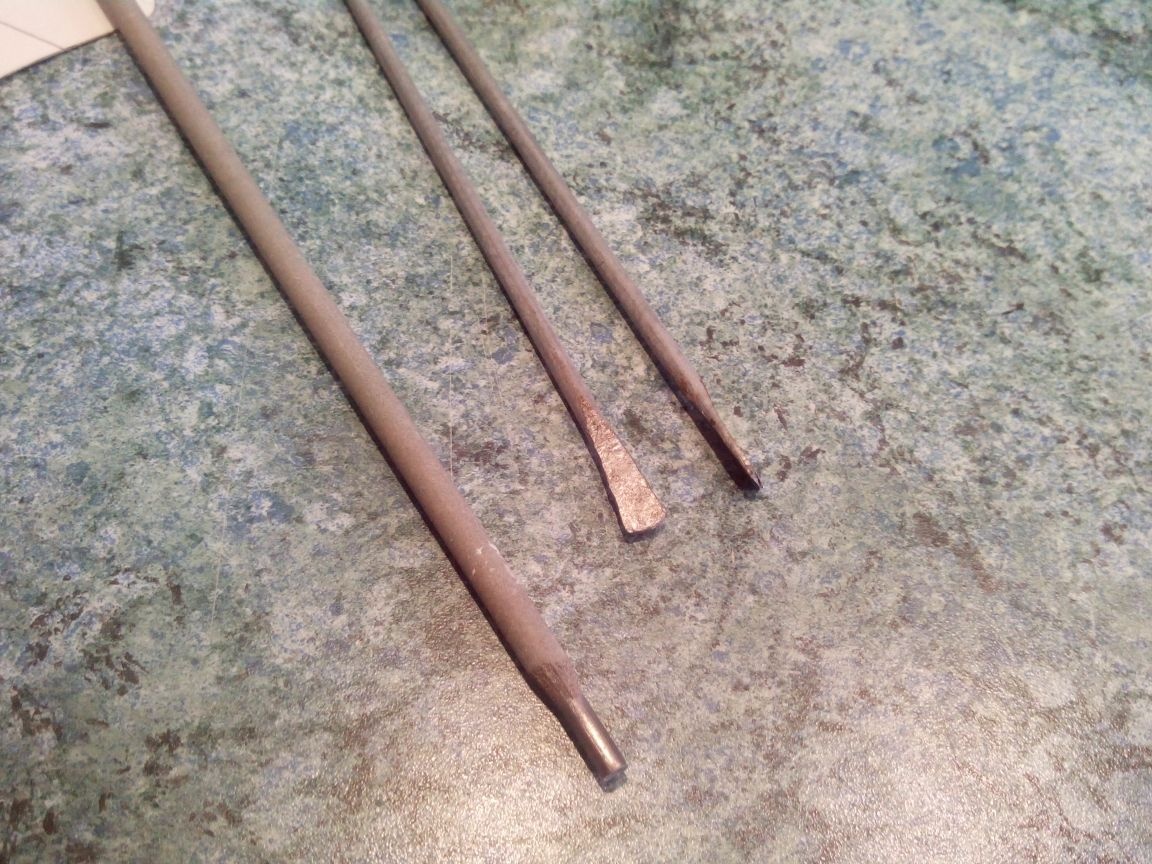
The other end of the electrode is also flattened with a hammer, but so that the plane is perpendicular to the other end. Then we clean the electrodes with sandpaper.
We drill holes in the flattened ends for carbines and for self-tapping screws.
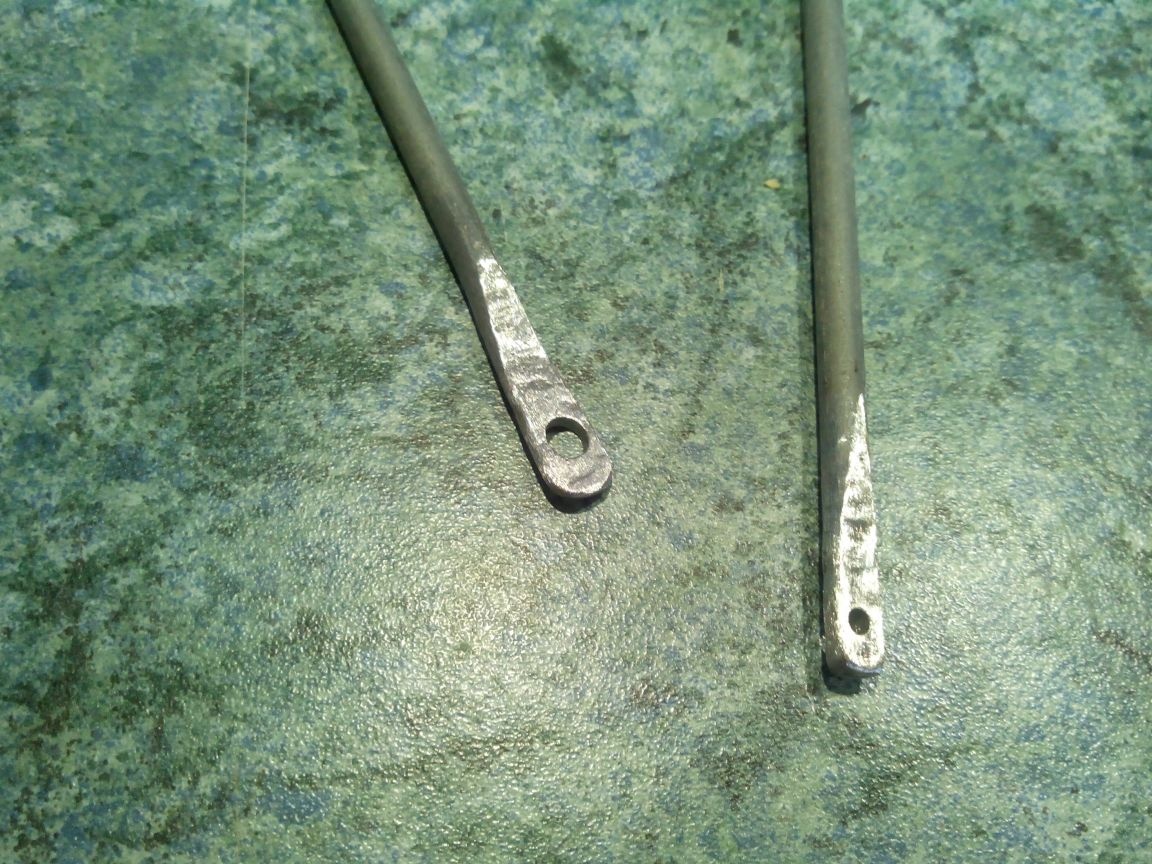
Try on the carabiners of the strap to the holes in the racks.

We bend the racks at an angle of 90 degrees as shown in the photo.
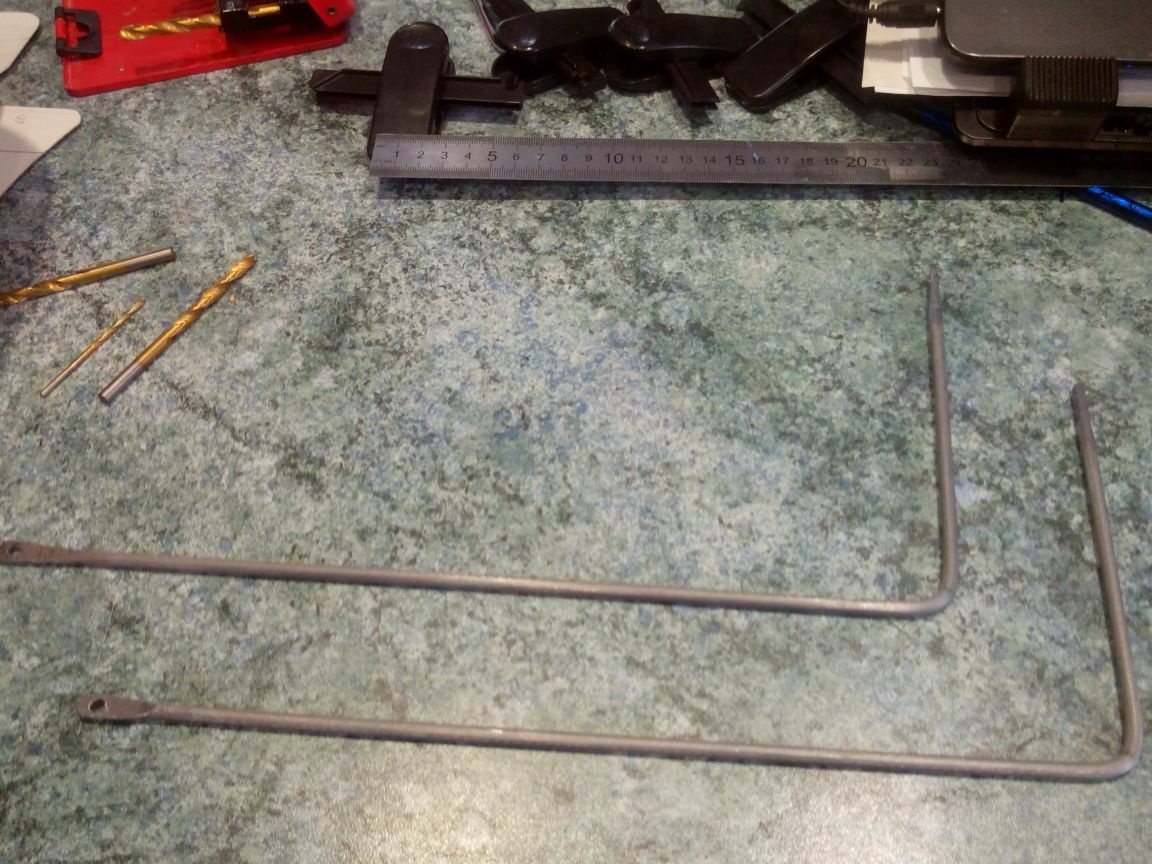
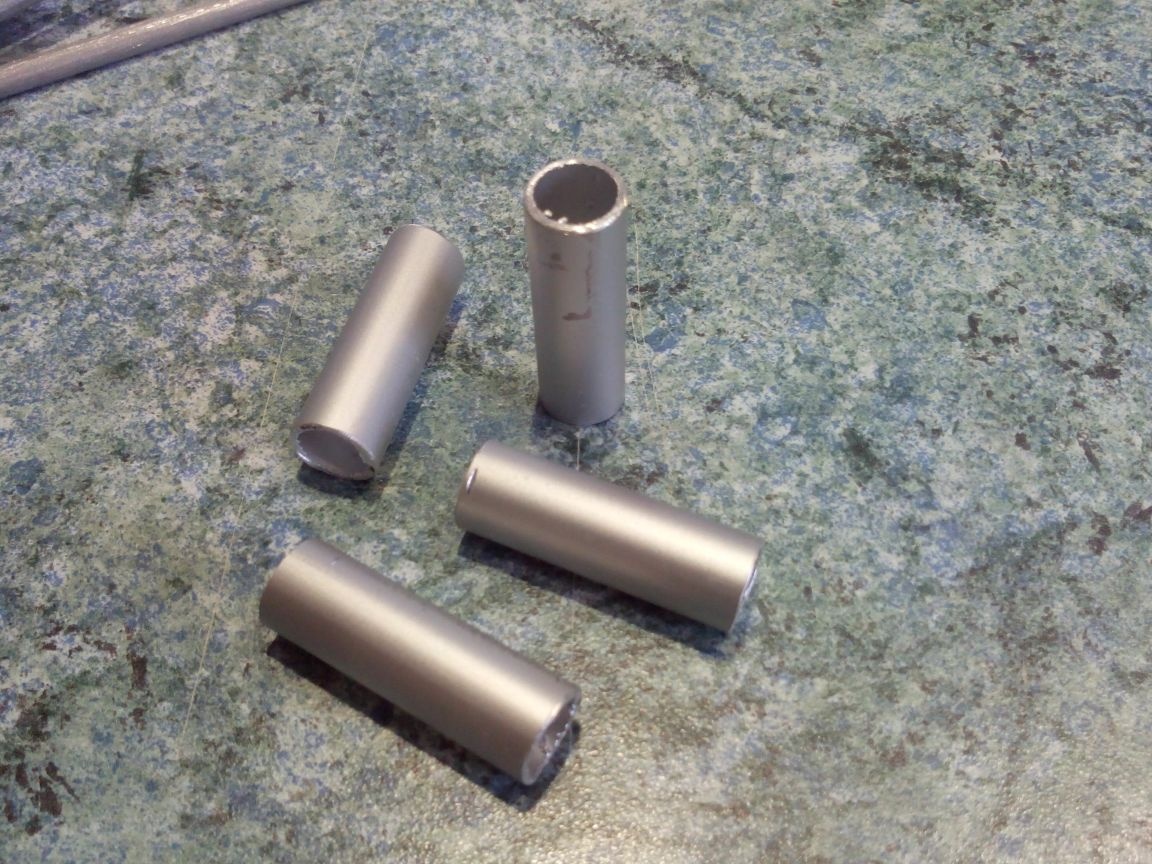
We saw off four pieces 36 mm long from the dural tube (this size is again for Turnigy TGY-i6 equipment) and process the edges with a file.
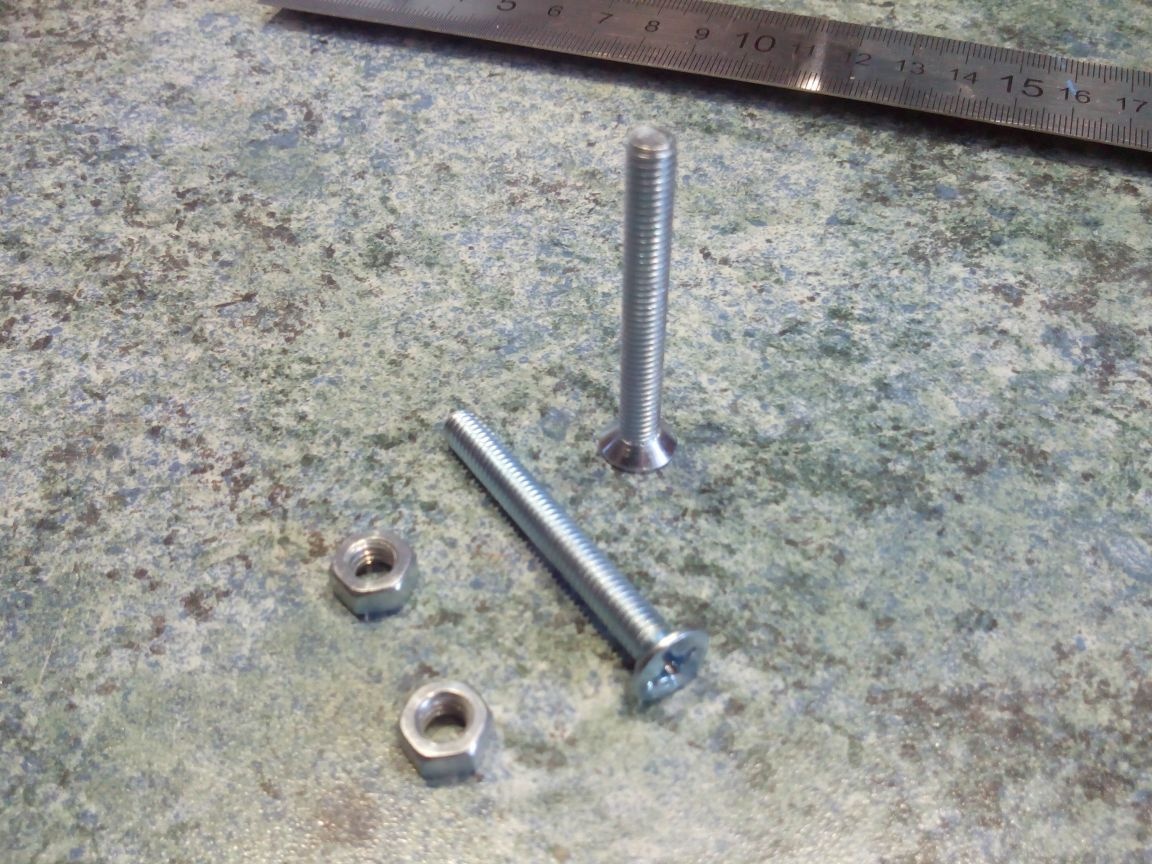
We prepare bolts and nuts (4 pieces each).
Step 5. Paintwork and assembly
The assembly and varnishing were combined in one step, because for many years I have been using acrylic varnish that dries for 10-15 minutes, and time was running out a little.
We varnish the lower side of the upper part of the table.
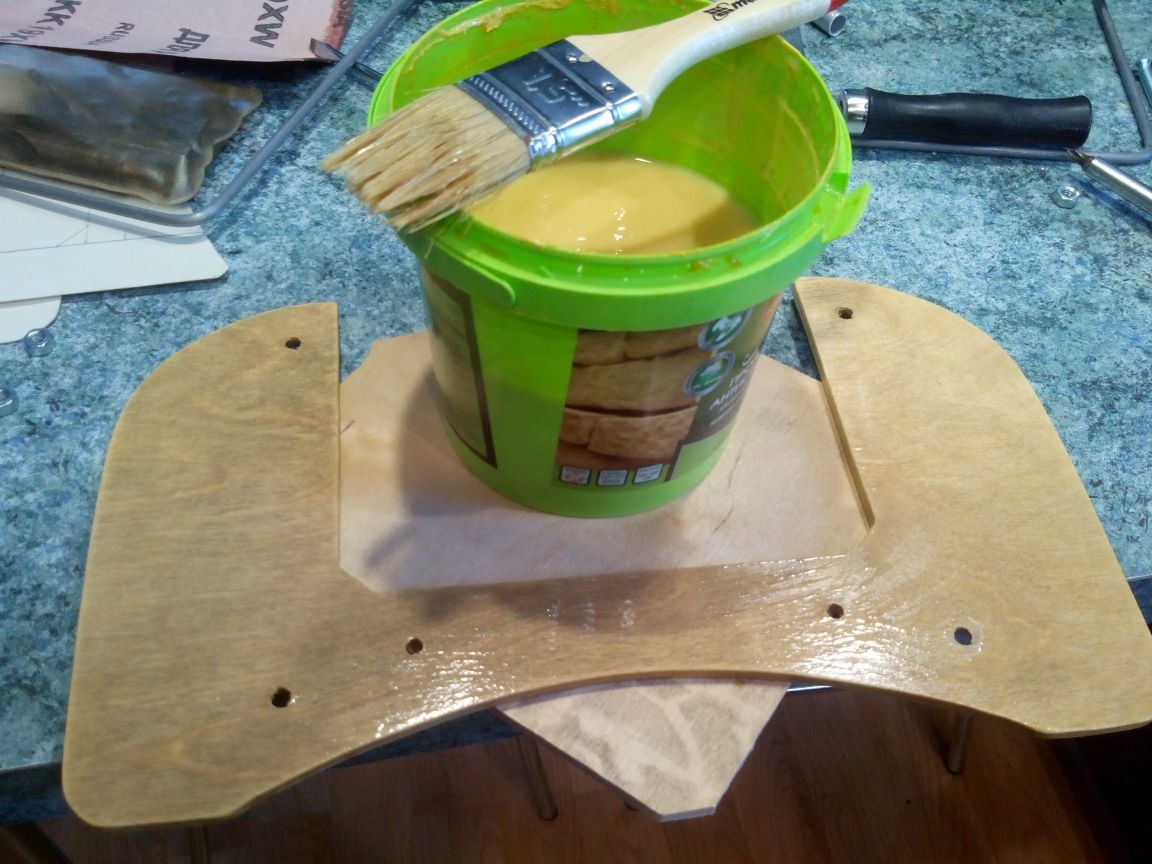
Lacquer the upper side of the lower part.
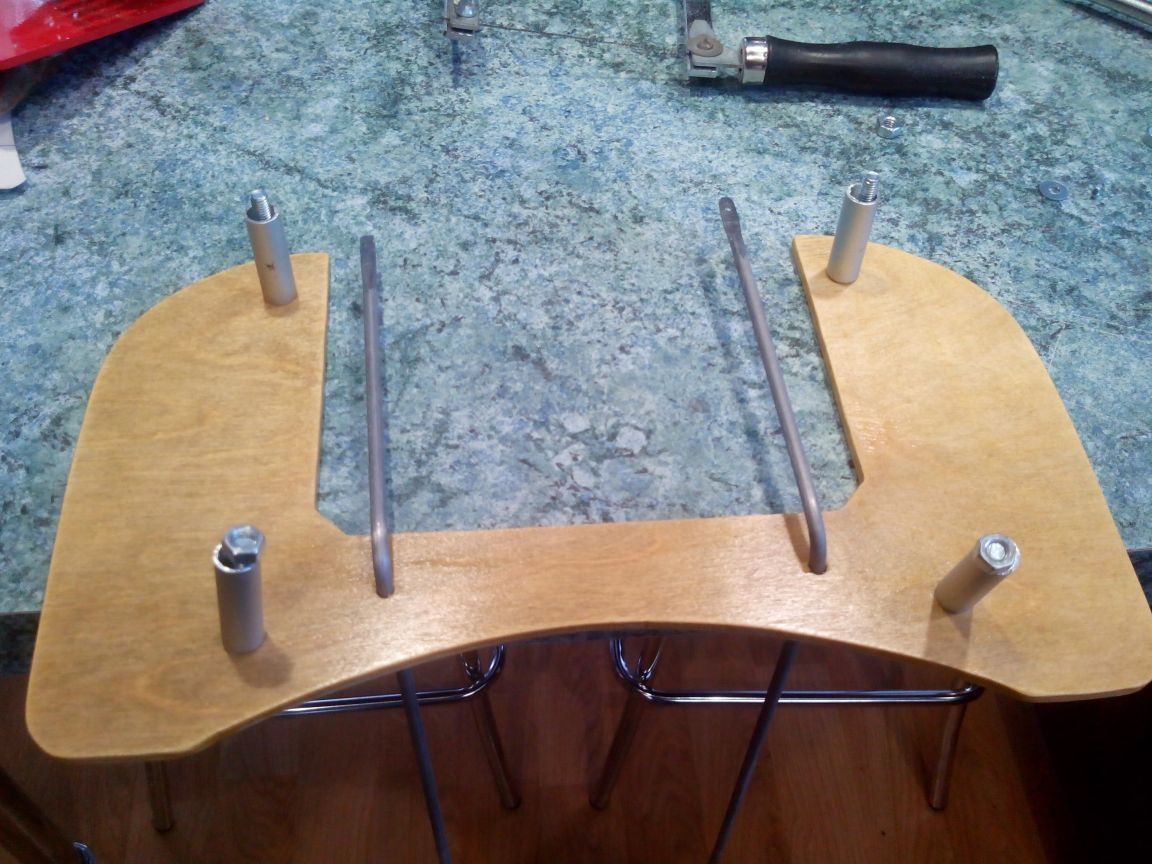
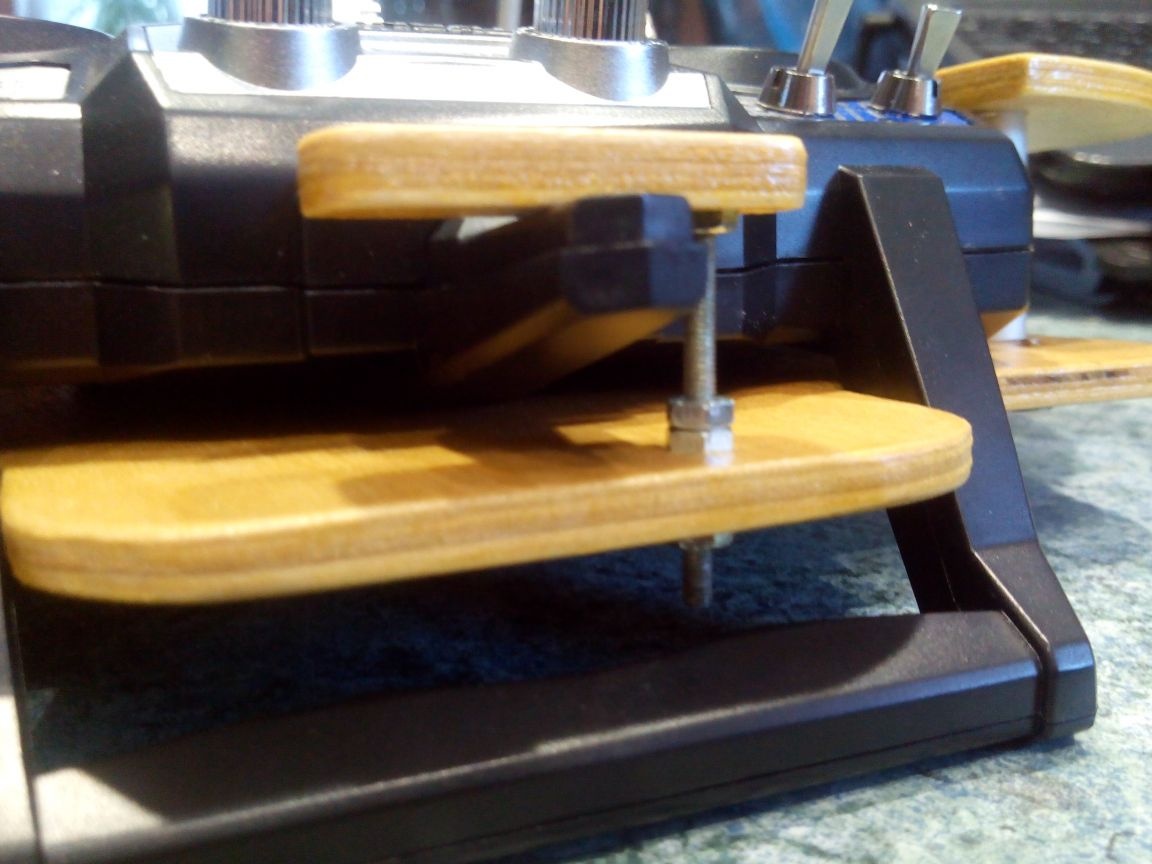
We thread the pre-bent racks into the upper part of the table, insert the bolts and put on them the pieces of the duralumin tube. If for some reason you could not find the tube, you can replace it with additional nuts by first screwing the bolts to the upper part of the table, and then fasten the lower part of the table to the bolts with nuts on both sides.
We pass the racks through the lower part and fasten it with nuts.
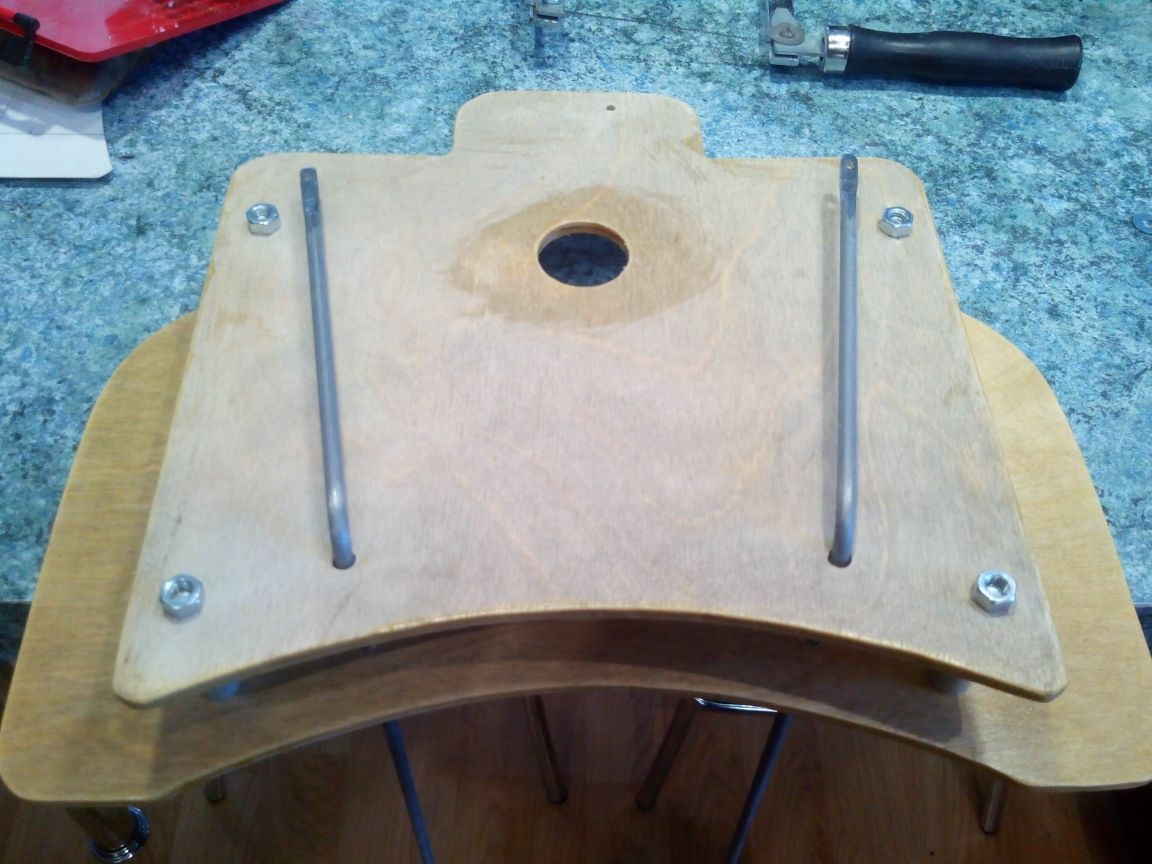
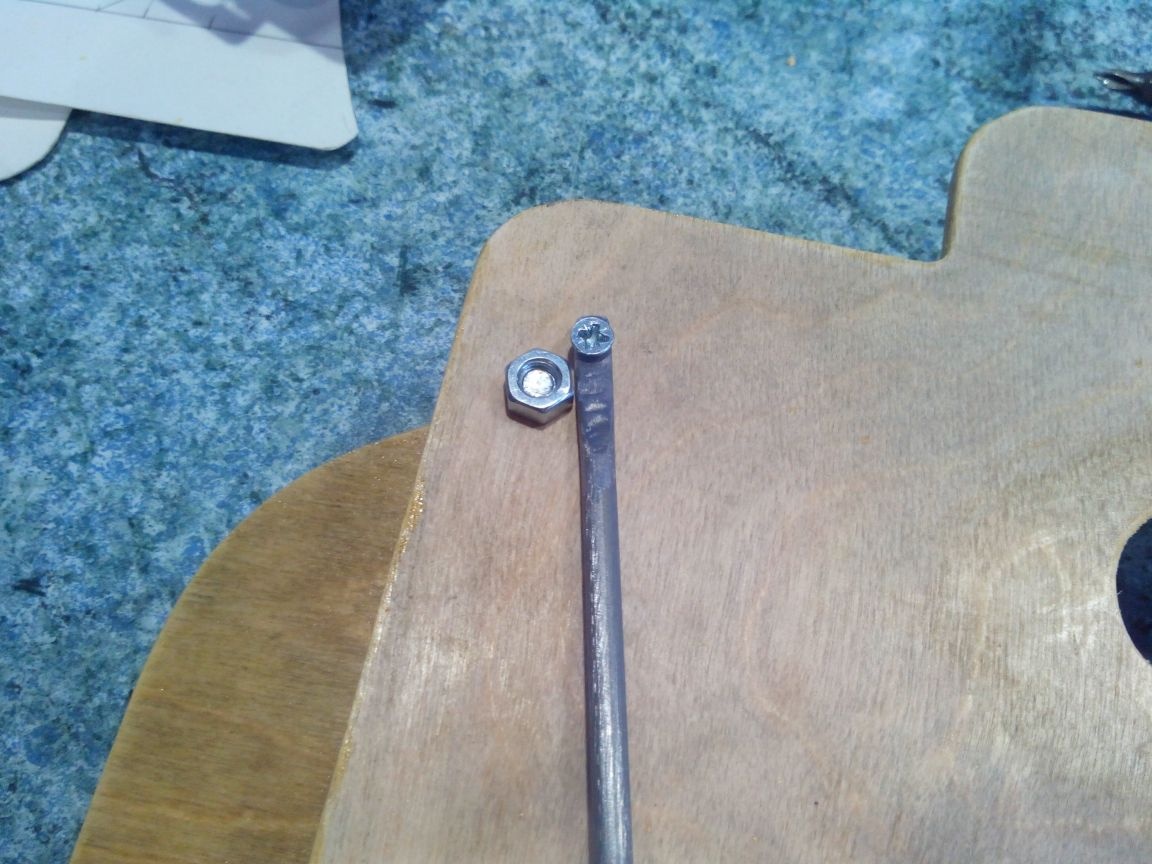
The racks themselves are fixed with screws. If they protrude from the back, you can file with it so as not to get scratched during use.
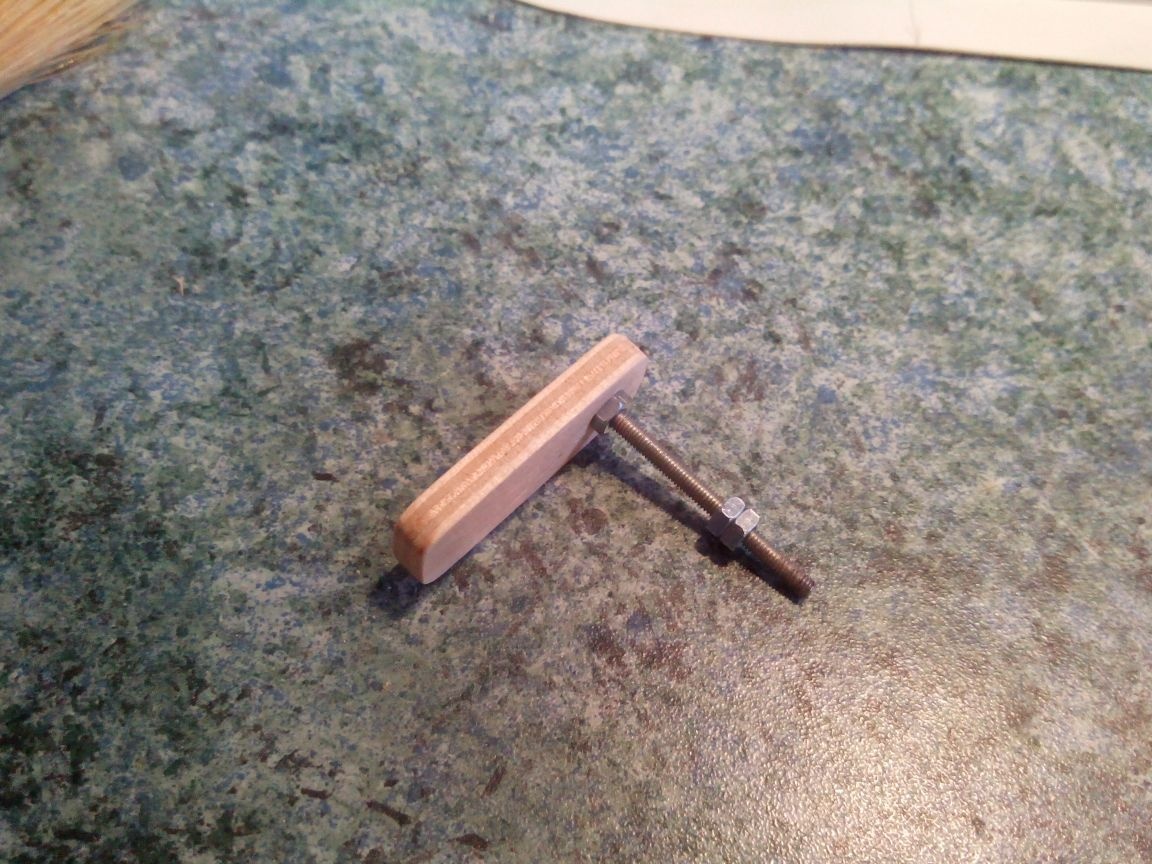
For additional fixation of the equipment on the table, it was decided to make a simple retainer from a piece of plywood and a thin bolt. In general, the equipment is very well kept due to the friction force, but I very often drag it around the field on my shoulder, and therefore I decided to fix it more reliably.
We varnish the remaining surfaces (top and bottom of the already assembled table and retainer).
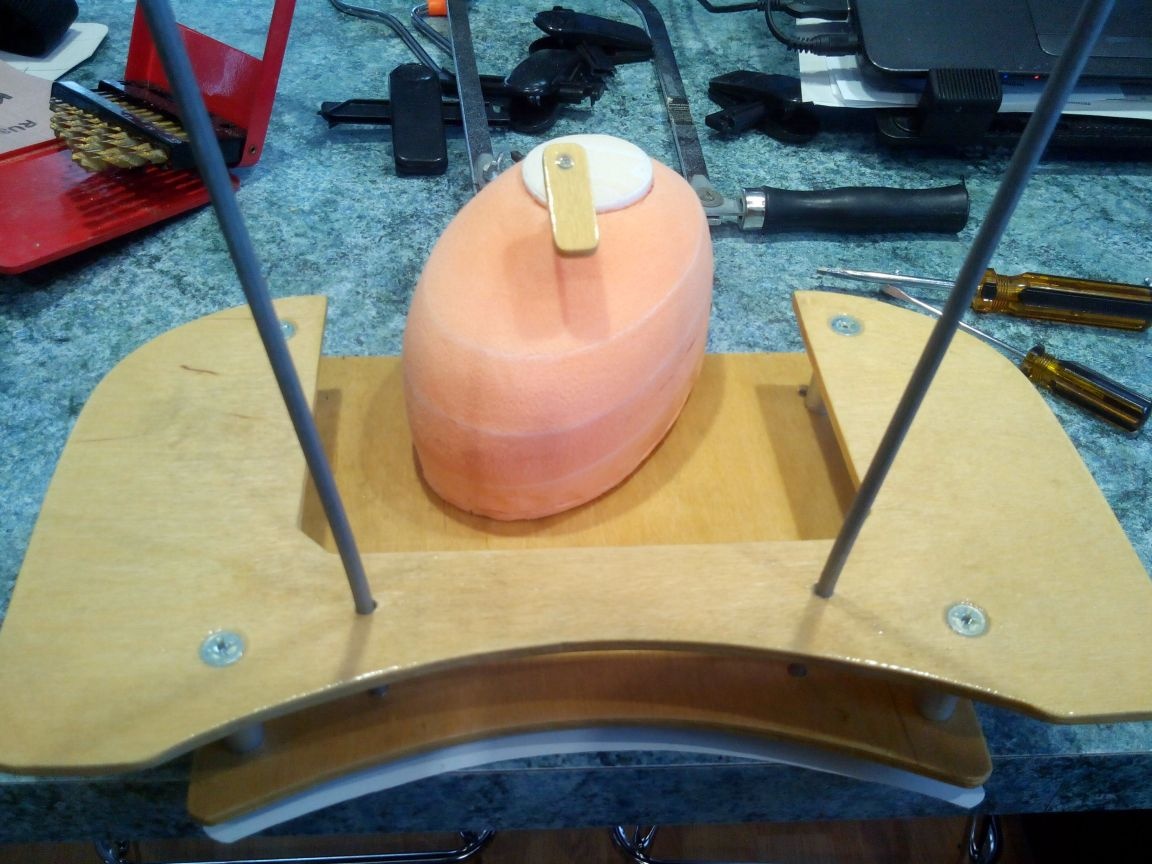
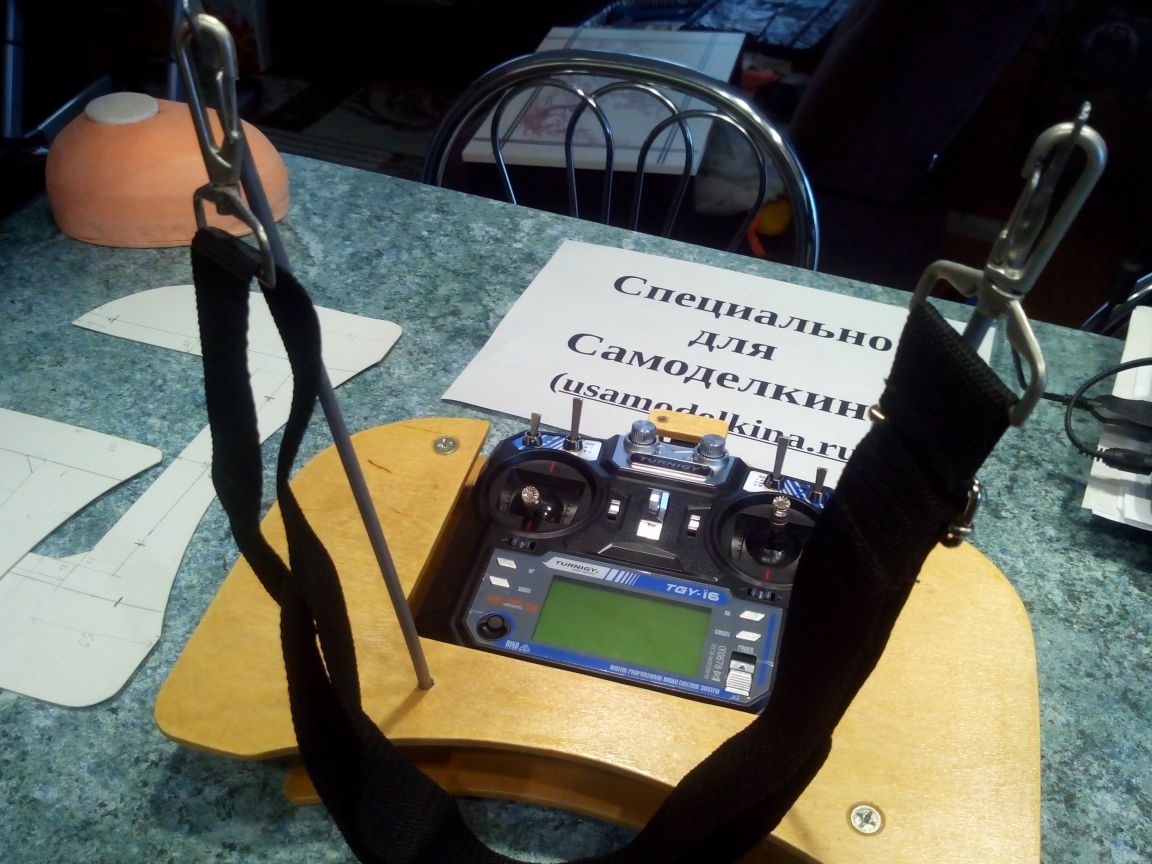
After the varnish dries, we insert the equipment into the table (with its lower part, the equipment slightly goes under the upper part of the table - this is done specifically so that it does not fall out) and fix it with a latch.
Pull the strap carabiners into the holes in the uprights.
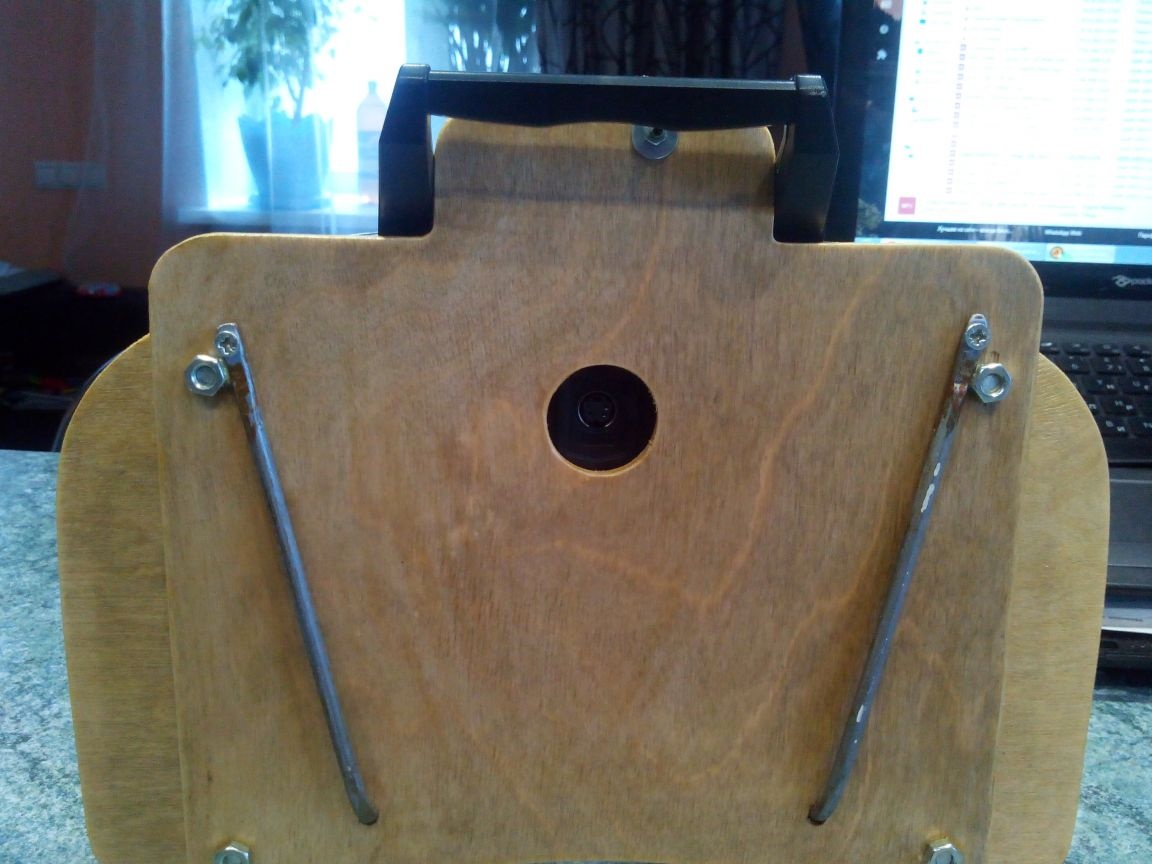
View of the table with the equipment from below - there is access to the coaching connector.
Everything, the table is ready! Have a nice flight!
If you don’t like the look of the bolt caps under your hands, you can add on top the covers fitted with a leatherette, but I didn’t consciously do this - so that my hands would not sweat.