Good day to all !
In this article, we will consider a method of manufacturing a knife, a cutting blade of a quick-cut saw will be used as a material.
Let's start manufacturing!
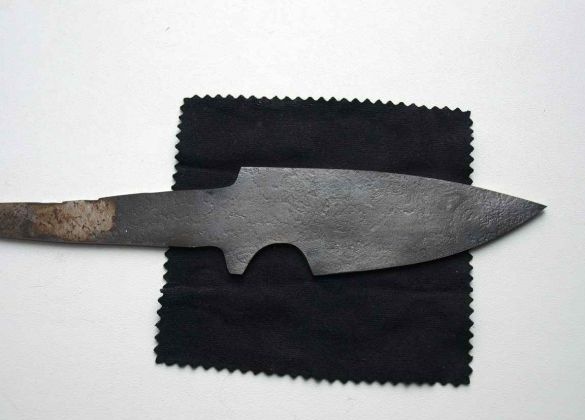
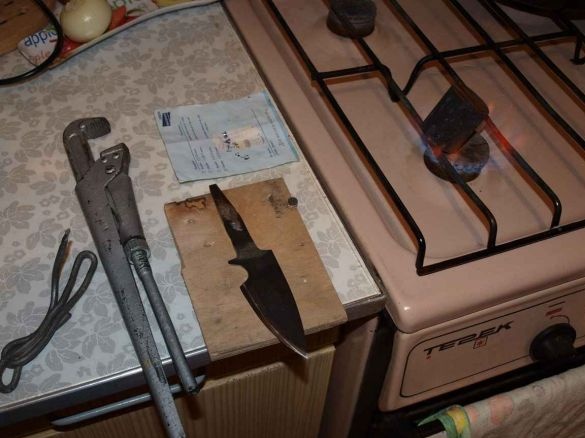
We take our blank and mark on it the future shape of the blade. When everything is ready, for convenience we clamp it in a vice, and with the help of a grinder with a thin cutting wheel we cut off the excess metal parts along the marking contour. In order to precisely fit the cut shape of the blade, according to the drawn markings, you need to additionally process the edge on an emery or walk along it with a cleanup circle.
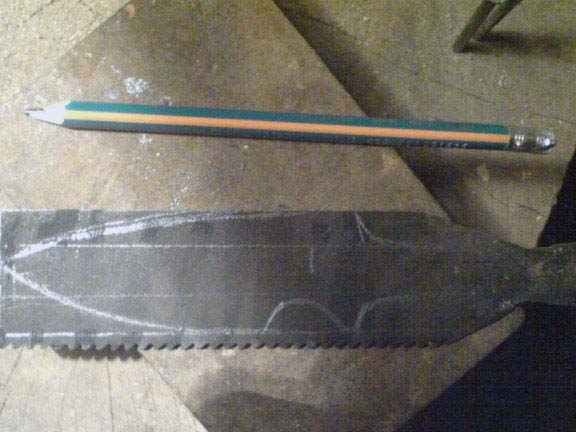
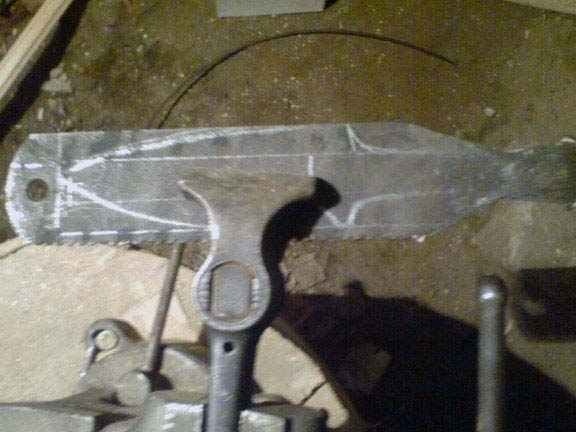
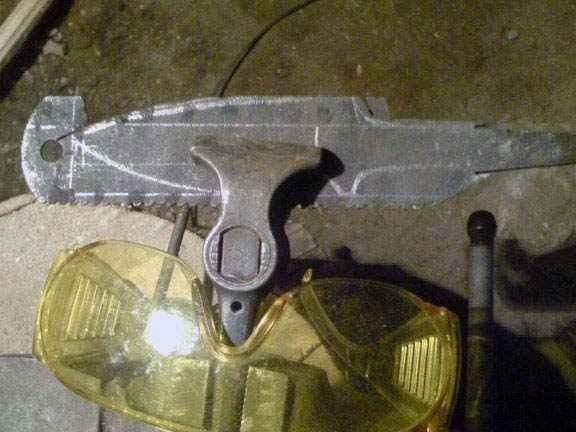
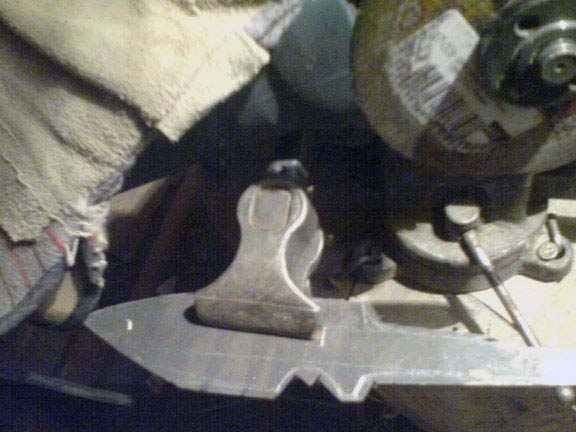
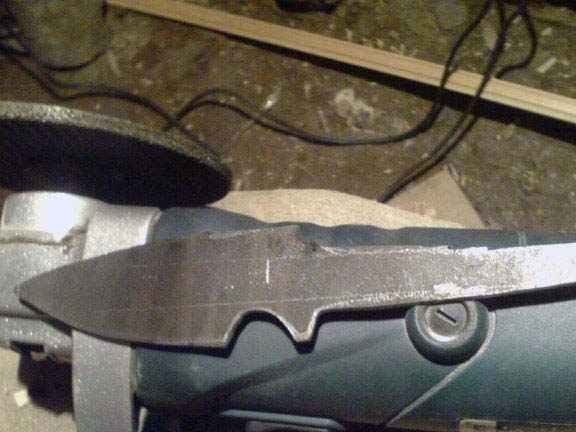
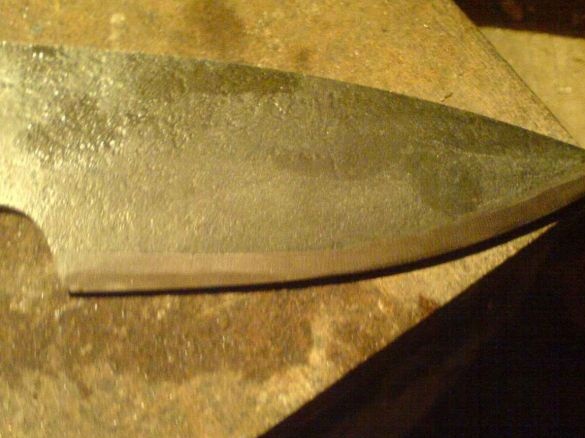
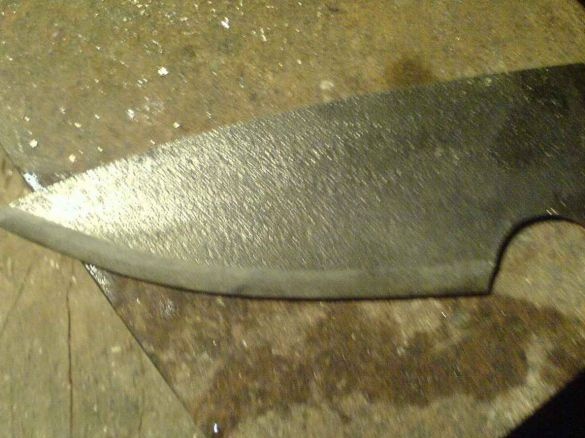
Since the surface of the canvas has traces of rust, which we do not need, we remove it with a special nozzle for a drill, or with an ordinary hand brush

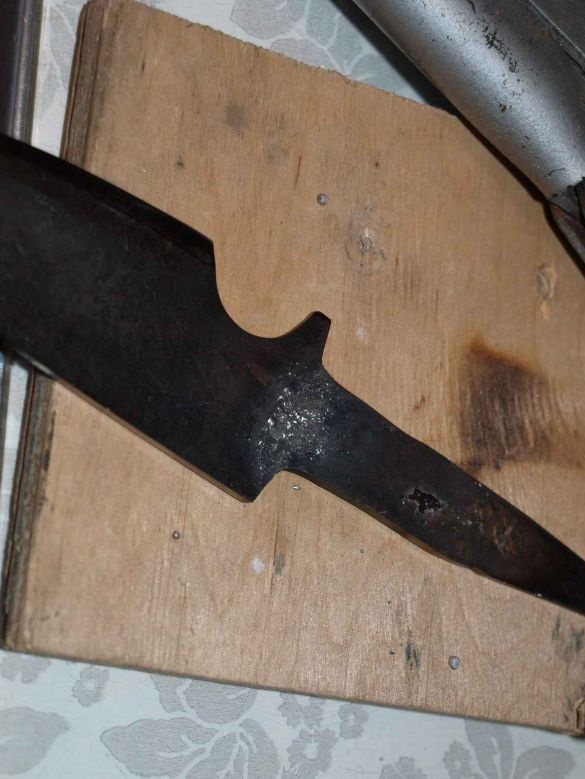
After processing we get the following.
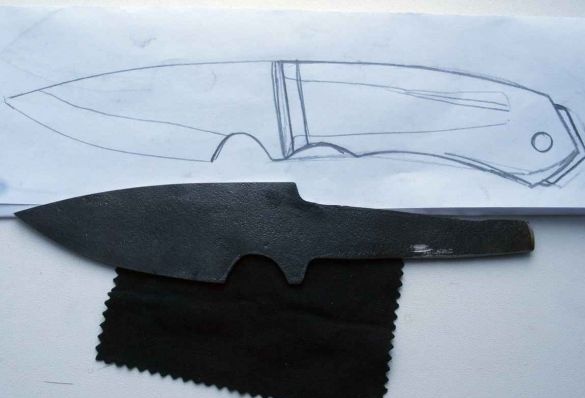
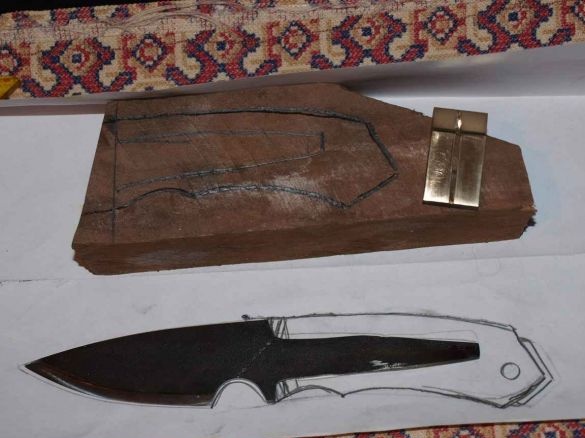
According to the obtained shape of the blade, we outline the future design of the knife on a sheet of paper.
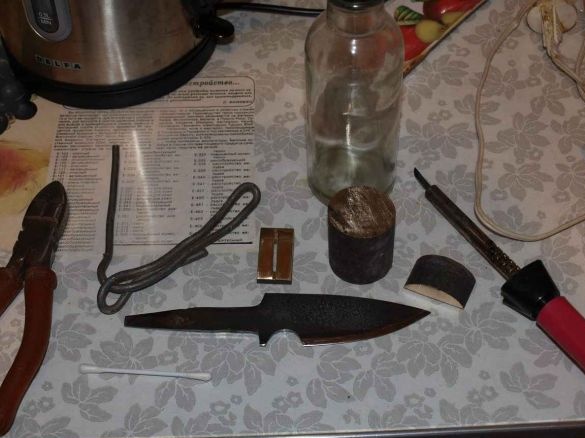
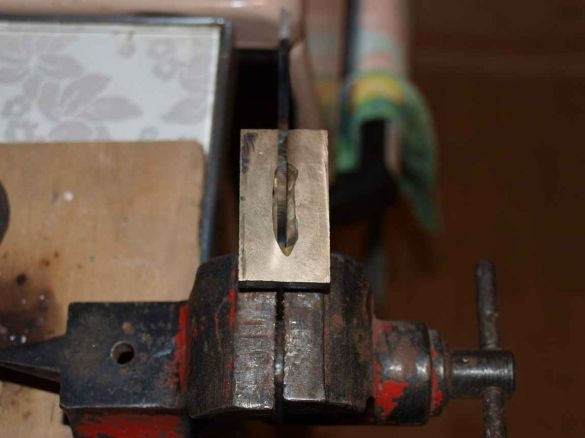
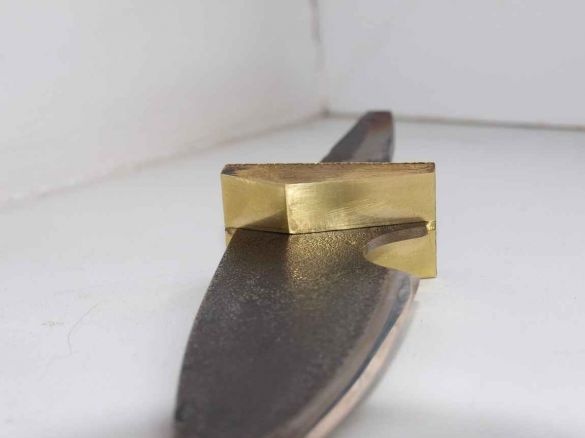
Next, we make a bolster for a knife, for this we use an existing piece of brass, cut a part of the right size, then from the resulting piece we cut out the shape we need.
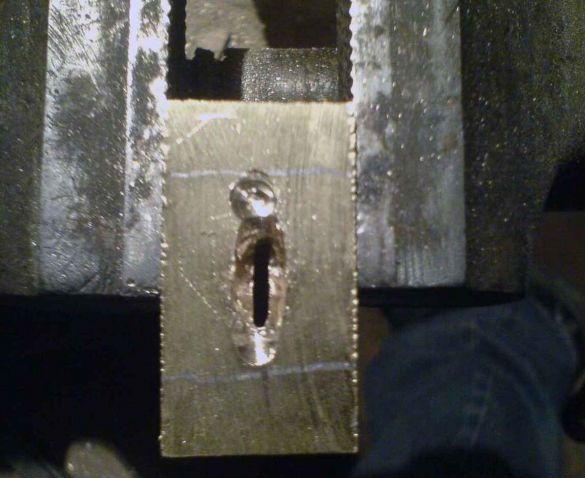
Then we make a slot for the blade, drill holes with a thin drill with a diameter of 1.8 cm, after which we make a cut with a hacksaw for metal. Next, on the reverse side, drill a slot with larger drills, make the final adjustment using files, so that the shank enters the hole with a minimum clearance.
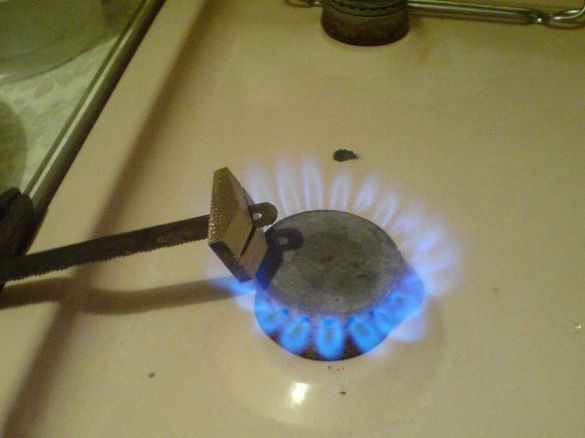
When everything is ready, we burn the bolster, in this case, on the stove.
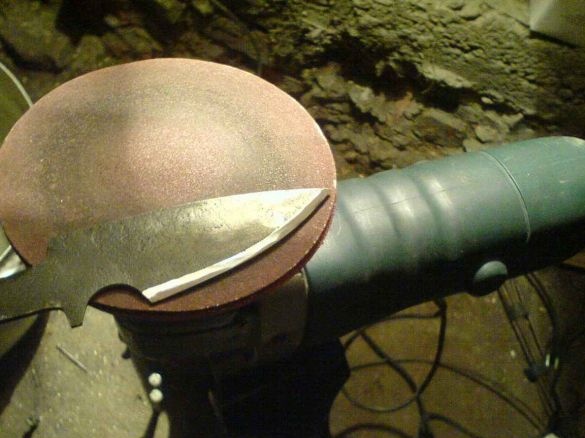
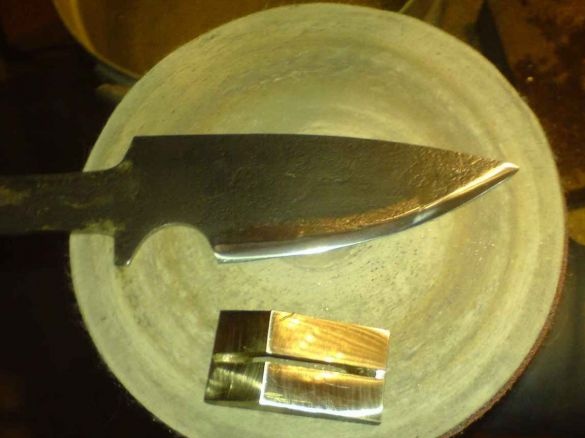
Now we do the descent of the blade, for this we use a sharpener, the following happened.
Further, the author used a grinder with grinding nozzles with a grain size of 100 and 600, on which he finally brought the descents to the desired result. Carrying out this operation, we don’t forget about safety precautions; in no case should the blade be set against rotation of the disk, as this is very dangerous and fraught with consequences.
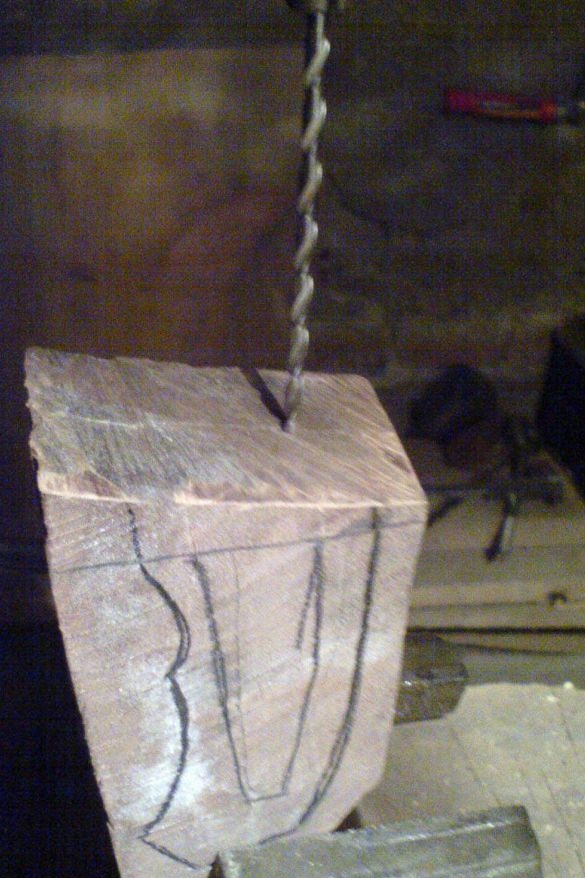
Now we select the wood material for the hilt, the author used a blank of fruit trees, after which he applied the sketch conceived earlier, which can be seen in more detail in the photo.
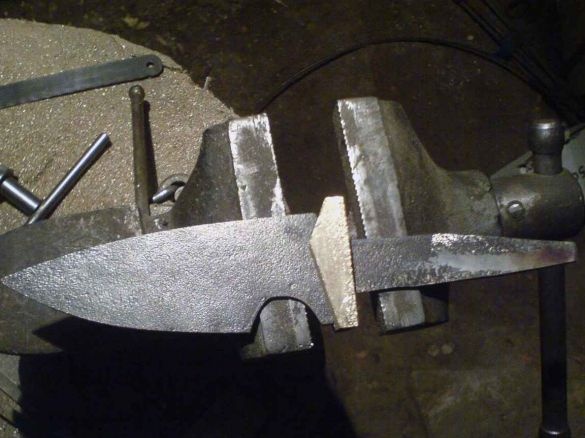
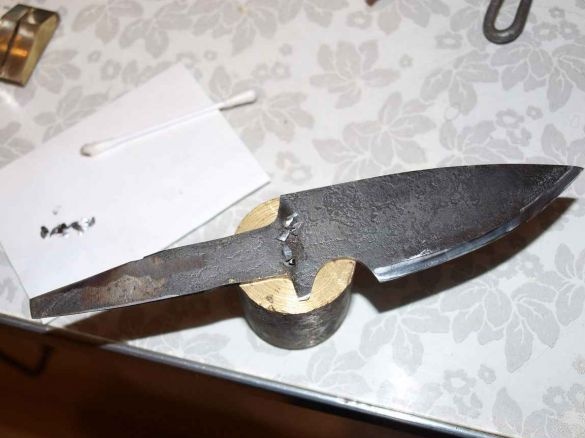
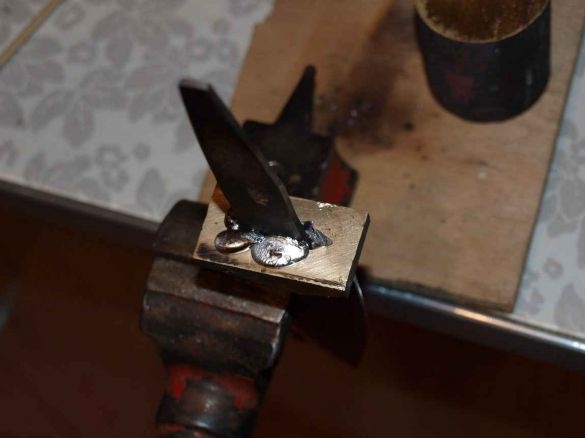
Let's get back to our bolster, after we fired, the bolster needs to be finally fixed on the blade, and the unnecessary slots should be hidden, the author decided to solder it.
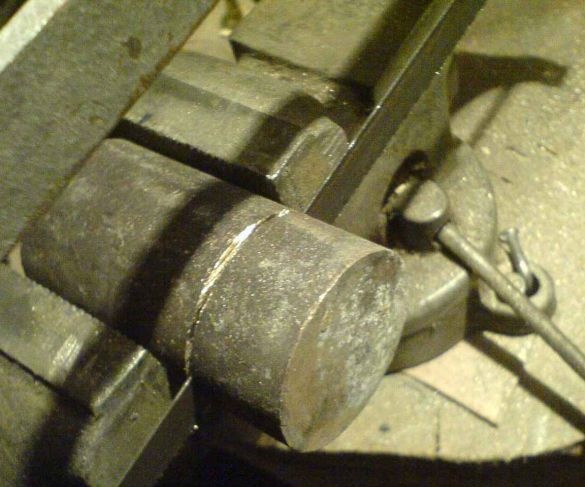
Since the author did not have a sufficiently powerful soldering iron, he decided to use another proven method, using a heated brass blank. Soldering acid was taken to solder the metal with brass bolster, and a scrap from the bolster was used for an accurate fit.
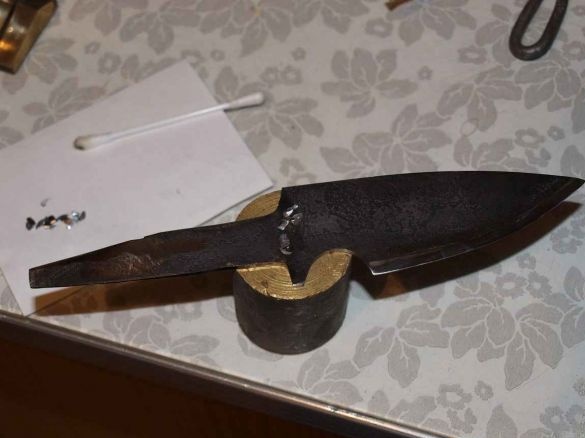
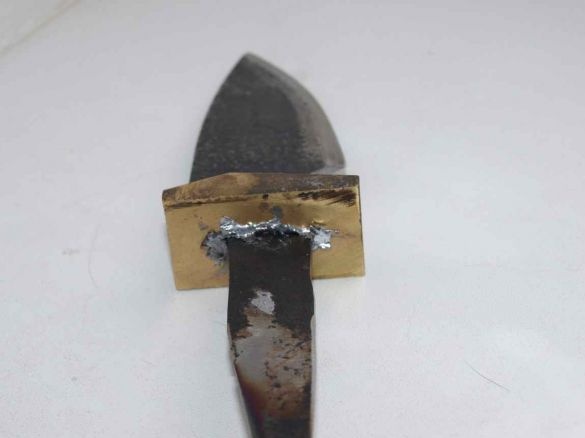
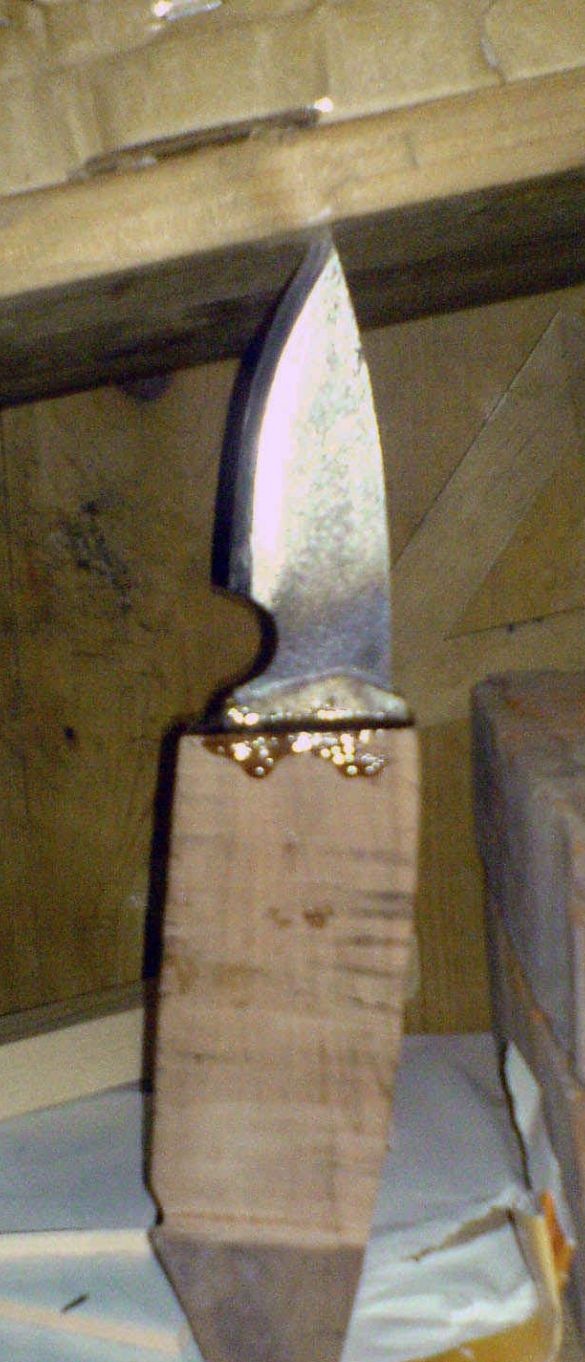
Since it is quite difficult to heat the bolster, the following operation was carried out - we put a brass blank and a segment from the bolster on the stove and heat it until these parts are heated, we clean the soldering place, and we apply soldering acid. We install the bolster on the blade, then with the help of a heated blank we heat it, then we take the previously molten tin solder and fill it into the gap between the parts. Using a brass blank and a segment from the bolster, we gradually warm up the parts, thus achieving uniform filling of tin along the cracks.
We get the following.
We install the handle of the knife.
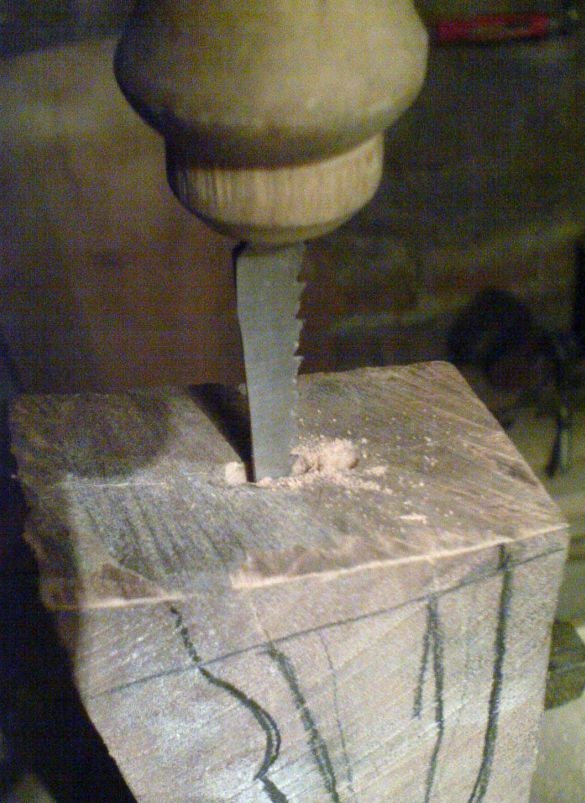
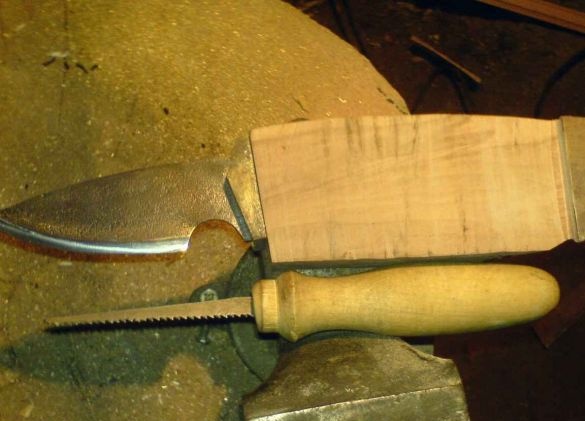
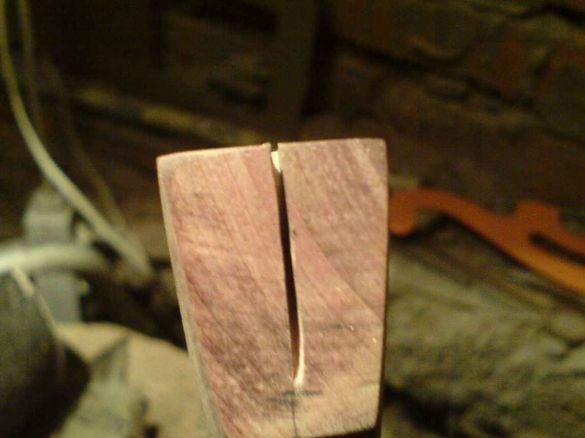
To do this, we take our workpiece, in which we drill a hole, then with the help of a small file from a jigsaw we expand the hole. The excess parts of the handle are cut with a hacksaw.
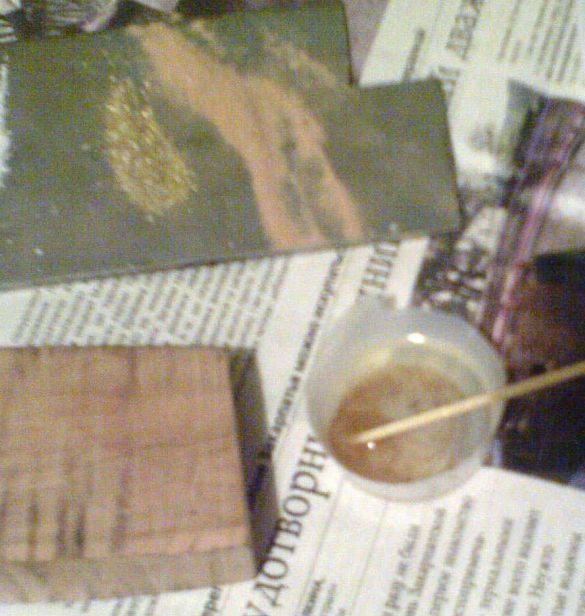
Next, fix the handle with epoxy, to which we add sawdust.
Put it under the press, and leave to dry.
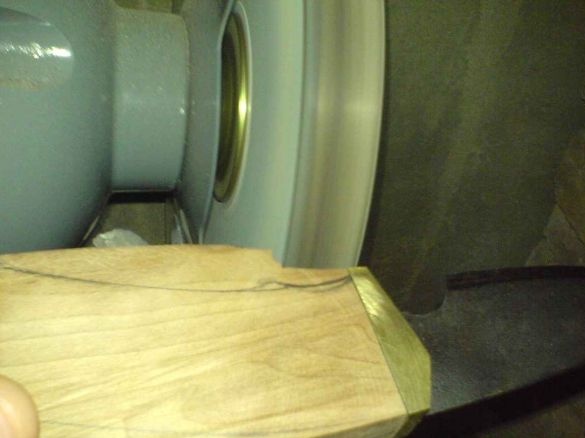
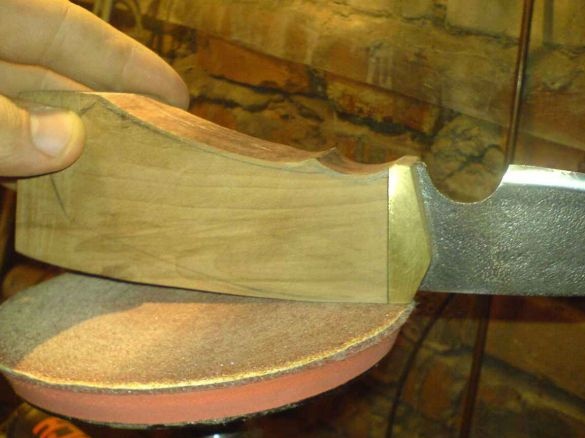
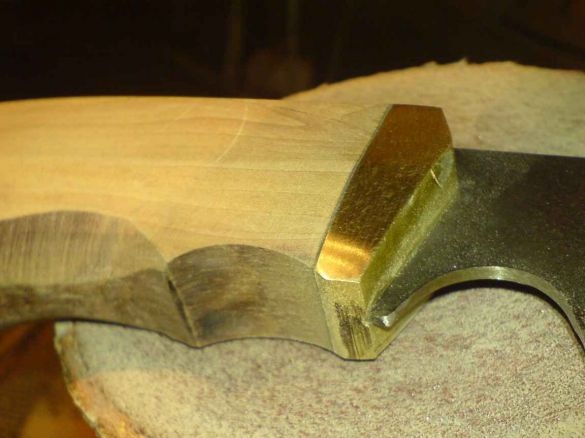
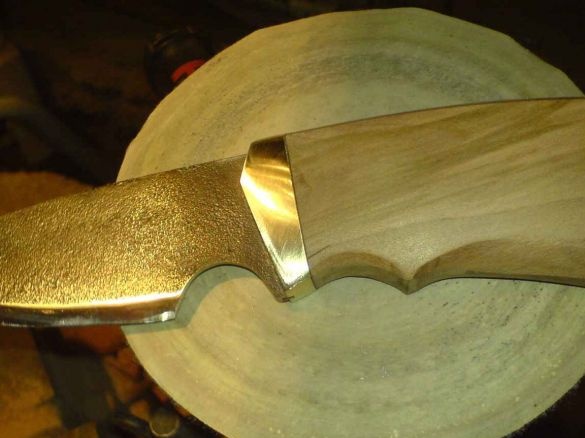
When everything is ready, we grind our workpiece, giving the handle the desired shape, for this the author used a grinder, a drill with grinding nozzles, and a file.
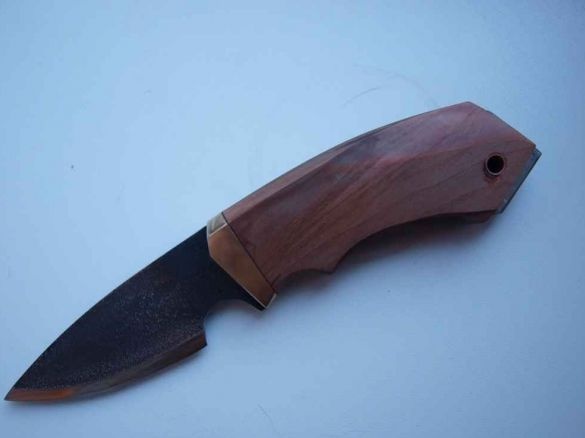
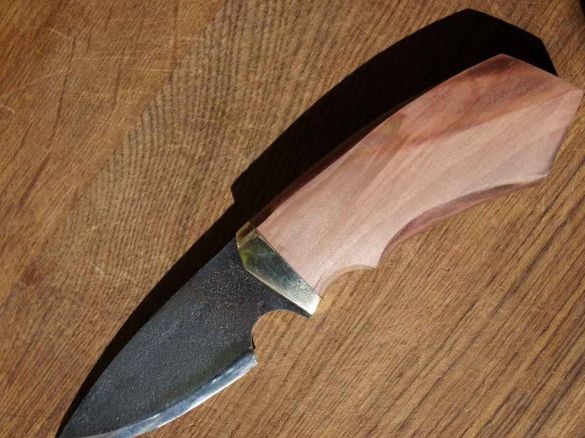
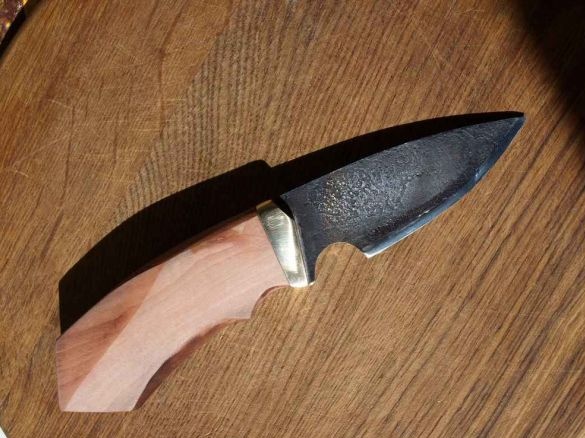
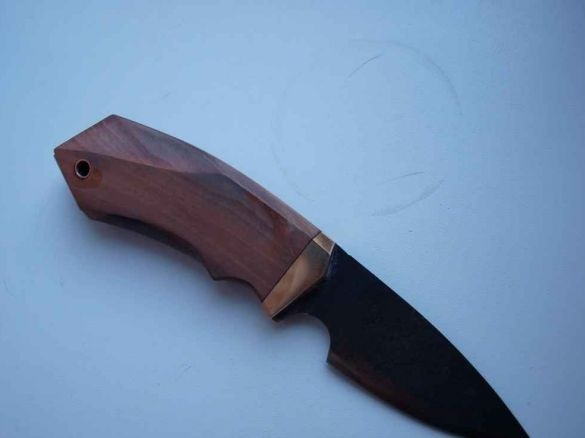
We get a practically ready knife.
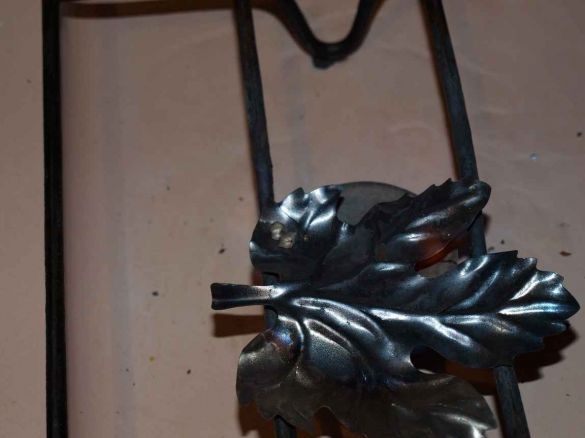
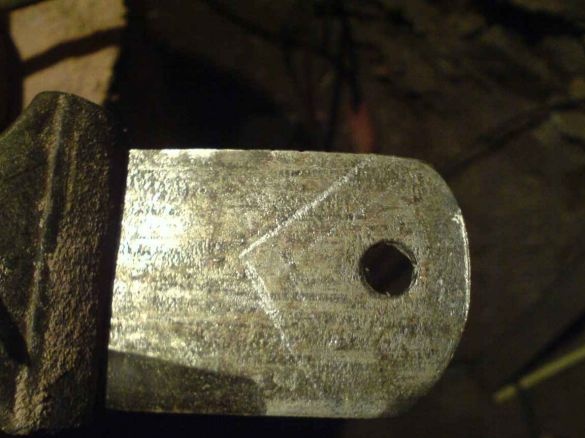
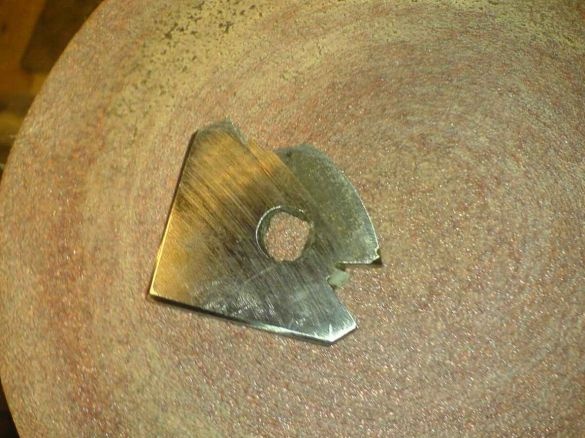
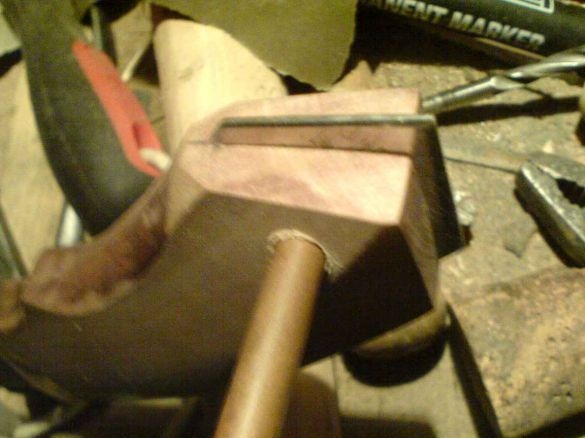
The author decided to make a small revision, namely, to add a special "cullet" to the handle, as the material was also used from the saw blade. We mark and cut our part
Next, we make a groove with a hacksaw, we adjust the gap with a file.
Then we drill a through hole on the handle, it should coincide with the hole in the "cullet". When everything is ready, put the “cullet” in the prepared place and fix it with cyanoacrylate. We install a lanyard tube in the hole.
The knife is almost ready, it remains to soak the handle with linseed oil, and polish, as well as sew special sheaths for it.
This article is over. Thank you all for your attention!

