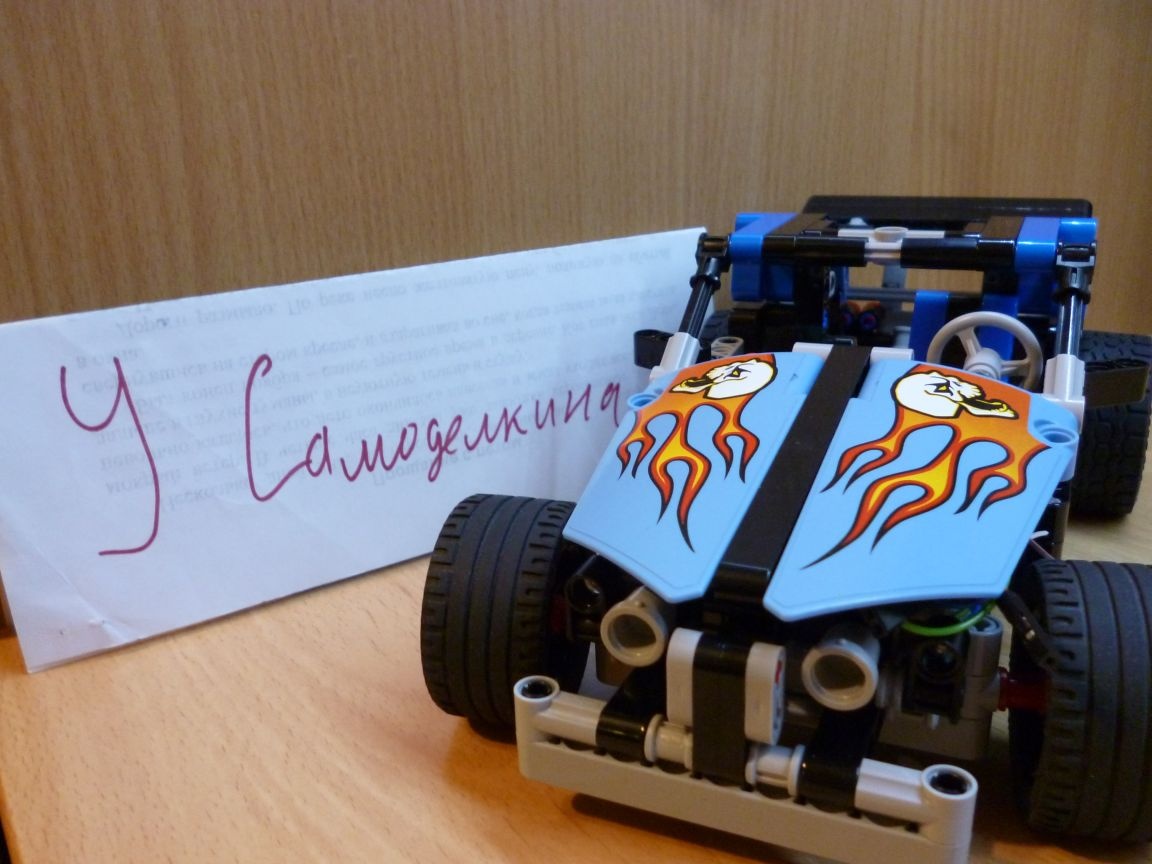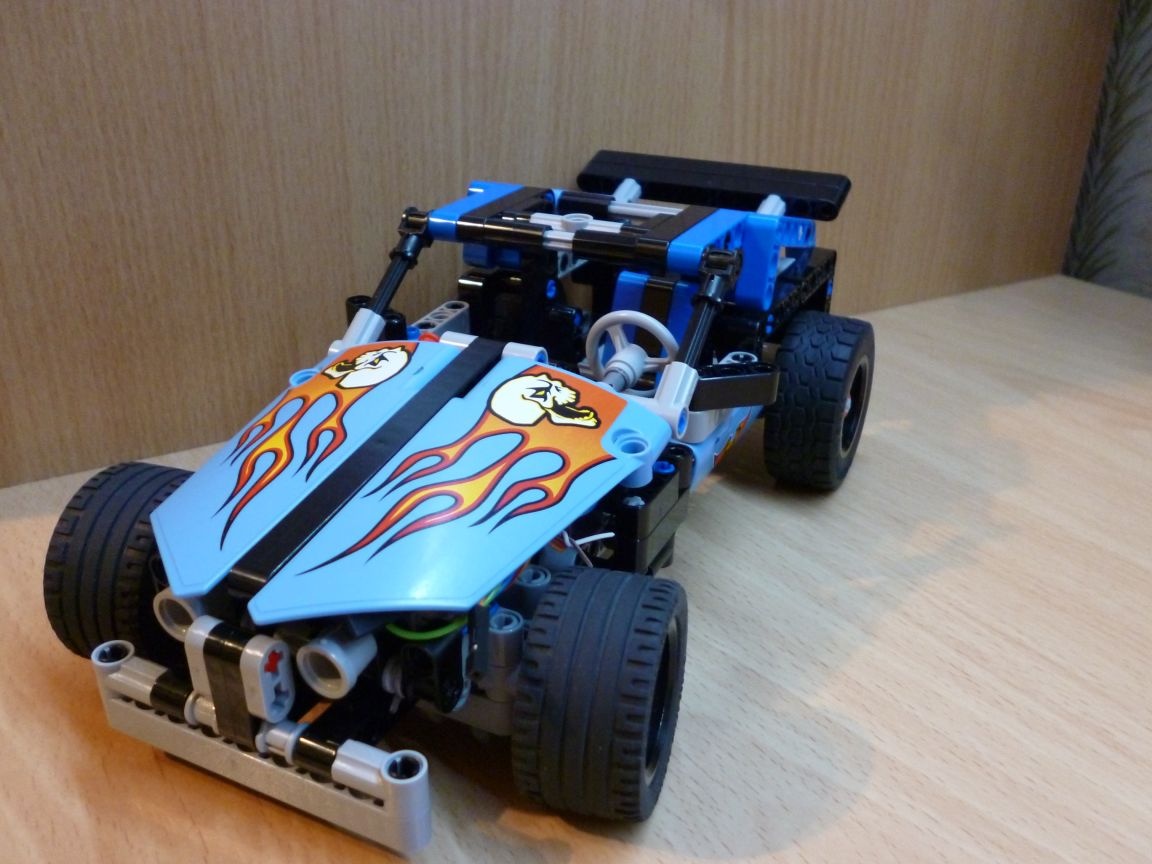
Today I want to share my next homemade. It is based on Lego and Arduino. For control, we will use a remote control with a 433 MHz transmitter. This time I wanted to make a racing car. Proceed:
- Lego Technic 42022
- Arduino Nano
- DRV 8833
- Servo SG-90
- 433 MHz radio communication module
- Motor reducer 200 rpm, with a shaft diameter of 3 mm
- 2 LEDs
- 2 resistors 150 ohms
- Capacitor 10v 1000uF
- 2 single row combs PLS-40
- 2 PBS-20 connectors
- Inductor 68mkGn
- 6 NI-Mn 1.2v 1000mA batteries
- Connector dad-mom two pin to wire
- Homutik
- Wires of different colors
- solder
- Rosin
- soldering iron
- Bolts 3x40 and nuts and washers for them
- Bolts 3x20
Step 1 assemble the case.
It is necessary to assemble our machine according to Lego instructions 42022 the second option with some refinement. We perform all actions from page 3 to 6. We don’t need a gear mechanism. The Lego engine also does not need to be assembled. However, you will need engine mounts collected on pages 14-19, except for gears and shafts. Next, we collect everything from pages 20 to 74, except for the lever on page 25.
Step 2 mechanize the body.
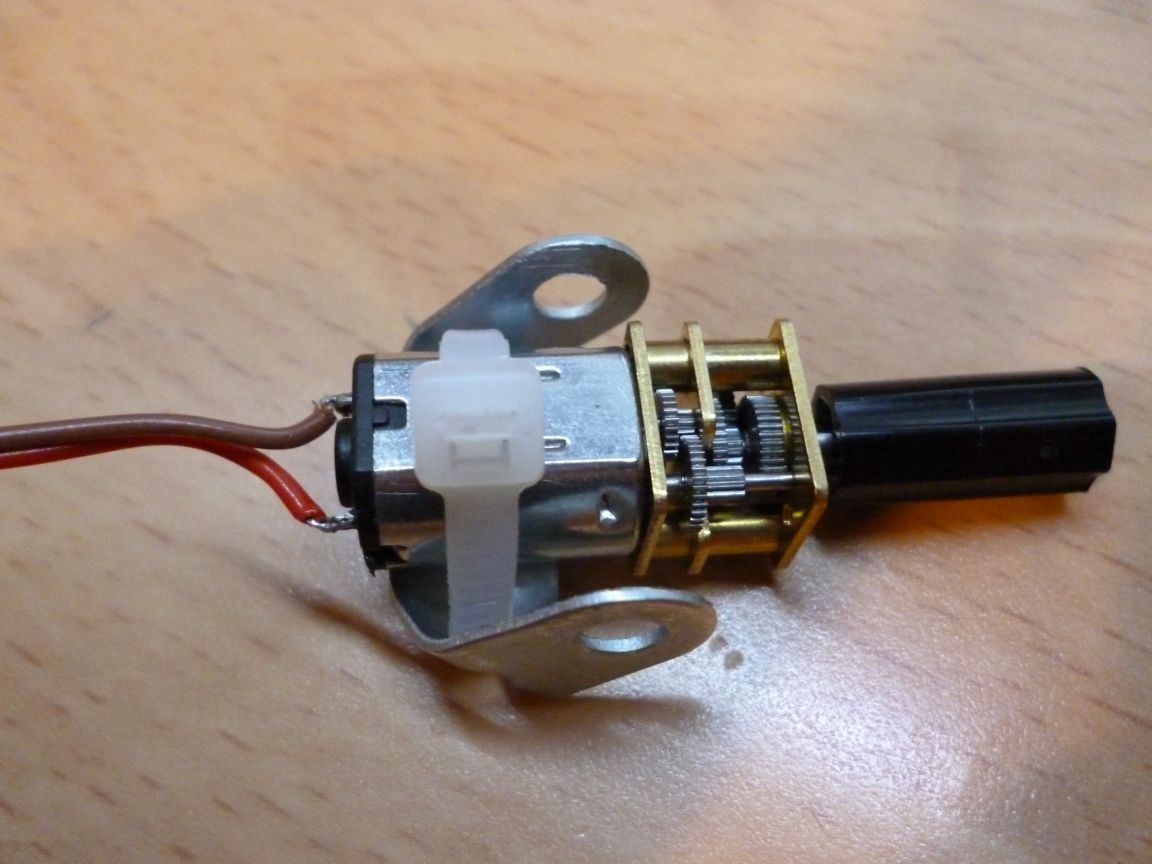
Set in motion our model there will be a gear motor with a speed of 200 rpm. Can be used with a different gear ratio. But, in my opinion, this is the best option. At 100 rpm - too slowly, 300 rpm - there is not enough power and the engine is very hot. On the shaft of the gearmotor it is necessary to put on the “Legovskaya” connecting sleeve and secure it against turning by trimming a match. To fix our motor on the model, it is necessary to bend the part from the metal constructor with the letter “P” and attach the gear motor to the plate with a clamp. The result should be the following:

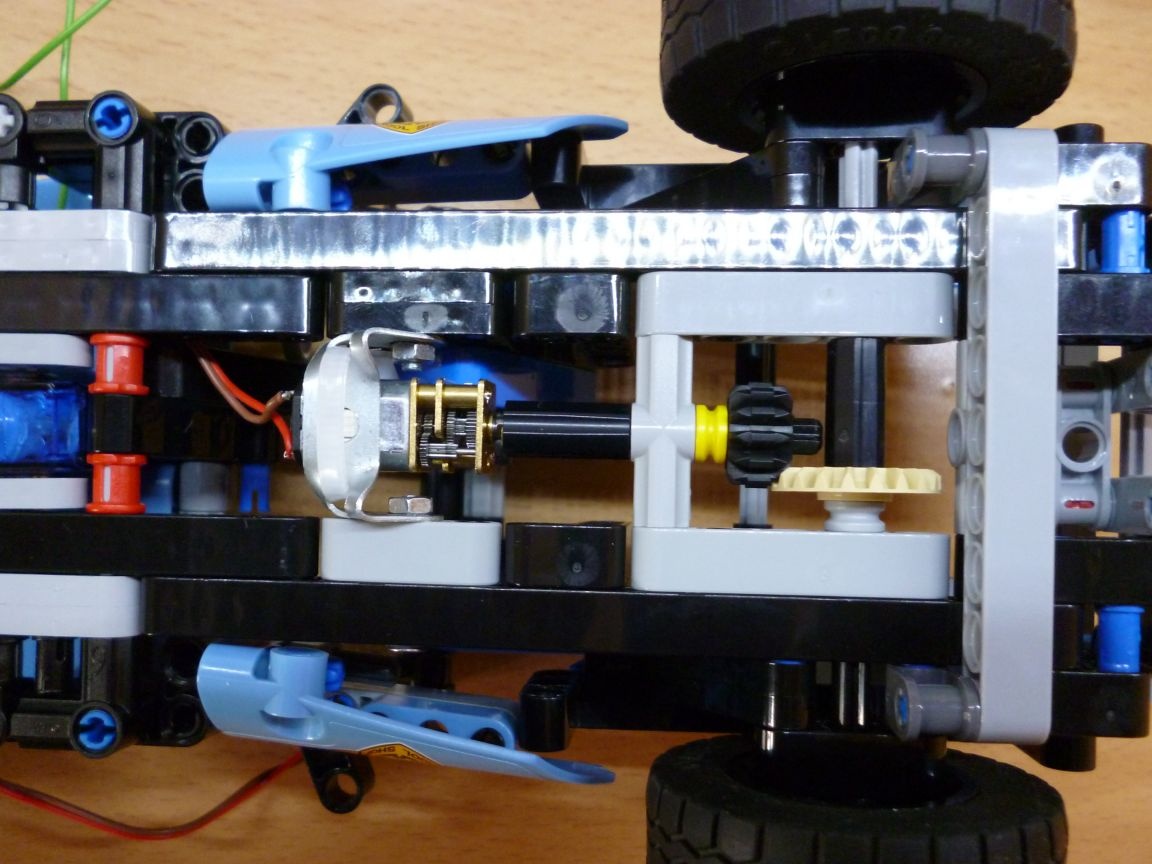
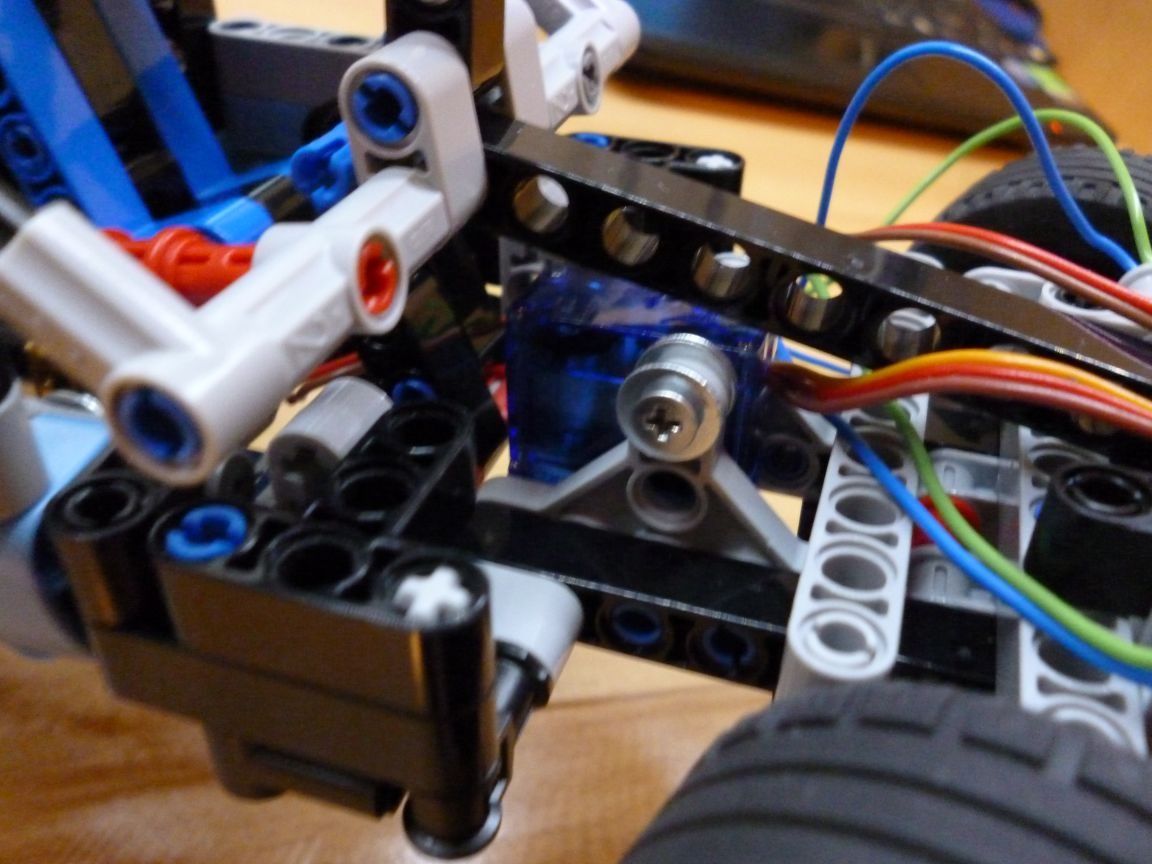
With the help of 3x20 bolts we fasten our motor to the model. Do not tighten too much! Otherwise, you may damage Lego constructor parts. On the model, it looks like this:
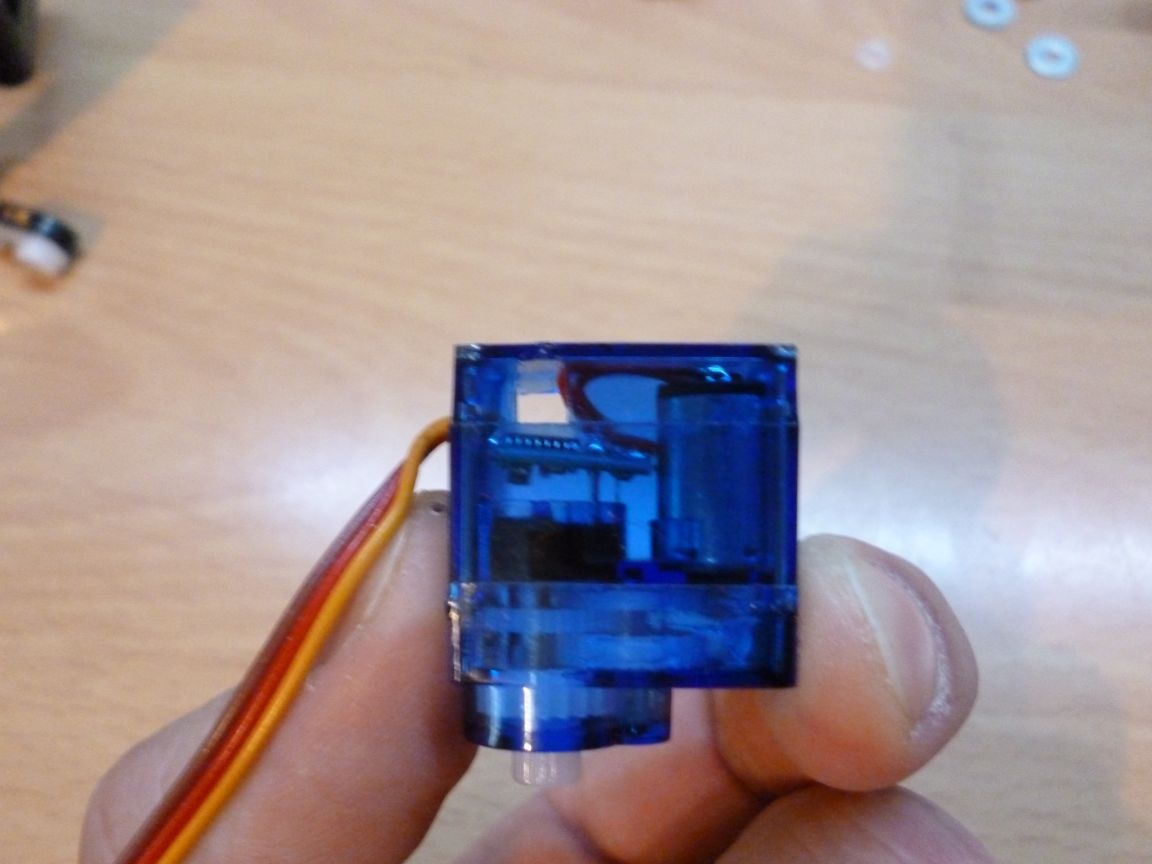
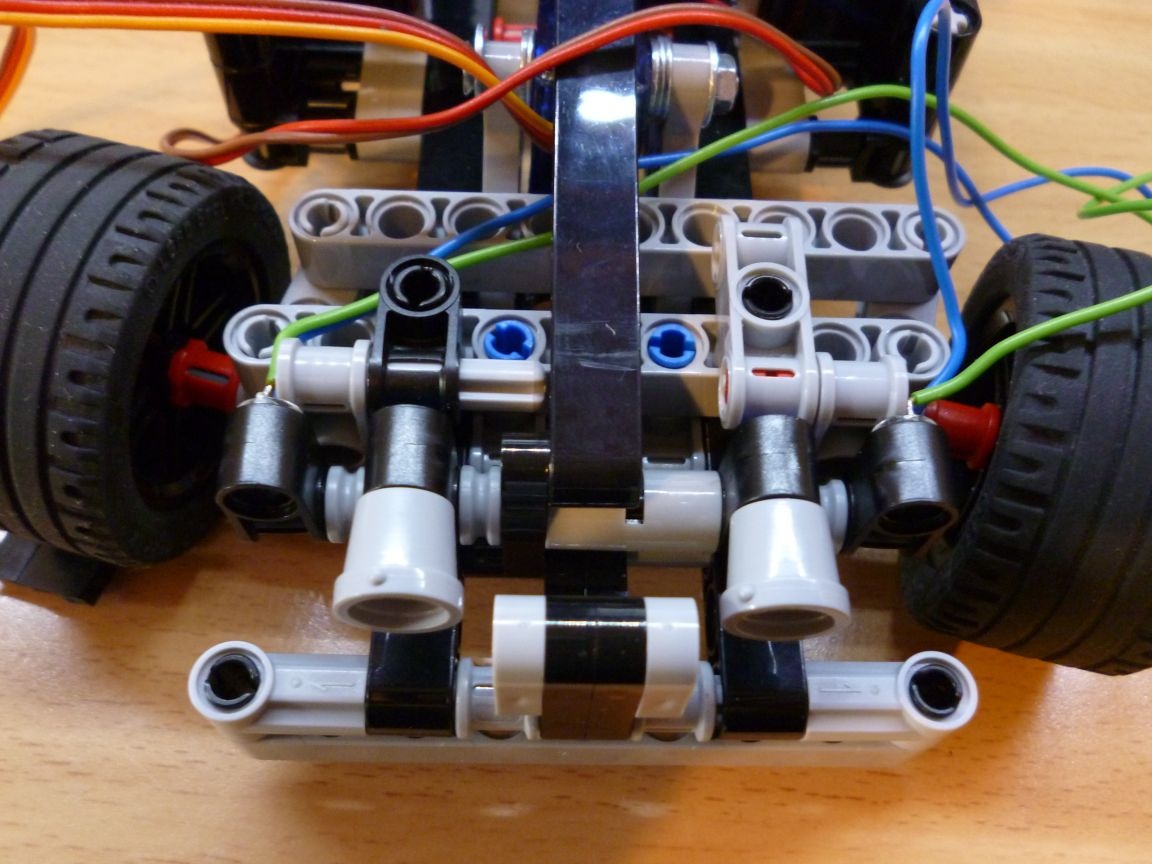
To make the turn, take a slightly modified servo SG-90. The case must be carefully drilled so as not to touch the internal parts, the through hole with a diameter of 3.2 mm or simply cut with a clerical knife.
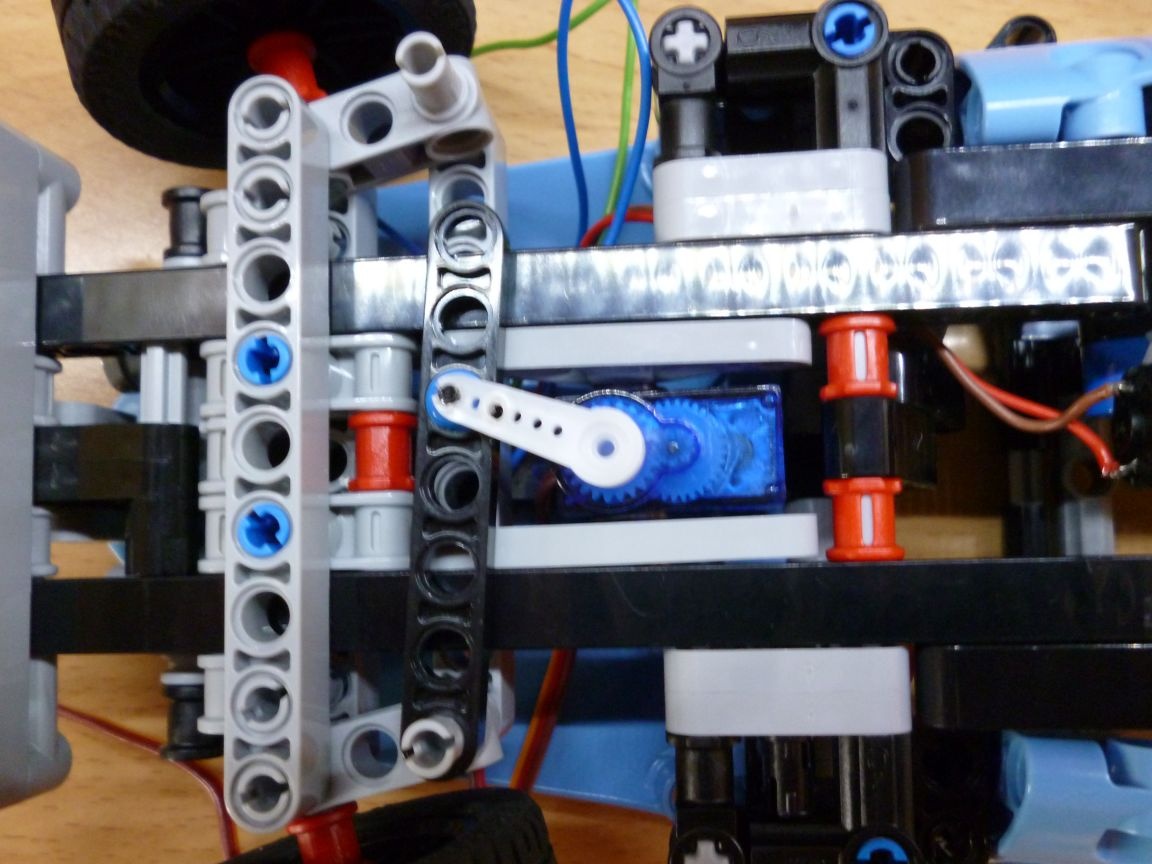
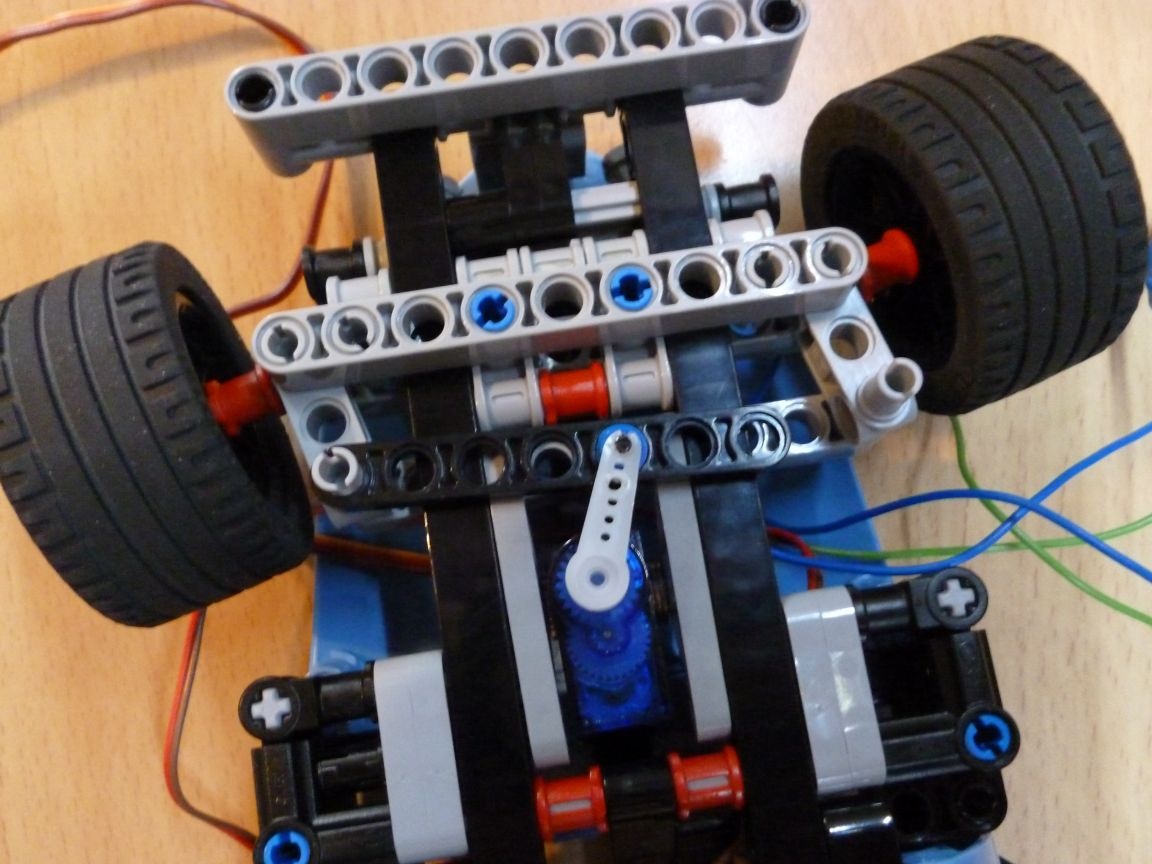
We insert a bolt into the hole made, and on the edges we put on triangular plates and fix with nuts. We put the lever on the servo shaft and fasten the part to the Lego lever. On a typewriter, it looks like this:
Step 3 is an electrician.
Soldering iron in hand and go. All electrics can be assembled simply by connecting the mounting wires. But this is inconvenient, as it requires a lot of space. In addition, there is a high probability of poor-quality contact. Therefore, it is better to solder everything on the circuit board according to the following scheme:
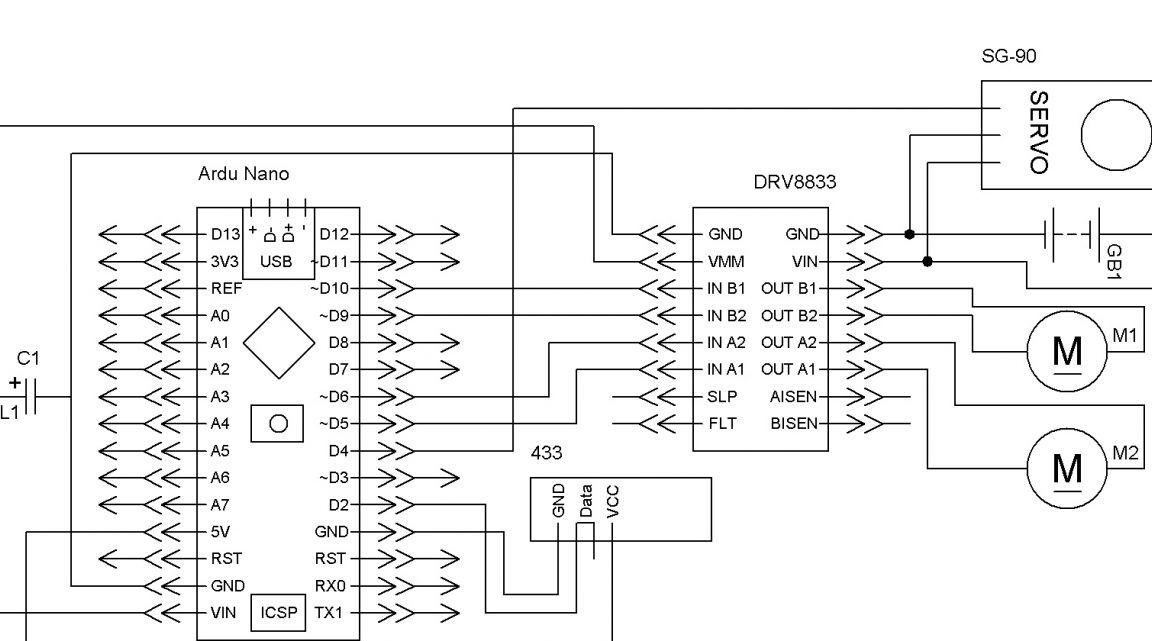
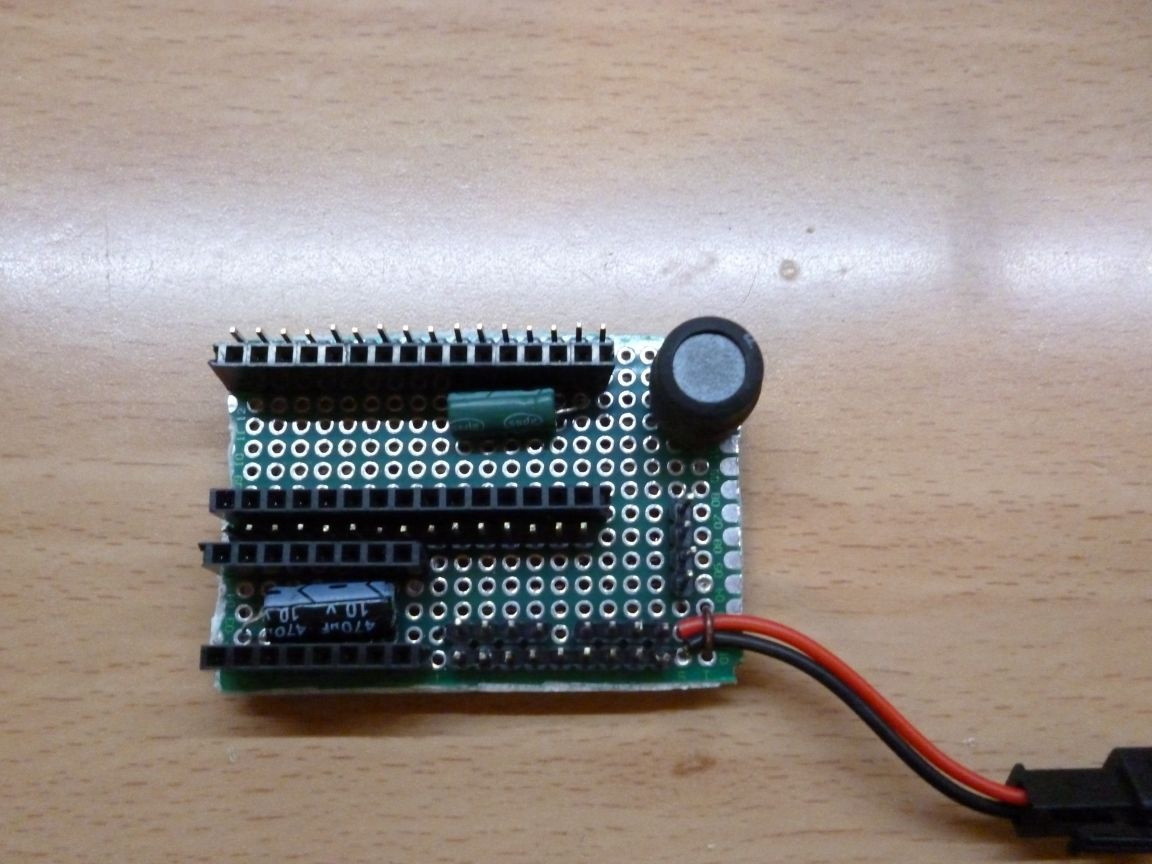
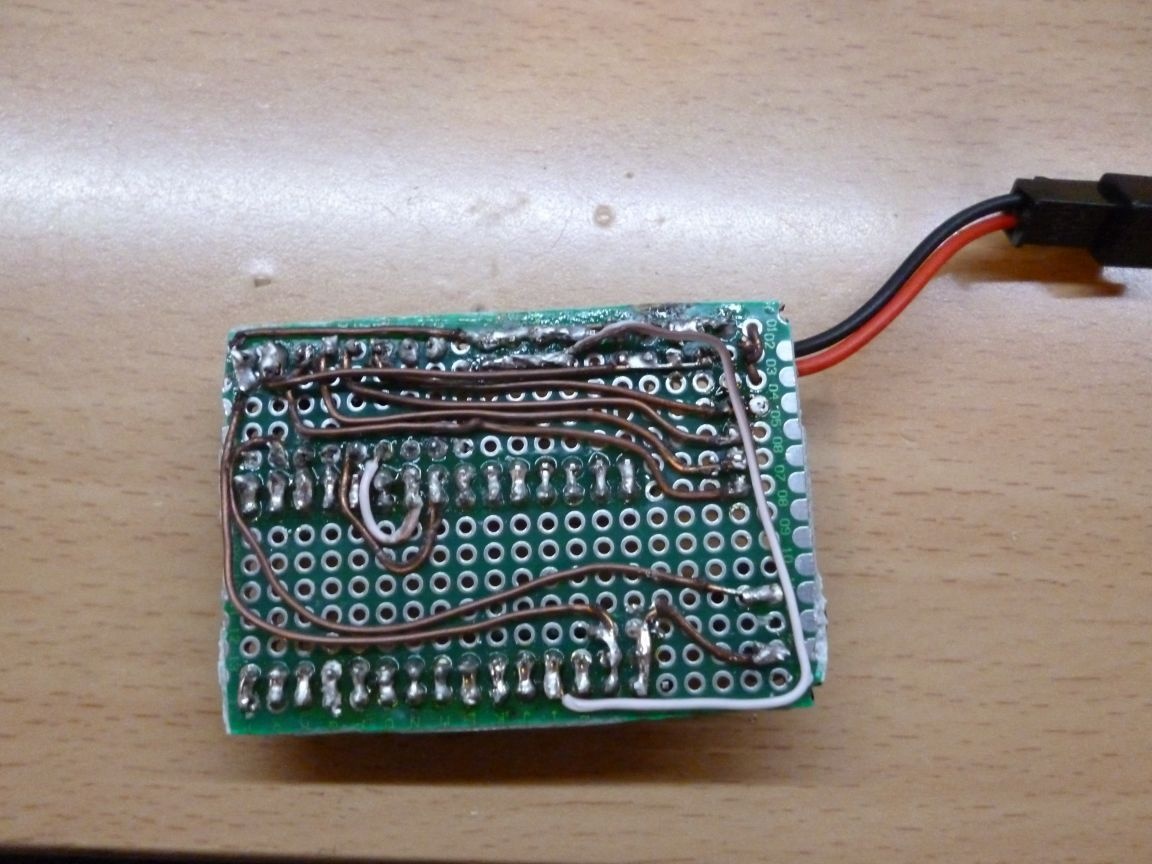
I’ll bring a little clarity: you can take any low-power capacitor, you can also find an inductor of any kind, this is necessary to stabilize the voltage of the microcontroller. The antenna must be soldered to the receiver. I got the following:
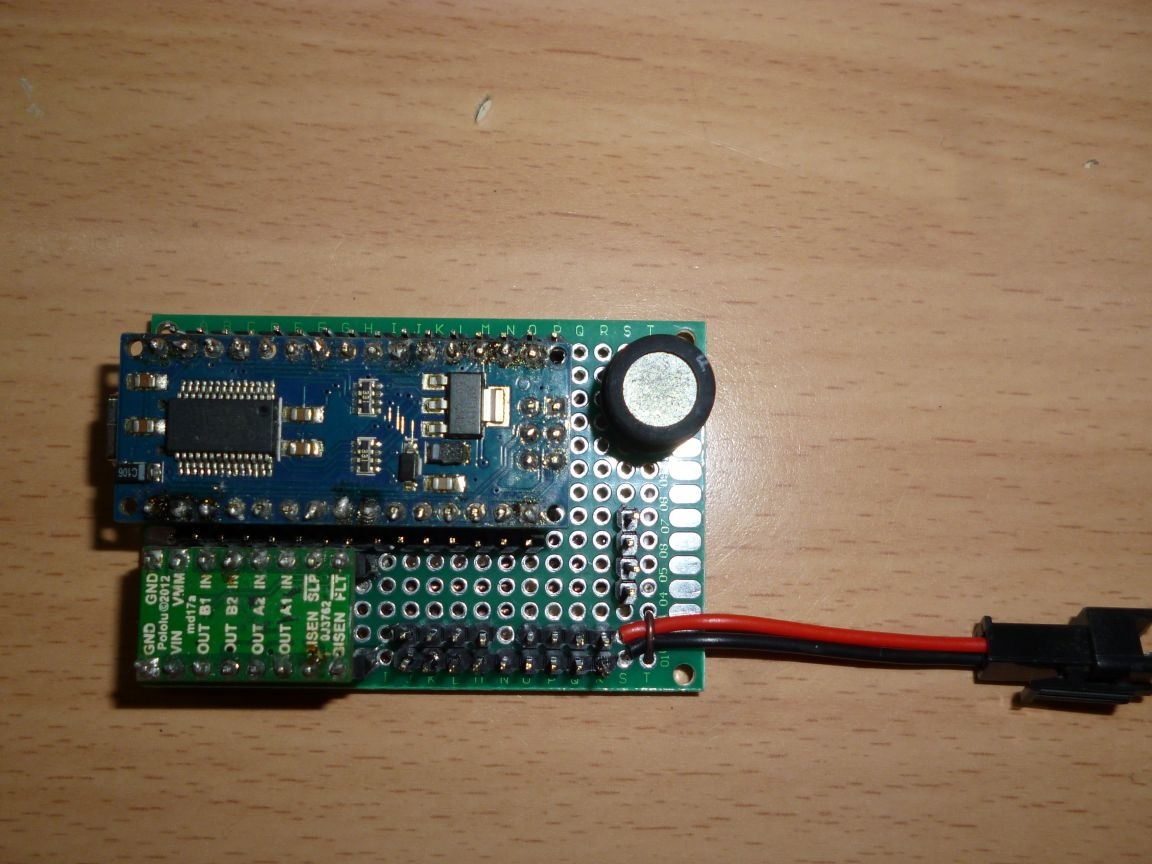
We put Arduino Nano and DRV 8833 in their places:
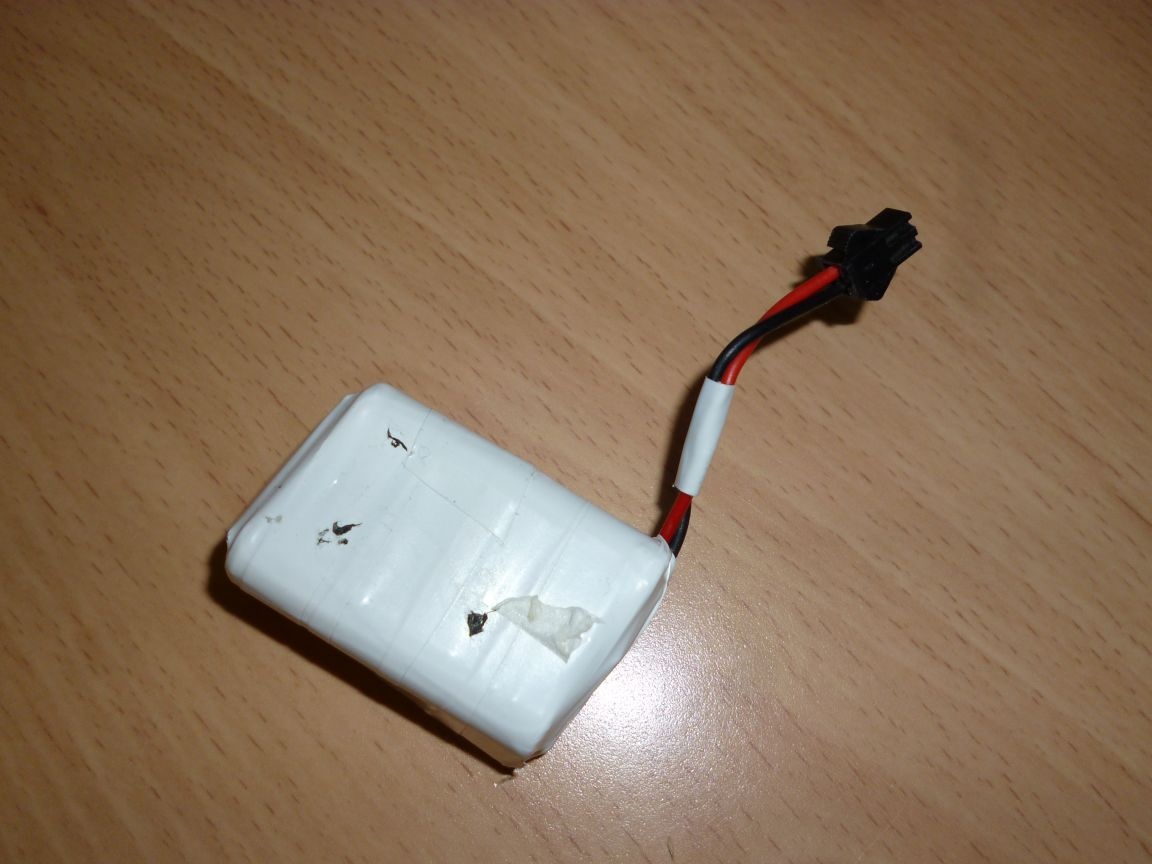
For power we will use 6 Ni-Mn 1.2v 1000mA batteries, soldered in series and wound with electrical tape. Glue them on a double-sided adhesive tape passenger seat.
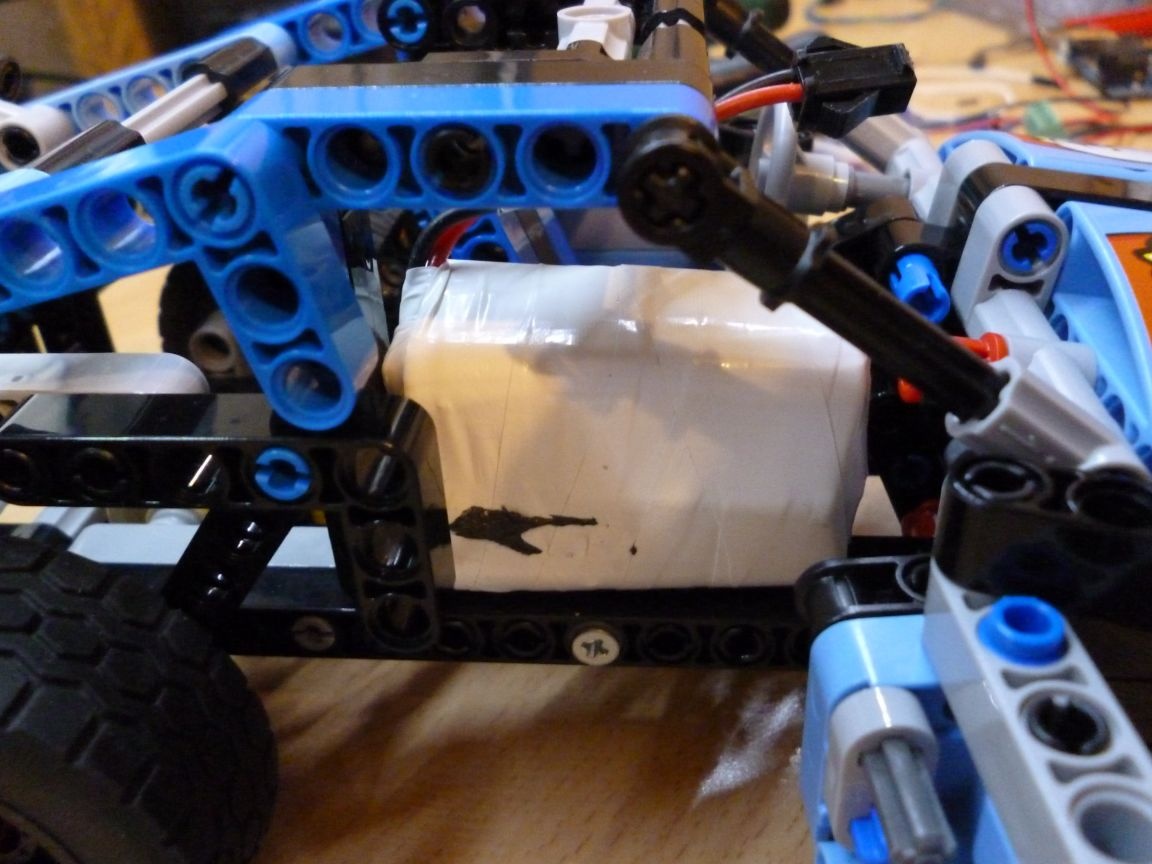
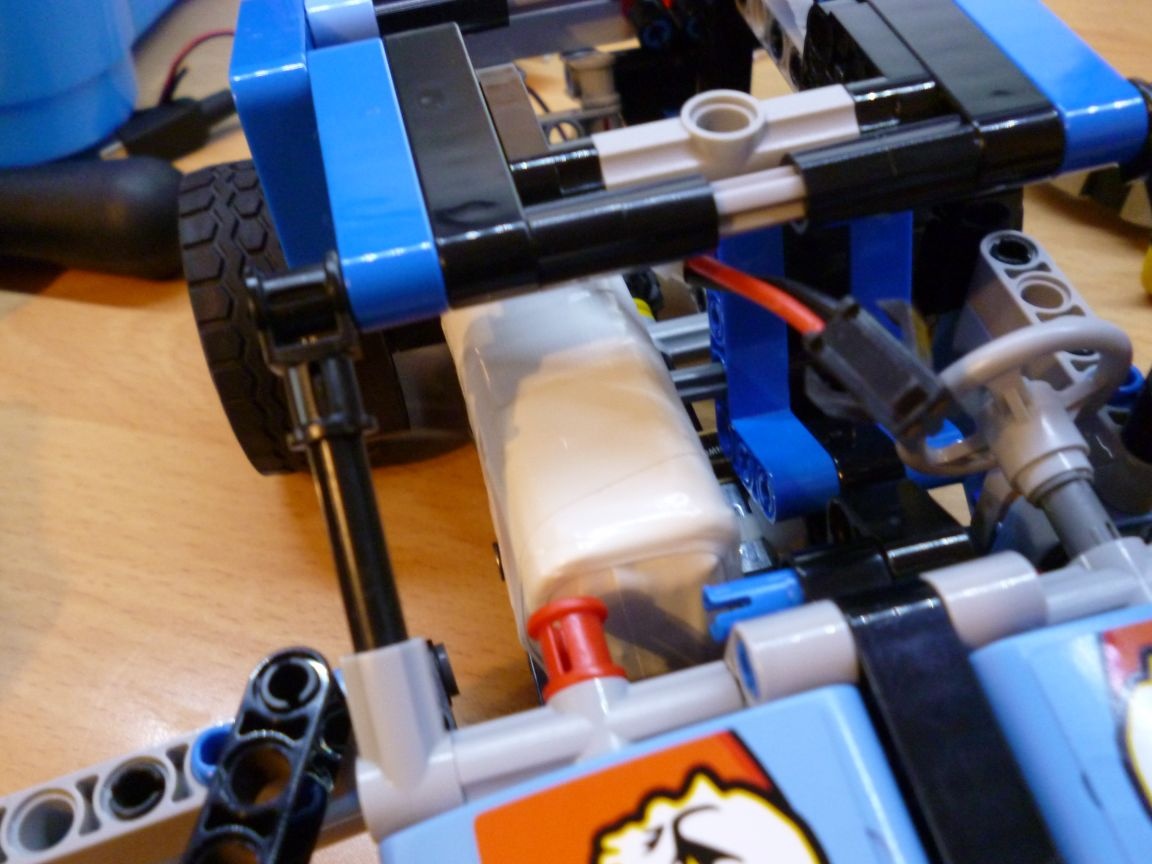
We connect everything according to the scheme and install in the back of the machine. You can also add a couple of LEDs. Put them in the headlights and connect to pin 14 (A2).
Step 4 firmware.
To write the firmware, I used the Arduino IDE. The current version at the time of writing is 1.8.1. It is convenient to implement the communication protocol using the 433 MHz module using the rc-switch-2.52 library. You need to download it and add it to the “libraries” folder of the Arduino IDE.
We connect the Arduino and flash it with the following firmware:
To test the performance of our model, we need a second Arduino board. It is necessary to connect a 433 MHz radio transmitter to the second board. The transmitter is connected as follows:
VCC (transmitter) to 5+ (Arduino),
GND to GND,
DATA to D10.
Write the modified SendDemo sketch there. It is in the examples in the library we installed, and serves to send commands. Before flashing the sketch, you need to slightly change it, namely, change the transmitted commands. Depending on what you need to check, write the following commands to the send line:
“1” - forward movement (write a command without quotes!)
"2" - backward movement
“15” - full stop
"3" - turn the steering wheel to the left
"4" - turn the steering wheel to the right
"5" - set the steering wheel in the middle
"10" - turn on the headlights
"11" - turn off the headlights
Making a remote control with a 433 MHz radio transmitter is a topic for a separate article. I will definitely write the instructions for the manufacture of such a remote control.
I want to say that this option is suitable for almost any model of Lego cars. It is enough to connect all the mechanics and find a place for the board. And if you include fantasy, then you can mechanize any model.