


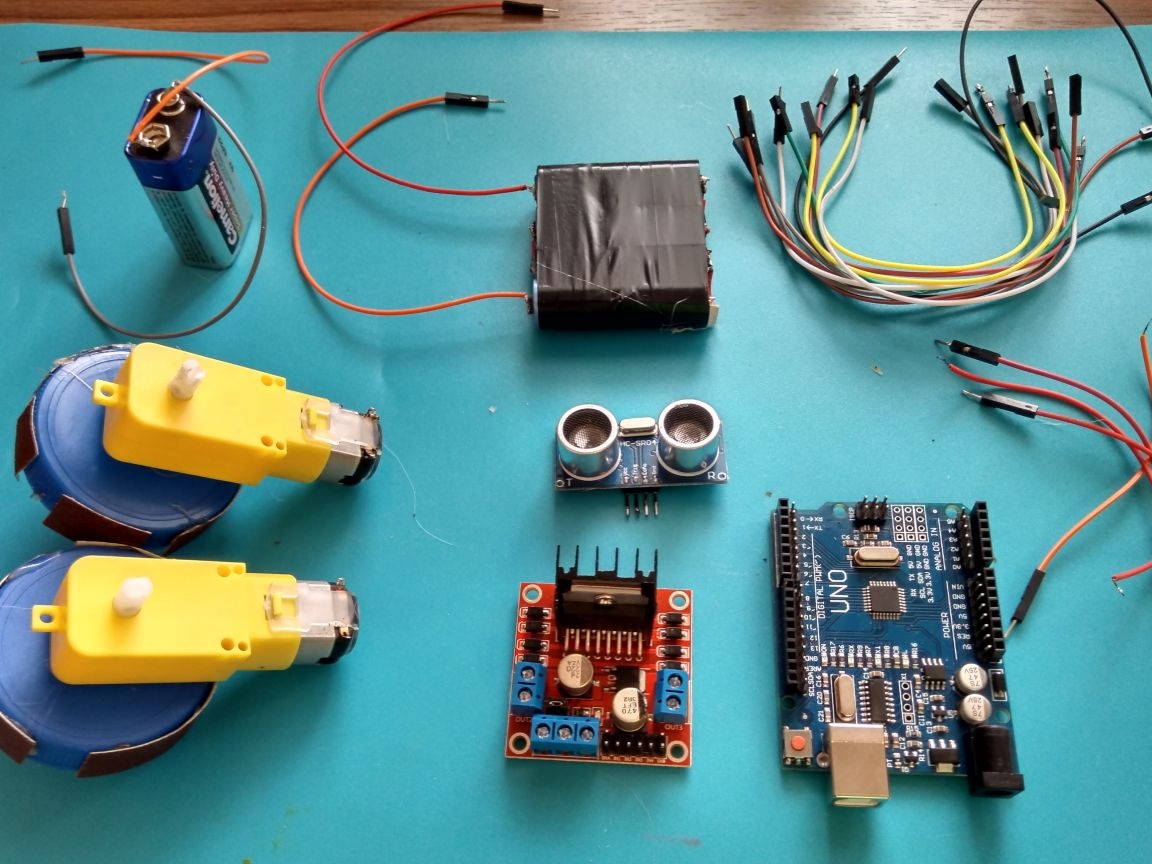
And so for this we need:
-Arduino Uno
-2 gear
Ultrasonic Rangefinder HS-SR04
-bead
orgglass
-dap-jumper wires
L298D engine driver
-crown battery
6-12 V battery
wheels
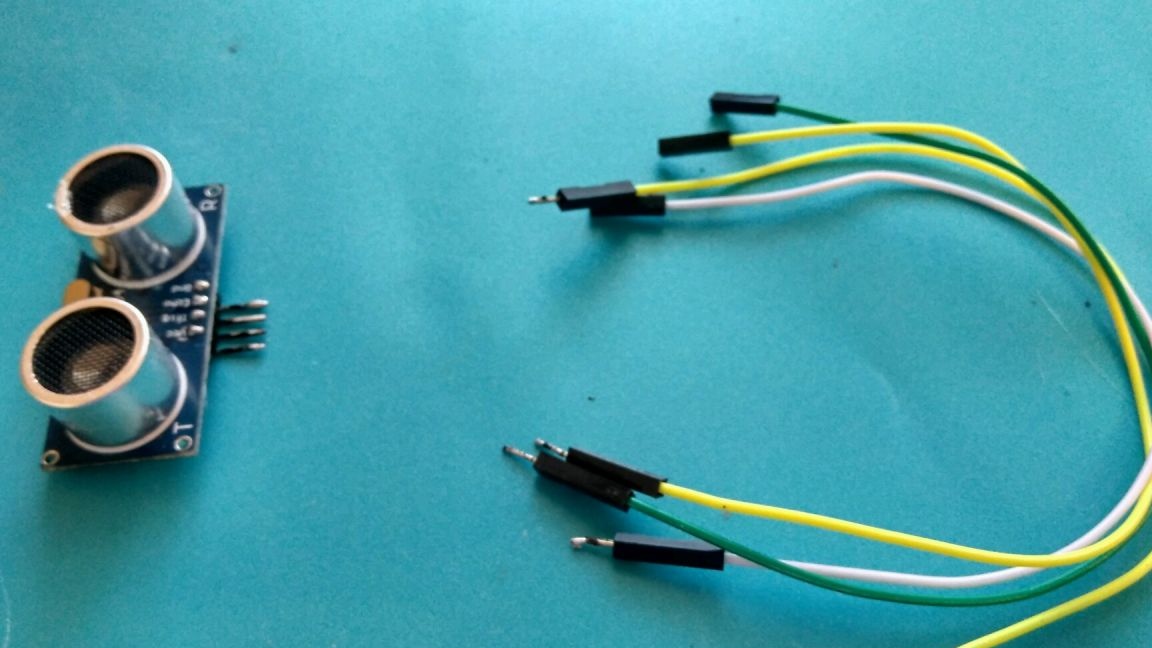
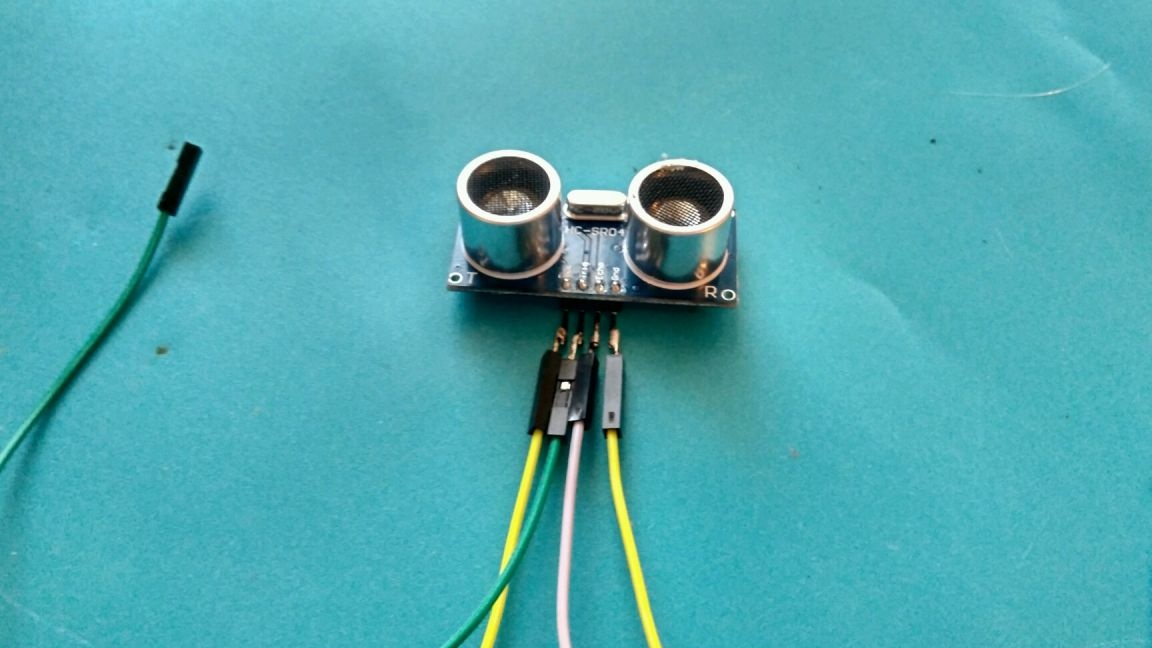
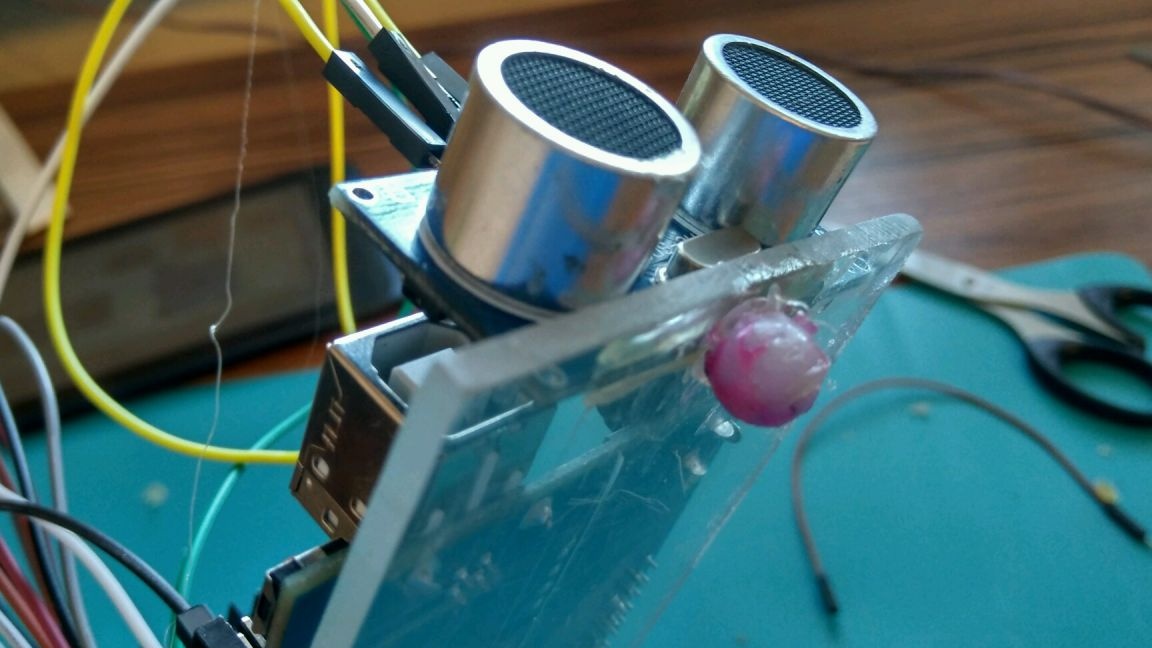
And so, for starters, you need to solder the wires to the ultrasonic sensor:
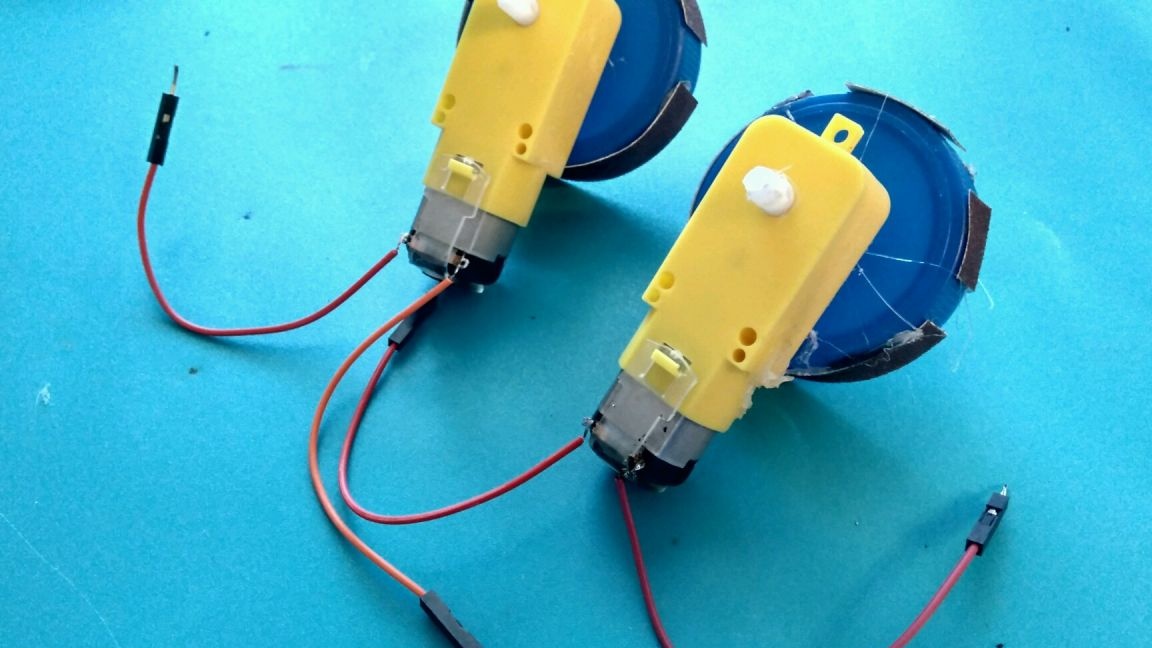
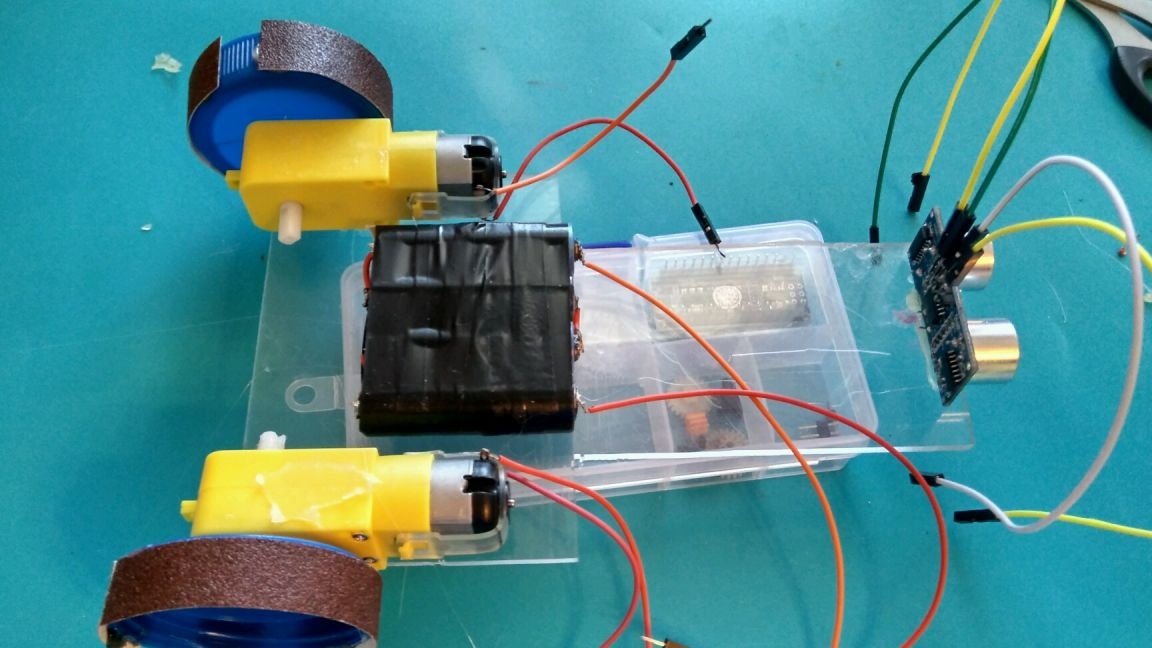
Then you need to solder the wires (with a pre-cut output "mother") to the gearboxes. Instead of wheels, I took covers from 5 liter bottles and glued a skin on them for better grip.
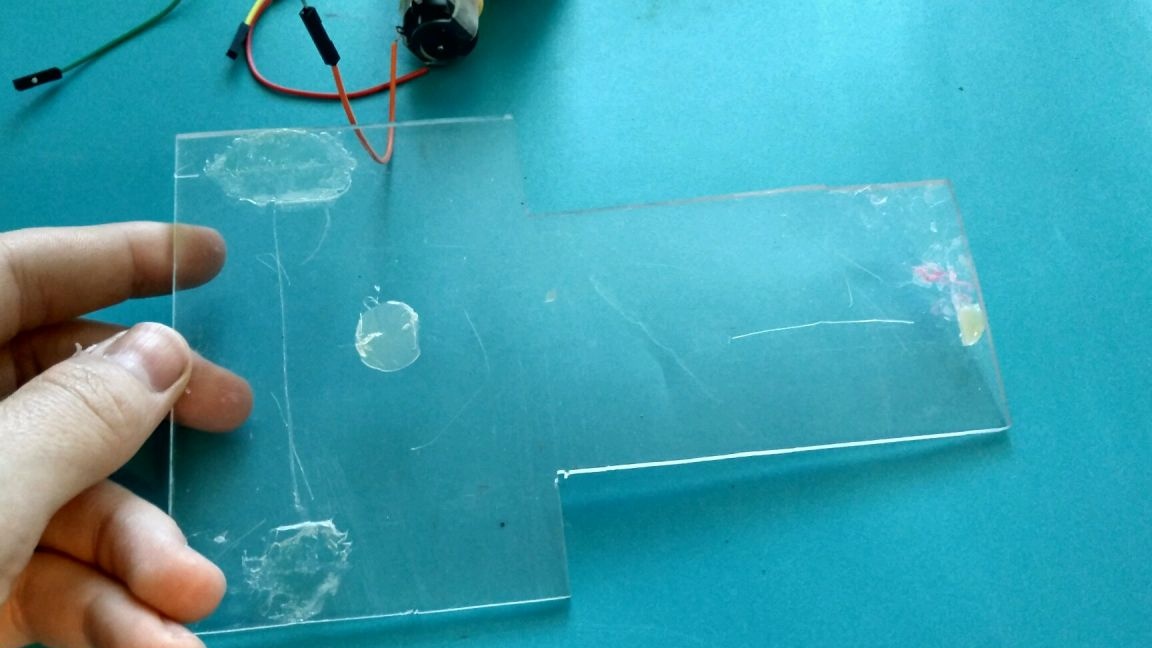
Now you need to cut the frame from plexiglass or plywood, customizing it to fit your requirements, I personally made this:
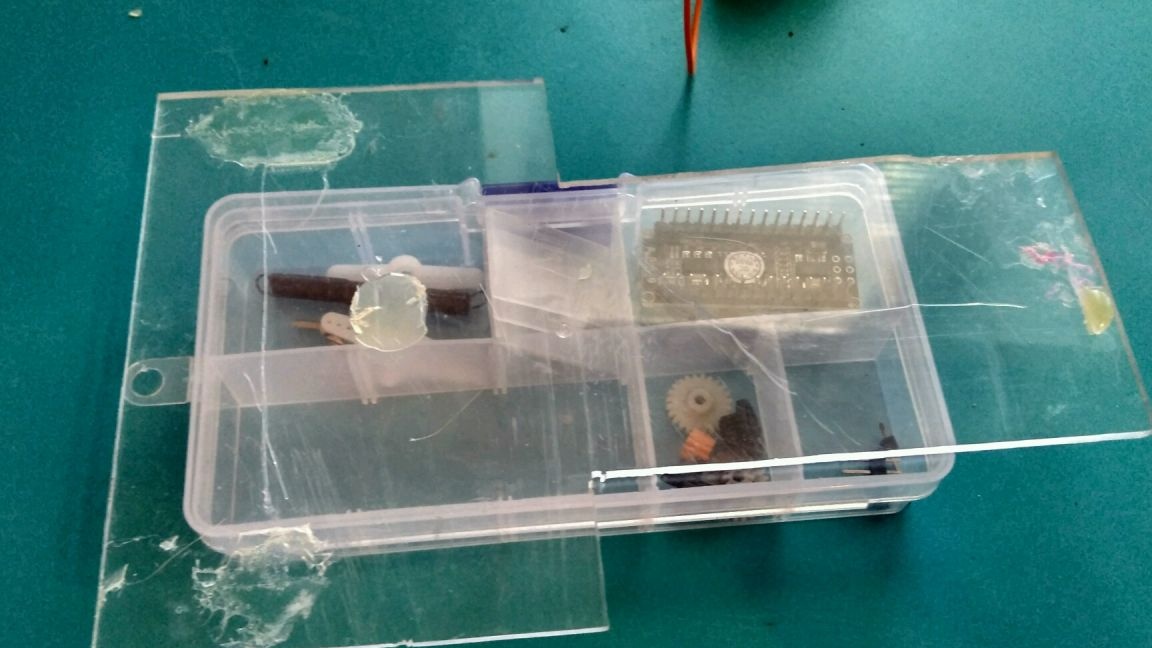
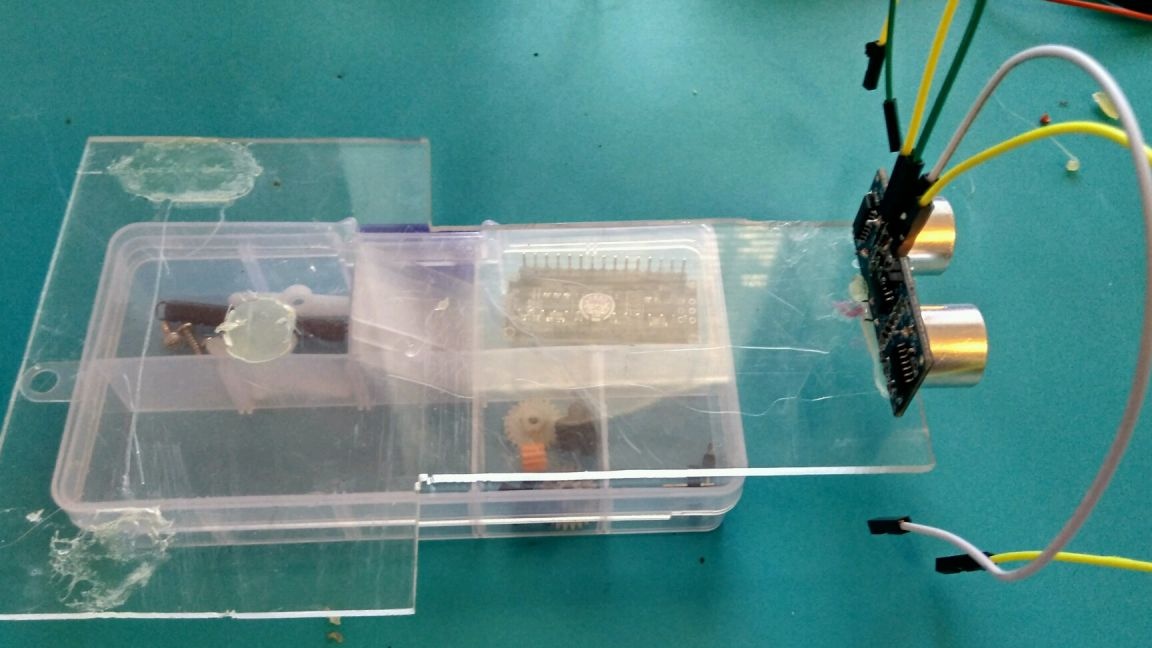
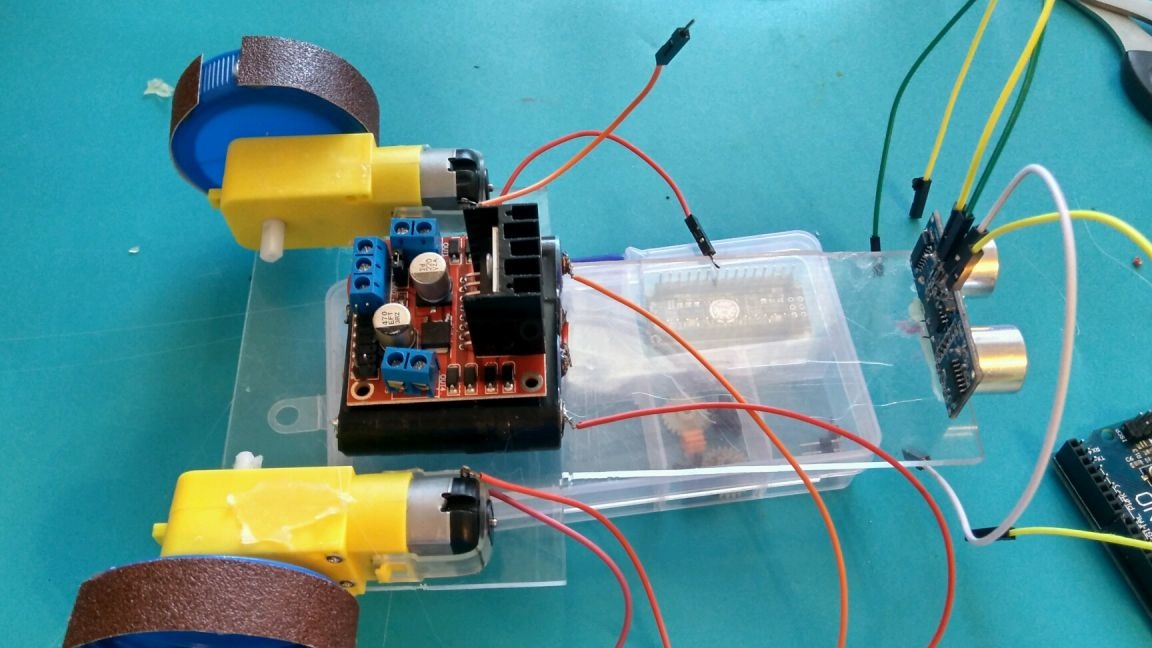
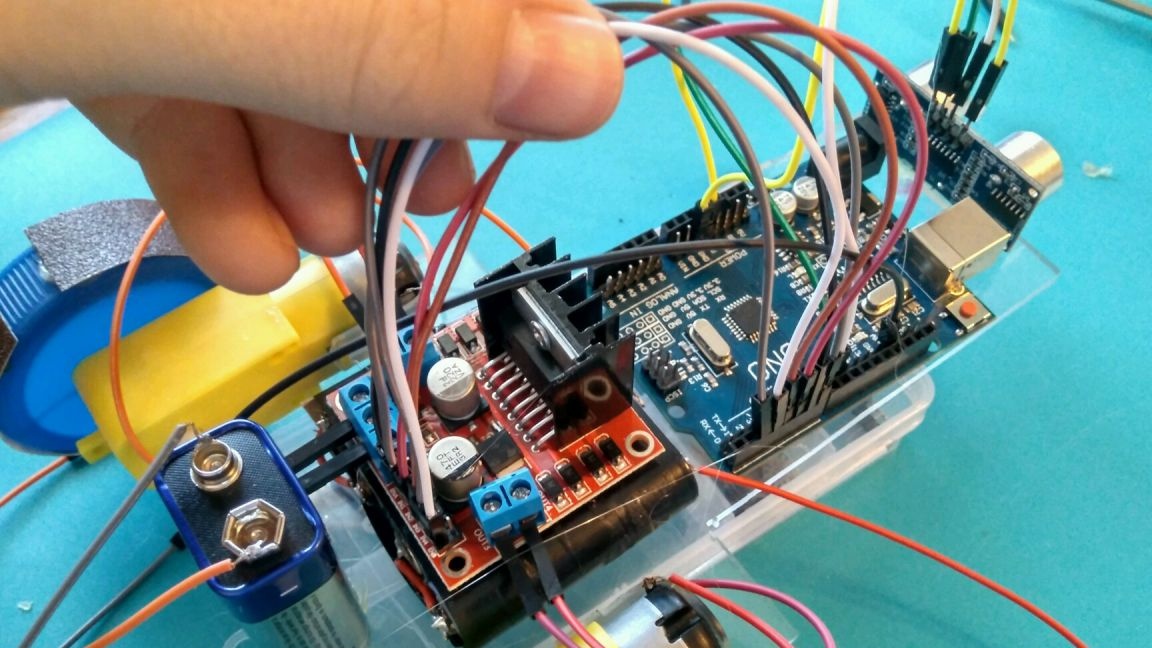
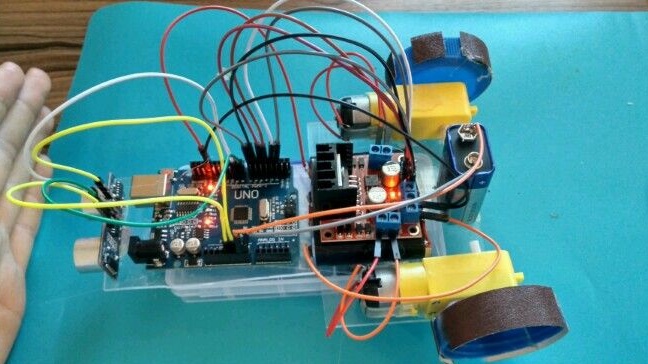
Then you need to stick to our frame: a battery (I use 4 batteries 1.5 V soldered in series), a motor driver, a crown, gearboxes, an ultrasonic sensor, as shown in the photo:

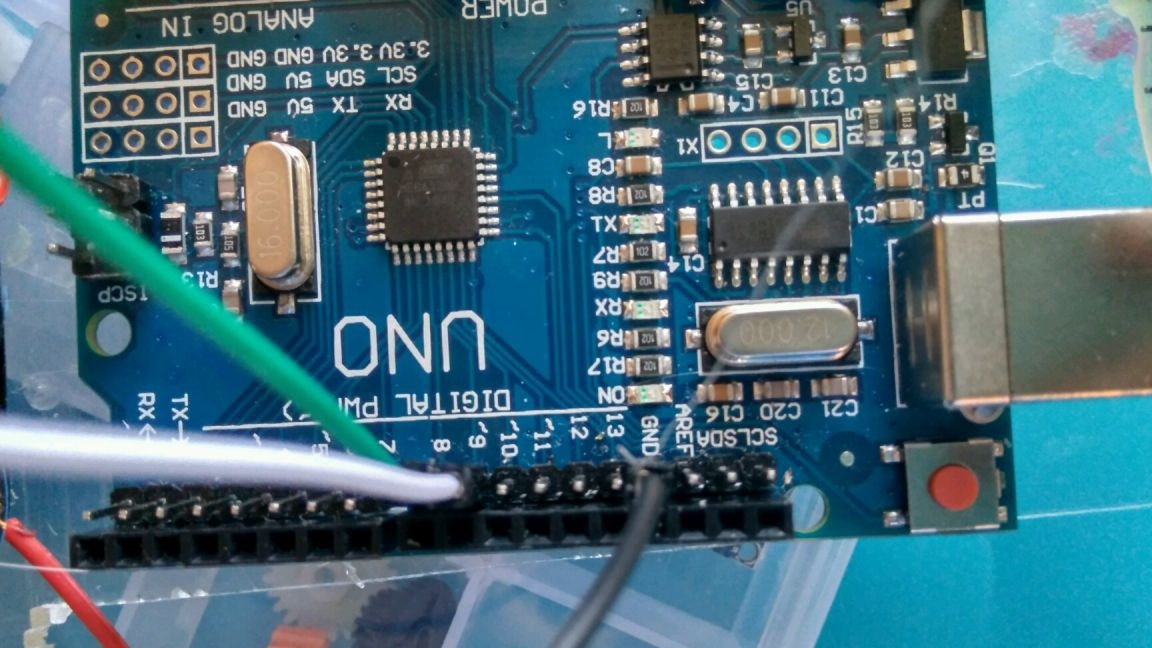
Before sticking arduino uno you need to upload the following sketch to it:
#define Trig 8
#define echo 9
const int in1 = 2; // IN4 pin 2
const int in2 = 4; // IN3 pin 4
const int in3 = 5; // IN2 pin 5
const int in4 = 7; // IN1 pin 7
int ENB1 = 3;
int ENA2 = 6;
void setup ()
{
pinMode (Trig, OUTPUT); // exit
pinMode (Echo, INPUT); // entrance
pinMode (in1, OUTPUT); // exit to L298n
pinMode (in2, OUTPUT); // exit to L298n
pinMode (in3, OUTPUT); // exit to L298n
pinMode (in4, OUTPUT); // exit to L298n
pinMode (ENB1, OUTPUT);
pinMode (ENA2, OUTPUT);
}
unsigned int impulseTime = 0;
unsigned int distance_sm = 0;
void loop ()
{
digitalWrite (Trig, HIGH);
delayMicroseconds (10); // 10 microseconds
digitalWrite (Trig, LOW);
impulseTime = pulseIn (Echo, HIGH); // measure the pulse length
distance_sm = impulseTime / 58; // convert to centimeters
if (distance_sm> 20) // if the distance is more than 20 centimeters
{
digitalWrite (in1, HIGH);
delay (300);
digitalWrite (in1, LOW);
digitalWrite (in2, LOW);
digitalWrite (in3, HIGH);
delay (300);
digitalWrite (in3, LOW);
digitalWrite (in4, LOW);
analogWrite (ENB1,250);
analogWrite (ENA2,250);
}
else
{
digitalWrite (in1, LOW);
digitalWrite (in2, LOW);
digitalWrite (in3, LOW);
digitalWrite (in4, LOW);
delay (500);
digitalWrite (in1, LOW);
digitalWrite (in2, HIGH);
digitalWrite (in3, LOW);
digitalWrite (in4, HIGH);
analogWrite (ENB1,250);
analogWrite (ENA2,250);
delay (200);
digitalWrite (in1, LOW);
digitalWrite (in2, HIGH);
digitalWrite (in3, HIGH);
digitalWrite (in4, LOW);
analogWrite (ENB1,250);
analogWrite (ENA2,250);
delay (100);
}
delay (50);
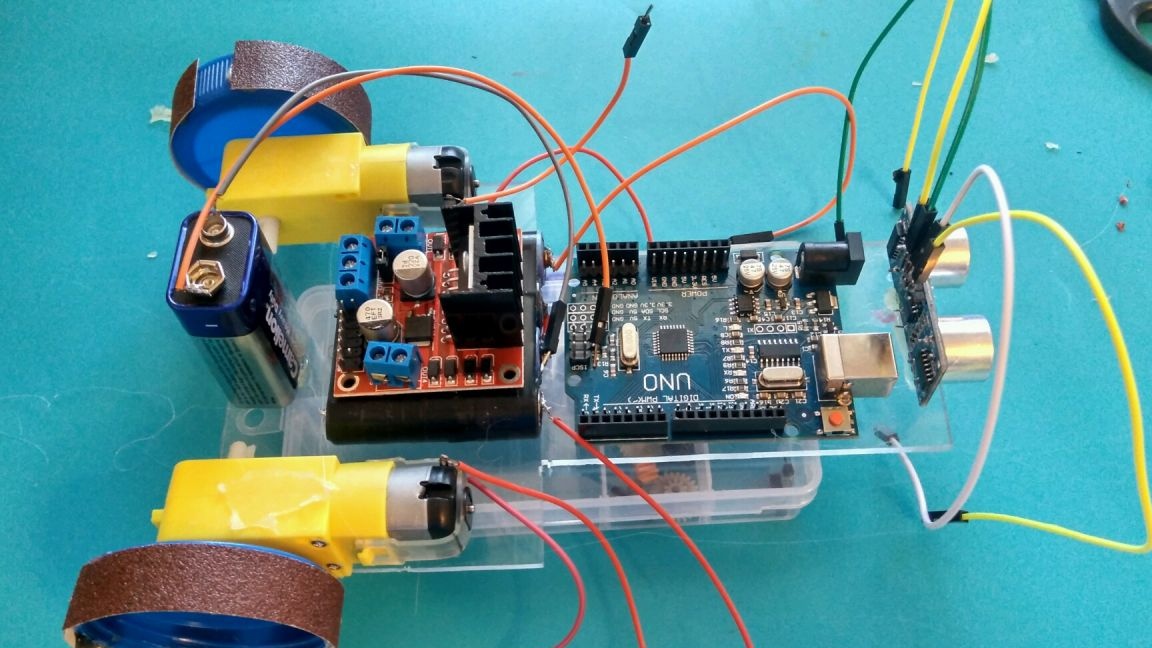
}After loading the sketch, you can stick the arduino and crown:
Now you need to connect all components according to the following scheme:
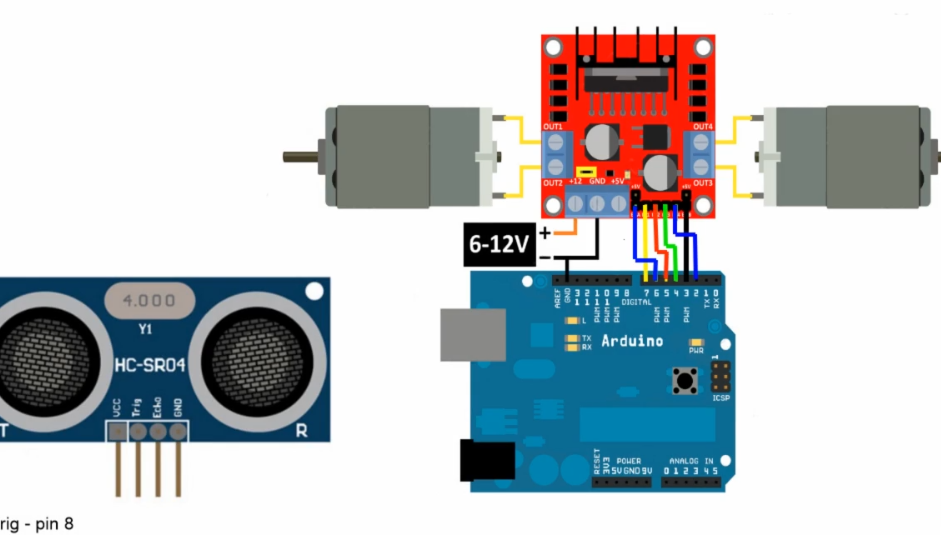
First of all, we connect the ultrasonic sensor:
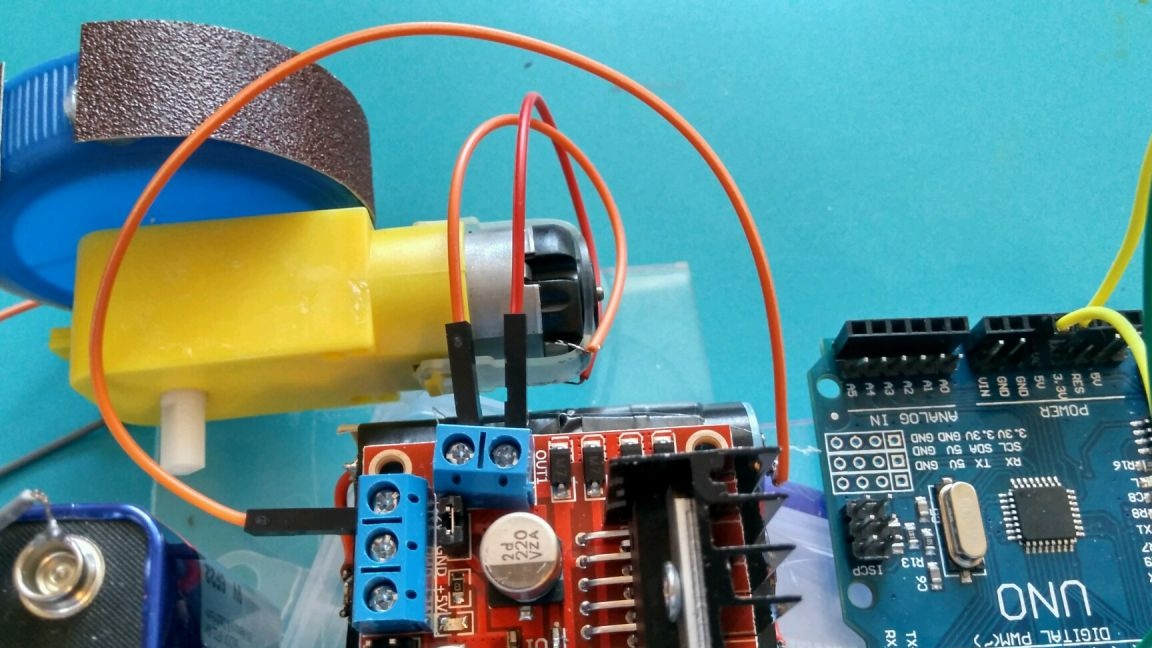
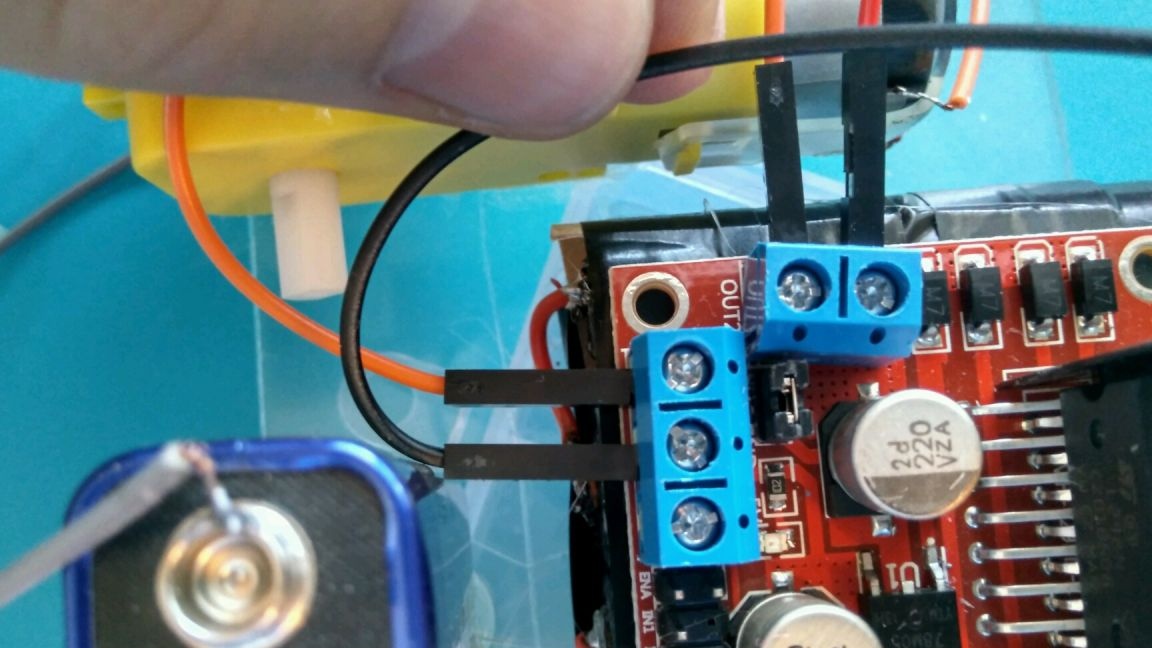
Engines:
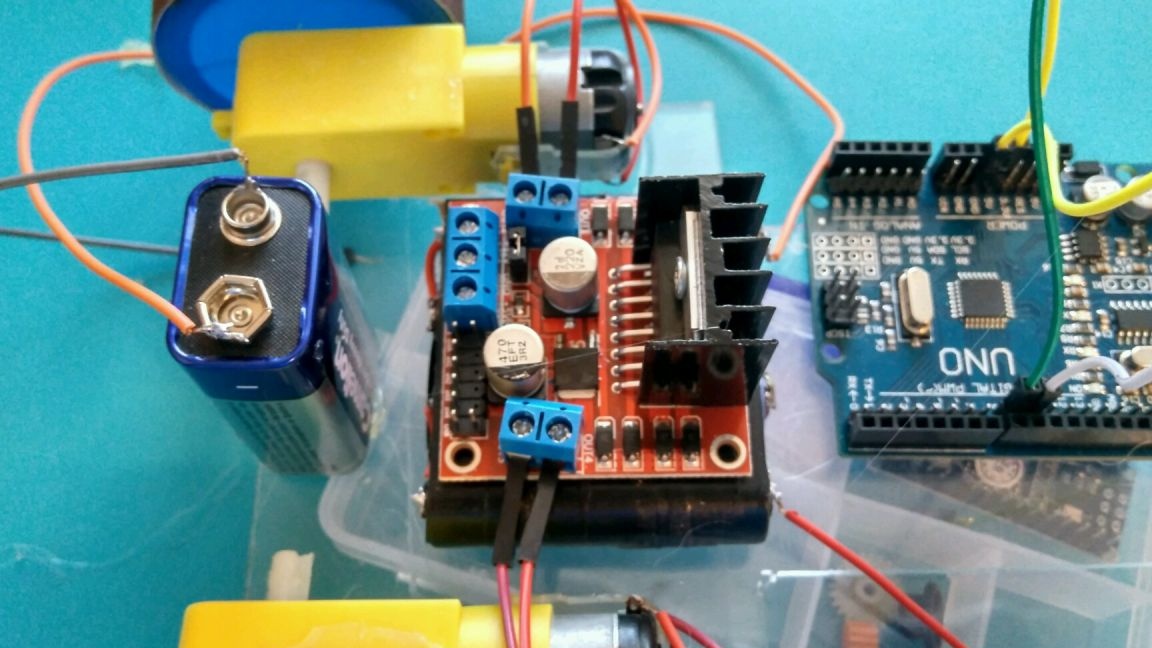
Nutrition:
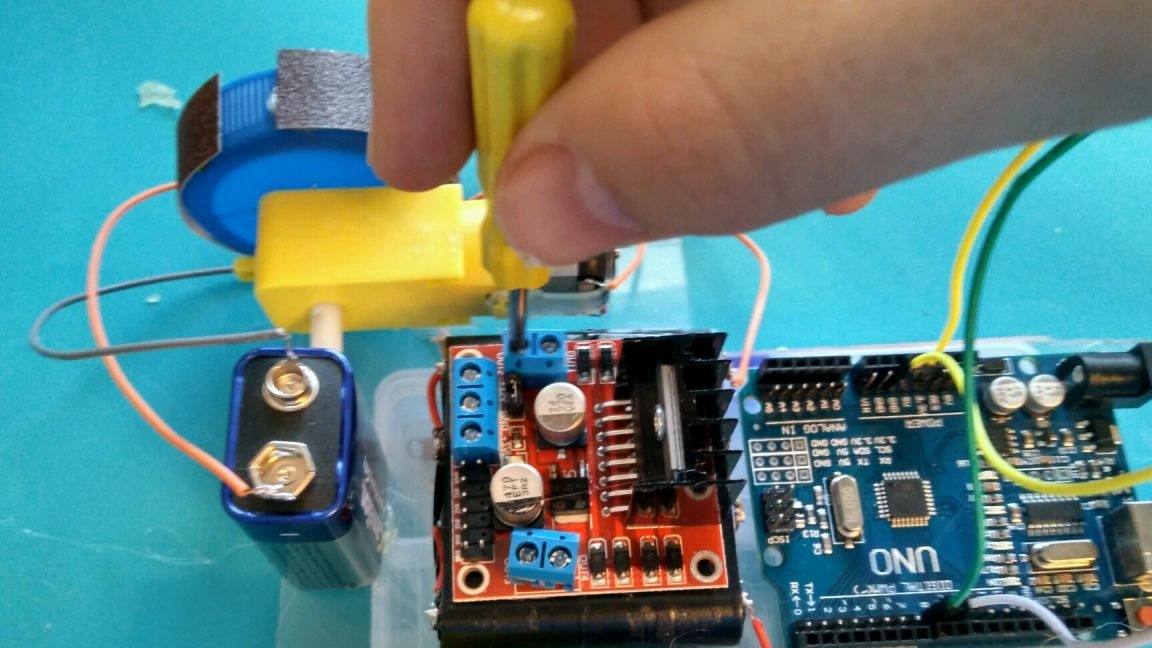
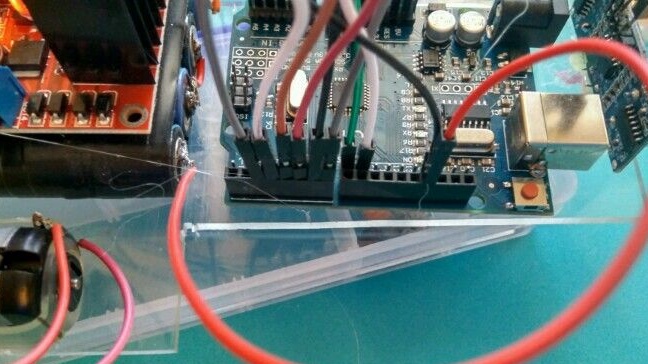
We connect the engine driver to the arduino:
At the end of our robot, glue a bead:
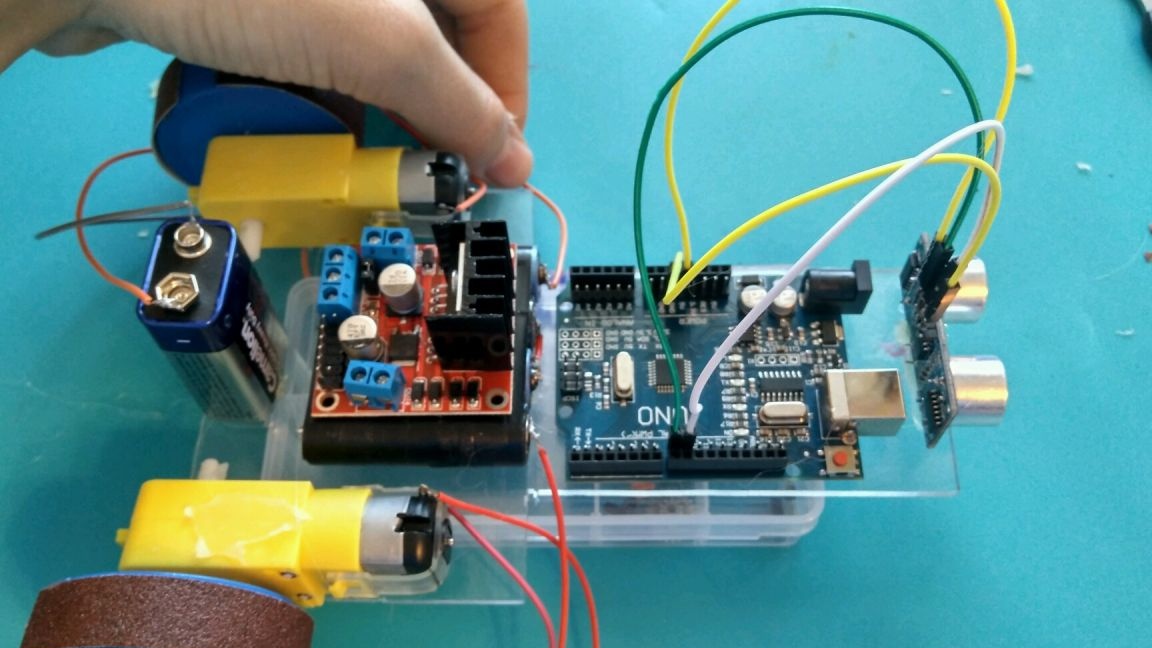
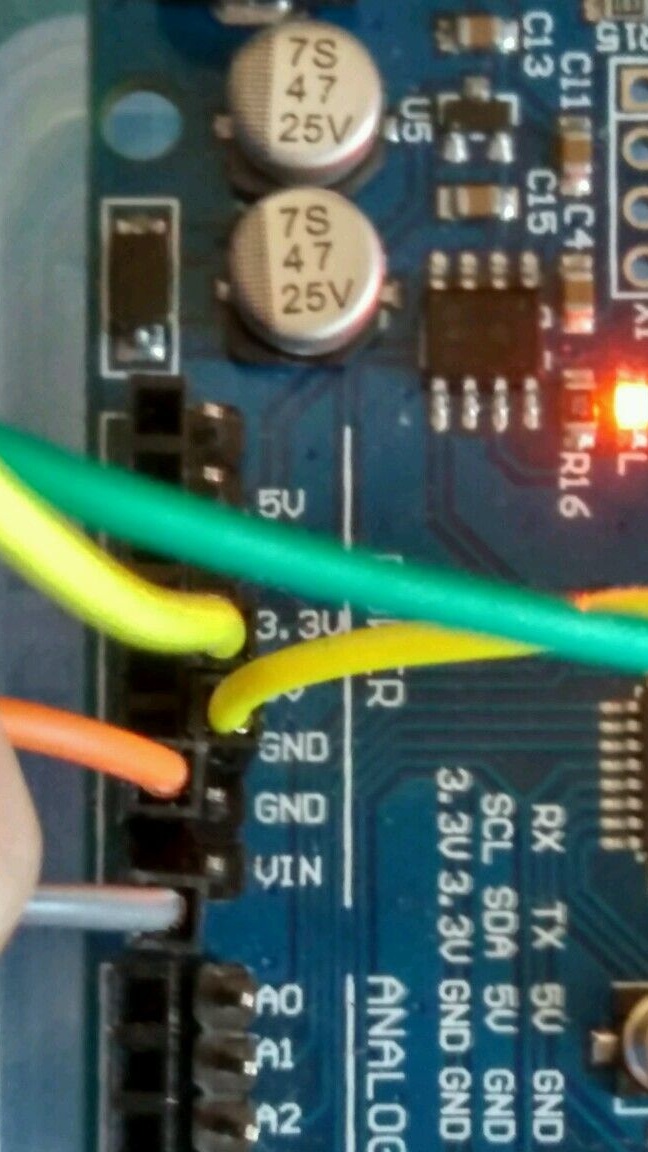
Well, that's all ours robot already ready, it remains only to correctly connect the remaining power, and so we feed the arduino with the “crown” connecting + to the UIN, and to GND, if the connection to the arduino is correct, the red LED should light up:
Now we connect - our "accumulator" to GND, the red LED should also light up on the driver:
if the engines began to rotate counterclockwise in turn, then everything is connected correctly and when offering an obstacle, they will begin to rotate in a different way:
It remains only to test it in the "field"
Test and build video:
Thank you all for your attention!