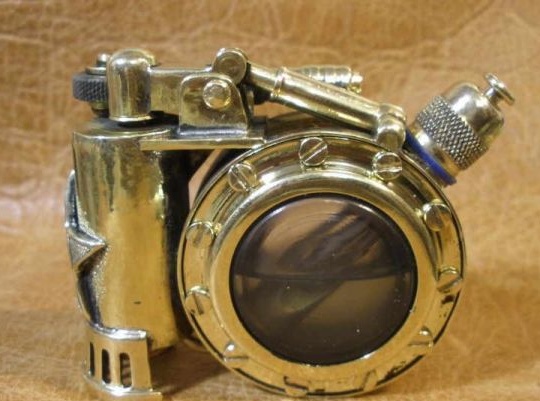
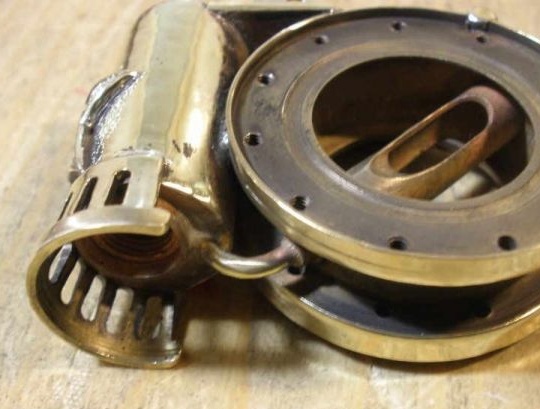
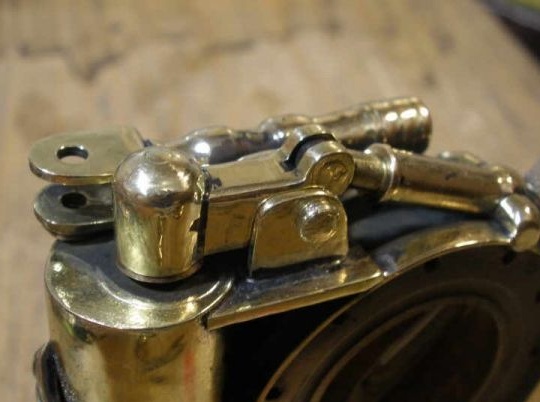
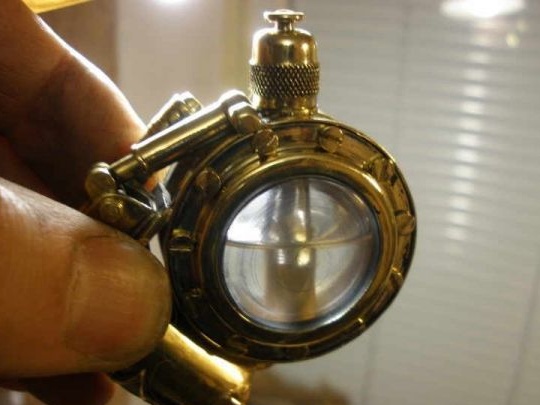
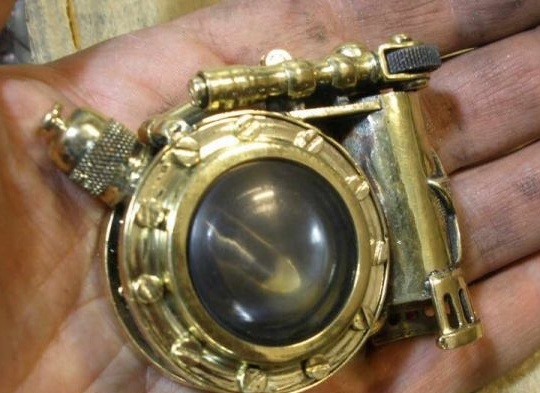
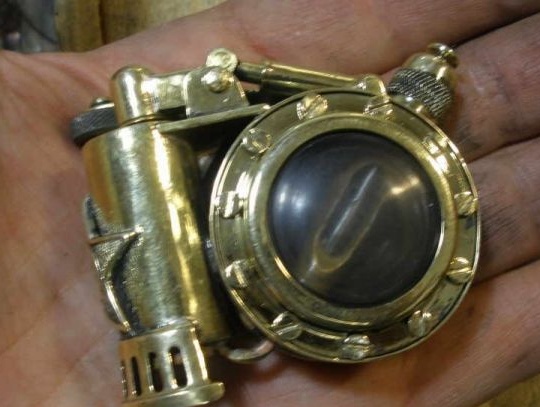
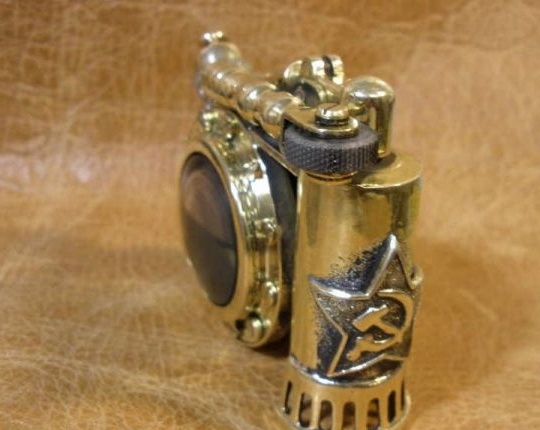
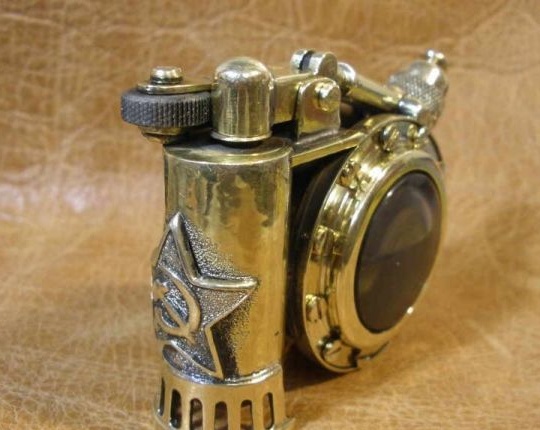
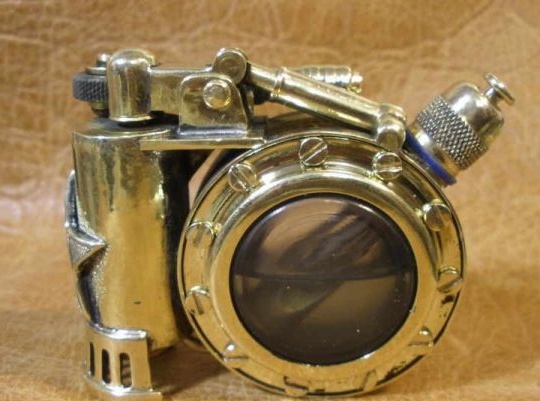
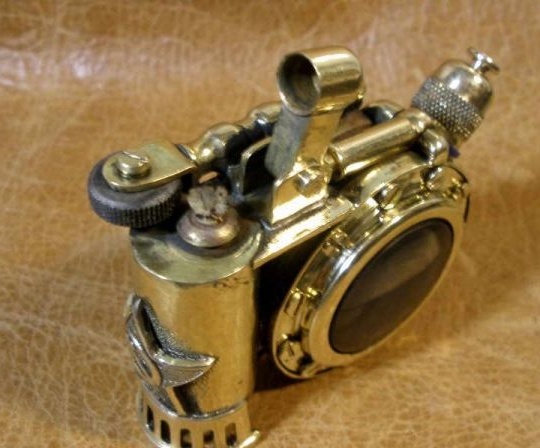
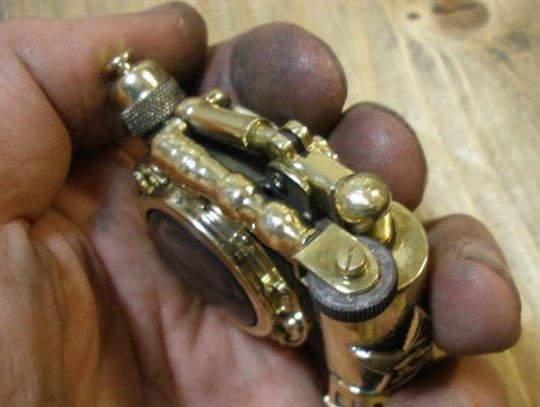
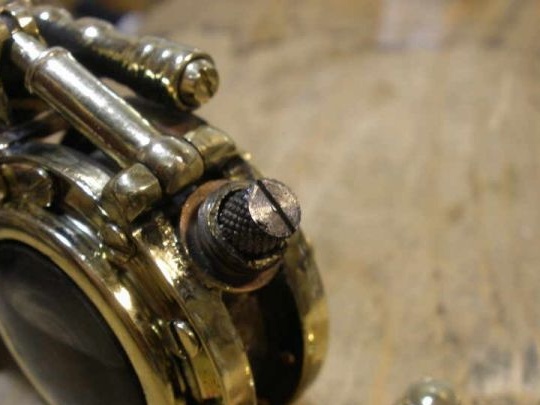
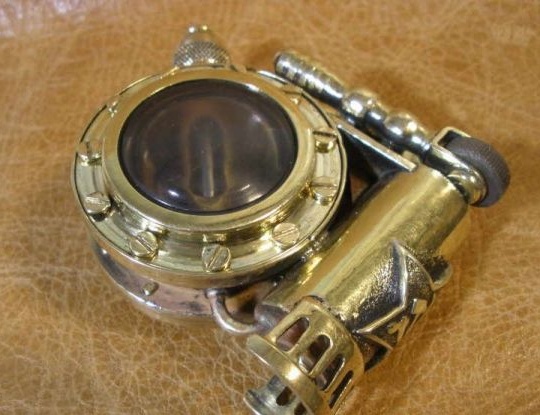
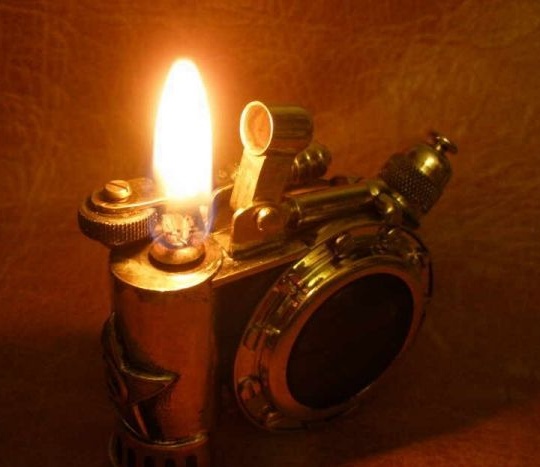
Dear visitors of the site, from the material presented by the author, you will learn how to independently make a refuelable lighter with a spare capacity for gasoline, in the style of "
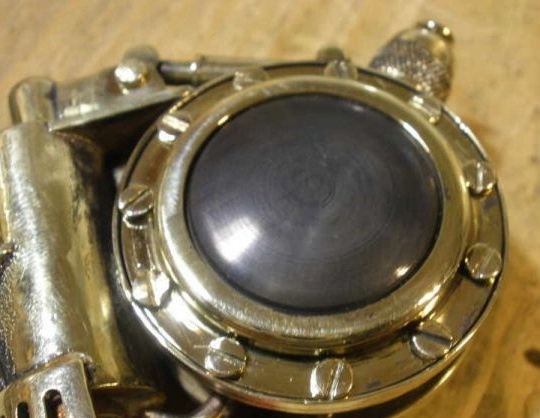
steampunk“For which brass and plumbing elements will be mainly used. Additional capacity will be with windows, which allows you to visually determine the level of“ flammable liquid ”, which is very convenient.
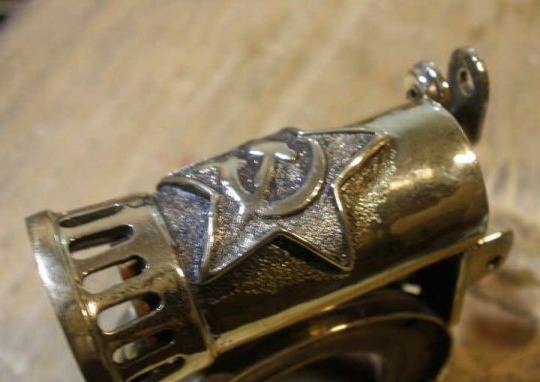
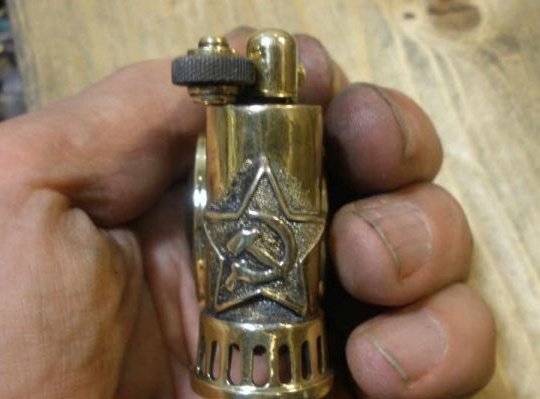
Also, the lighter will be additionally stylized as a Soviet steam locomotive, where on the front of the barrel a star with a sickle and a hammer will flaunt, and a small locomotive grill below)
Let's look at how the author created a unique lighter and what did he need for this?
Materials1. plumbing elements
2. brass bar
3.spring
4. flint
5. plexiglass
6. cotton wool
7. wick
8. 1mm brass sheet
9. rubber gaskets (from KAMAZ nozzle) oil and petrol resistant 2 pcs
10. brass bolts
11. brass star
12. solder (pic)
Instruments1. lathe
2. drilling machine
3. rollers
4. pliers
5. metal sheet
6. vernier caliper
7. sandpaper
8. screwdriver
9. cutter
10 burner
The process of creating a refuelable lighter with windows do it yourselfTo begin with, it should be said that the author is passionate about steampunk, as well as a fan of the Soviet past. Respects Industrialization and in each of its work tries to convey a small piece of history. For example, in today's work, the symbol of Communism and Socialism will be used, a five-pointed star in the middle of which is placed a crosshair of a sickle and a hammer. The proud symbol of the Greatest Past.
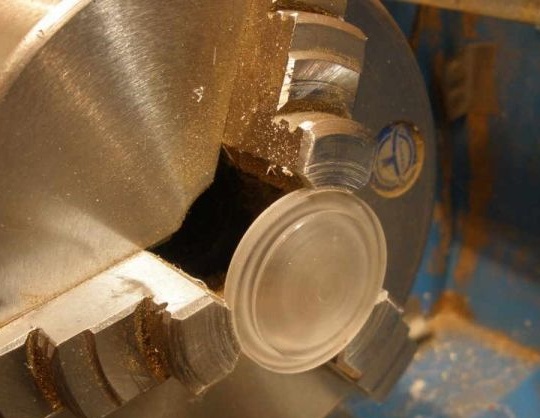
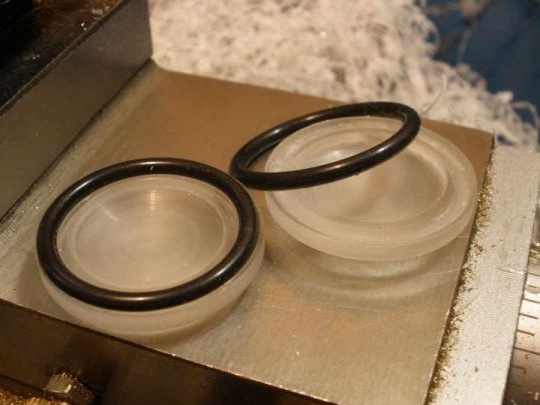
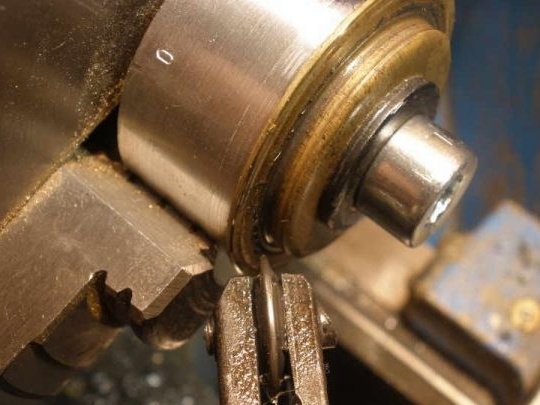
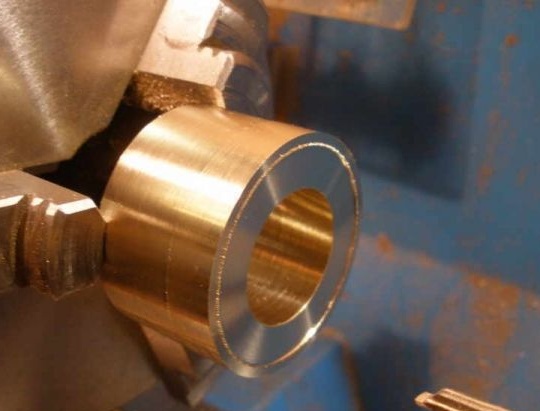
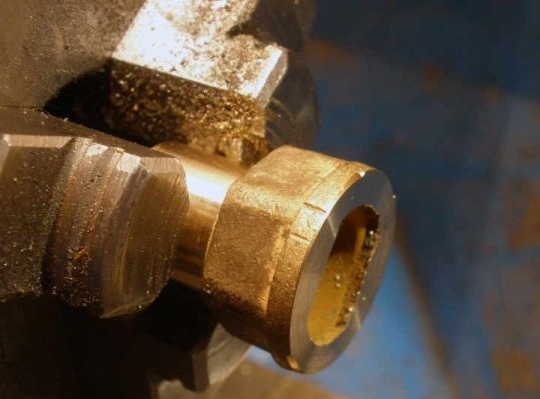
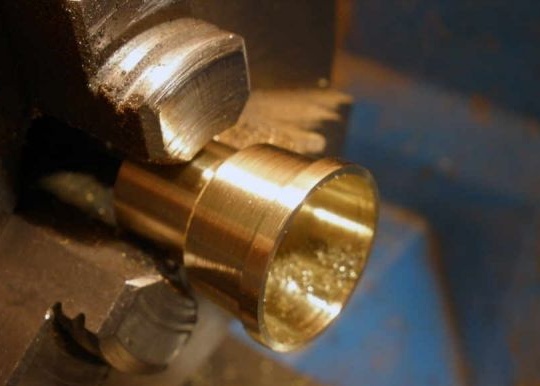
As mentioned above, the master used brass and plexiglass to work, the combination is rather unusual. First of all, the author began to manufacture those same lighter windows, and he does this on a lathe. It immediately grooves grooves for oil and petrol-resistant O-rings from KAMAZ injectors.
Trying on rubber pads.
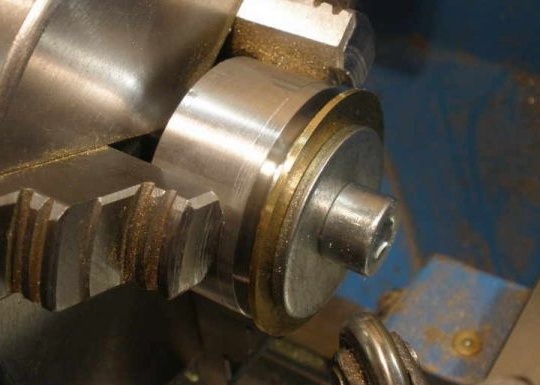
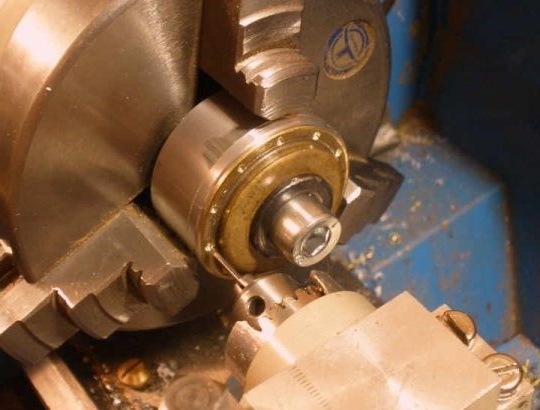
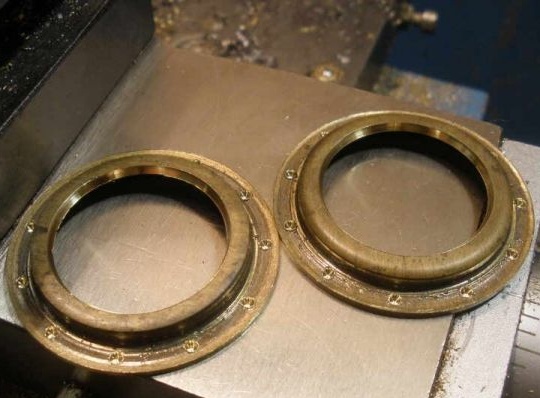
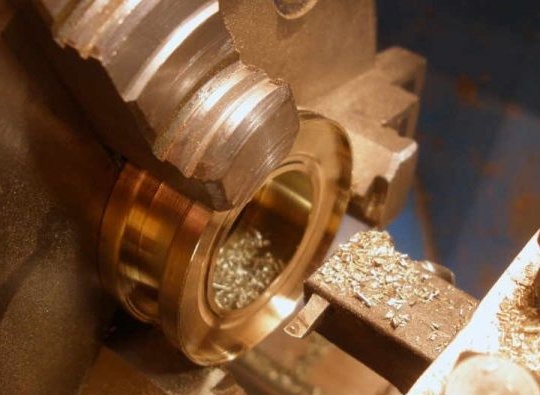
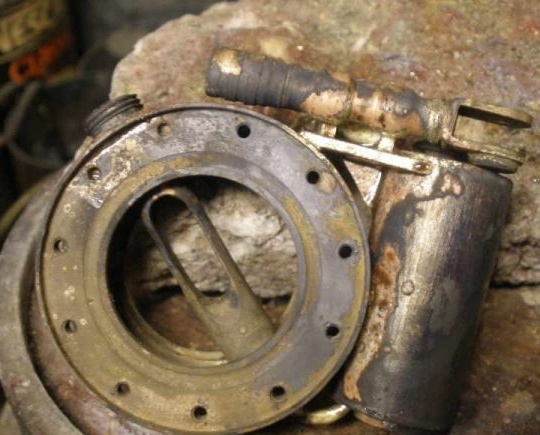
Then flanges are made for clamping and fastening, they are also flared on the machine.
This is how it actually happens.
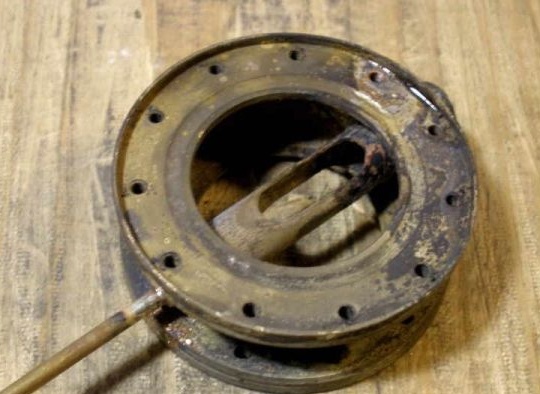
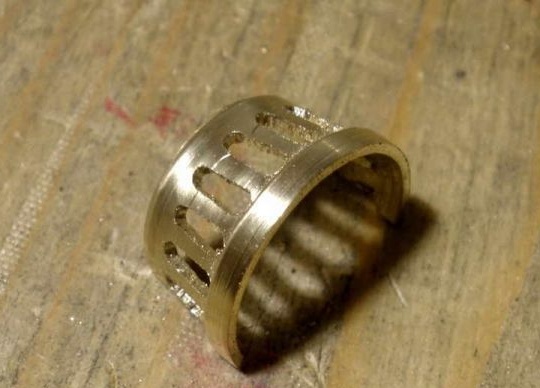
On the circumference of the resulting flange, the author drills holes at the same distance from each other.
Then cuts off all unnecessary.
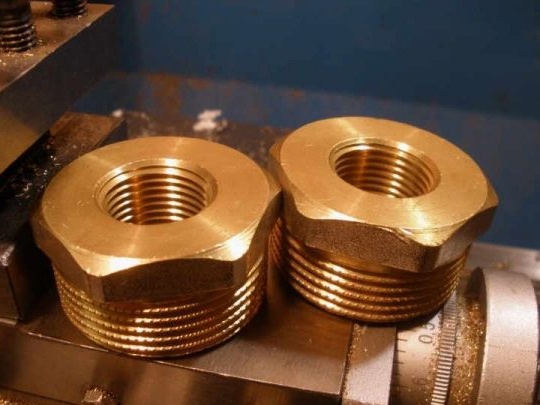
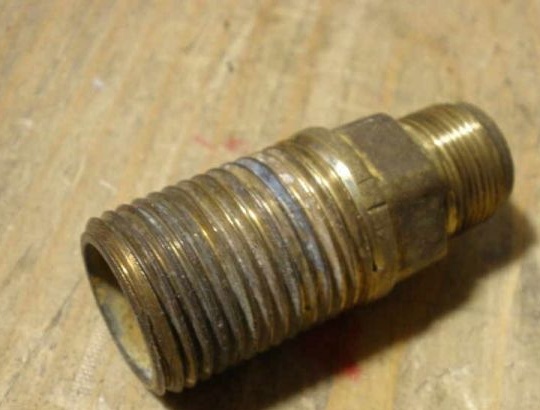
The main body will be made of a large satechnical nut.
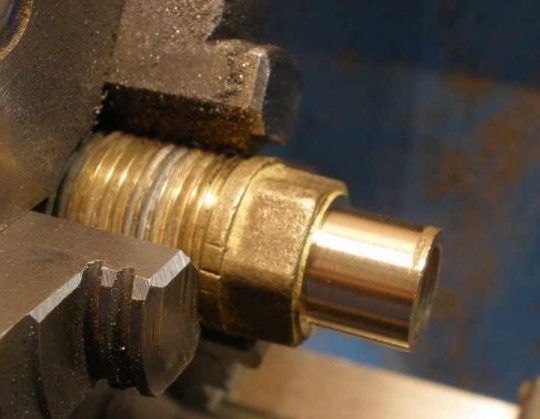
The workpiece is also placed in a lathe and all the excess is cut off, thereby giving a cylindrical shape.
The inner part is selected using a homemade cutter, thereby increasing the internal area, it is necessary for an additional supply of gasoline.
In the resulting workpiece, holes were drilled from the end parts where the brass tube was soldered.
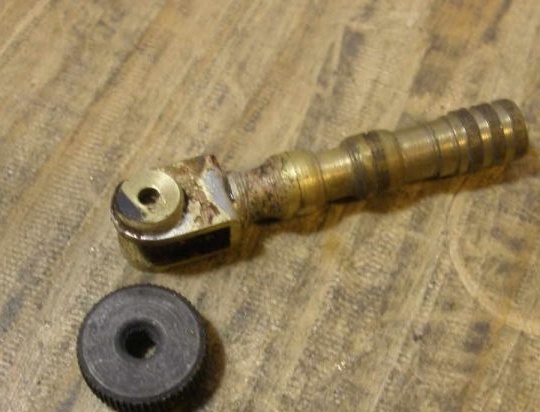
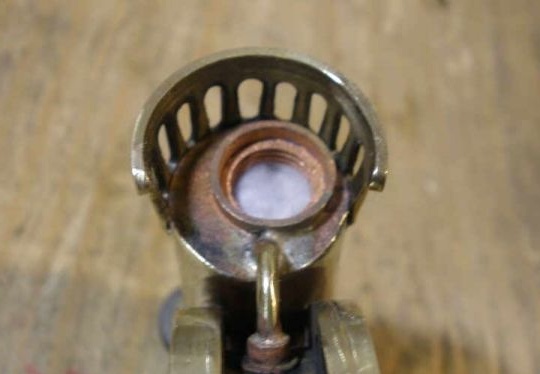
A tube holder for silicon and a wheel is made.
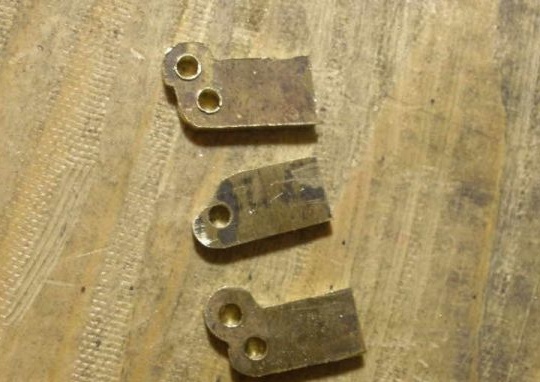
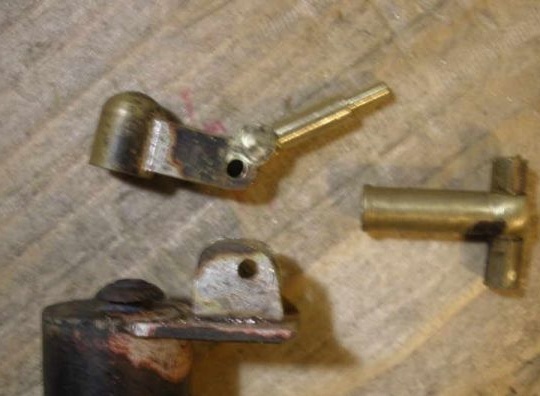
Further, the master directly deals with the creation of the cap, for which he cuts out such details from 1 mm sheet brass.
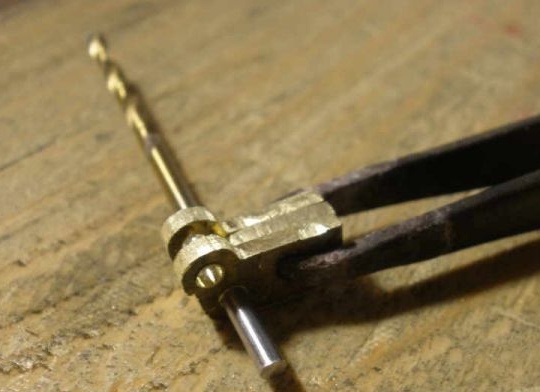
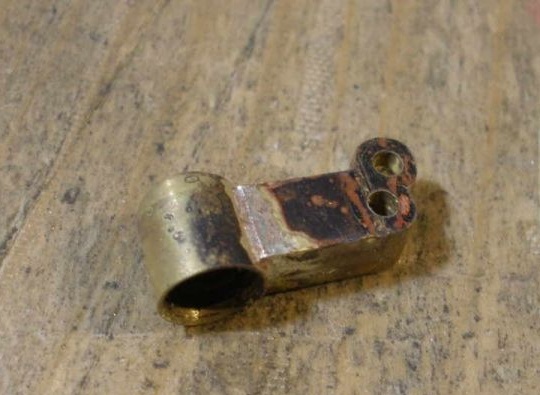
It is soldered with a torch into a single structure and a hole is drilled.
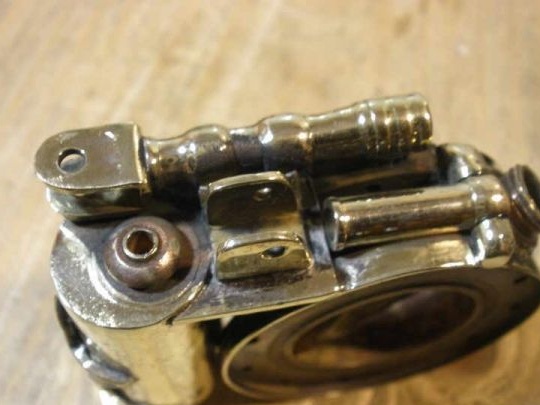
The cap is basically ready.
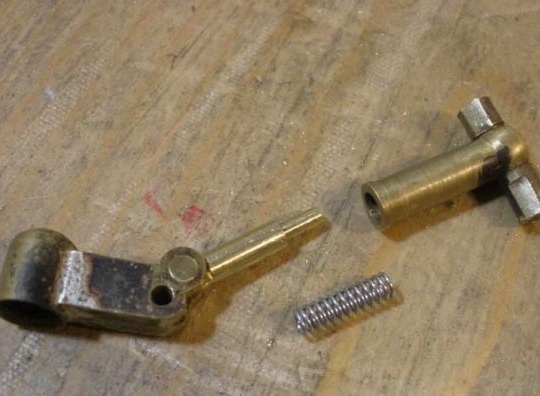
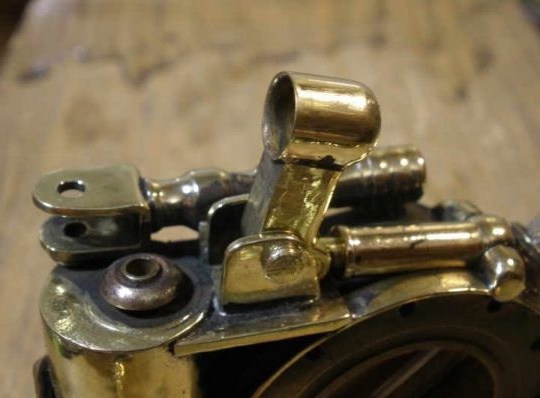
Next, the master engages in a snap mechanism.
A spring is inserted that will help to snap off or vice versa snap the cap.
Trying on a lighter.
After which the author proceeds to the development of the main tank for gasoline, he also makes it from a plumbing element.
Boring on a lathe.
The front grill of the engine was also made and soldered to the main tank.
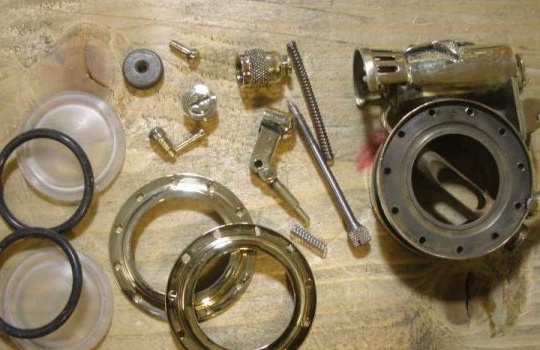
All parts before final assembly.
It all starts with the installation of the silicon holder and the cap mechanism.
The main barrel is packed with cotton.
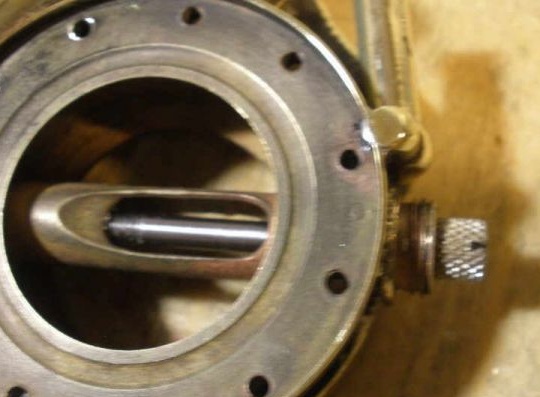
Plexiglas with rubber gaskets is installed and fixed, the flange is attracted mechanically, the bolts are pulled in a circle, in 3 sets.
Gas is poured into an additional tank.
That’s such a beauty.
A five-pointed Communist star is soldered to the main barrel.
And here is the mechanism.
And so, a trial test.
Everything works fine) The lighter turned out to be quite unusual, in fact, what is the point is to achieve uniqueness, which is very difficult, even difficult, in our century. As the saying goes, "without difficulty, do not pull a fish out of the pond."
This concludes the article. Thank you very much for your attention!
Come visit often, do not miss the latest in the world of homemade goods!
This article is for informational purposes only!
