All to readers of a good time of day!
Today, this article will describe a method of making a desk for two children.
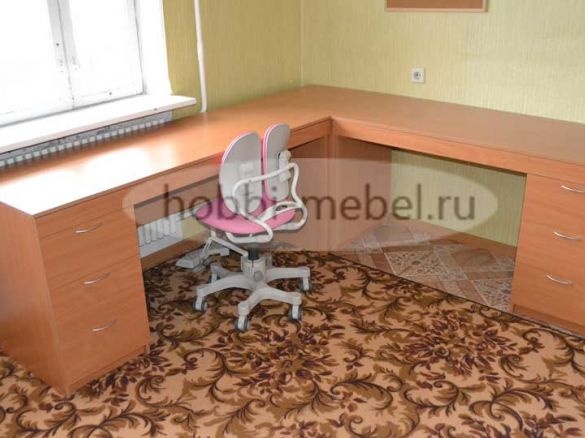
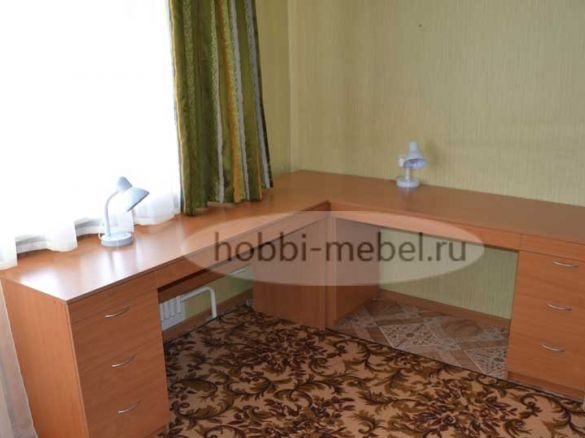
Many of us have children who need their own workplace, and when there are two children, this complicates the task a bit, since we do not want to leave someone deprived, for this it was decided to make a double corner desk.
What the whole manufacturing process looks like and what you need for it, you can find out by reading the article to the end. The author provides a detailed photo report, according to which you can easily repeat this work.
For the manufacture of a desk do it yourself you will need the following:
Instruments :
- screwdriver;
- drill;
- roulette;
- ruler;
- a pencil;
- awl;
- drill for confirm;
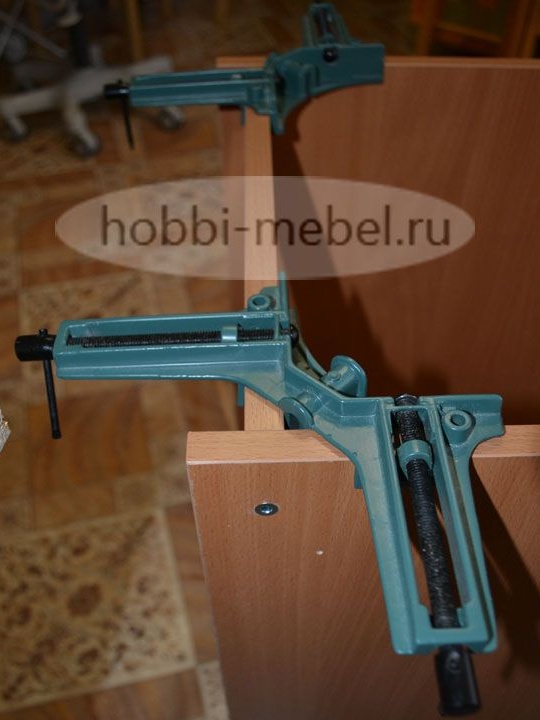
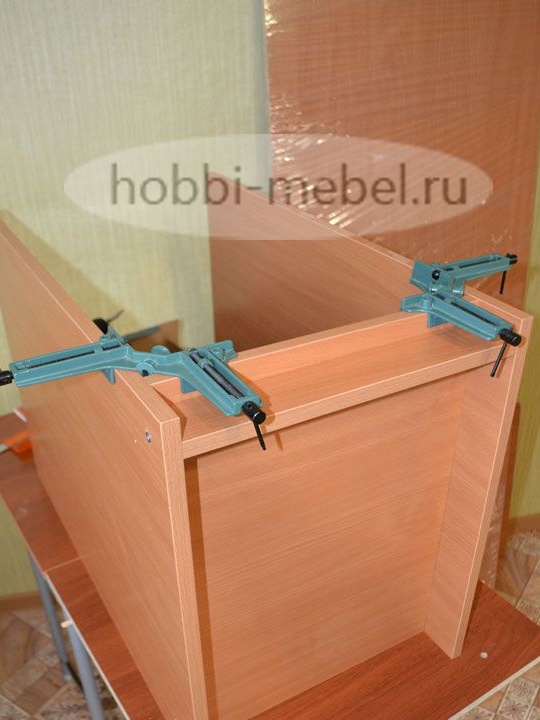
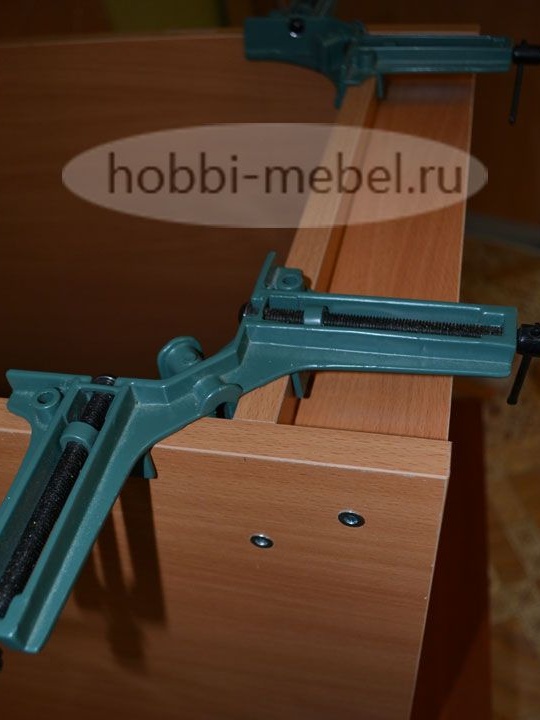
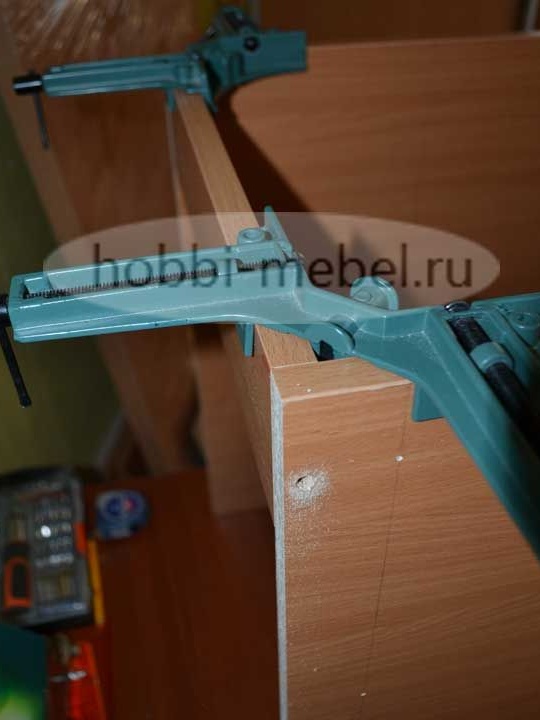
- angular clamps.
Materials:
- sheets of chipboard;
- confirmats 210 pcs;
- plugs 20 pcs;
- thrust bearings 14 pcs;
- nails 20 mm - 20 pcs;
- screws 3,5x25 50 pcs;
- a lot of screws 3,5x16;
- plastic furniture corner 3 pcs.
- patch loops 3 pcs;
- handles 3 pcs;
- ball guides of full extension 350 mm - 4 sets;
- ball guides of full extension of 500 mm - 6 sets;
- shelf holders 4 pcs.
The main criteria for designing this work for the author were as follows:
- large working area;
- boxes for books, notebooks, albums, pens, etc .;
- the ability to accommodate two children so that they do not interfere with each other.
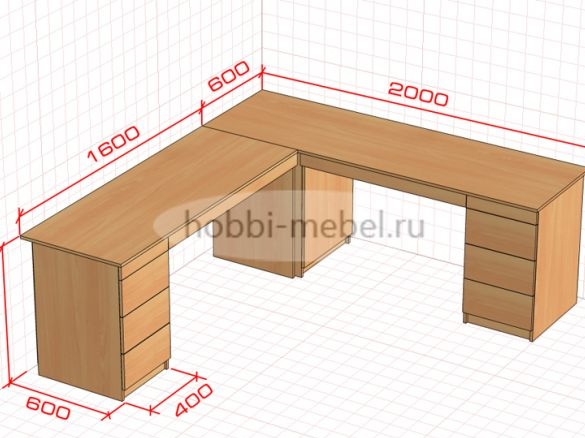
After taking measurements of the free space of the room, and determining the place where the desk will be located, the author made a draft table, which he kindly shares with us.
This project was made using the PRO100 program, it can be downloaded from this one, but here it is ready. We go into this program and go to the section “Reports and calculations”, after which you will see a detailed detailing of the project.
A table of all sizes of parts and their quantity.
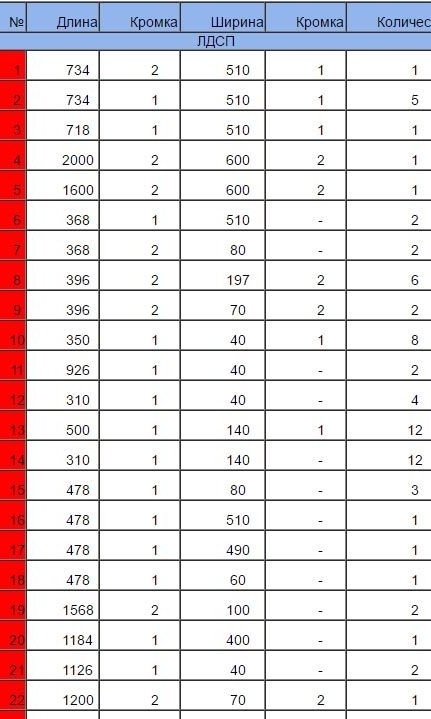
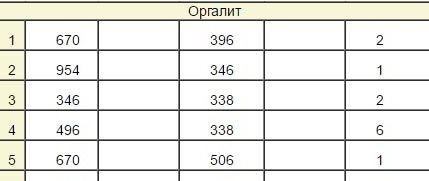
According to the above details, we give an order for a cut. We purchase accessories for assembly, it is better to order it at the same furniture production, so you will save money and time.
List of necessary fittings.

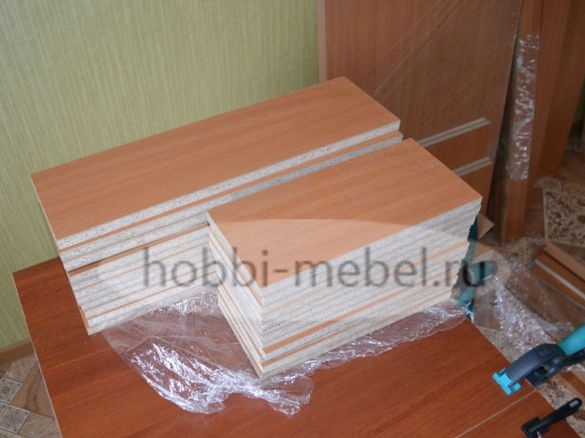
After the cut is made, we carefully check the availability of all parts, and make sure that the chipboard does not have visible damage or manufacturing defects. In this case, it is better to spend 10-20 minutes checking time than to come home and miss something.
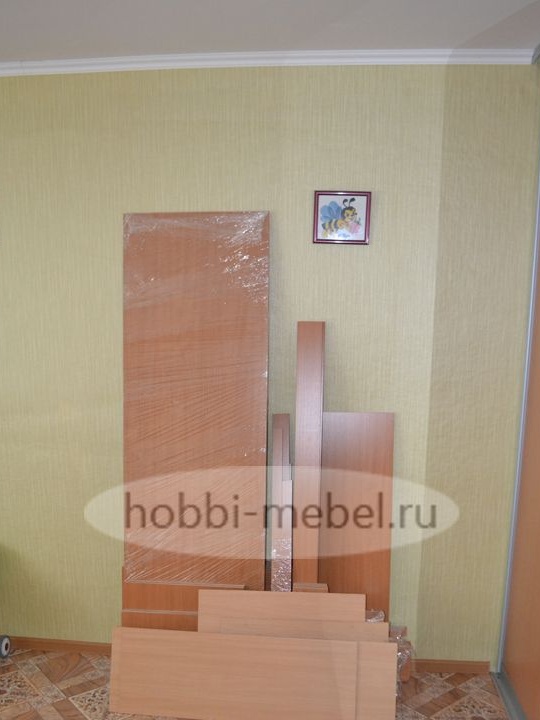
When all the parts and tools are in place, we assemble.
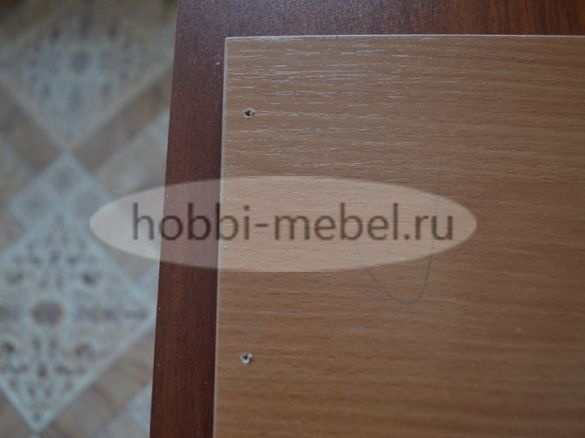
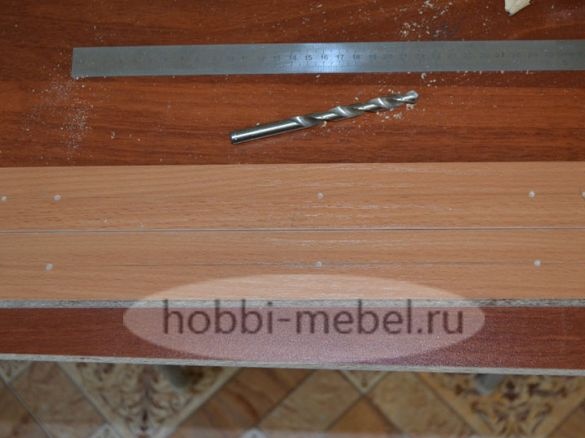
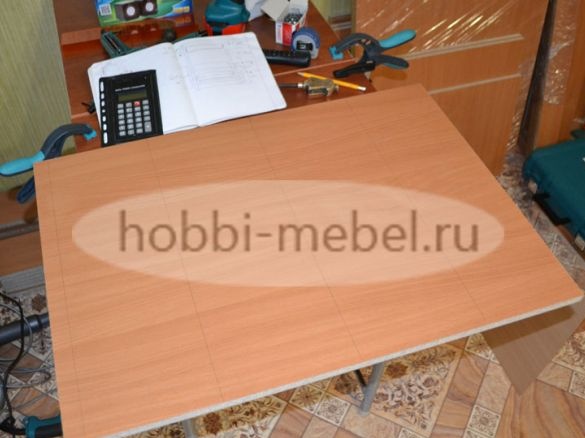
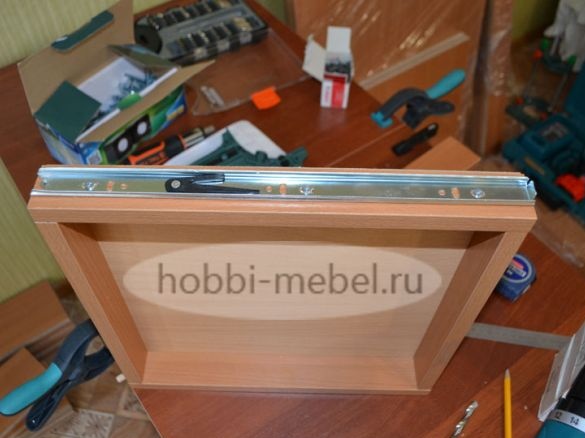
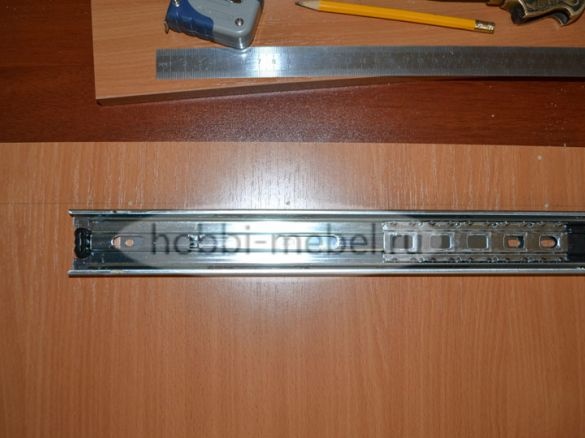
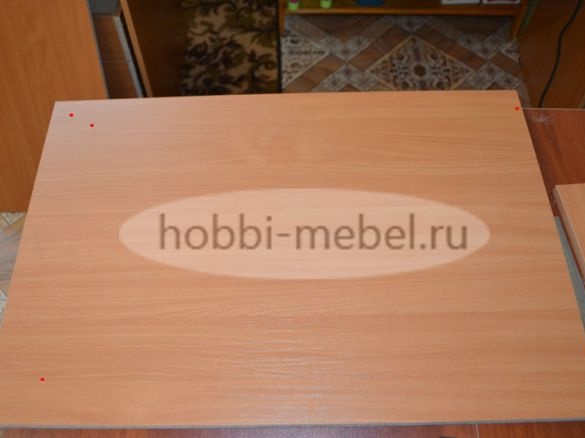
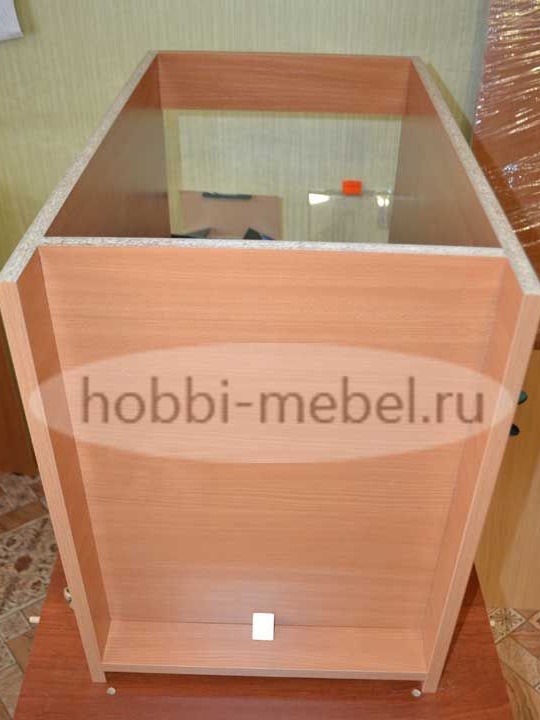
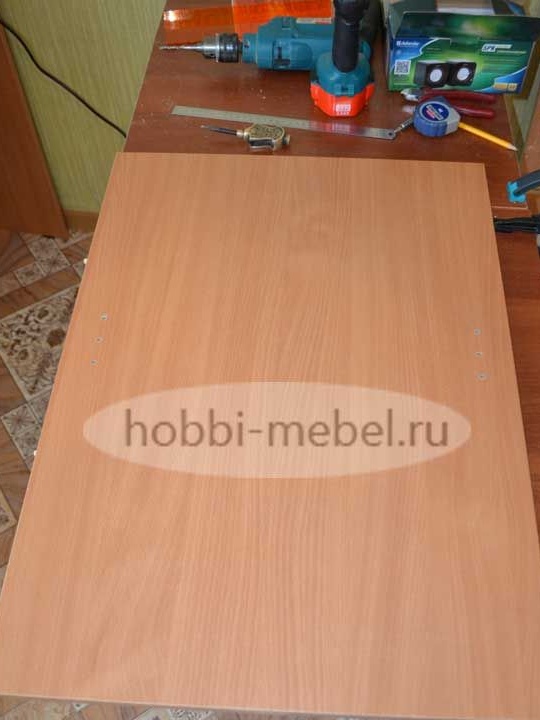
The author decided to start with boxes.We take the sides of the boxes, on which we make the markings for the holes for the confirmations and for the guide runners.
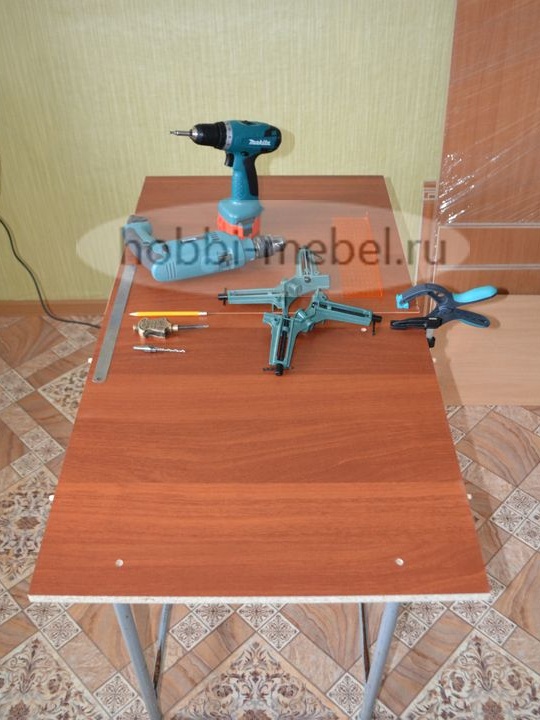
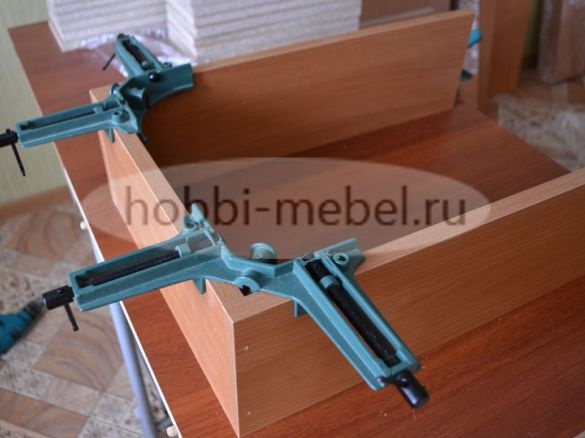
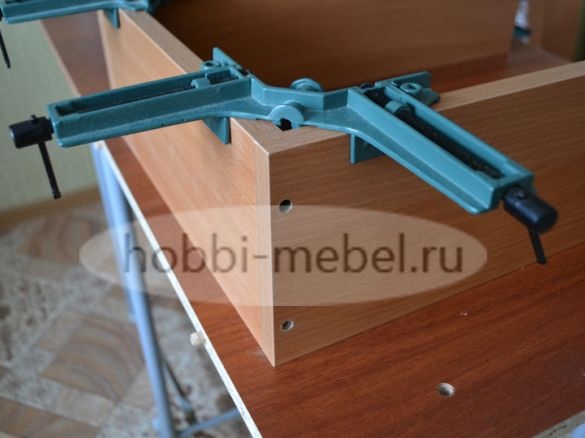
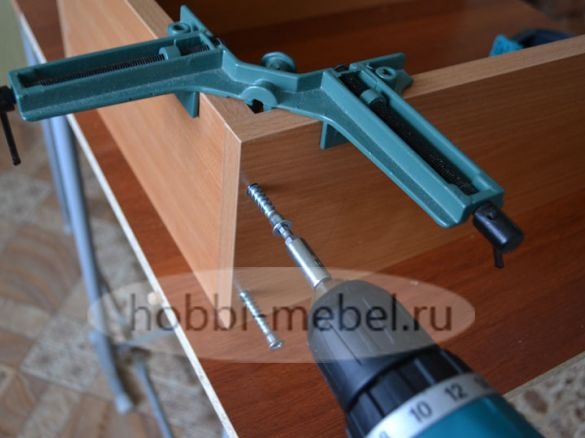
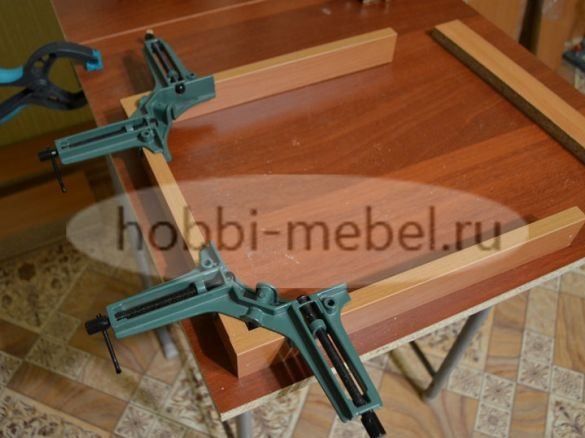
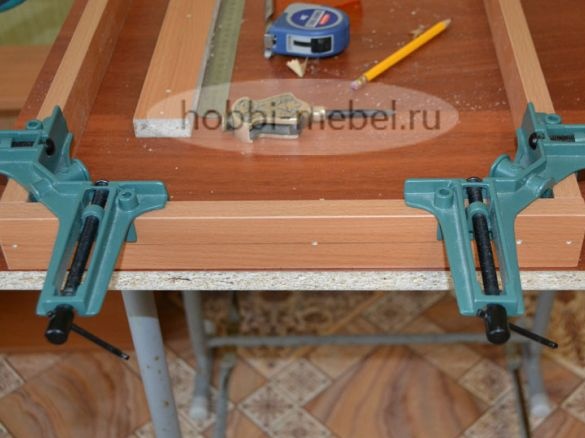
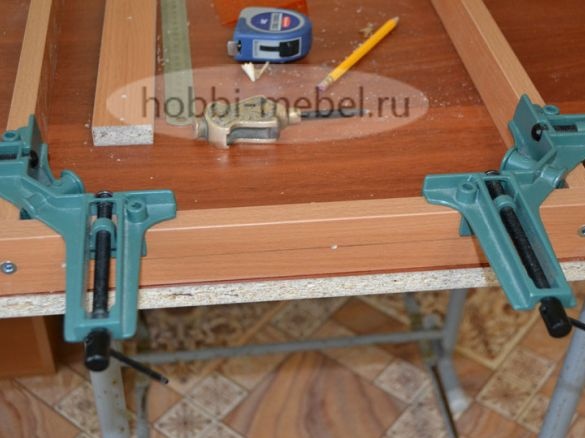
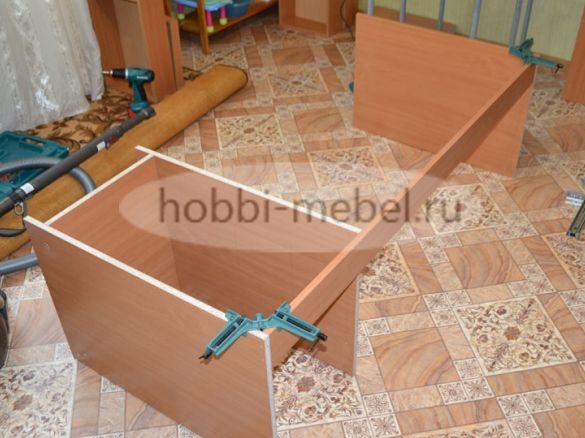
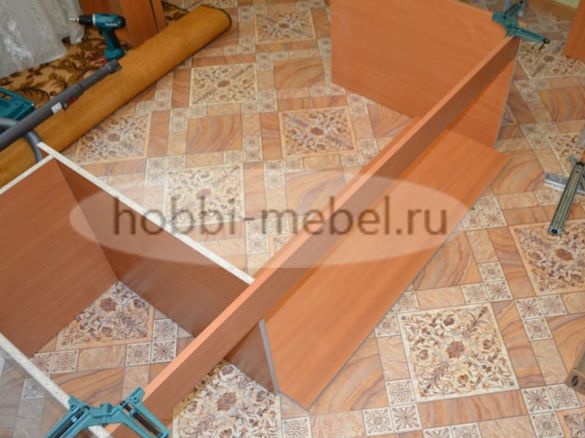
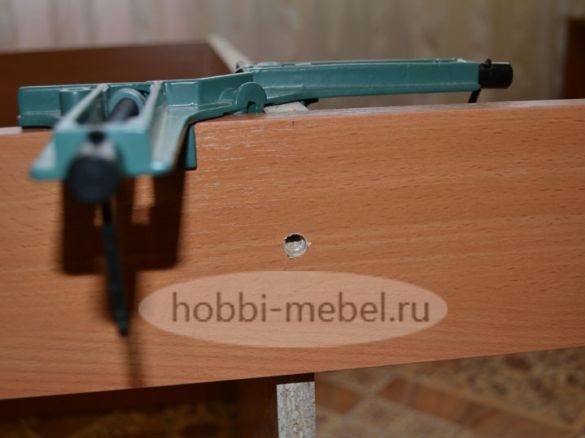
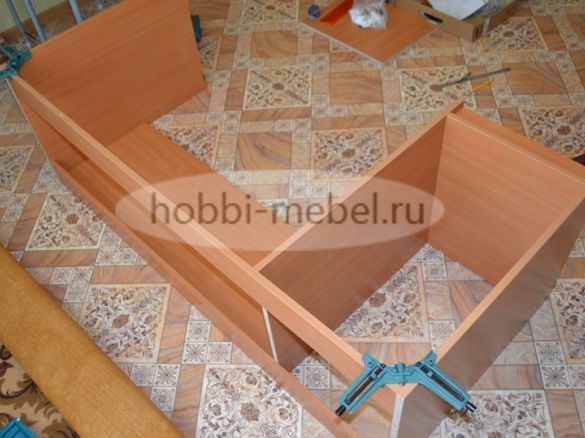
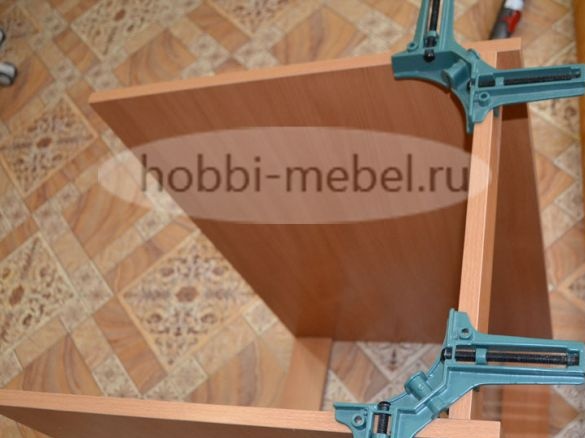
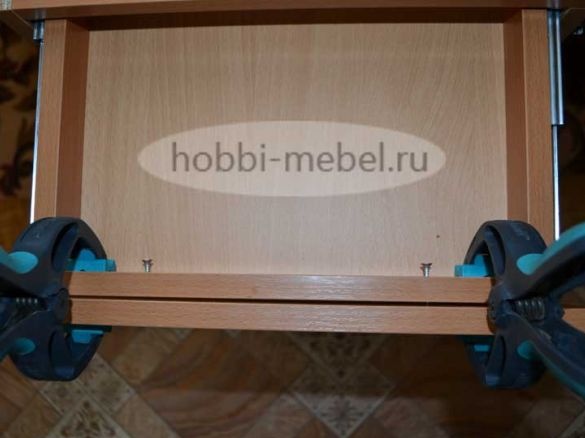
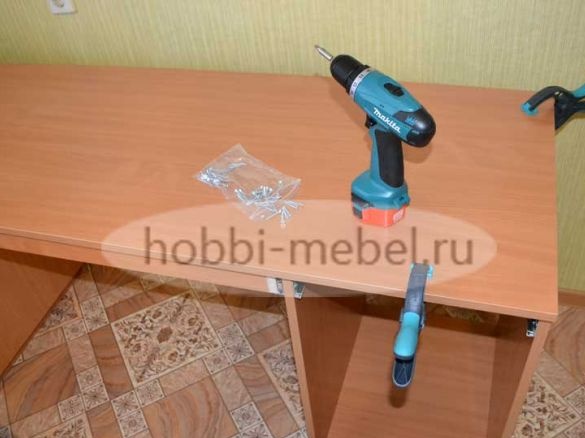
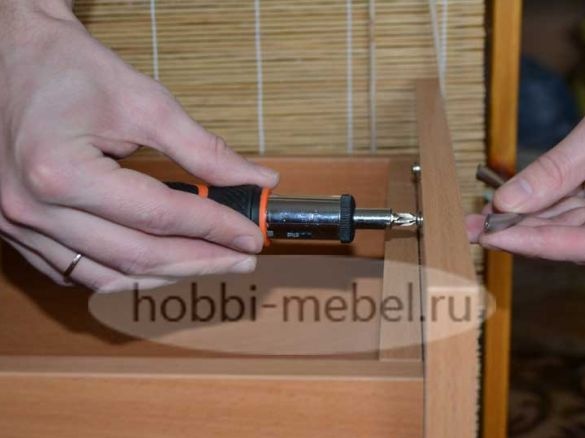
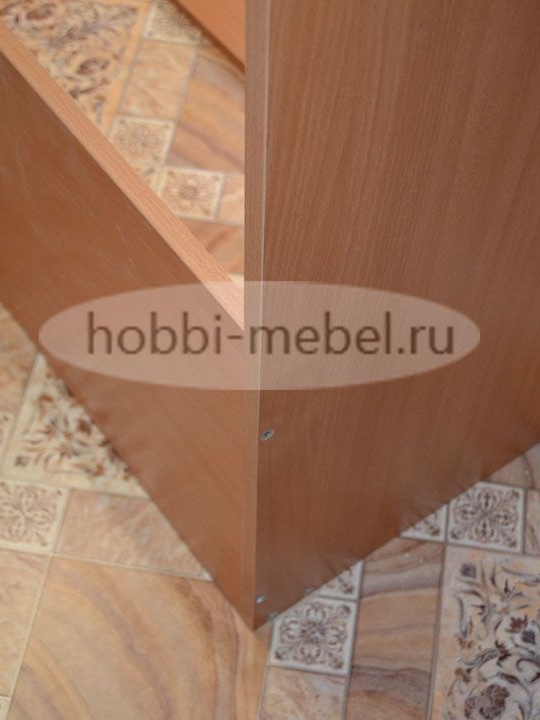
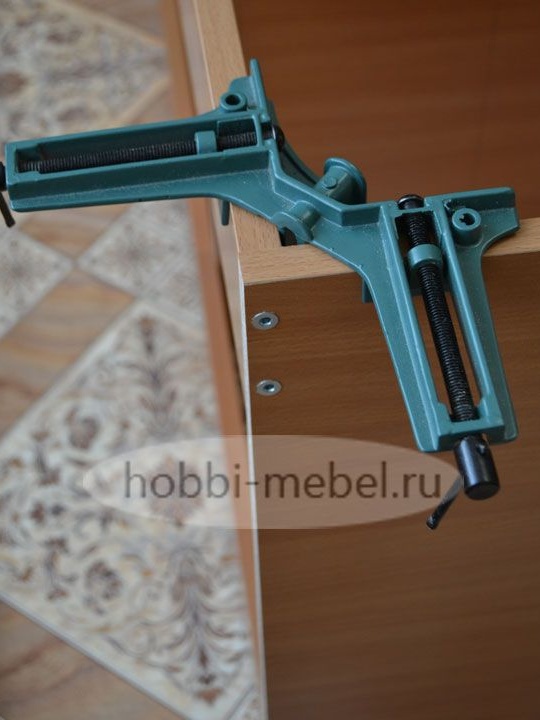
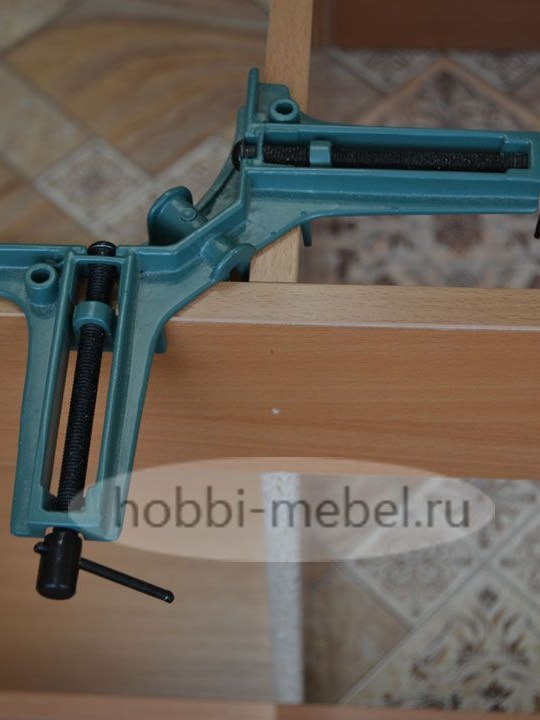
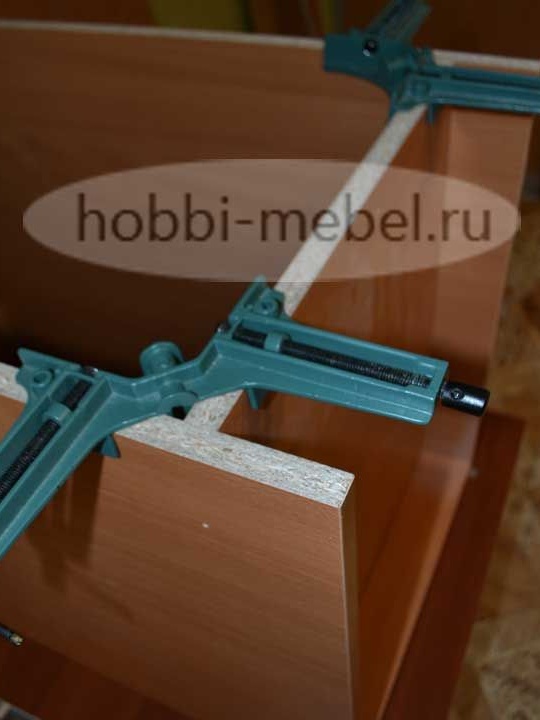
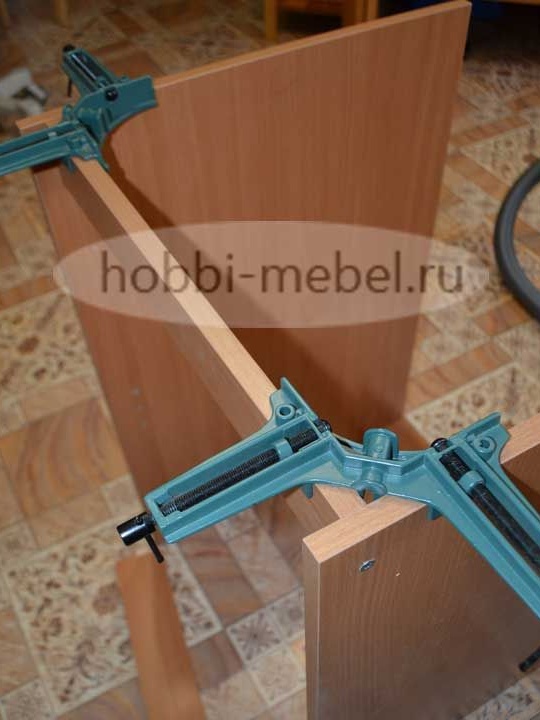
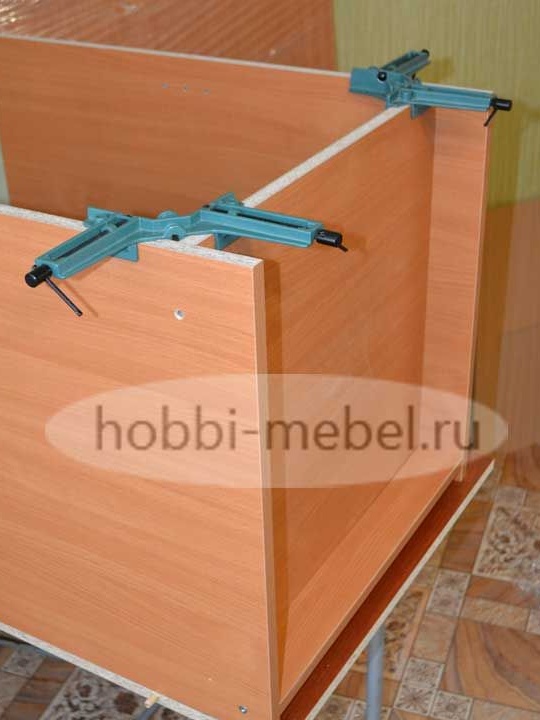
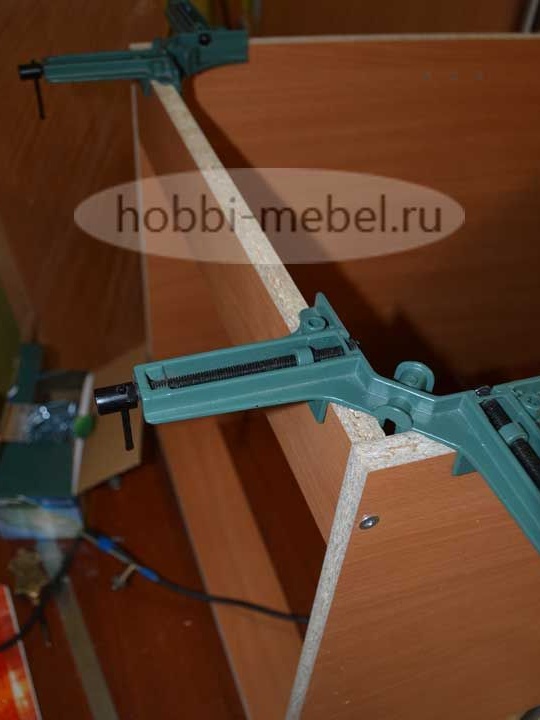
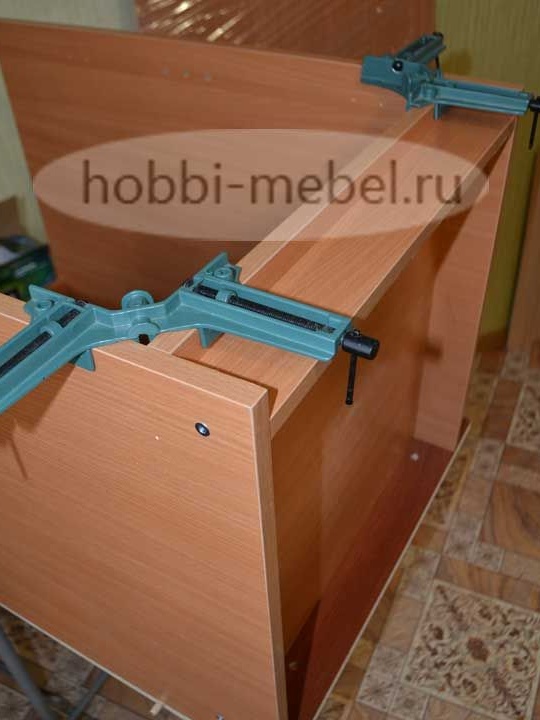
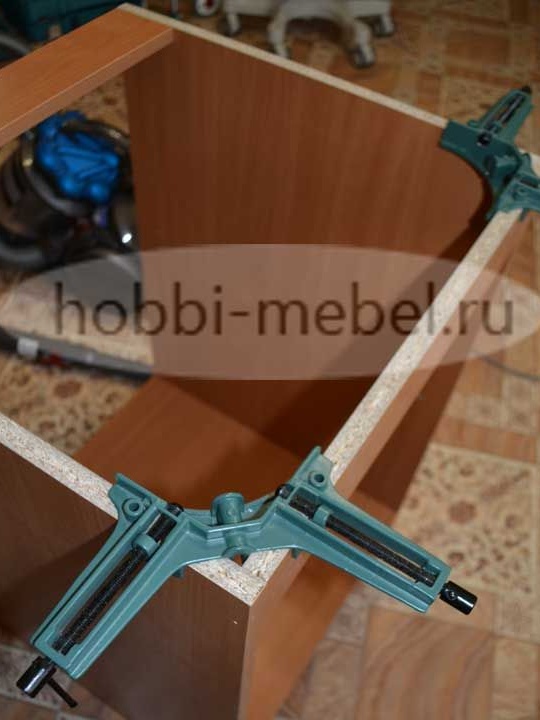
Then we fix the side parts with the help of corner clamps, they greatly simplify this process. We drill holes with a special drill for confirmations, then with a screwdriver or hexagon we twist them into the holes.
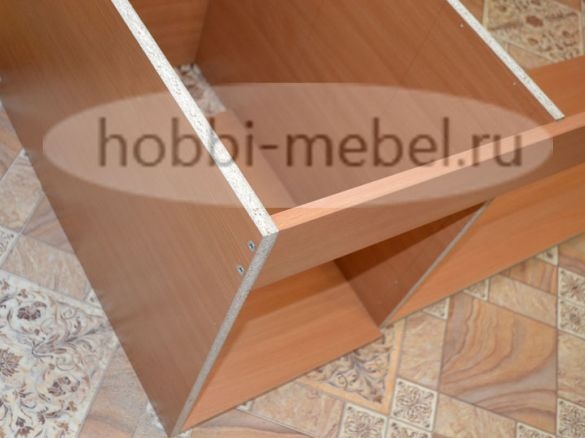
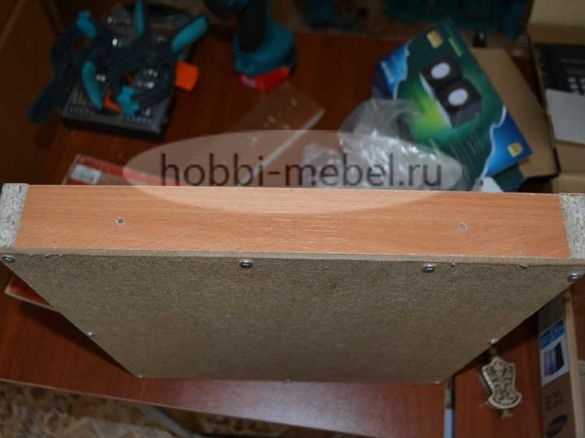
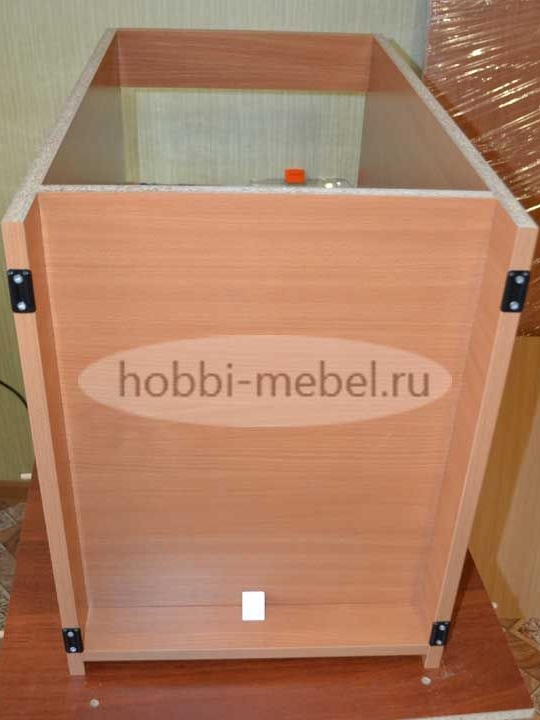
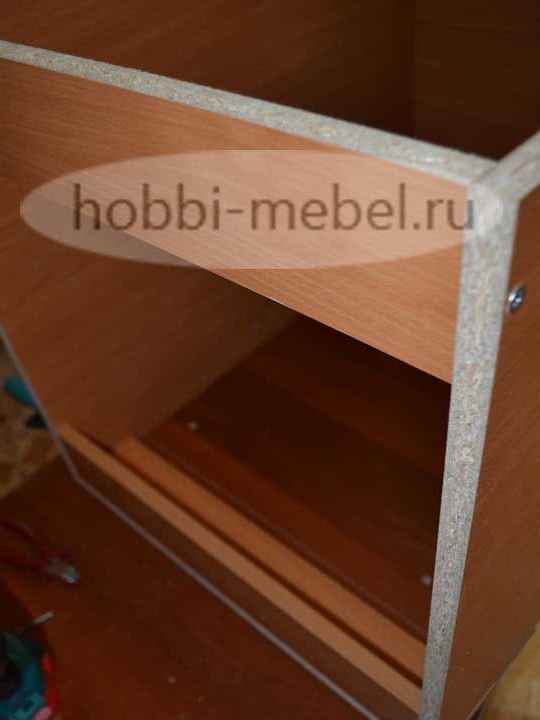
With the help of nails or screws 3,5x16 we fix the bottom of the box.
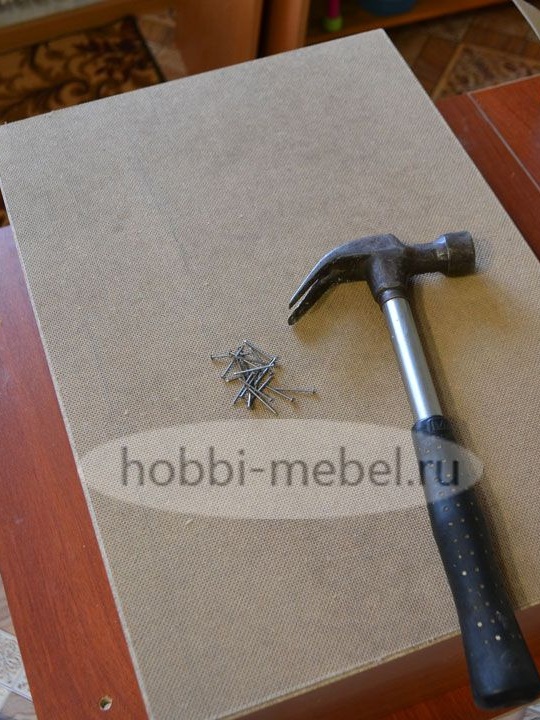
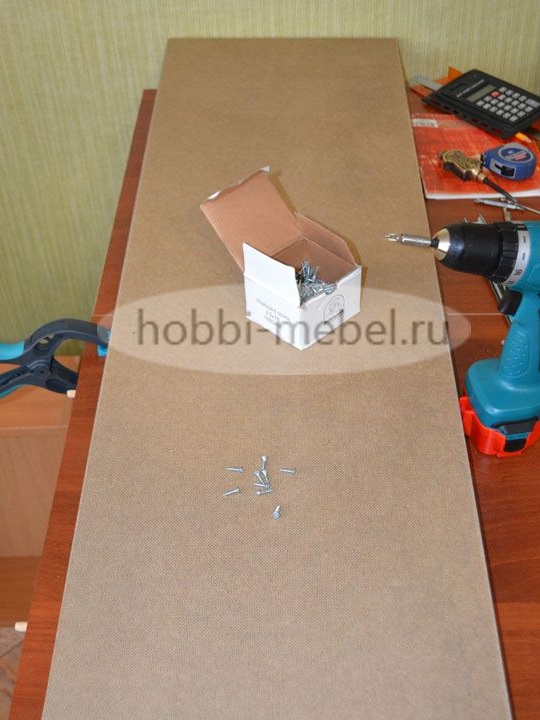
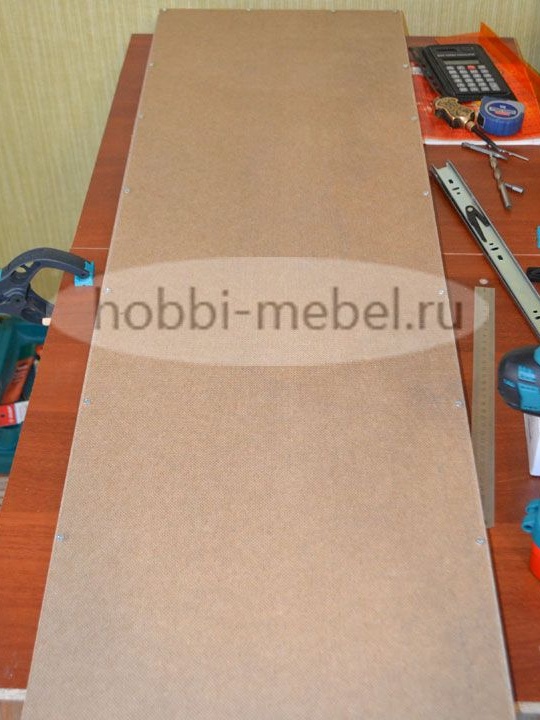
In a similar way we collect a table stand.
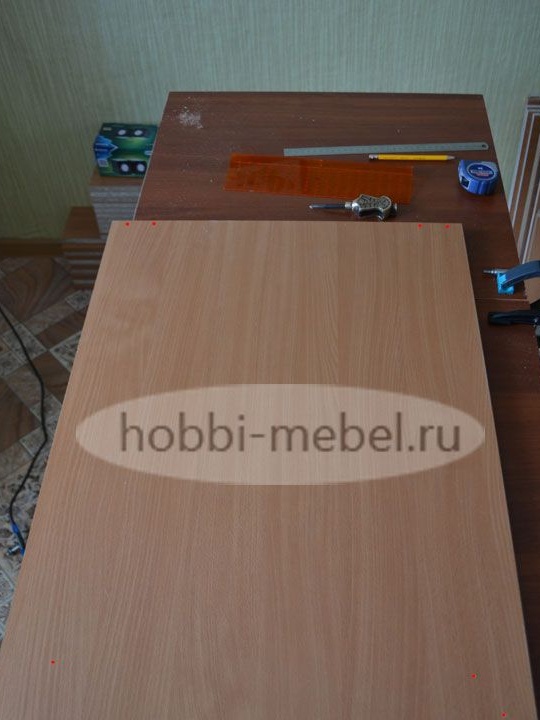
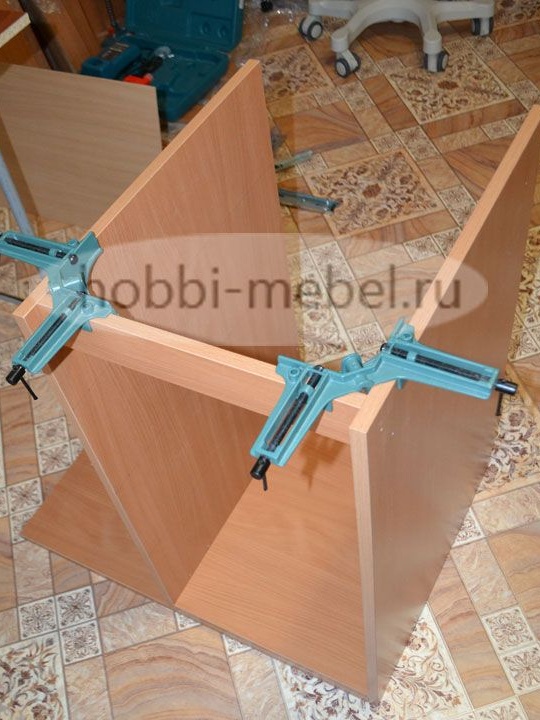
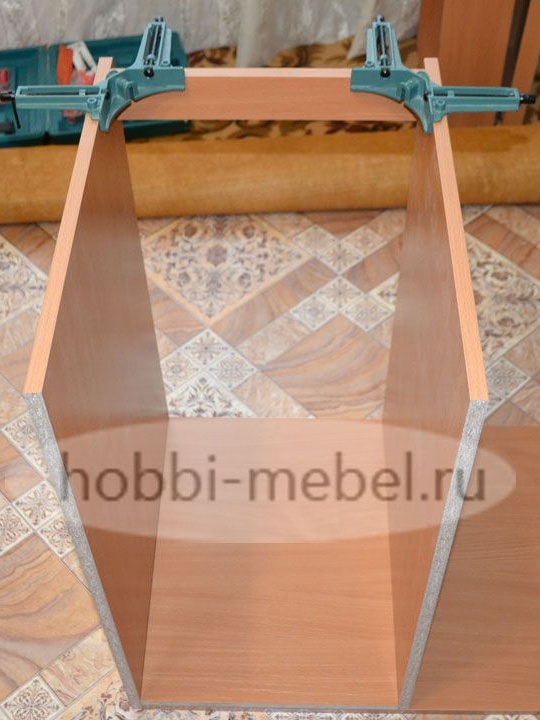
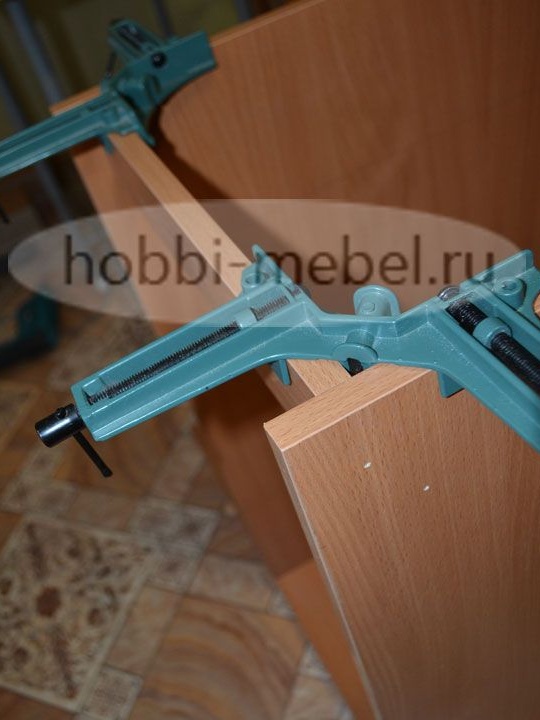
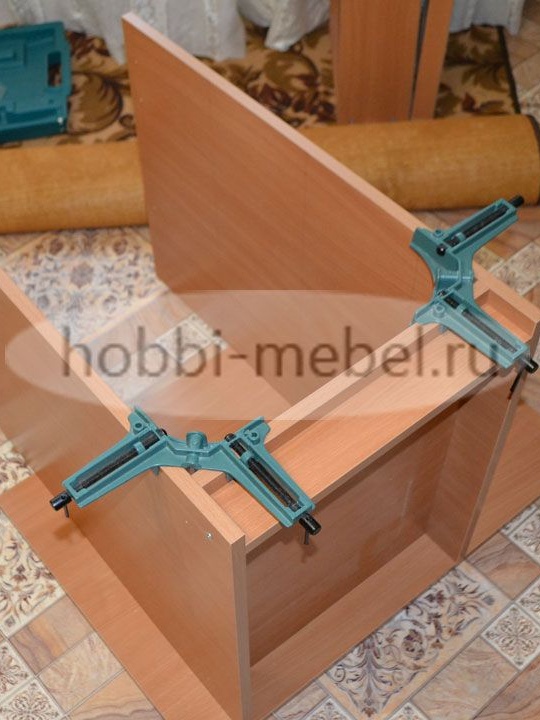
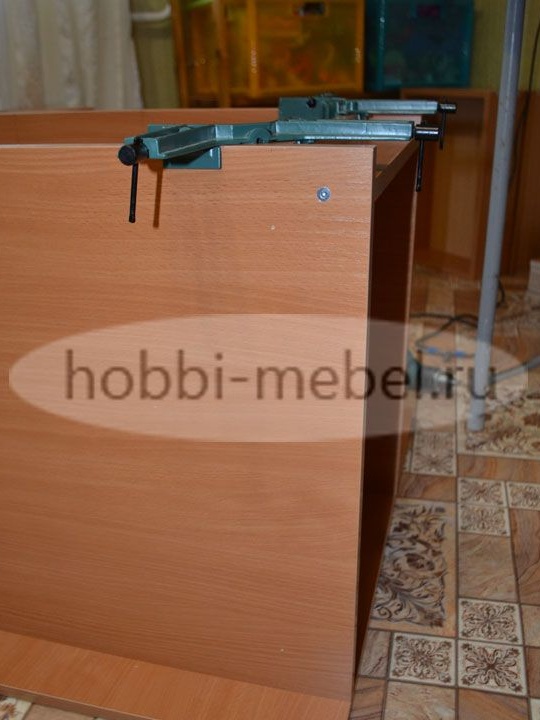
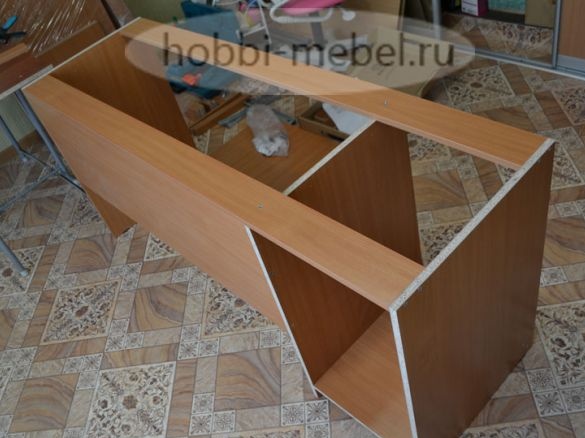
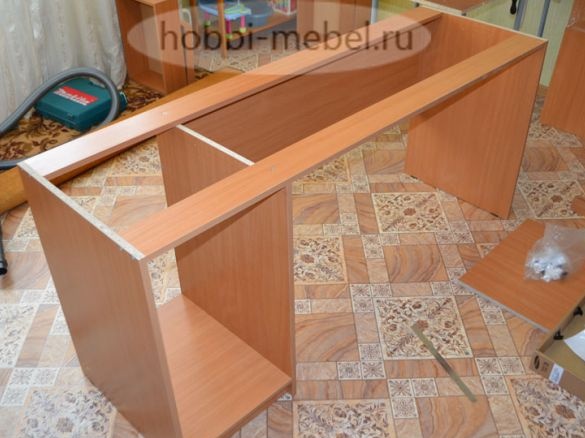
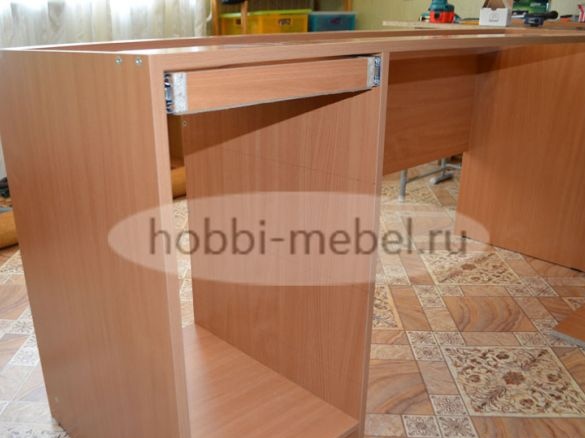
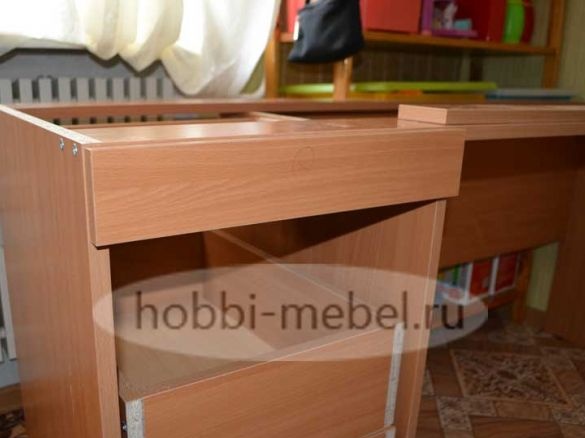
Next, we proceed to the assembly of the table case.
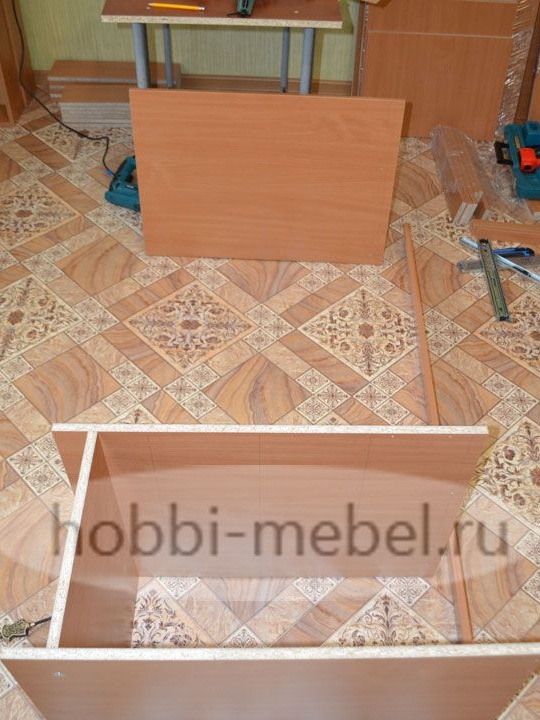
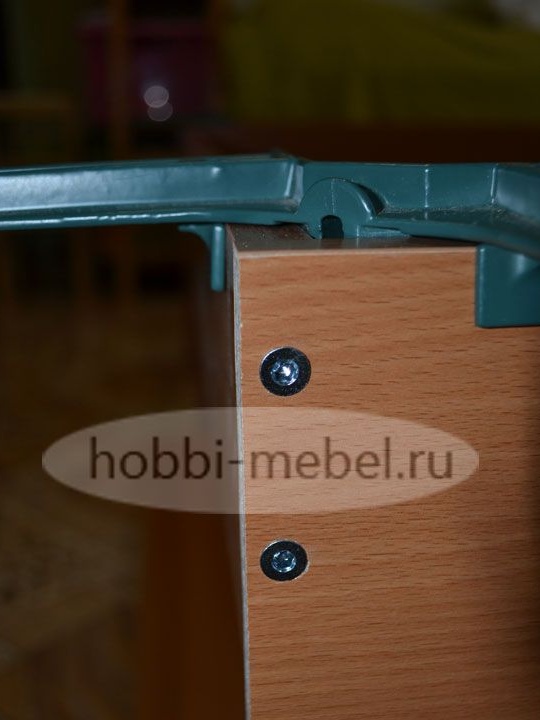
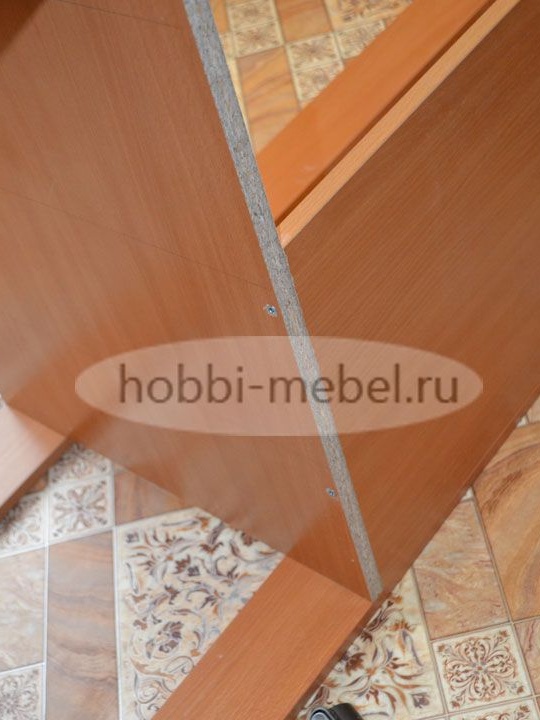
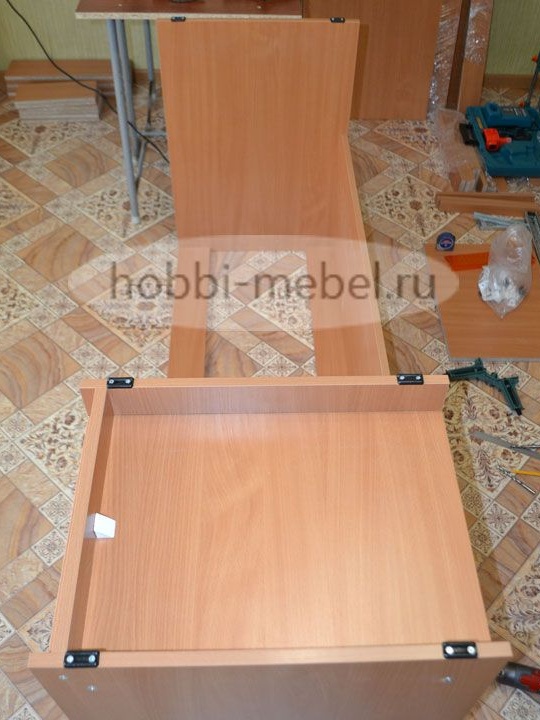
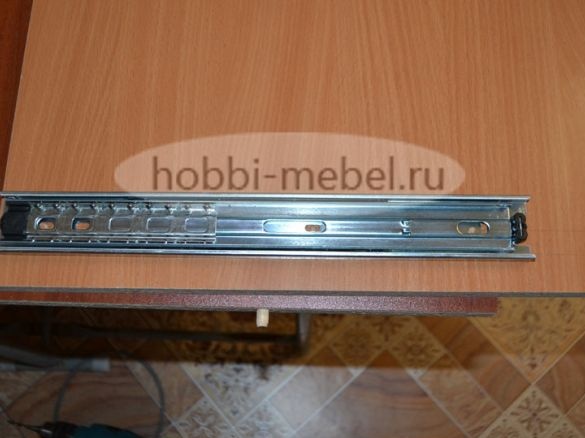
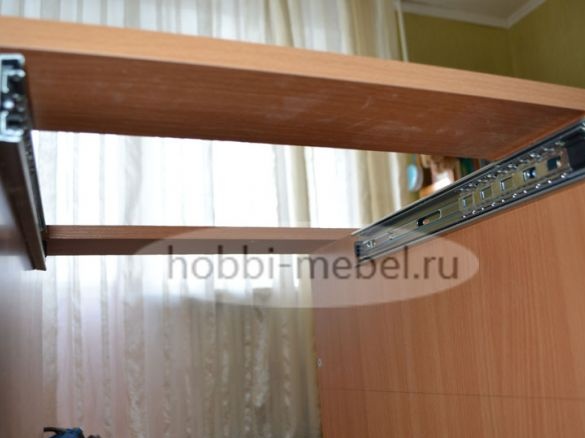
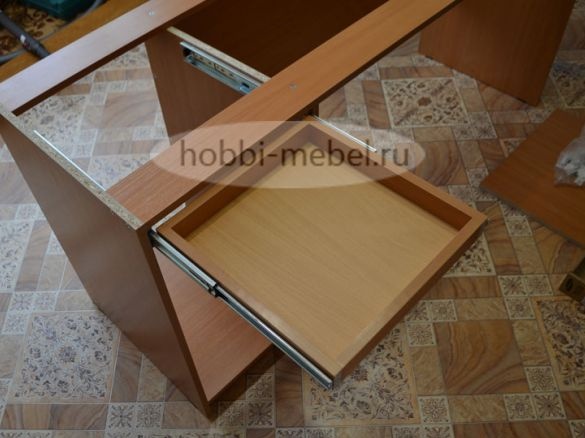
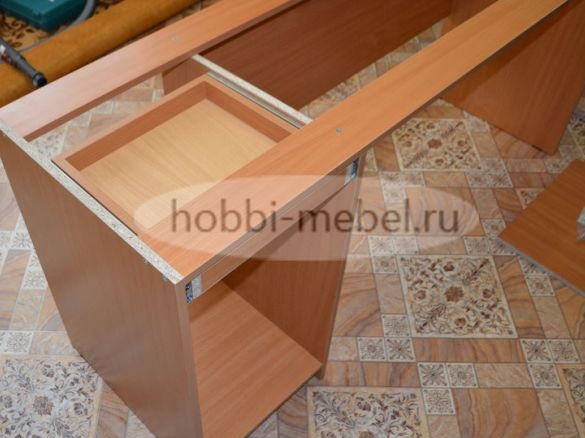
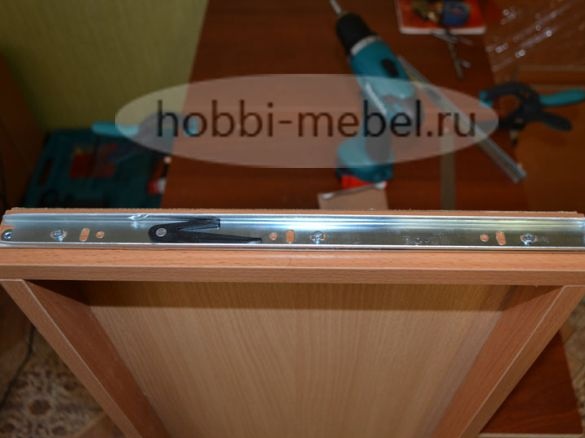
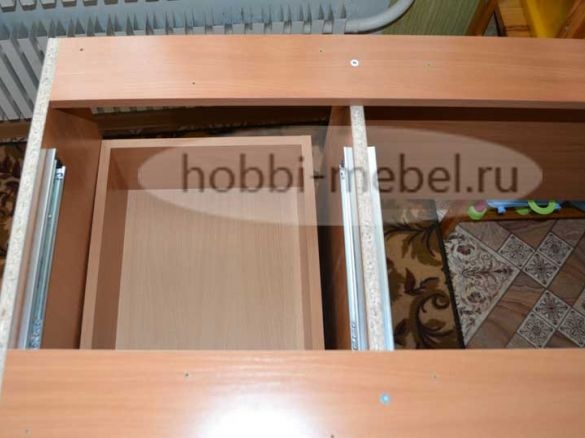
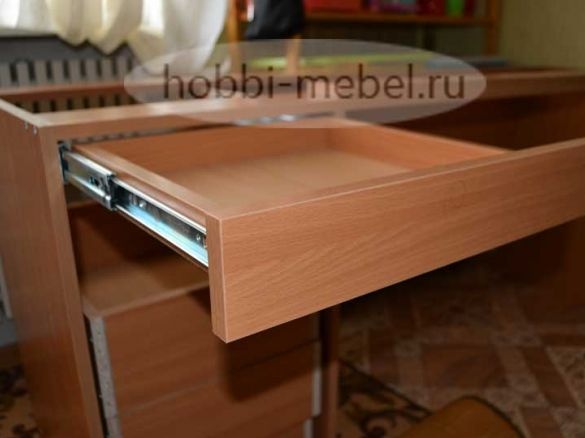
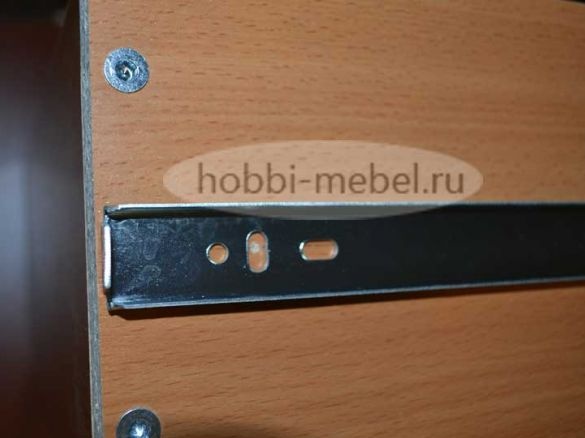
We install sliding guide elements.
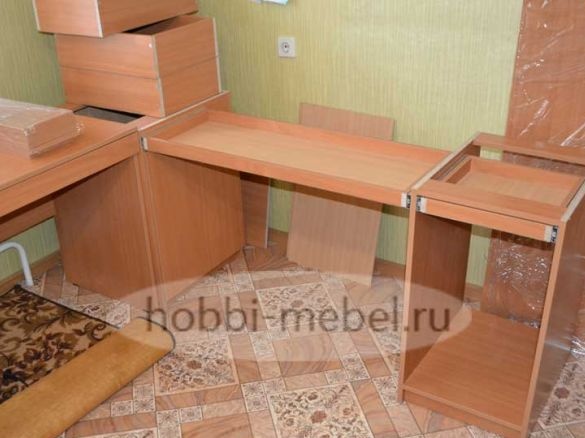
When everything is ready, proceed to the assembly of the second table.
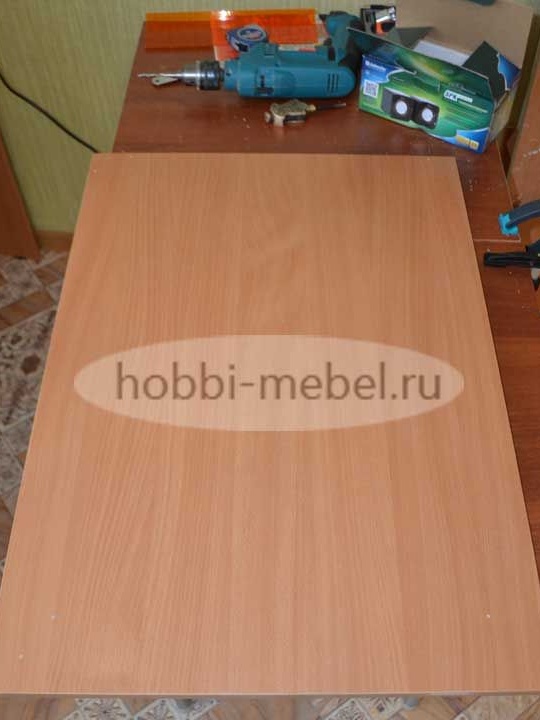
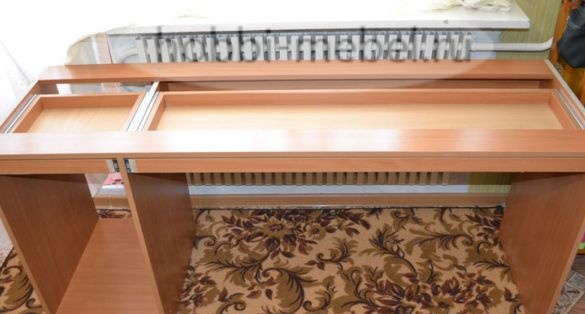
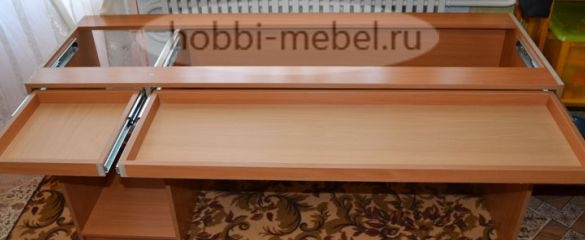
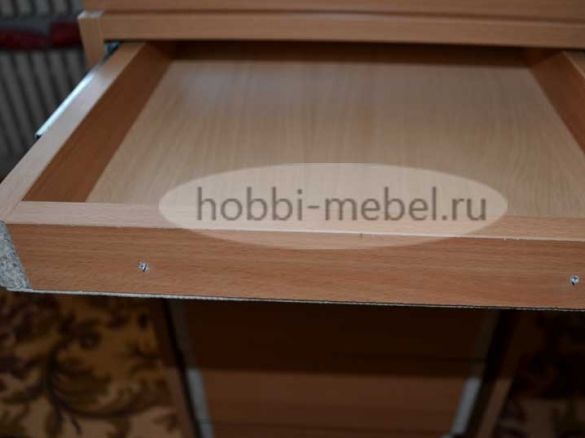
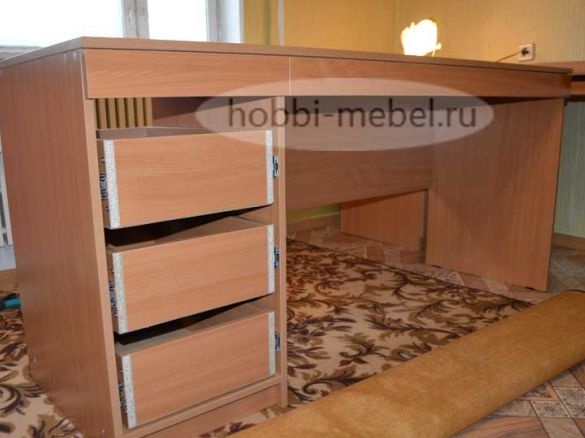
We install boxes and facades for them.
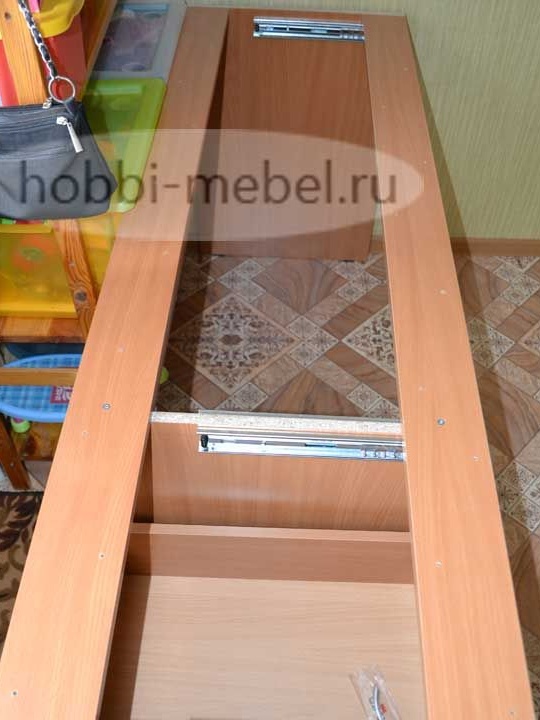
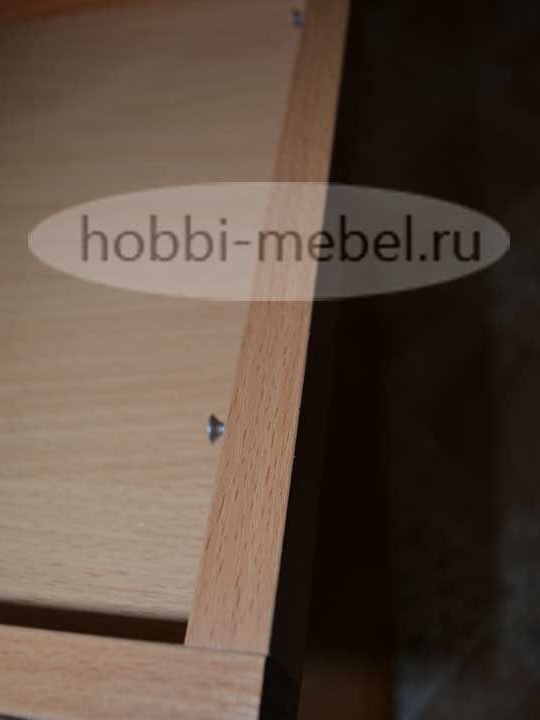
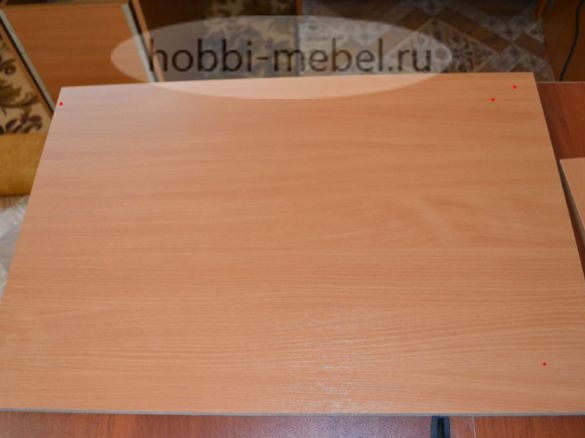
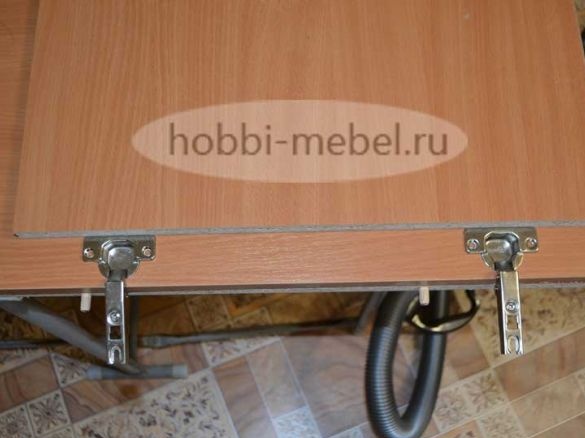
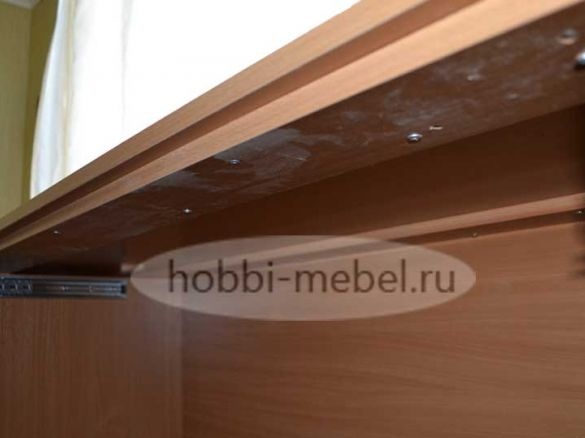
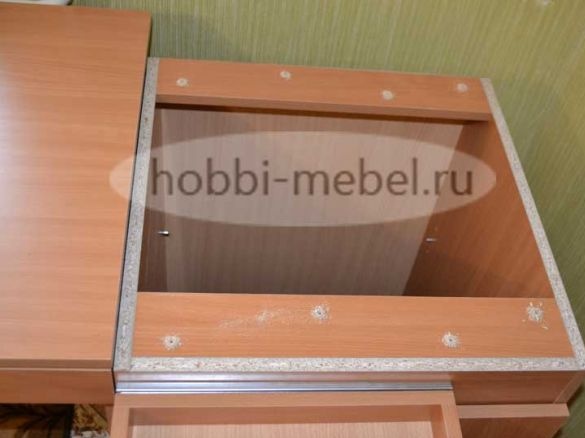
Next we fix the countertop.
We continue to collect the second table.
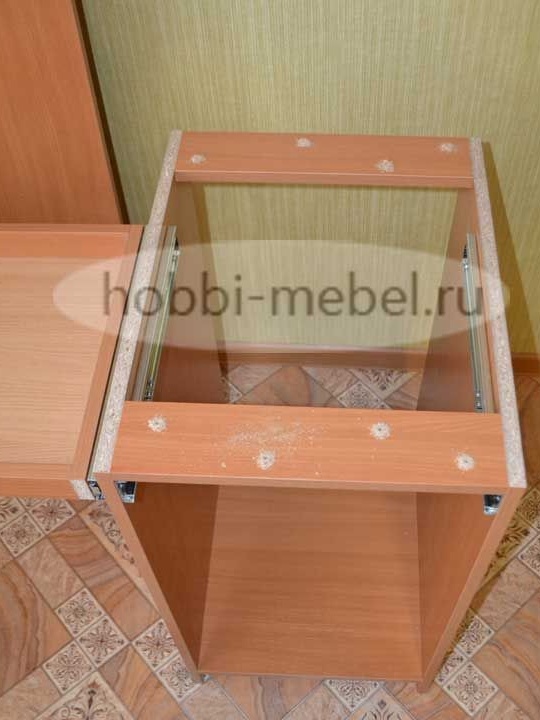
We mark the boxes on which we fix the guides.
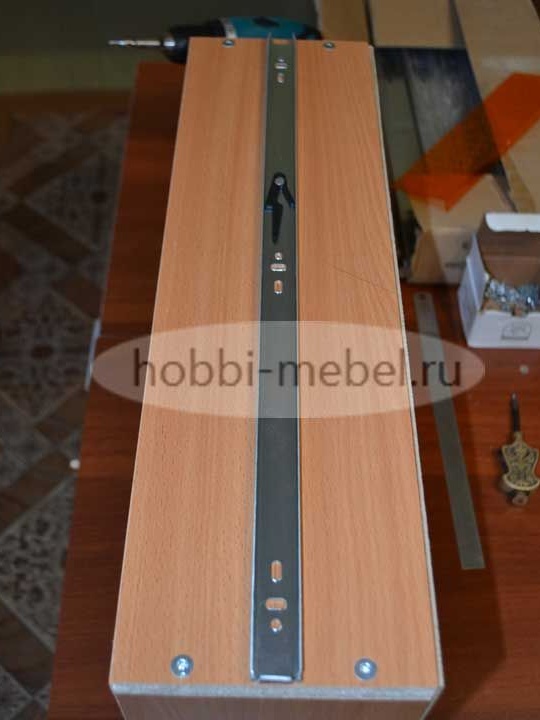
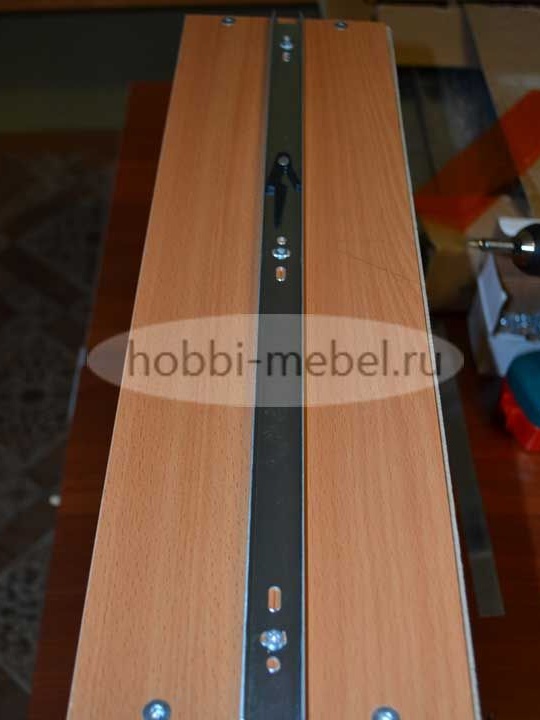
It remains to take the final steps.
We install handles and facades, fix the back wall of fiberboard.
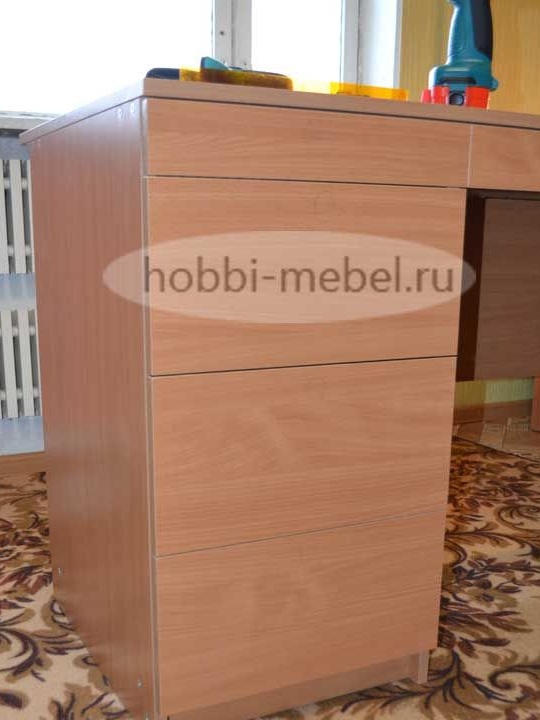
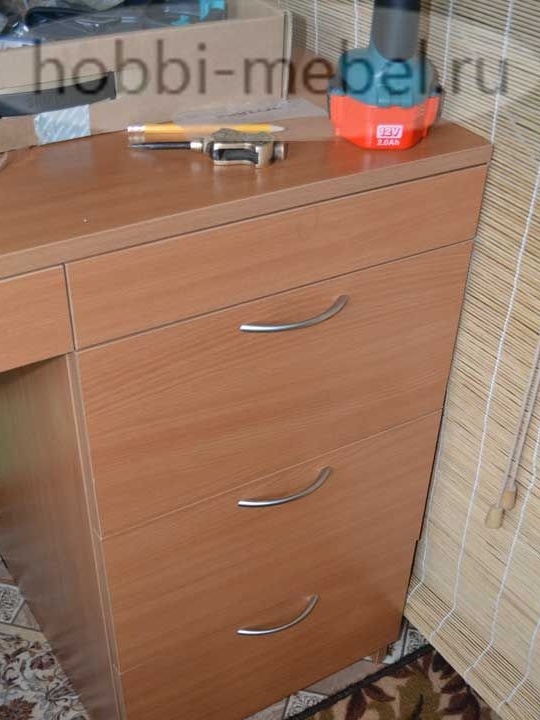
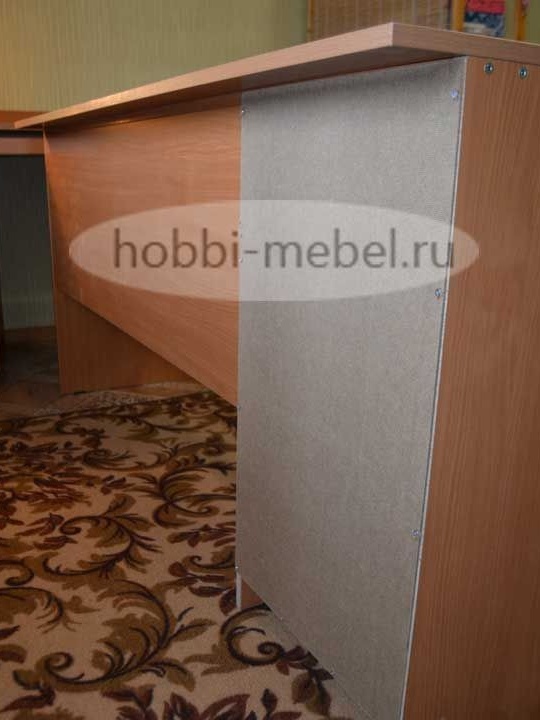
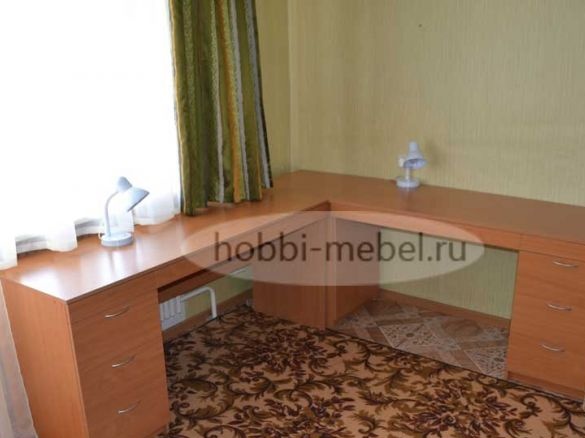
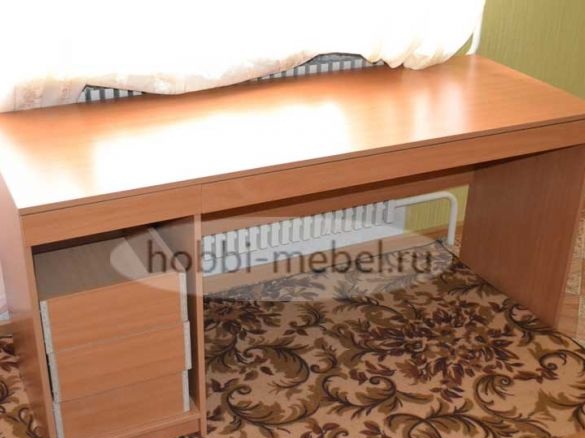
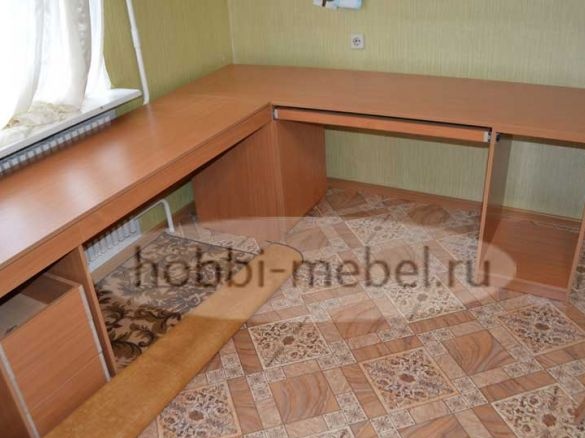
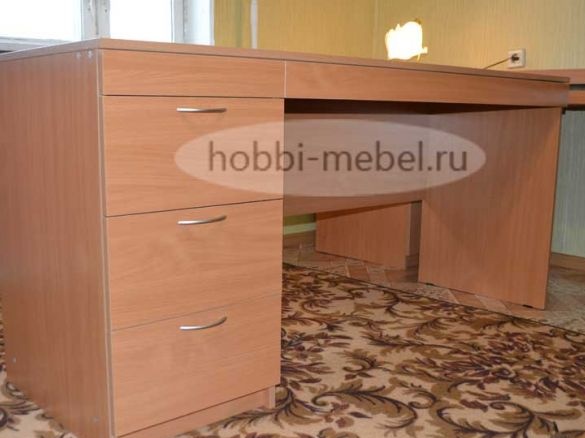
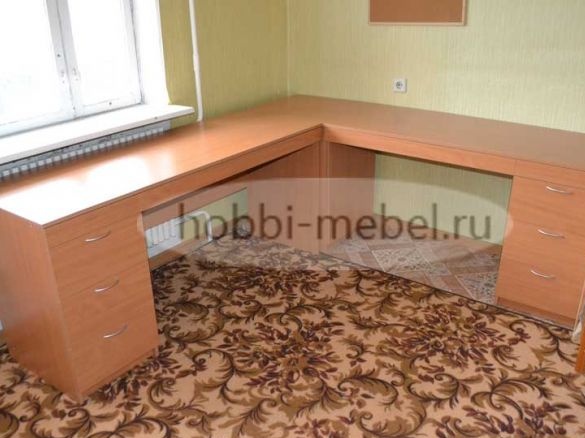
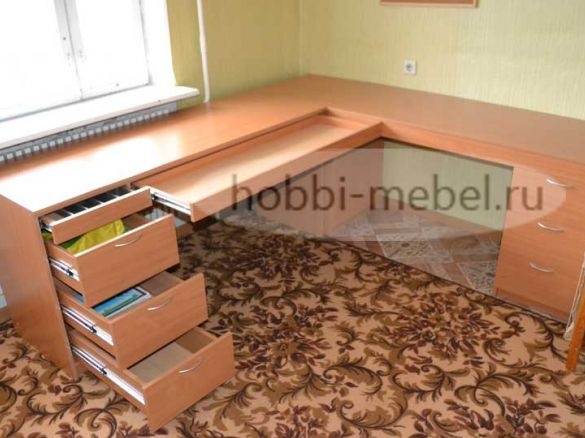
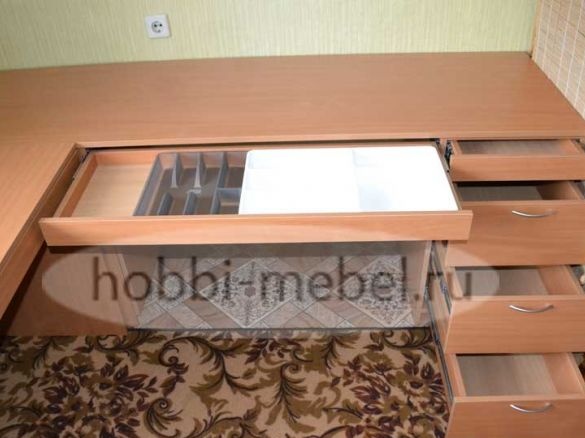
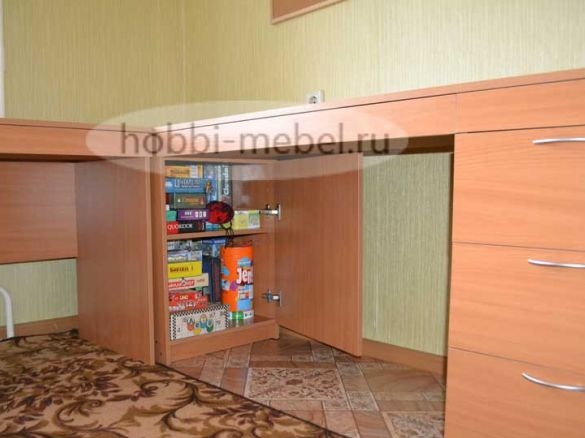
The double desk is ready, accept the result.
This article is over, thank you all for your attention!

