
Hello everybody !
Today, almost all of us have computers, often they differ from each other in appearance and type of application, as well as the power of the embedded filling. Due to the variety of the proposed system unit cases, we can choose for ourselves something unusual and original that we think will distinguish us from others. At first it will be so, but sooner or later the appearance and hardware will seem insufficient for everyday use, you will want to make some improvements, it can be an upgrade of the system, or changing the computer case to a more attractive one, all this is normal, and if possible, you need to do this. In this article, the author wants to share her experience, in which she will describe in detail her modding method, which will turn out in the end result, you can find out at the end of the article!
A small background from the author about how and why he decided to make his own modding computer.
According to the author, his system was updated 1.5 years ago, and he decided to change the processor to a more powerful one, as well as change his old Super Armor case to the new Corsair 900D, and this would seem to be enough, but the author decided not to stop there , since he wanted something unusual and special, of the whole variety of options, he liked the idea of a wall-mounted computer. This is how this difficult project began.
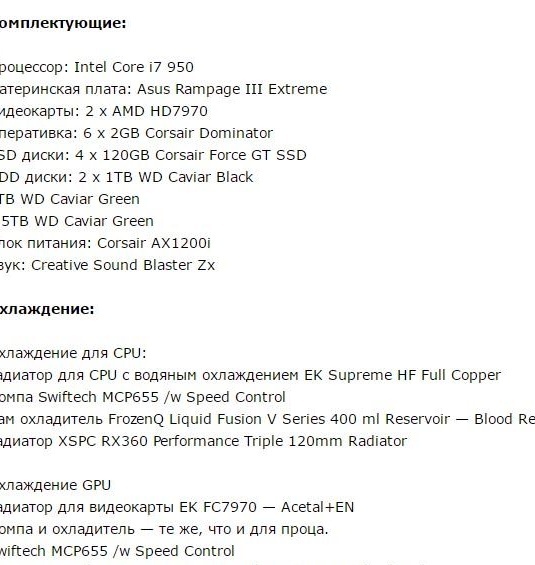
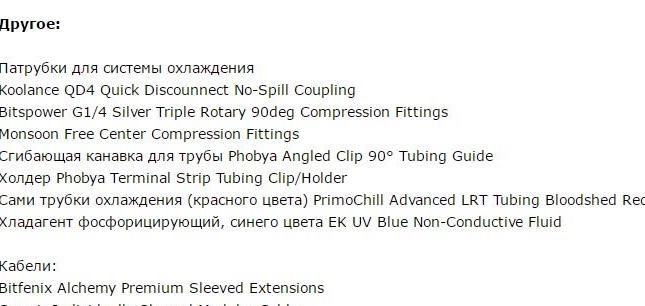
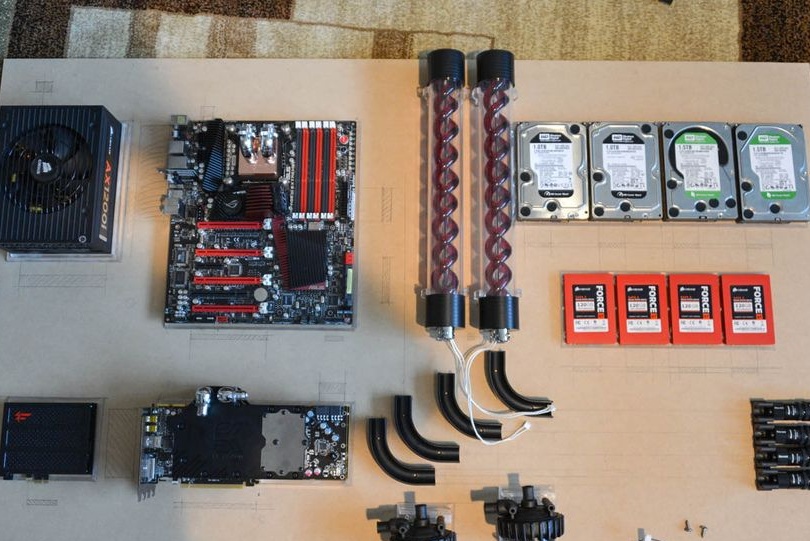
The author took the following components:
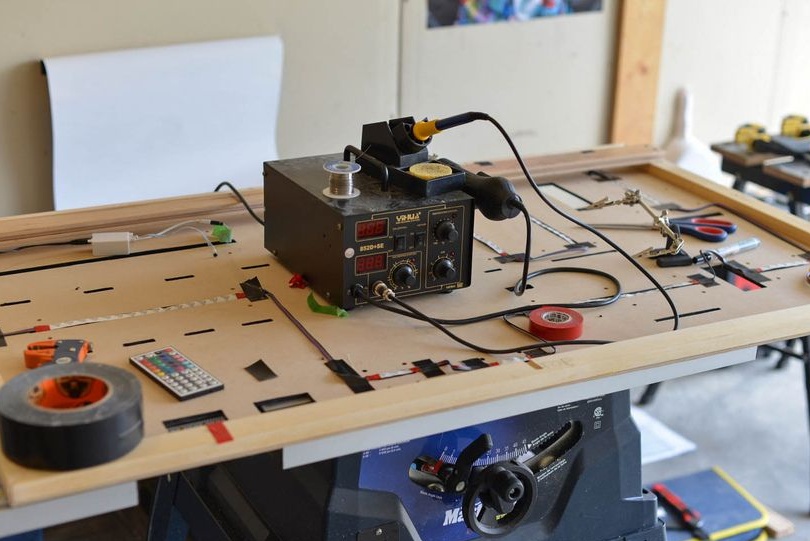
We proceed to the creation process.
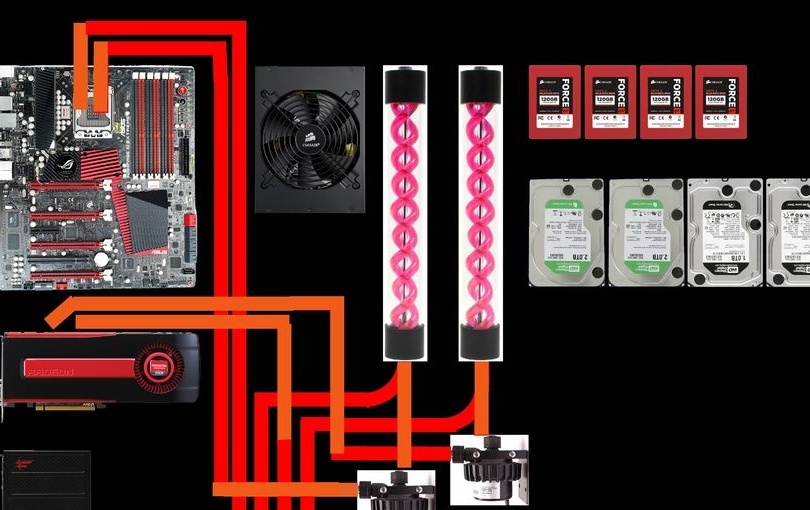
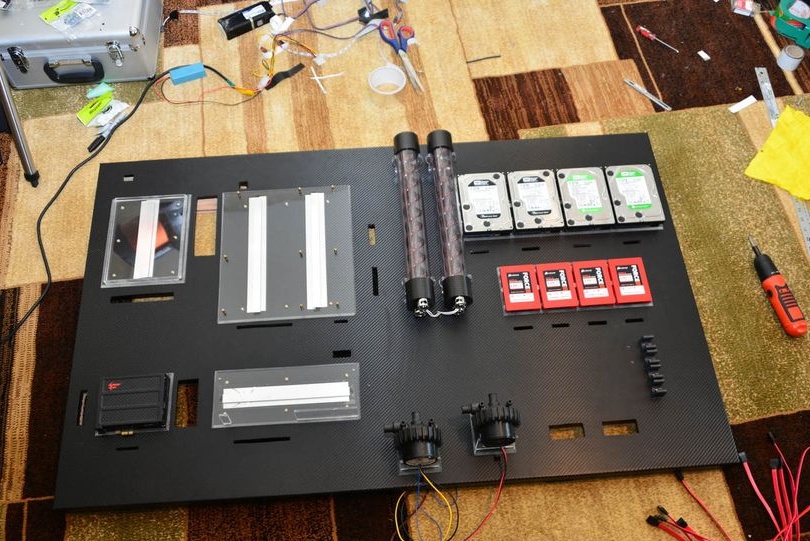
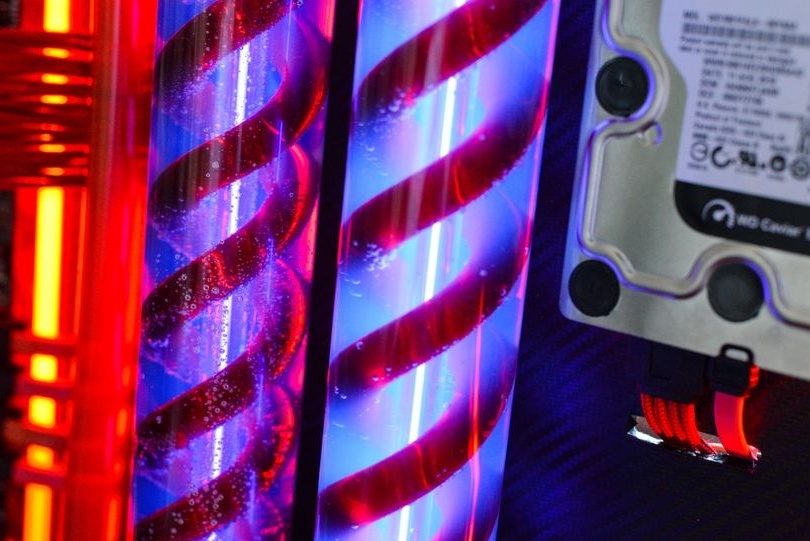
The author began by taking photographs of all components in their real size, using Photoshop for this, so he could move all the details around the workspace and see how it might look. Several such examples in the photo. Distributing all the components, the author wanted to achieve maximum filling of free space. In the final version, the cooling tubes will stretch along the entire right edge, in addition two thermometers will be placed.
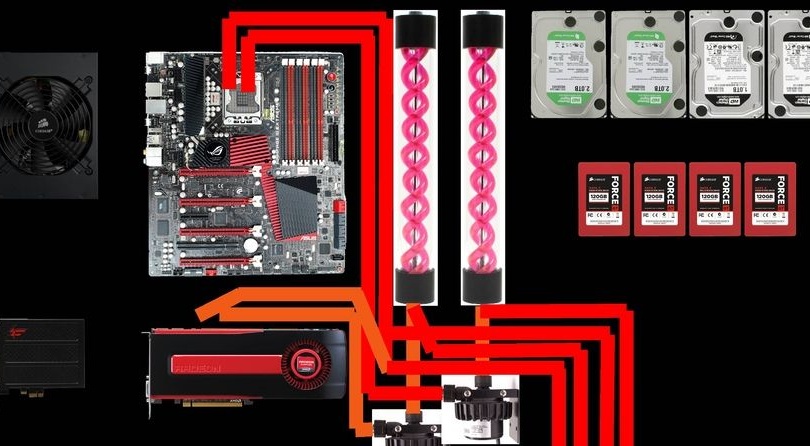
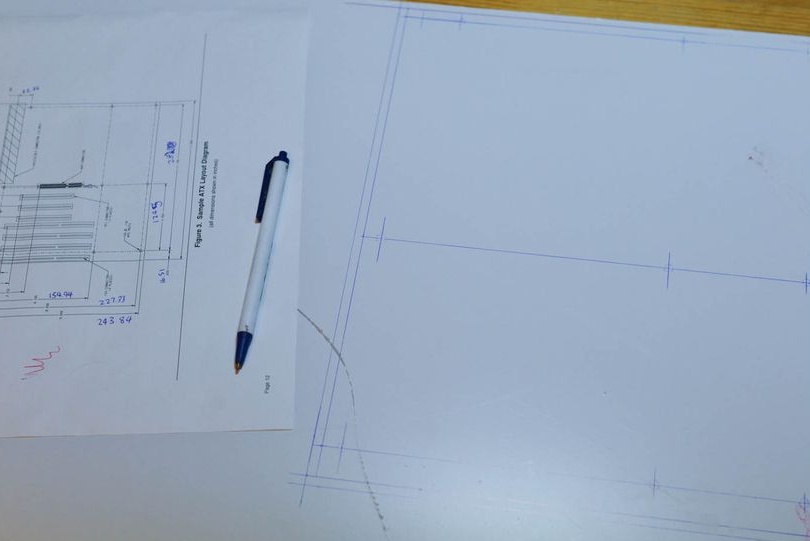
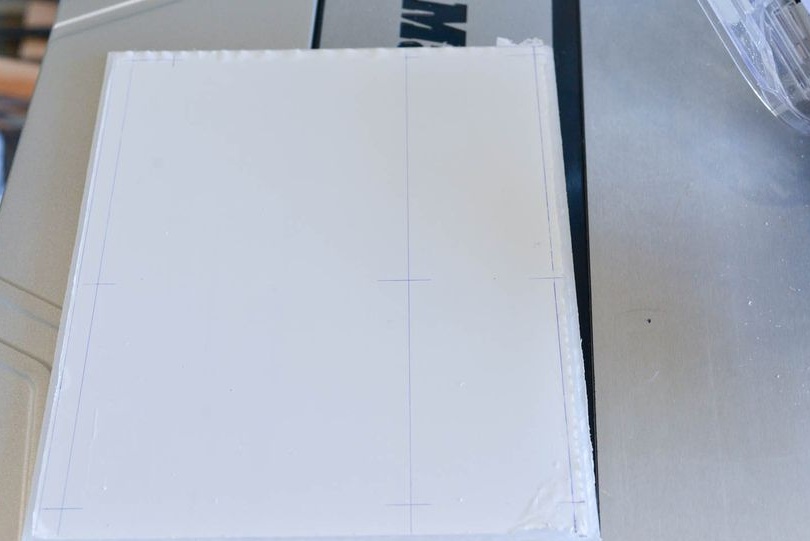
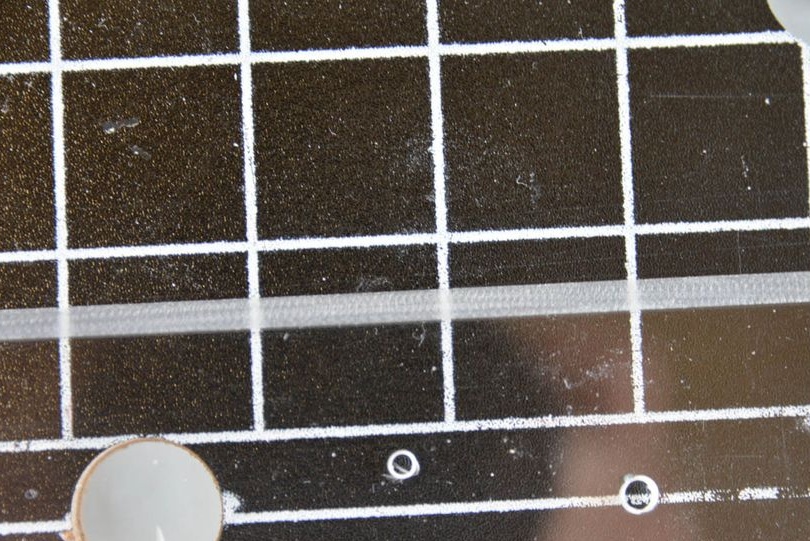
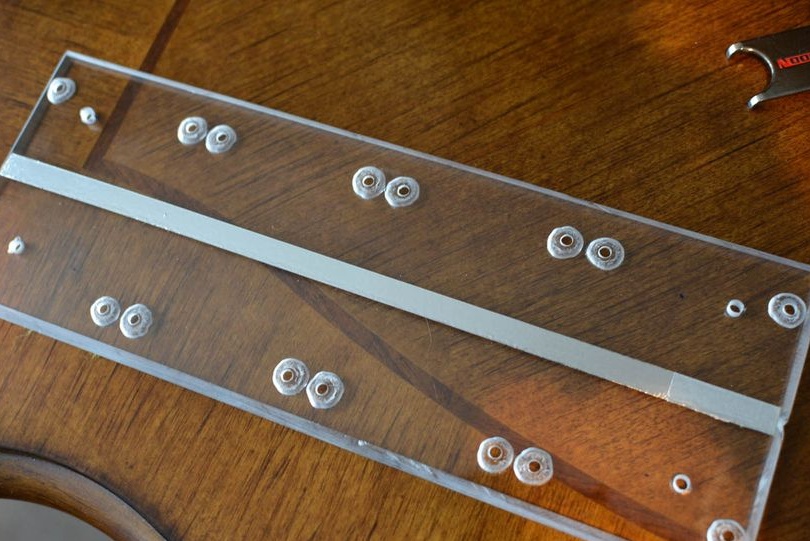
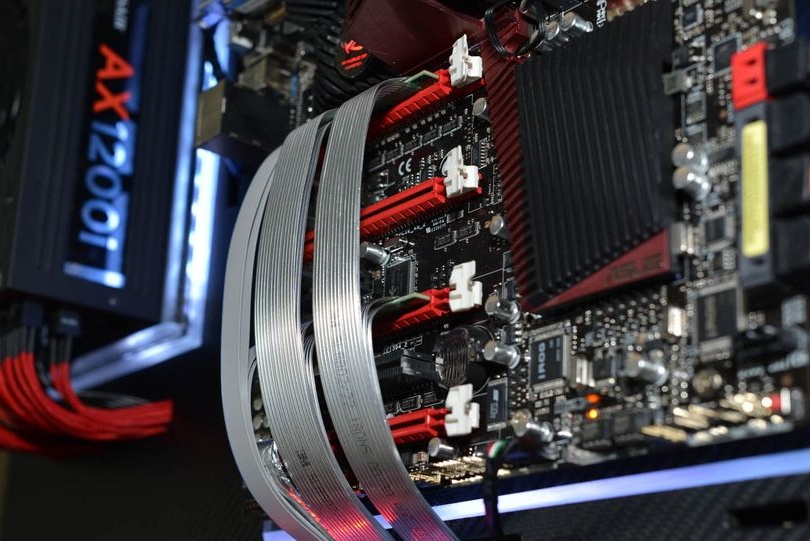
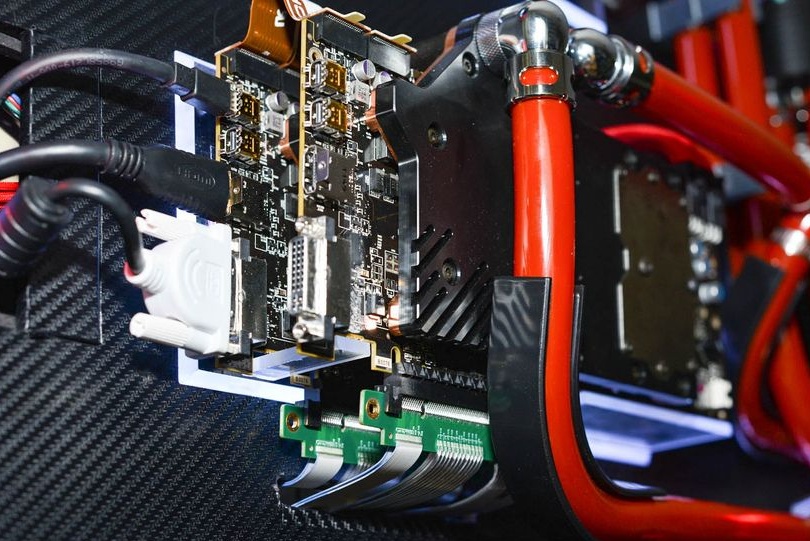
Next, an acrylic sheet of plastic was taken, on which the drawing of the motherboard is transferred. Since the video card will be located at a sufficient distance from the motherboard, I had to buy extenders for PCIe slots, it is recommended to buy cables that are more expensive, since they have better protection and they will not interfere.
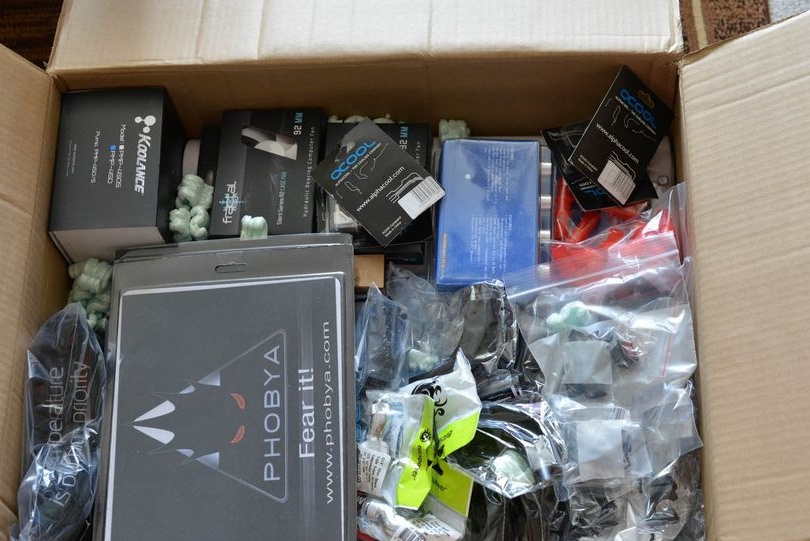
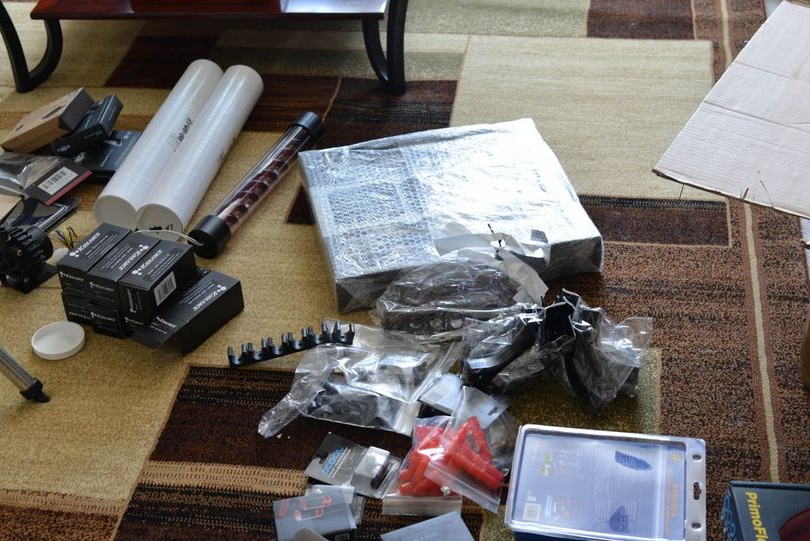
It looks like part of the ordered components.
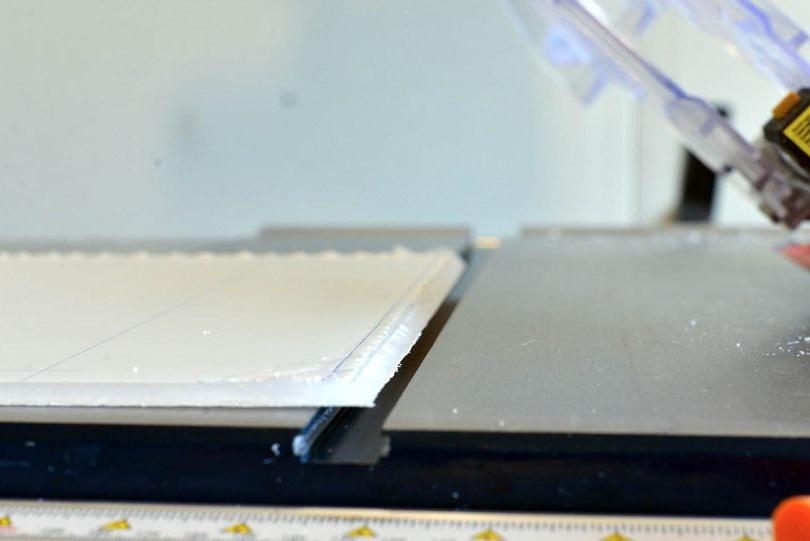
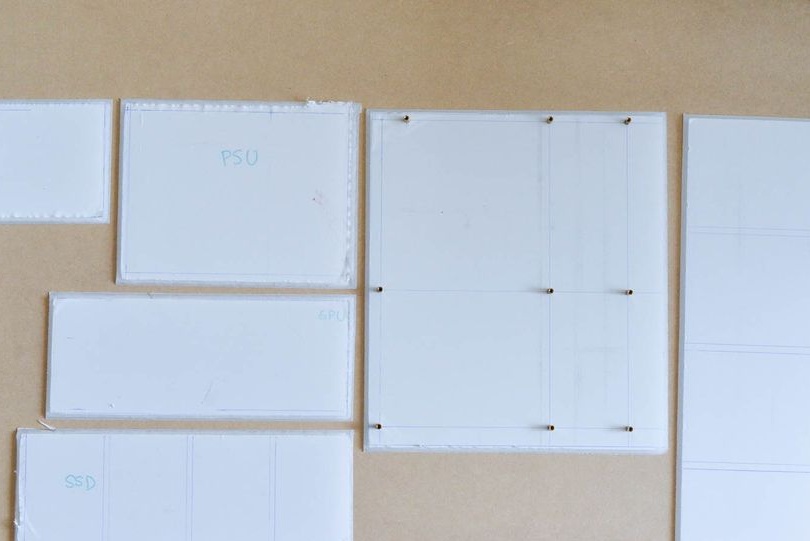
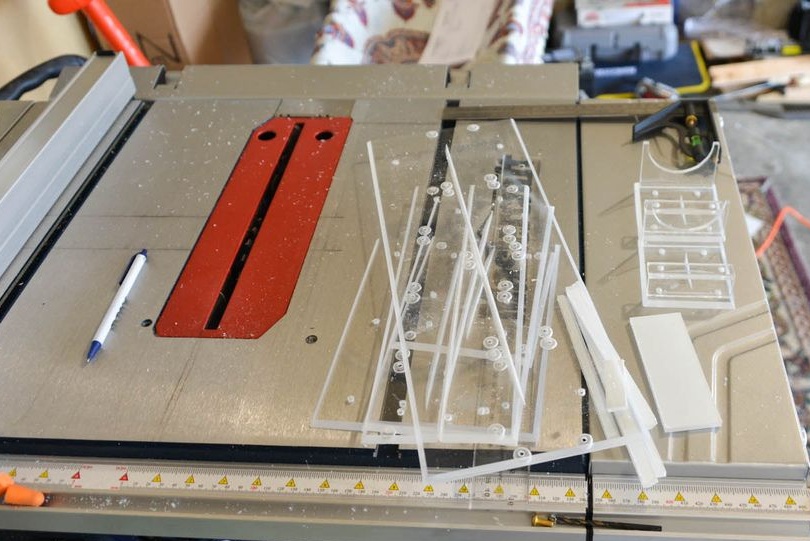
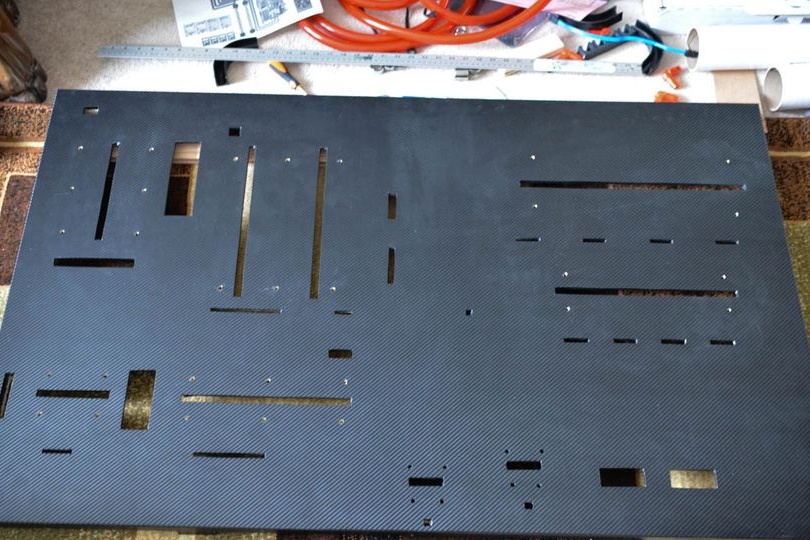
Next, an acrylic substrate for the motherboard was cut out.
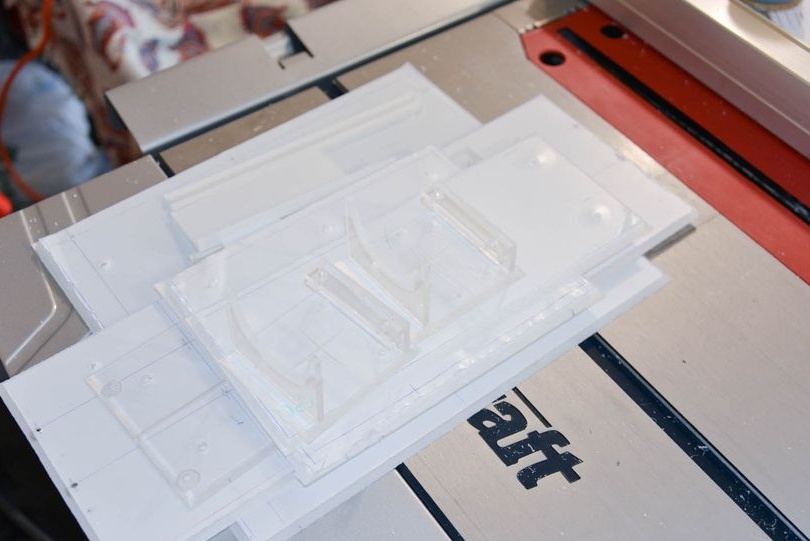
We trim all panels at an angle of 45 degrees, this is necessary so that the glow at the edges is more effective.
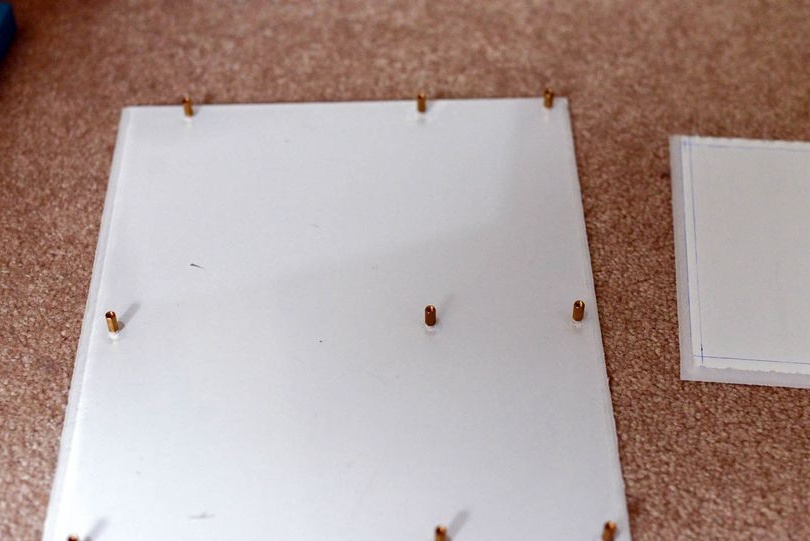
Next, drill holes, and install mounts for the motherboard.
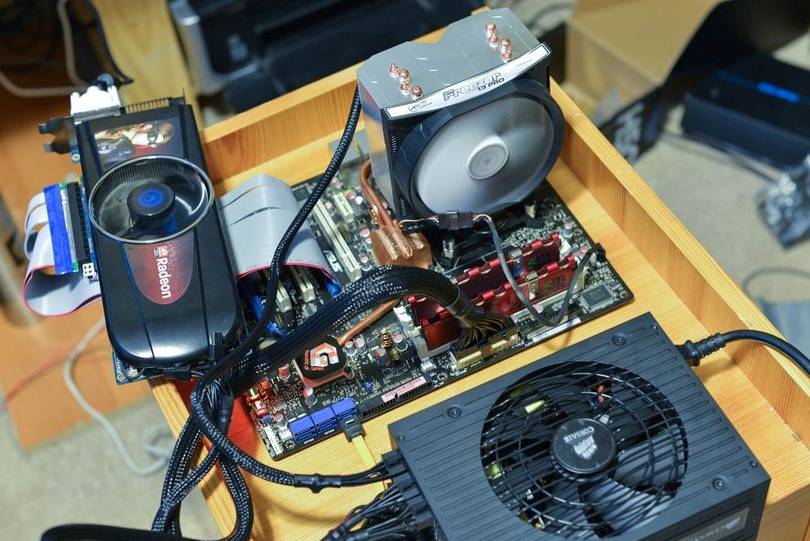
Now the time has come to "tear" your old computer.
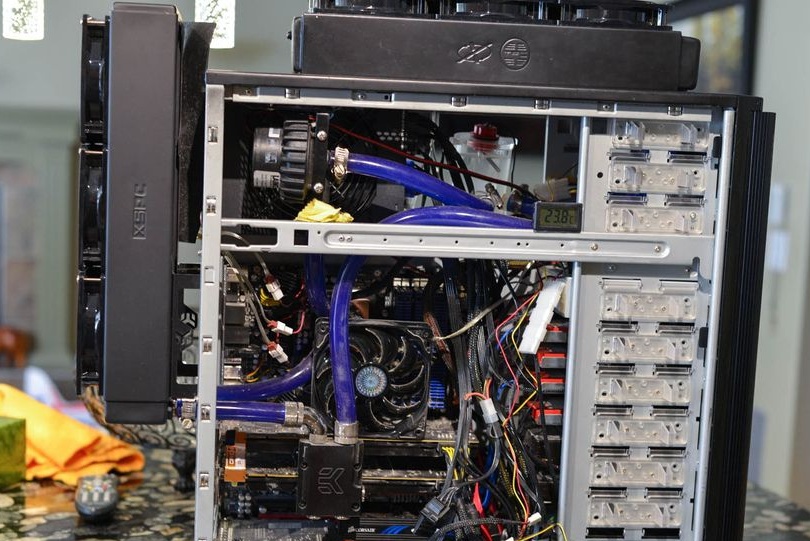
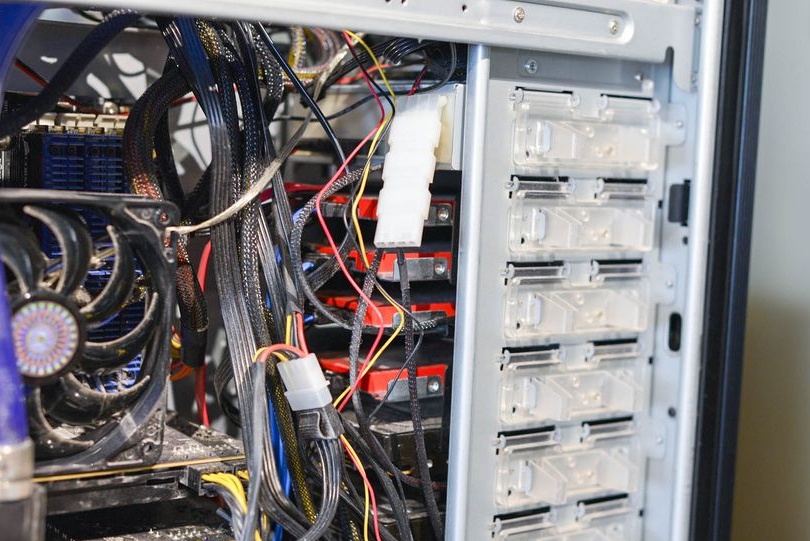
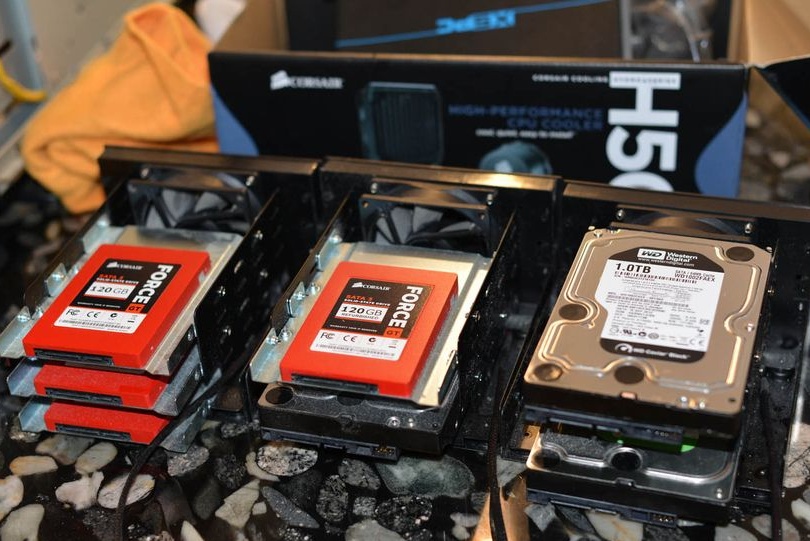
On the old computer, the hard disks were placed in special Vantec HDCS boxes, they make 3 boxes for HDDs out of 2 5.25 "s.
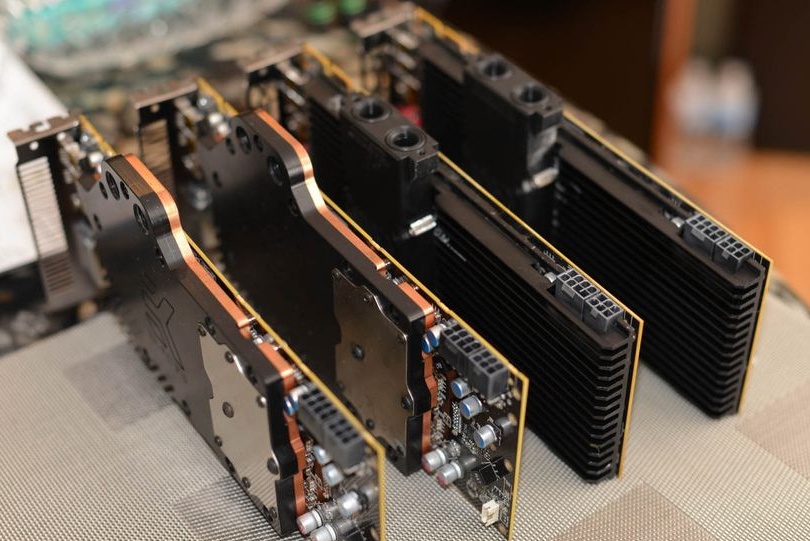
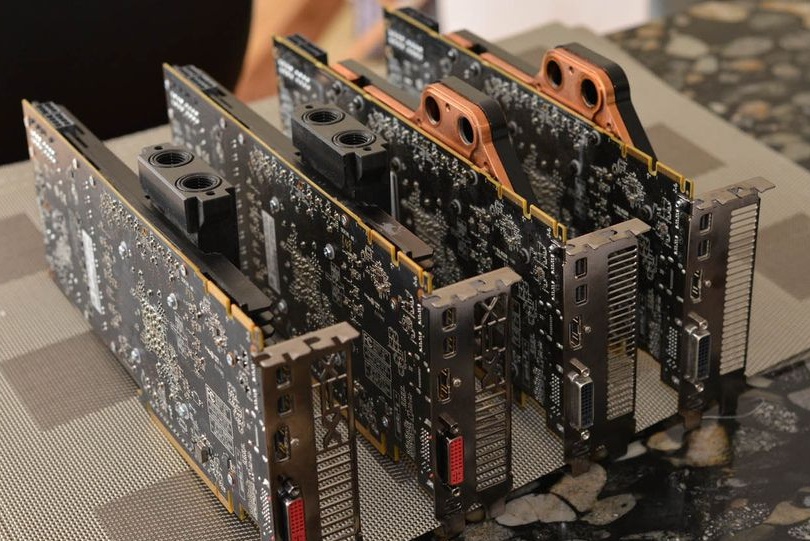
Video Cards

Next, substrates were made for all components.
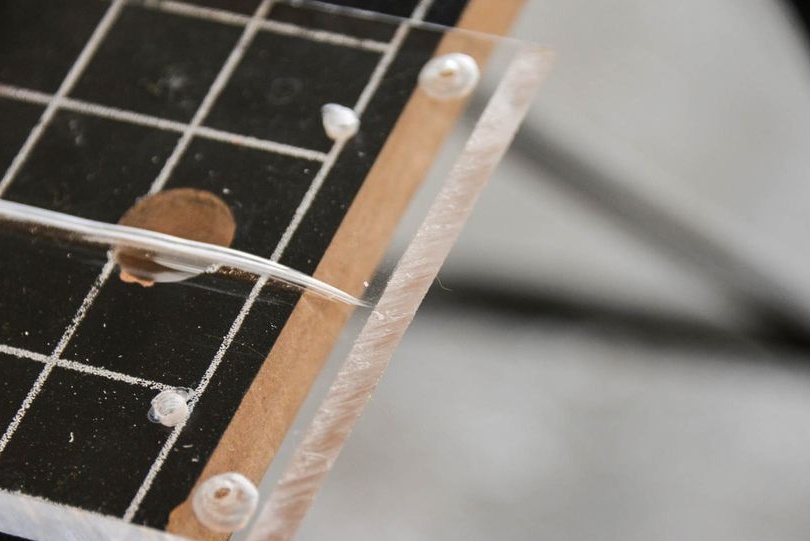
For proper reflection of light, a triangular cut is made in the center of the plates, without it the edges glow slightly.
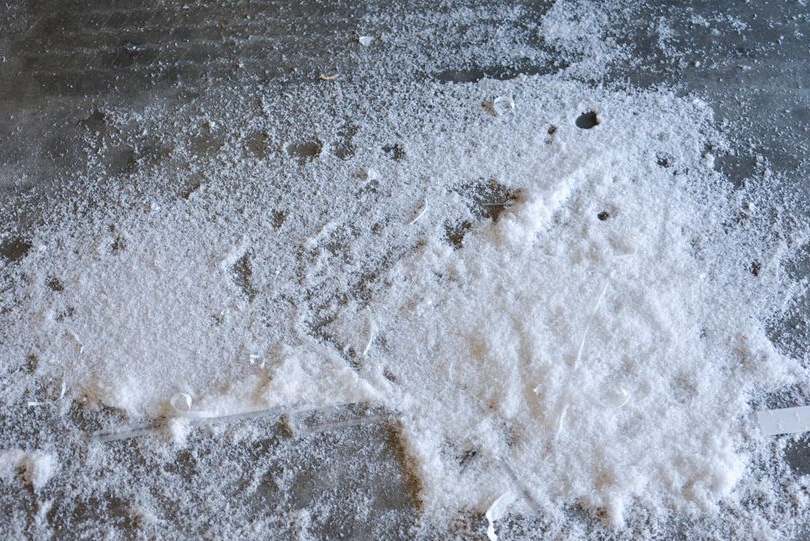
All panels must be sanded with damp sandpaper with a grain size of 120.
Next, holes were made for mounting.

We prepare the parts for painting, the author chose red.

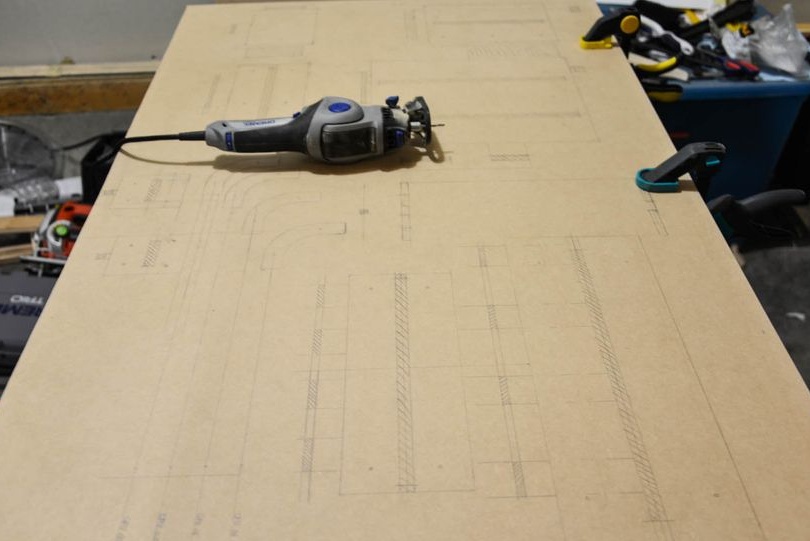
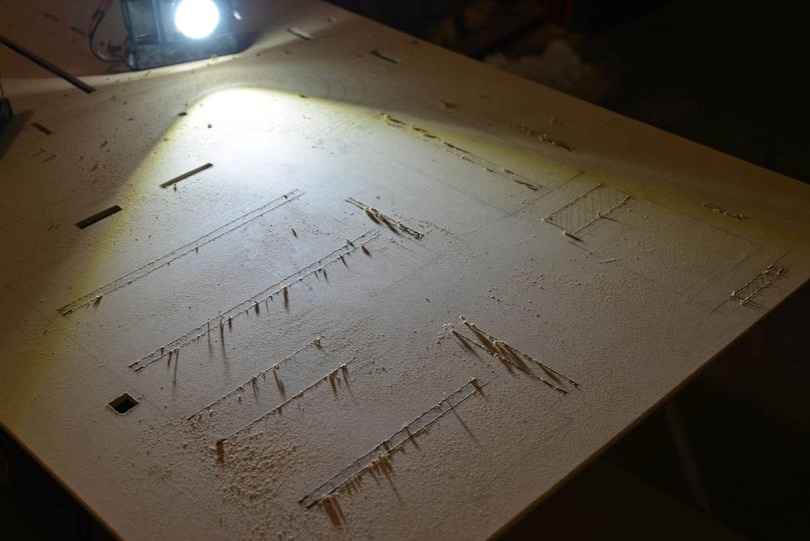
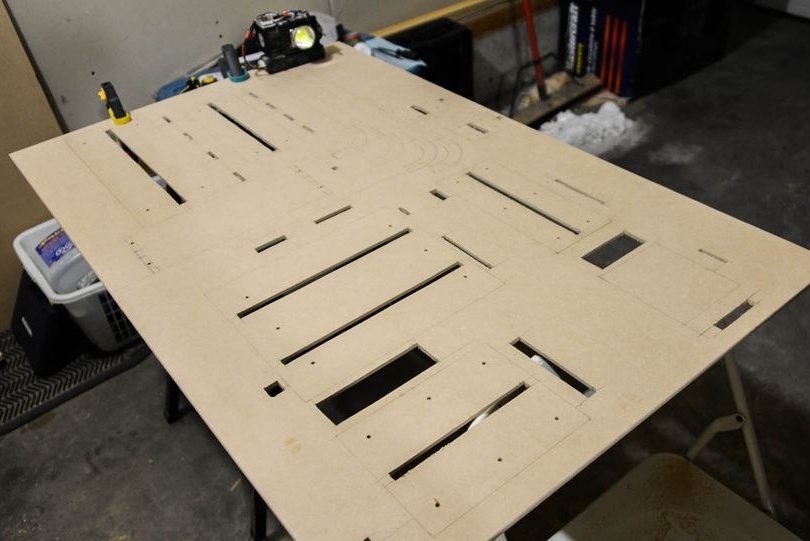
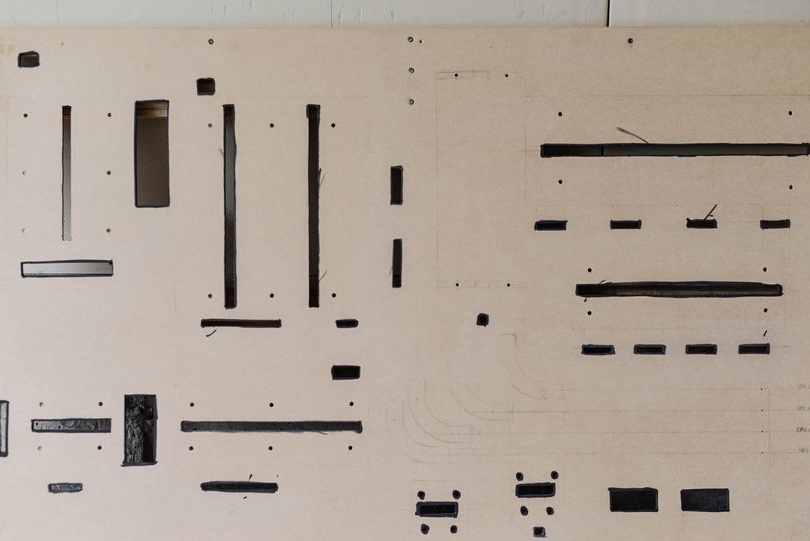
Next, on a sheet of fiberboard, we markup for all the details.

When the markup is ready, we cut out special slots with an electric jigsaw.
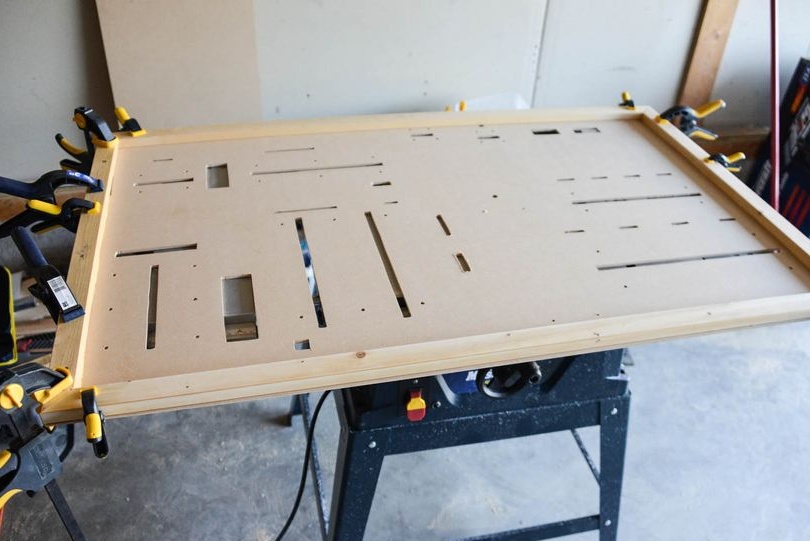
Then the frame is glued.
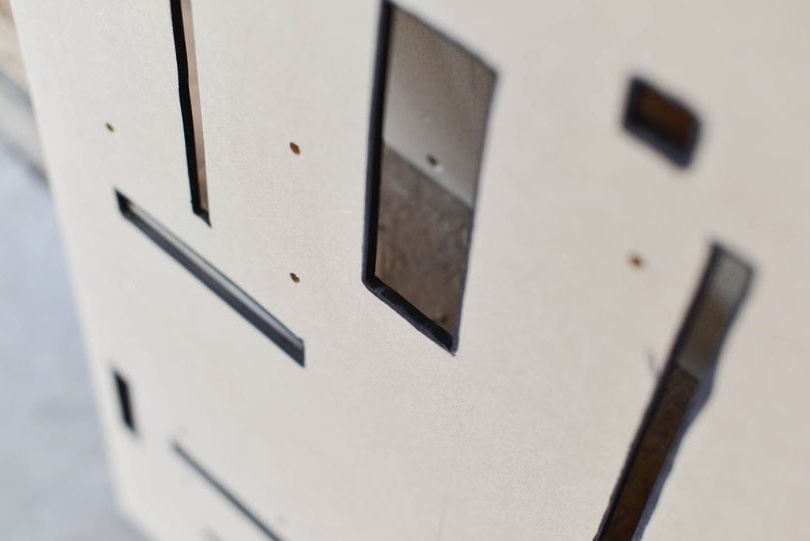
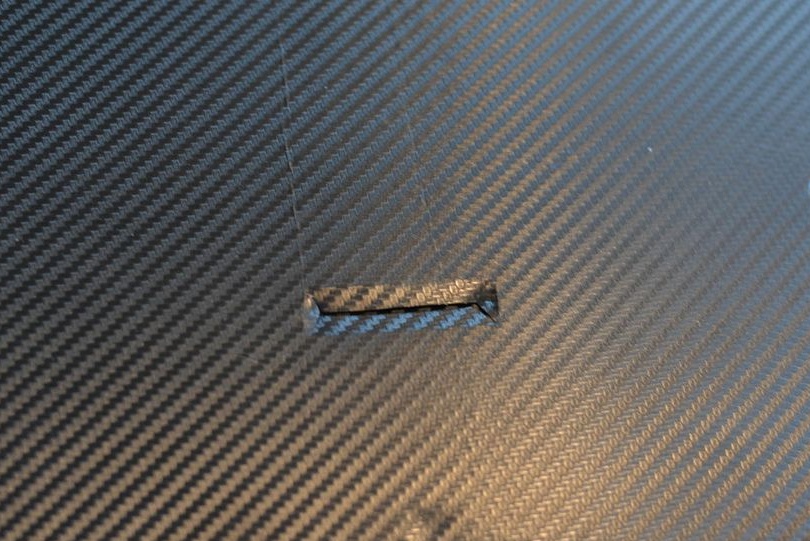
The inside of the cutouts was tinted with black paint, especially the color of a carbon sticker.
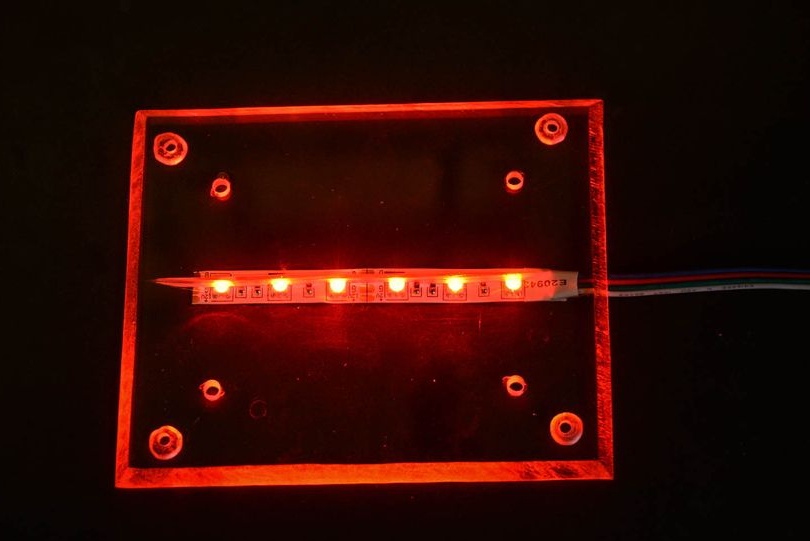
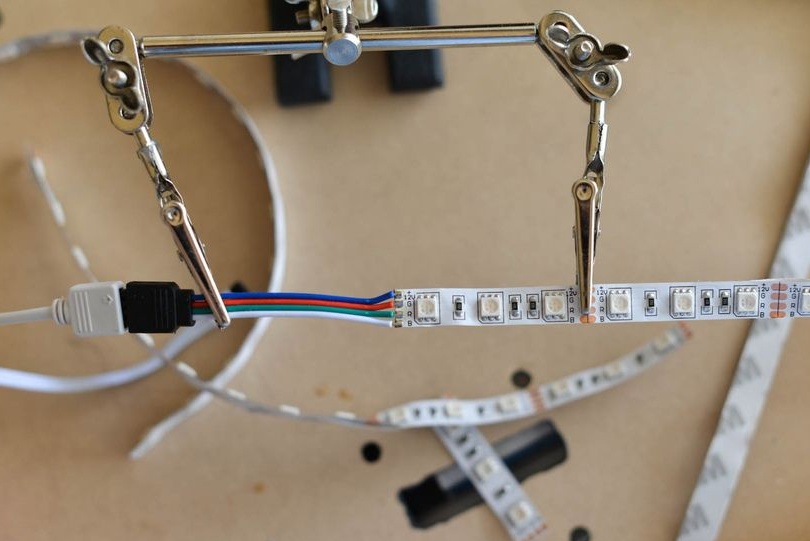
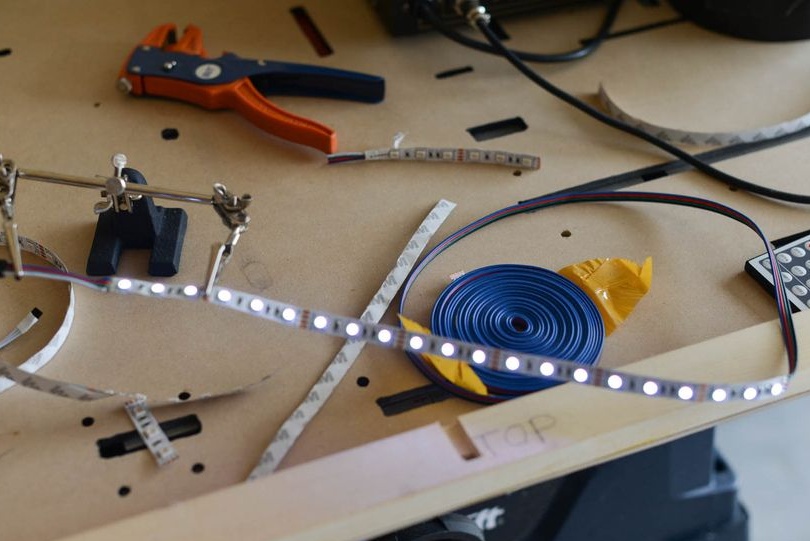
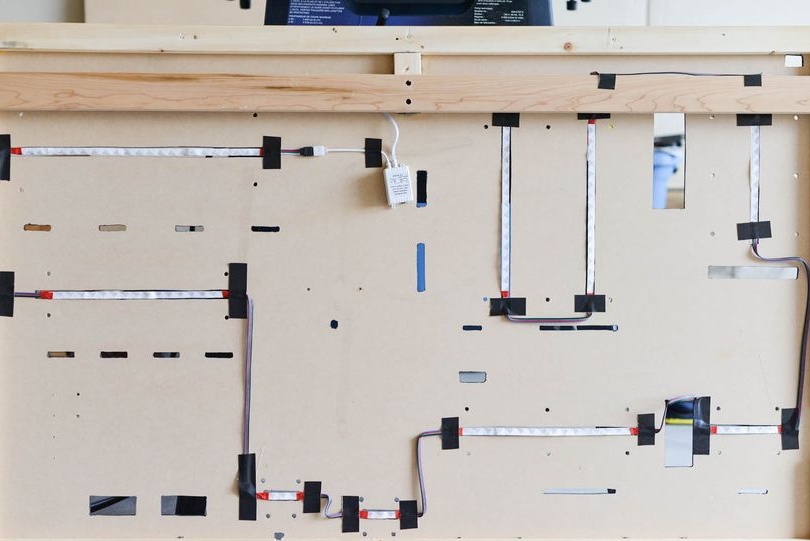
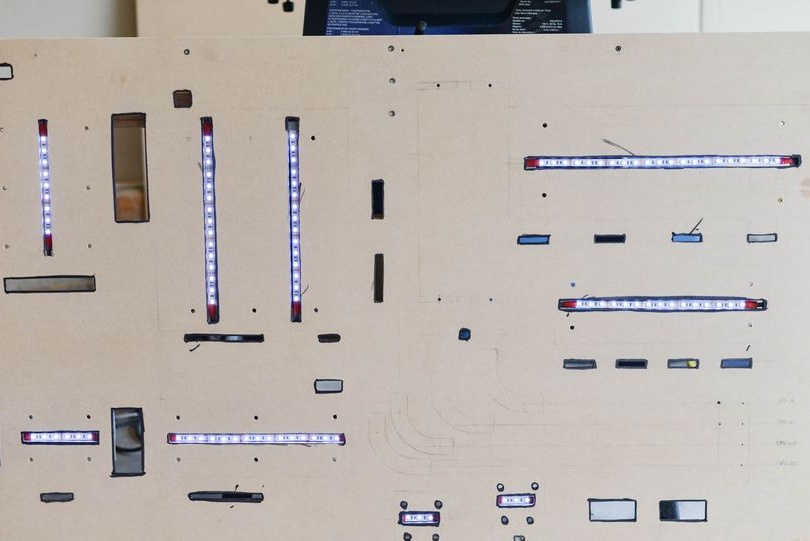
Now we turn to the soldering of LED strips, temporarily fix them with electrical tape, we look at what happened.
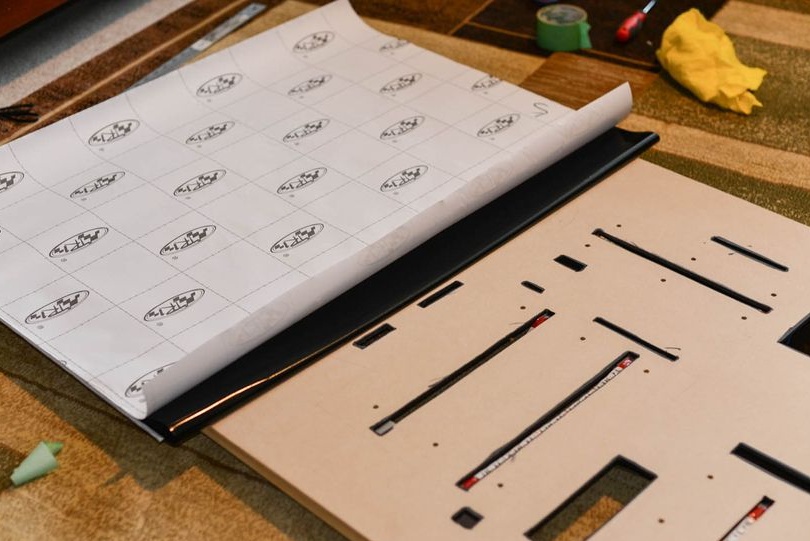
It's time to glue the vinyl film, be patient, as the process is very stressful.

Using aluminum tape we close the led backlight for hard drives.
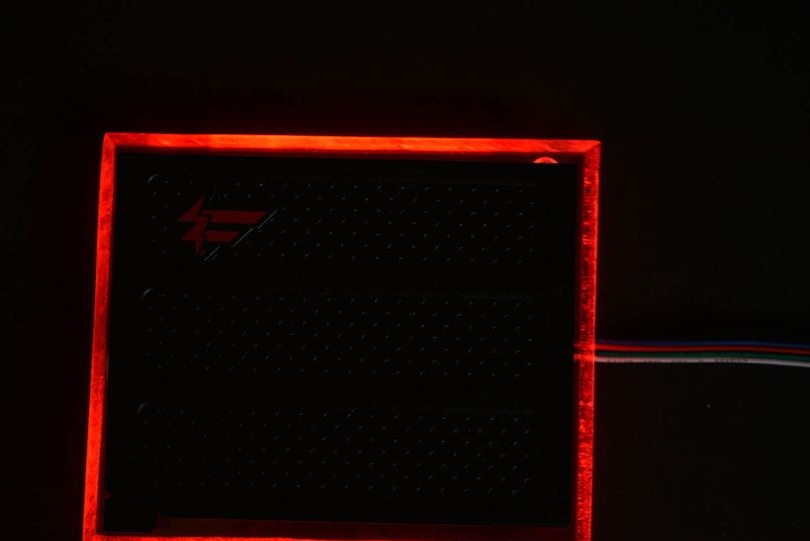
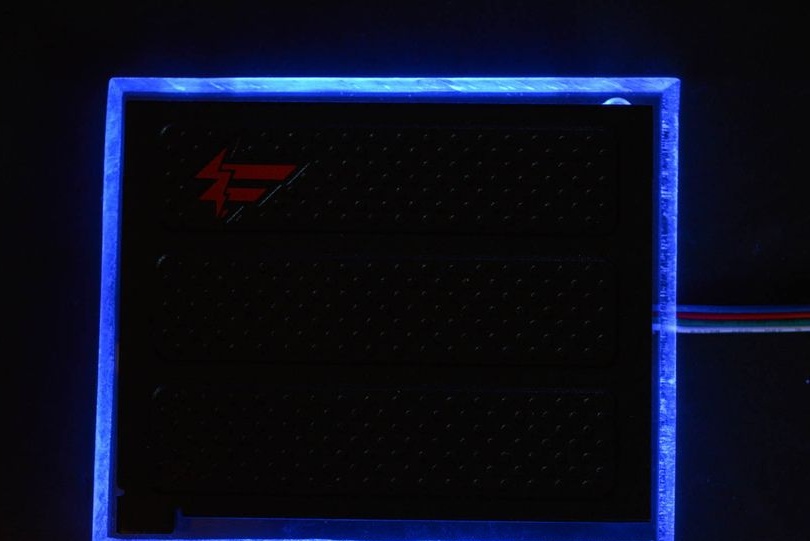
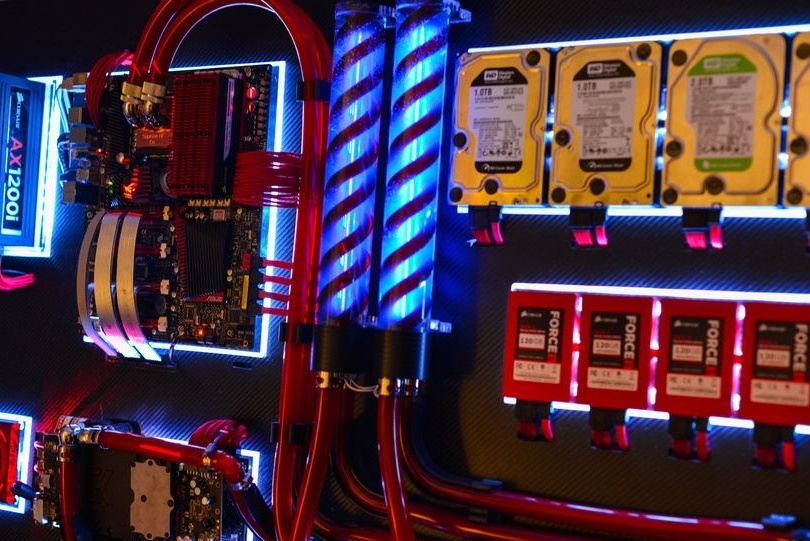
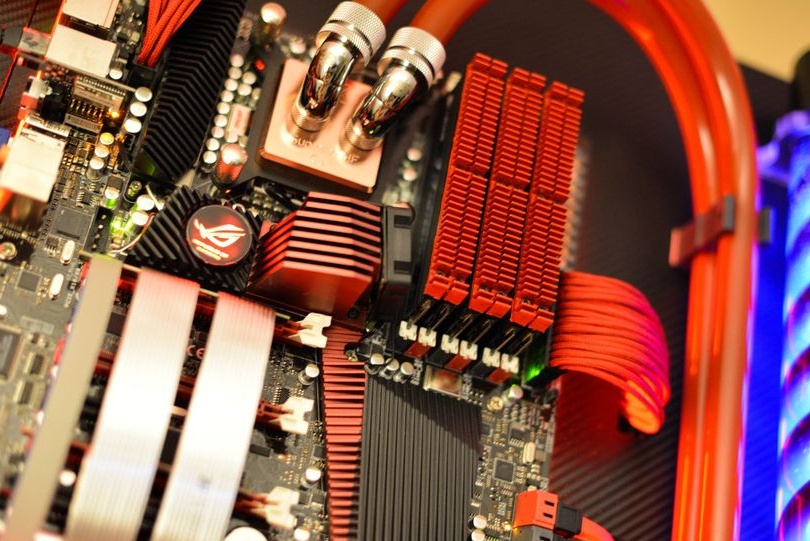
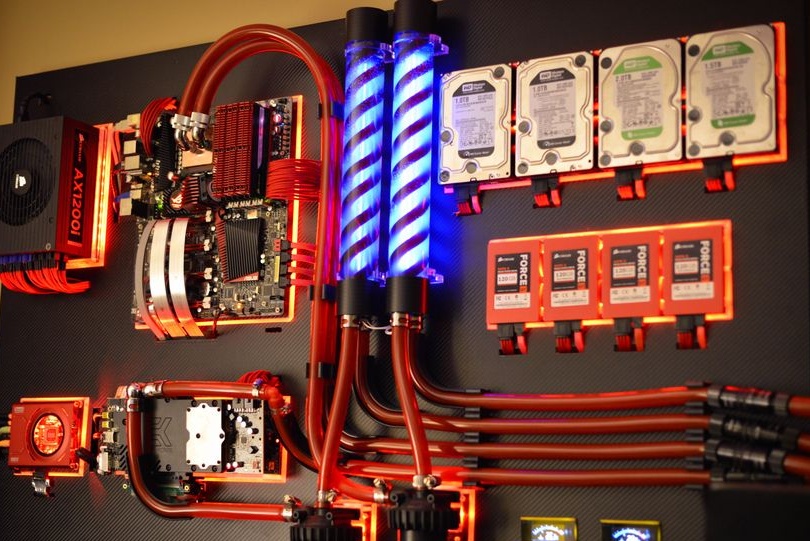
Further, the acrylic substrates were fixed in place. After that, we install all the components, check the backlight.

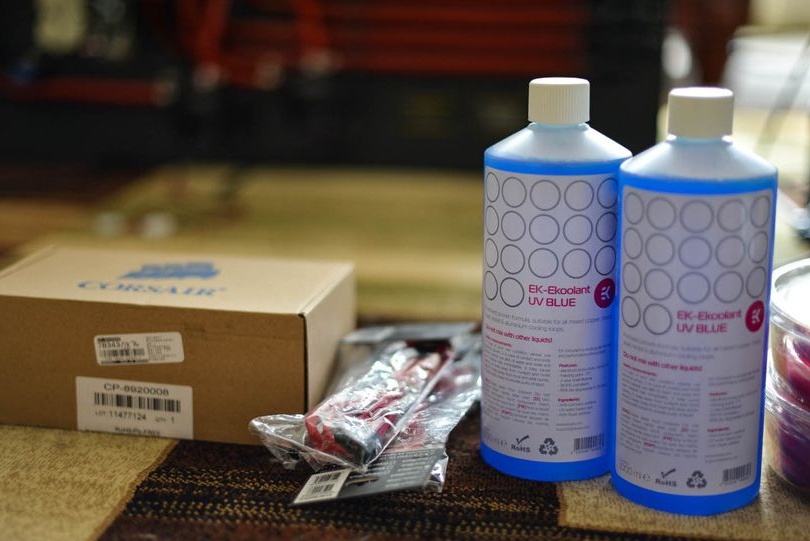
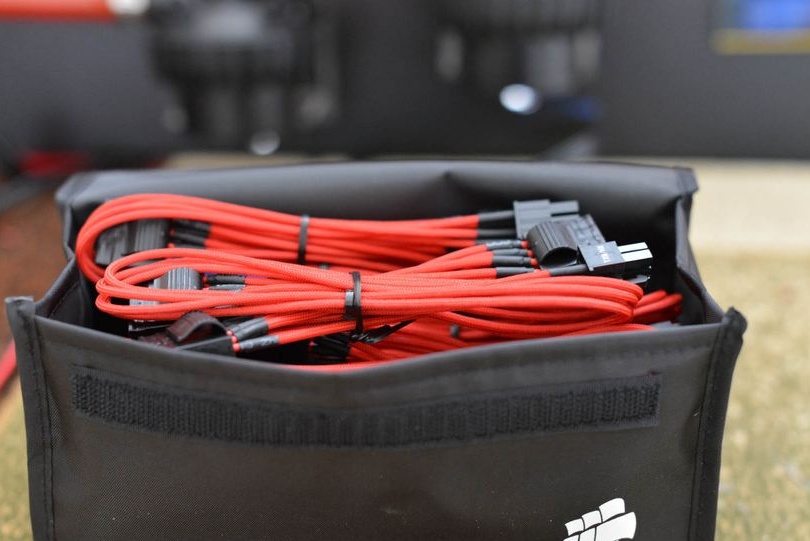
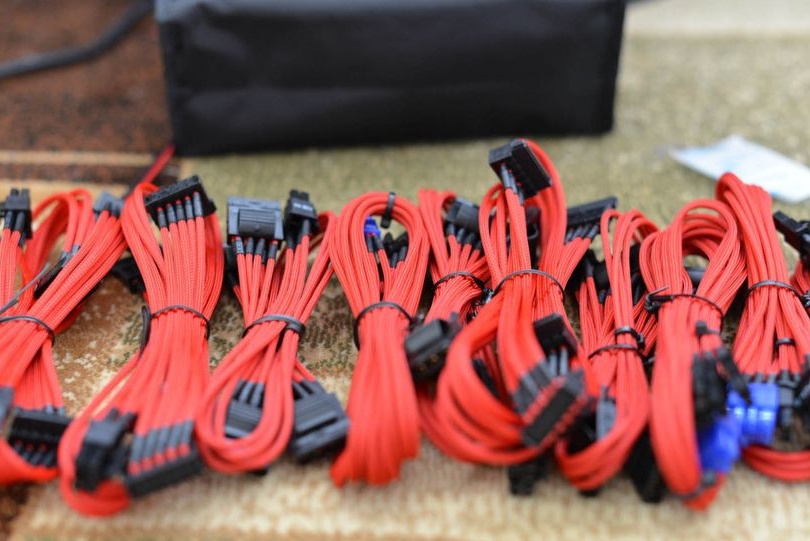
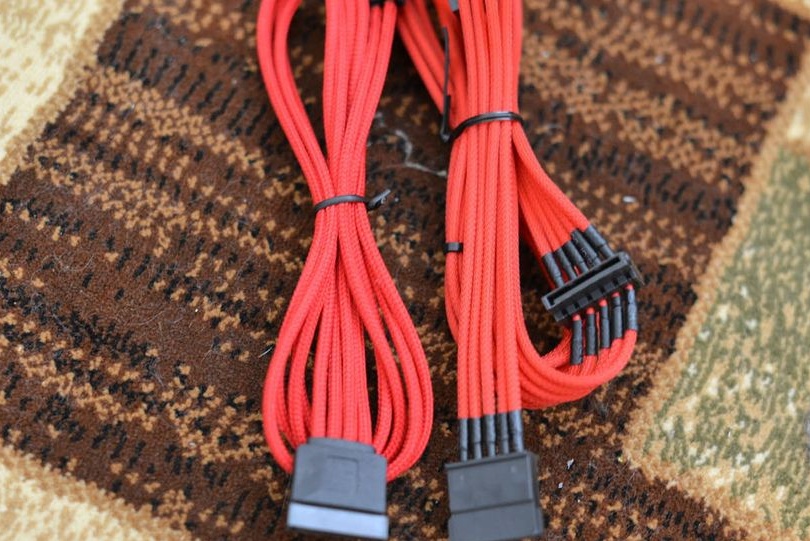
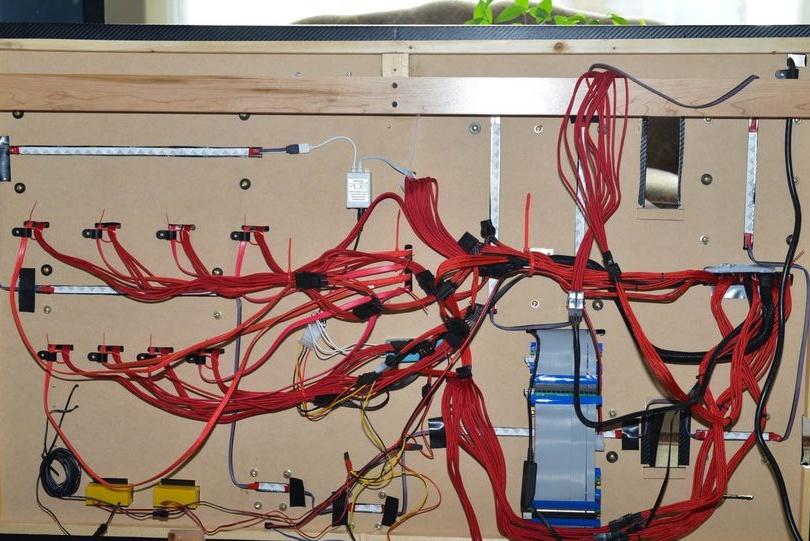
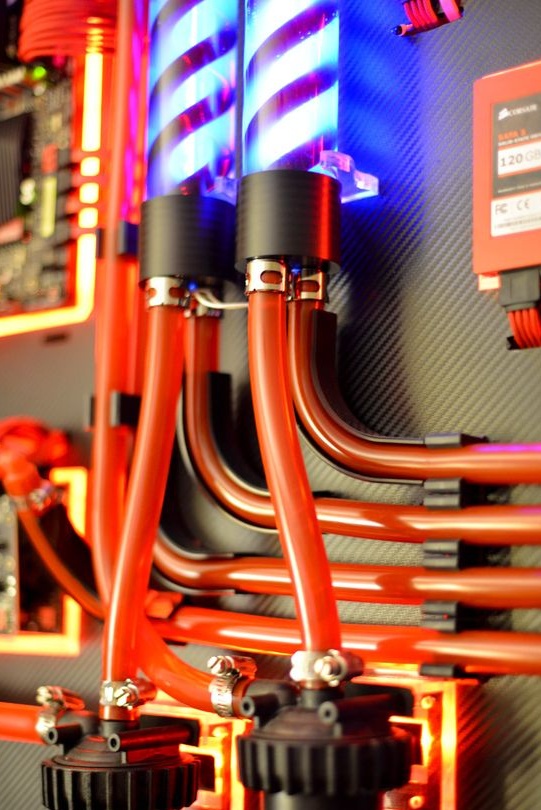
After the coolant has been received and the required number of wires, we begin the connection. In order to prevent wires from sagging, a screed was used.
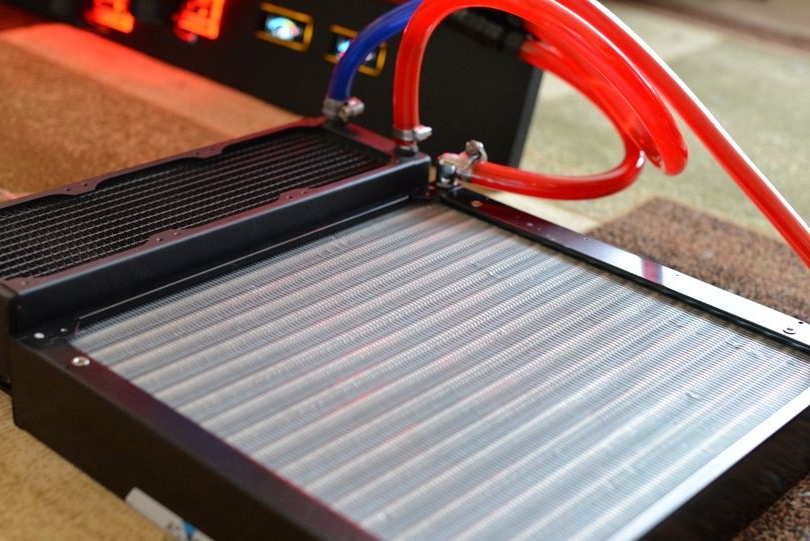
We check water cooling for leaks.
We make the first start of the system.
The first launch failed, the system hung constantly, two video cards refused to work, all the fault was PCIe-extenders with ribbon cables, which turned out to be very susceptible to electromagnetic interference. There was an attempt to make additional protection using foil, but this did not give a special result.
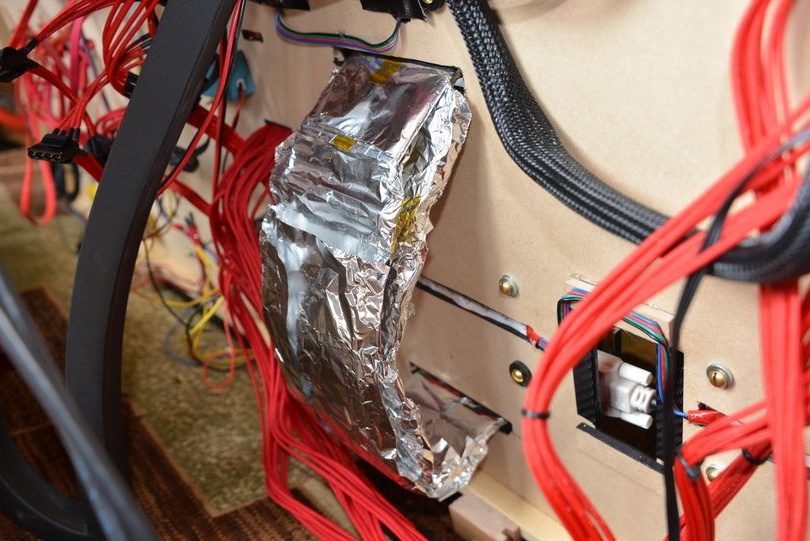

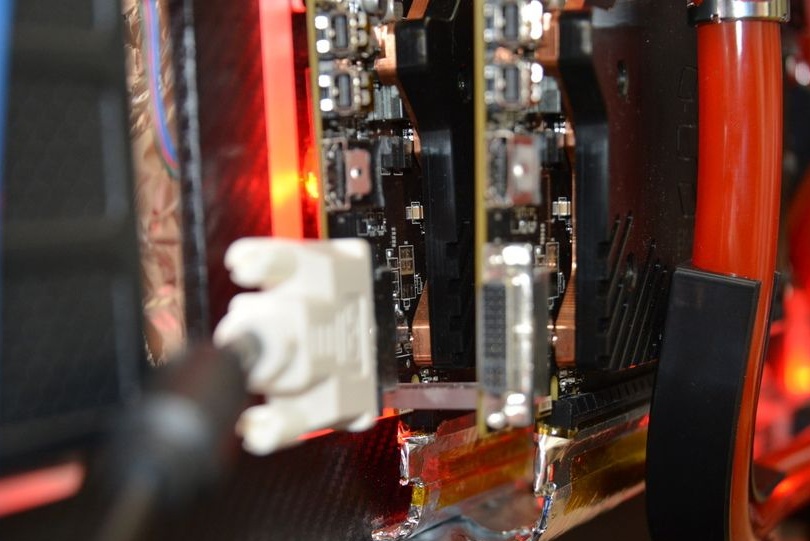
Only the purchase of very expensive cables that had the necessary protection helped to solve this problem.
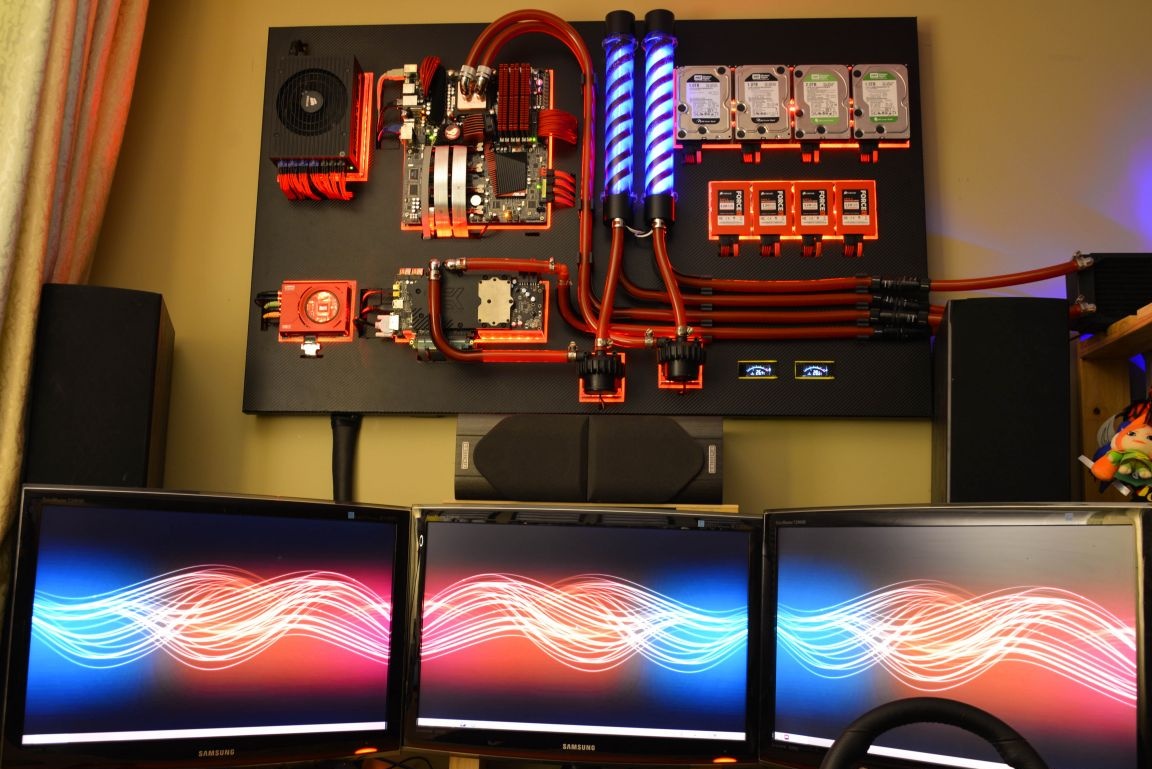
A few words in the end.
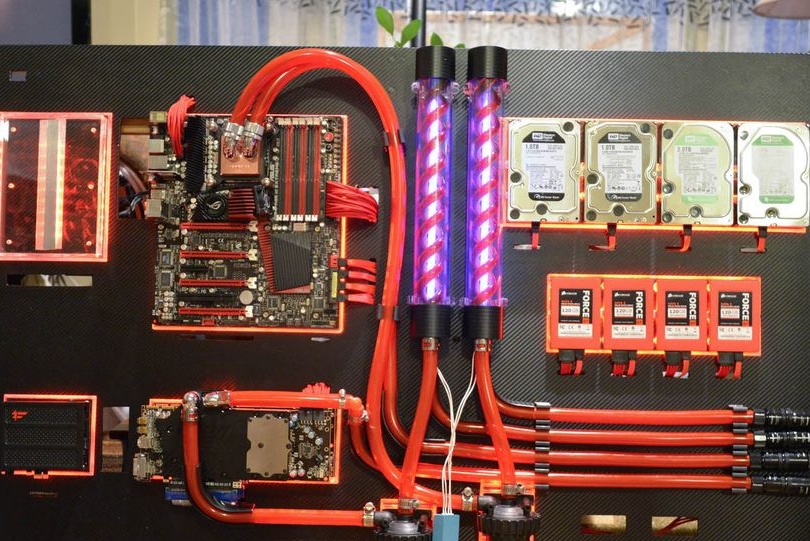
The wall-mounted computer turned out to be quite quiet, the entire system runs smoothly, the desired result is achieved!
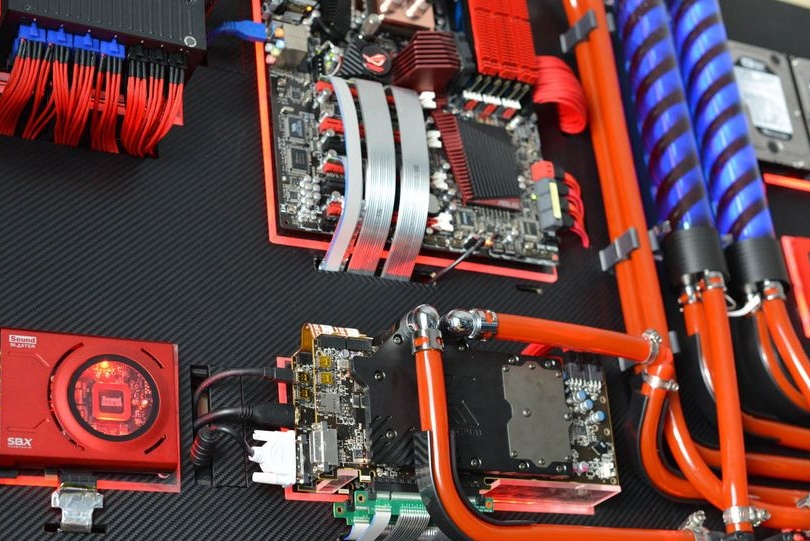
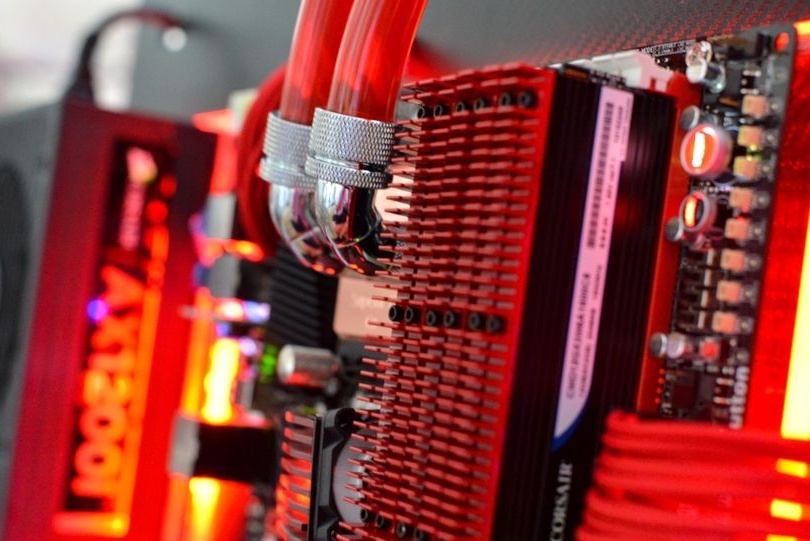
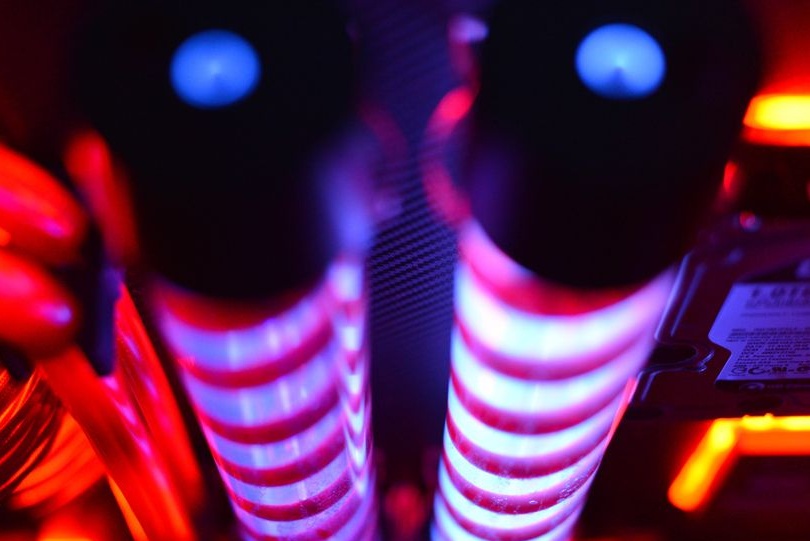
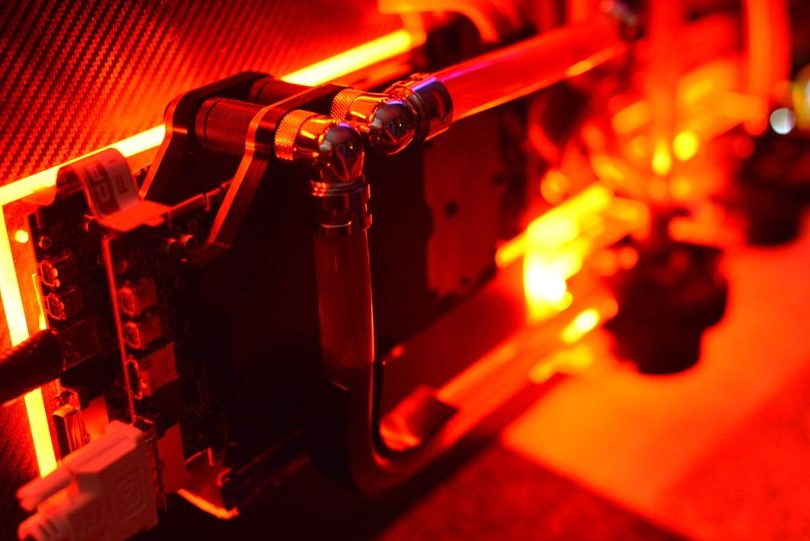
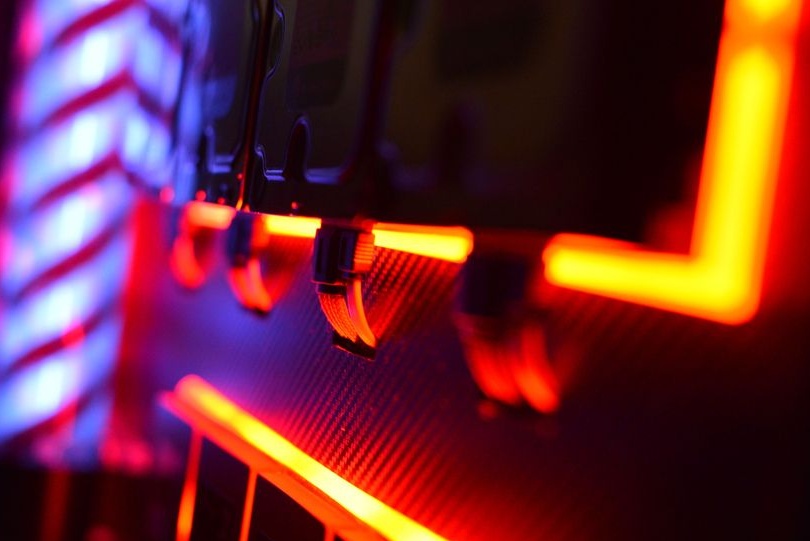
The author gives a photo report of the finished modding.

The article is over, thank you all for your attention!