
Hello !
Many of us have a large number of shoes that accumulate quickly enough, and often there is not enough space for them. The author suggests us to make do it yourself a special shoe rack where you can place part of your everyday shoes. What we need for this, and what the manufacturing process will be, you can find out by looking and reading the article to the end.
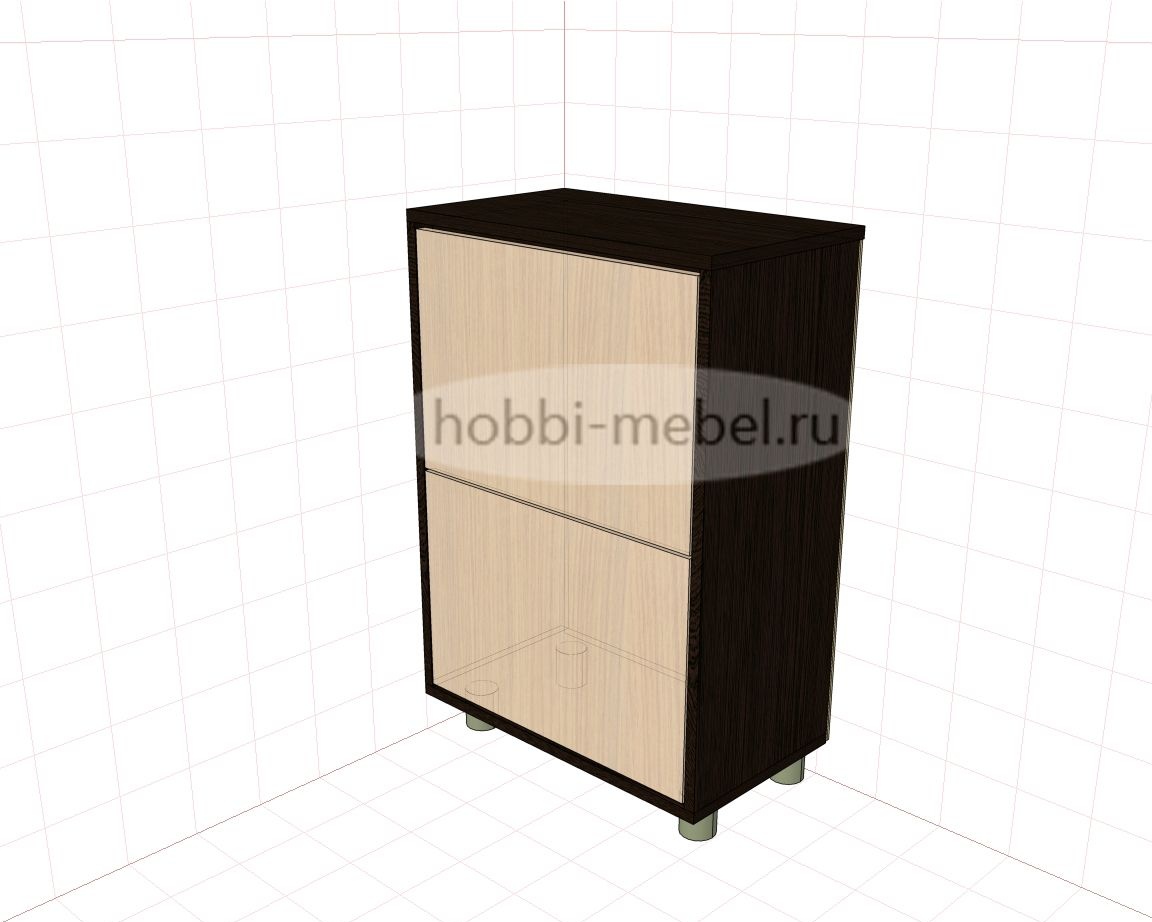
The article will show two types of shoe racks, one for two compartments wider, the other for three narrower, which is more suitable for you, you decide.
In order to make a shoe rack we need the following:
Instruments :
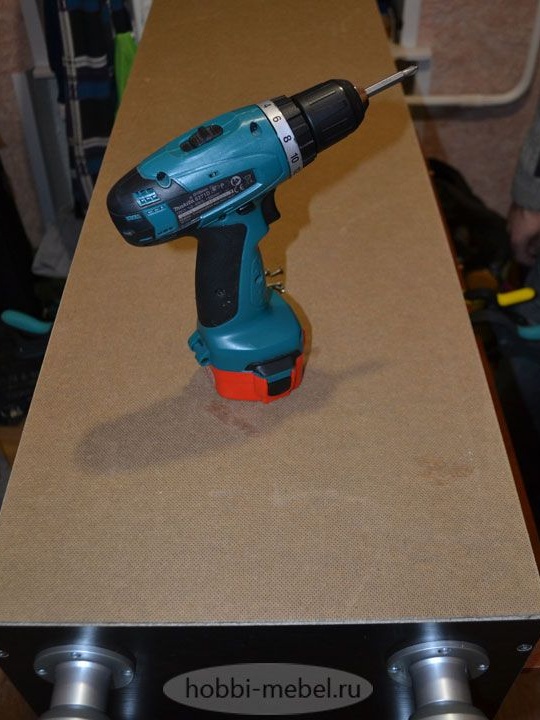
- drill (screwdriver)
- confirmation drill;
- a pencil;
- angular ruler;
- roulette;
- awl;
- a key a hexagon;
- hammer ;
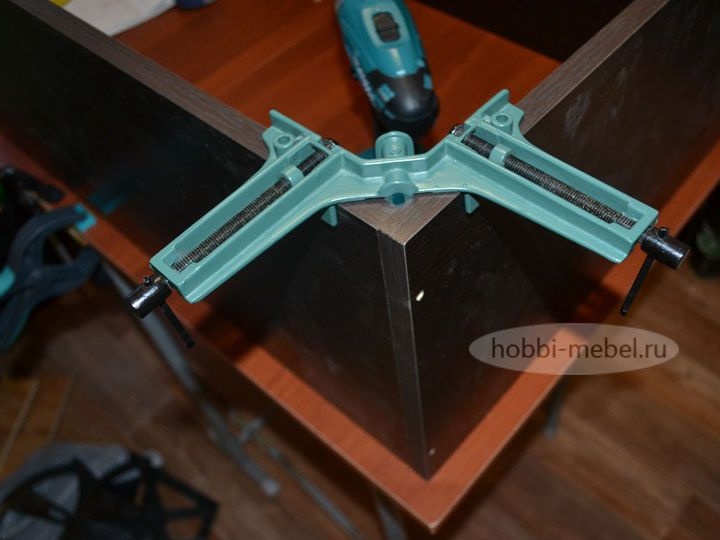
- angular clamp;
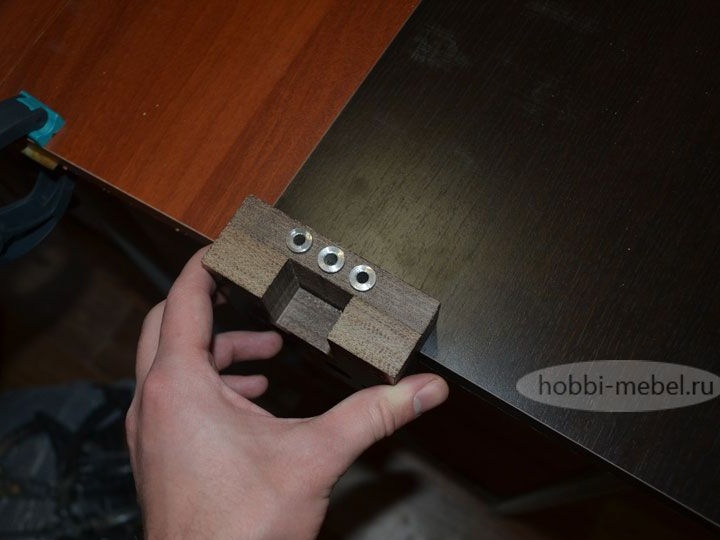
- template for marking-drilling;
- Forstner drill 20 mm.
This project was created in the PRO100 program.
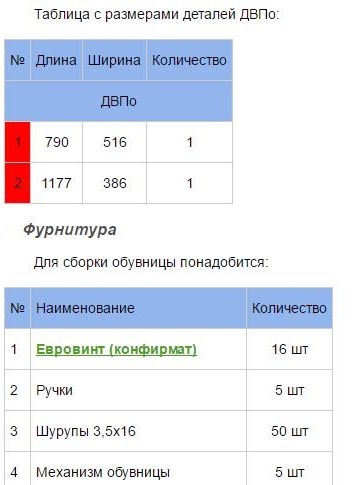
The author provides tables in which all sizes of parts and their quantity are entered, as well as the name of all the necessary accessories.
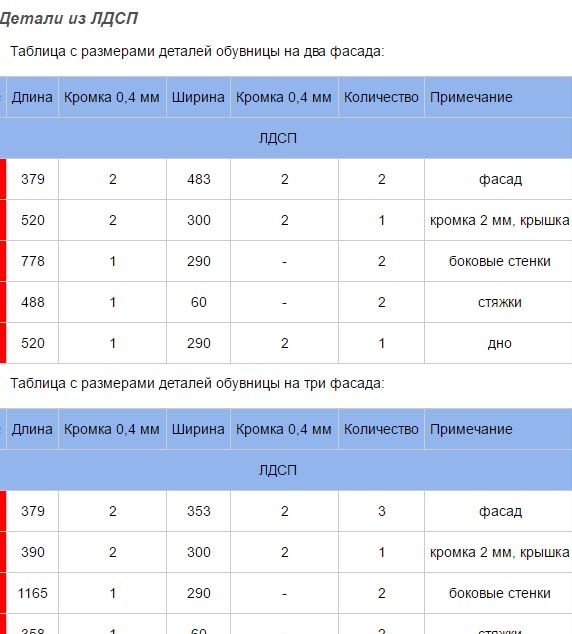
According to the sizes provided, we make an order for cutting material. We purchase accessories for assembly, it is better to order it at the same furniture production, so you will save money and time. If you do not want to glue the edge yourself, order a hem.
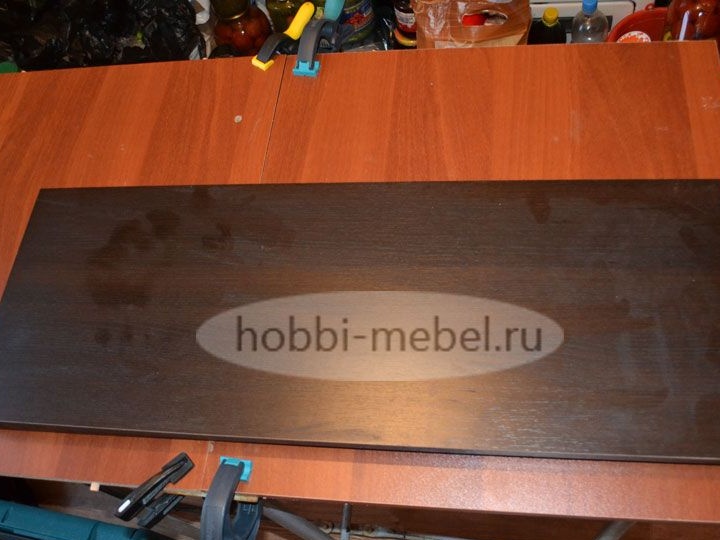
After the cut is ready, and all the materials are in your hands, you can begin the assembly process.
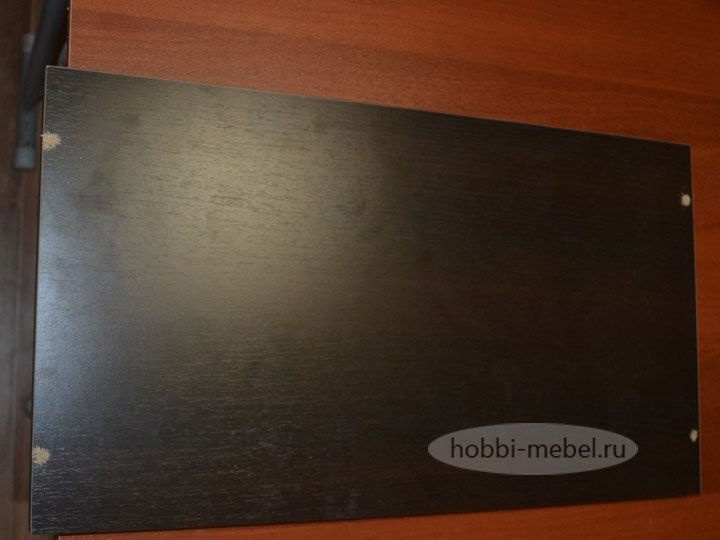
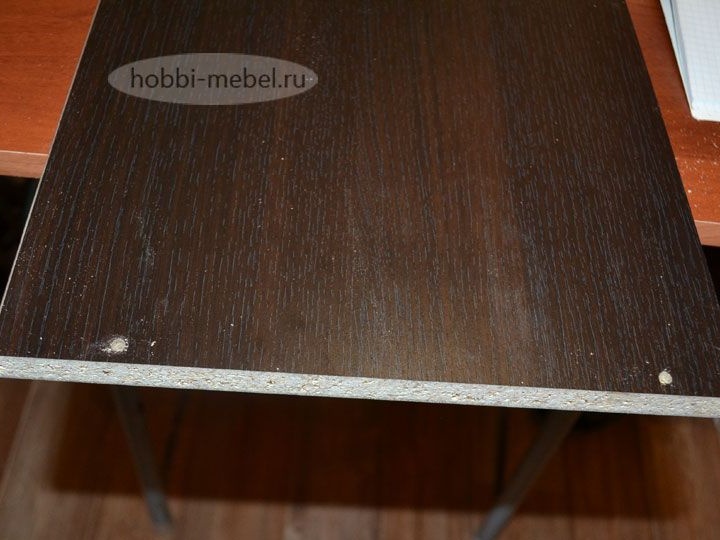
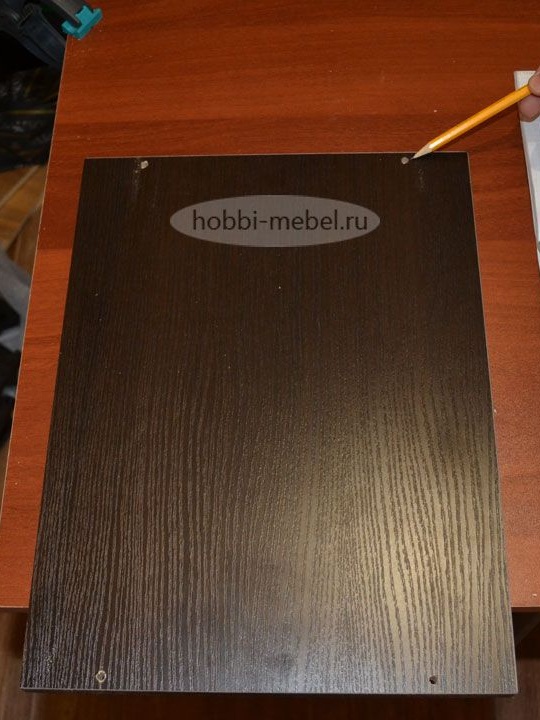
We mark the sides of the cabinet.

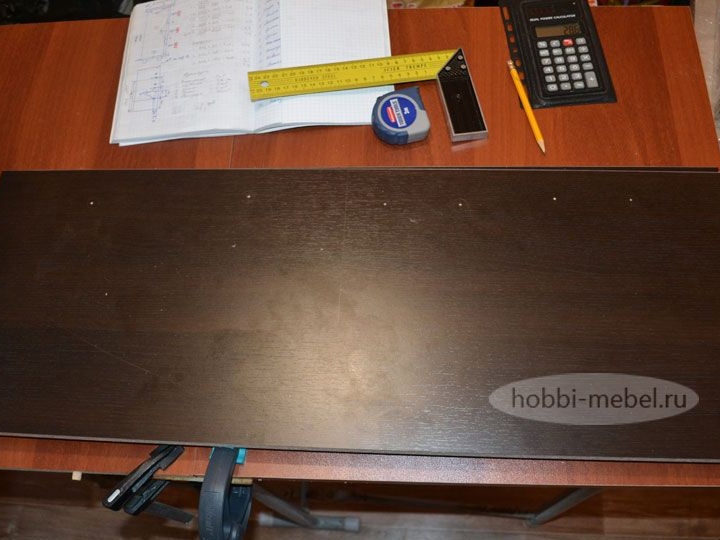
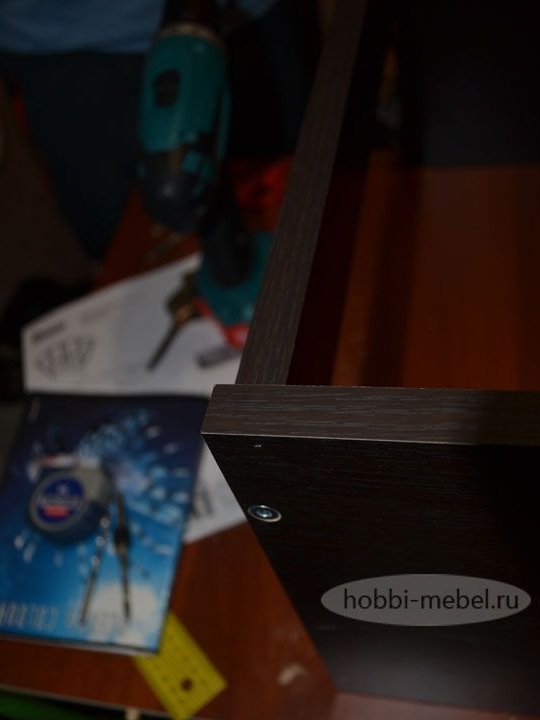
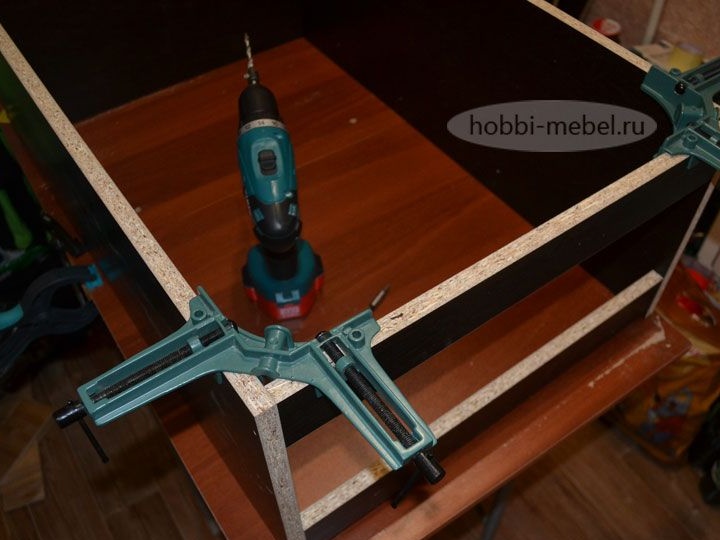
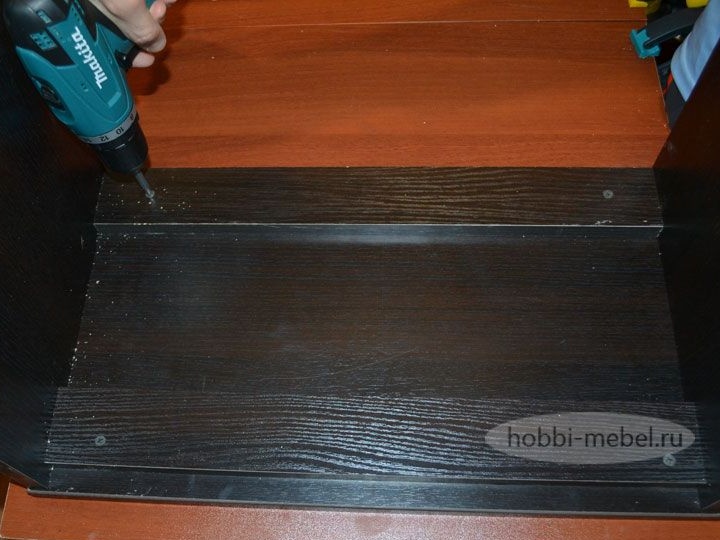
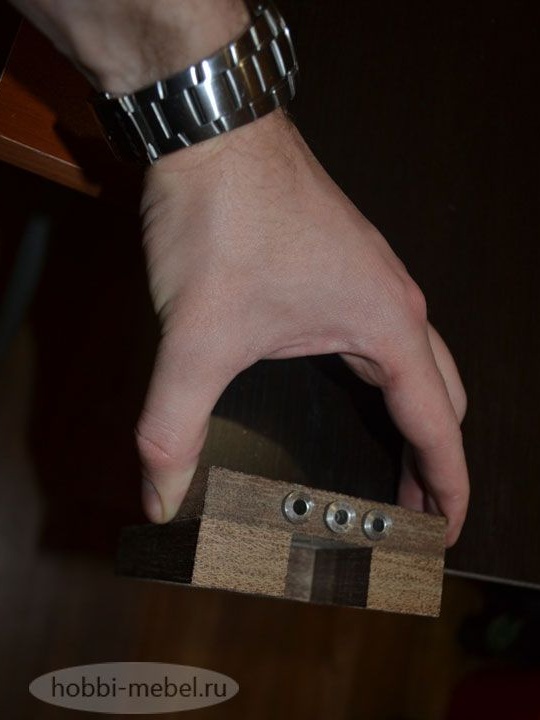
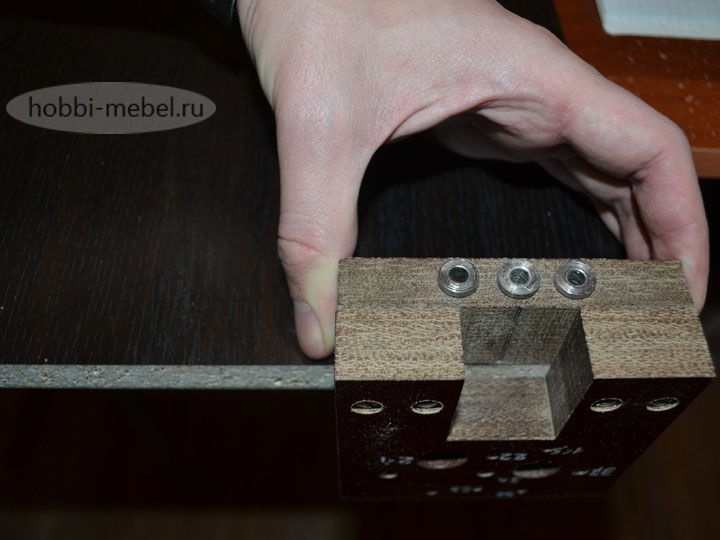
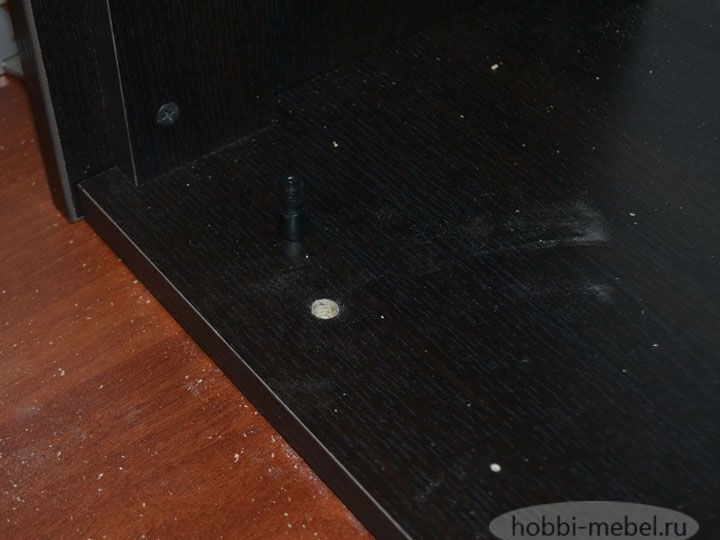
We take the bottom of the cabinet, on which we make the markings for the holes, make holes for the confirmations, for a more accurate drilling we use a special template.
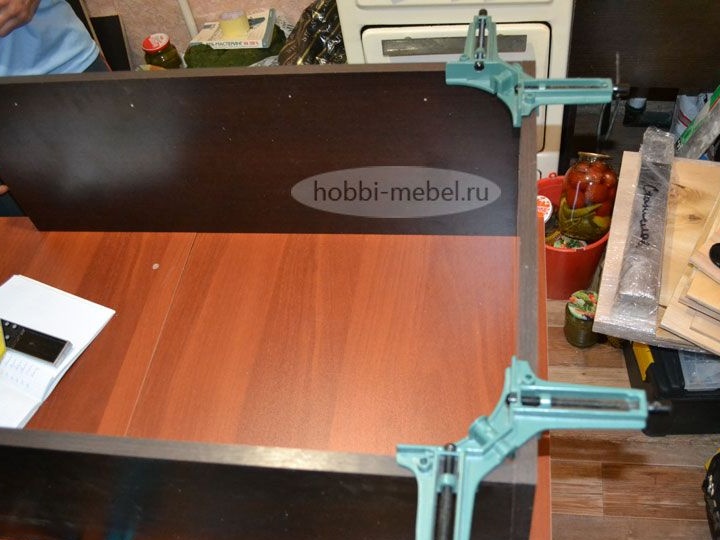
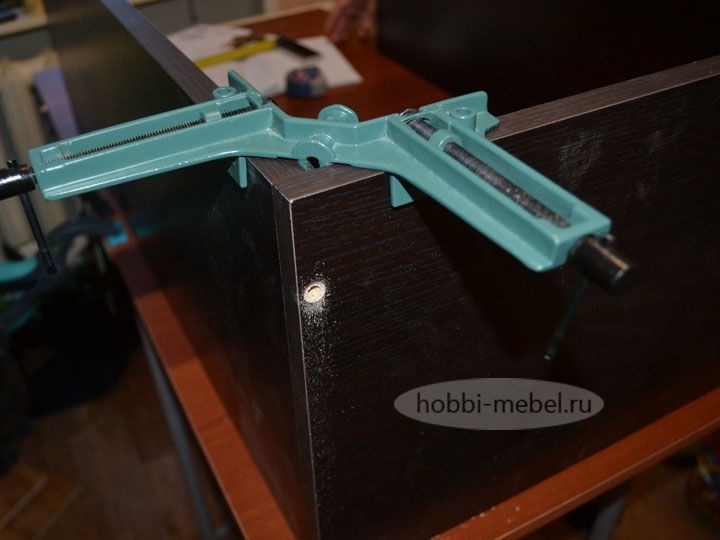
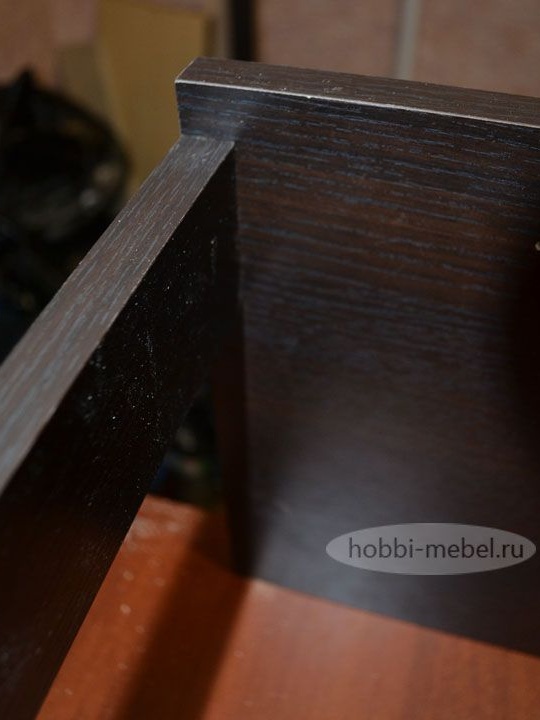
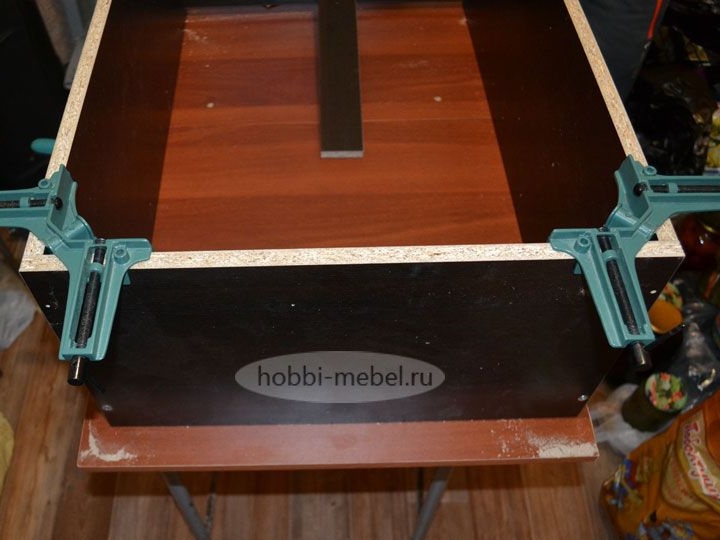
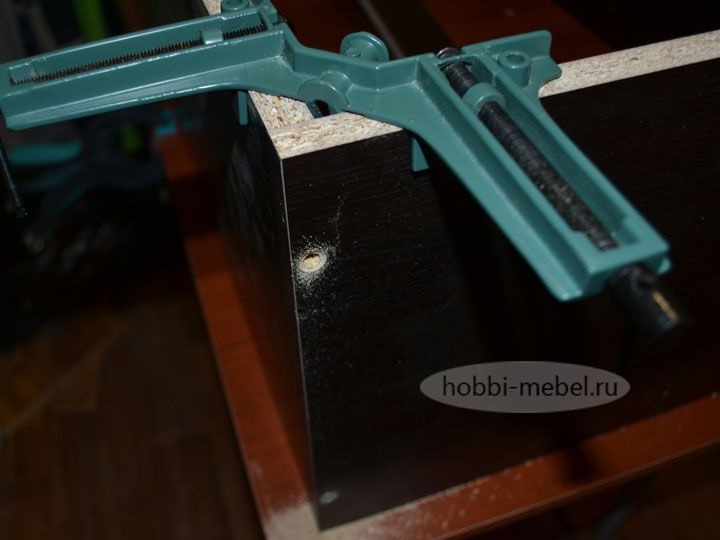
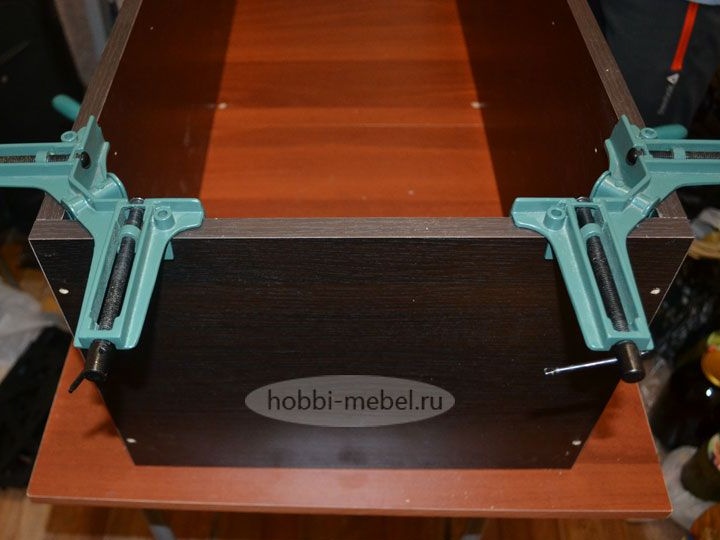
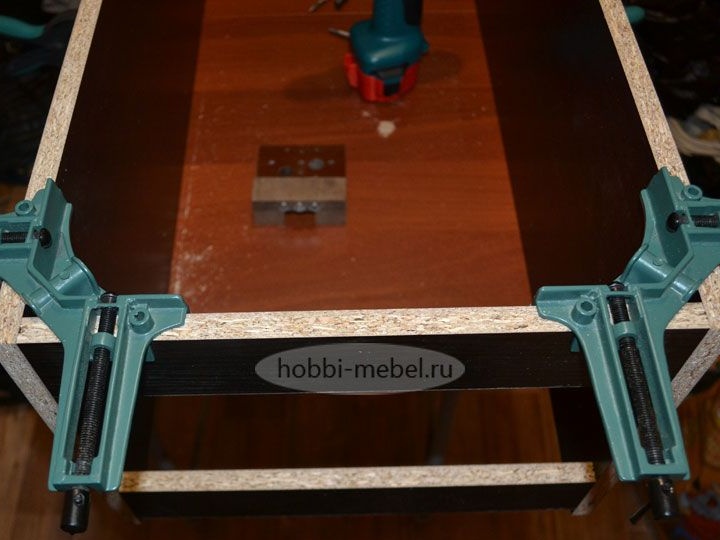
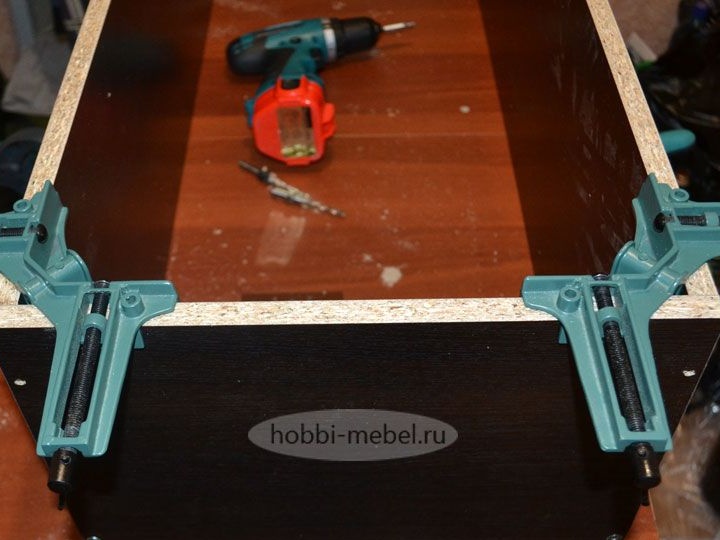
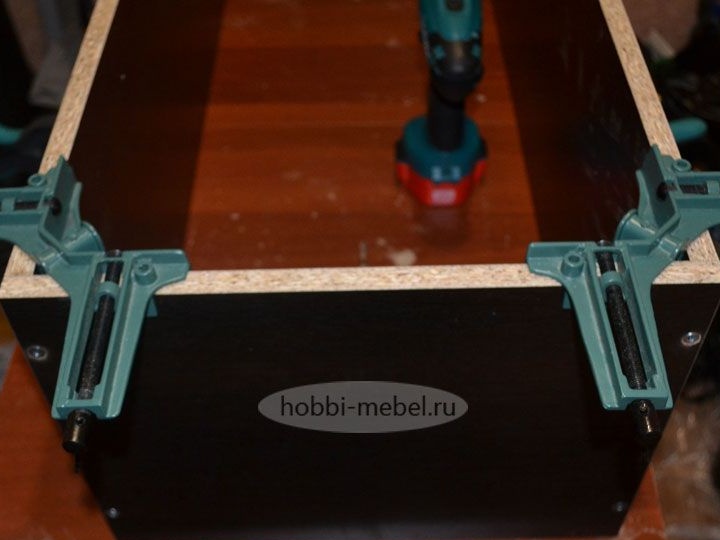
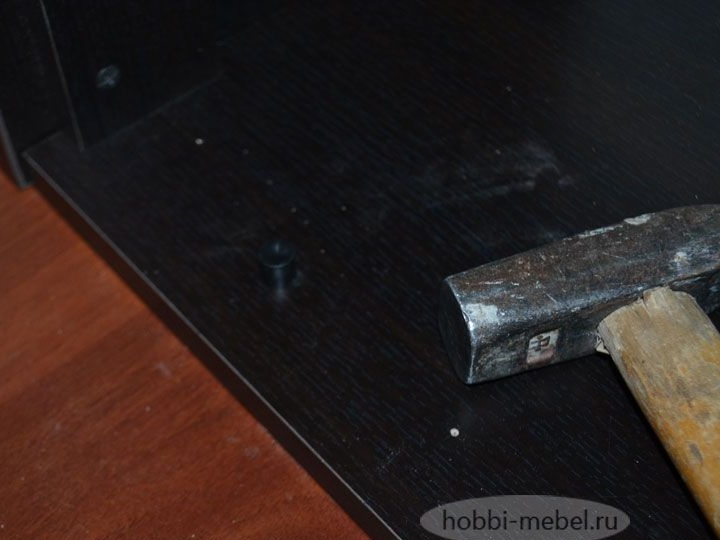
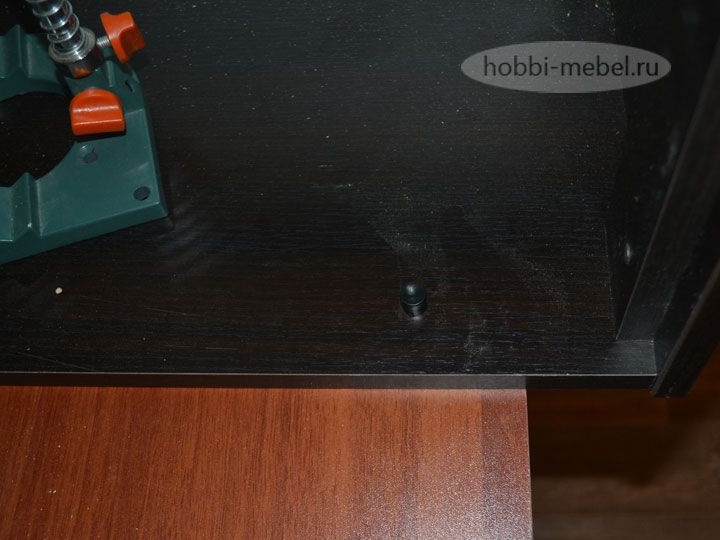
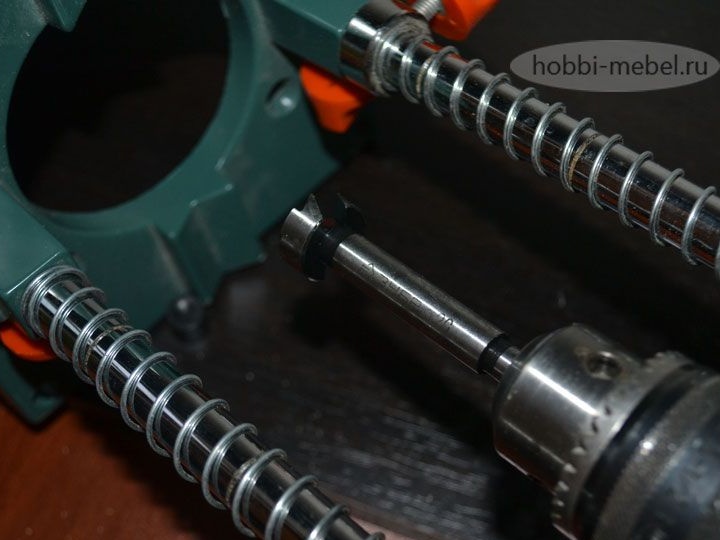
Next, we take the angle clamps, with which we fix the body parts. When everything is carefully fixed, we make a marking for the holes, we drill with a confirmable drill, then we screw the confirmats with the hexagon.
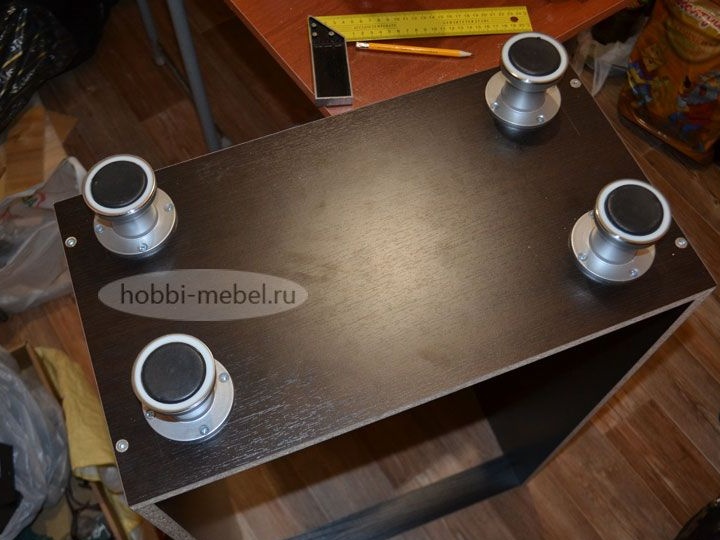
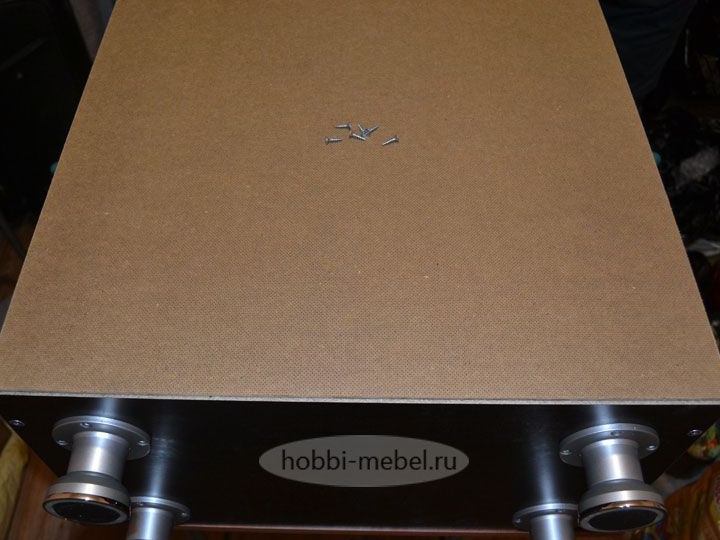
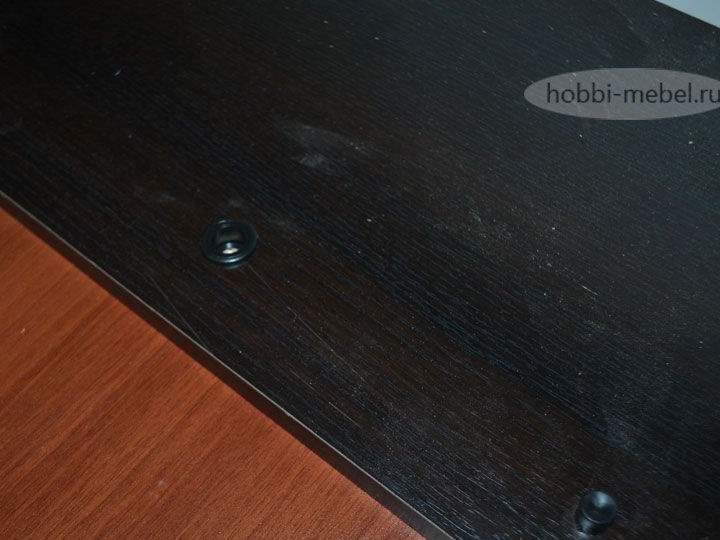
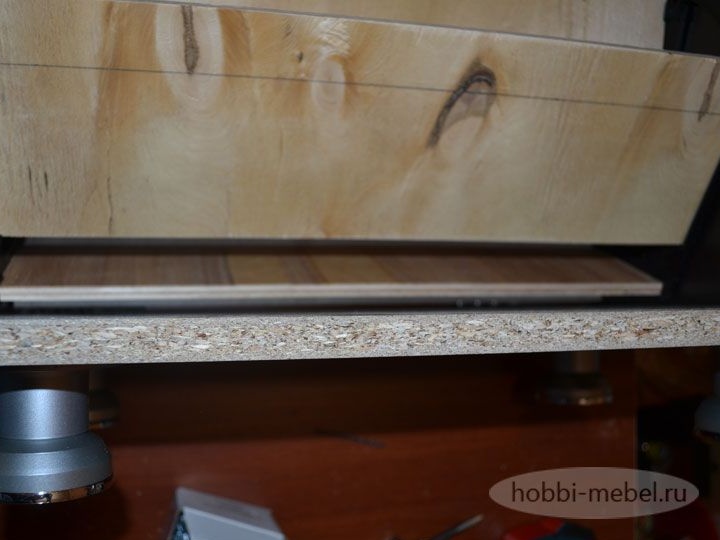
Now at the bottom of the pedestal we apply a marking for the support legs, according to this marking we fasten them with self-tapping screws.
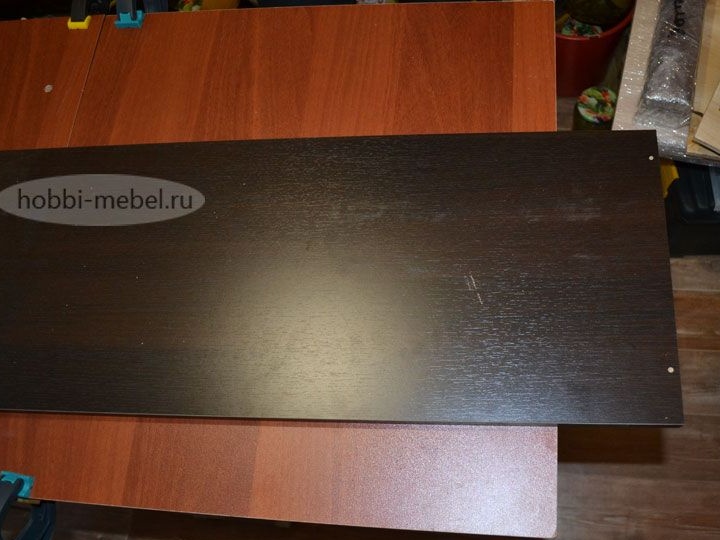
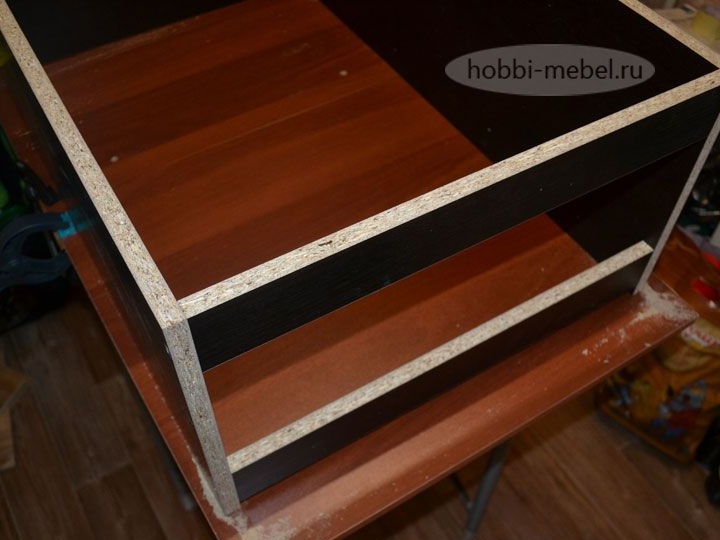
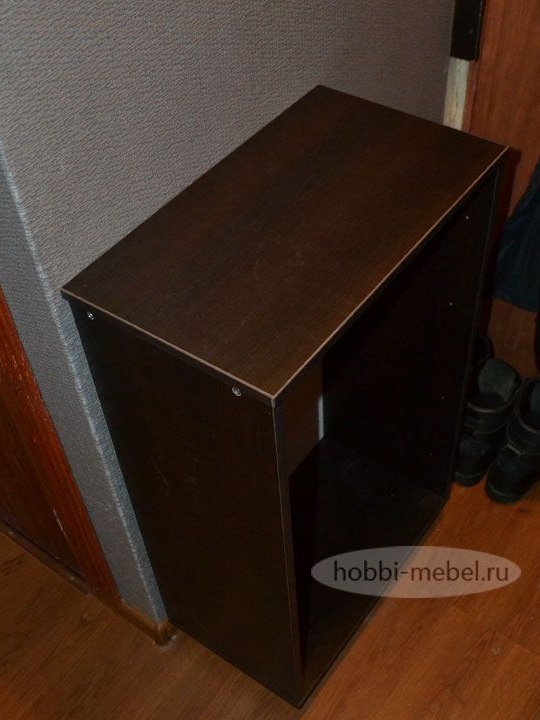
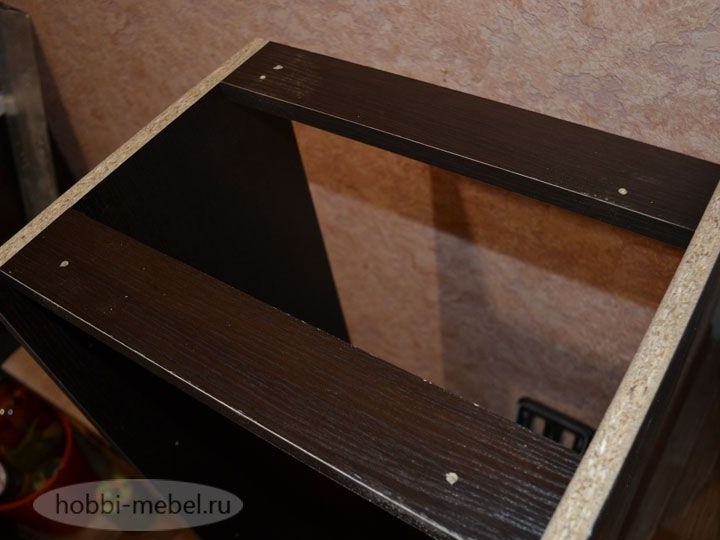
Next, install the cabinet cover
Then we take a sheet of fiberboard and with the help of nails or screws we fix the back wall.

We assemble the building into 3 facades, the assembly process is identical.
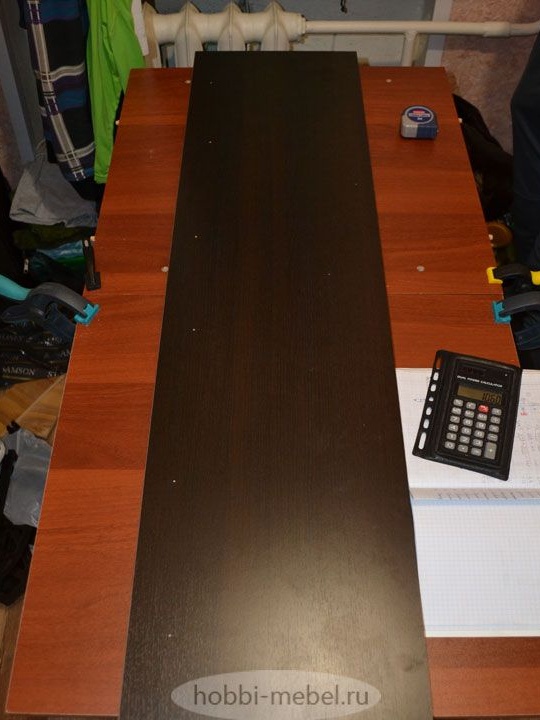
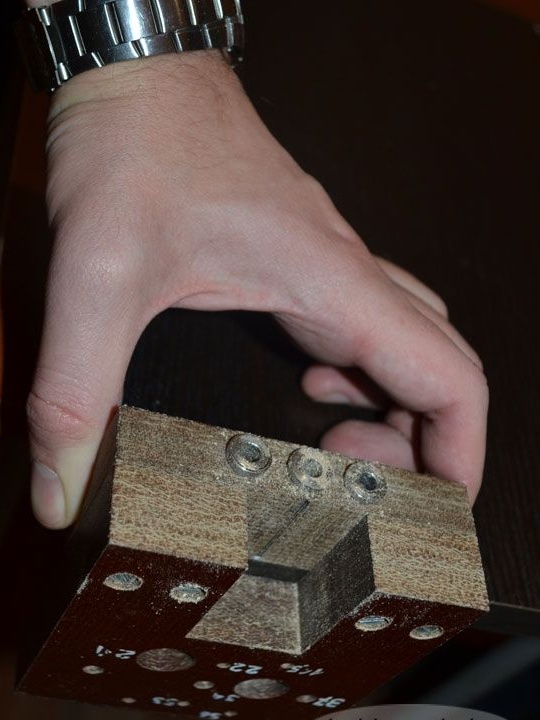
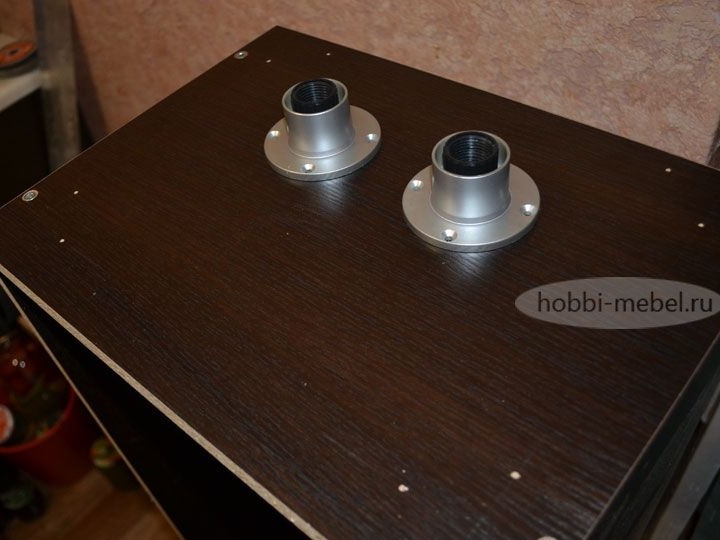
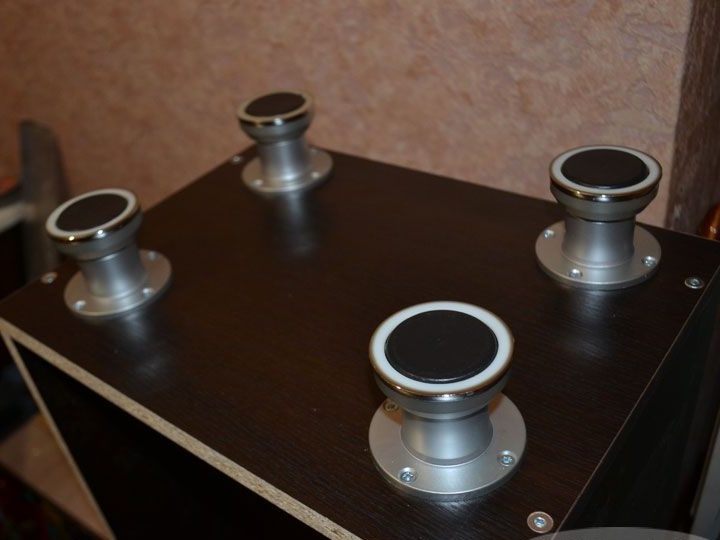
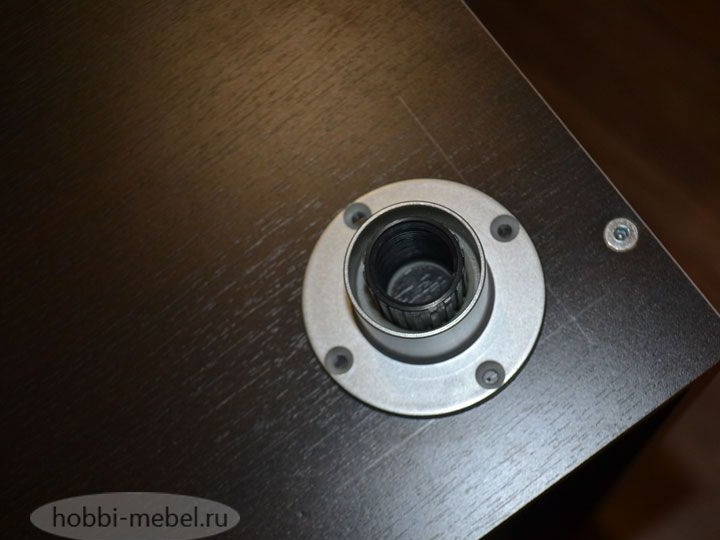
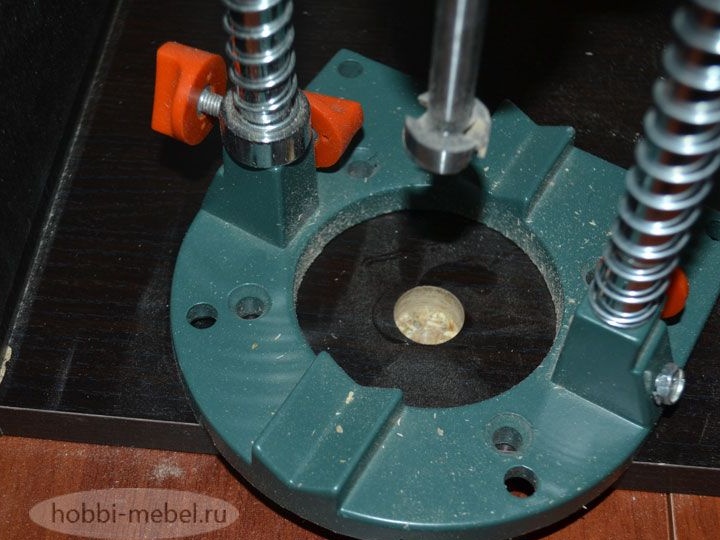
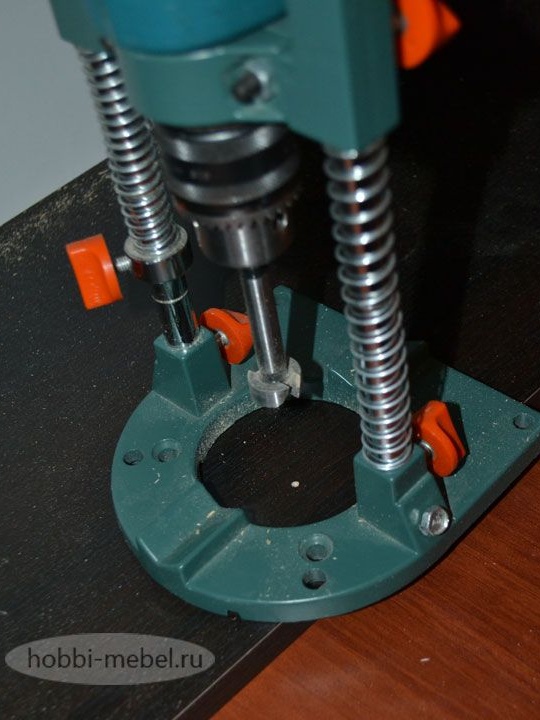
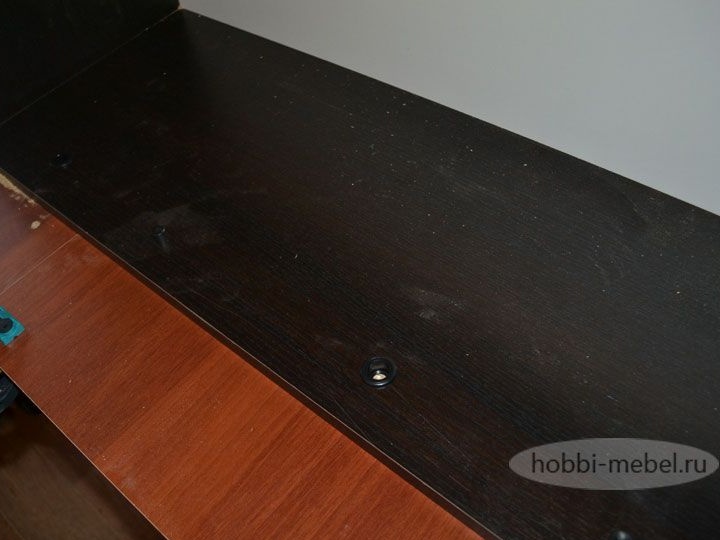
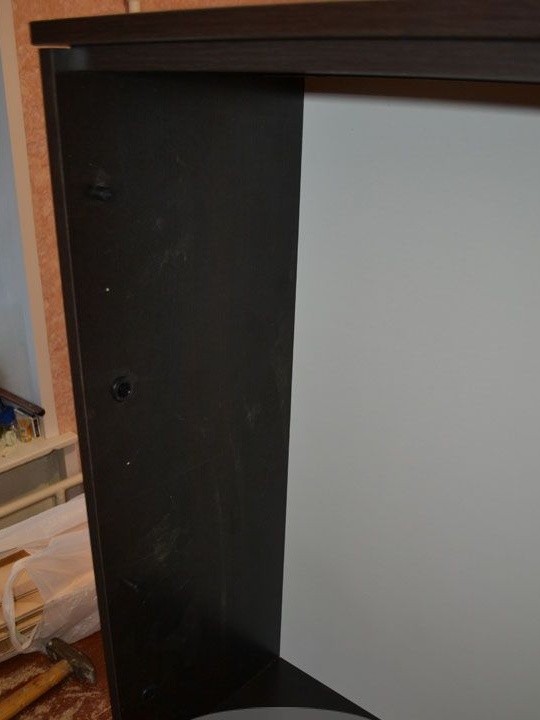
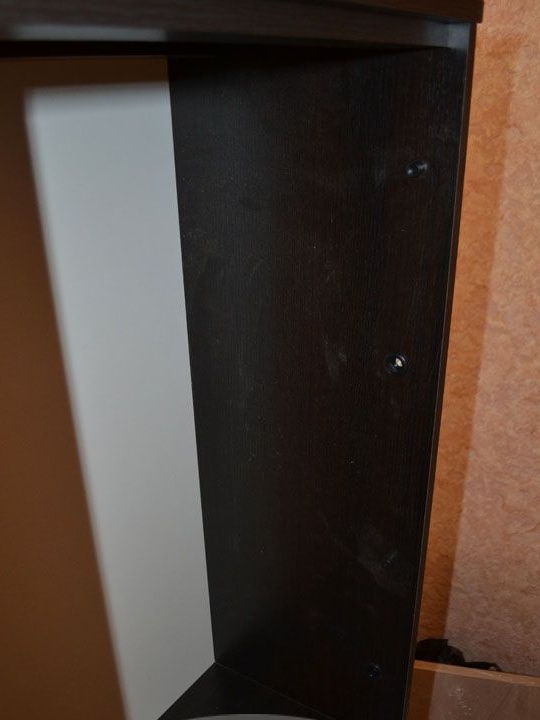
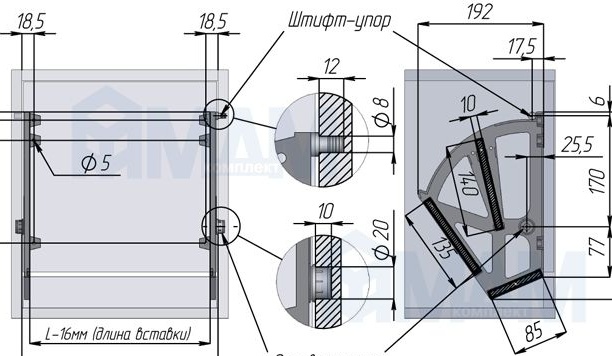
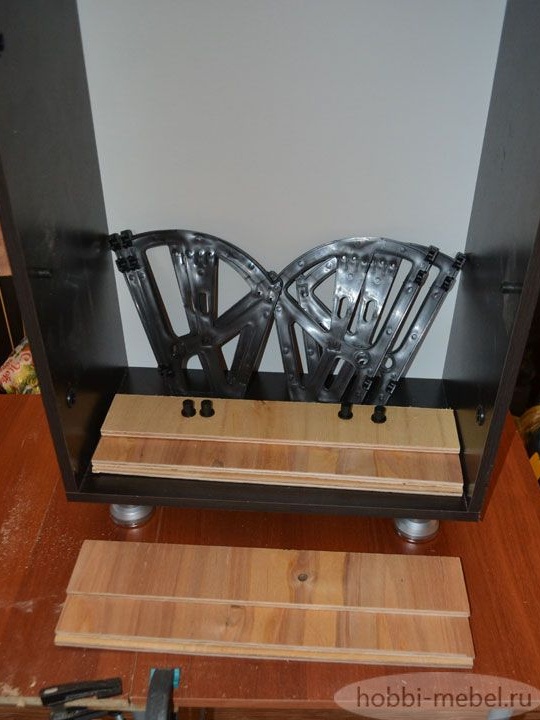
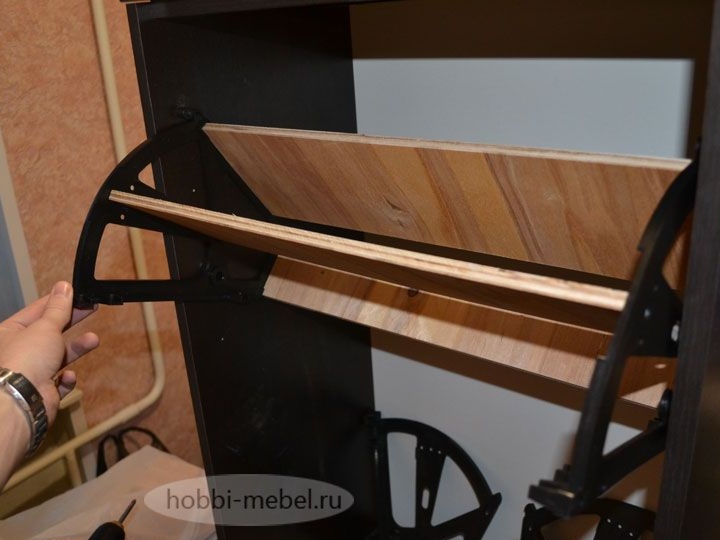
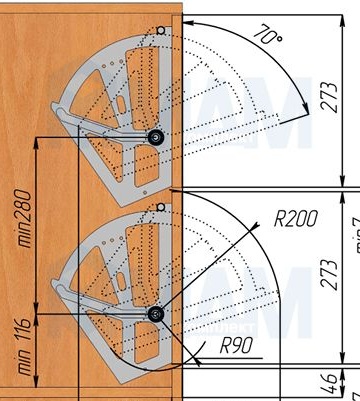
Next, we make the marking for the special mechanism of the shelves, drill holes.
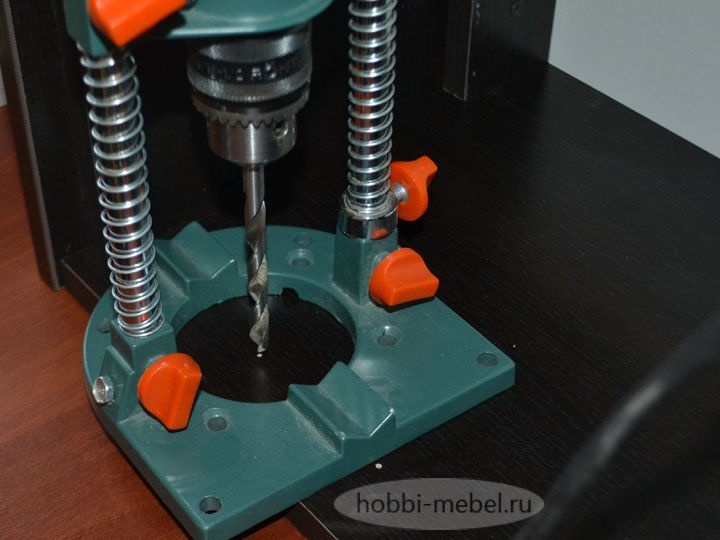

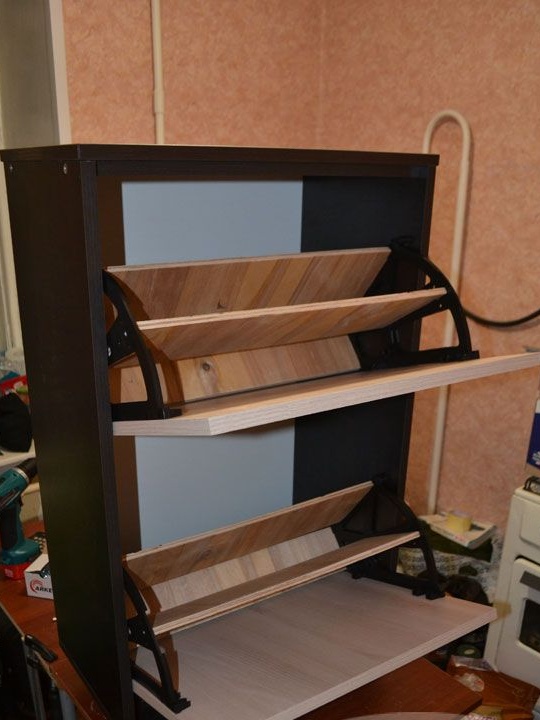
Then we take a drill with a Forstner drill with a diameter of 20 mm, with the help of which we make small recesses, in which later rotary mechanisms for shoe shelves will be installed
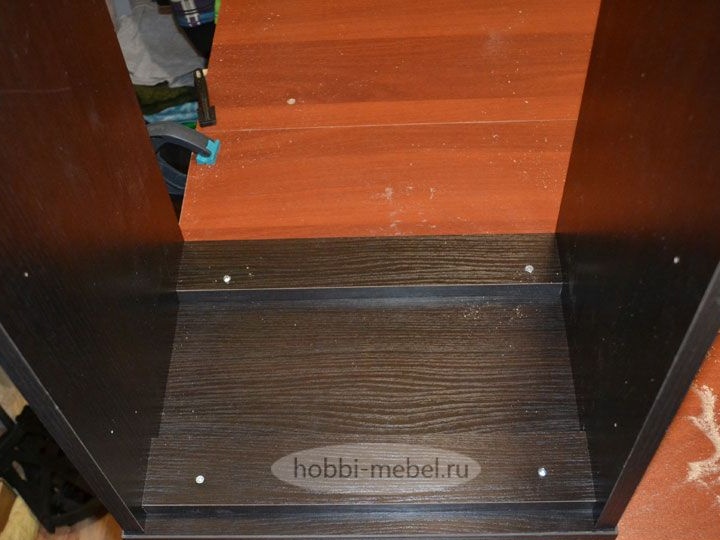
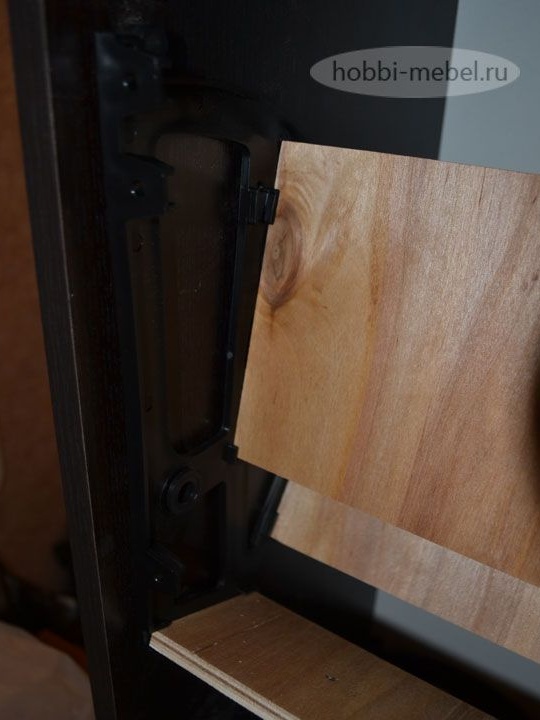
Partitions in this case are made of plywood, all sizes are calculated according to the scheme.
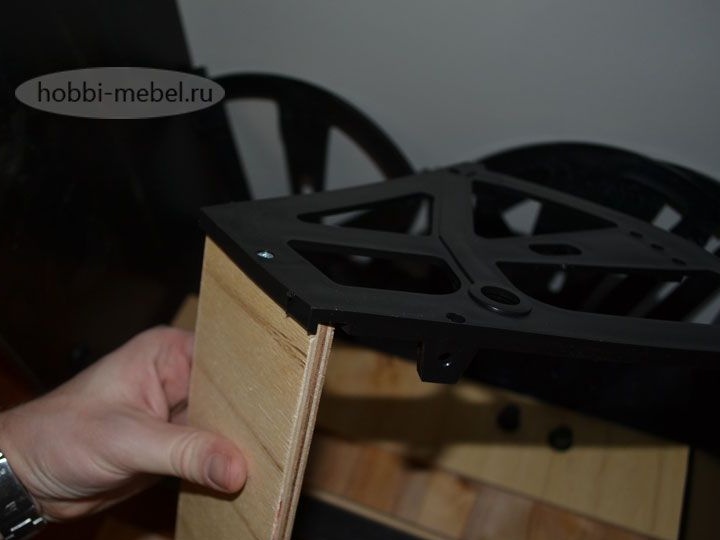

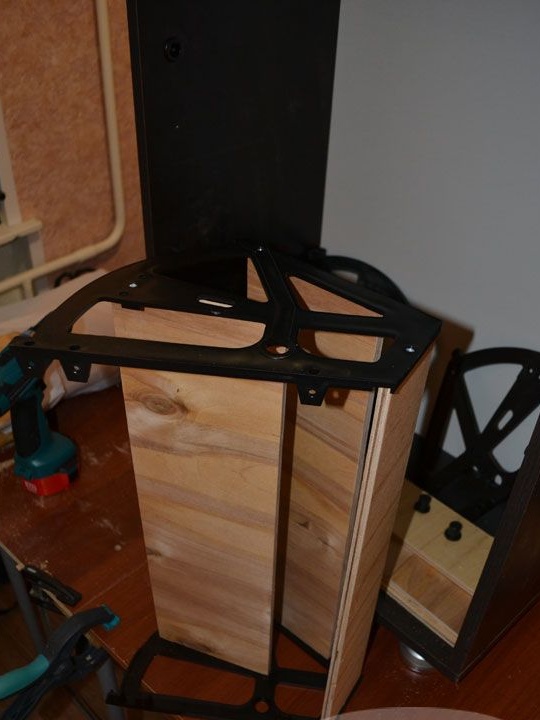
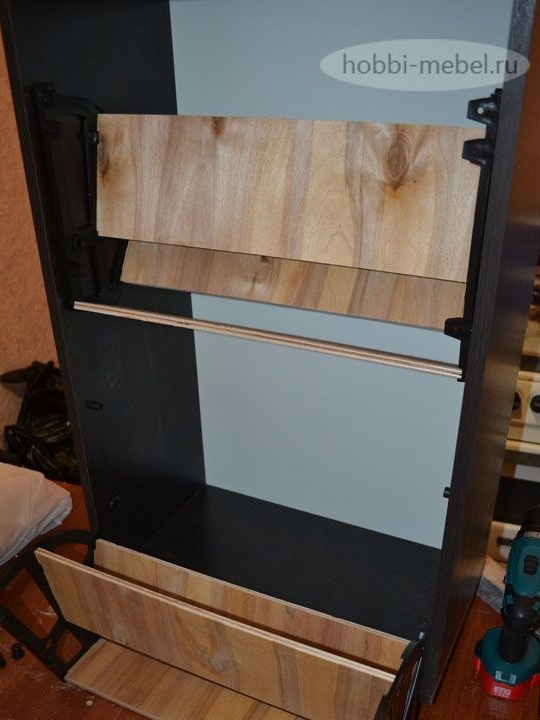
According to the assembly diagram, we mark the facades, which we fasten with screws.
We make the installation of pens.
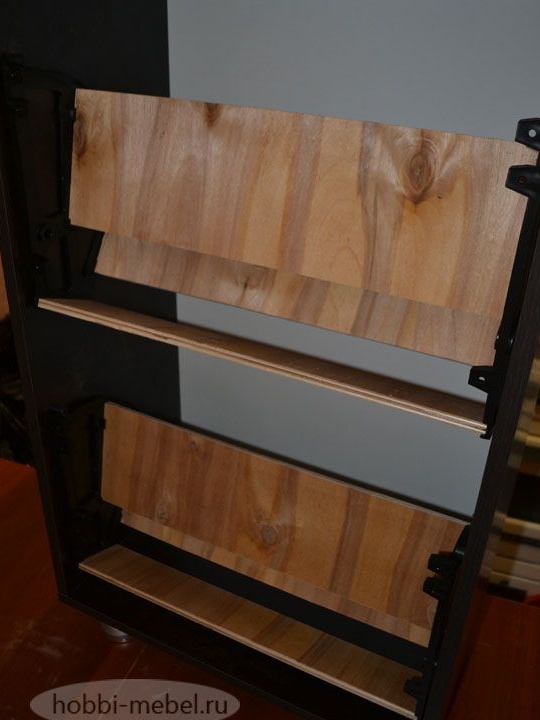
An identical way is going to stand on three facades.
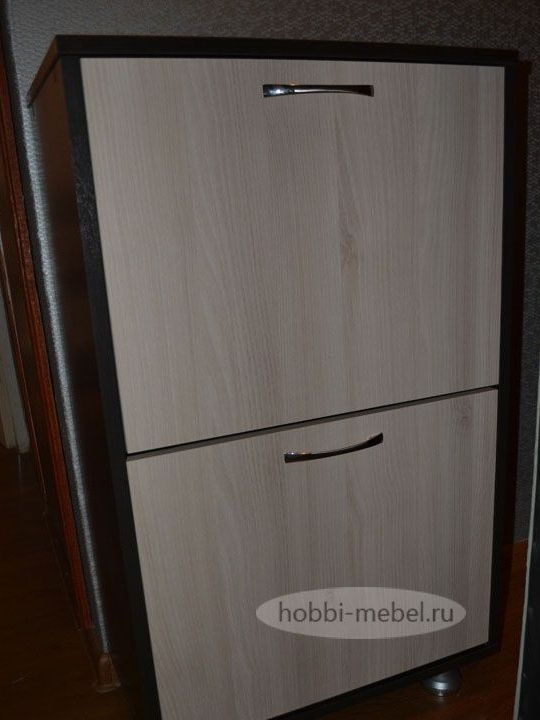
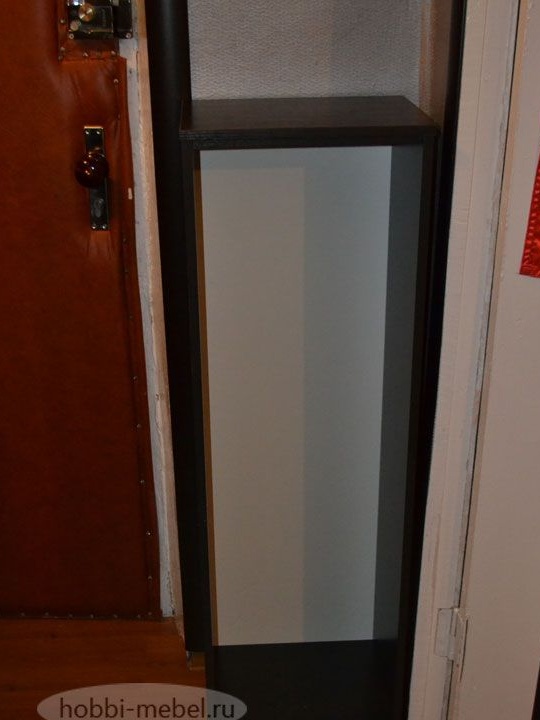
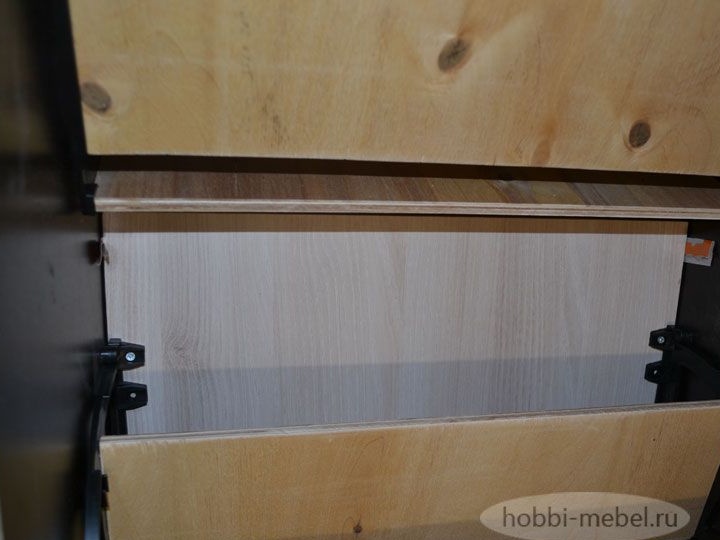
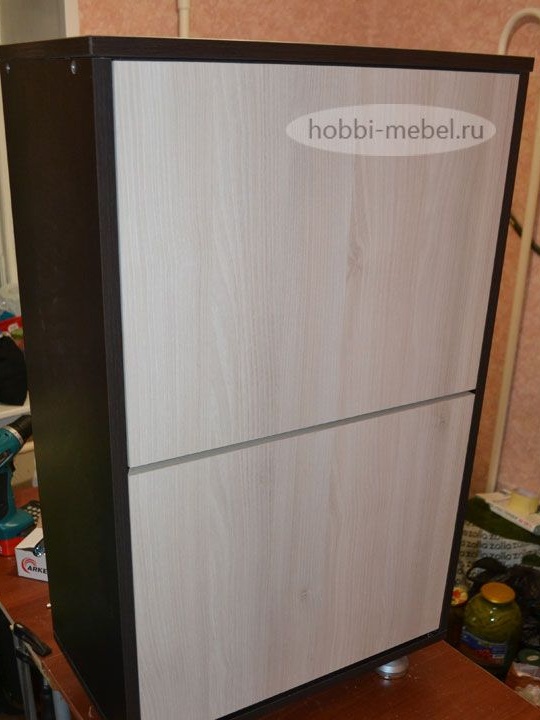
At the end of all assembly work, you should get such a comfortable shoe rack.
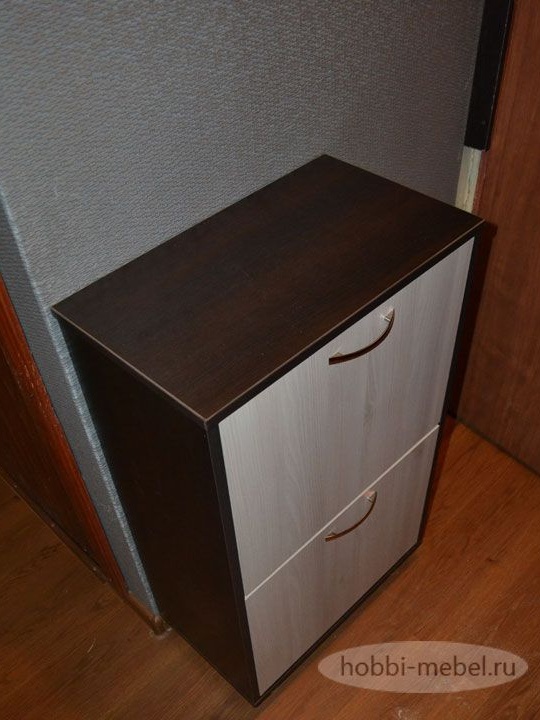

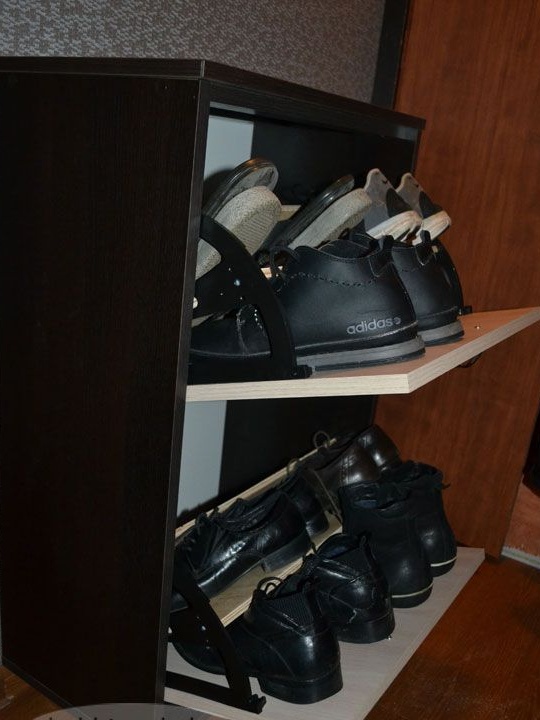
I would like to add one practical advice on the use of this shoe.
The curbstone is best secured additionally to the wall, because when it is opened, the center of gravity will move forward, and the curbstone may tip over, resulting in unnecessary injuries.
The article is over, thank you all for your attention!