
Hello to all the masters!
In this article we will consider a method of manufacturing a lamp in the form of a street lamp. What we will need for this, and how it will actually look, you can find out by reading the article to the end. The author encloses a photo report, and a detailed manufacturing process.
Let's get down to production!
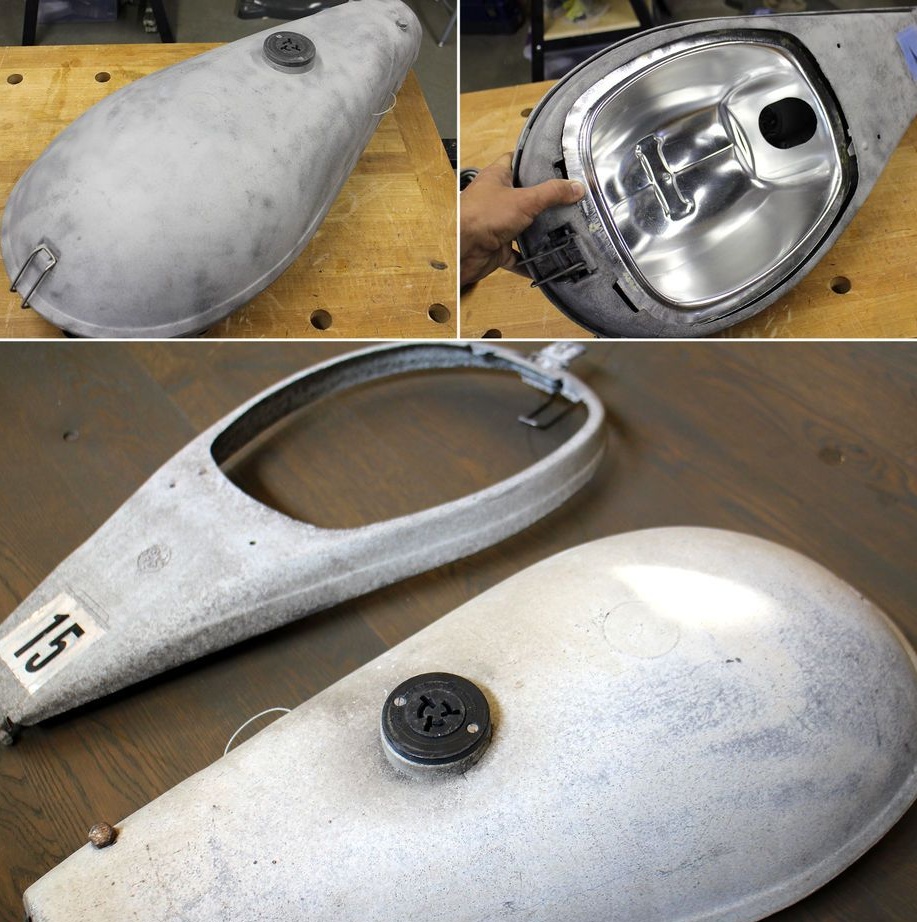
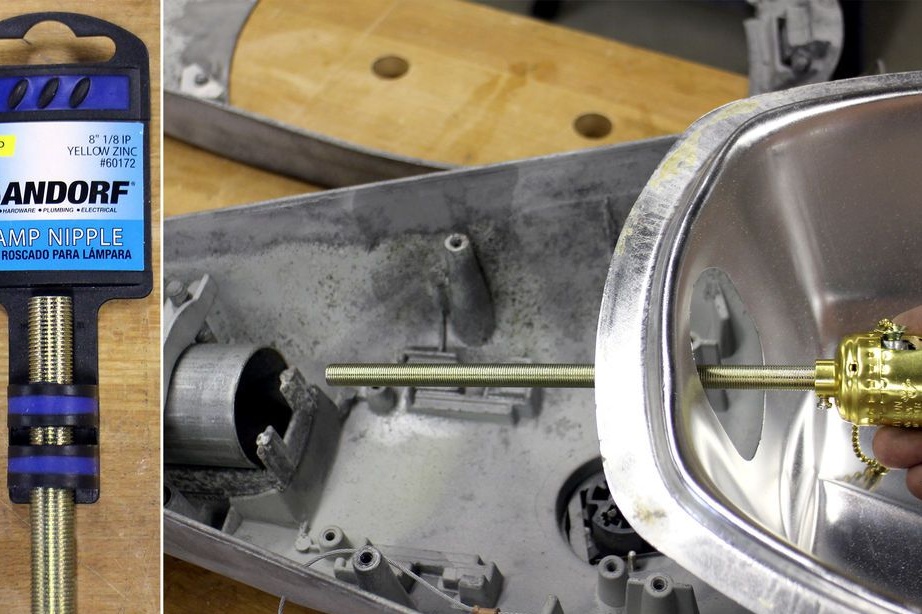
First of all, we need to find a road lamp, as it will be the main part of this lamp. According to the author, he bought it in one of the second-hand construction stores. You can also search for it in flea markets, or monitor ads. The product is piece, so if you try, it can be found without problems.
In addition to the flashlight, we need the following materials:
- wires;
- lamp;
- switch;
- a pipe 2 m long 15 cm;
- fasteners.
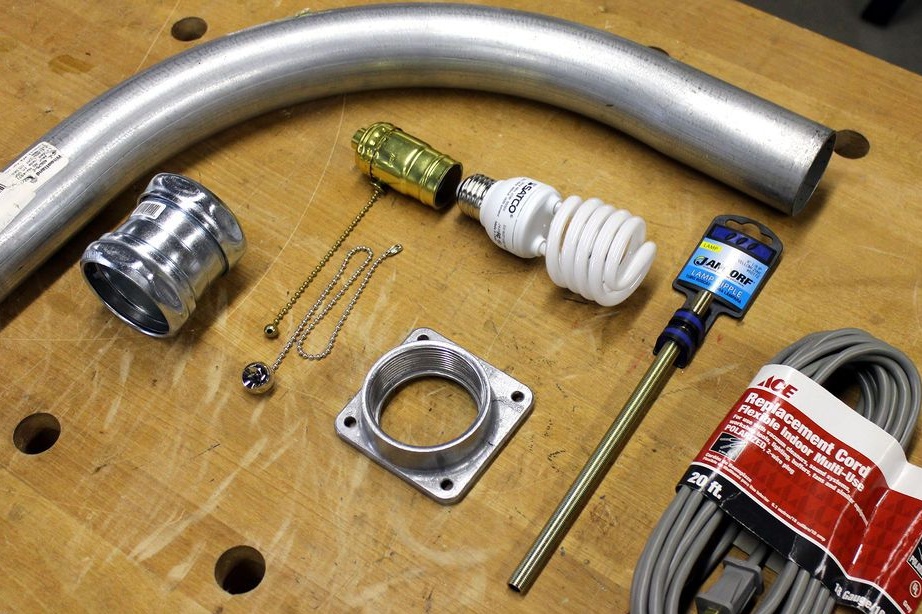
The above list of additional parts is not necessary to buy, if you have an unnecessary lamp, you can get some of the components from it and use it in our work.
Since the purchased flashlight was not new, and outwardly did not look quite appropriate, the author treated the surface with a sandblasting machine, and then polished it well.
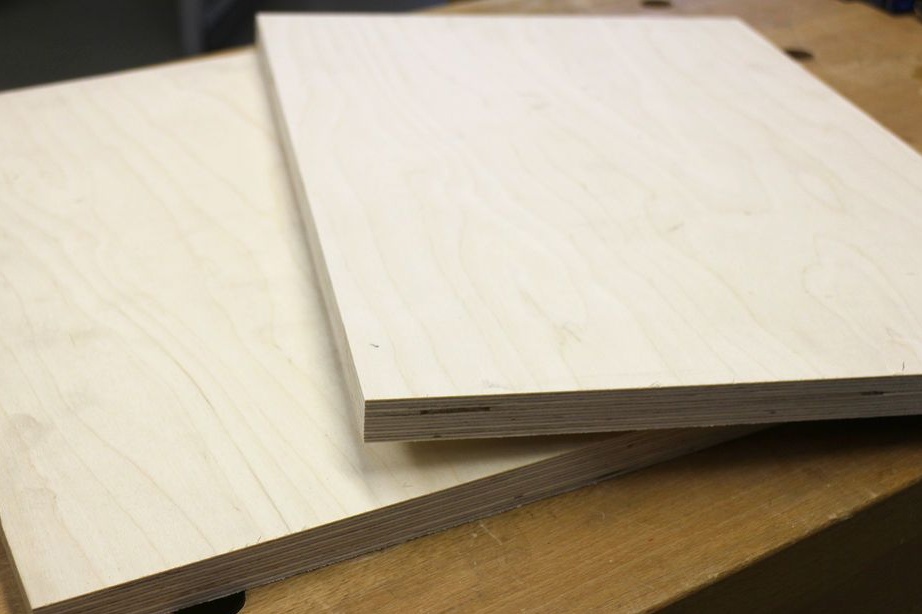
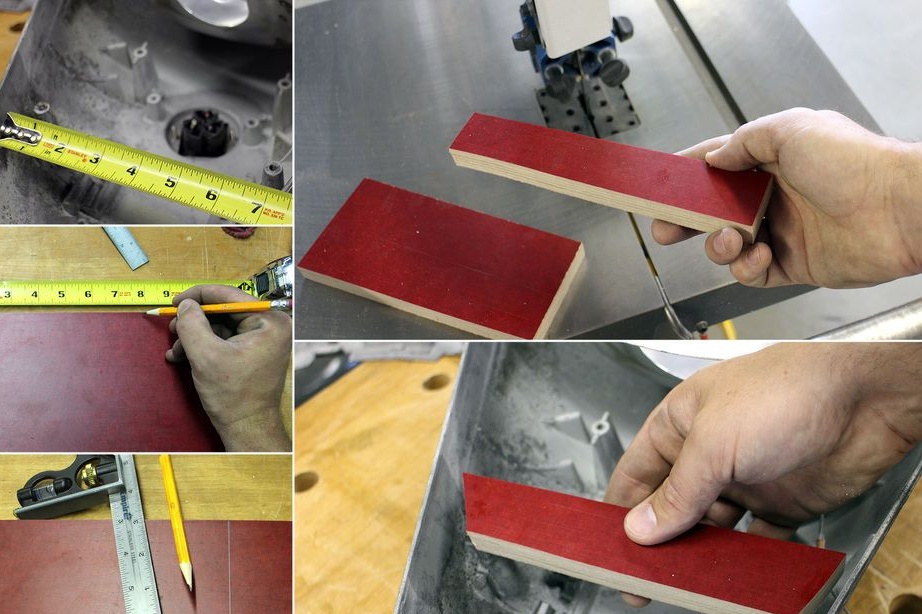
Since it was a floor lamp according to the idea, it is necessary to make a sufficiently strong and stable base for it, for this we use two sheets of plywood of the same size, 2 cm thick, which we put in two layers. But as it turned out later, this is not enough to ensure that the lamp is stable. The author suggests adding an additional weighting agent, in this case a flower pot. It will not only give stability, but also add originality to the lamp.
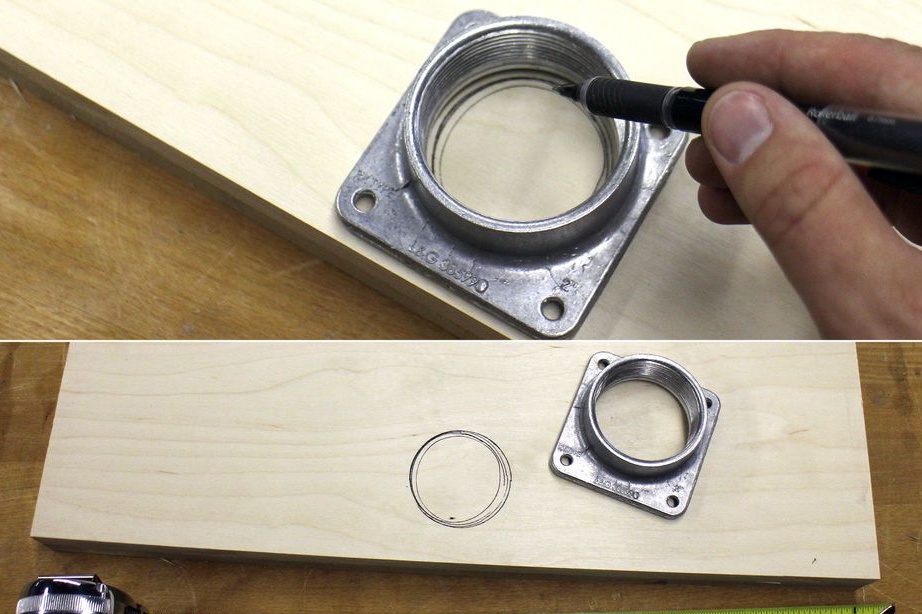
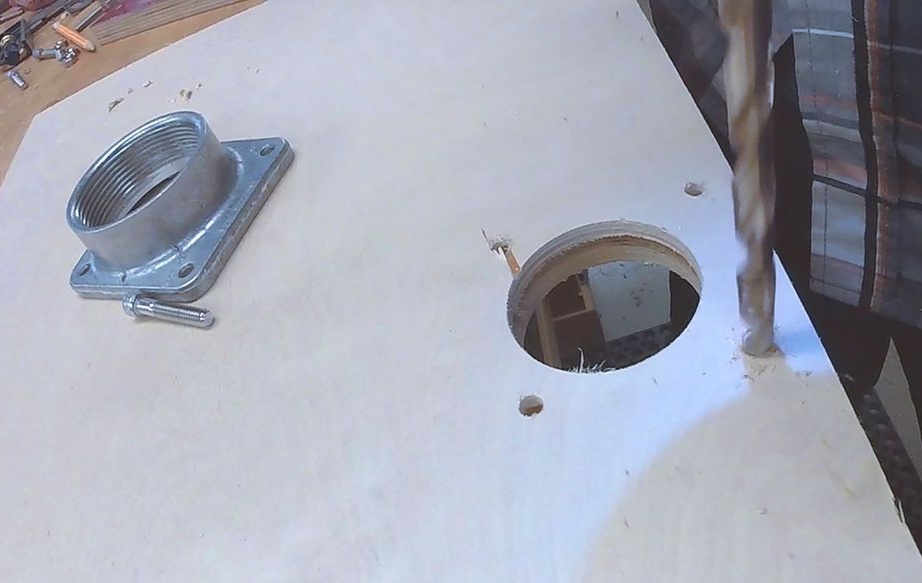
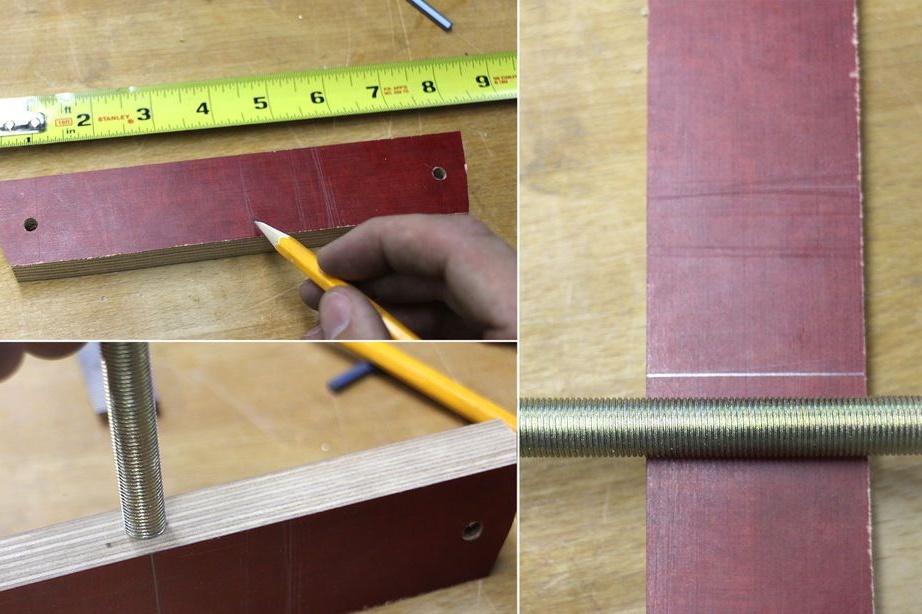
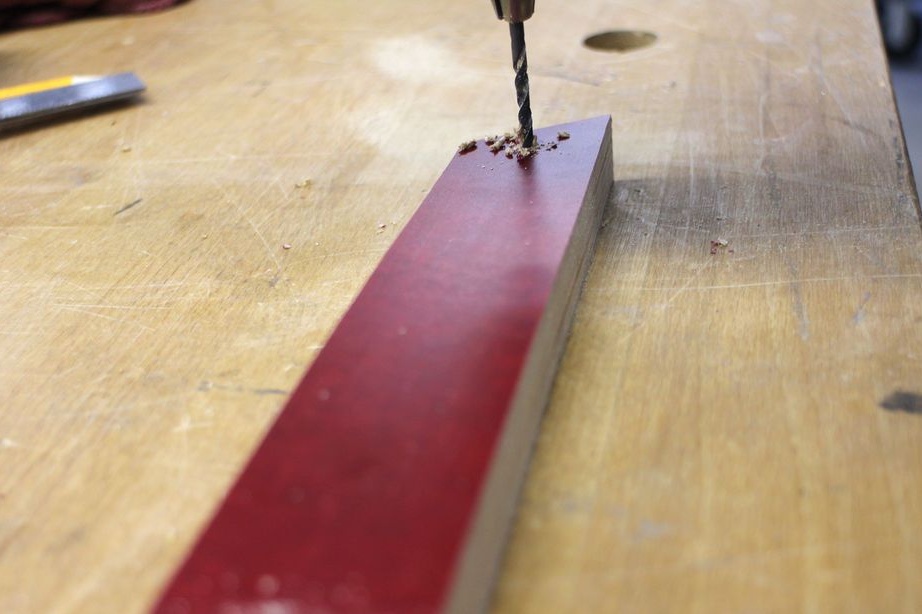
We make a hole for the pipe.
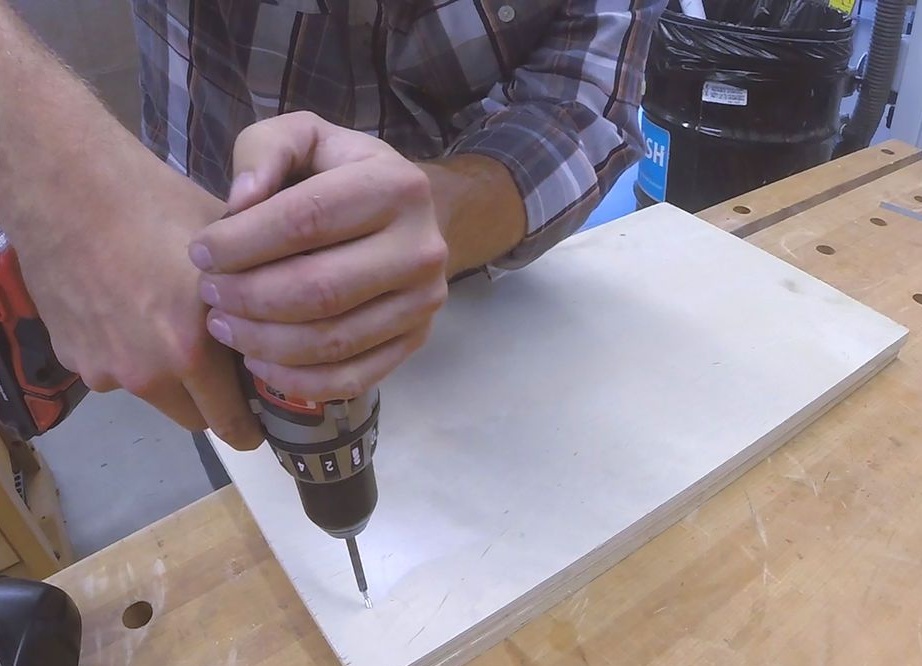
We take the fastening screw element and apply it to the base of the plywood, first we find and mark the place of the fastener, for this we use a tape measure and a pencil. According to the inner diameter of the fasteners, we make a hole, use a drill with a special crown on wood. We also mark and drill four holes for the bolts. In order to hide the bolts in plywood, we make the countersink of the holes. Then we grind the wooden base and add the sharp edge and corners.
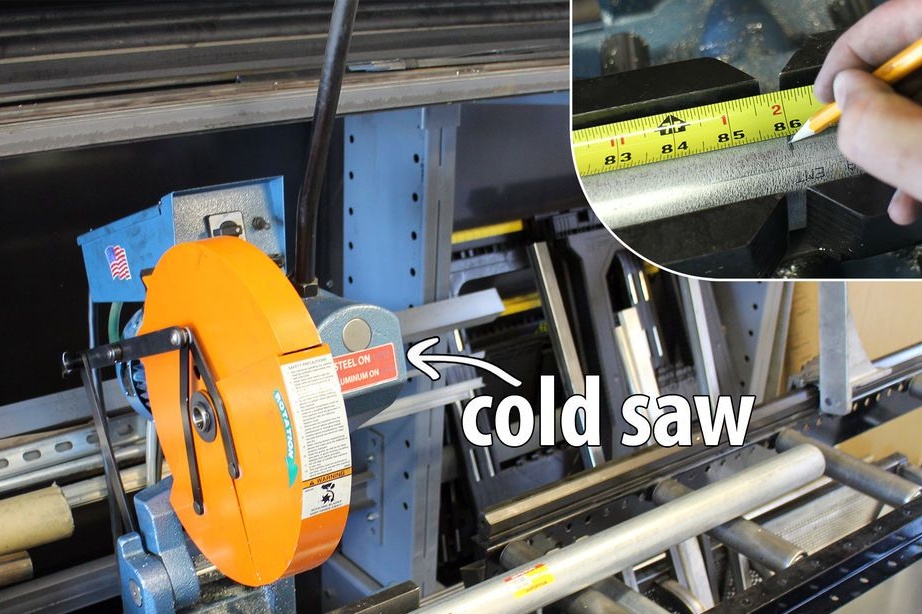
We cut the pipe.
The initial length of the pipe was about three meters, and this is very much, because I wanted to be able to reach it, and besides, the ceilings were not so high. Therefore, it was decided to cut the pipe to 2 meters and 15 cm on a special machine for cutting metal.
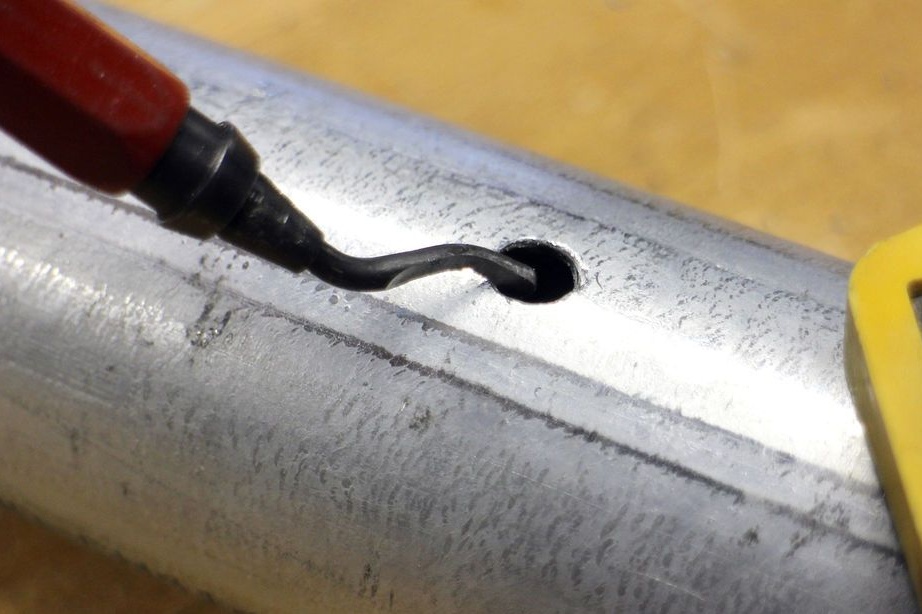
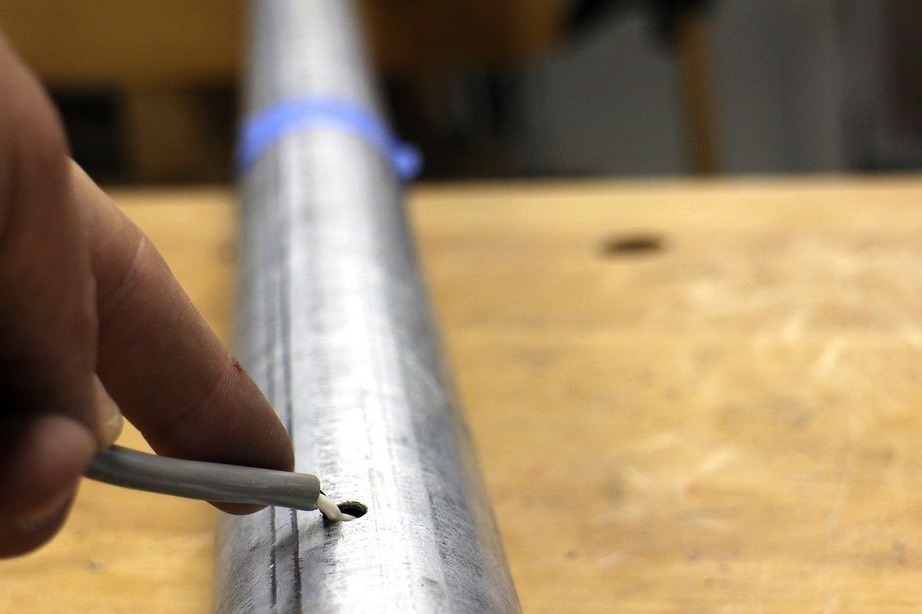
Next, we make a hole in the pipe, it is needed in order to hide the wiring inside.

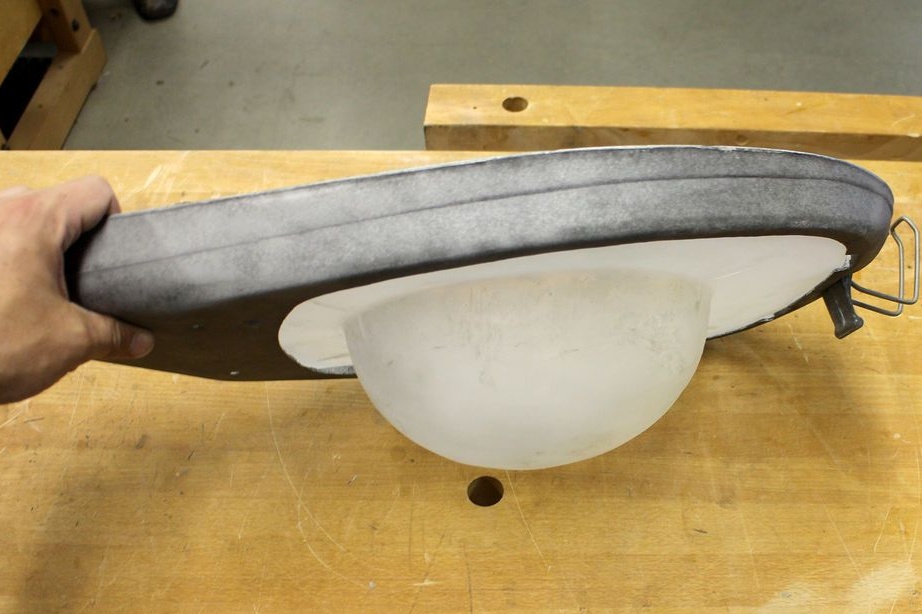
We fix the "lampshade".
We fix the lantern to the pipe with an arm with bolts, such a mount for lanterns is standard, there was nothing to come up with in this regard.
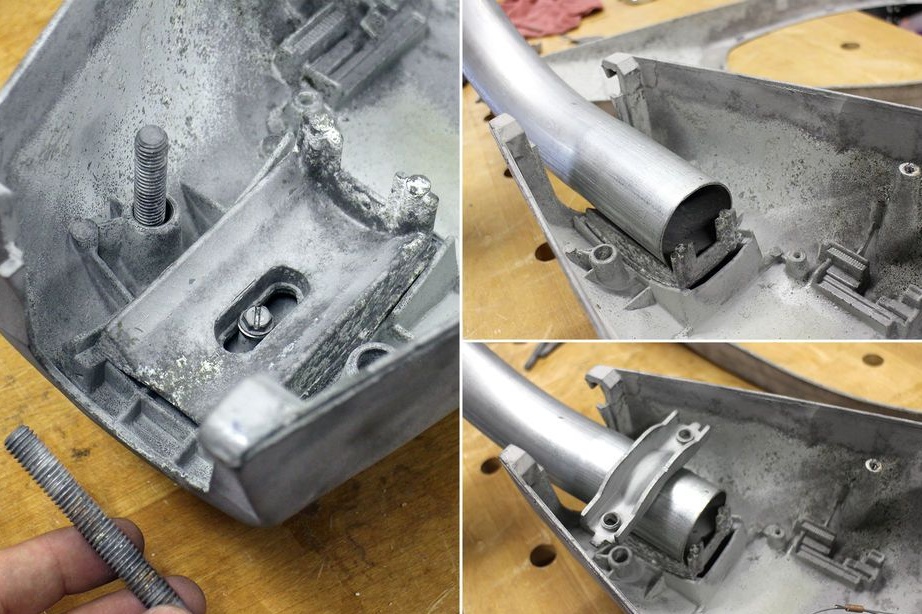
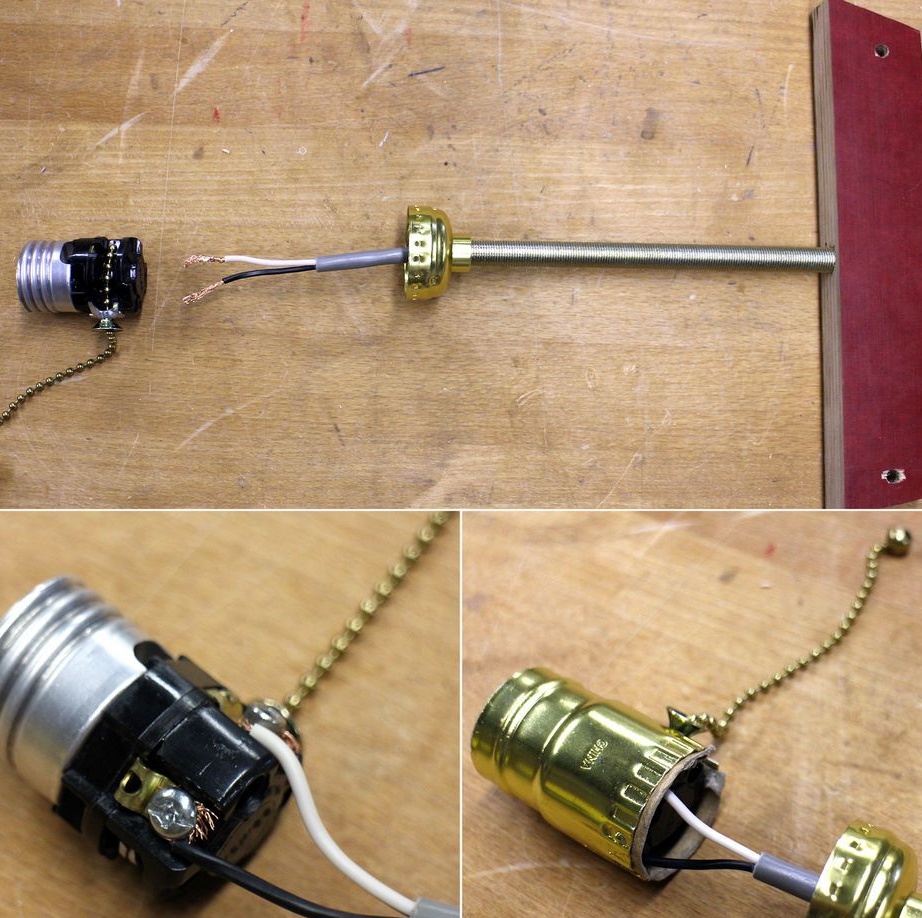
Now we install the lamp holder. It was decided to use the rope mechanism of the switch, the type of "sconces", that is, pull the rope and the light comes on, pull again and it goes out. Since such a switch mechanism does not quite fit this lamp, you need to additionally make a special mount. We take a small sheet of chipboard and cut a small blank of a rectangular shape, we make the dimensions according to the internal size of the lamp housing. Next, we drill a hole in the middle where we put the core of the mechanism, then we fasten everything with two screws.
When everything is ready, we connect the wiring to the cartridge.
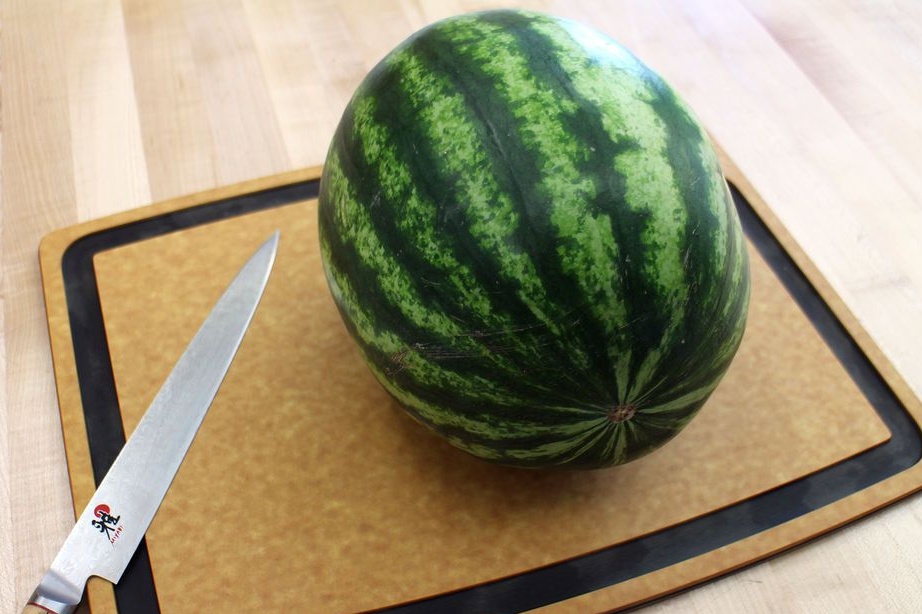
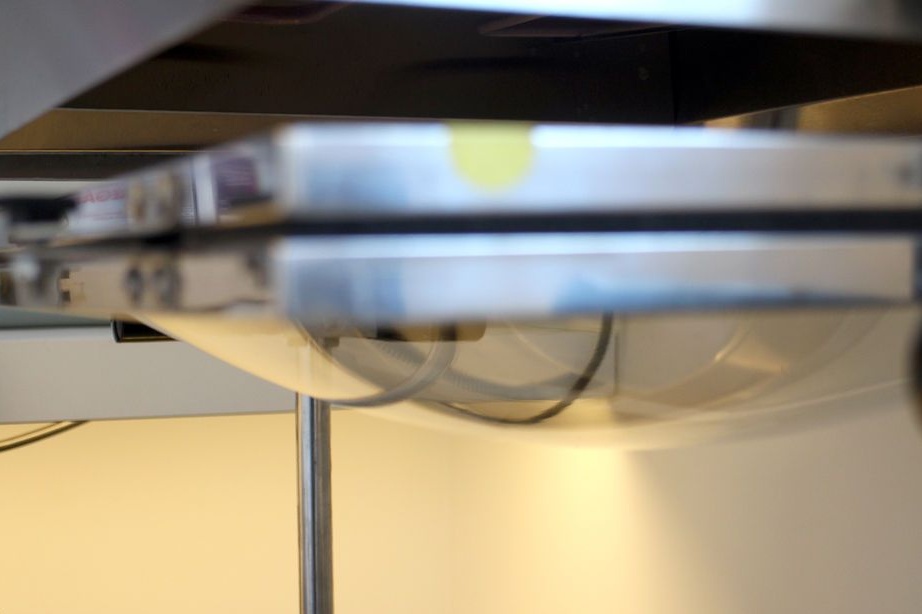
We make a protective glass for the lamp.
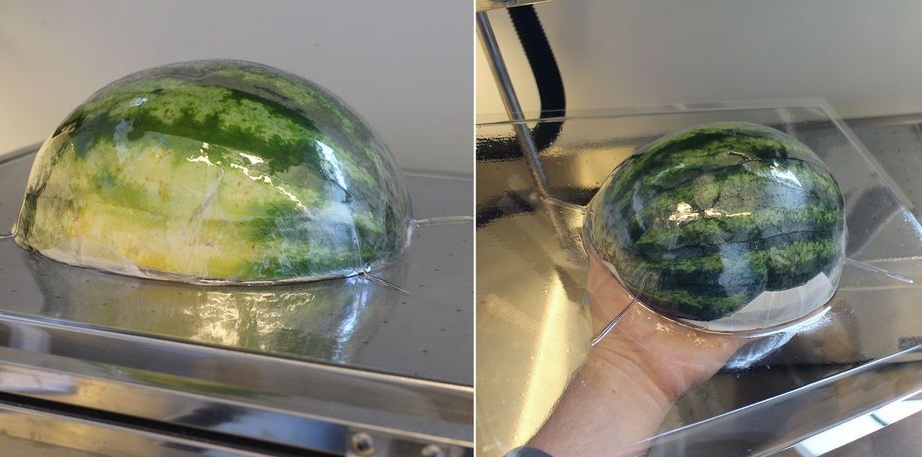
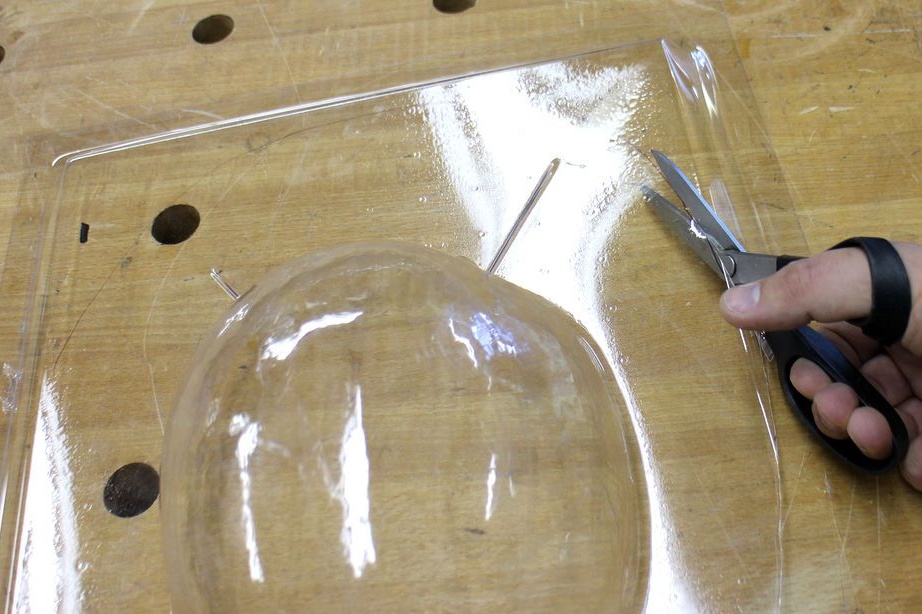
Since the lantern was without glass, I had to do it myself. There were many options, but since there was access to a vacuum machine, and this all greatly simplified, it was decided to use it. The first thing to do was find something round, after spending time searching for this form, a watermelon caught my eye, which it was decided to choose as a workpiece.
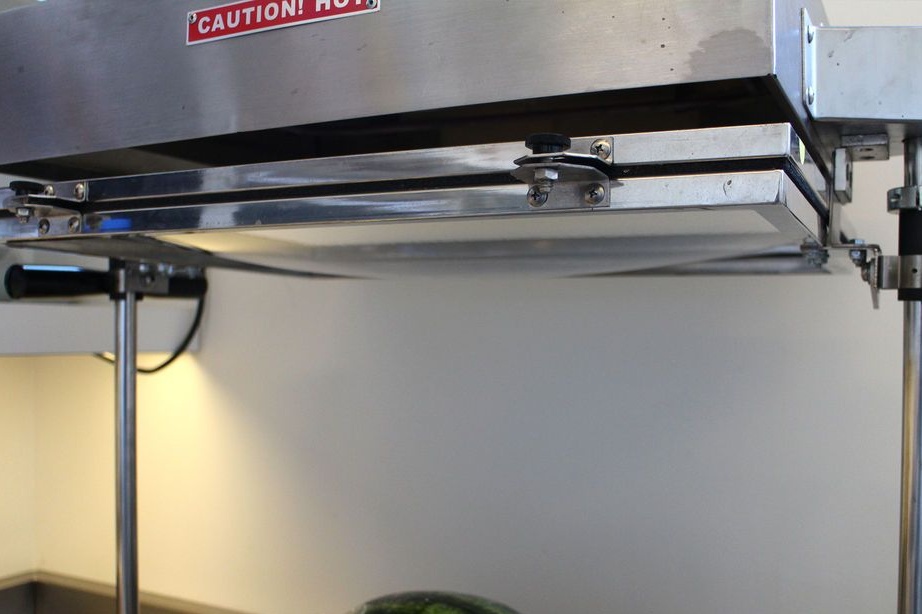
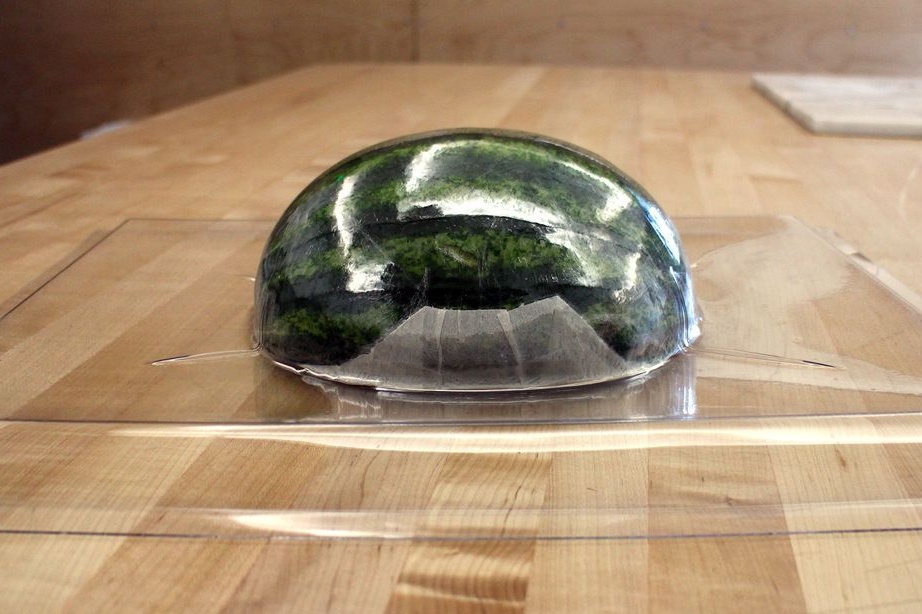
The vacuum machine works as follows - we put our mold on the table, in this case half a watermelon, turn on the machine, it heats the plastic, which then drops onto our workpiece, the heated plastic stretches and takes the shape of an object, then the plastic cools and hardens in the form we need .


The resulting form is applied to the lampshade of the lamp, with the help of scissors we cut off the excess parts of the plastic, thereby adjusting it to the dimensions necessary for us.
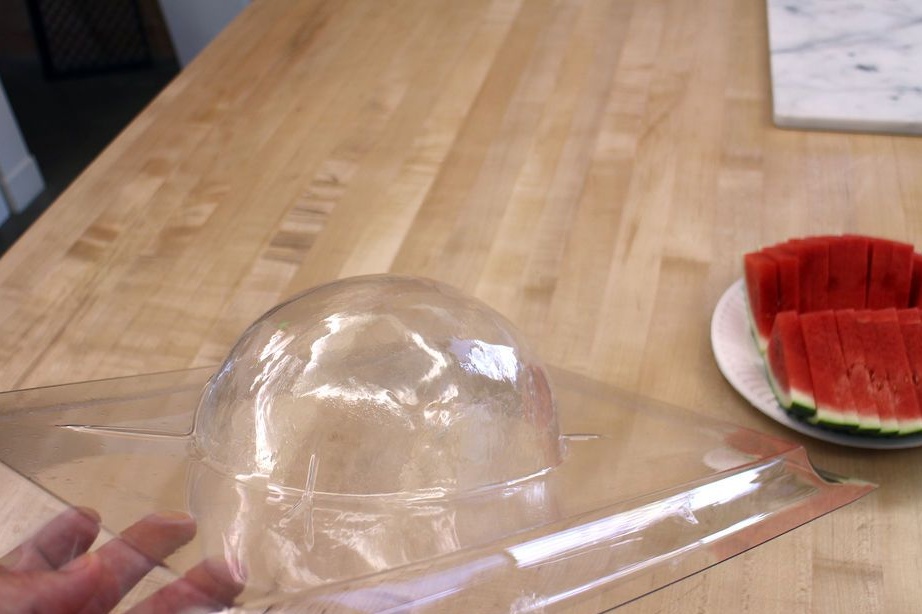
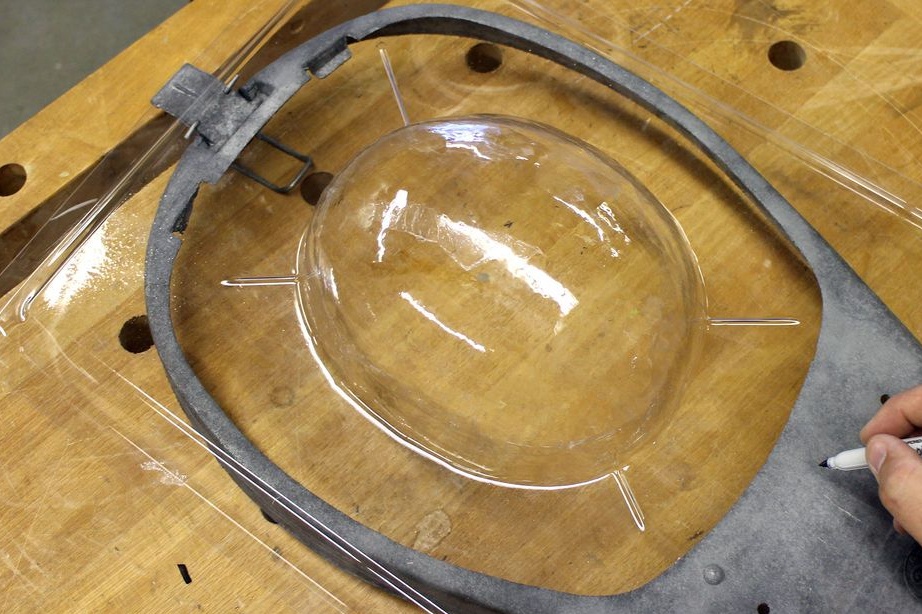
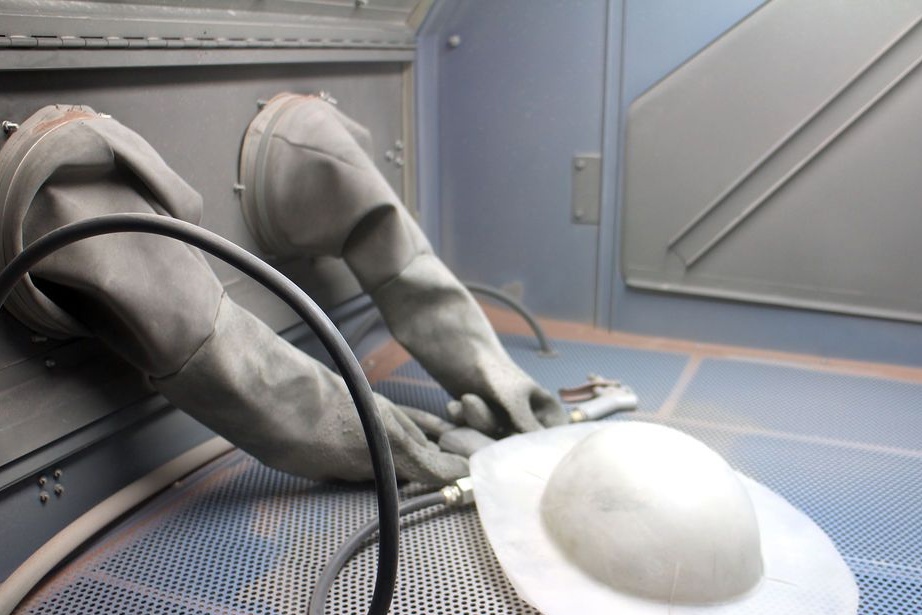
In order to make the lamp glow softer and more even, we process the surface of the plastic with sandpaper or a sandblasting machine.
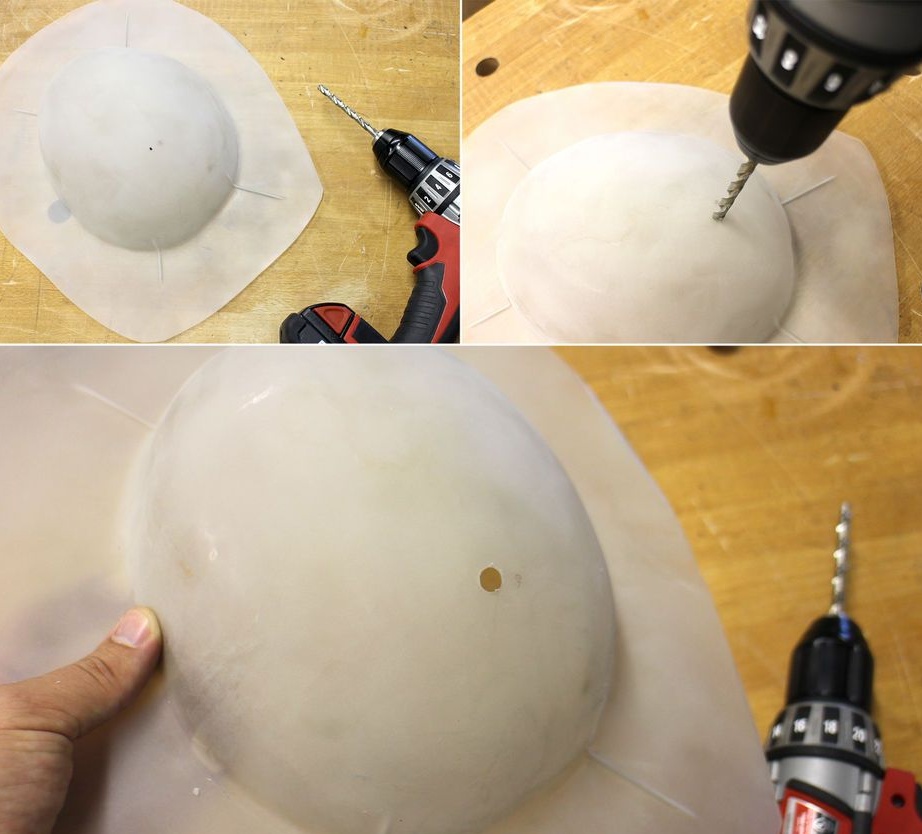
When the previous operation is over, we drill one small hole for the circuit breaker, then we pass the chain and install our protective glass on the flashlight.
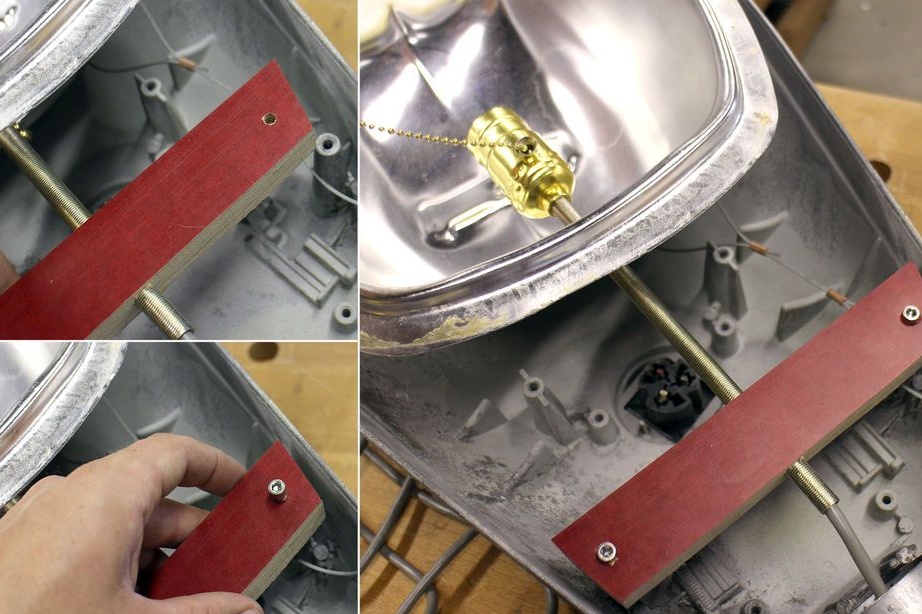
Install the lamp.
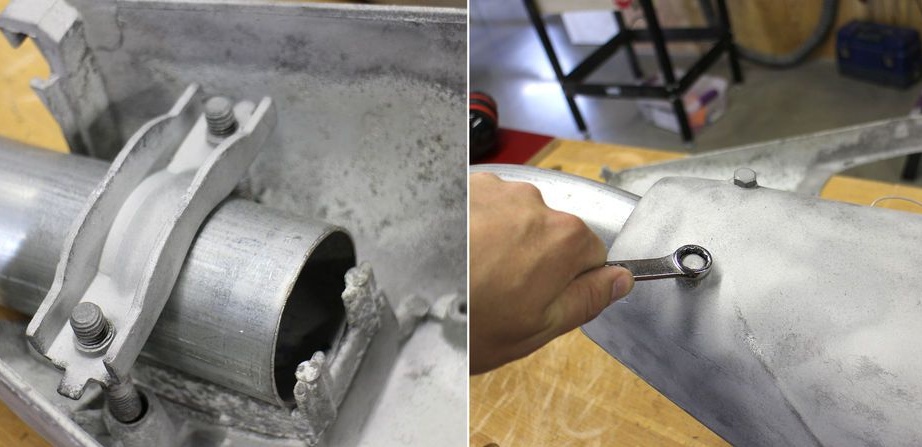
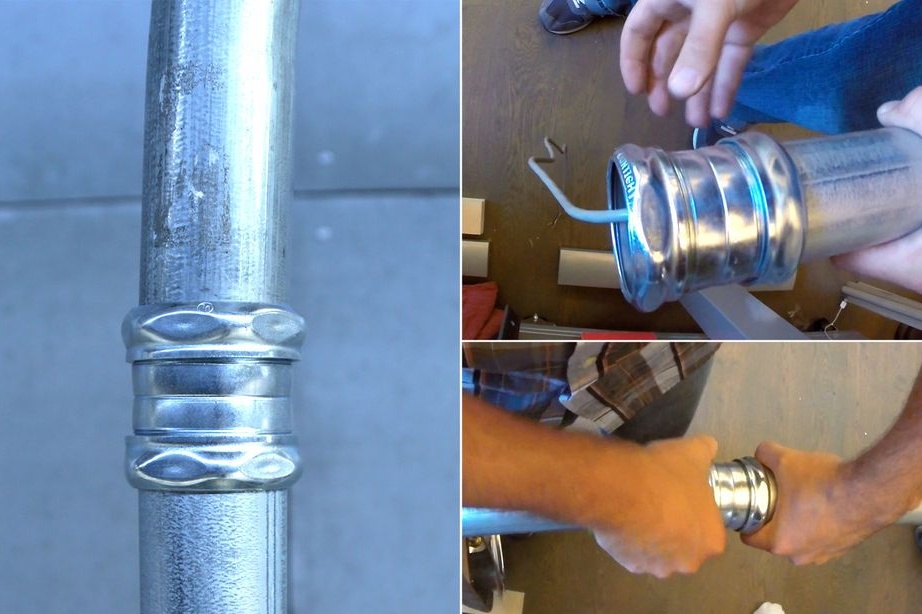
We take a pipe with a lamp and connect it to the main pipe, we use compression couplings as a fixing element.
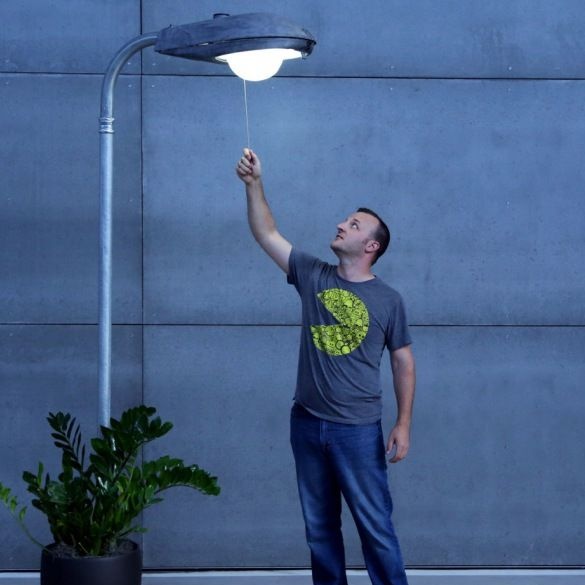
Our lamp is ready, turn it on and look at what we got.
The lamp can be varnished, giving it a darker and matte shade.
This article is over, thank you all for your attention!