
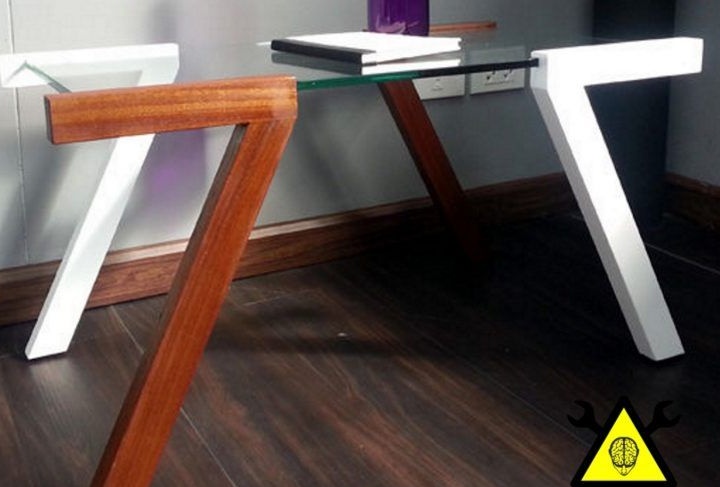
Hello to all lovers homemade. This article will describe an unusual home-made, in which the author decided to show the features of minimalism, but so that it does not seem trite, but it is very original. Hence the name of the coffee table "why not seven," since this figure was taken as the shape of the legs for the future table. The actual dimensions of the table are as follows: the length is 76 cm, the width is 43 cm, and the height is 41 cm, of course this does not mean that your table should be of precisely such sizes, you can vary them as you wish.
In order to make such a table, you will need:
* Glass lid 70cm * 40cm * 10mm, chamfers must be removed on all sides for safety reasons
* Wood, preferably solid
* Transparent silicone
* Spray of white paint
* Oil for wood
* Milling cutter
* Clamps
* Joiner glue
That's all the materials and tools, if you have them, then you can start manufacturing.
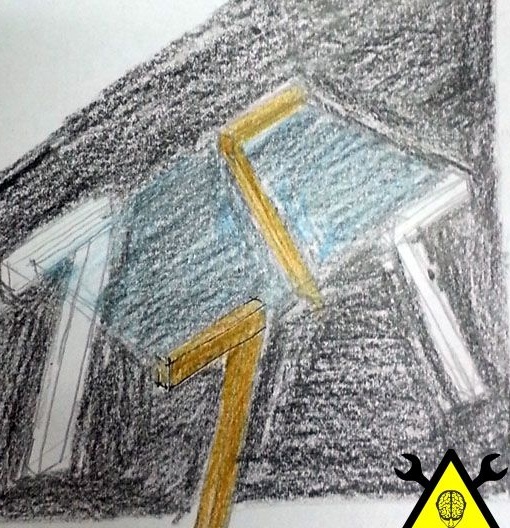
Step one.
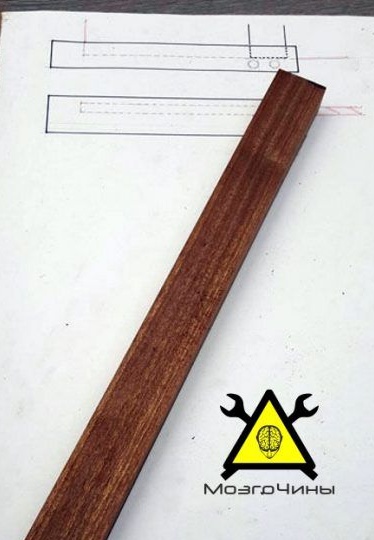
For a better perception, you can draw a rough drawing or a drawing of a future project. It will help not to confuse the parties and determine the amount of detail.
After this, you need to purchase a glass cover, it is better to take a thickness of at least 10 mm, since this is a table that, at a minimum, must withstand the dishes standing on it. 10 mm thick this is the golden mean, since with a larger thickness the weight of the entire table will also increase, which is not entirely good. Also, when buying, do not forget to make a chamfer at the edges of the glass, as this will protect you and others from accidental cuts on the glass.
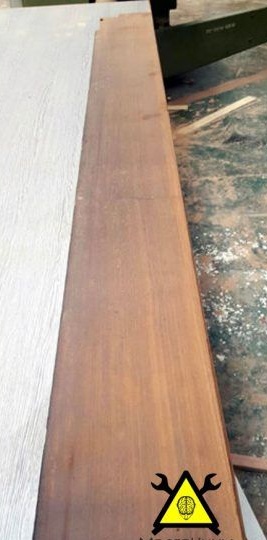
Step Two
Now it's time to get down to the wooden parts, we will make them out of a board that needs to be cut into slats of the required width, a thickness of about 3 cm.
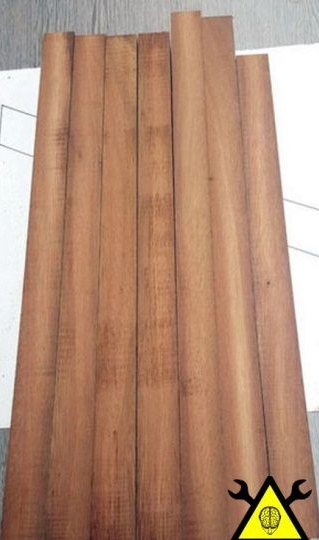
It is necessary to make slats of different widths, some will go to the fasteners of the countertops, and others to the legs themselves. Before you cut the board, you must first draw a drawing. For mounting the table were taken slats 3.5 cm wide and 23 cm long. For the legs were made slats 5 cm wide and 40 cm long.
Step Three
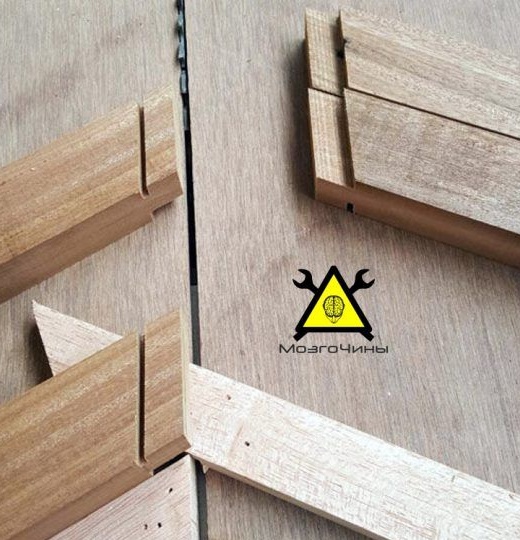
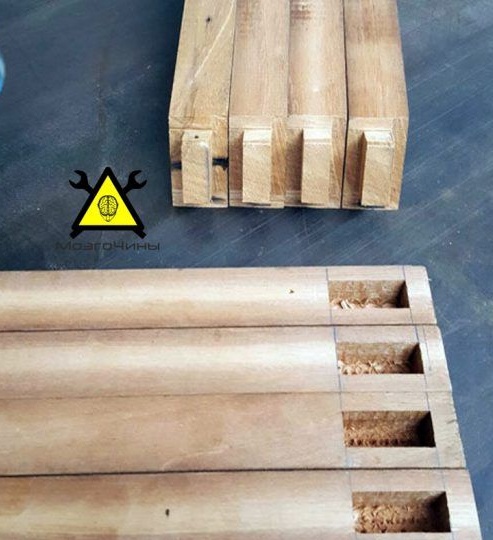
In order to get the number 7, you need to cut the ends on four workpieces for legs at the same angle, you will also need four rails for attaching the table.
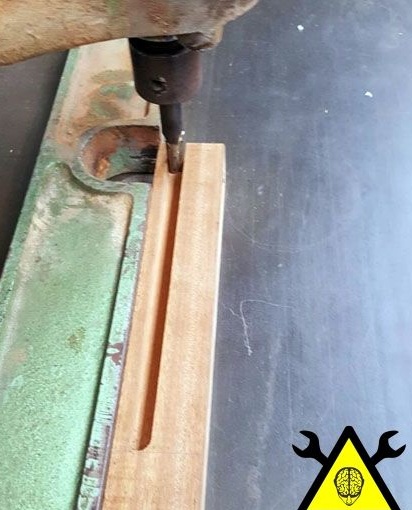
On the rails, which were originally intended for fixing the countertops, you need to make grooves in which the glass will be installed, the depth of the groove is 15 mm, the length is 18 cm, it is important that the diameter of the bur matches the thickness of the glass.
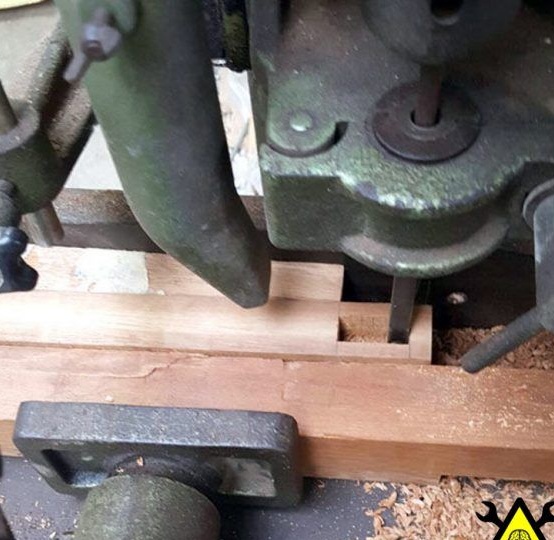
In it, you need to make a groove for installing the spike.To obtain smooth groove angles, we use a chisel.
Also, do not forget to make the spikes themselves, the choice fell on such a connection, since it is strong enough and does not require much time.
The spikes on the legs should fit snugly into the grooves on the mounting rails of the tabletop. If necessary, you need to adjust the sandpaper.
Step Four
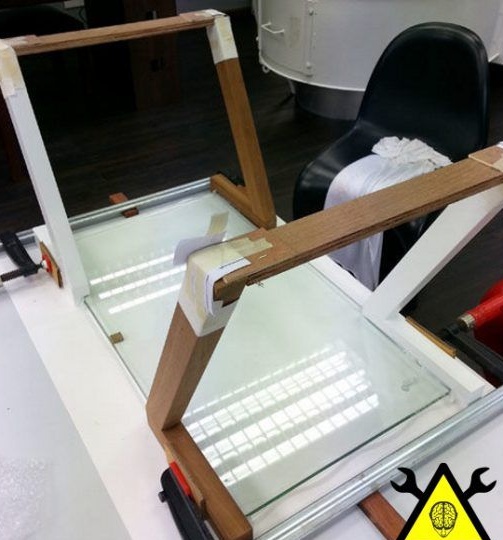
It's time to put the legs and mounts together. To do this, we need carpentry glue, spread the joints and fix with clamps, so as not to hold everything with our hands.
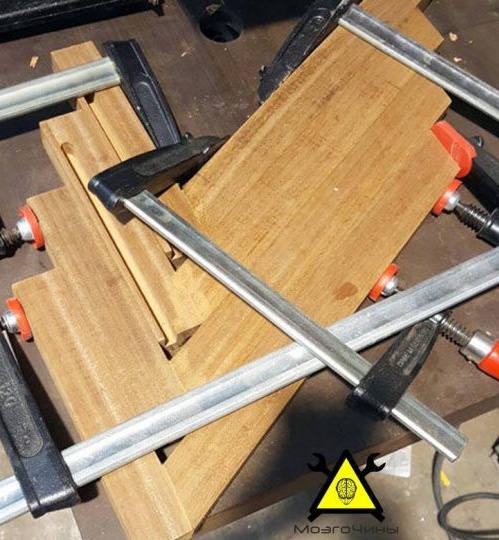
Then you need to leave the parts for a while, until the glue is completely dry. On average, the full time from gluing to drying takes a day.
Step Five
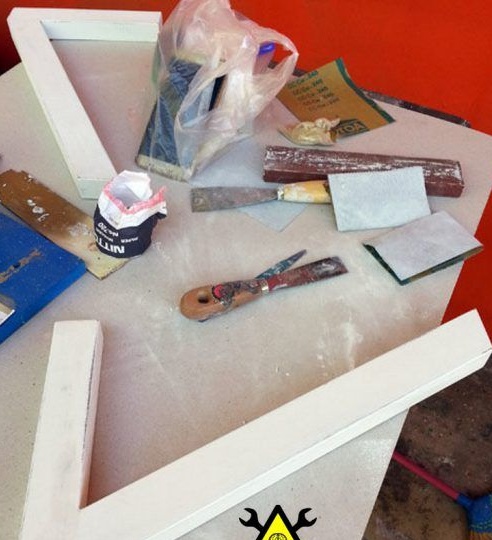
It's time to transform our finished "sevens". White paint will help us in this, apply it to two of the four legs of the “sevens” and leave it to dry completely. The remaining two legs do not need to be painted, this is such an idea.
Step Six
After the paint has completely dried the legs can be put in their rightful place, namely, connected to the countertop. Using molar tape, we protect the edges near the grooves. Then we put the glass tabletop on a flat surface, pour silicone into the grooves and put a leg on the glass, we also do the rest with the legs. The legs should be installed at an angle of 90 degrees relative to the glass. In order for the ends of the legs to be in the same plane, you need to make spacers, which we also connect to molar tape.
Silicone also needs to be allowed to dry for a while, after which it is possible to proceed to the finish stage.
Seventh step.
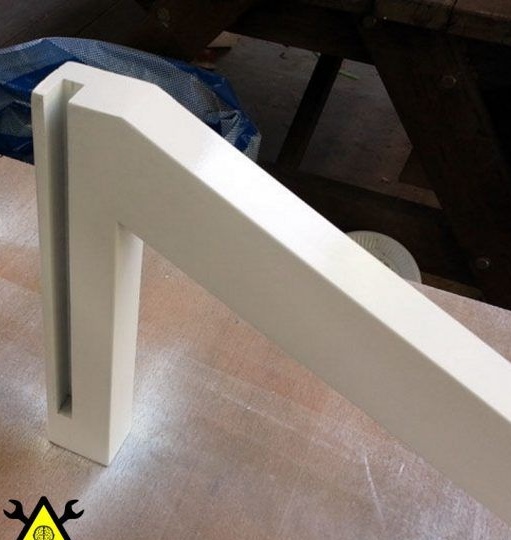
The silicone has dried up and the table is standing confidently, now it remains to cover the legs with a protective layer, in our case it is oil for wood. Apply it with a brush in a thin layer and let it soak into the tree. After that, repeat the procedure again, then with a dry cloth we make the surface of the tree shiny.
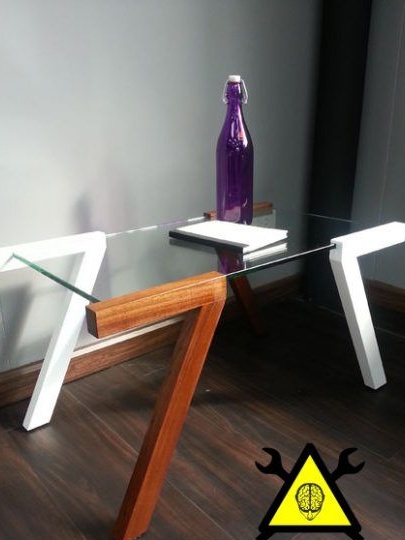
On this, a homemade coffee table "why not seven" is ready, its original look will fit into any interior, as well as give you a sea of comfort and help you spend an evening dinner at a table made do it yourself.
Thank you all for your attention.