Hello to all lovers homemade. In this article I will tell you how the author made the box do it yourself with stencil "rabbit". You can use such a box anywhere, in it you can store various small things or some valuable items. This homemade product will ideally fit into your interior, and your imagination will help to set the appearance of the finished product. A lot of material to create a casket will not be required, since its dimensions are small.
In order to make a homemade box for storing small things, you will need:
* Plywood sheet, 8-layer is better for greater strength
* Polymer glue
* Jigsaw and protective equipment, glasses and gloves
* Sandpaper of different grit
* Putty
* Two small canopies
* Screws and screwdriver
* Gas-burner
* Acrylic varnish
* Paint, color depends on your preference
* Manual milling cutter and milling cutter with a 45 degree angle
* Milling cutter
That's all the materials and tools that will help us assemble this homemade product.
Step one.
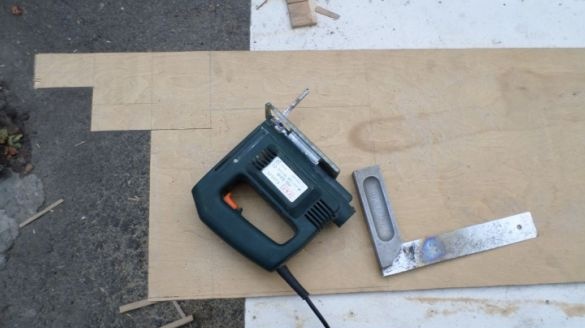
First of all, you need to mark the future details on a plywood sheet, which in the end will be the lid and the box itself. Even sides are best drawn using a square.
Step Two
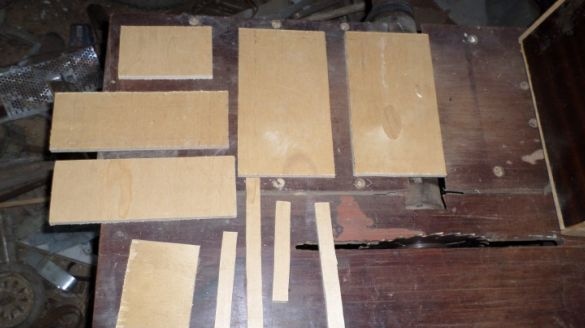
Now, using a jigsaw, you need to saw the details along previously outlined lines.
When working with a jigsaw, be careful and also remember to protect your eyes with protective glasses from accidental ingress of sawdust and wood dust.
Step Three
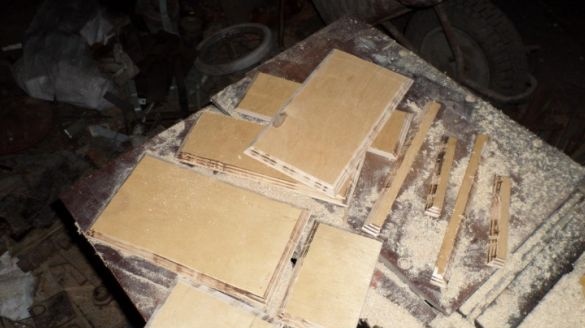
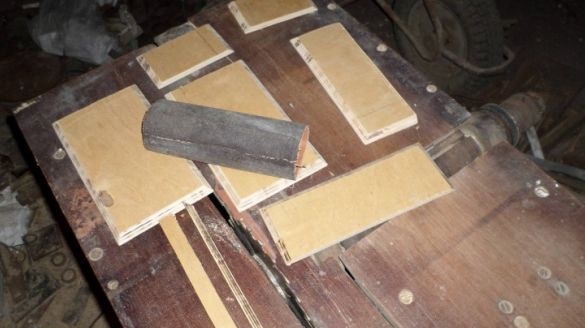
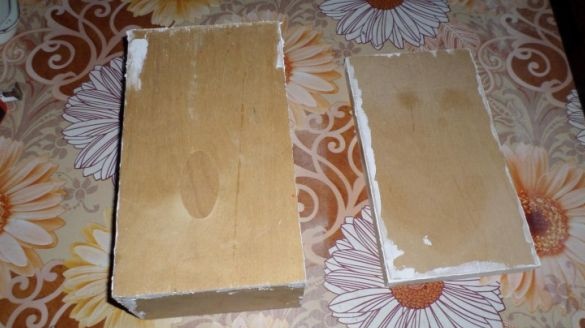
So that the plywood layers are not visible from the outside of the casket, we pass with a manual milling cutter along the edges of the milling cutter with an angle of 45 degrees. As a result, we get such inclined ends on the parts.
Step Four
In order to give a more favorable look to plywood, it needs to be sanded with sandpaper. In order to prevent the formation of large scuffs, it is necessary to gradually increase the grit size of sandpaper, starting from 200 and ending with 800 grit. The result should be a pretty smooth surface.
Step Five
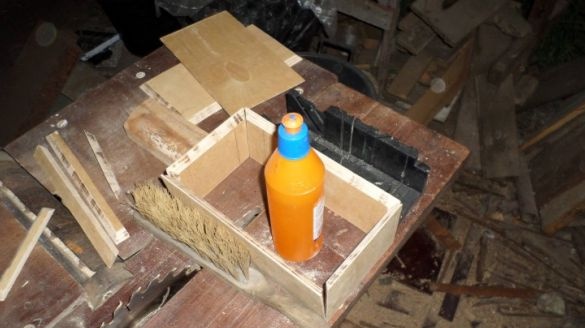
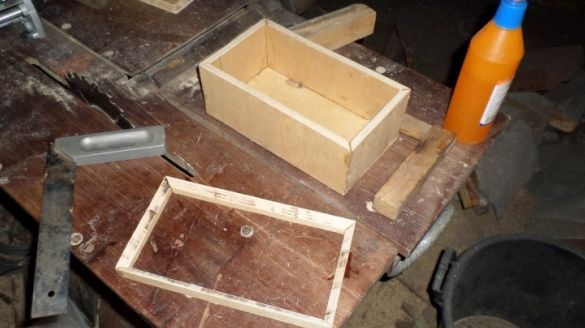
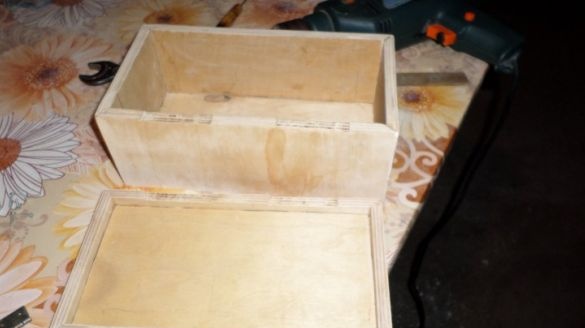
The time has come to assemble the casket, we will assemble it with polymer glue, which must be smeared at the joints of each wall and then fasten all the parts together. To avoid displacement of the workpieces, gluing must be carried out on a flat surface. You can fasten the parts with each other using clamps, having previously placed a cloth under their paws so as not to leave traces of pressure.
Similarly to the previous process, we glue the lid, its details also need to be sanded before gluing in order to exclude small kosyachki.
You can adjust the joints of the lid and box at the very stage of drying the glue, since it is still viscous.
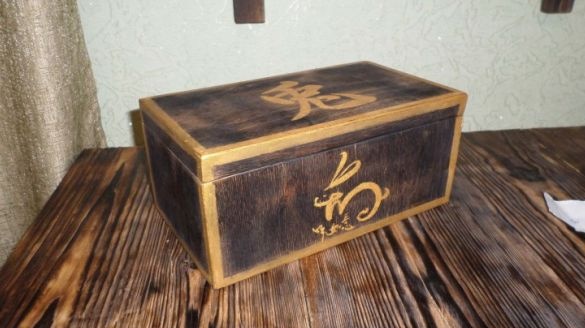
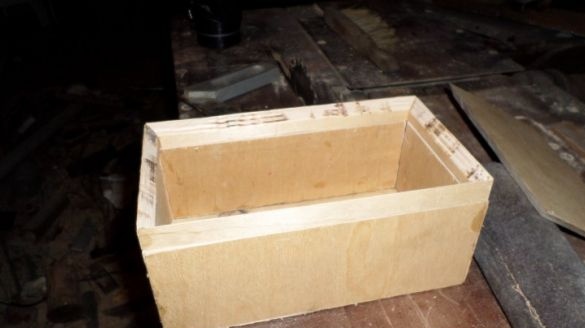
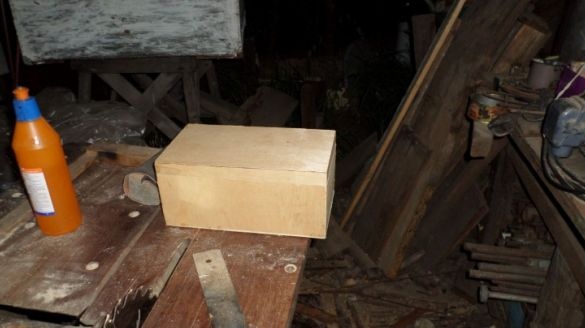
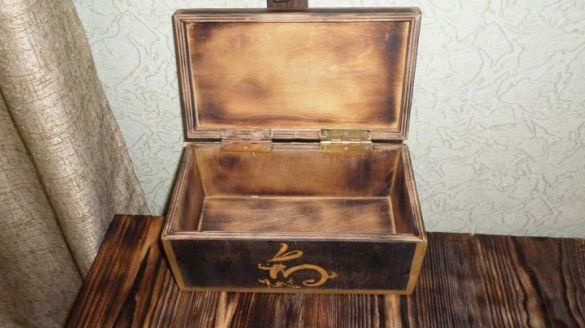
The result should be something like this box with a lid.
Step Six
It is time to putty cracks in the junction in order to give an aesthetic appearance. This stage could be excluded if it were not for milling small workpieces on weight.
Seventh step.
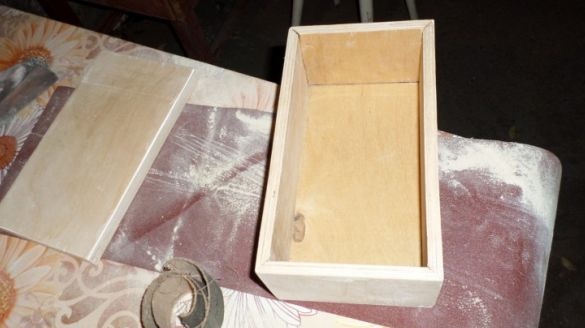
According to the previously said plan, we grind the entire surface of the box already over the putty joints.
Step Eight.
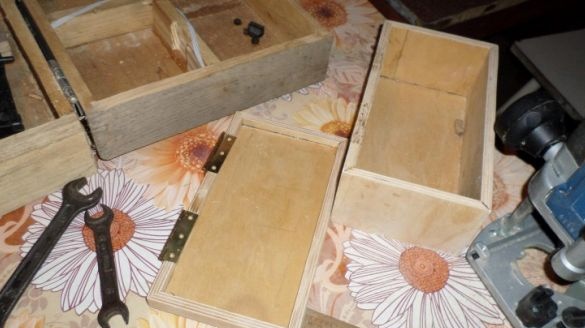
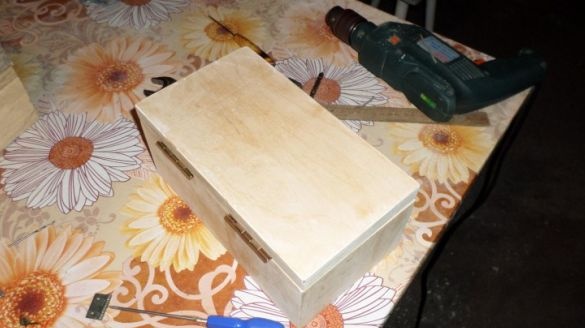
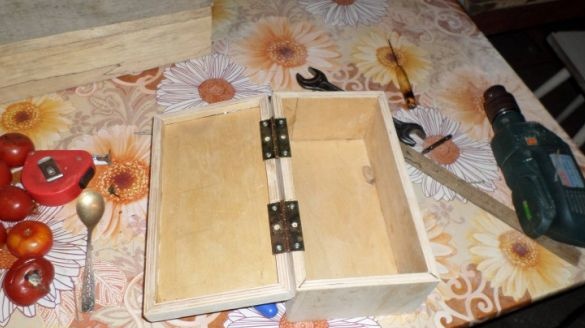
Now we need to make our homemade product look like a casket, namely to install awnings, so that it becomes possible to open and close the lid, as well as other copies. We make markings for future canopies and after that, with the help of a milling cutter and a milling cutter installed in it, we make small recesses, these will be the landing sites of the canopies.
We do the same with the lid, the recesses should coincide with those already made on the box. To check, you can throw on all the details and make sure that the joints and recesses match, if necessary, correct.
Step Nine.
Before connecting the lid and the box using canopies and screws, it is necessary to drill a hole with a drill slightly smaller in diameter of the screw itself, if this is not done, then most likely the plywood will go to crack at the junction of the layers, so this step is necessary.
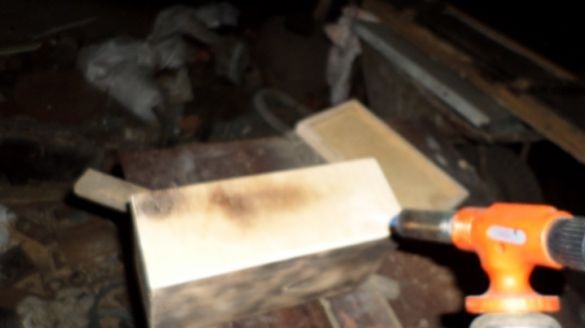
After the holes for the screws are ready, you can safely install the canopies and fasten them with a lid. Now you need to burn the box, before that you will need to remove the installed awnings. When firing, be careful not to overheat the plywood, otherwise it may twist, which is not at all desirable.
Step Ten
We return the canopies back to their seat and smoothly proceed to completion. In order to protect plywood against external influences and extend the life of the product, we cover the box with acrylic varnish. After the varnish dries, we proceed to create an individual look for our homemade product.
Step eleven.
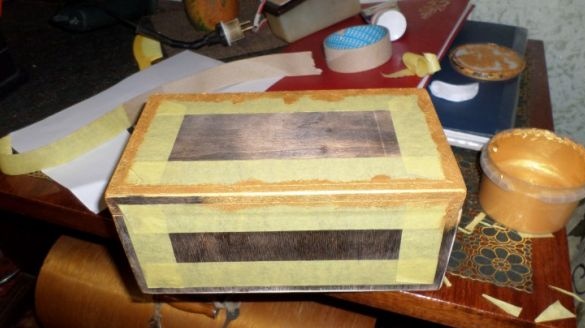
Using molar tape, we protect places that do not require painting and leave the edges that we paint with a sponge dipped in paint.
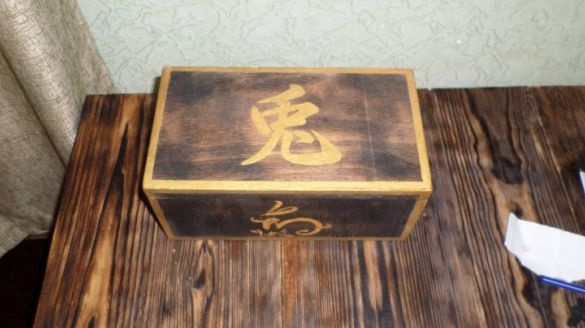
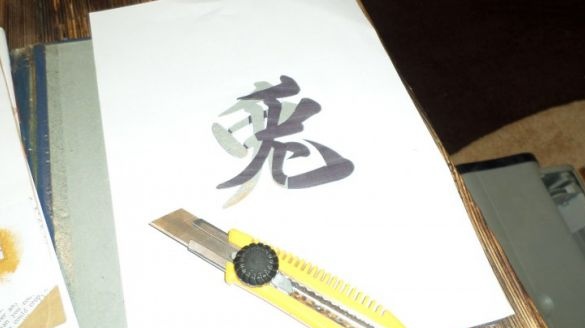
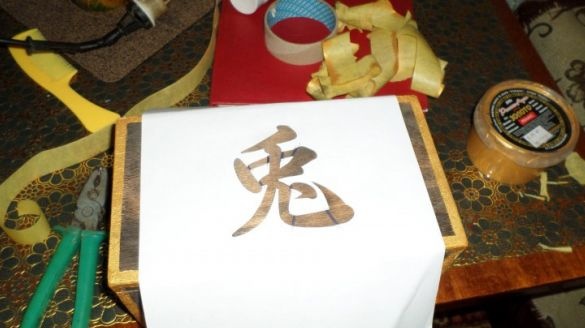
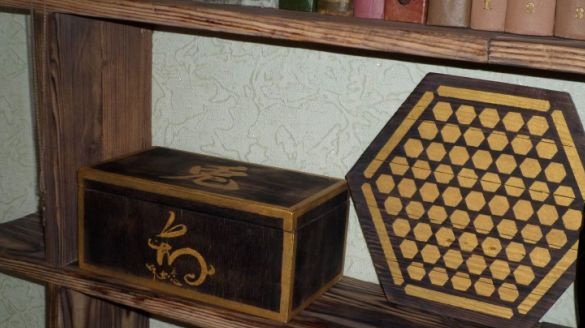
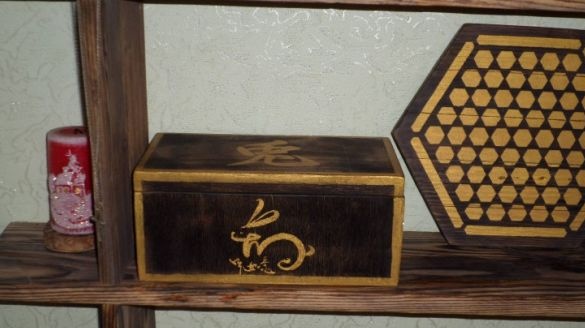
Now we cut the stencil in the form of the character "rabbit" and another stylized stencil of the rabbit on the side. Why exactly a rabbit? The thing is that the author’s beloved was born precisely in the year of the rabbit, in honor of which such a decision was made with a stencil. We apply the stencil and firmly pressing it to the cover, apply the drawing, do the same with the side, but using the stylized rabbit's stencil. We are waiting for the paint to dry and enjoy the result.
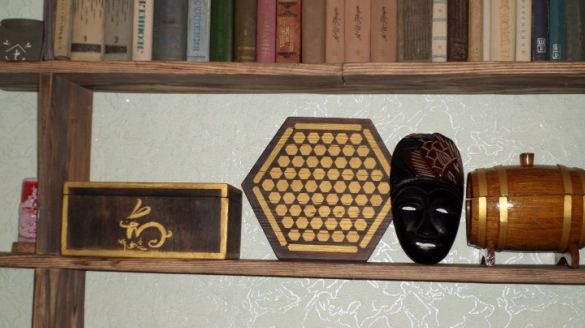
On this homemade box is ready. As a result, we get a beautiful thing made by our own hands, which, like its analogues, allows you to store various objects, in particular small things. And with its elegant and original look it will fit into any interior. The author of this box is located on a shelf with previously made homemade products.
Thank you all for your attention and good luck in self-construction.

