

Good day, dear visitors of this site, friends and interested. Very often, when buying new cabinets, cabinets, we did not think about the fact that for them you can make a home-made lighting system. But backlighting, as you know, is of great benefit, because cabinets and bedside tables in the house occupy a not very lighted place. To find a thing, item, clothing, we have to shift things, turn on various unnecessary power sources: flashlights, a telephone and other additional lighting. But as you know, this is not very convenient. And this is not convenient, the problem can be easily and simply solved by installing internal lighting for the cabinets and cabinets.
In ancient times, people used halogen lamps to illuminate these places. But they have a very big minus. This minus is that during operation they tended to heat up. Therefore, this lamp could have been severely burned, burned clothes, various things stored in a closet or in a nightstand. In order to avoid such unpleasant cases in modern life, we use LED backlights, LED lamps. These lamps do not heat up, but remain cold, even if we suddenly forget to turn off such lamps.
It was to solve this problem that I decided to design the LED backlight inside my nightstand and show you the manufacturing method in this article.
To make home-made lighting for the nightstand, I needed:
Instruments:
1) Soldering iron,
2) Glue gun and hot glue,
3) Pliers
4) A sharp clerical knife,
5) A simple pencil,
6) Square.

Materials:
1) Two LED boards with six LEDs each,
2) Connecting wires,
3) Waste plastic case from a CD,
4) Two nine-volt crown batteries (one already discharged and one new crown),
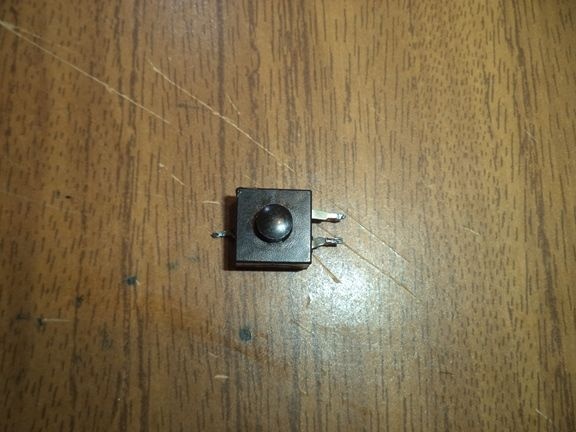
5) On / Off button.
The process of making home-made lighting for the nightstand.
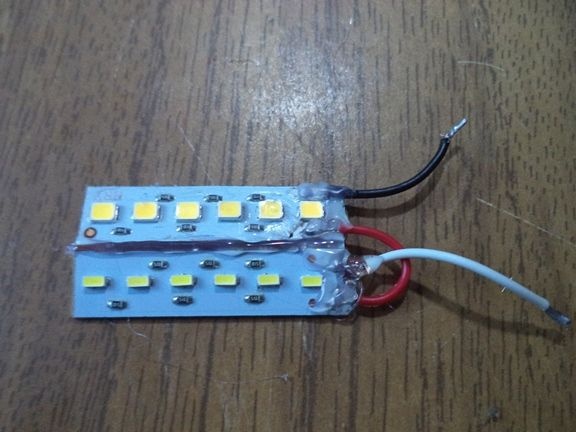
We take two LED boards. In my case, these boards are from old Chinese flexible usb lamps, which worked for a very short time.
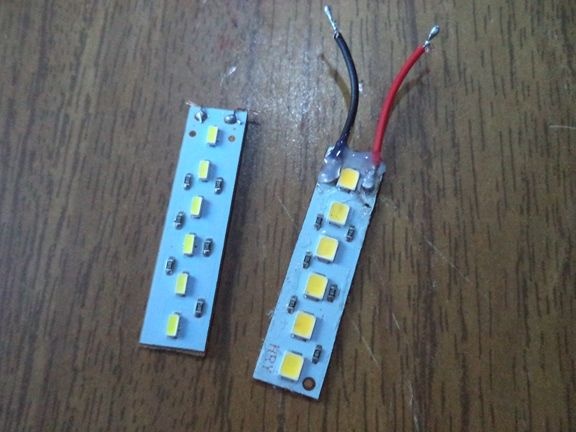
Connecting wires solder them in sequential order.

Using a glue gun with hot glue, we isolate the exposed contacts of the soldered parts.
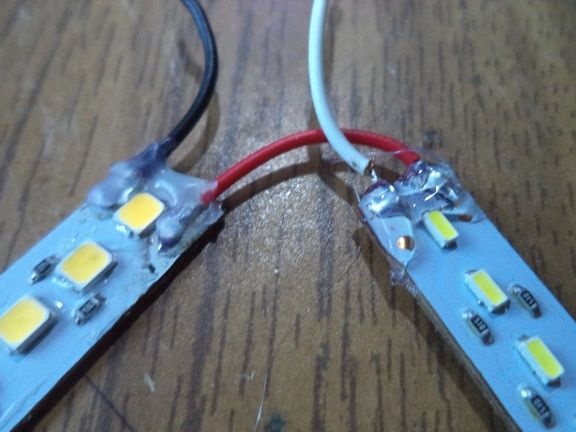
We glue these two LED boards with a glue gun using hot melt adhesive to each other at any angle.
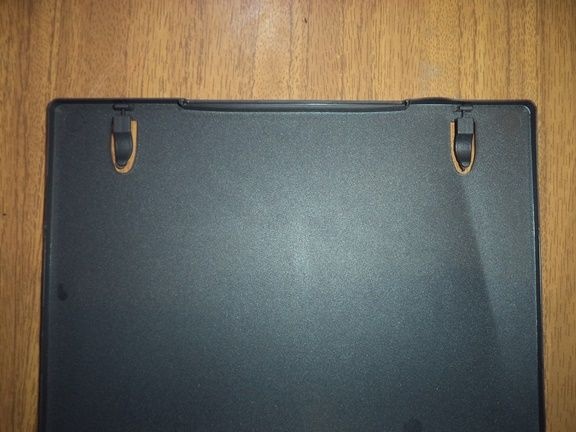
We take an unnecessary plastic case from a CD disk.
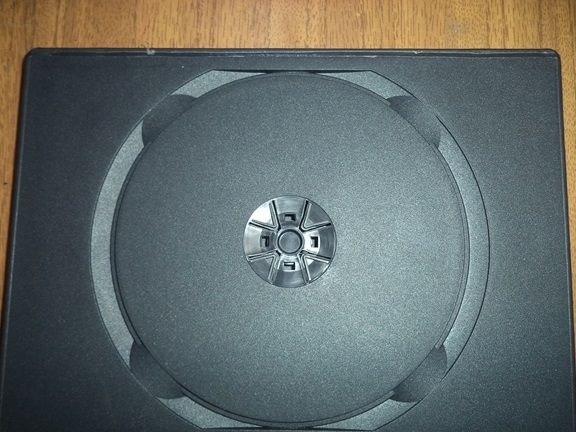
We cut off the front cover from it, since there are no different holes in it and so it is easier to unbend.
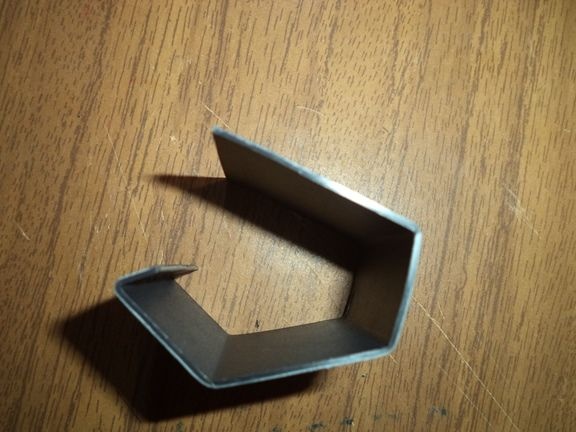
We take a nine-volt battery crown and measure its main dimensions: length, width, thickness. Then, with a simple pencil, apply the resulting dimensions to a plastic case.
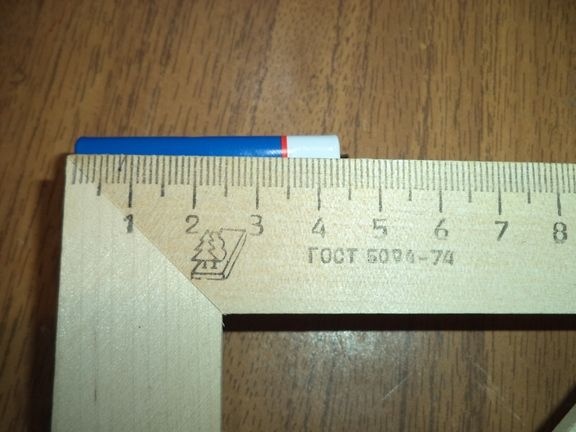
Do not forget to leave allowances in order to easily fit and remove the crown from its future case.
This should result in a drawing that we cut along the contours with a sharp clerical knife.
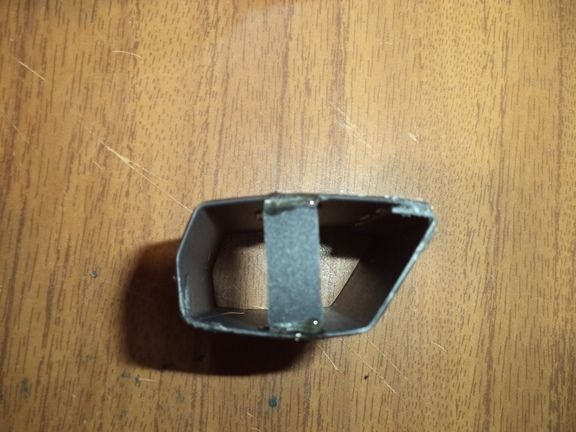
With pliers or just with your hand along the lines we bend the workpiece as follows.
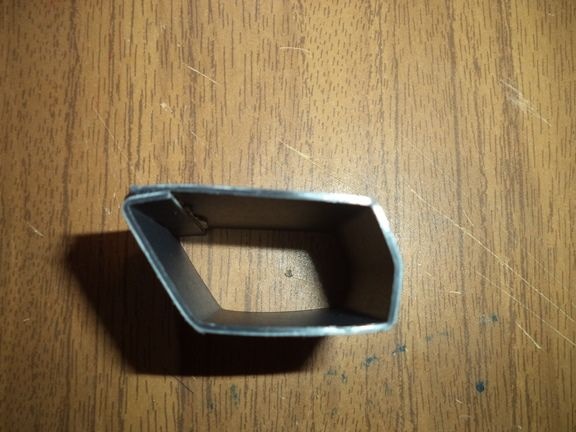
Using hot melt adhesive, glue the tips of the workpiece.
Next, we make the next part of a long rectangular shape.
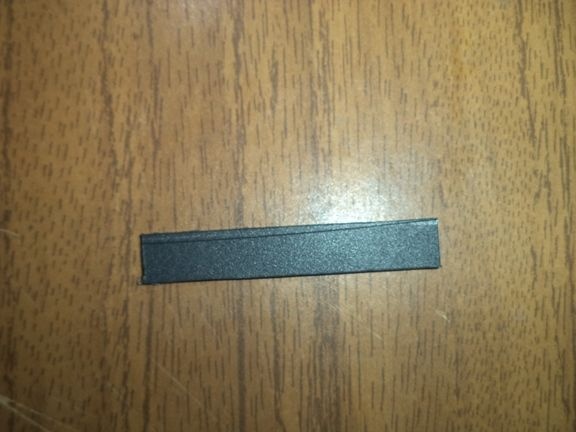
We bend it as follows.
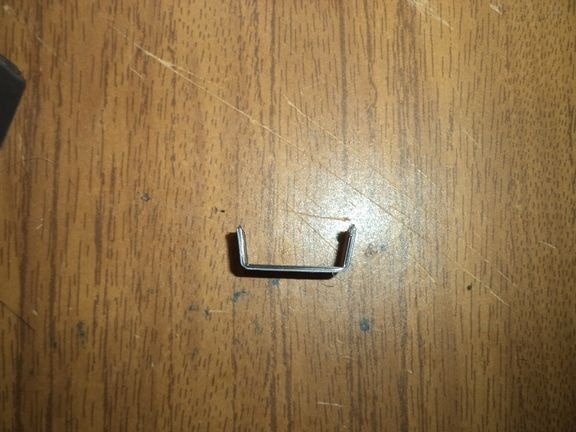
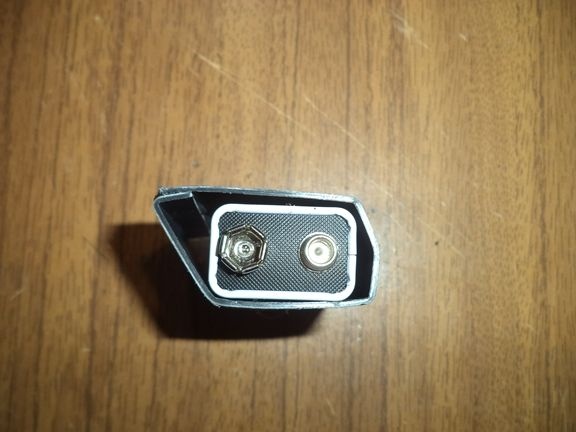
We insert and glue the resulting part inside with the edge of the case. This is necessary so that the crown battery does not slip on this side and that it does not fall.
This is how a nine-volt battery should freely and easily enter its resulting case.
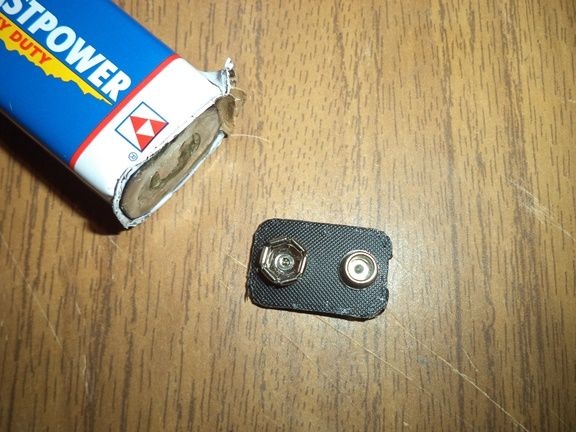
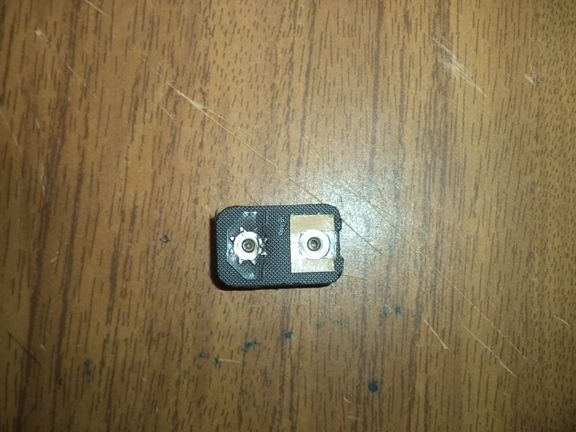
Now the old shrunken crown is useful to us. It is useful for the connector of the new crown, since I did not find any special connectors for this battery. To do this, carefully disassemble the crown of the old battery and remove its connector from it.

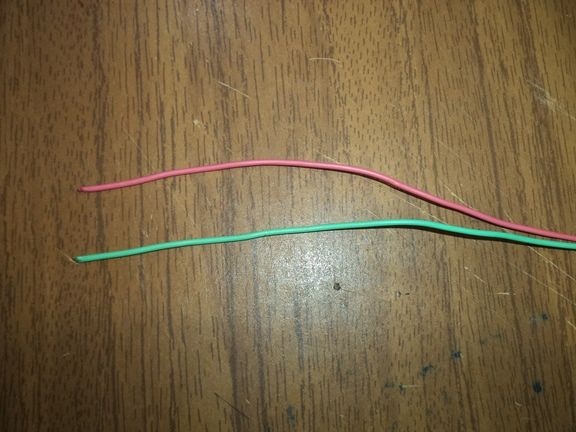
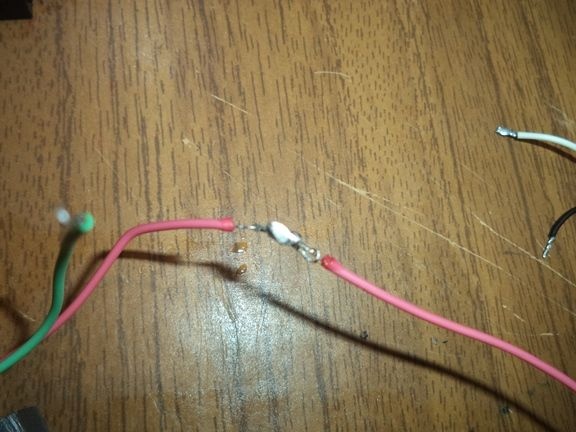
We solder two wires of different colors to it with a soldering iron.
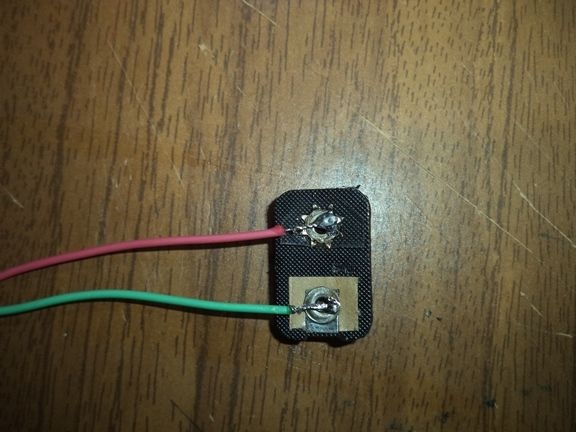
We isolate all contacts with a glue gun, cover with hot glue.
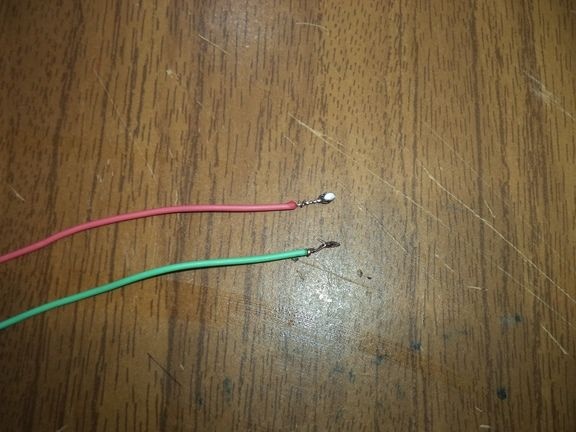
We clean the wires of the resulting connector from insulation with a clerical knife and cover them with lead-tin solder.
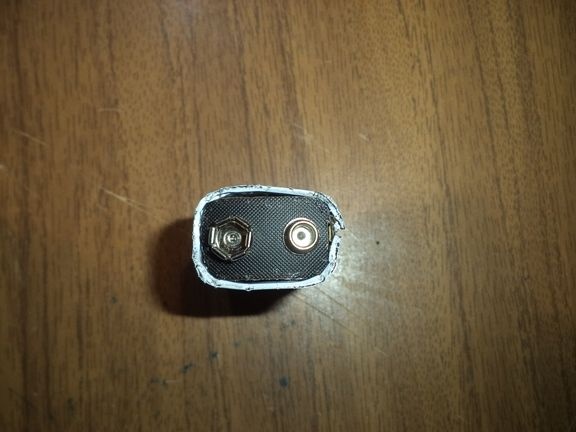
We make sure that the connector fits the crown connectors.
Insert the crown battery into its case.
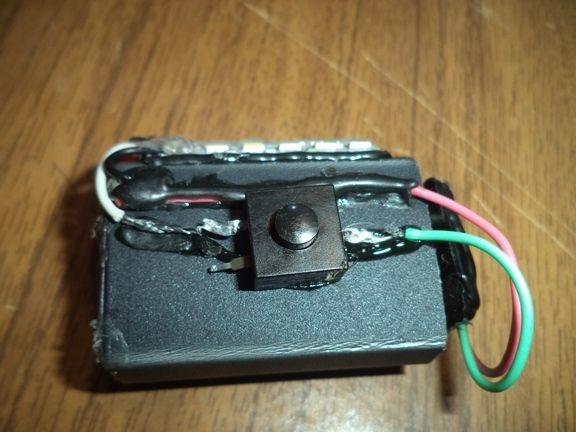
We take the on / off button and solder all the wires and the switch, observing the pros and cons.
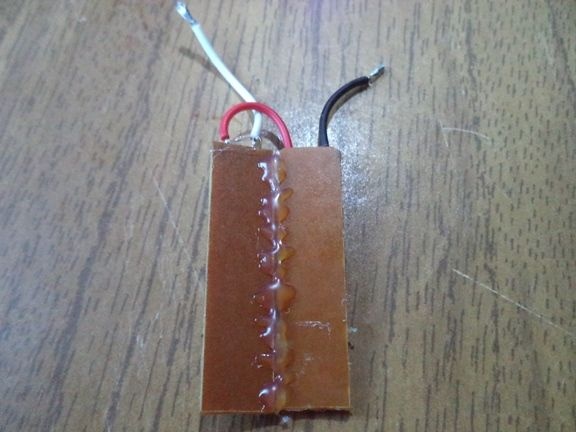
Before soldering, glue the LED boards to the base.
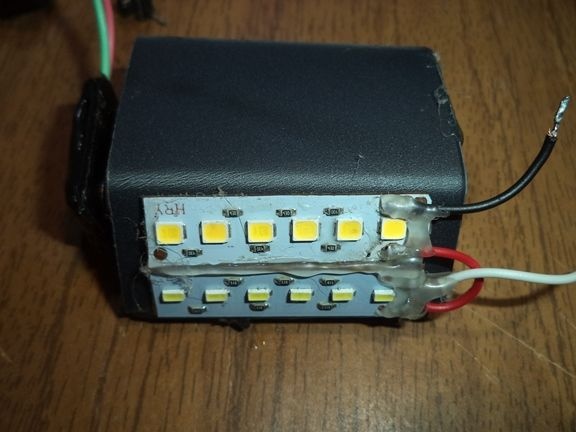
Now you can solder all the wires with each other.
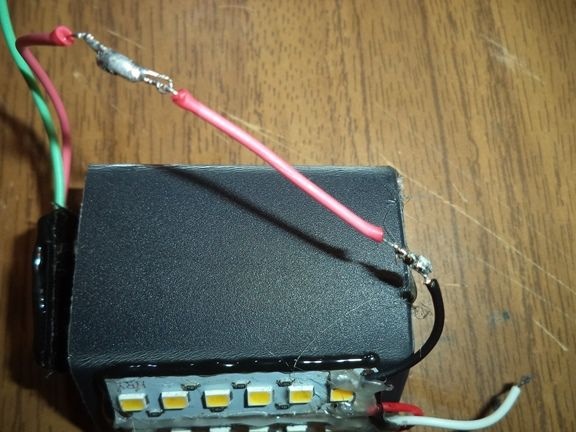
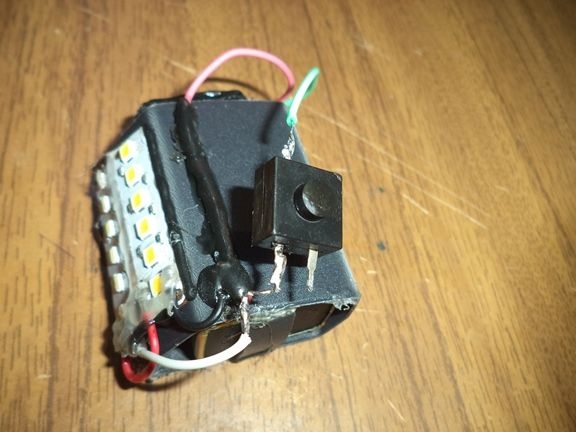
The soldered parts with a glue gun are hermetically glued to the base.
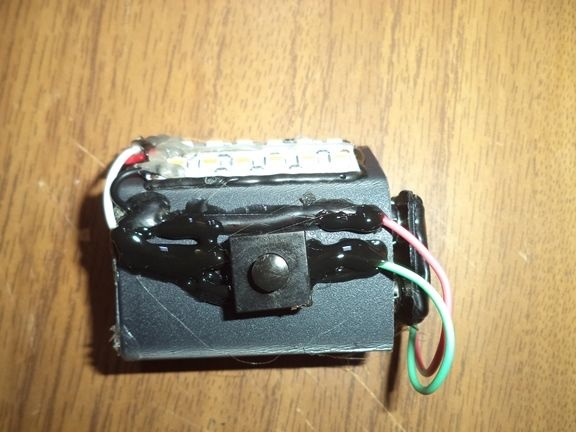
That's it, home-made lighting for my nightstand is ready.
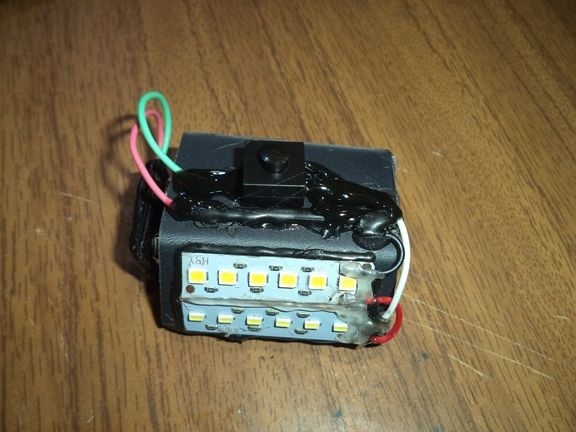
Now it needs to be fixed to the ceiling of the bedside table or cabinet and checked for operability and its function.
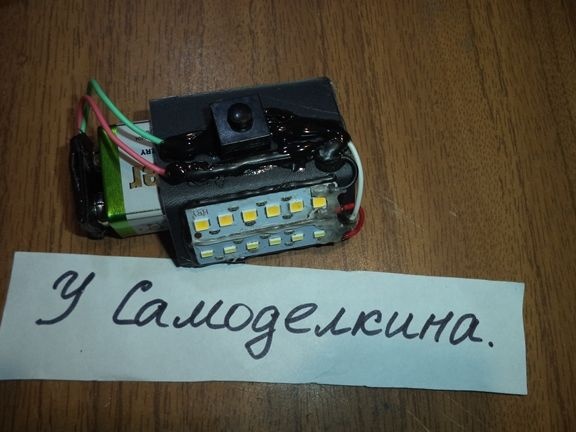
Here is the lighting in my nightstand in the daytime.
But how it works and everything is highlighted by a homemade lamp.
By disconnecting the connector, you can easily change the shrunken crown to a new one.
Now I can easily use this lamp without using flashlights or other power sources. This task is homemade coping. And that’s all for me. Thank you all for your attention!