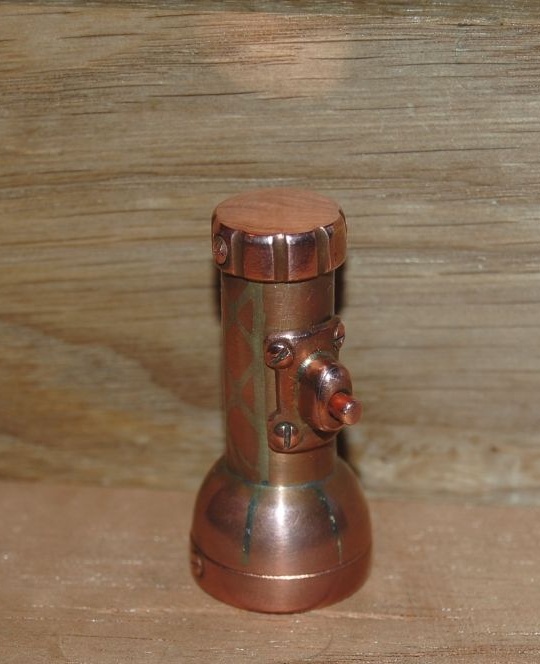
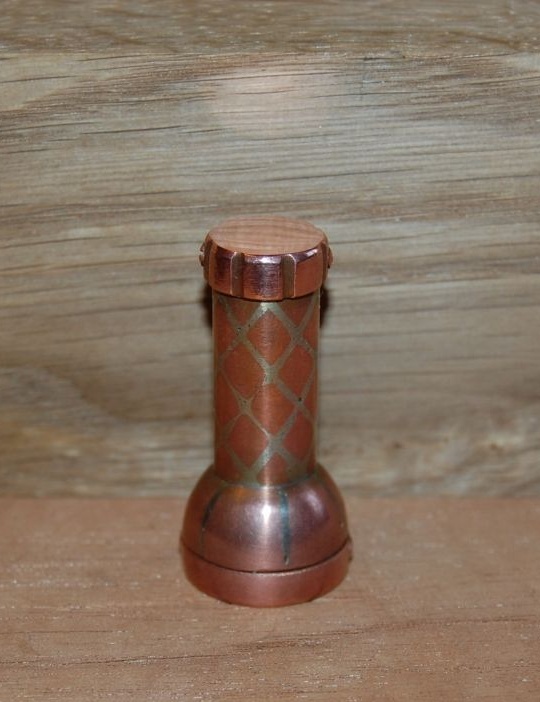
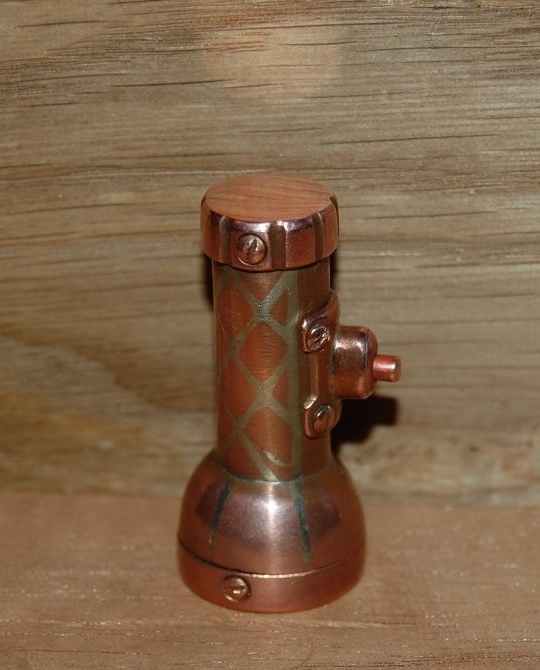
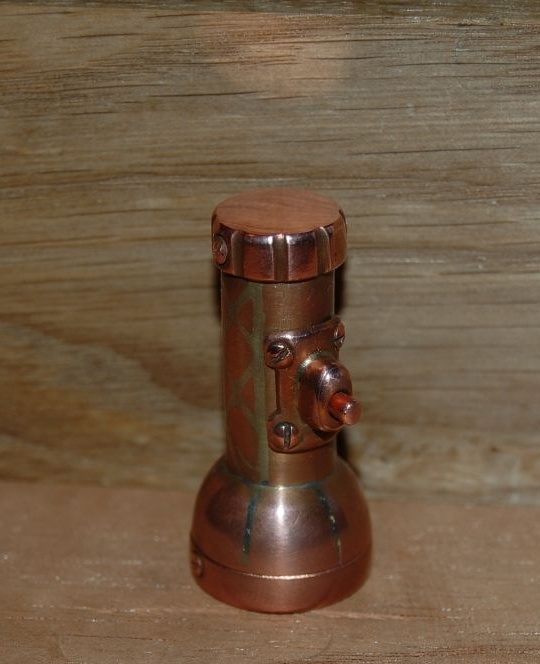
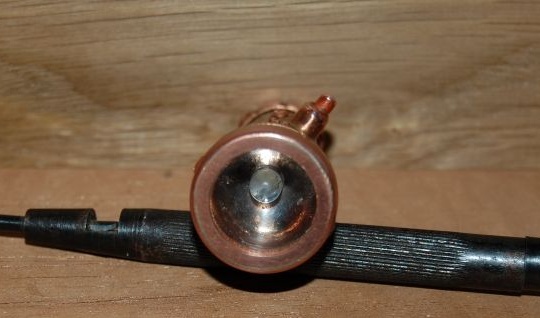
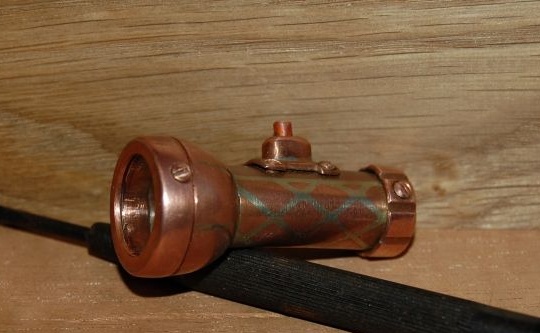
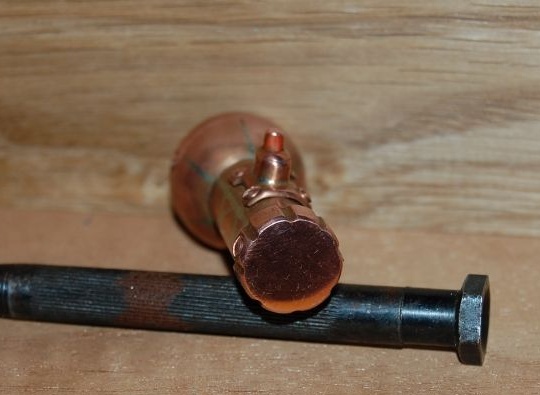
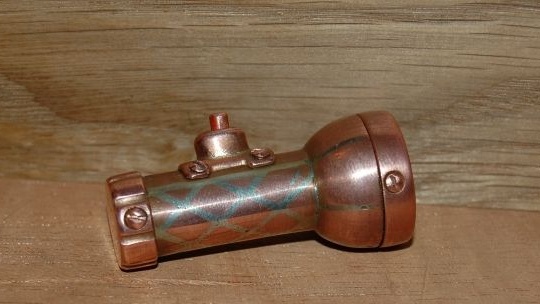
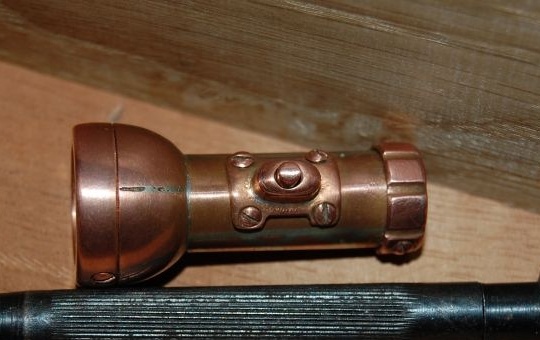
Dear visitors of the site, from the master class presented by the author, you will learn how to independently make a flashlight in the style of "
steampunk"
To date, this style is quite popular among young people, and the middle generation, it is not uncommon and the old people begin to get involved)))
It is understandable, the topic is interesting, and most importantly, technically expedient and quite profitable for masters who are directly involved in the manufacture of attributes and various unique gizmos.
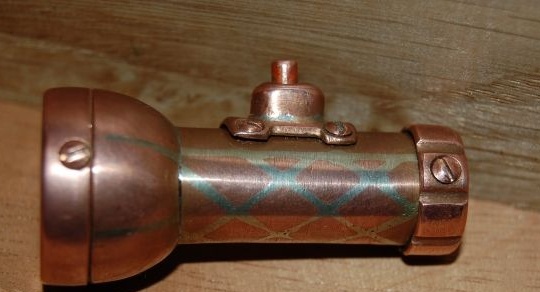
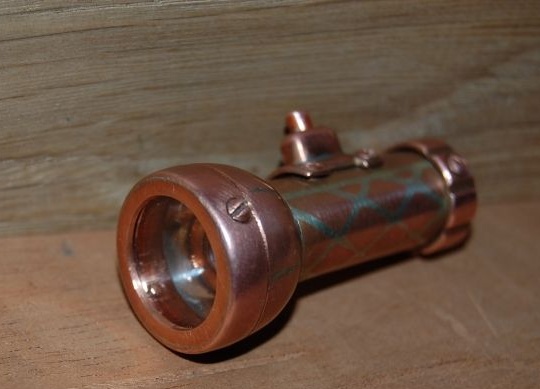
So our author once again decided to surprise the audience with his work, made a lamp entirely in a copper case + the handle has silver, which gives it a price)
And so, let's look at how the author created this steampunk lighting fixture and what exactly did he need for this?
Materials1. copper sheet
2. silver
3. lighting element (from the lighter)
4. glass
5. copper wire 2.2 and 2.3 mm
6. PIC
7. wire
Instruments1. stichel
2. drill
3. jigsaw
4. file
5. hammer
6. glass cutter
7. mini grinder
8. cone
9. vernier caliper
10. scissors for metal
11. sandpaper
12. burner
13. metal sheet
14. screwdriver
The process of creating a flashlight in the style of "steampunk" do it yourselfAnd so, it’s worth mentioning right away that the flashlight was not quite simple because the author used precious metal (silver) in its assembly a little of course, but still)
At first, the master wanted to make a composition of copper and brass, but during the work it was revealed that brass is very difficult to melt and the author used silver.
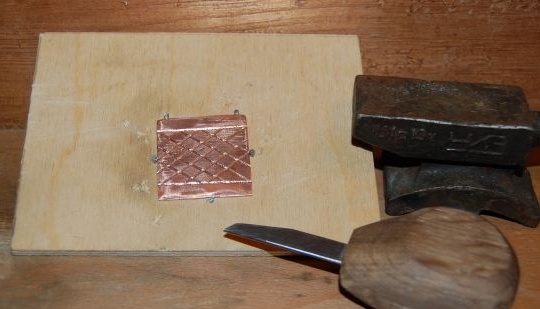
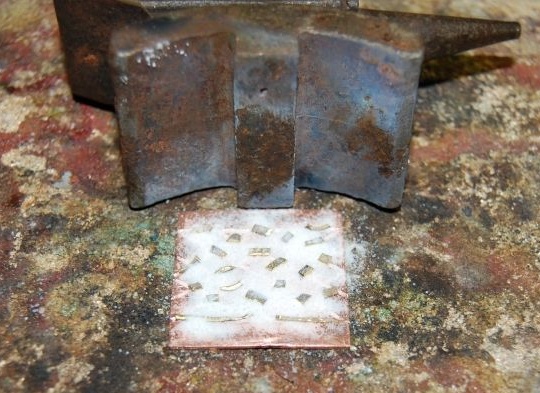
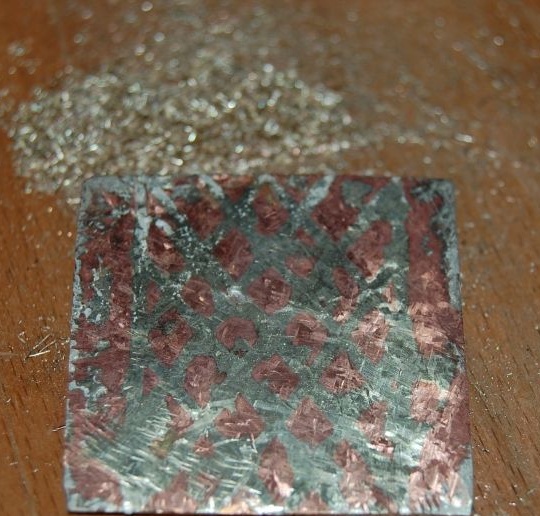
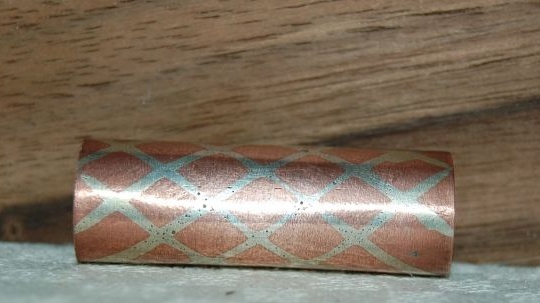
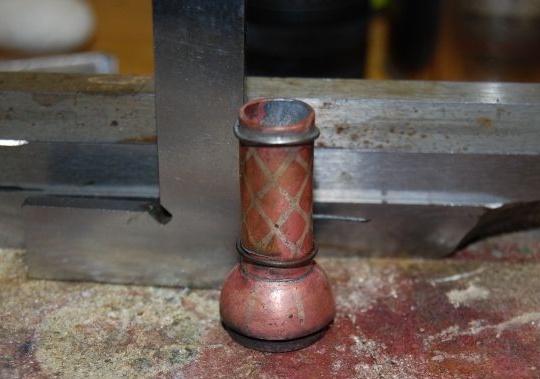
Slots in the form of a net were made on the blank for the handle of the lantern with a special tool (shtikhel), after which silver was cut into pieces and melted directly on the copper surface using a torch.
With metal scissors, the author cut a blank from a copper sheet and made a groove in the form of a mesh with a shtikhel.
I cut silver into pieces and spread it on the surface of a copper billet, with a relief.
Then, with the help of a burner, the silver melts and it fills the grooves made by the shtikhel, respectively, monitors the uniform distribution of metal over the entire surface of the copper sheet.
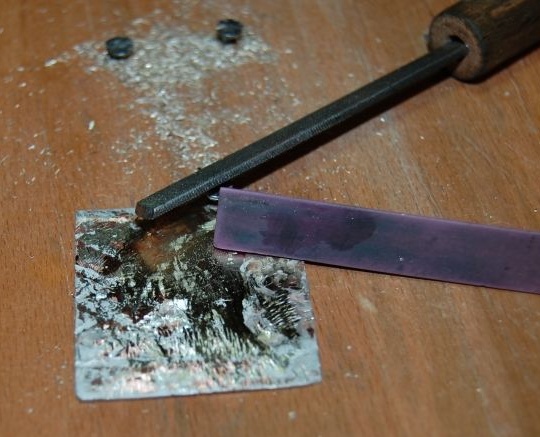
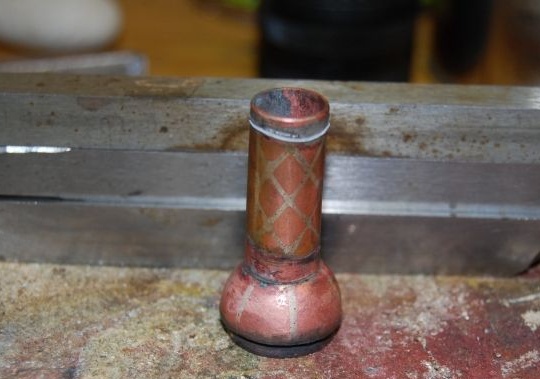
After the silver is melted and distributed over the entire plane, the master removes excess metal.
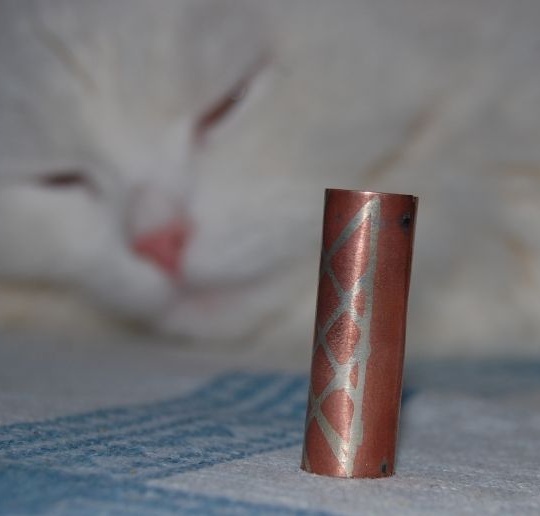
Next, the resulting workpiece is folded into a tube.
The joint is soldered by the author of the PIC, because silver can leak with excessive heat.
And now the most difficult part of the task is completed.
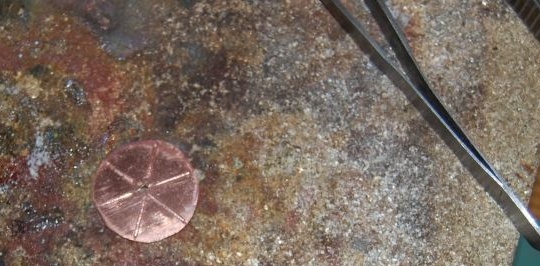
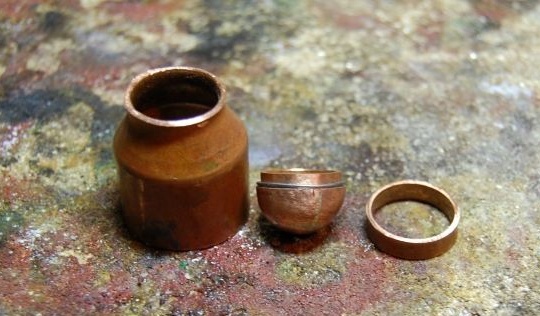
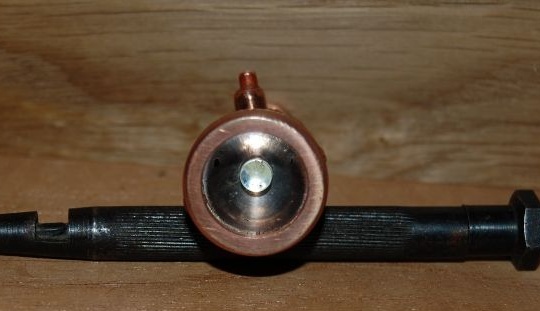
Then the master makes a blank of the reflector from the same copper.
Sets the shape and draws with a steel ball from the bearing.
That's actually what happens.
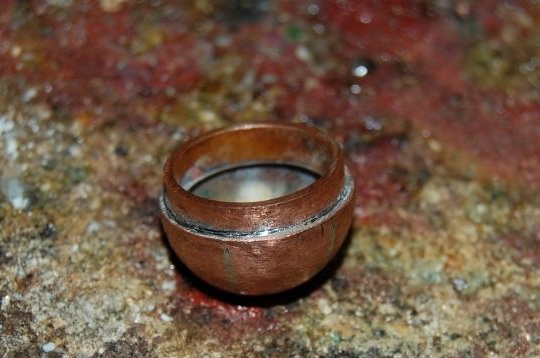
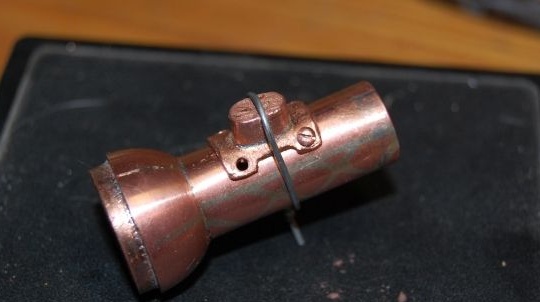
Next, the master solders the reflector to the housing of the handle of the lamp.
It also solves on the PIC.
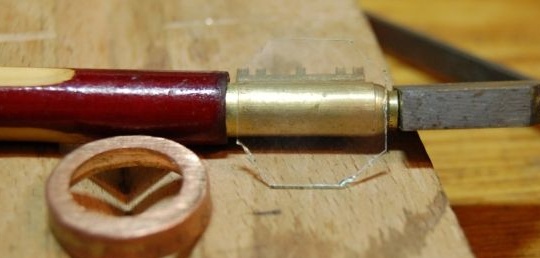
Glass is cut using a glass cutter.
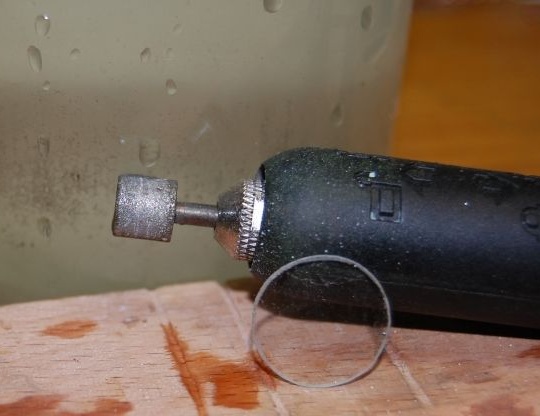
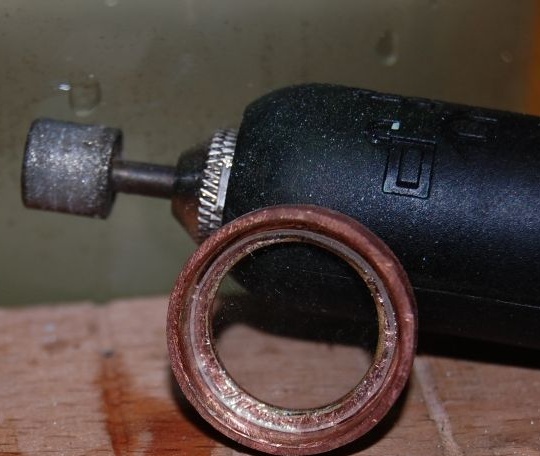
But the author sets the correct shape of the glass blank using a mini grinder with a roller cutter in a bath of water.
Elements of the lantern itself are also polished and excess solder removed.
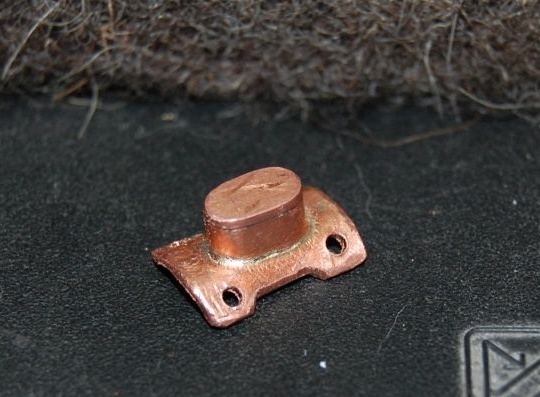
The master also made a button, it is also made of copper, respectively.
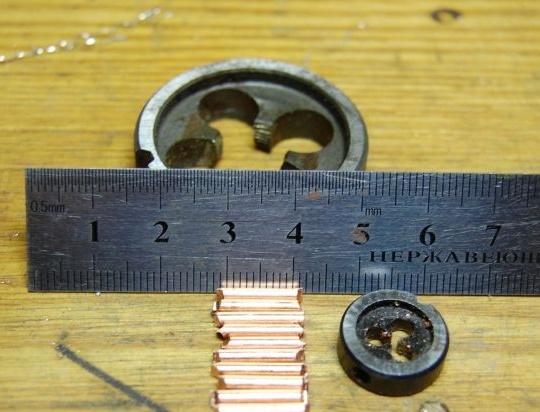
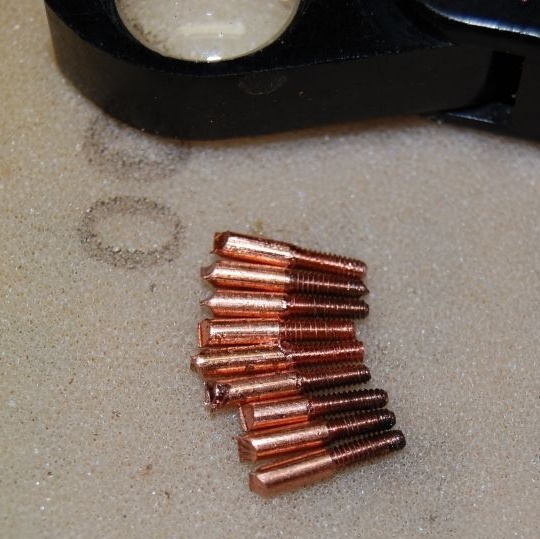
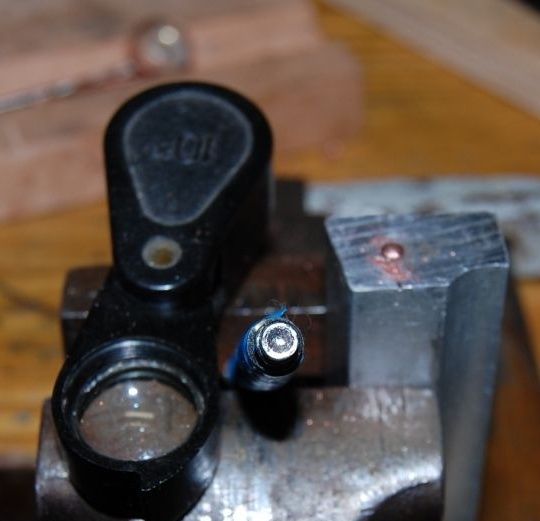
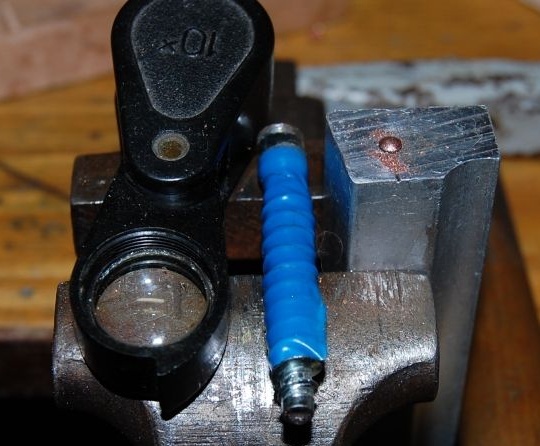
Then he begins to manufacture bolts, for which he uses copper wire 2.2 and 2.3 mm
Thread M 2 is cut.
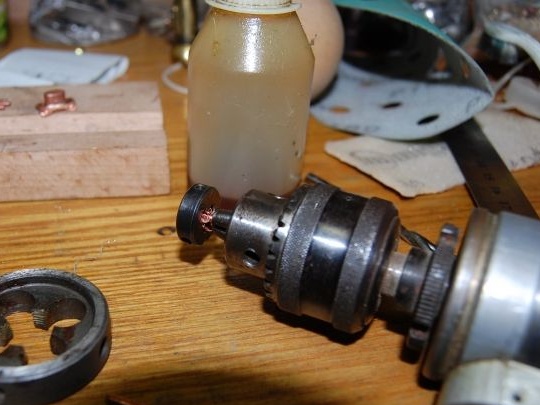
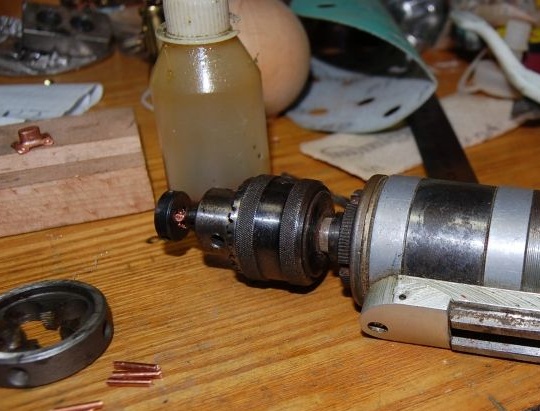
For threading, the author uses a tap and a drill.
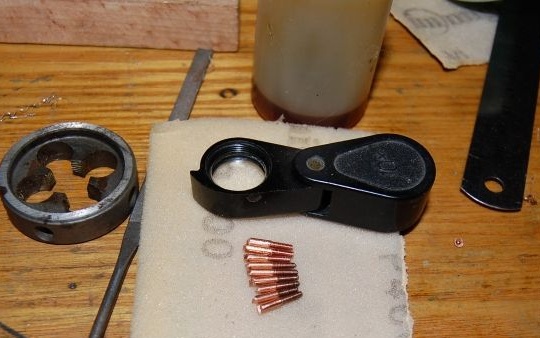
Here is the result.
The thread is threaded.
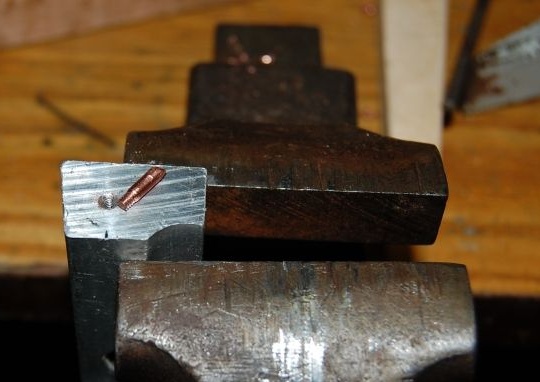
Then the author screwed the workpiece into a metal blank with a pre-cut thread.
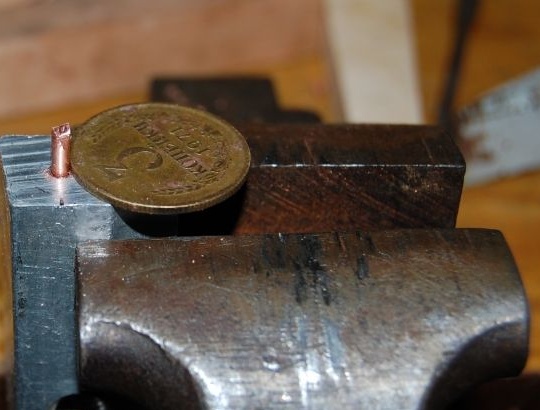
Using a coin, the master determines the height of the bolt head and saws off.
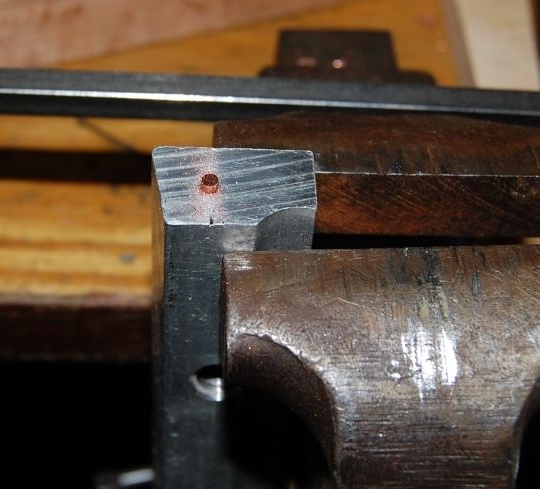
As can be seen after the cut, only a few millimeters remained on the surface.
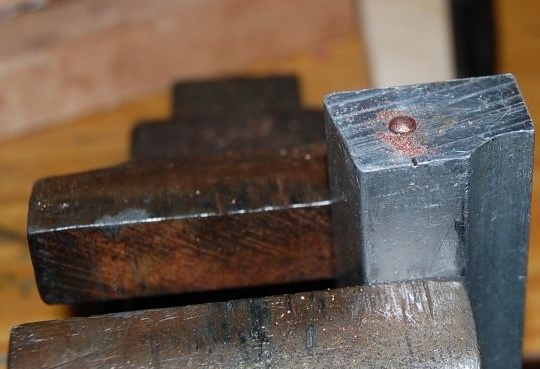
Next, the head is formed using a hammer and a euro screw.
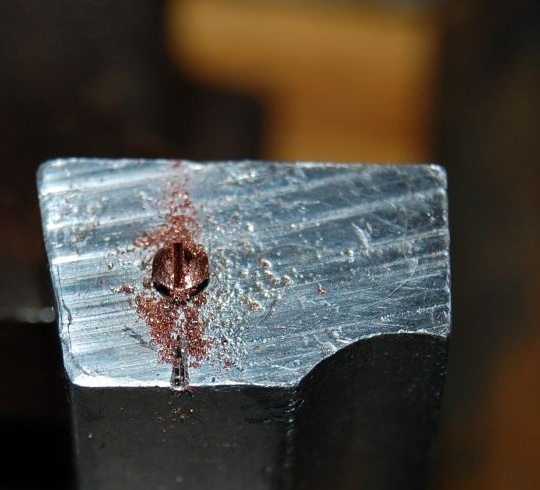
It turns out this kind of hat.
Almost done, the last touch was left.
A cut is made with a jigsaw and with a screwdriver you can twist, twist the bolt.
The button is screwed with these bolts.
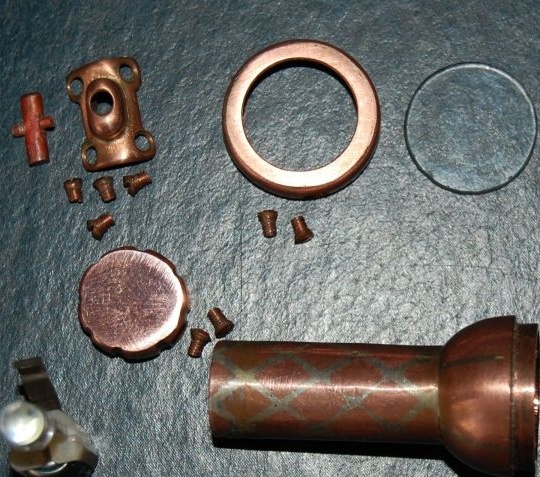
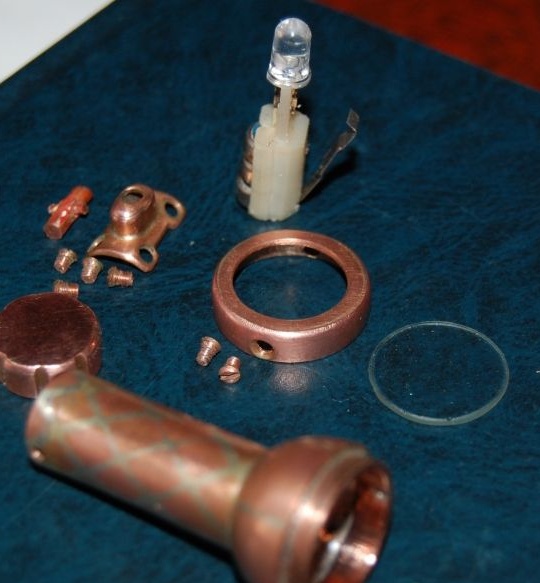
All parts of the lamp before assembly.
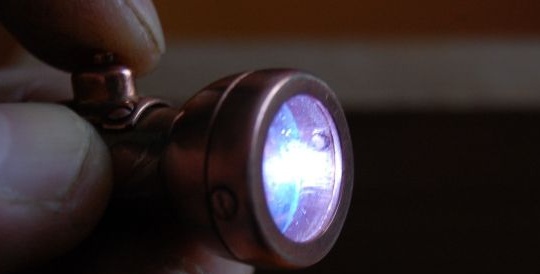
As a lighting element, an LED taken from a lighter with a backlight serves as a lighting element.
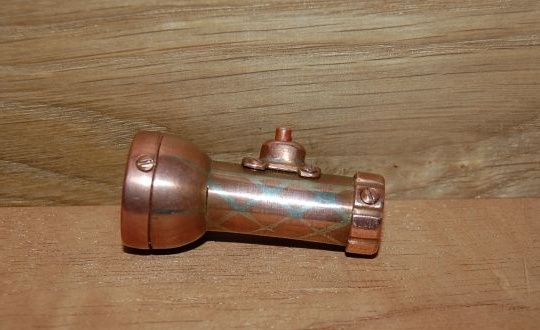
The whole structure is assembled together and here is the result itself.
Check) Everything works great.
Well, here is such a wonderful lamp from our author that the most important thing is that it is unique and no one has such a second, which is very important in our time.
The master recommends everyone to do more creativity and creation, to study, develop and grow above themselves!
This concludes the article! Thank you very much for your attention!
Come visit often, do not miss the latest in the world of homemade goods!
This article is for informational purposes only!
