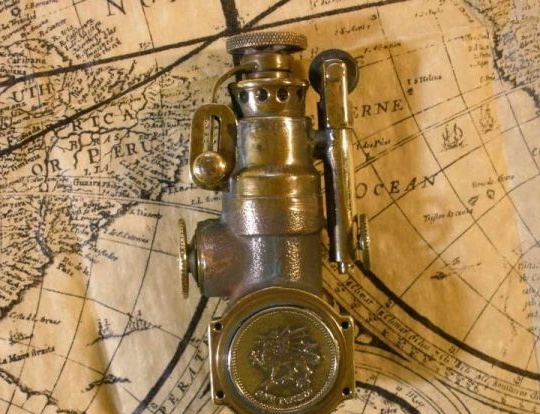
Steampunk lovers often use plumbing in their work, because the main part is made directly from copper and brass. And the masters just work only with non-ferrous metals, so a broken nut, a tap, a tee, everything goes into the business of these guys) From which they create in essence masterpieces, and their trump is unique.
And so, let's take a closer look at the entire process of creating a lighter, get acquainted with the list of necessary tools and materials.
Materials
1. brass tee
2. brass bar 8 mm
3. nut
4. flint
5. wick
6. cotton wool
7. coin (1 lb)
8. PIC
9. caster wheel
10. spring
11. bolt
13. nut
Instruments
1. lathe
2. vernier caliper
3. drill
4. drilling machine
5. hacksaw
6. hammer
7. screwdriver
8. cutter
9. file
10. sandpaper
11. burner
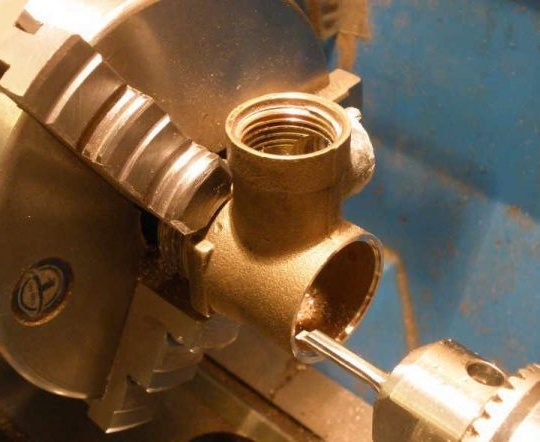
The process of creating a lighter from a plumbing tee do it yourself.
Our author has long been engaged in the manufacture of a variety of unique gizmos in the style of "steampunk"and he has already given this lighter 58 in a row, so the master has a lot of experience behind him. What is most important, all the work is absolutely unique and does not look like one another, which is quite important these days.
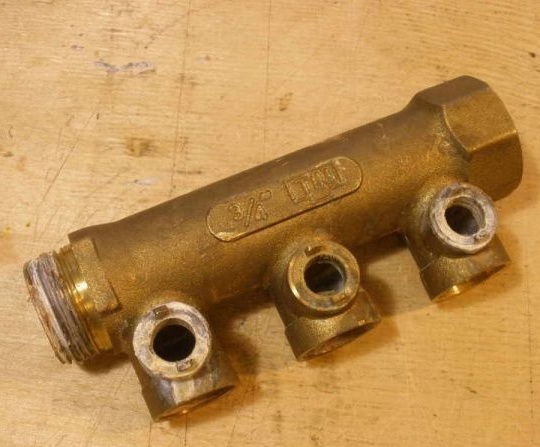
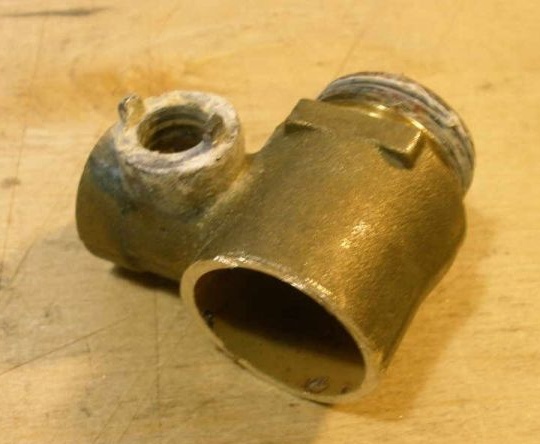
After another replacement in the house of leaking plumbing, the author had some more material for the manufacture of lighters and other steampunk attributes, namely a tee. In the head of the master, an image of the future product was instantly outlined and he immediately took up work)
That's actually the same tee.
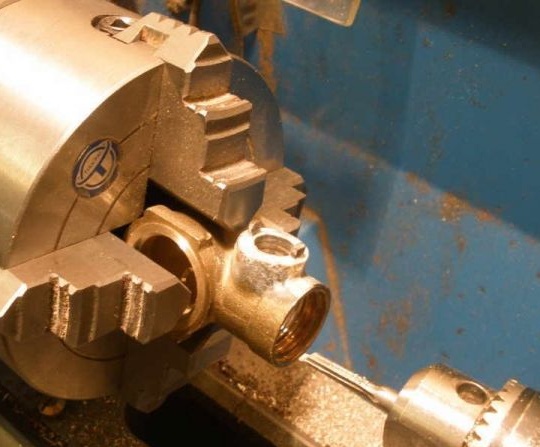
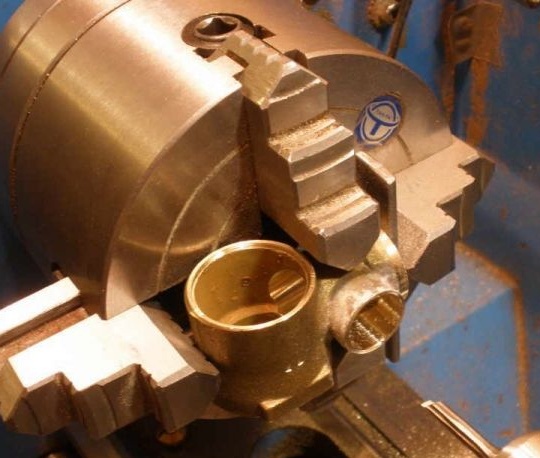
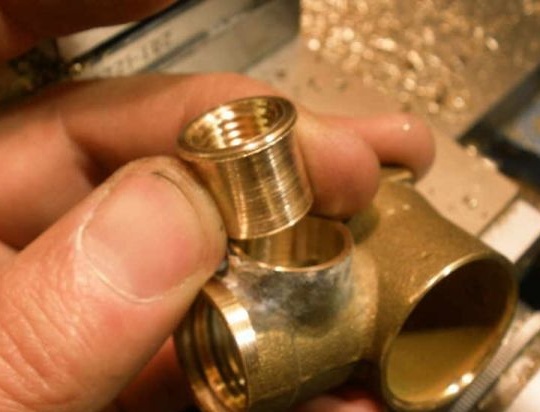
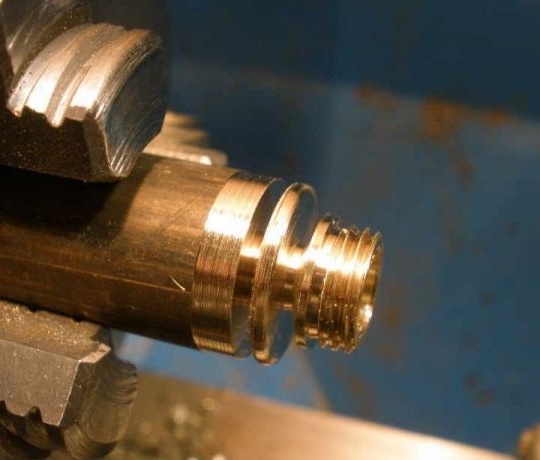
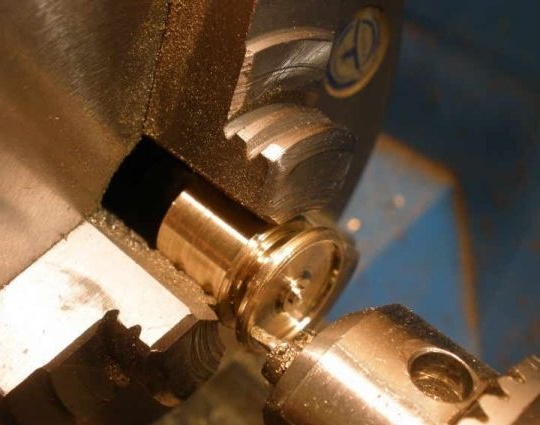
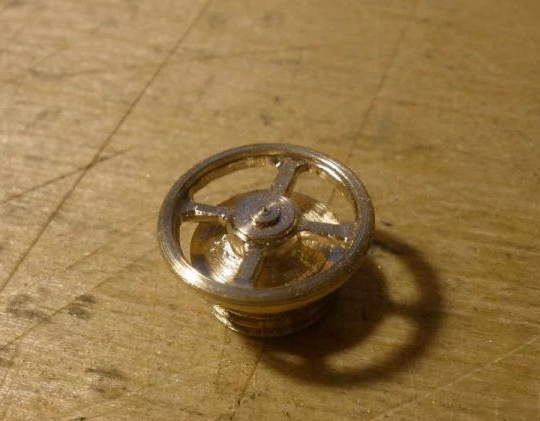
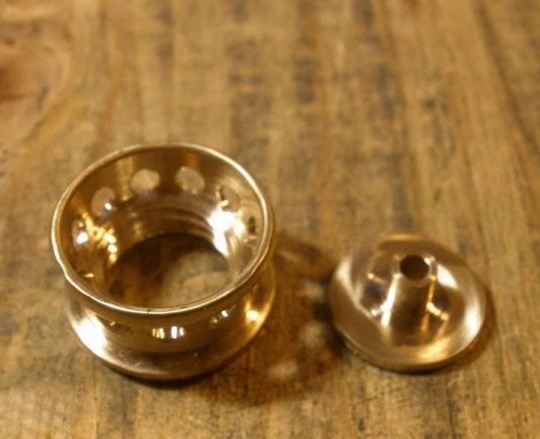
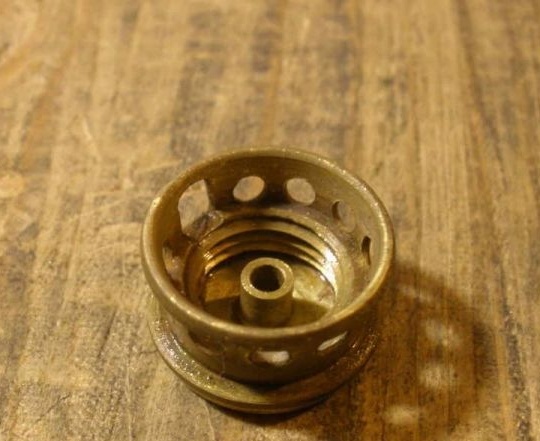
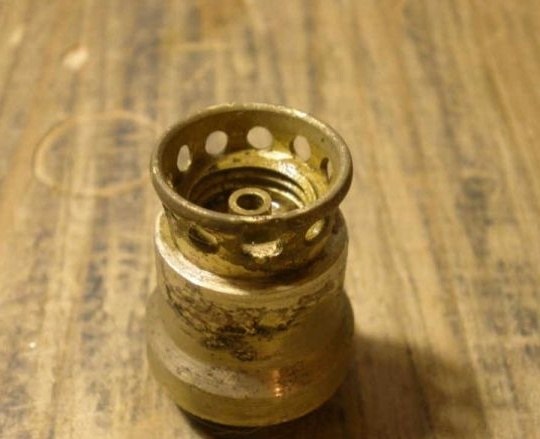
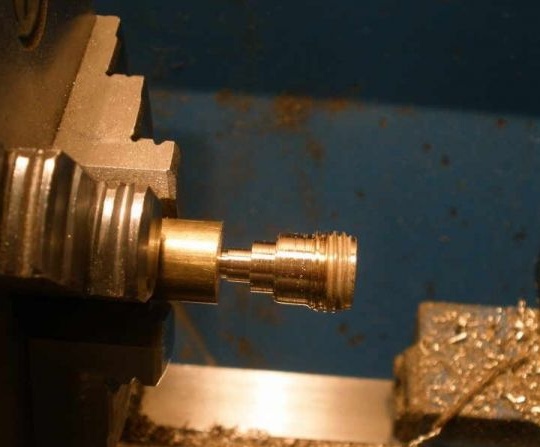
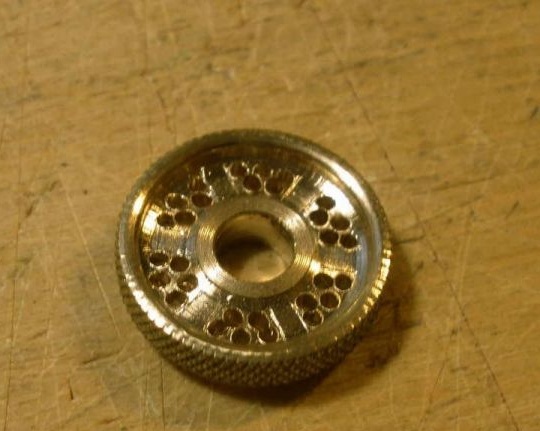
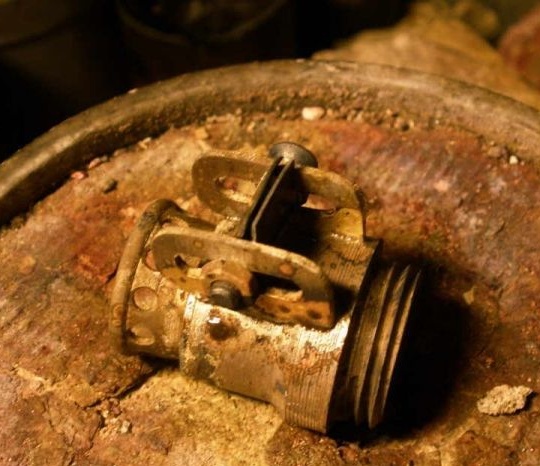
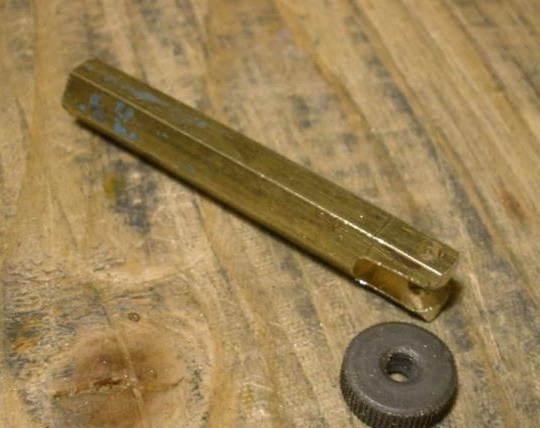
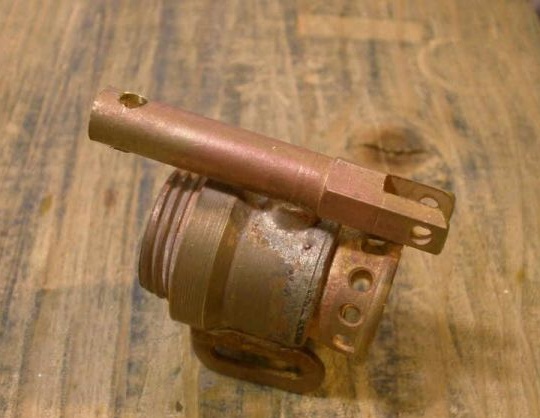
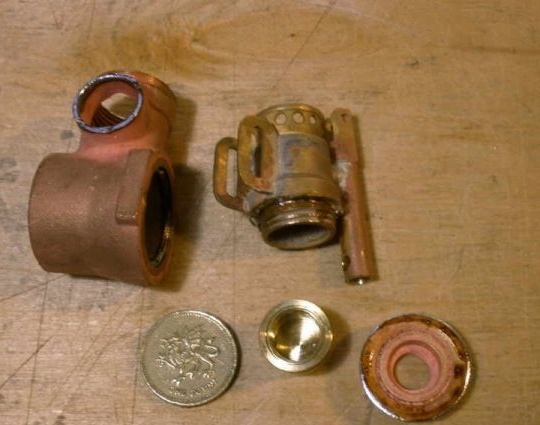
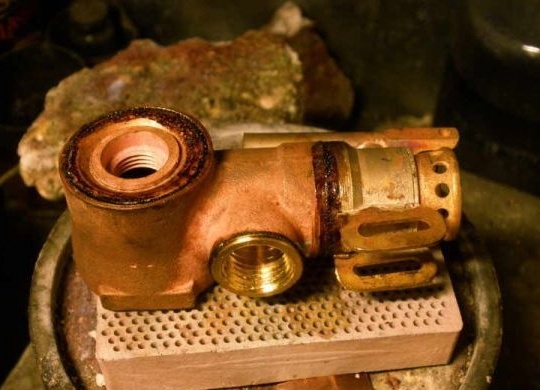
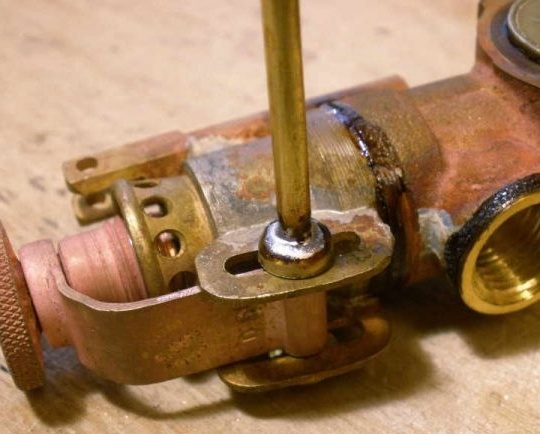
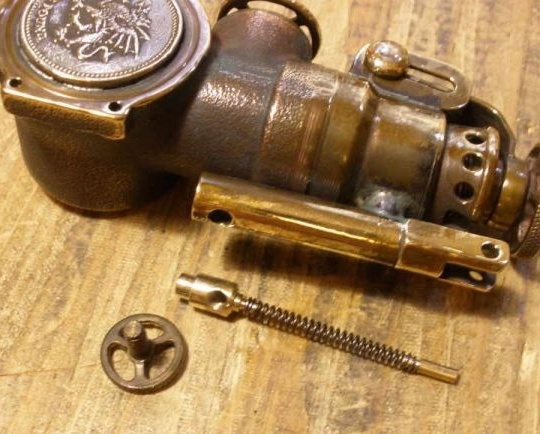
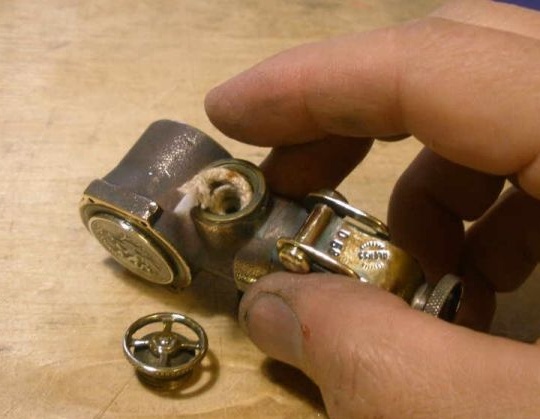
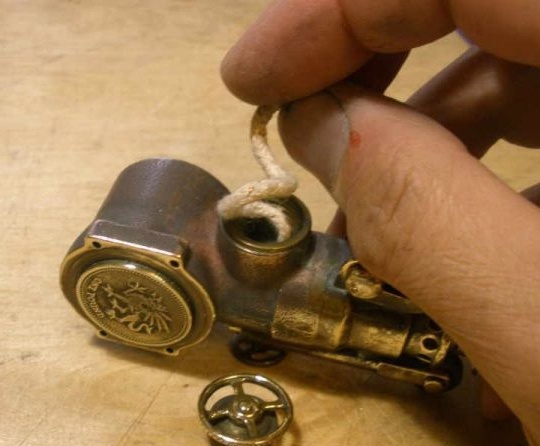
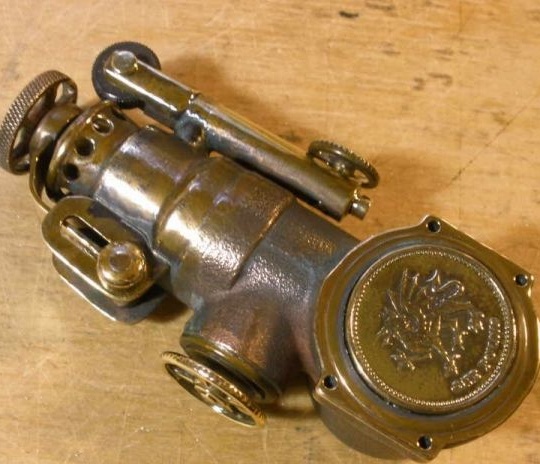
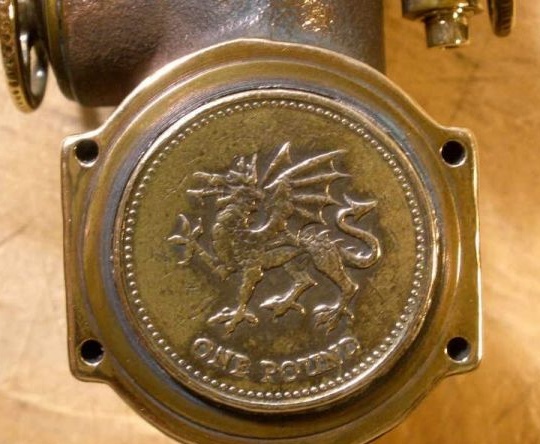
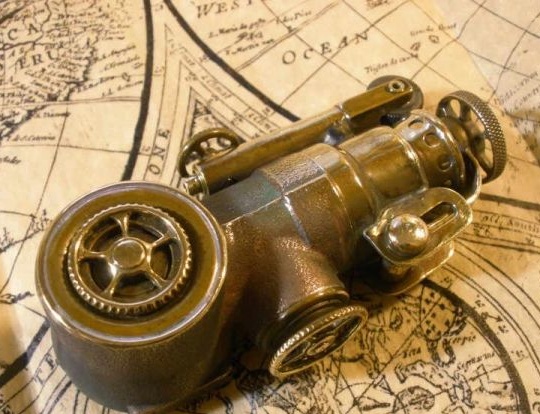
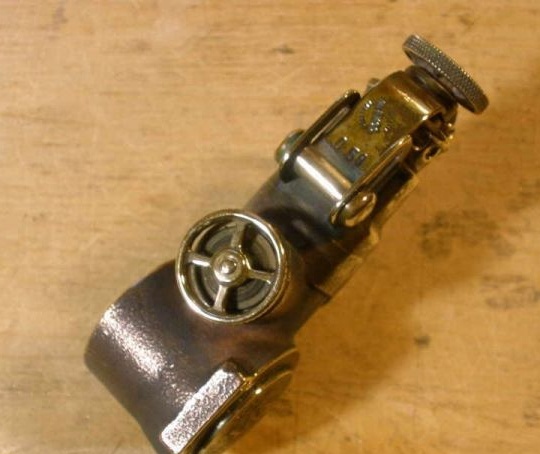
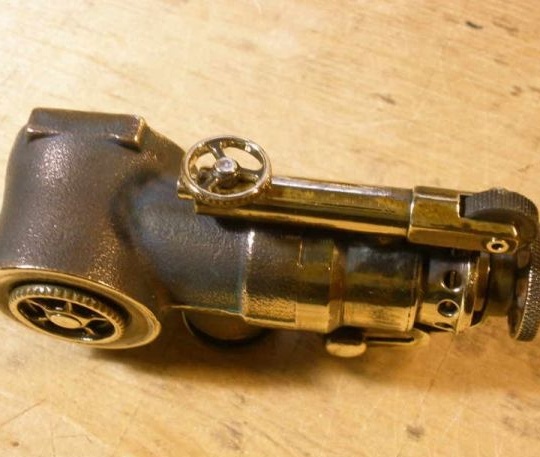
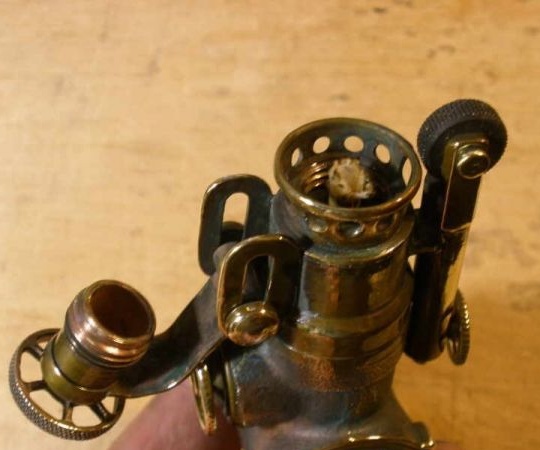
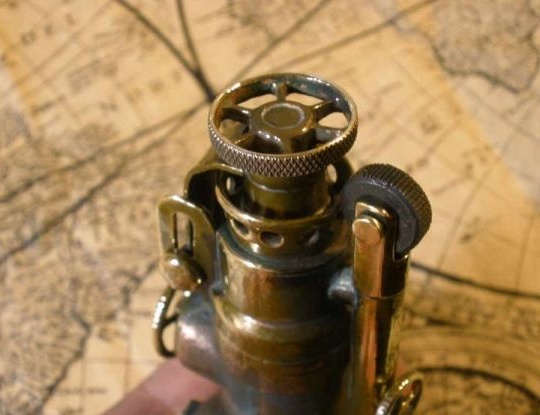
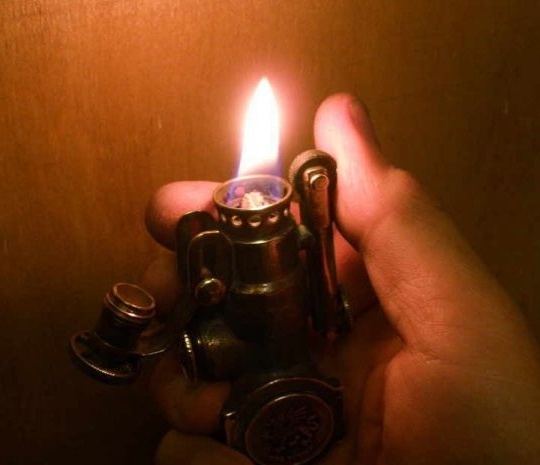
Such a beautiful and unique lighter was obtained by our author.
As you know, manual work is pretty well rated to this day, so do more creativity, learn from the masters, develop and grow on yourself!
This concludes the article! Thank you very much for your attention!
Come visit often, do not miss the latest in the world of homemade goods!
This article is for informational purposes only!
