


Hello to all visitors to this site. Now is the middle of spring, so the long-awaited summer will soon come. Therefore, we must prepare for the summer as best as possible. If your house does not have a fan, air conditioning, and the strong summer heat does not allow you to relax or sit at a computer, then this article on the manufacture of a fan with adjustable power will help you in this problem. For manufacturing, you will need only improvised materials, and a little more time, but the time spent on this fan is worth it.
For the construction of a homemade fan with a power regulator, I needed:
Instruments:
1) Marker
2) Ruler,
3) Electric soldering iron,
4) Sandpaper,
5) lighter,
6) Glue gun and hot glue,
7) Clerical knife.
Materials:
1) Two unnecessary CDs,
2) Usb connector (disassembled),
3) Long cable,
4) Connecting wires,
5) The cap for the needle from the syringe,
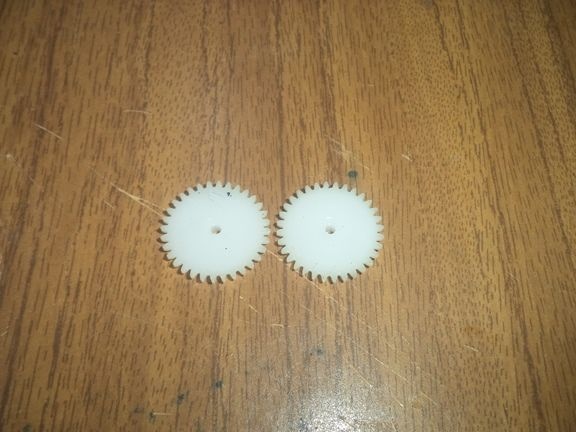
6) Two identical gears from a toy,
7) The stem from a simple handle,
8) A bottle of medicine (in my case, a bank from Miramistin),
9) on / off button,
10) Potentiometer
11) motor
12) Heat shrink tubing.
The process of making a homemade fan with a power regulator.
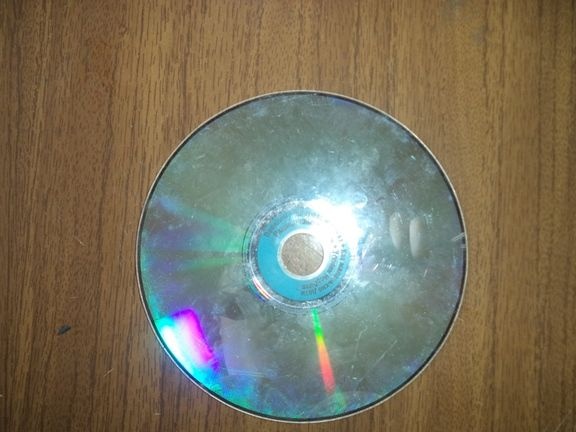
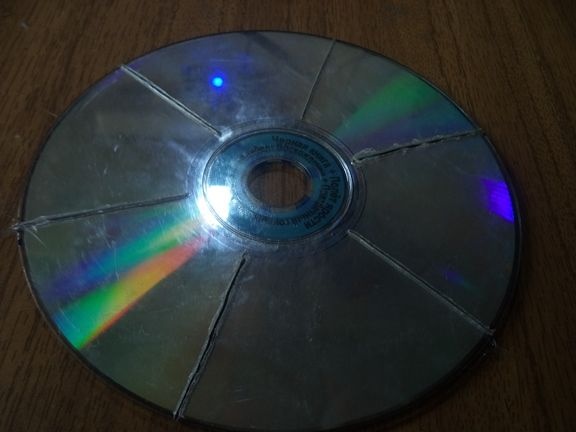
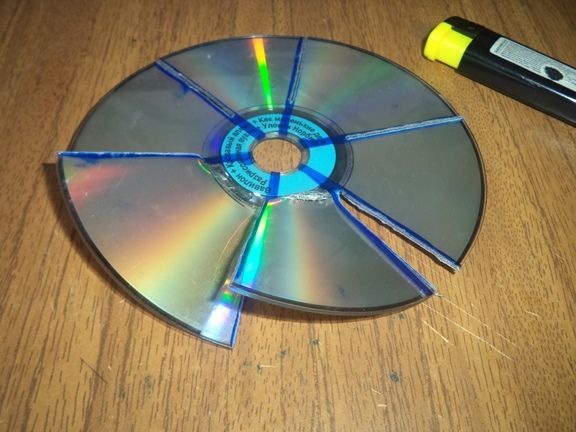
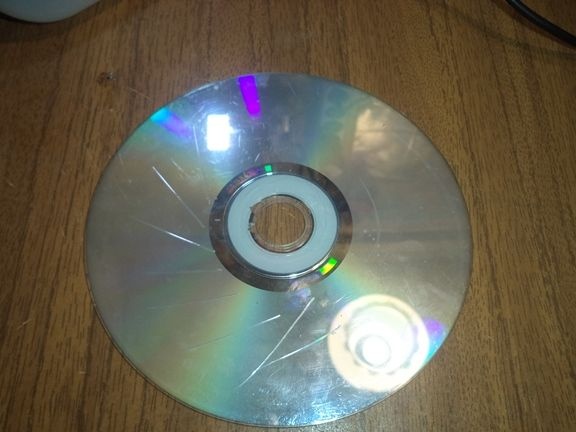
We take an ordinary old unnecessary CD disk.
Using a marker and a ruler, draw lines on the CD for cutting the impeller blades.
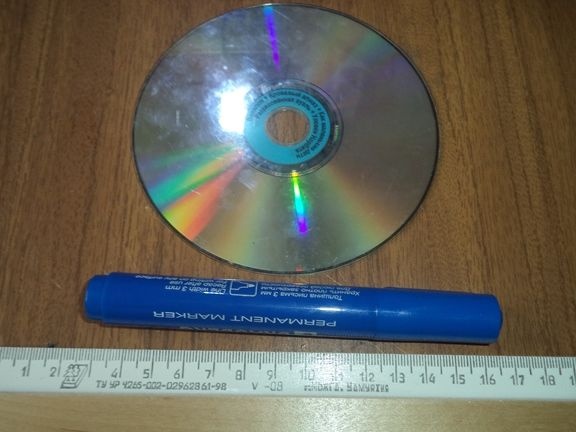
We draw six or eight (at your discretion) identical and equal triangles on the disk.

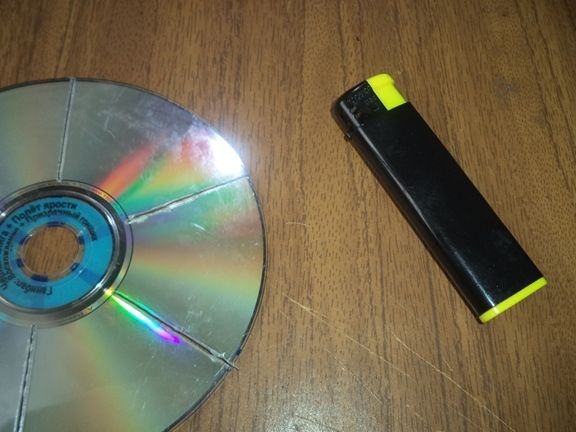
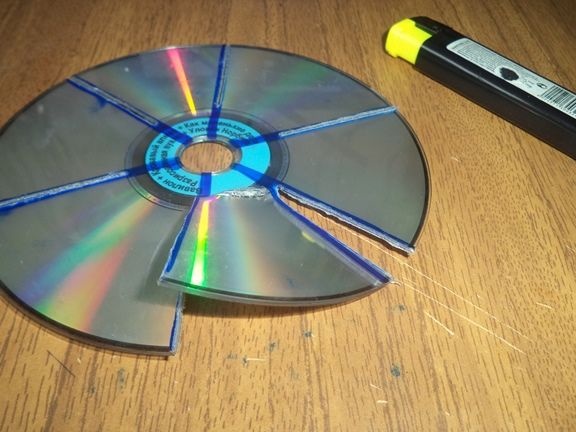
On the lines cut off the blades for the impeller. This can be done with a sharp, heated clerical knife. But I acted in a completely different way. To do this, I took a soldering iron and put the thinnest tip (you can use an ordinary one) and left it to warm to a temperature of 300 degrees Celsius.
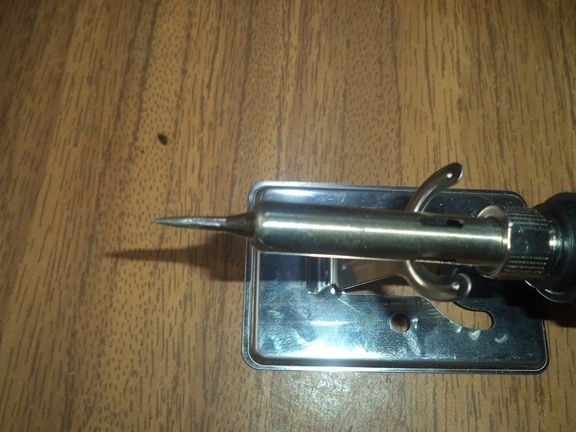
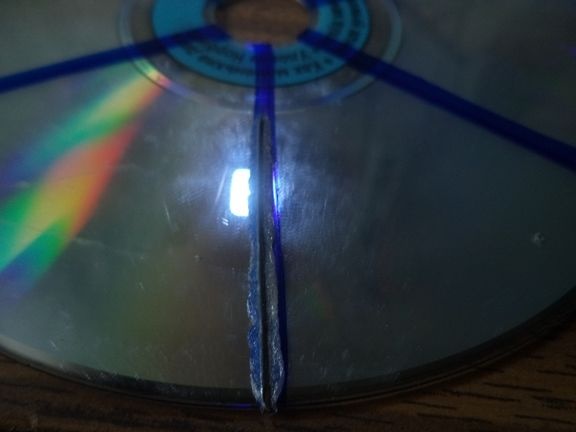
After the soldering iron warmed up to the set temperature, with the help of it I began to cut the CD along the lines. The disk was melted and easily cut and did not feel any strong pungent odors.
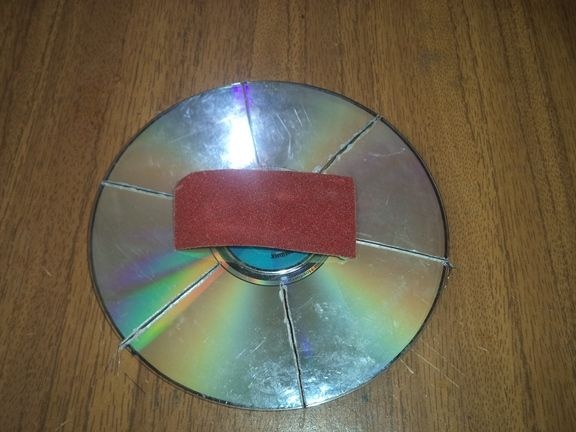
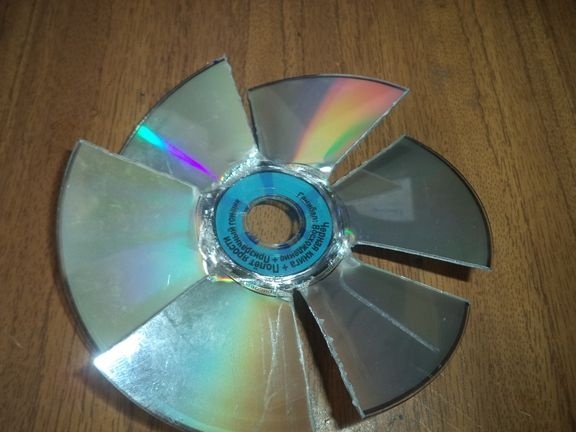
We smooth out uneven places of the impeller with sandpaper.

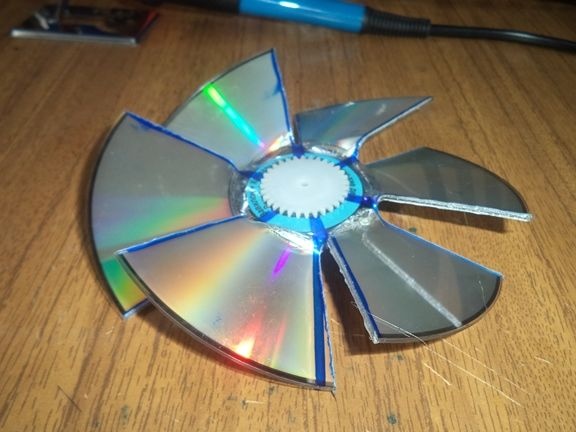
We begin to prepare the impeller blades. To do this, take a lighter and use it to bend the bend point until melting. After that, slightly turn the blade in the direction you need.
Here we prepare all the blades of our impeller in such images.
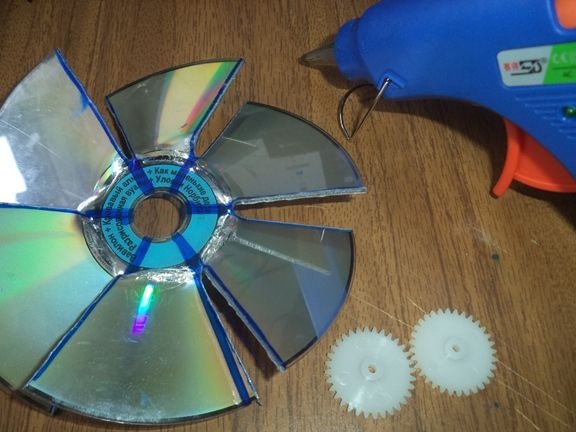
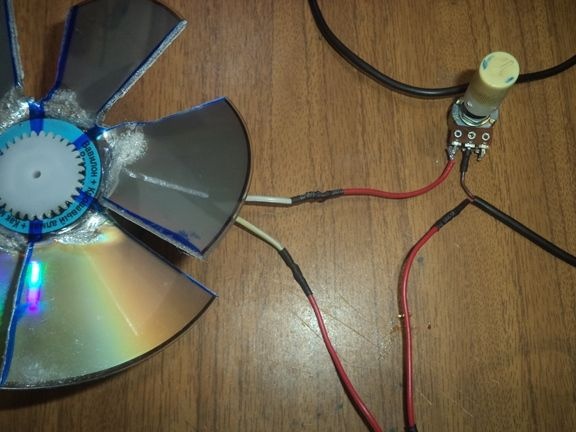
We take two identical gears and glue them in the middle of the impeller to reduce its opening with a hot glue using a glue gun.


Now take the rod from the handle and the cap from the syringe needle.
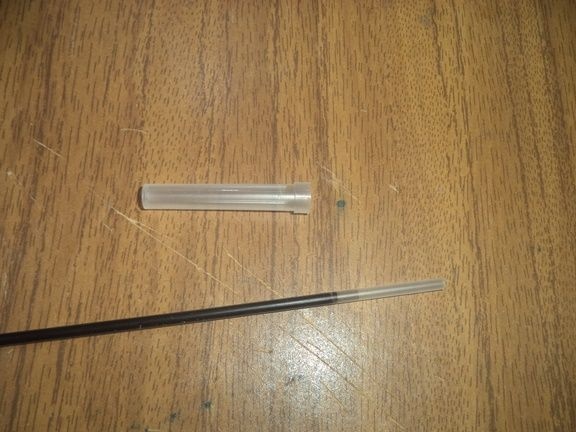
Cut off from them two parts of the same length.

Glue or insert (if suitable) the cap from the needle to the previously glued impeller gear.
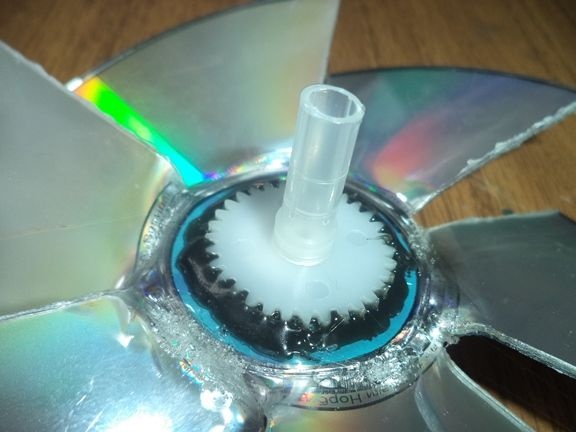
We insert and glue the rod from the handle with the glue gun into the hole in the cap.
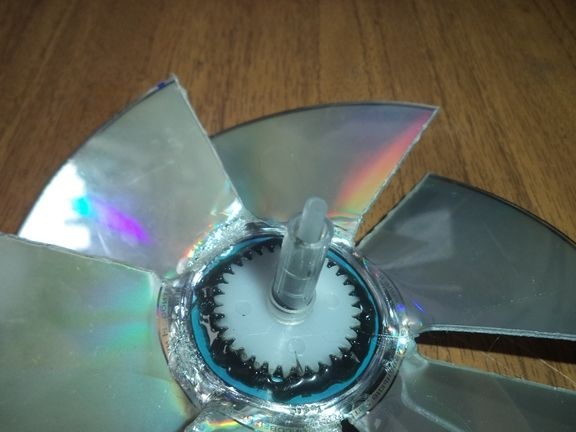
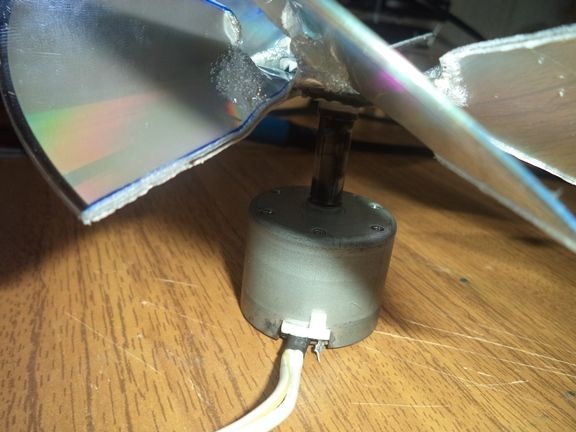
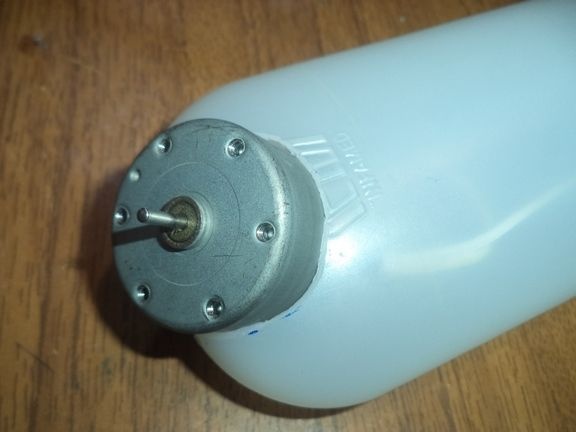
Now the entire impeller can be firmly and securely attached to the motor.
Now we begin to manufacture the rack and fan housing with a power regulator.
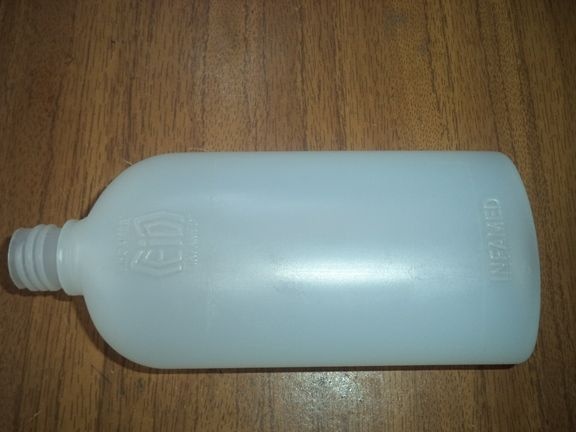
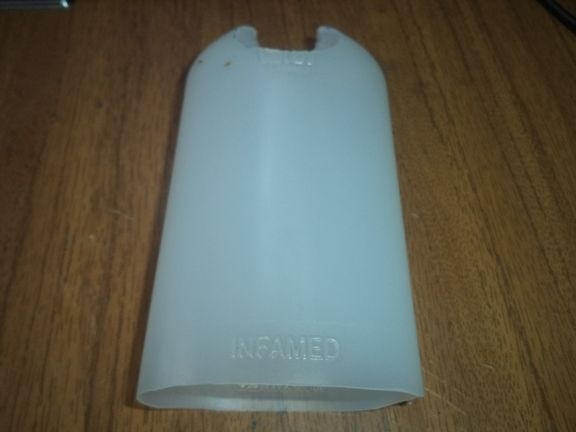
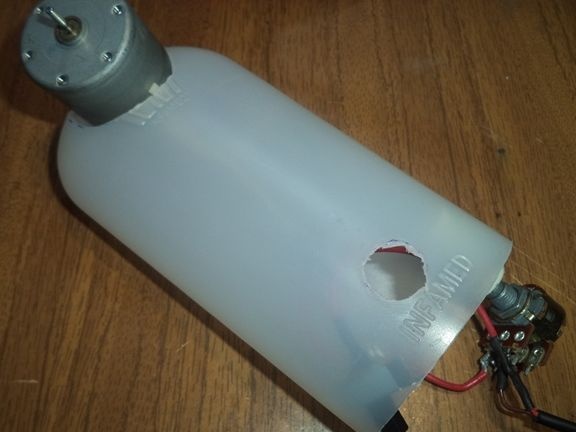
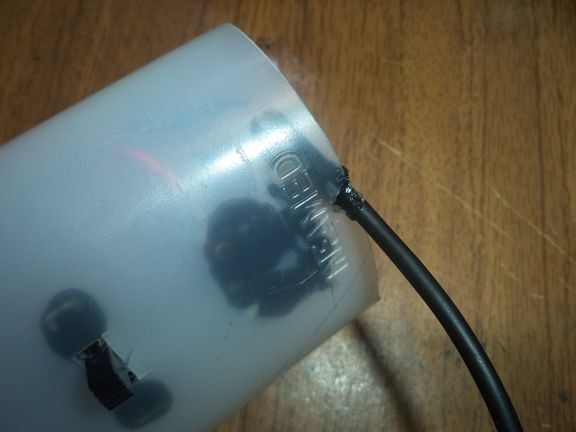
To do this, take a bottle of medicine (in my case, Miramistin).
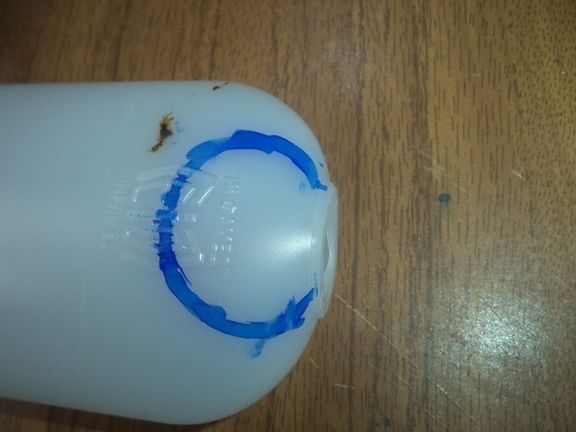
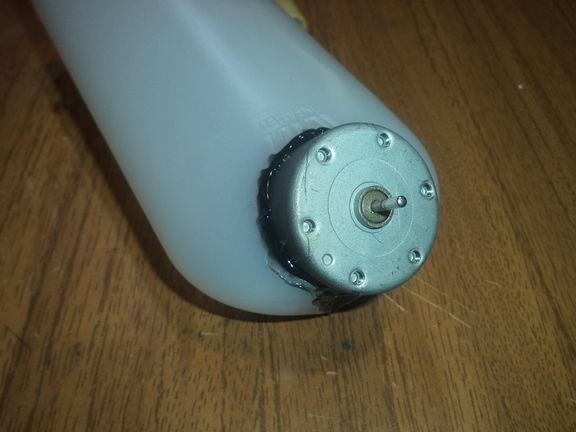
We cut off the neck and make a hole or recess, that is, a place for the motor itself with a sharp clerical knife. To do this, draw a contour of the motor on the bottle itself.

With a clerical knife, we cut the bottle along the drawn line.
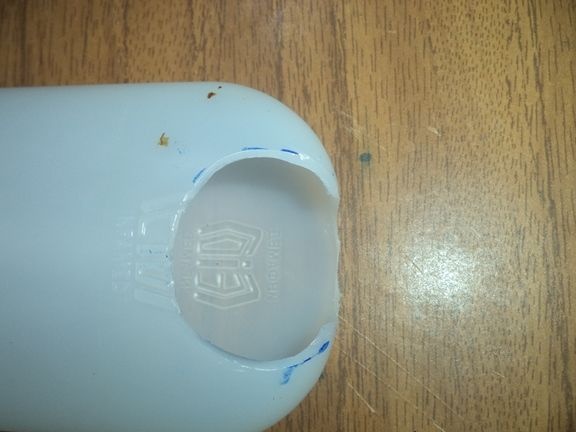
Now you can easily insert the motor in its place, but do not glue it yet, since we still need to assemble a chain from it.
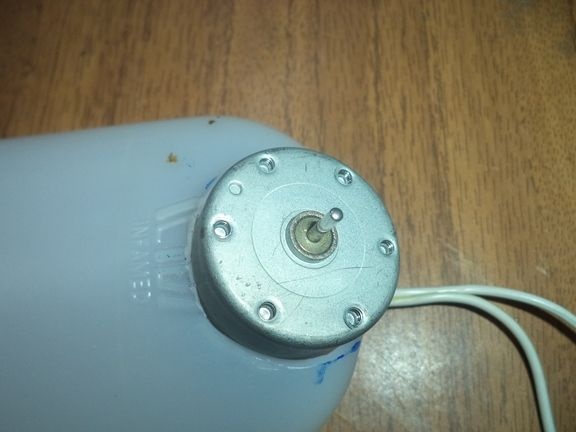
We take the motor from the bottle from the medicine back and cut off the bottom of the bottle with the help of an office knife.
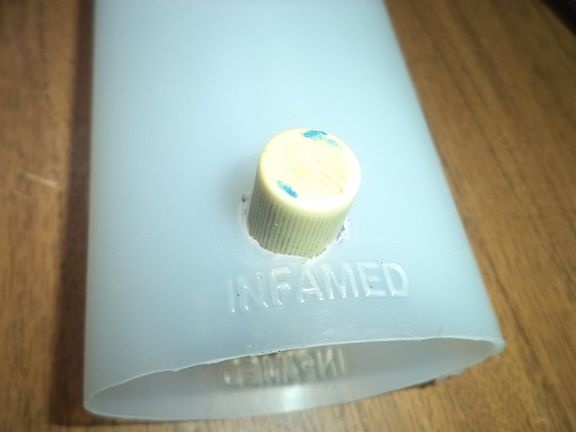
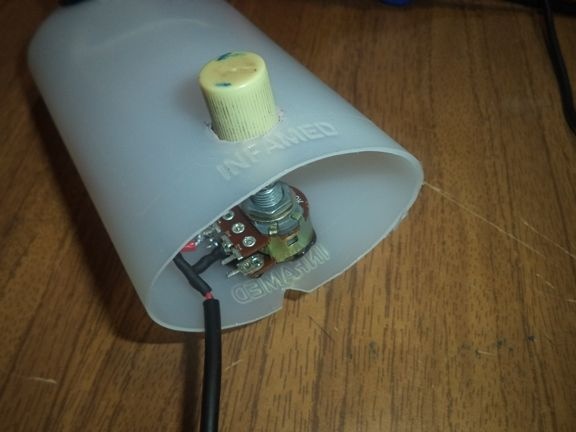
Now cut off the hole for the potentiometer almost at the bottom of the bottle. To do this, circle the handle of the potentiometer with a marker and cut the case along a marked line with a sharp clerical knife.
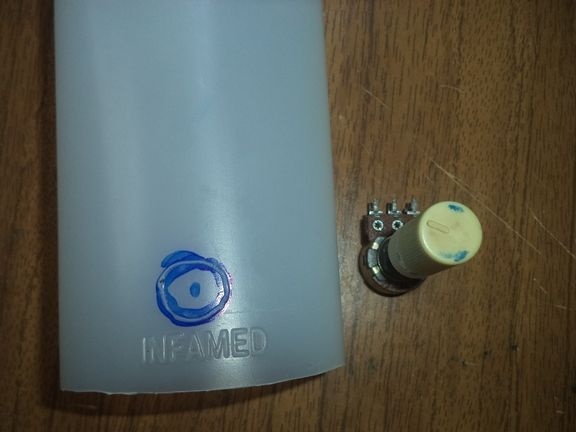
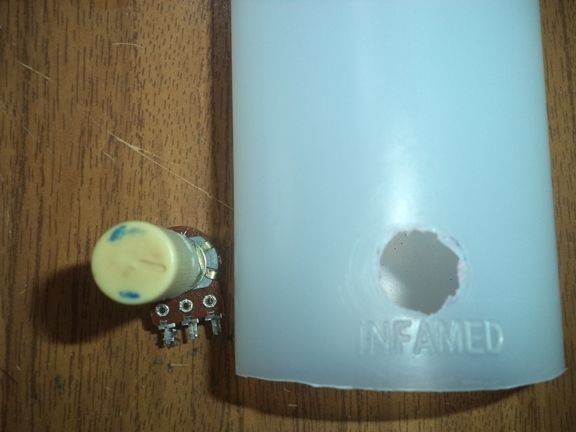
We also try how our voltage and current regulator will fit in its place.
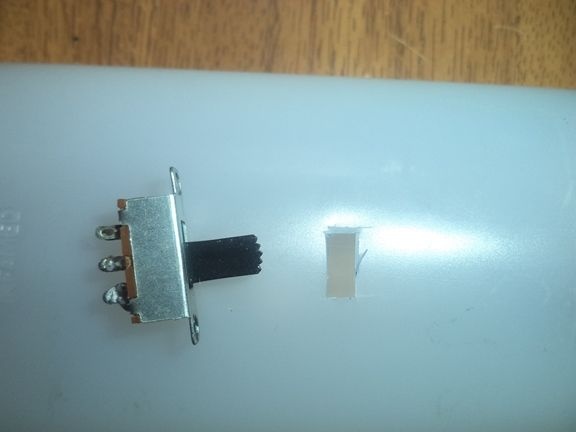
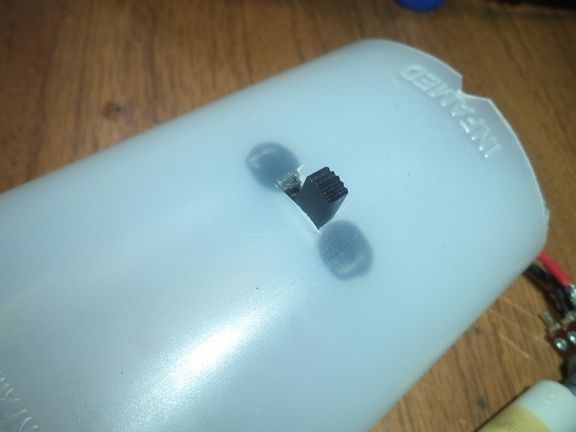
On the rear side, we make a rectangular hole for the button to turn on and off the future fan.
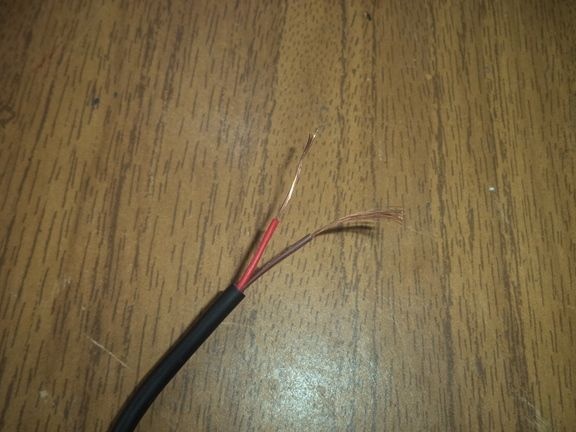
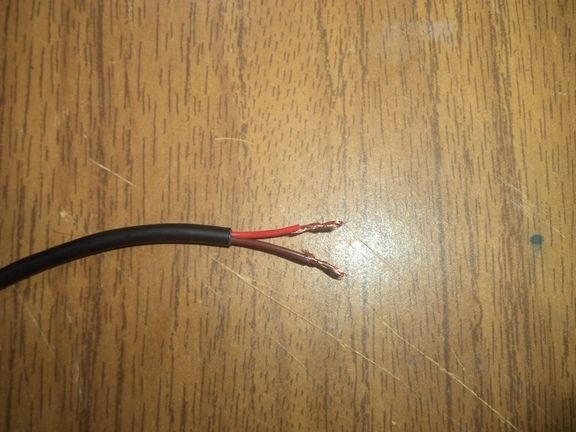
Now we take a cable with two wiring inside and a versatile usb connector.
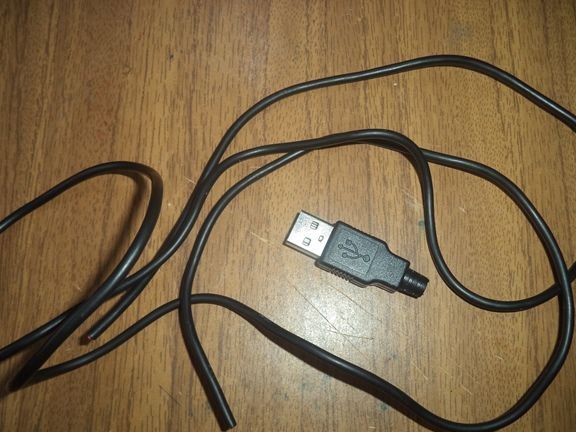
We clean one end of the cable and its wiring from insulation.
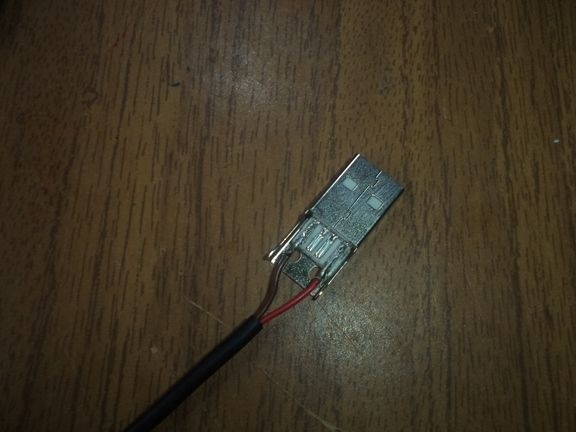
We disassemble the usb connector and use an electric soldering iron to solder the black and red wires to its contacts.
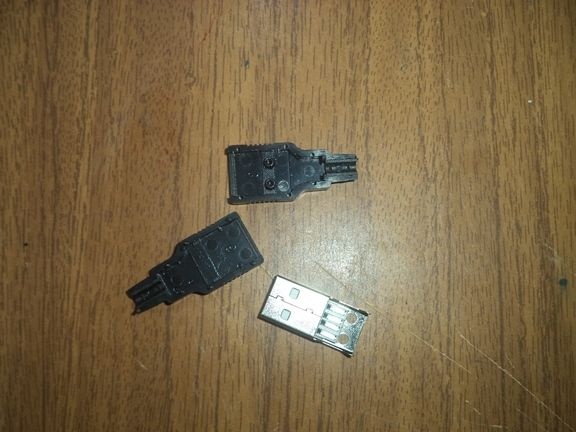
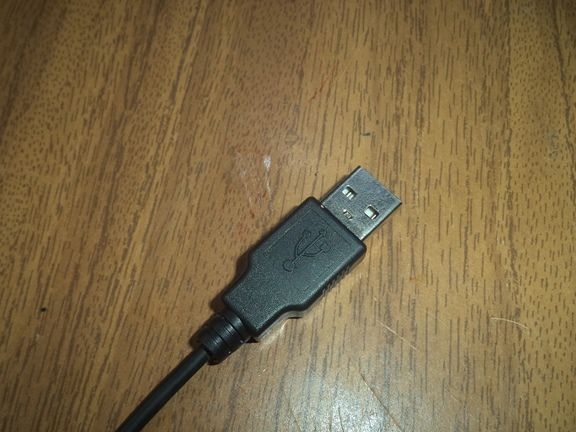
Assemble the housing of the usb connector back.
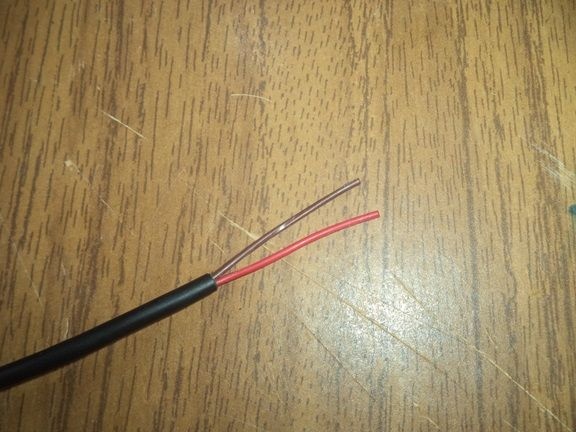
We clean the cable and wiring from insulation from the other end of the cable with a sharp clerical knife.
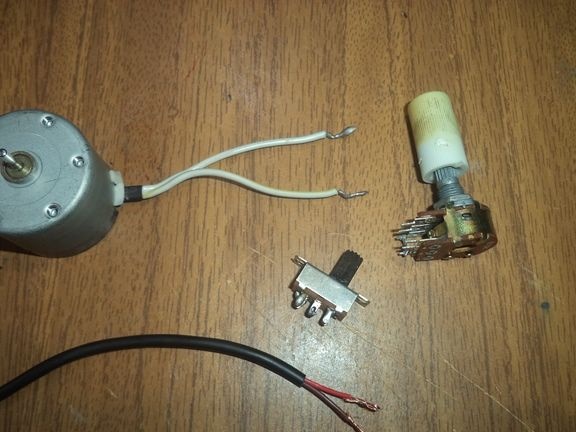
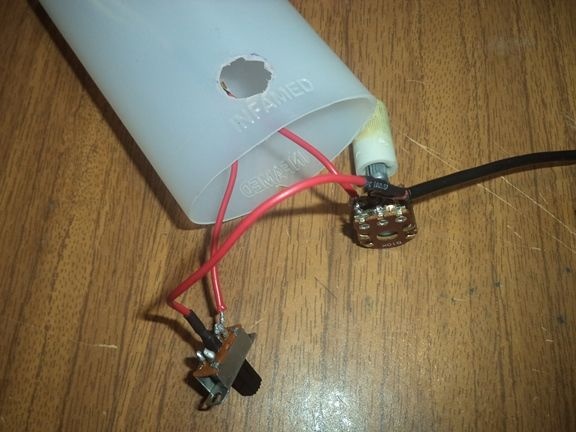
We assemble the chain from the motor, the on and off button, potentiometer and cable, soldering them with a soldering iron in series.
We extend the motor wires by soldering two wires to it.
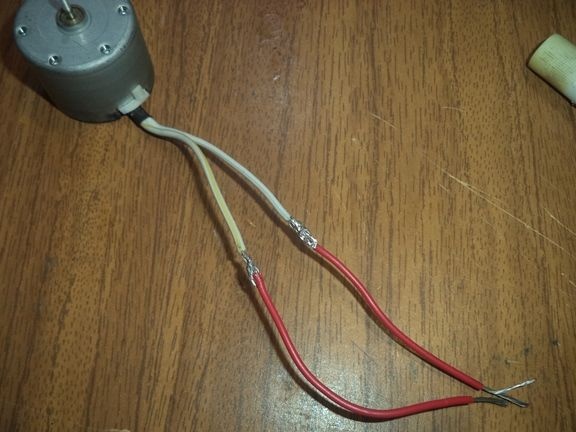
We put bare places on heat-shrink tubes and unclench them with a lighter flame.

Solder the on / off button to one of the wires, and solder the potentiometer to the other wire.

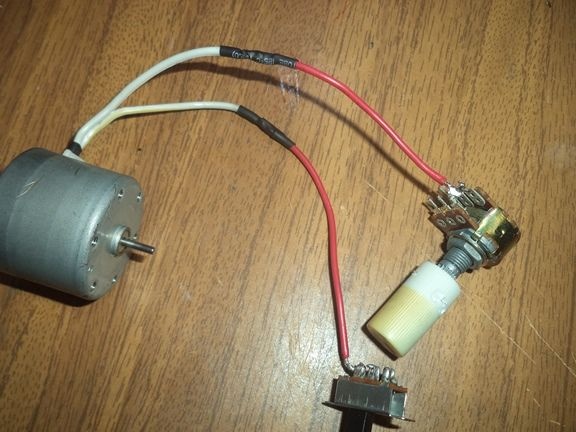
All this is soldered to the power cable.
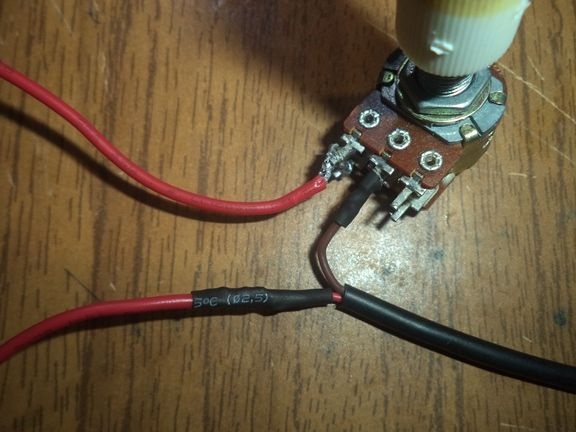
Here we have such an electrical circuit, without using any separate transistors and resistors.
All this is inserted into the body, and each element is glued to its prepared place with a hot glue gun.
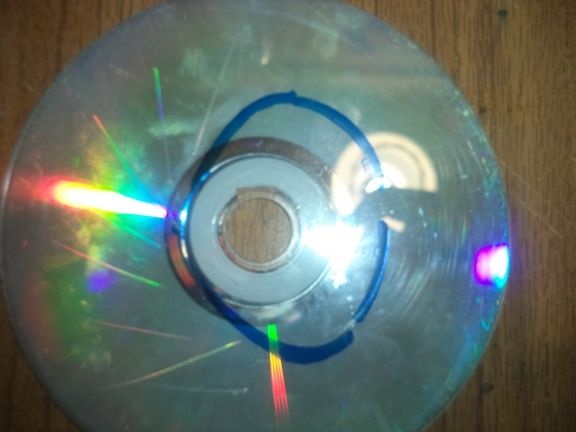
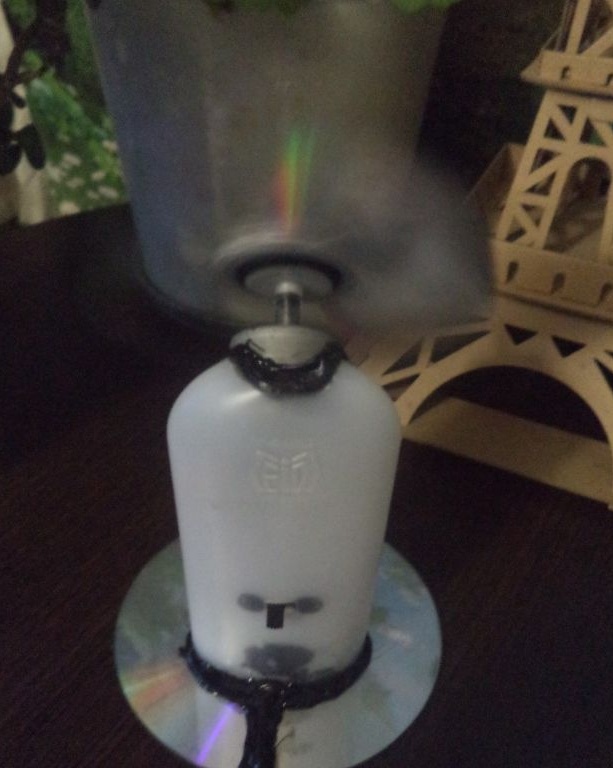
Now take the second unnecessary old CD.
Using a marker, we circle the outline of the case on the disk a little further than the middle.
Using a glue gun, glue the whole body to the CD.
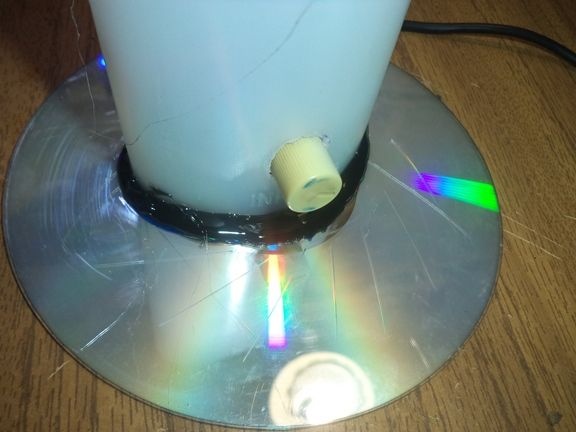
We attach the impeller to the motor and a homemade fan with adjustable power is ready. It remains only to test it a bit, play with it.
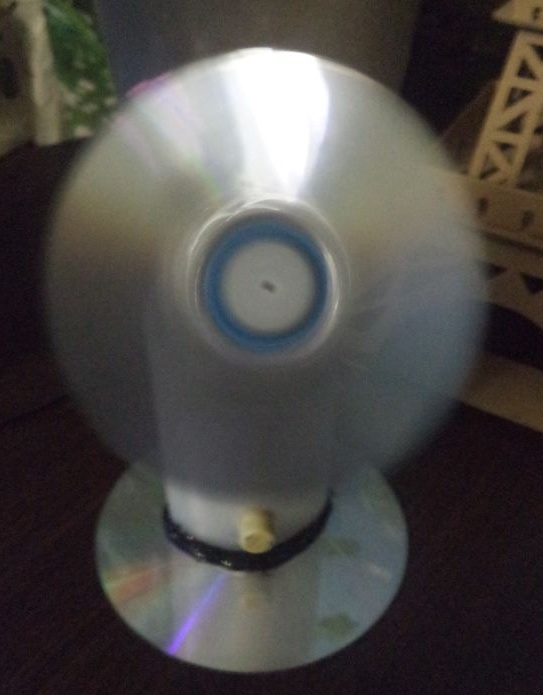
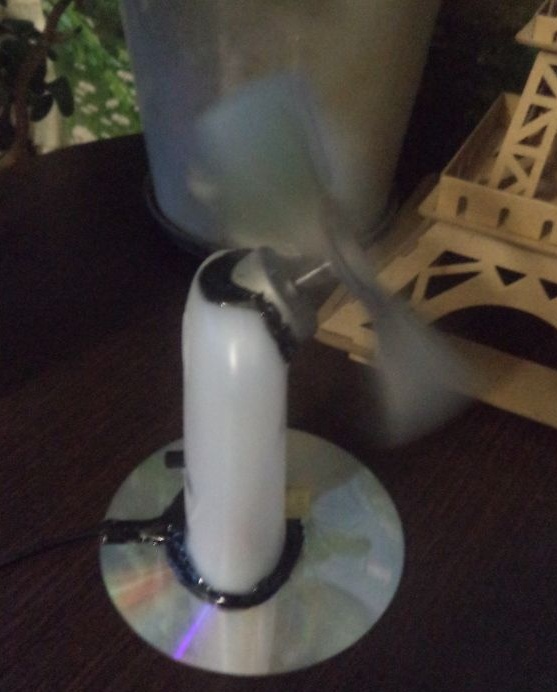
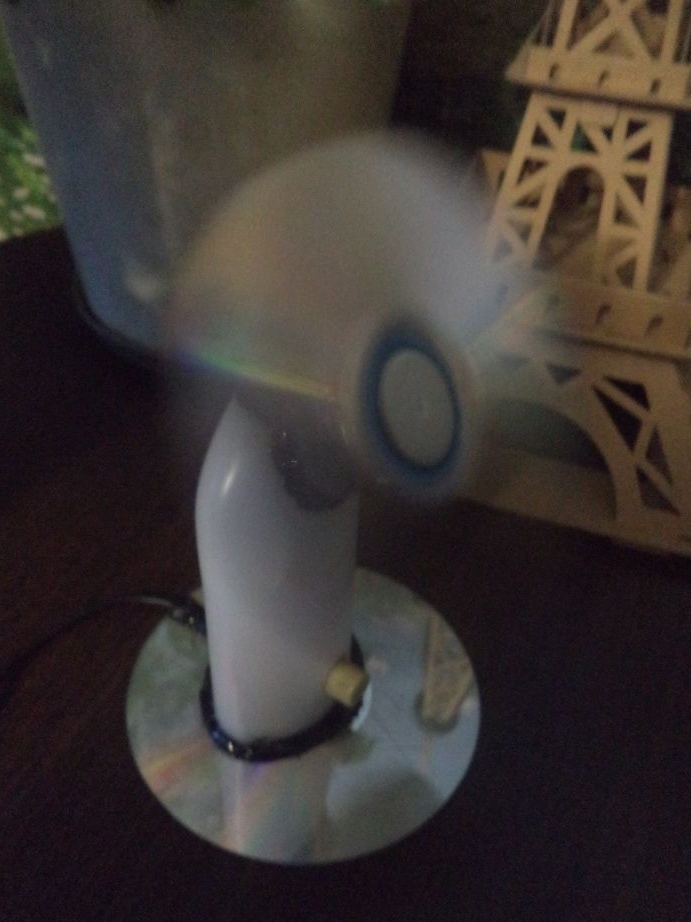
A home-made fan with a power regulator worked well, the power is regulated when the potentiometer is turned, so you can change the number of revolutions of the motor for some time and the force of the air flow. And that's all for me! Thank you all for your attention! Bye everyone!