
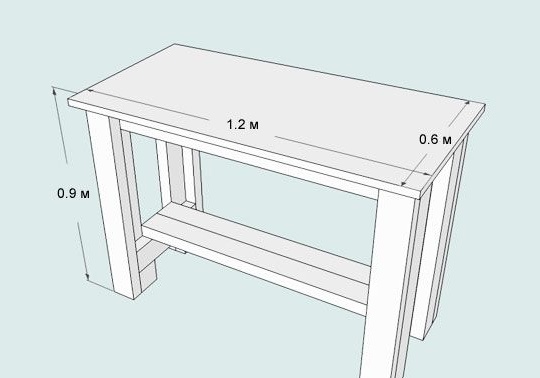
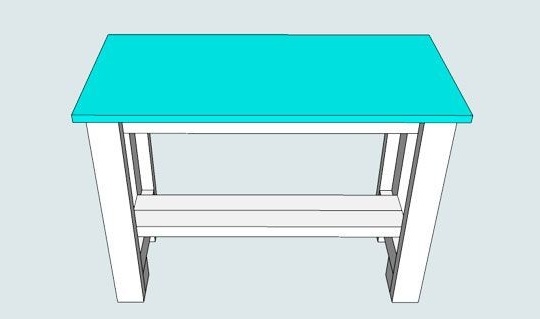
The design here is quite simple, you will need to assemble a table with a height of 90 cm, a tabletop width of 60 cm and a length of 120 cm, the author gave his own given dimensions, but in each case there may be nuances and you need to do it yourself and your height.
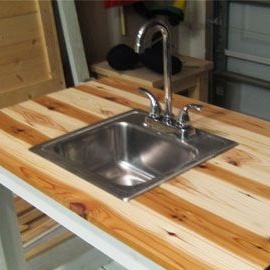
The table itself can be assembled from planks and beams, and the same boards can be used as a tabletop (for example, from a pallet). An old sink and faucet are also needed. And so, let's look at the whole process of assembling a table and installing a sink, what exactly did the author need?
Materials
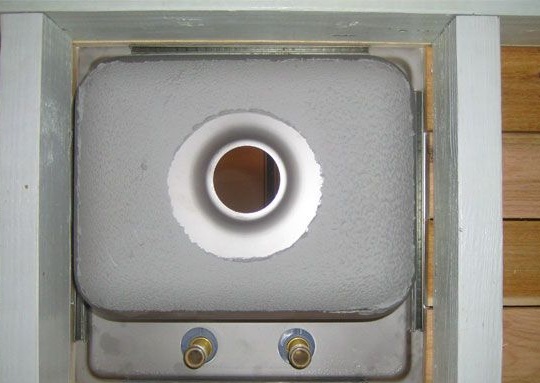
1. sink
2. water hose
3. board 25-30 mm
4. timber
5. tap
6. tap
7. PVC sewer pipe
8. gravel
9. screws
10. silicone sealant
11. nails
Instruments
1. jigsaw
2. drill
3. screwdriver
4. screwdriver
5. hacksaw
6. hammer
7. pliers
8. roulette
9. pencil
10. corner
The process of creating a sink and a sink in the country do it yourself.
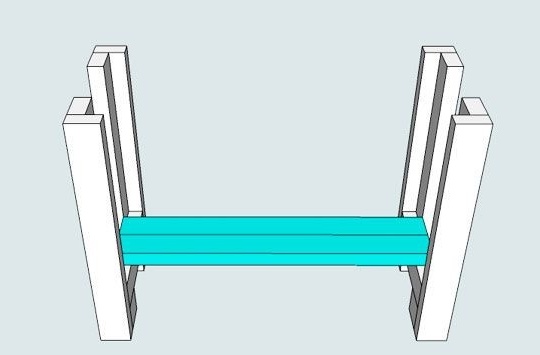
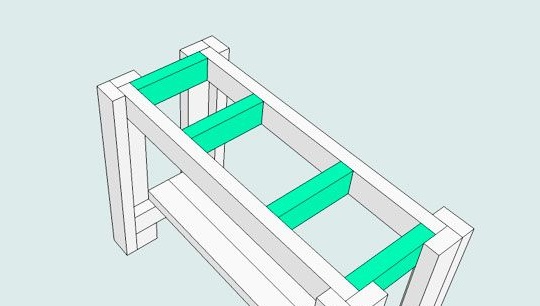
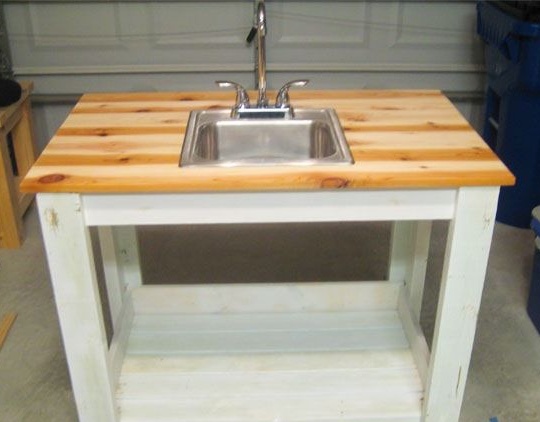
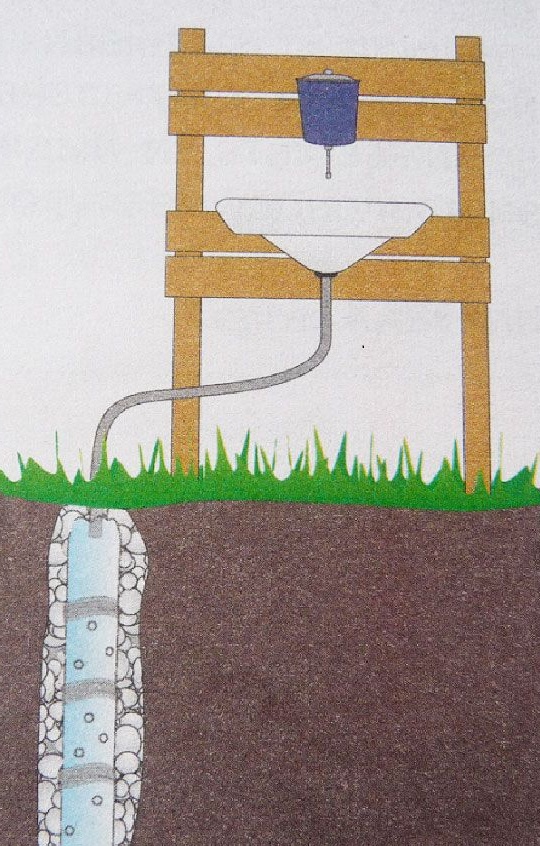
By installing a table with a sink in the country, you will make your life a little easier. First of all, it will be necessary to assemble the table itself, for which the author used a 25-30 mm board and a beam. Also, the master brought a drawing with a detailed description and dimensions. In each individual case, choose the size for your preferences, so that it would be convenient for you to operate the sink and the table itself.
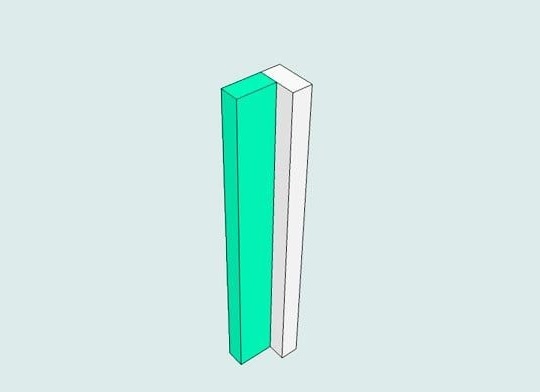
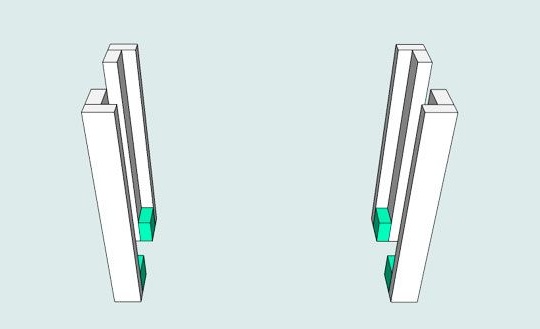
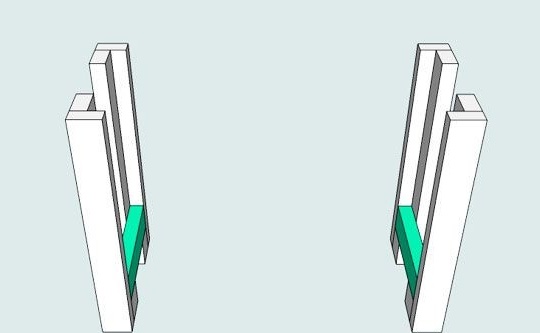
Then, according to the given sizes, the table legs are made, namely 2 boards are taken and stitched with screws in the form of such a corner.
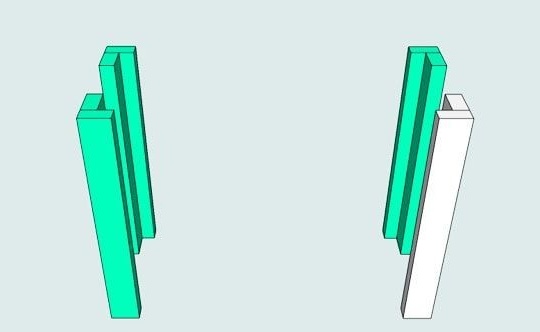
In the lower part, small saw cuts of the beam are screwed.
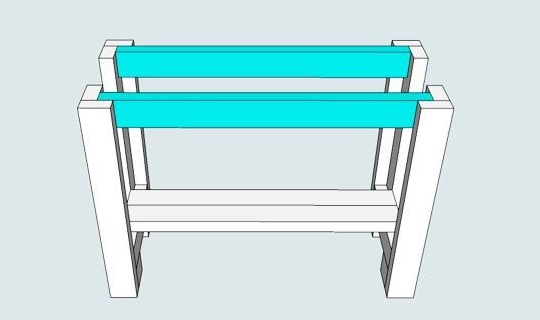
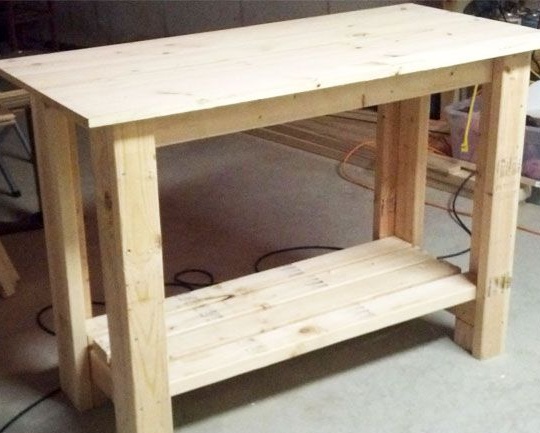
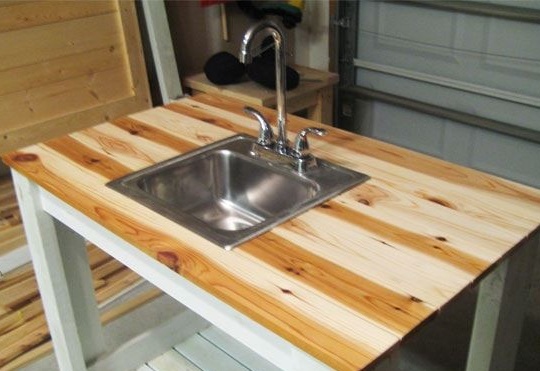
Well, as you see, there is nothing complicated here and anyone can do it. By installing such a sink in your area, you will greatly simplify your life.
The master recommends that all children do more creativity, develop and build!
This concludes the article. Thank you very much for your attention!
Come visit often, do not miss the latest in the world of homemade goods!
This article is for informational purposes only!