This article will be a detailed description of the manufacture of a small case for a plywood screwdriver. It took only two days off to manufacture it, and about 100 rubles for furniture.
Materials:
- Plywood (4 mm and 10 mm)
- Bamboo sticks
- The handle from the locker
- Latch locks (or hooks)
- Hinge hinges
- Self-tapping screws
- Carnations
- Plastic washers
- foam rubber
- Putty on wood
- PVA glue
- Varnish
Instruments:
- Hacksaw
- Jigsaw
- Screwdriver and drill
- Dremel (or rasp)
- Knife
- awl
- Ruler
- Square
- pencil
- vernier caliper
- Hammer
- spatula or plastic cards
- Sandpaper
- brush
Step 1. Measurement, preparation of materials, sawing parts
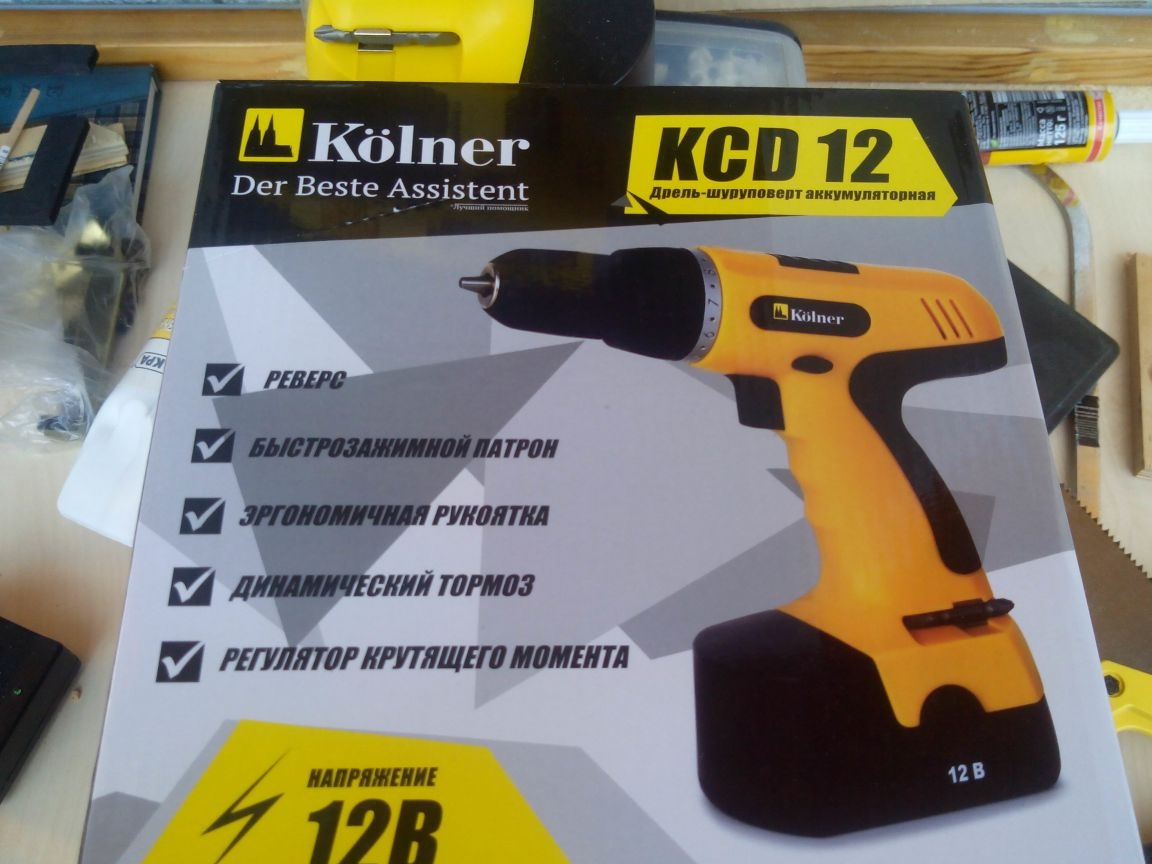
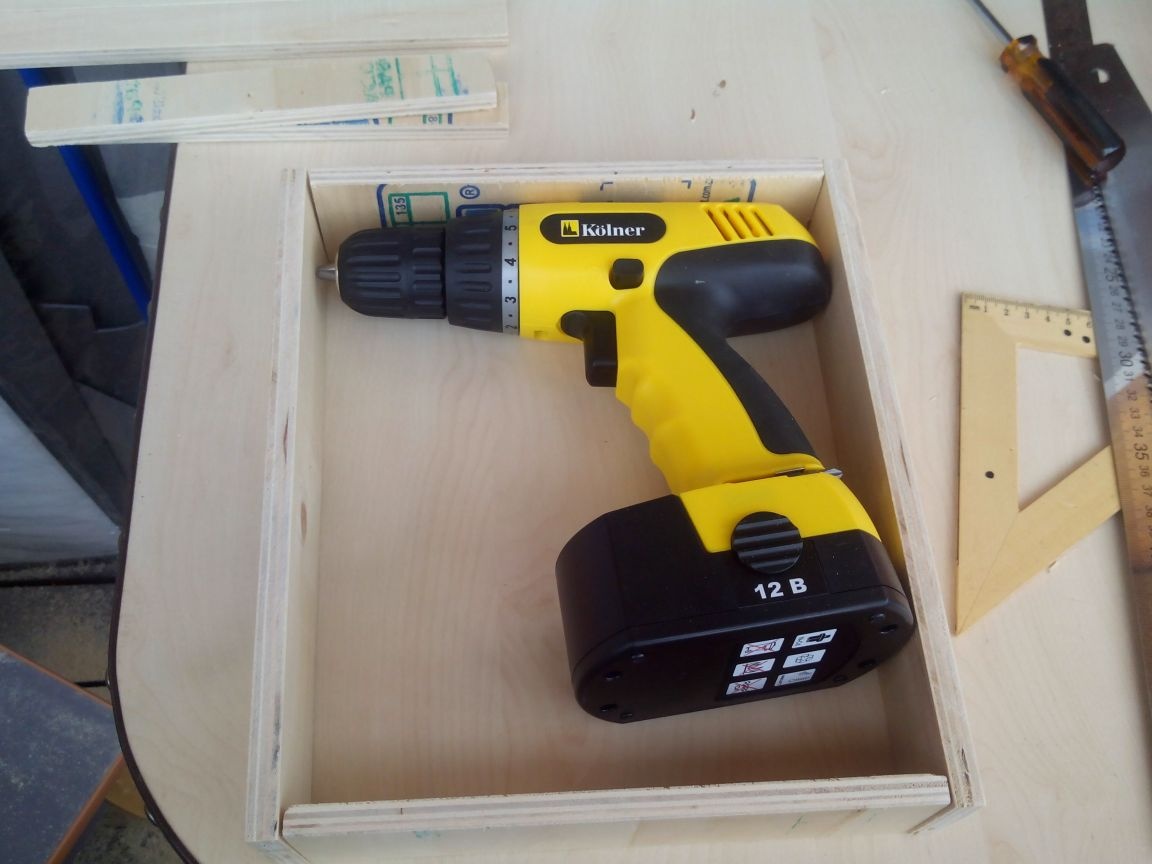
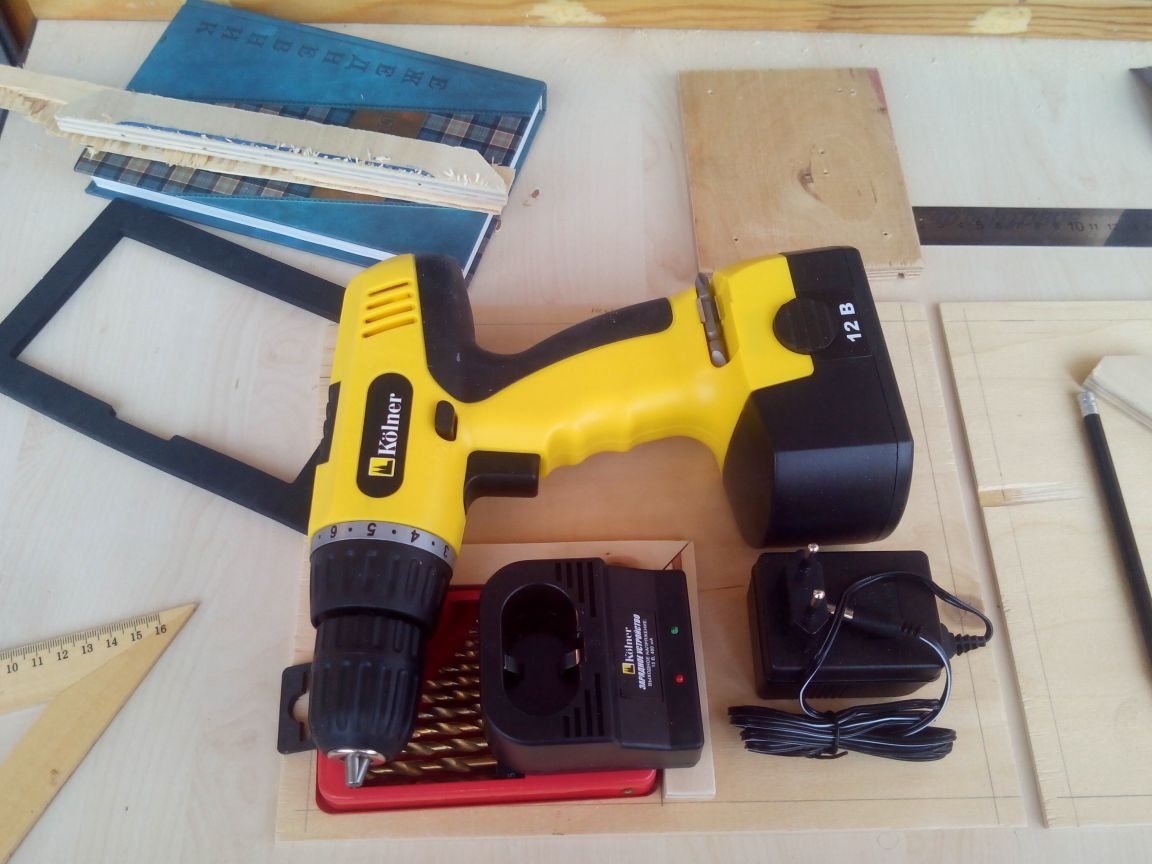
The screwdriver for whom it was decided to make a box, like this one. By the way, a good screwdriver for their money, many praise.
I had to buy a handle, hinges and hooks in stores (in furniture, construction and for needlework, respectively). Although, if you have an old suitcase, you can unscrew it all from it.
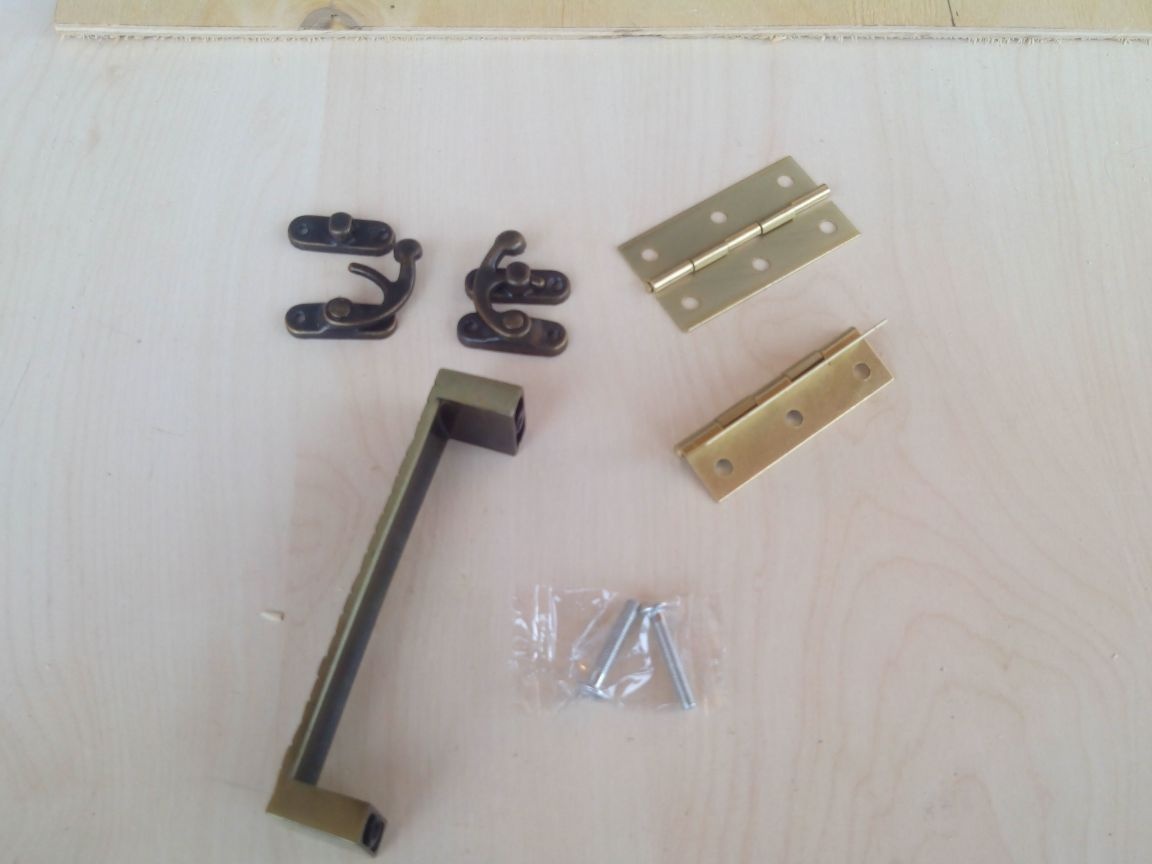
Immediately measure the loops with screws in the holes in order to know their thickness.
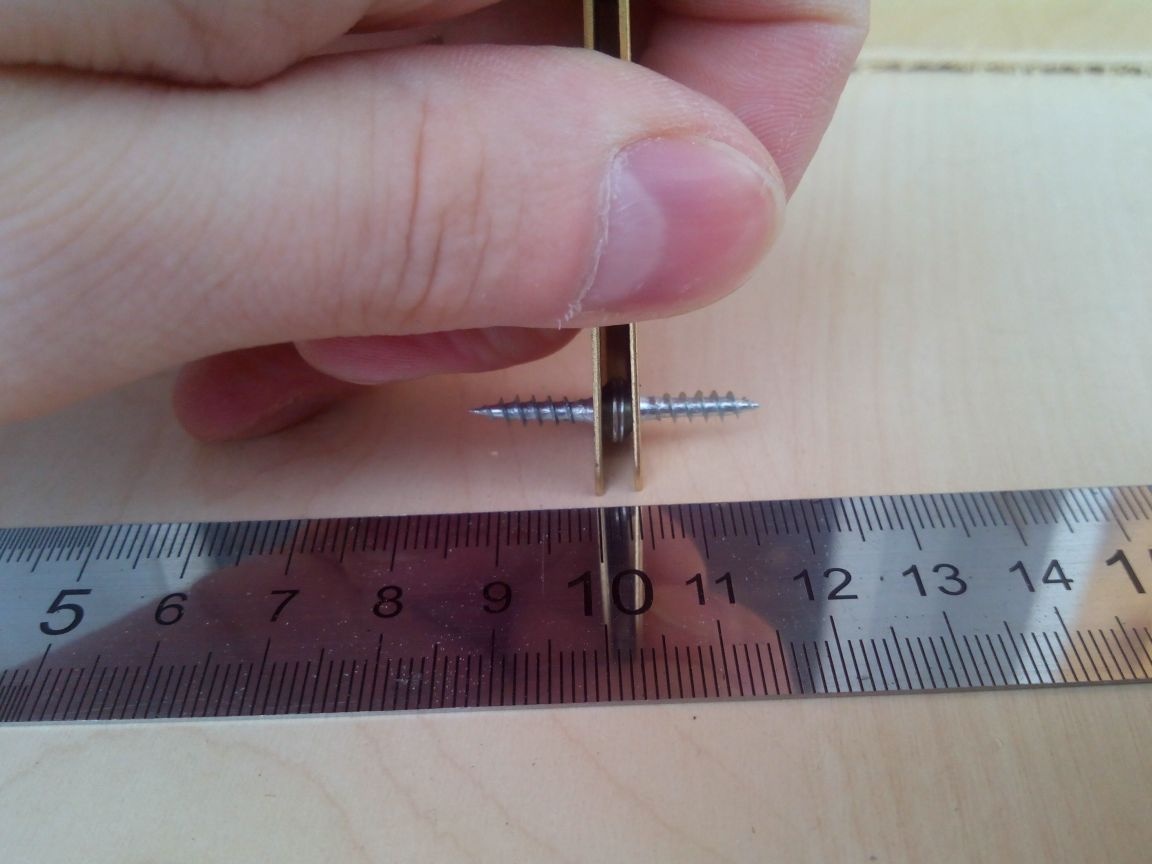
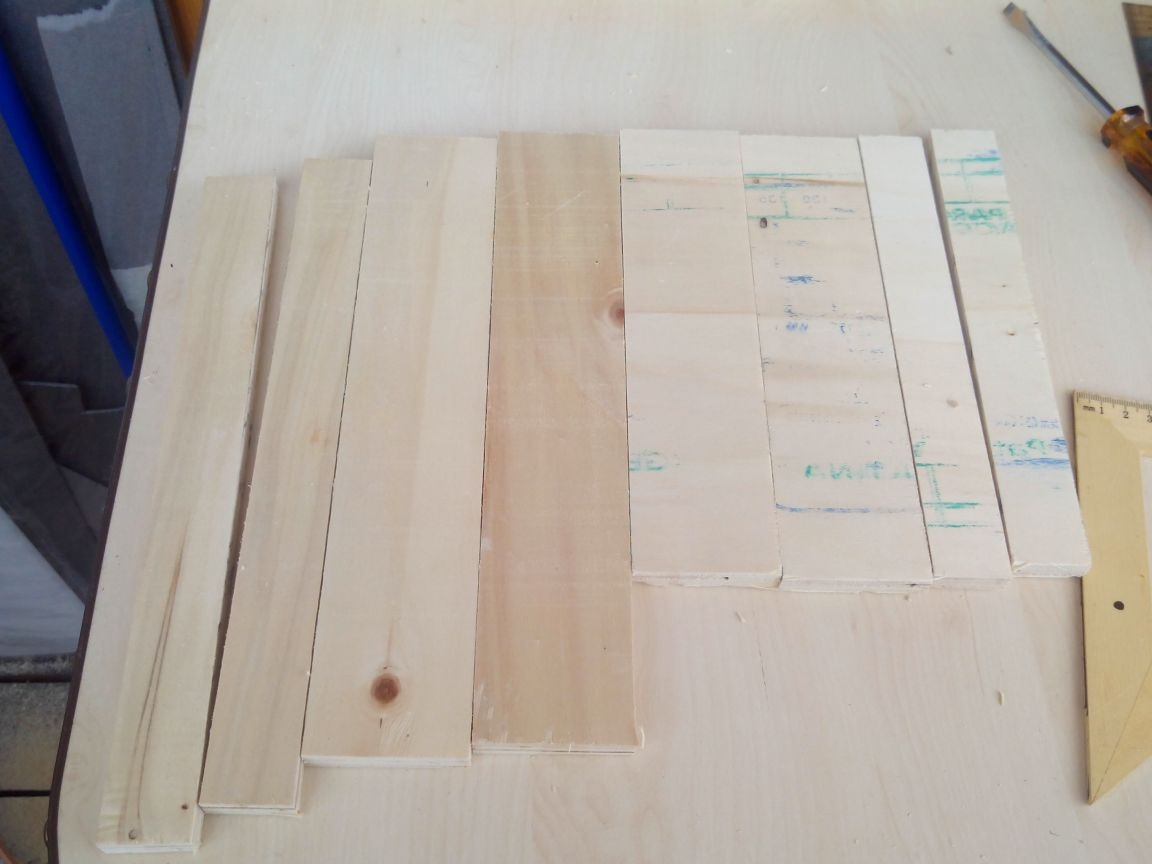
The dimensions of a screwdriver were removed using a caliper. After I figured out its location in a future suitcase plus drills, a charger and a power supply, you can start cutting out all the parts.
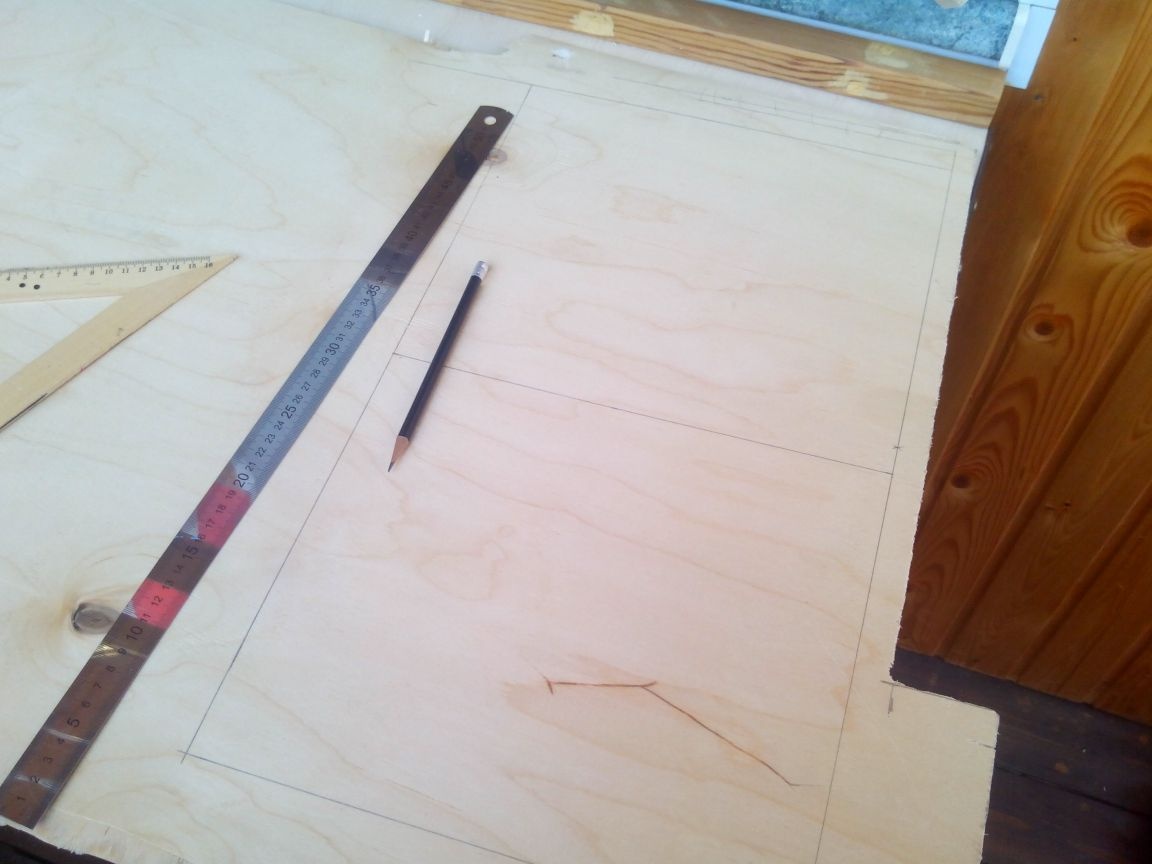
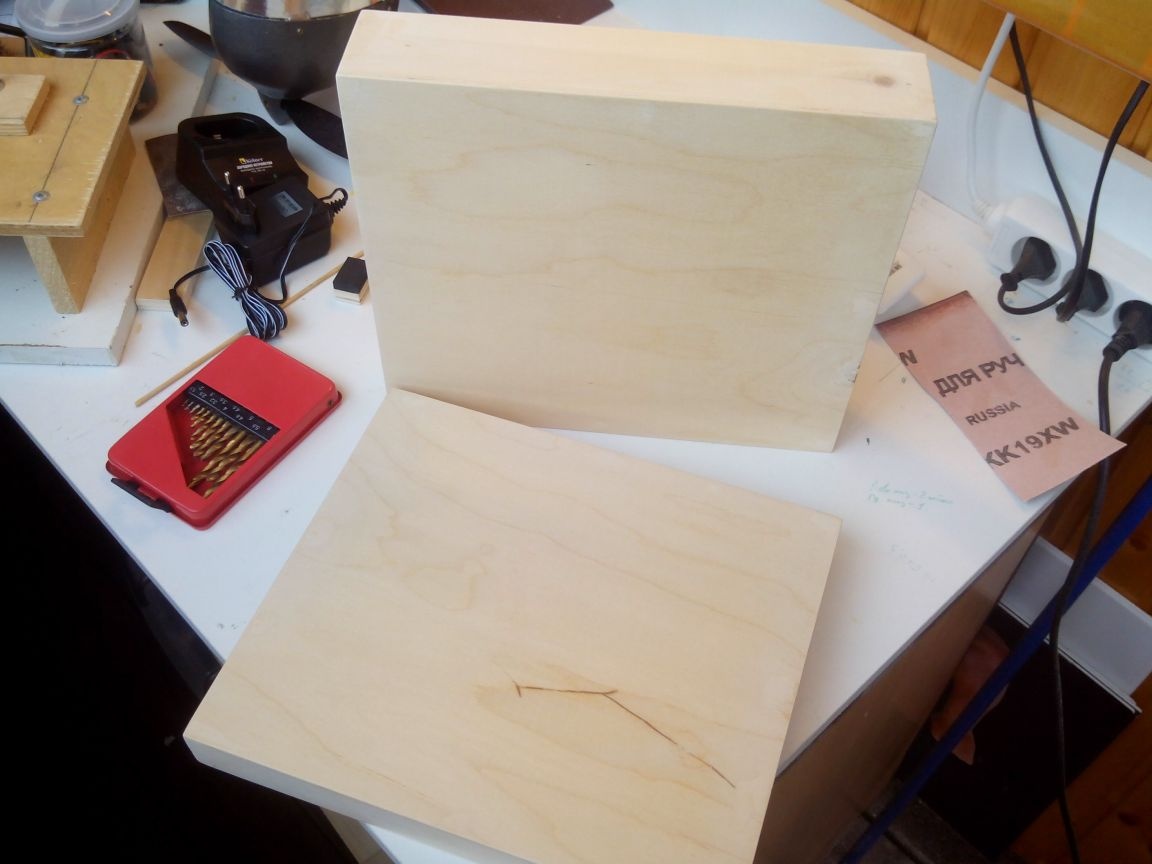
Let's start with the main parts - the basics of the covers of a case made of thin plywood. We mark them with a ruler and a square.
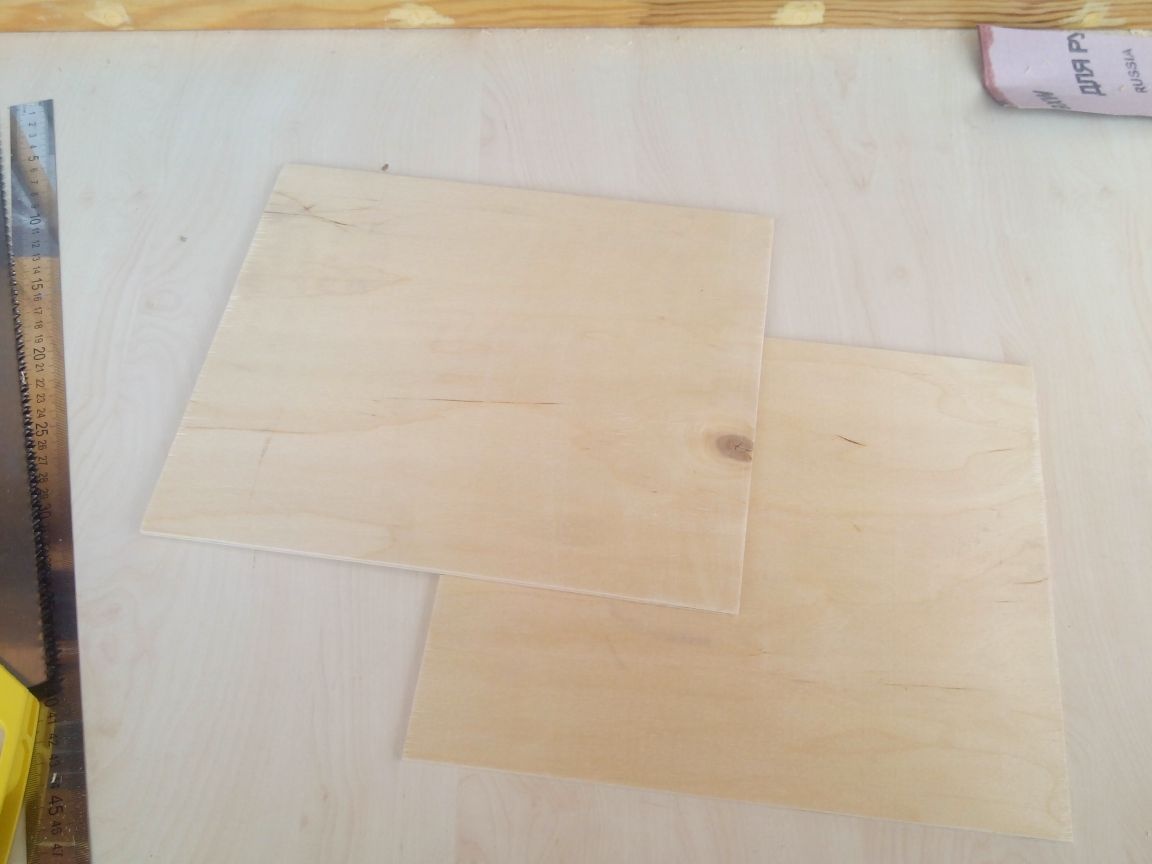
We cut it with a hacksaw and process the edges with sandpaper.
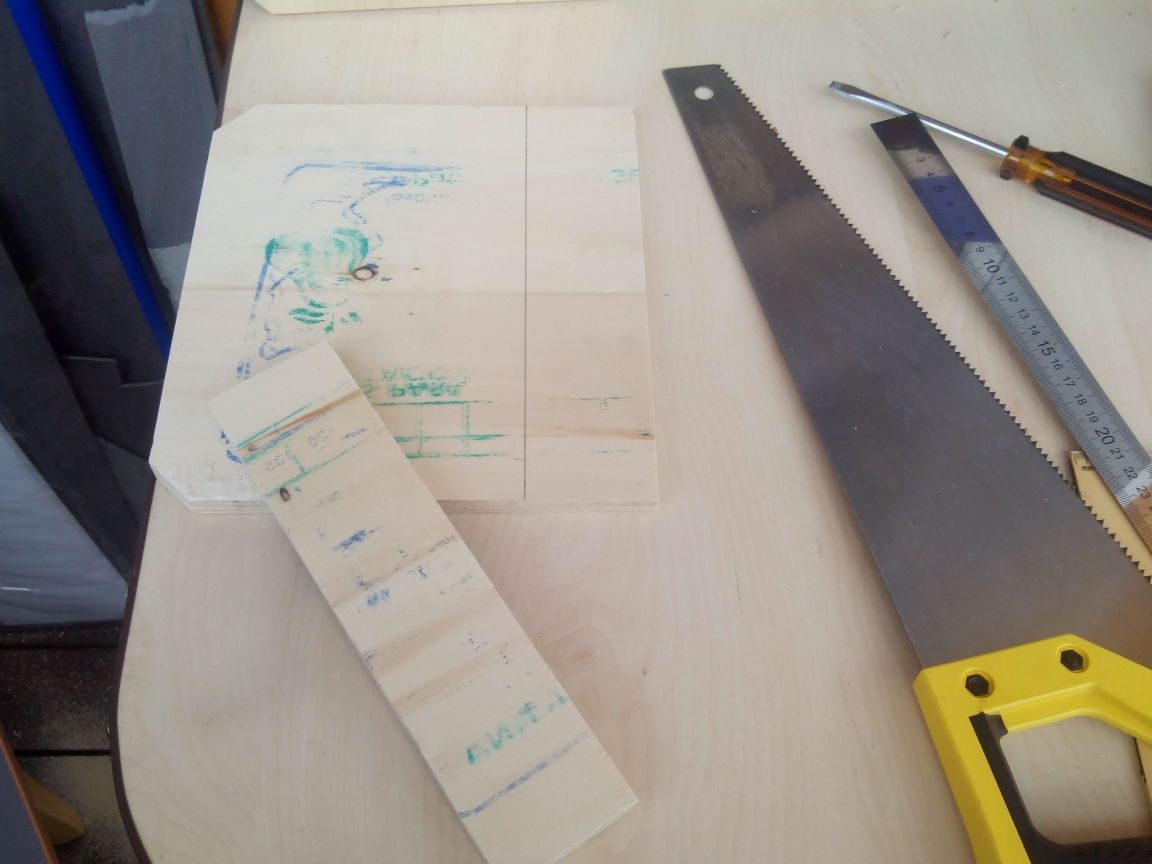
We cut out the side walls from thick plywood.
The lid of the suitcase will be smaller than the base in height so that the handle fully fits, so you need to carefully select the dimensions.
We attach the side walls to each other for fitting.
Step 2. Glue the halves of the case
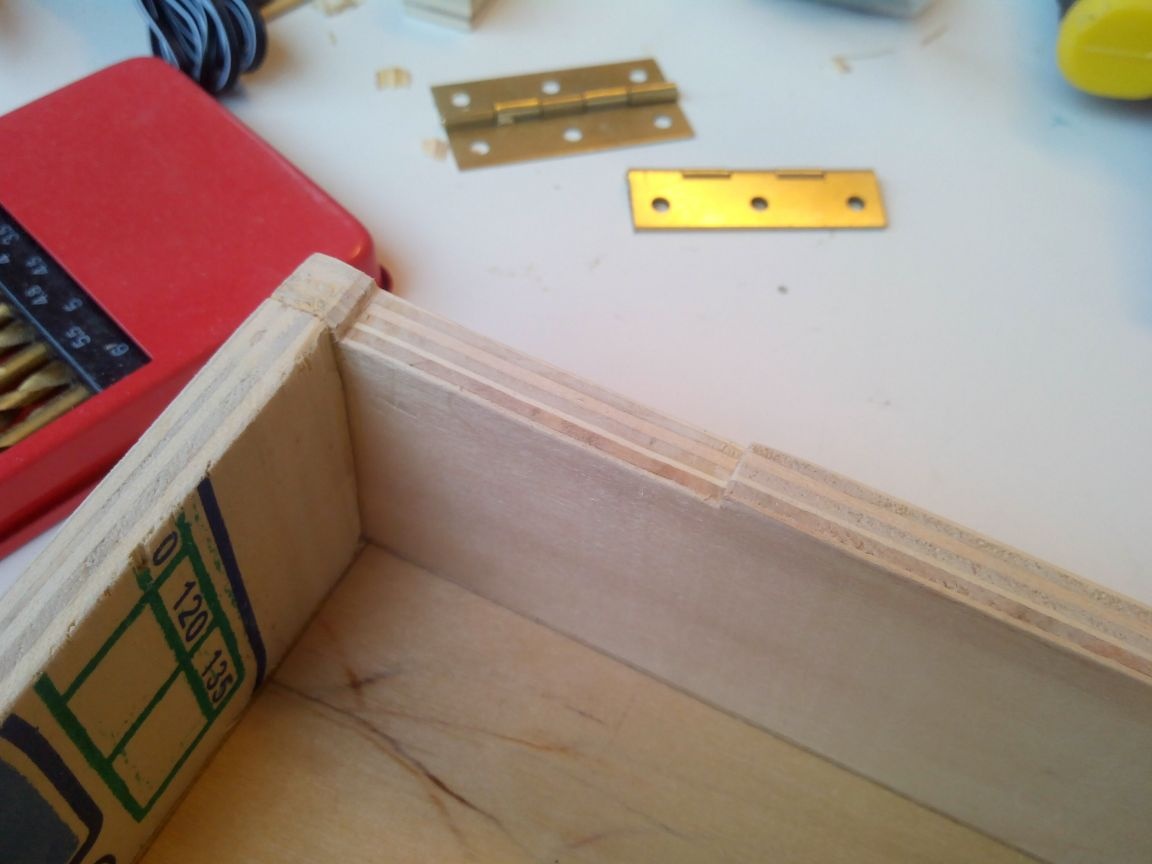
With PVA glue, we begin to glue the frame from the side walls, do not forget about the square.
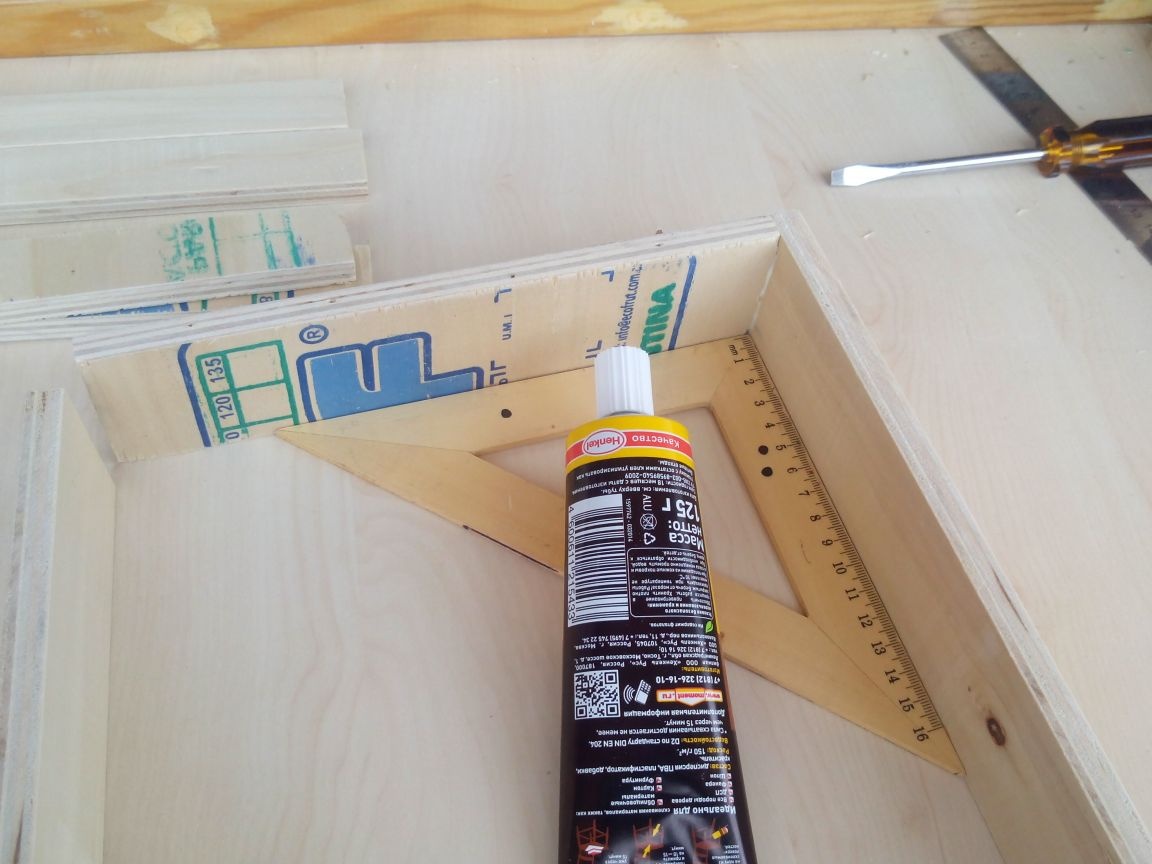
We glue four corners in this way and leave the glue to dry.
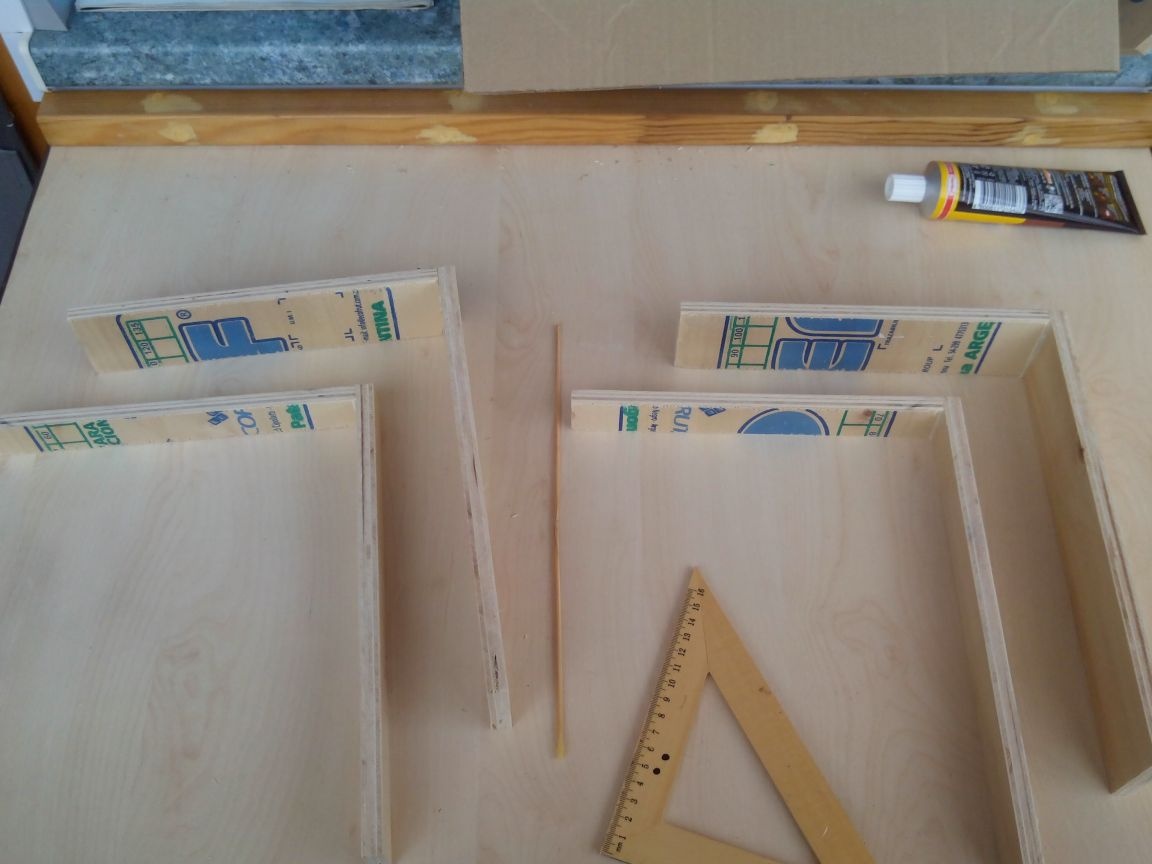
Then glue the frames from the sidewalls and leave to dry.
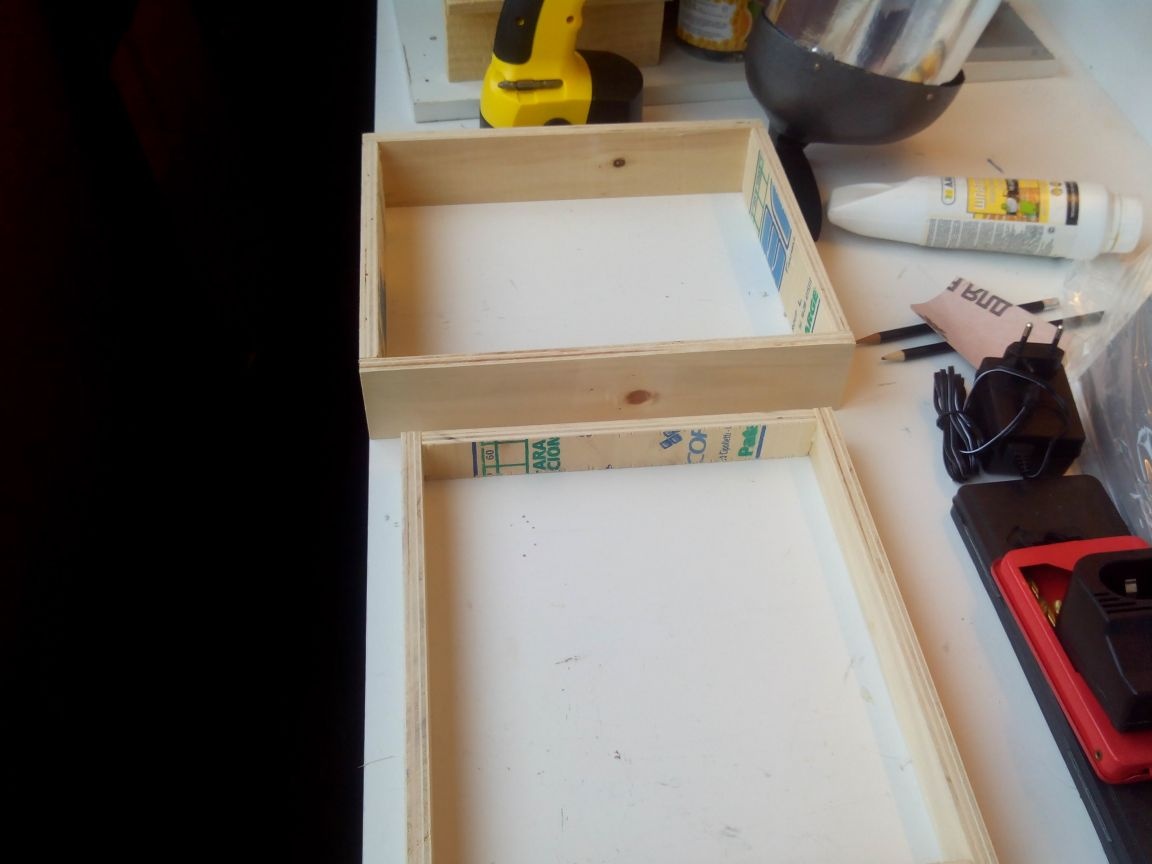
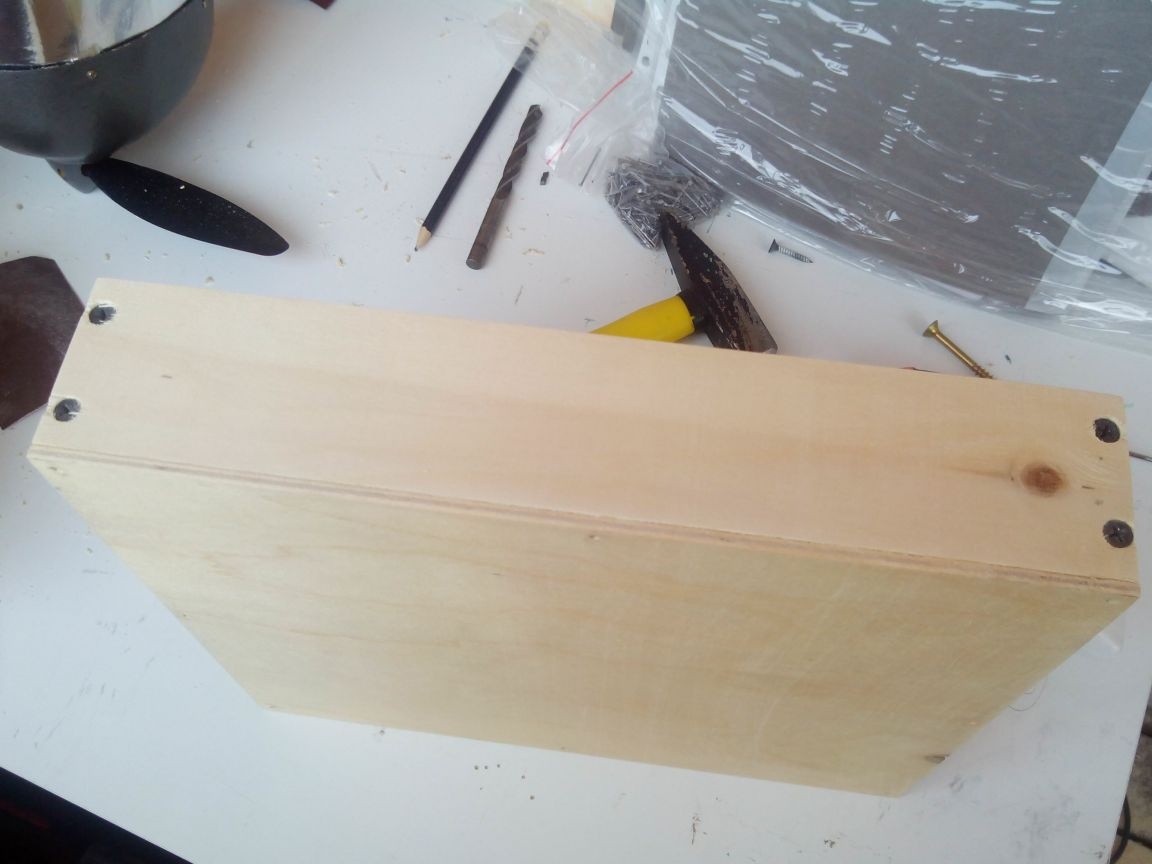
When the sidewall frames have dried up, glue the covers to them and grab them with small cloves.
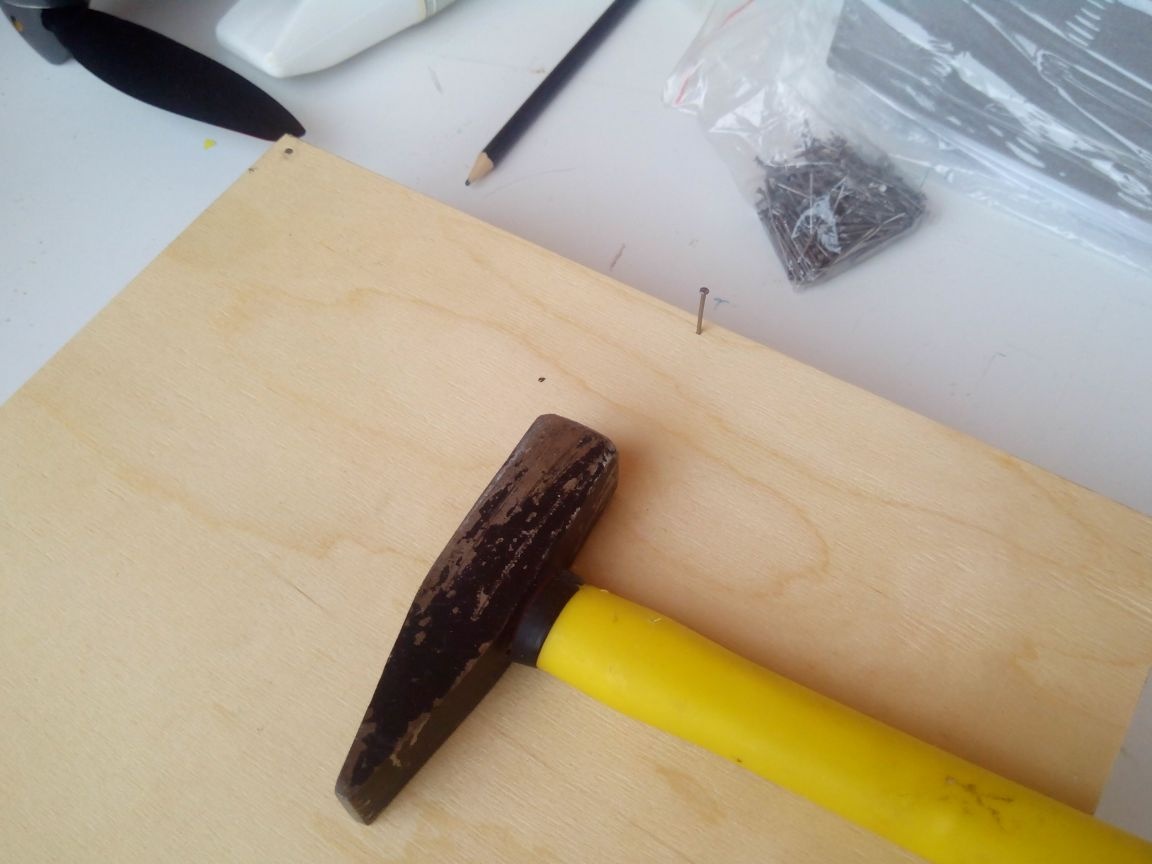
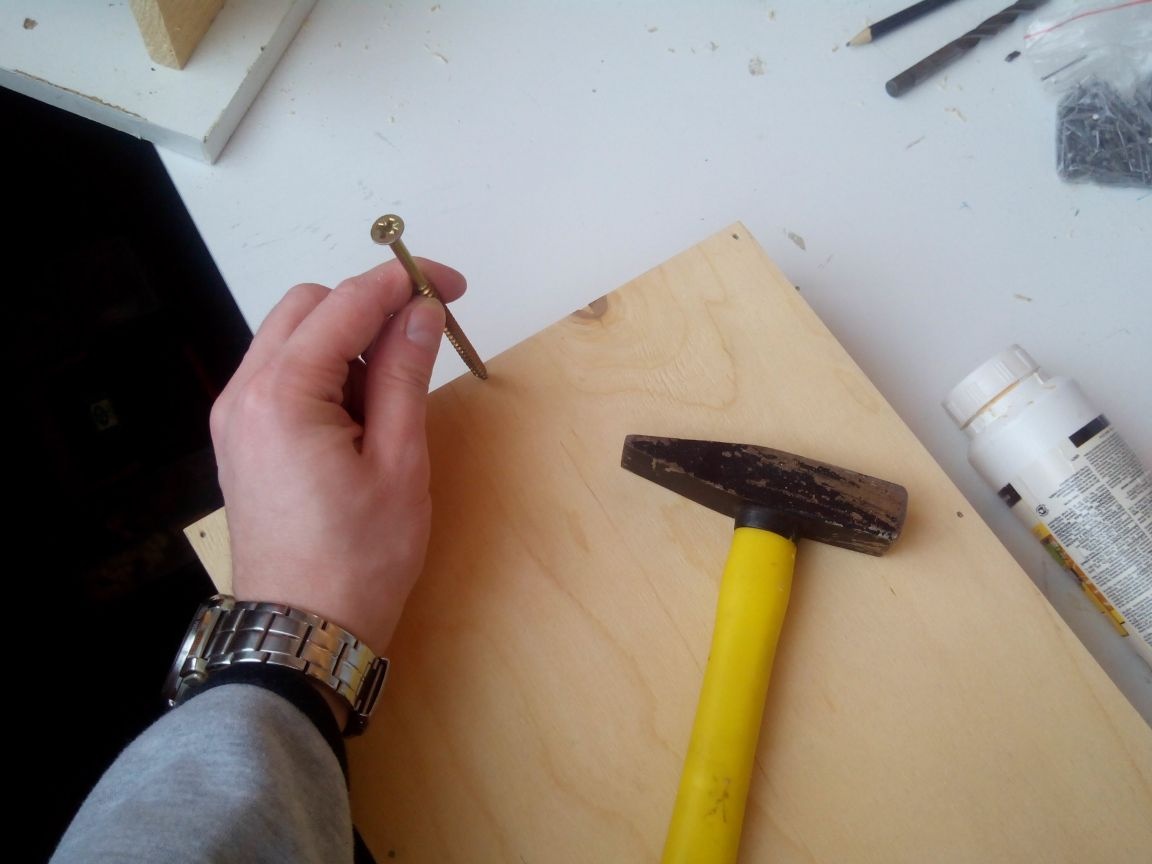
So that the cloves do not protrude, we hammer them into the tree with the help of a large self-tapping screw or nail.
We drill holes in the sides for self-tapping screws.
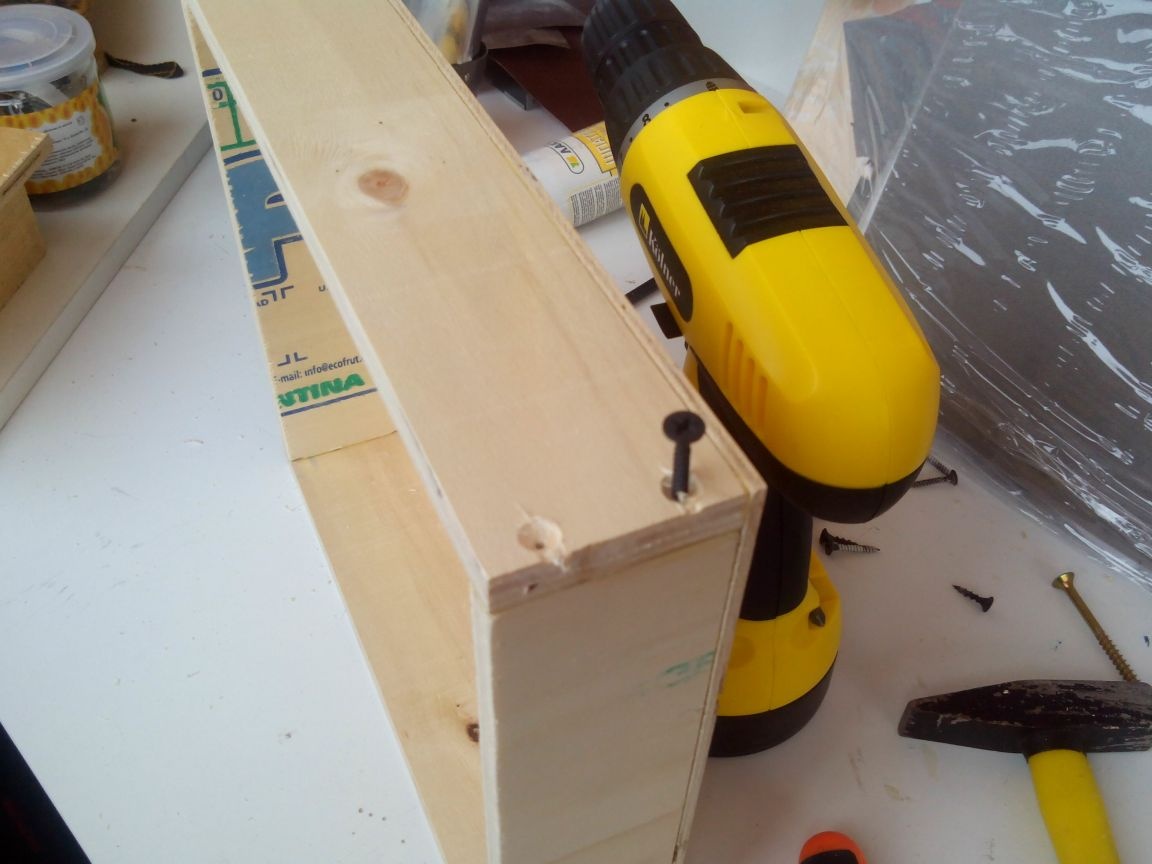
We screw the screws.
Step 3. Internal partitions and gaskets
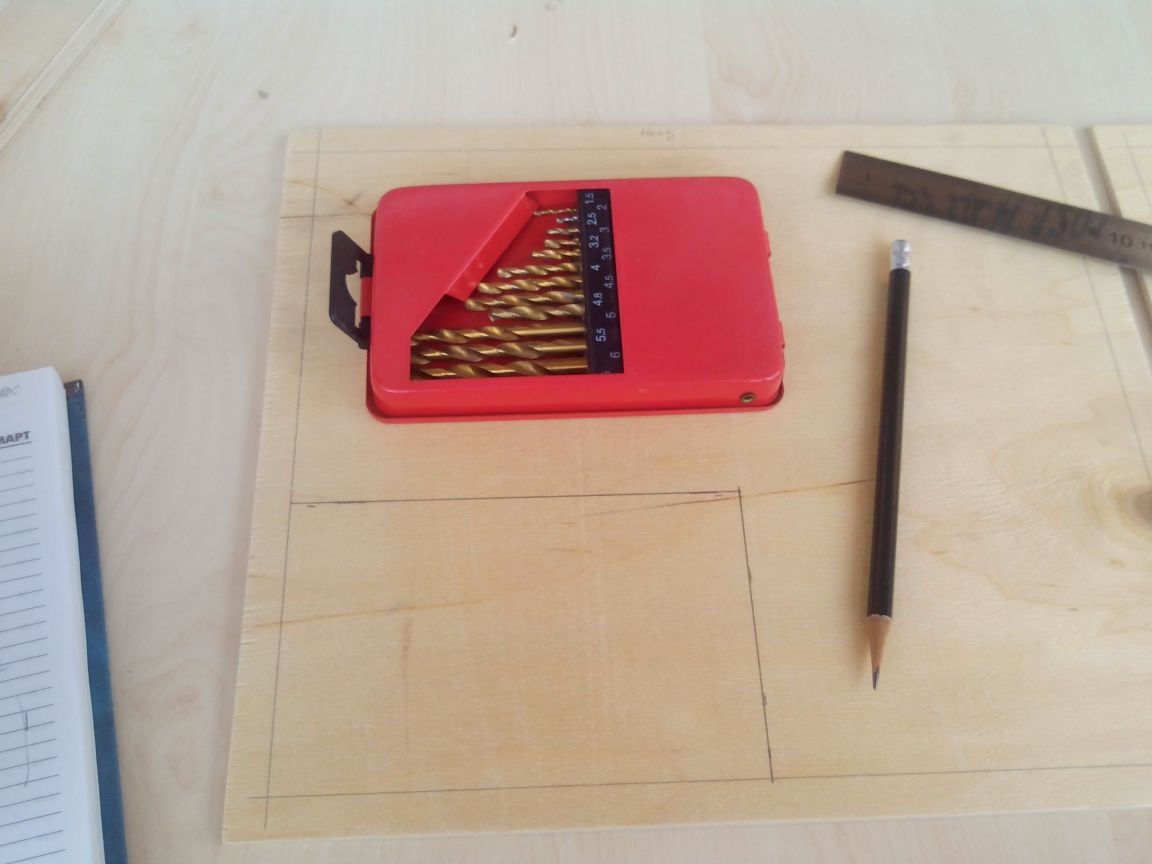
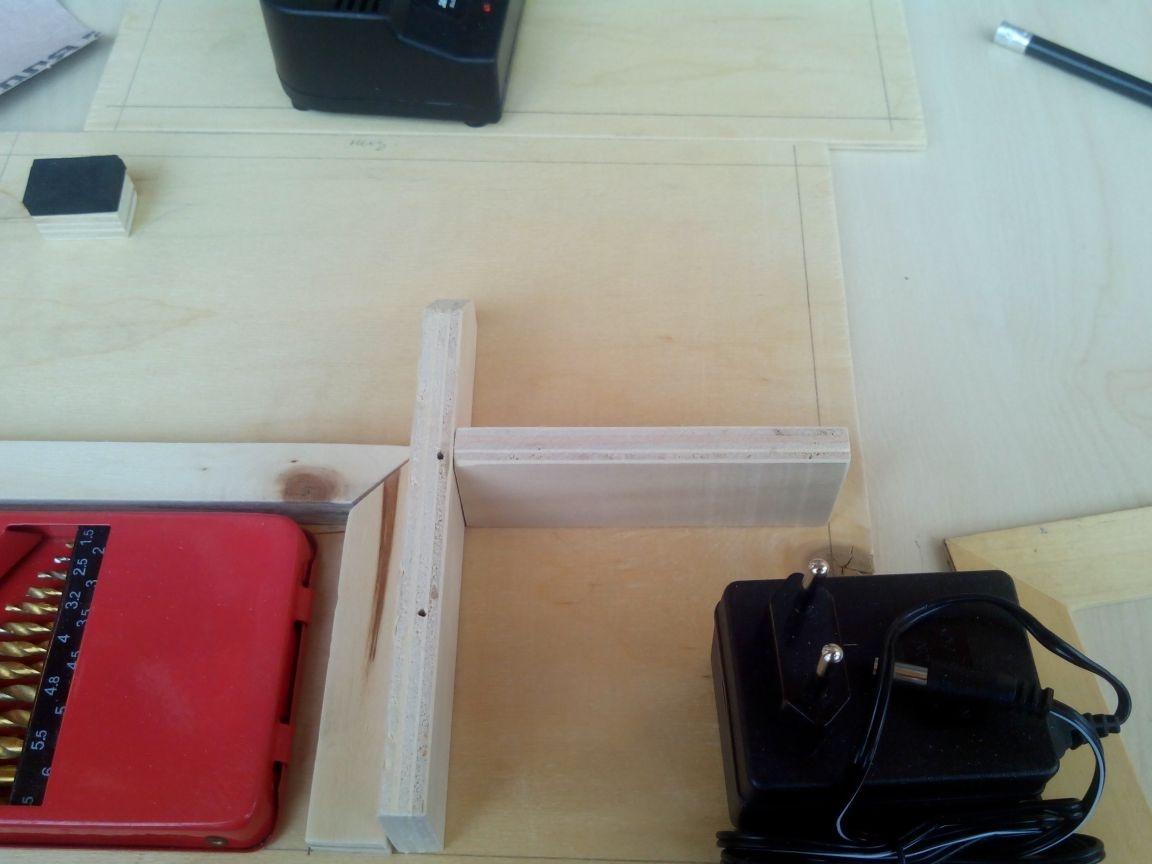
We mark the internal partitions for drills on the covers.
We cut the partitions ourselves out of thick plywood.
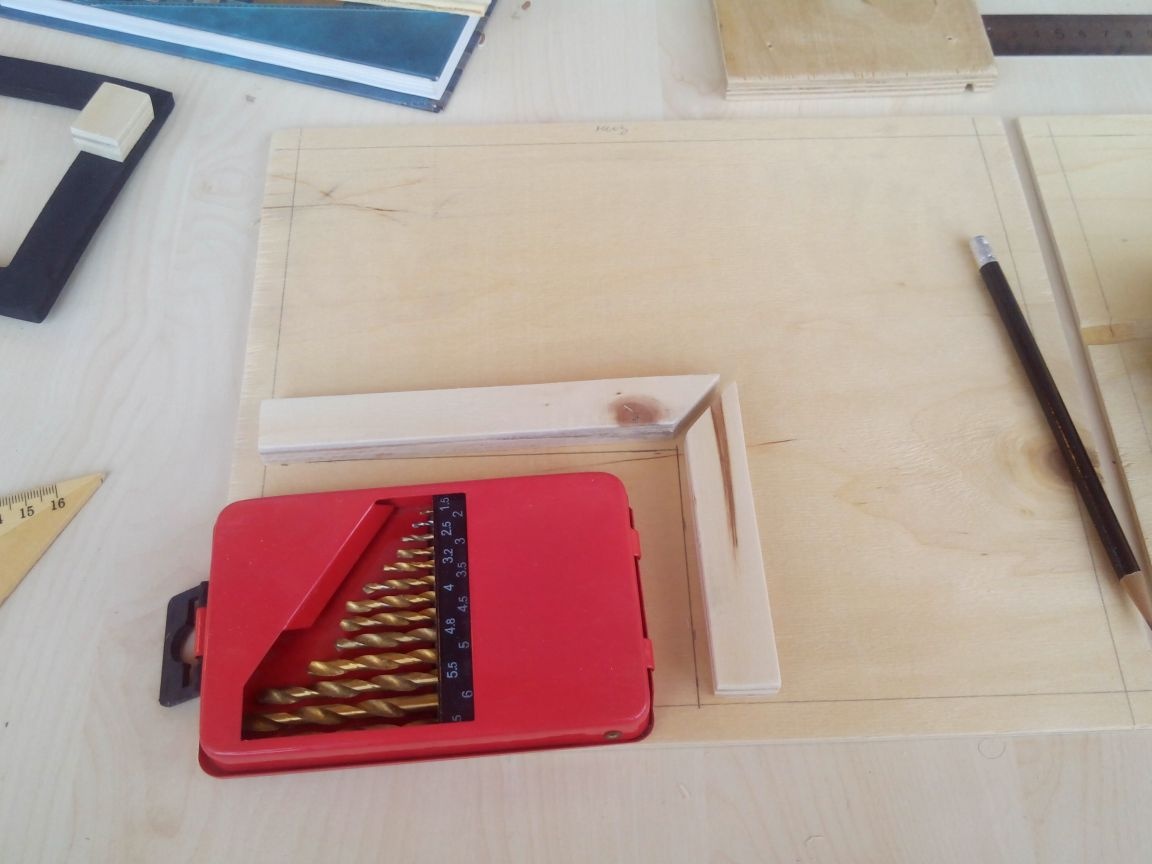
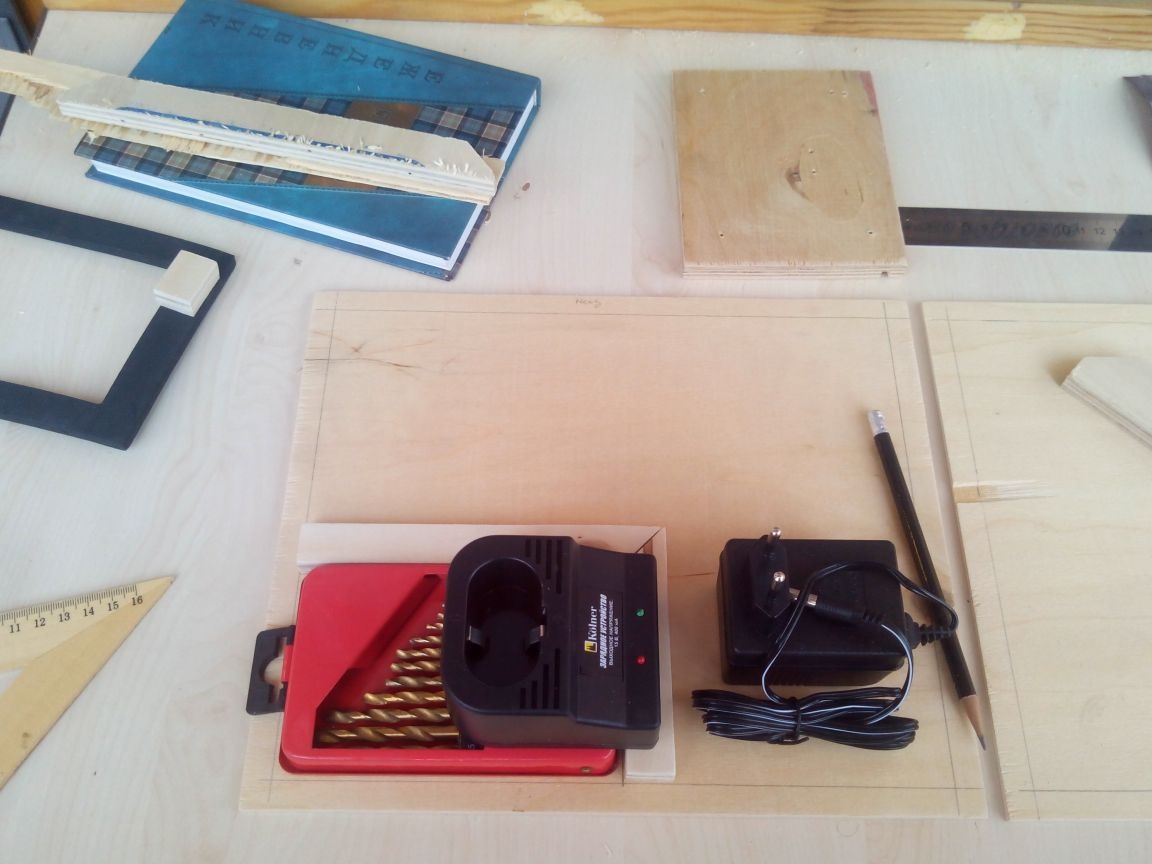
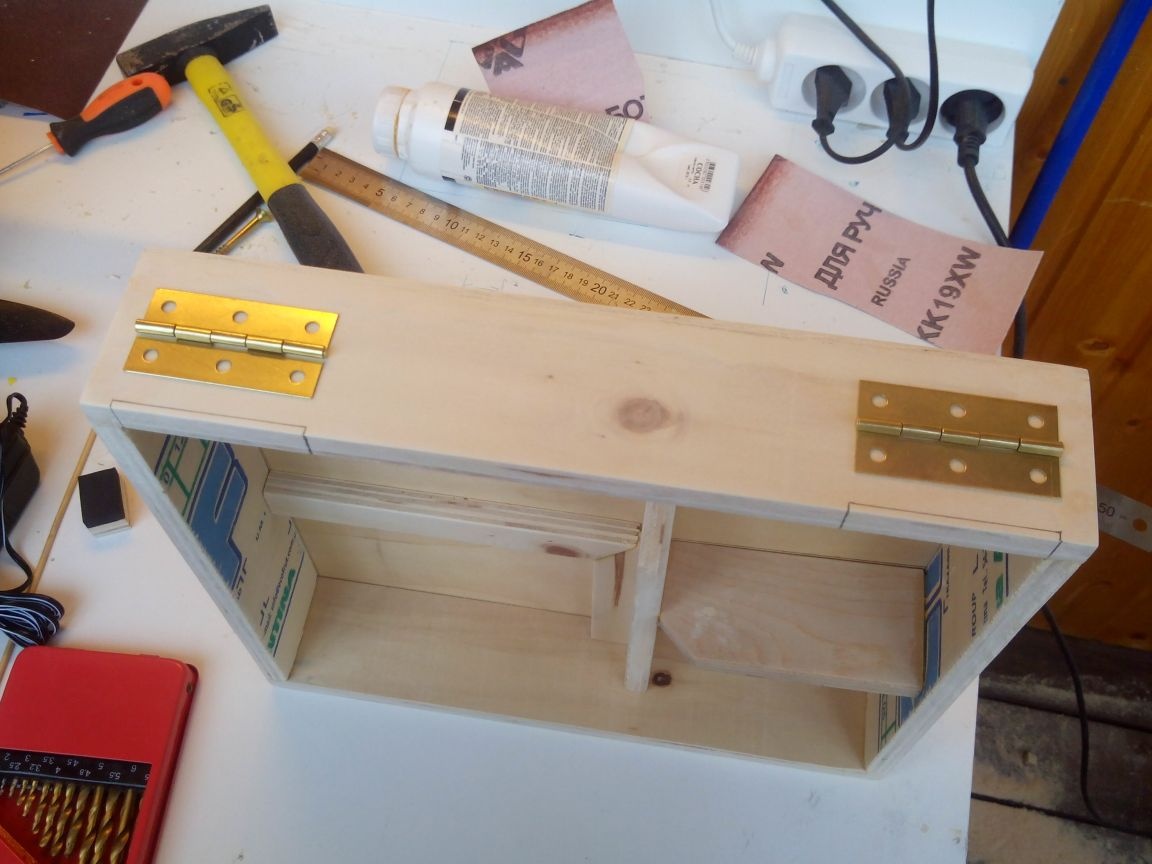
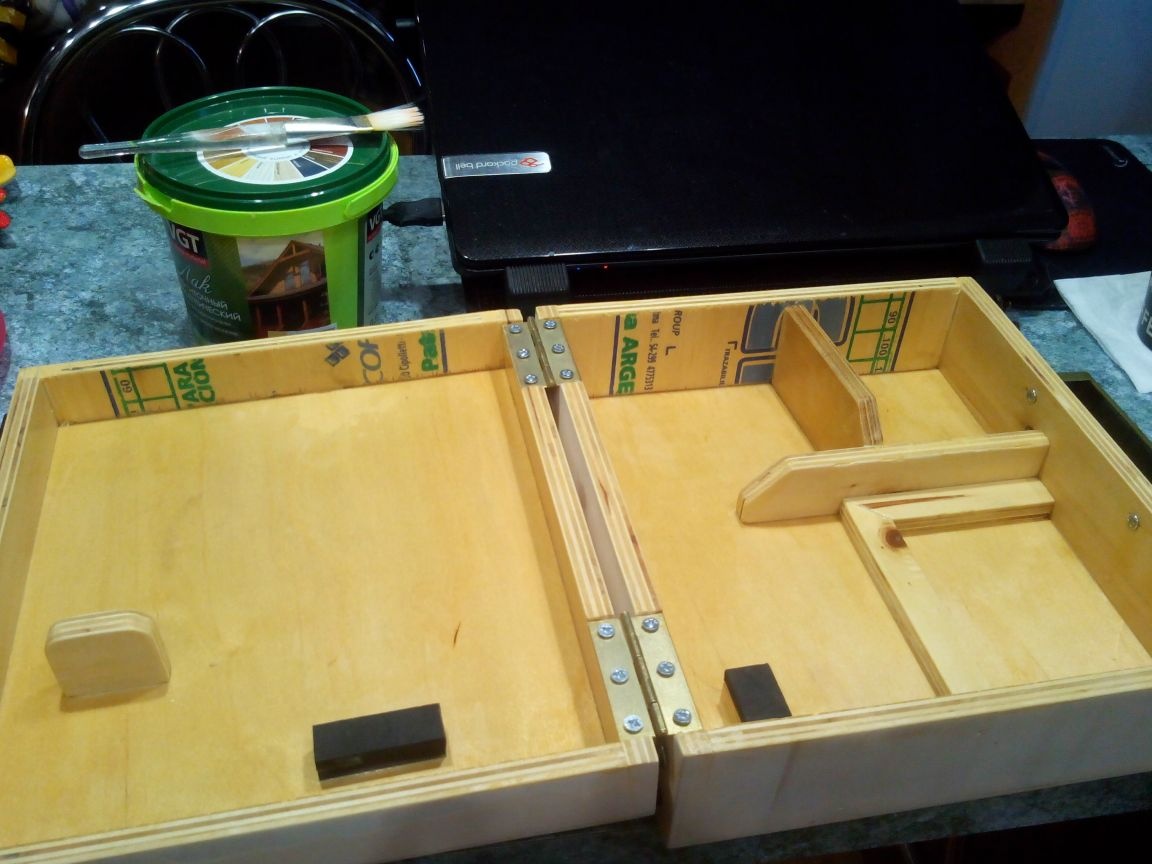
We are considering the future location of the charger, power supply and screwdriver.The charger will be on top of the box with drills and will be fixed by a separate partition in the lid, but more on that below.
We cut out the walls of the compartment for the power supply from thick plywood. These walls will also be fixed by the screwdriver itself.
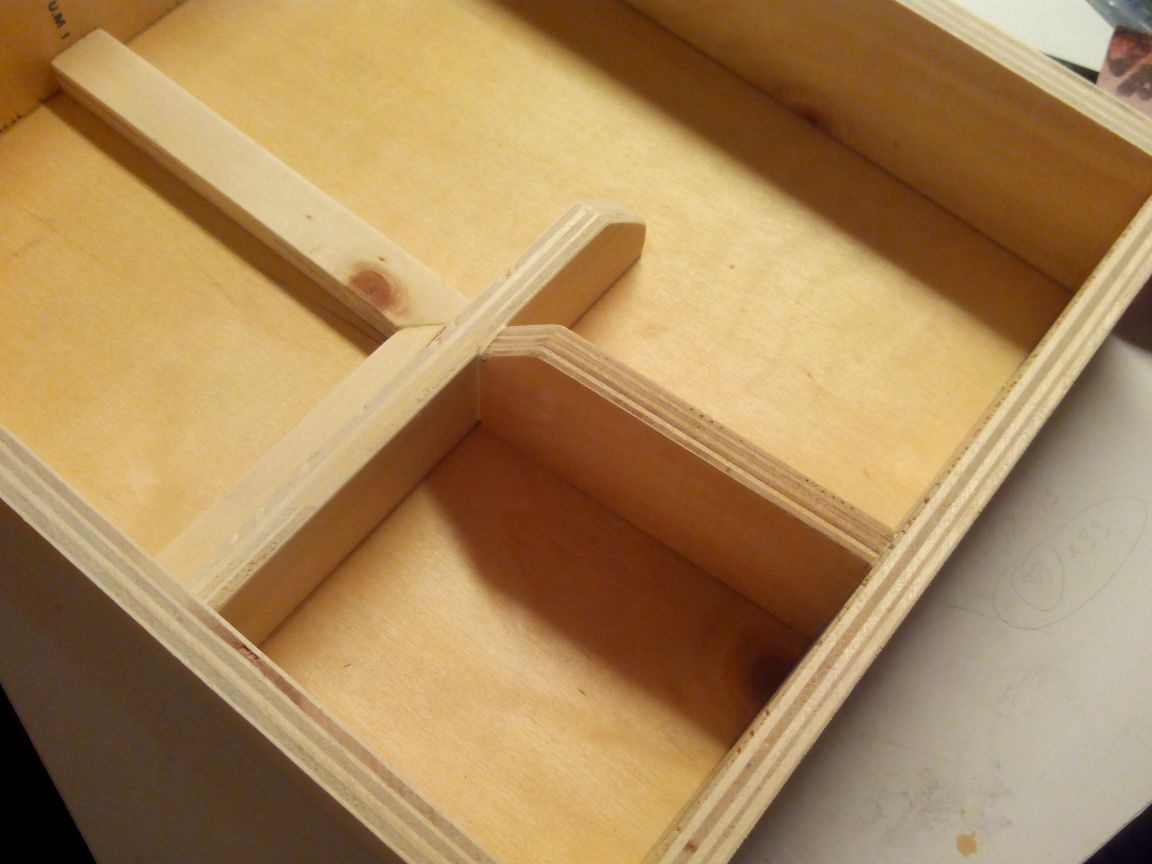
We glue the partitions for the drill compartment.
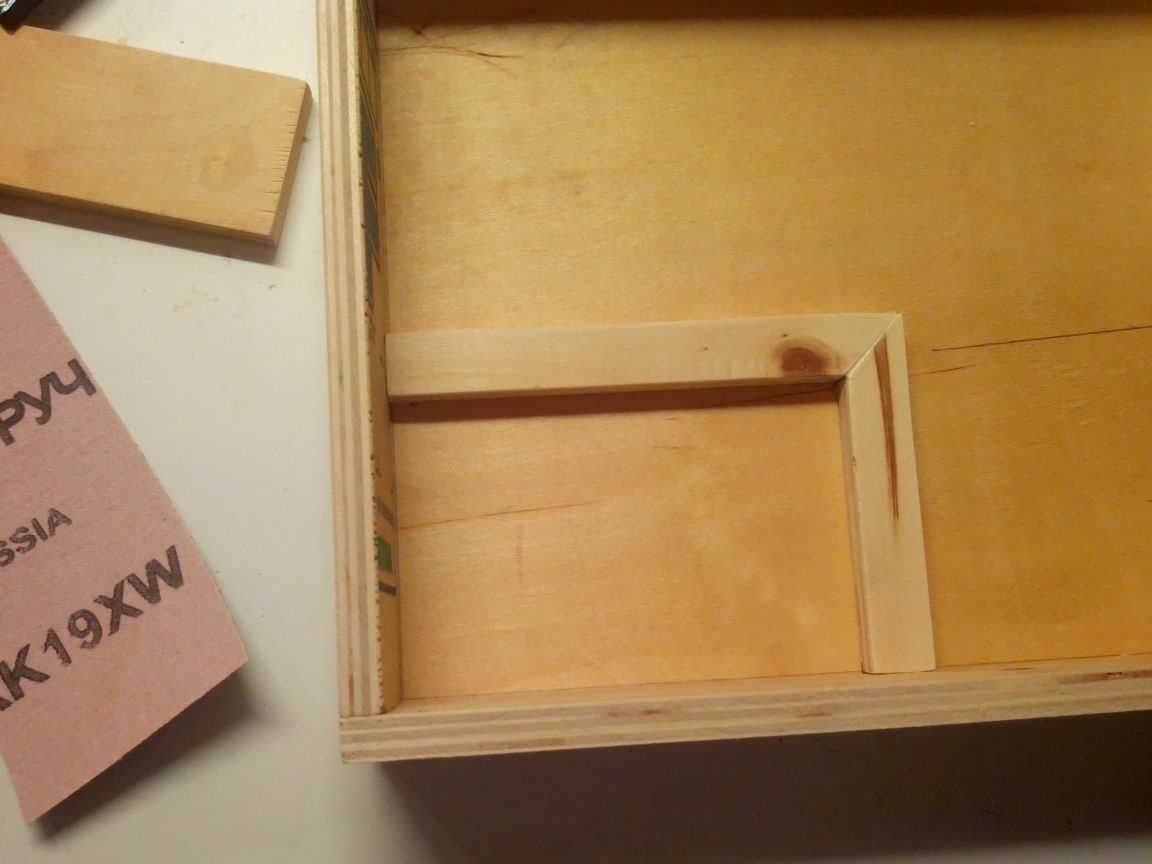
We glue the partitions of the power supply compartment.
We make a seal for a screwdriver from thick plywood and foam rubber.
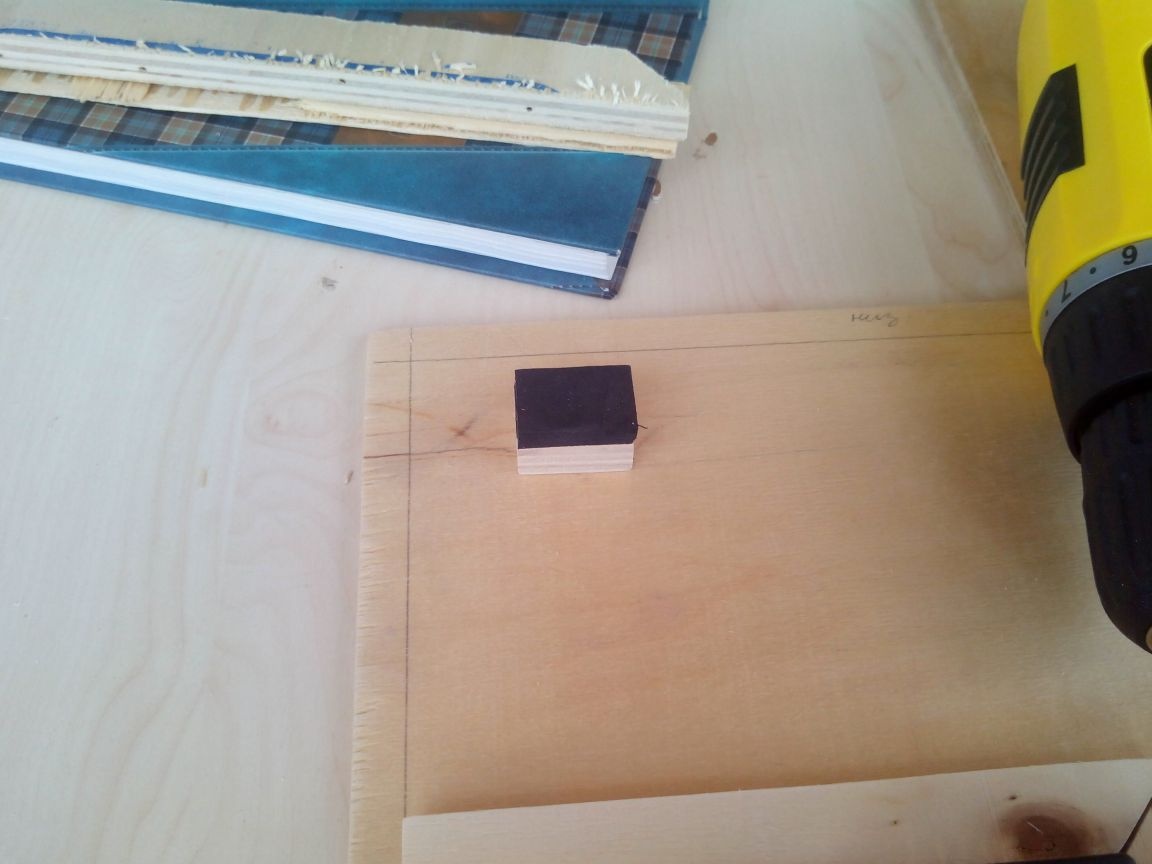
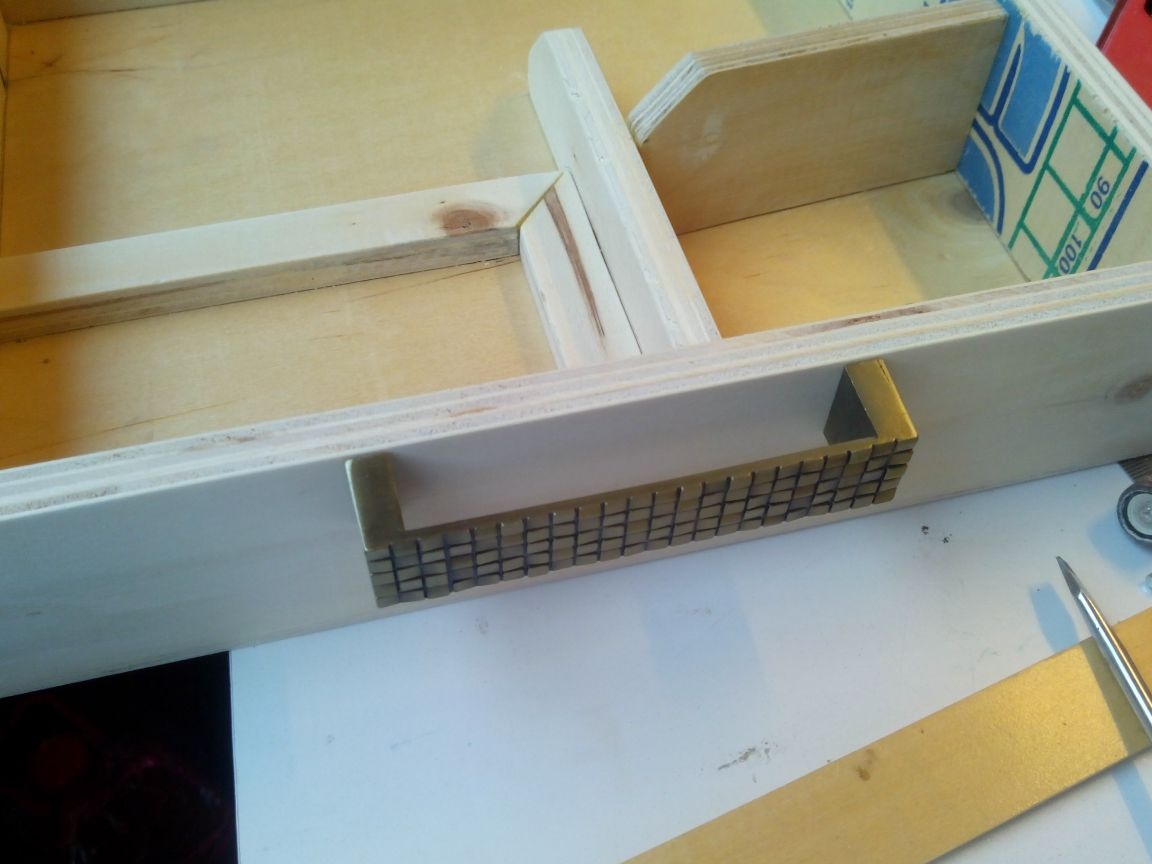
From thick plywood, we cut out the retainer-retainer for the charger
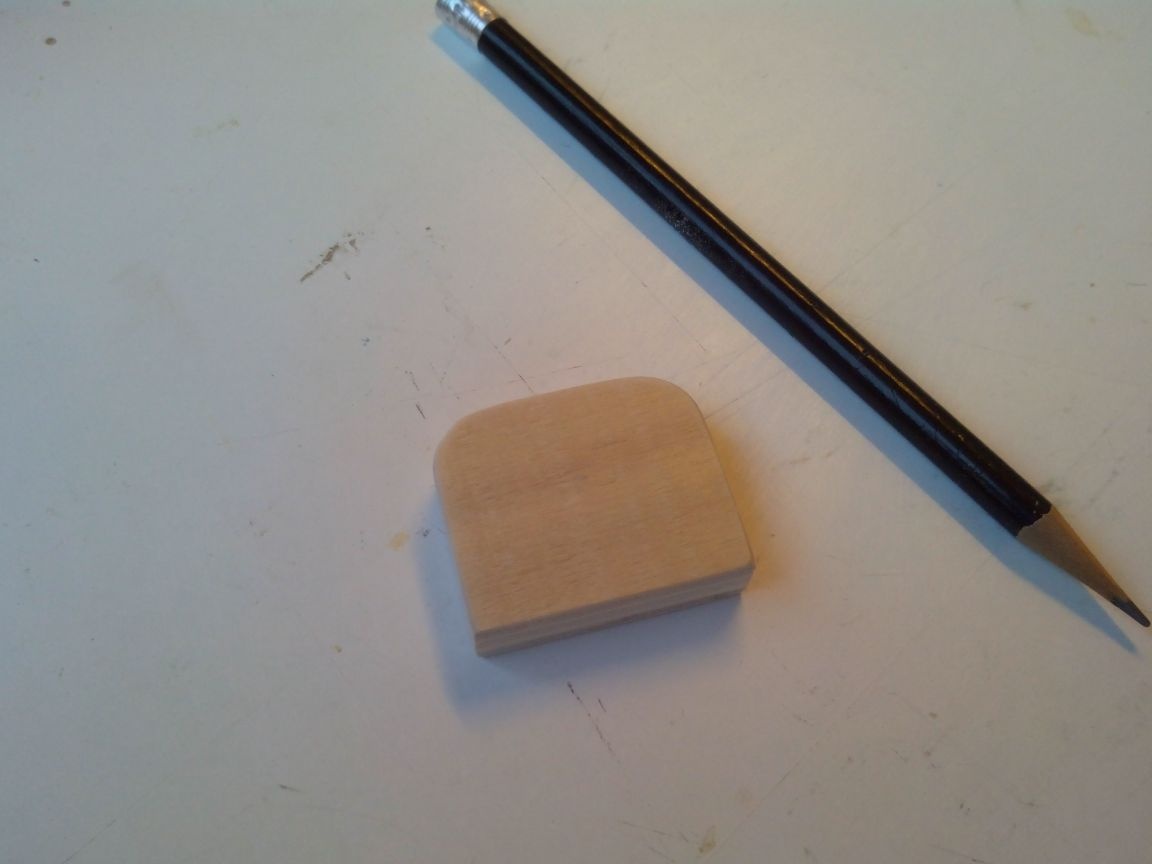
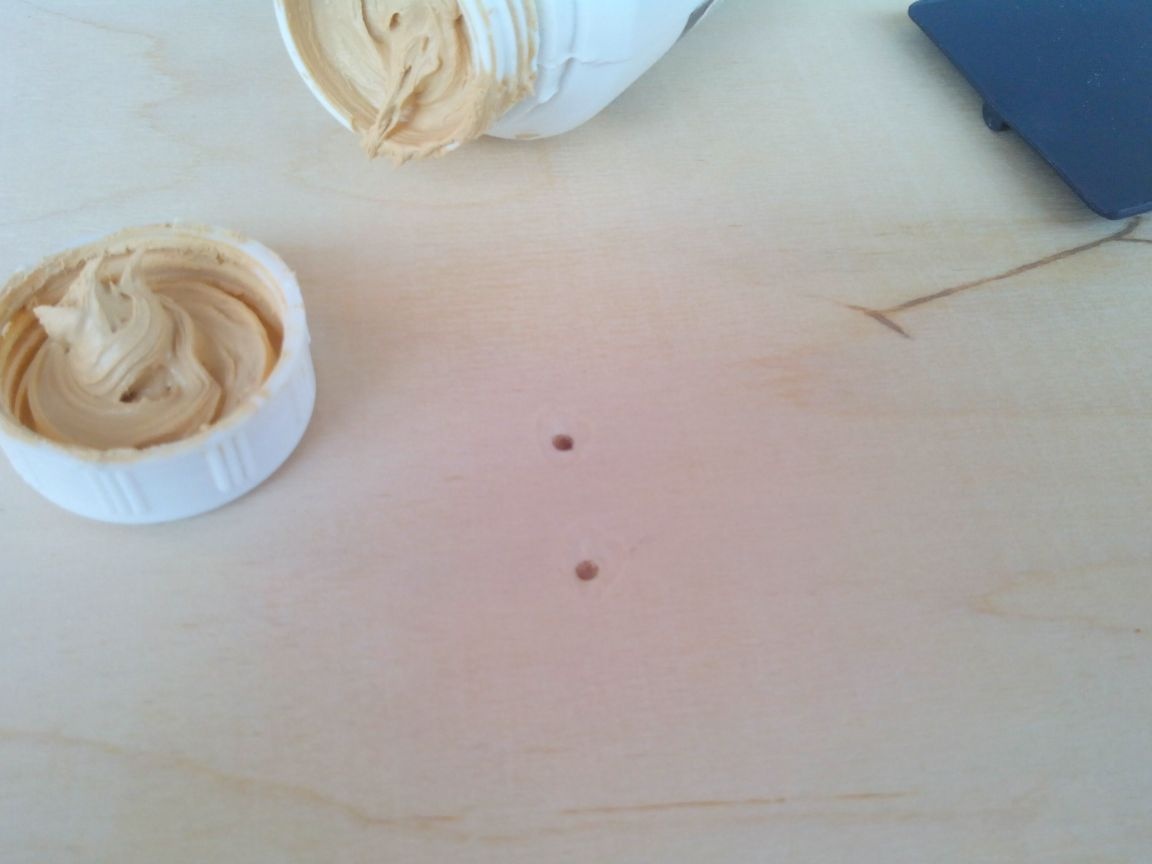
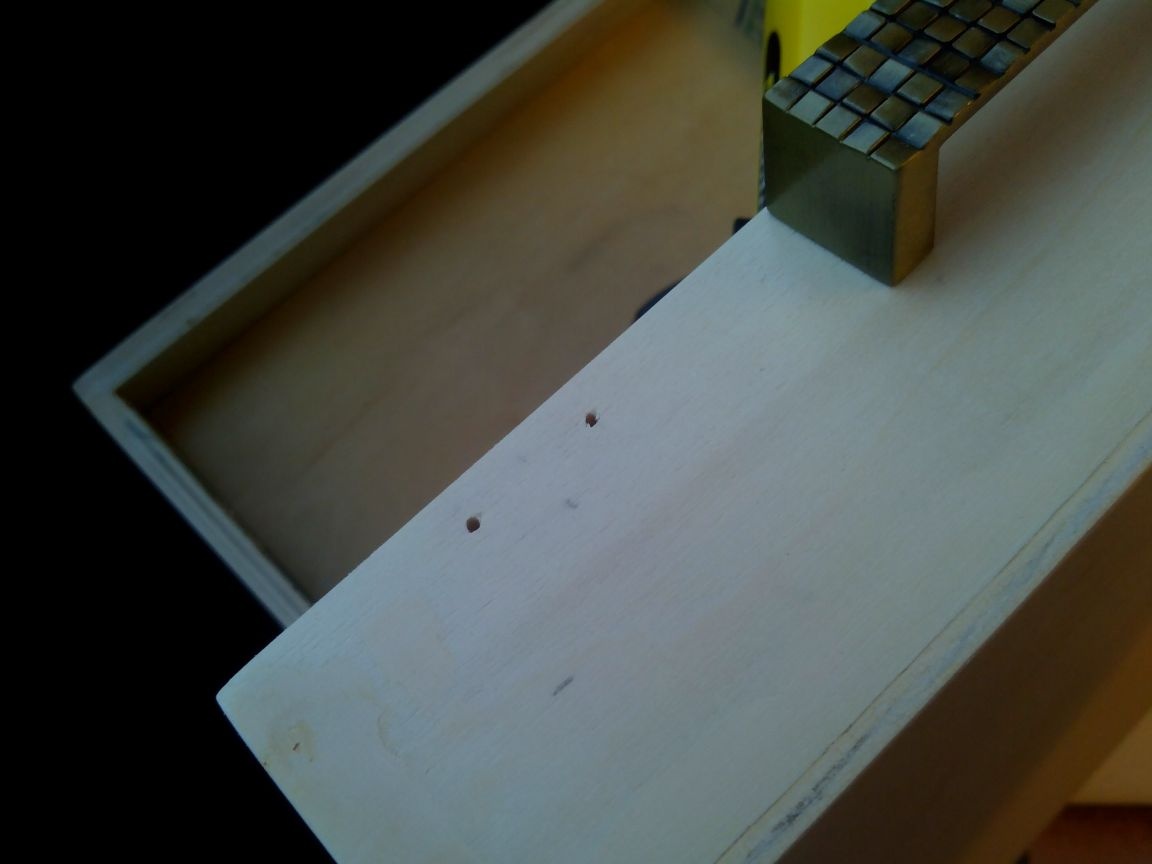
We drill two holes in it, glue the bamboo sticks and drill two holes in the lid in place.
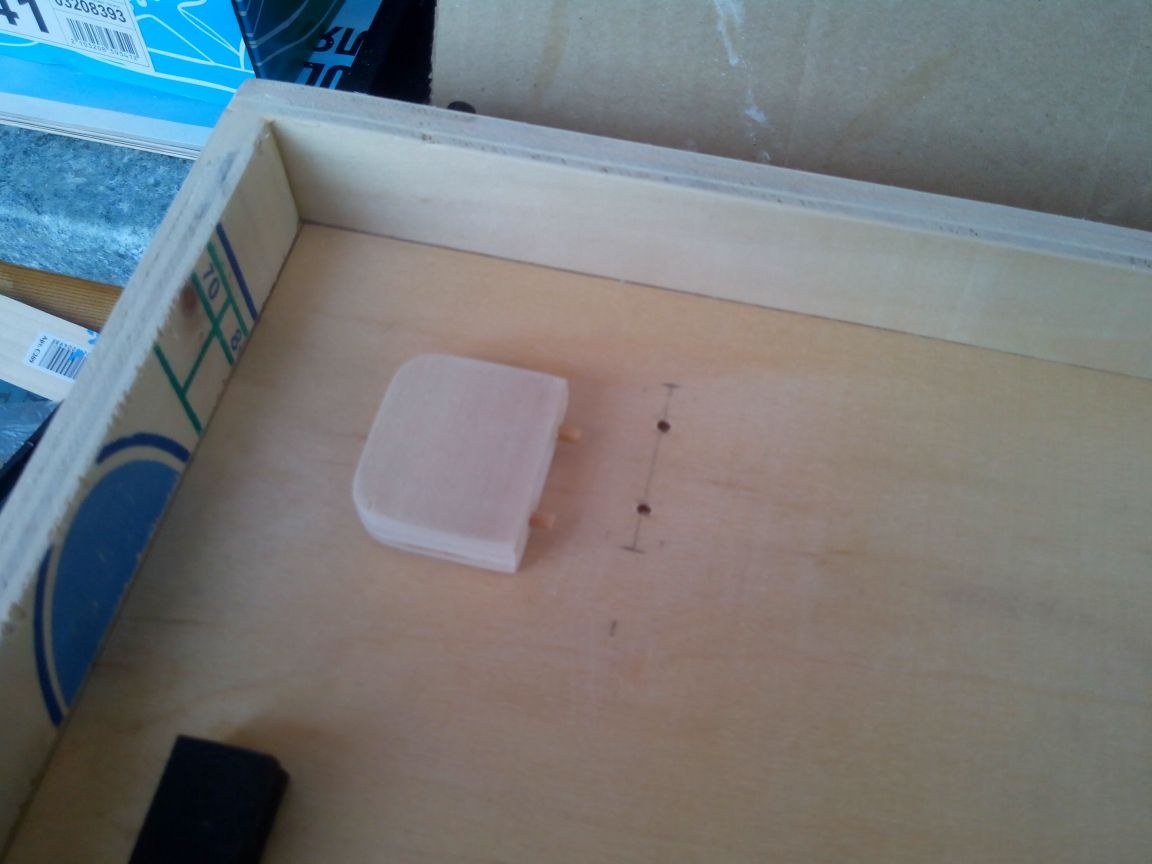
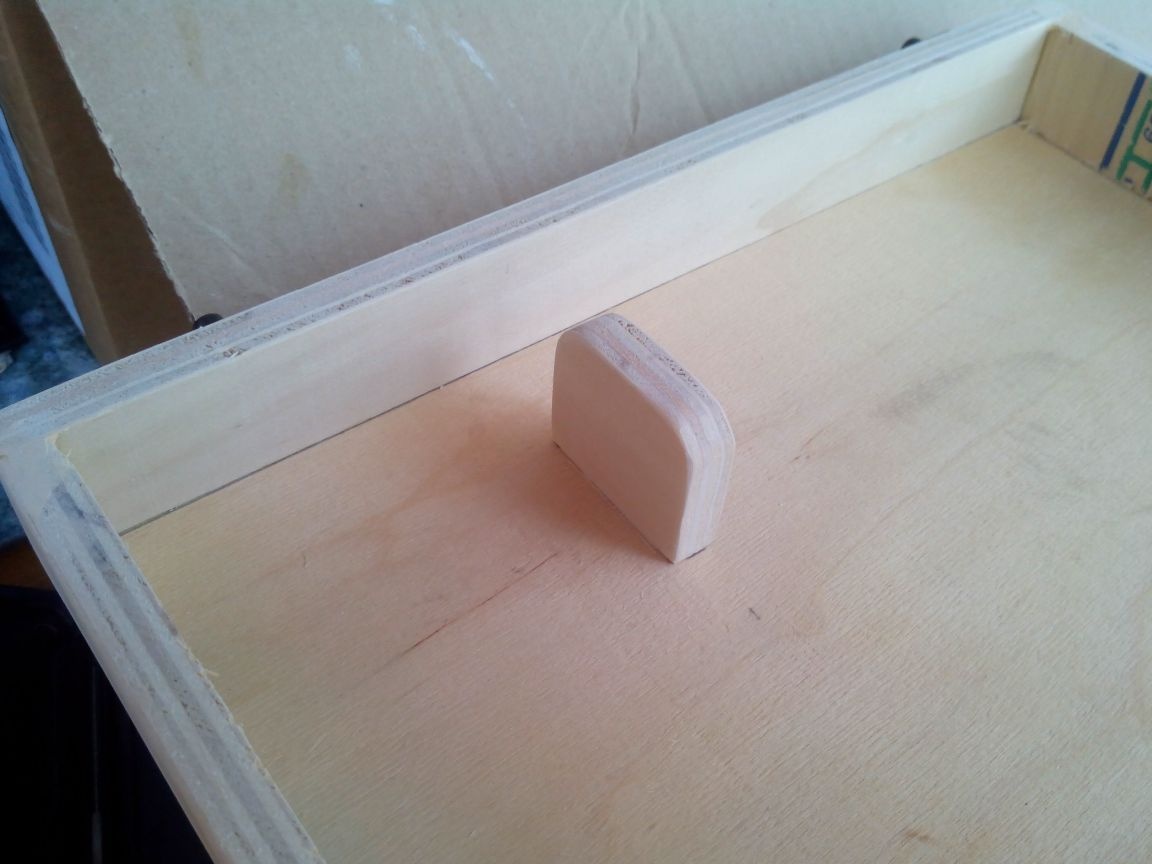
We glue the partition.
Step 4. Puttying
Using a spatula or a plastic card, putty cloves in the lids.
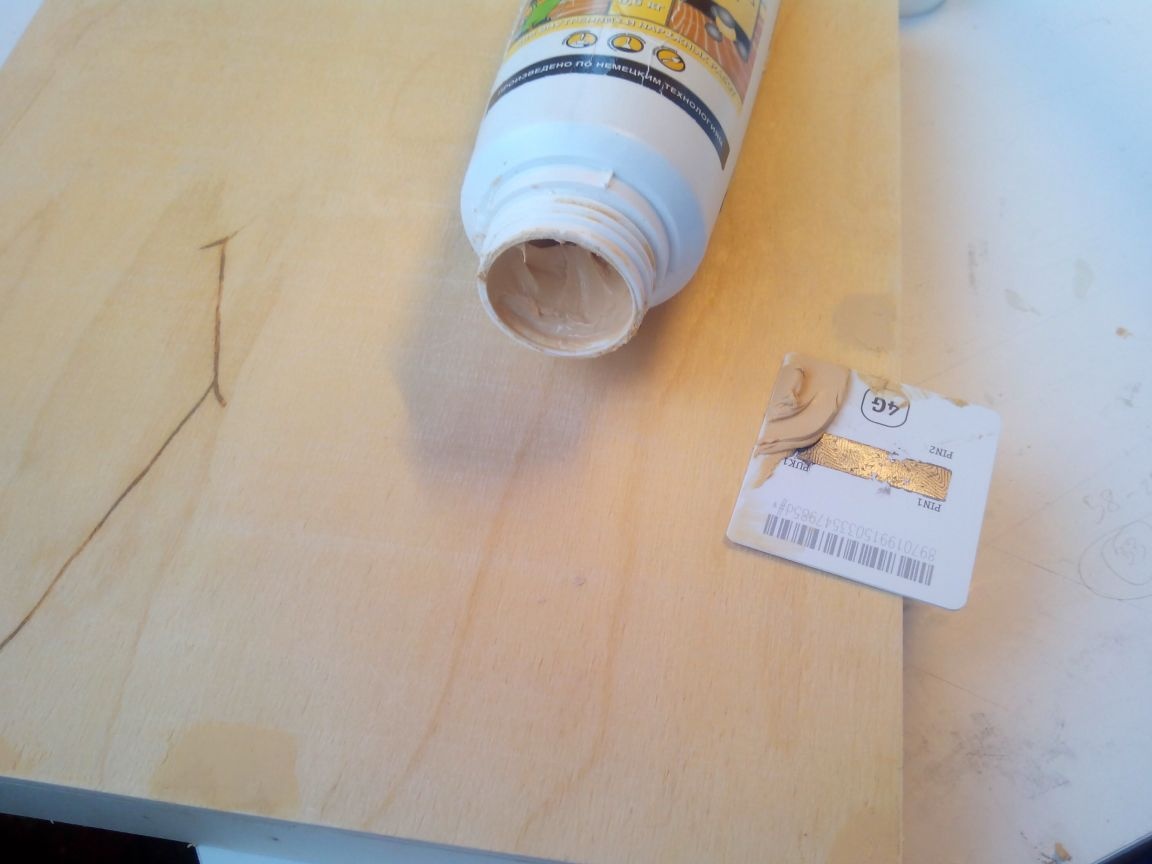
Also putty screws.
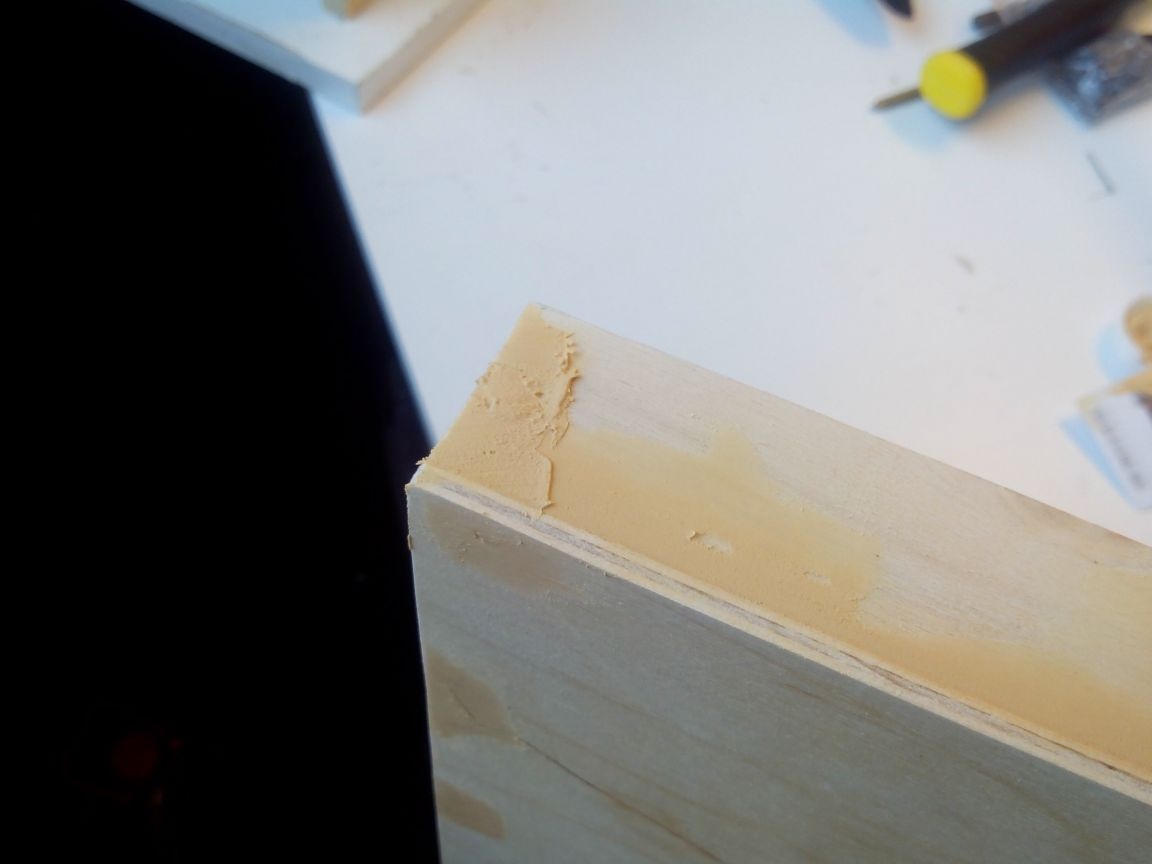
We clean the protruding bamboo sticks in the lid and putty in the same way.
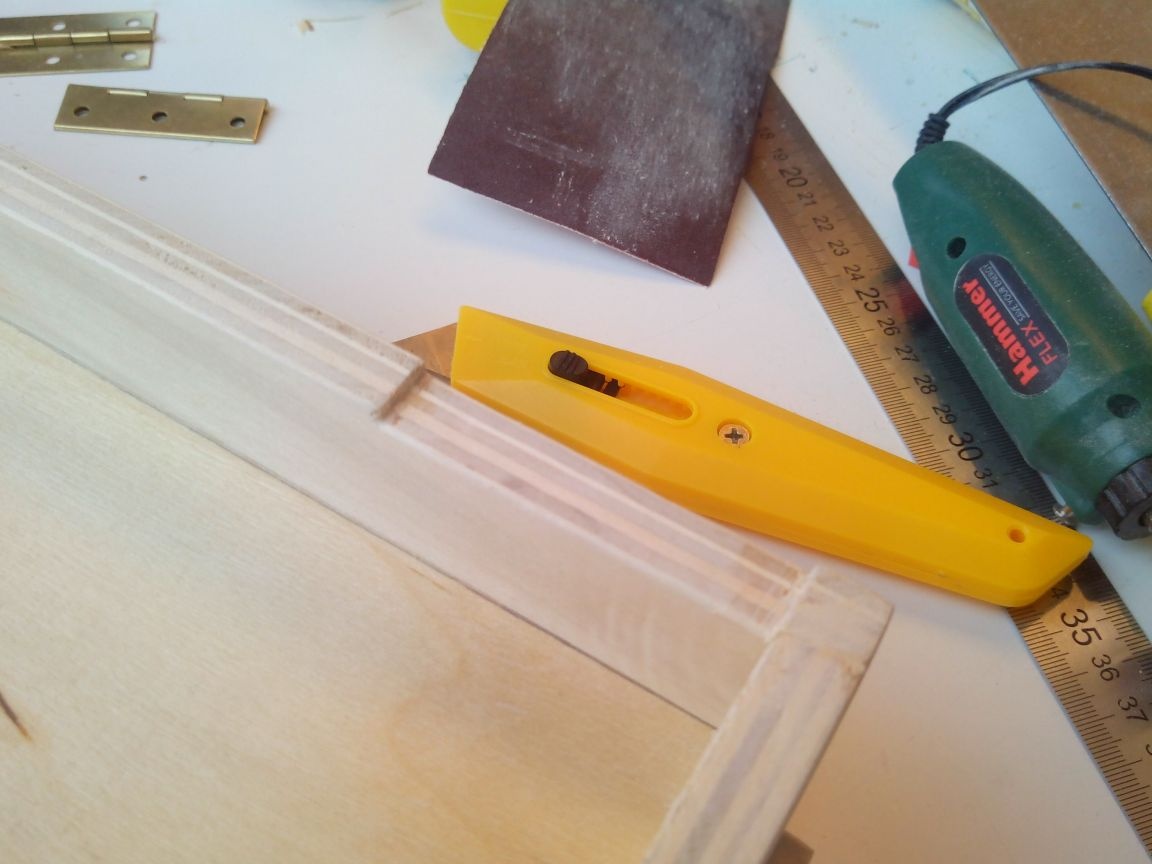
After drying the first layer, we clean everything with sandpaper and putty all the seams around the perimeter.
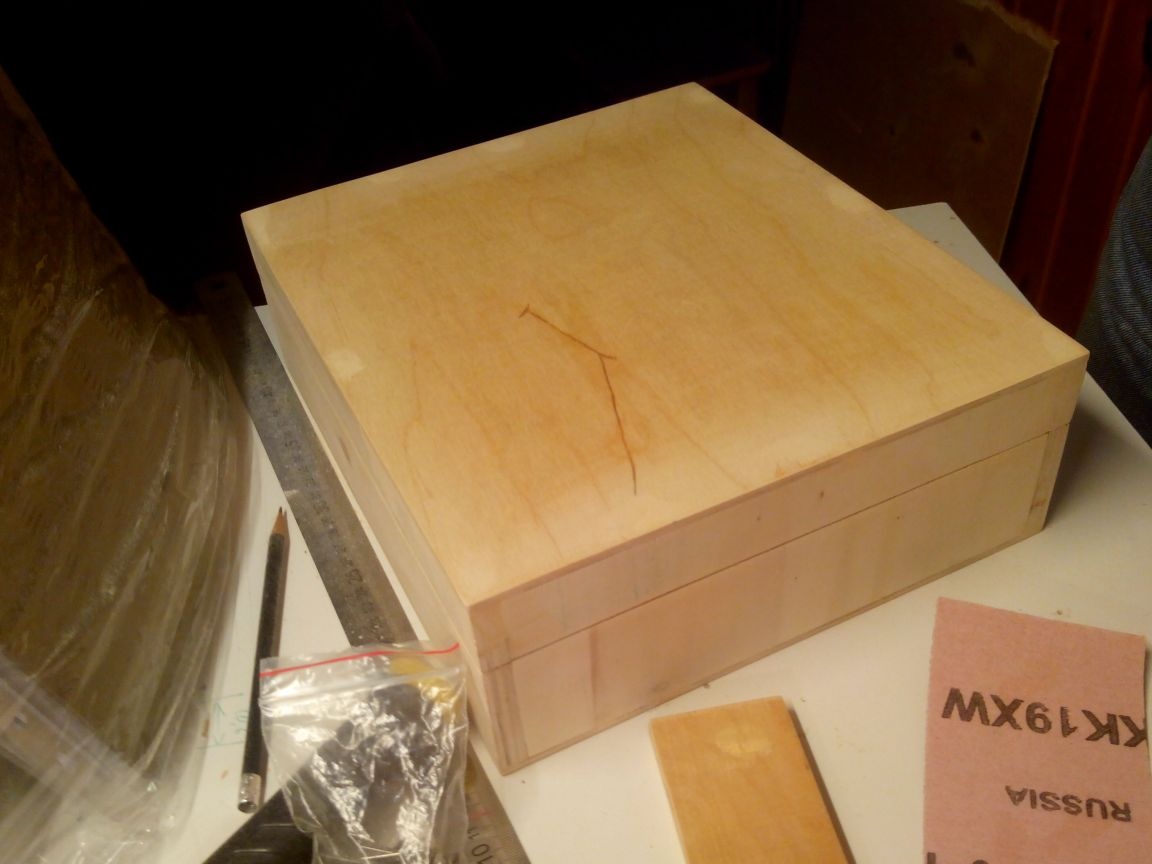
Then grind with sandpaper from all sides.
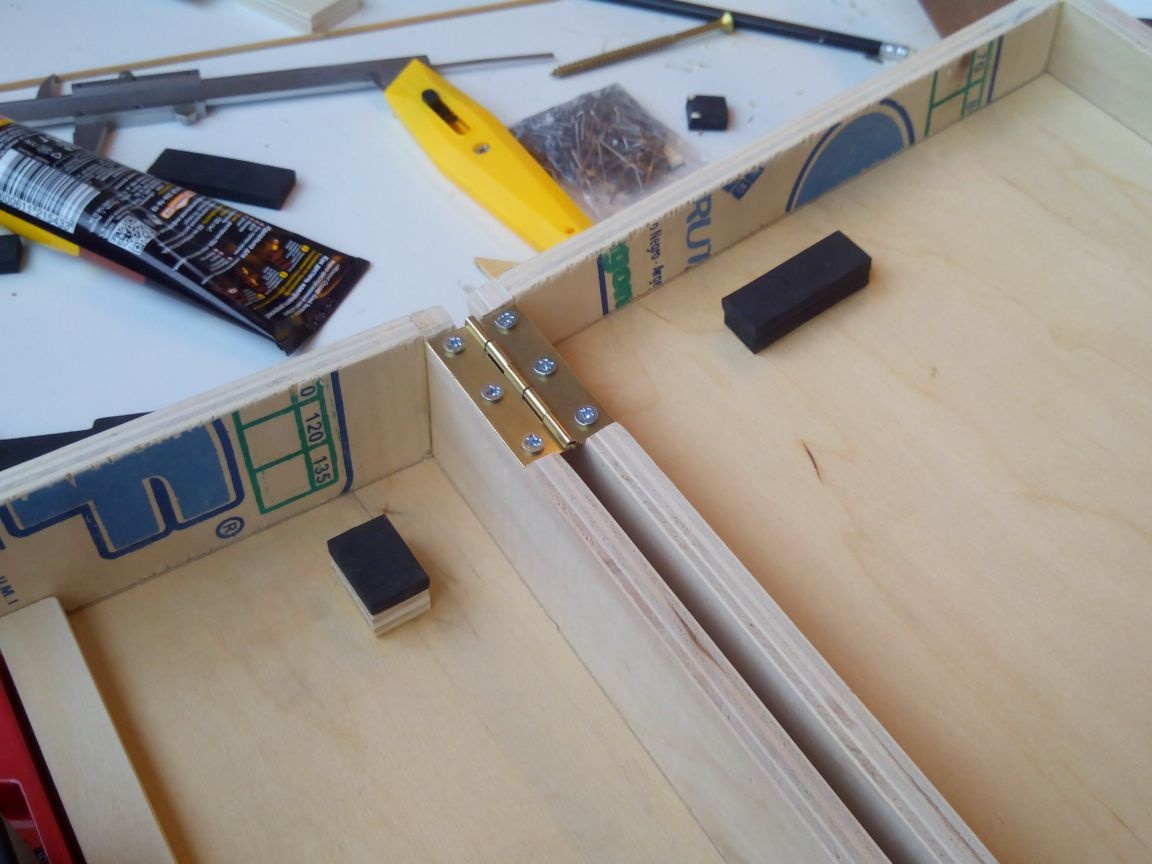
Step 5. Install Hardware
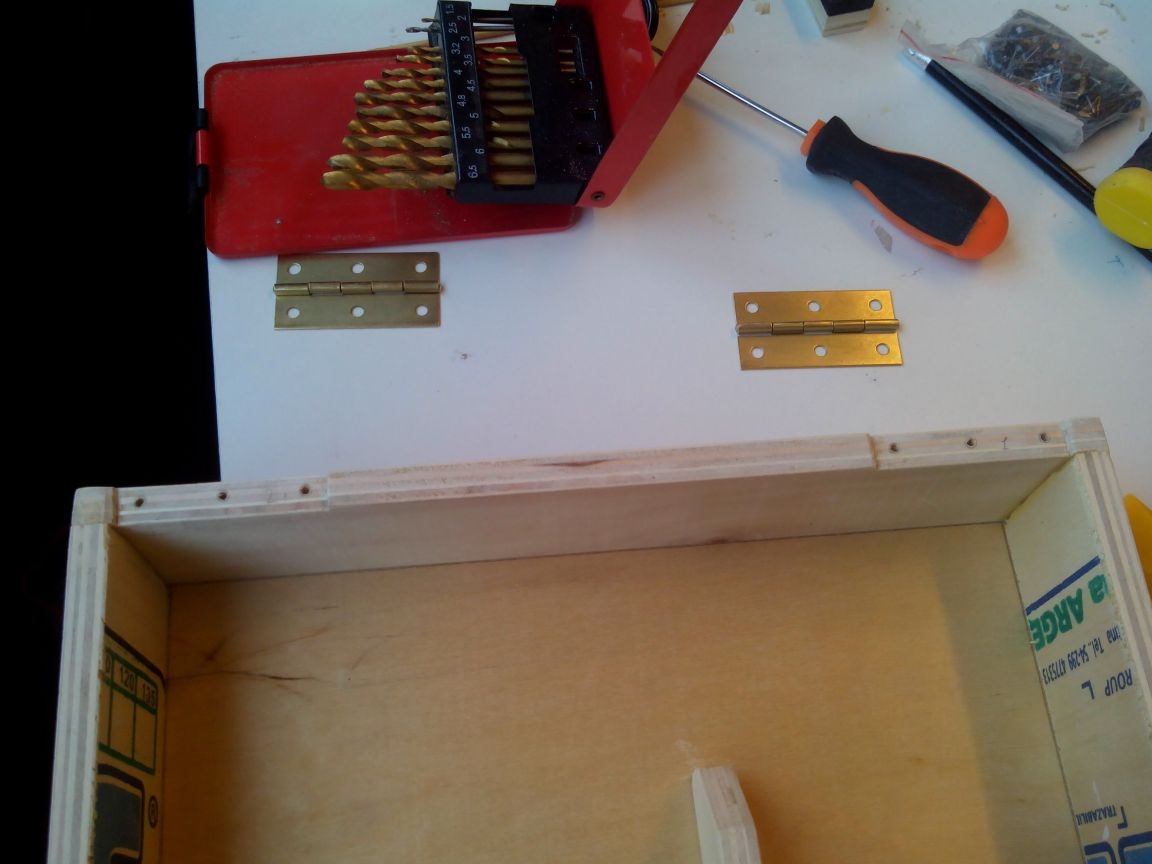
Marking places for loops
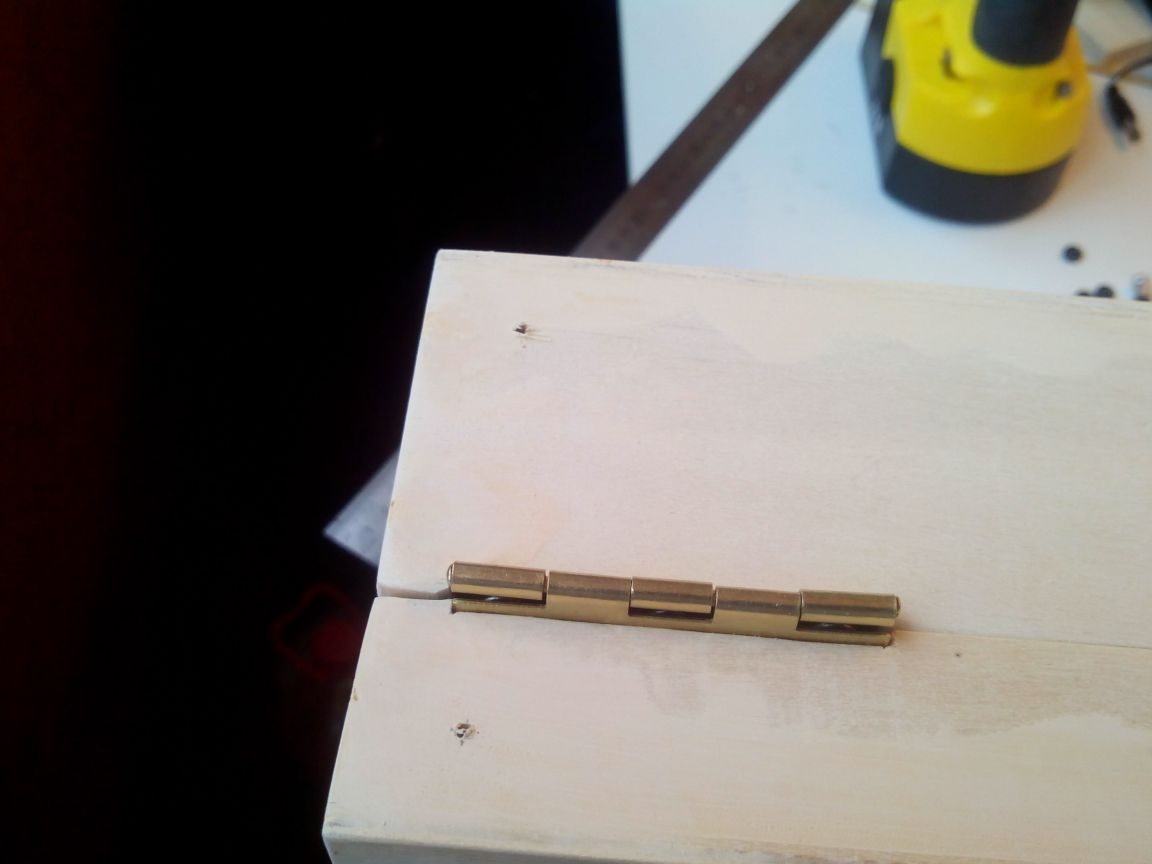
Using a hacksaw and dremel, we make recesses for the loops.
Mark the holes for the screws.

The center of the holes is punctured with an awl.
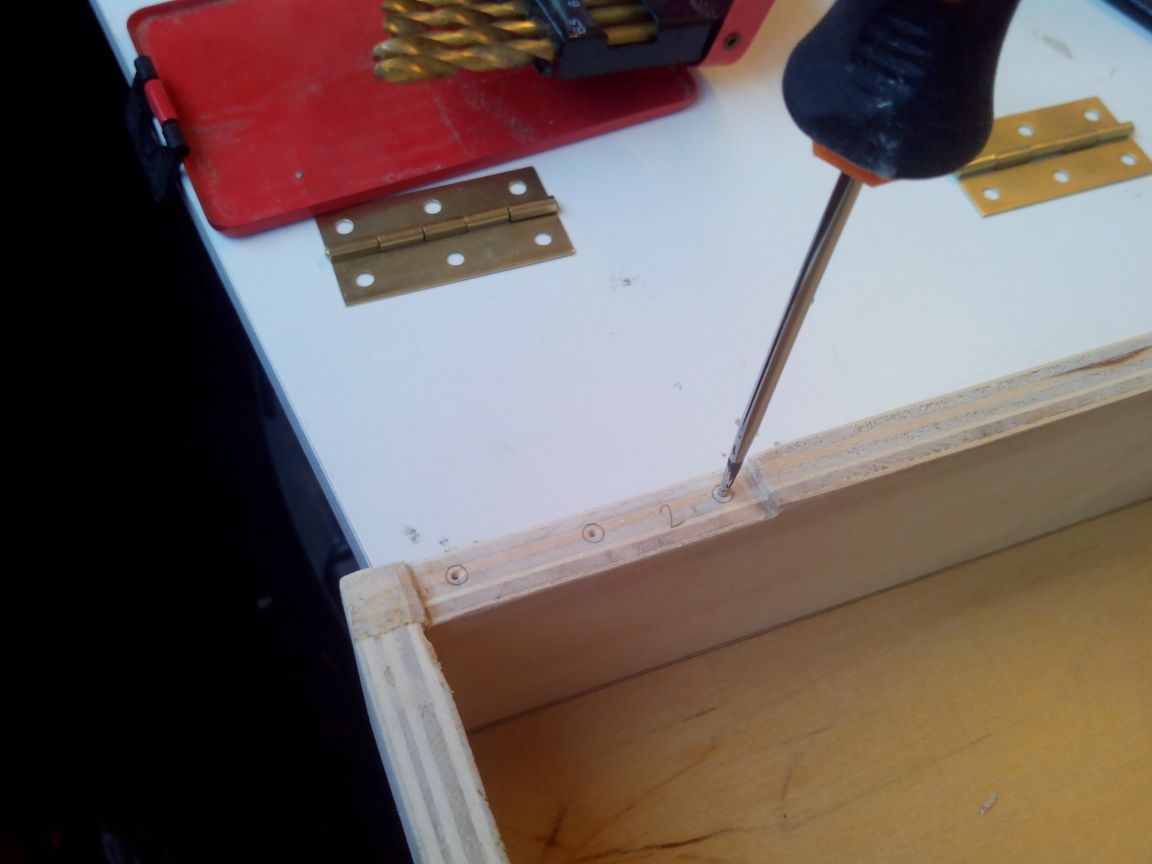
We drill holes.
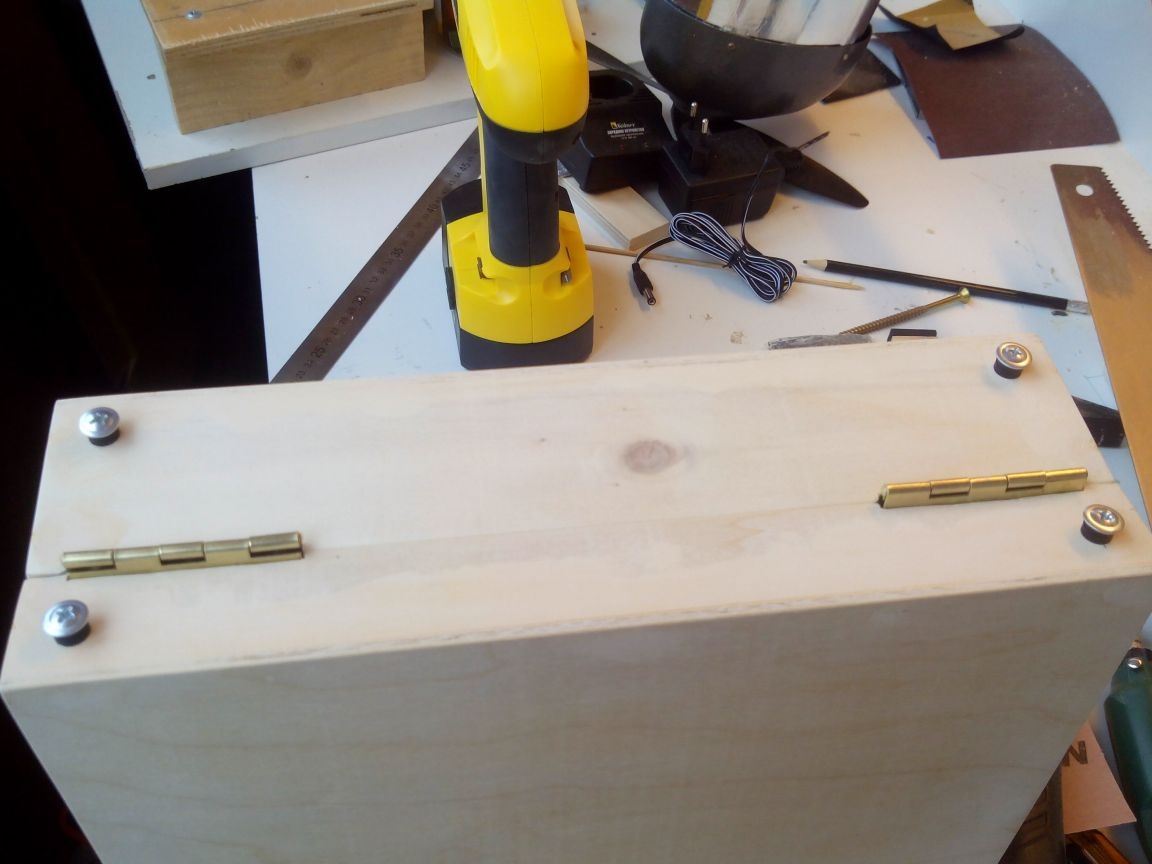
And fasten the hinges.

We mark and drill in the lower part of the briefcase places under the legs (so that because of the loop it does not tumble on the floor).
We fasten the legs (screws through plastic washers).
We drill holes for the handle mounting bolts.

We fasten the handle, cutting off excess from the bolts, if necessary.
We drill holes for locks.
We fasten the locks to both halves of the suitcase.
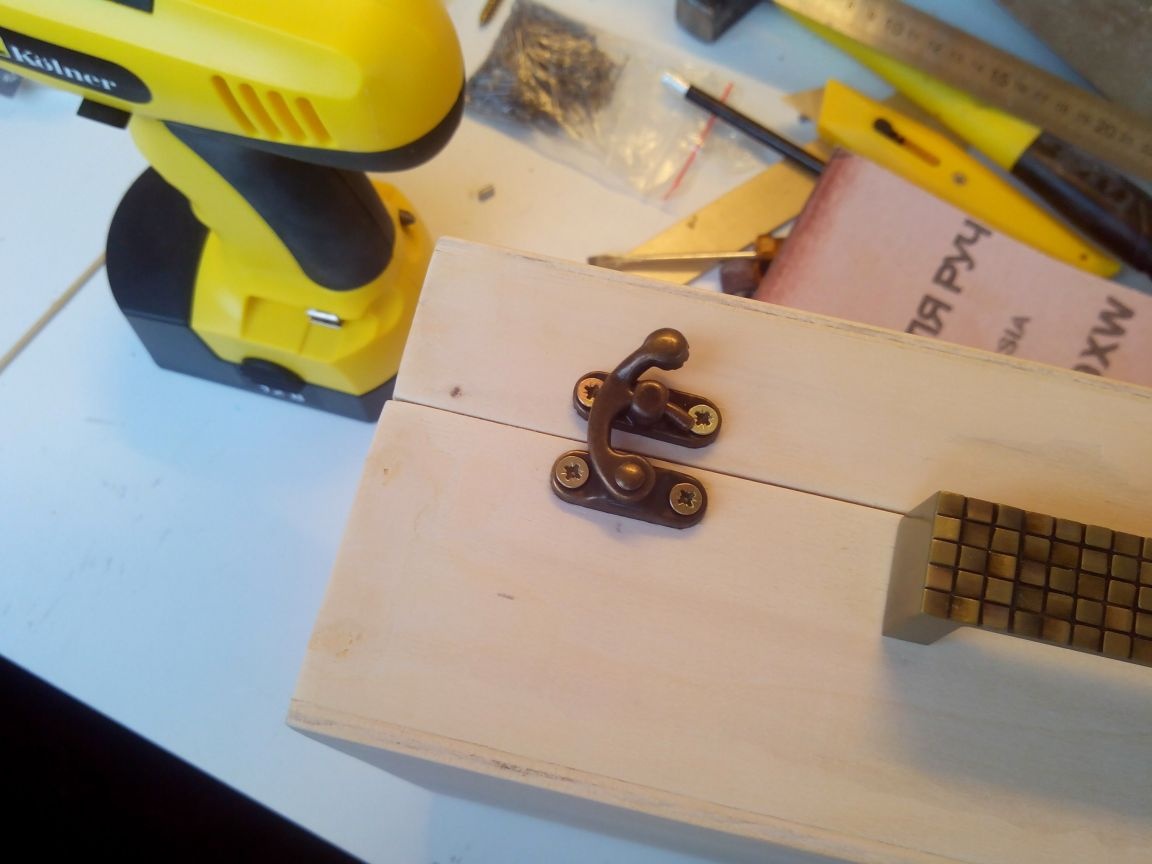
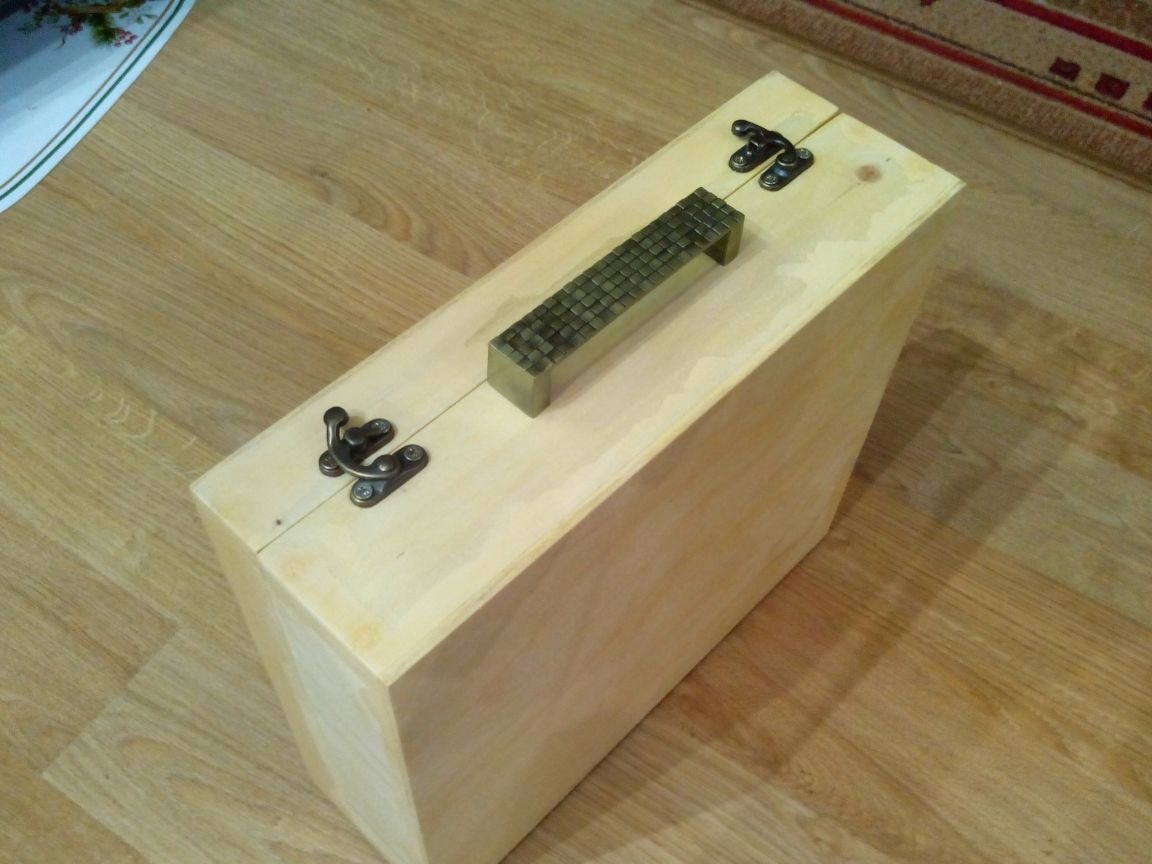
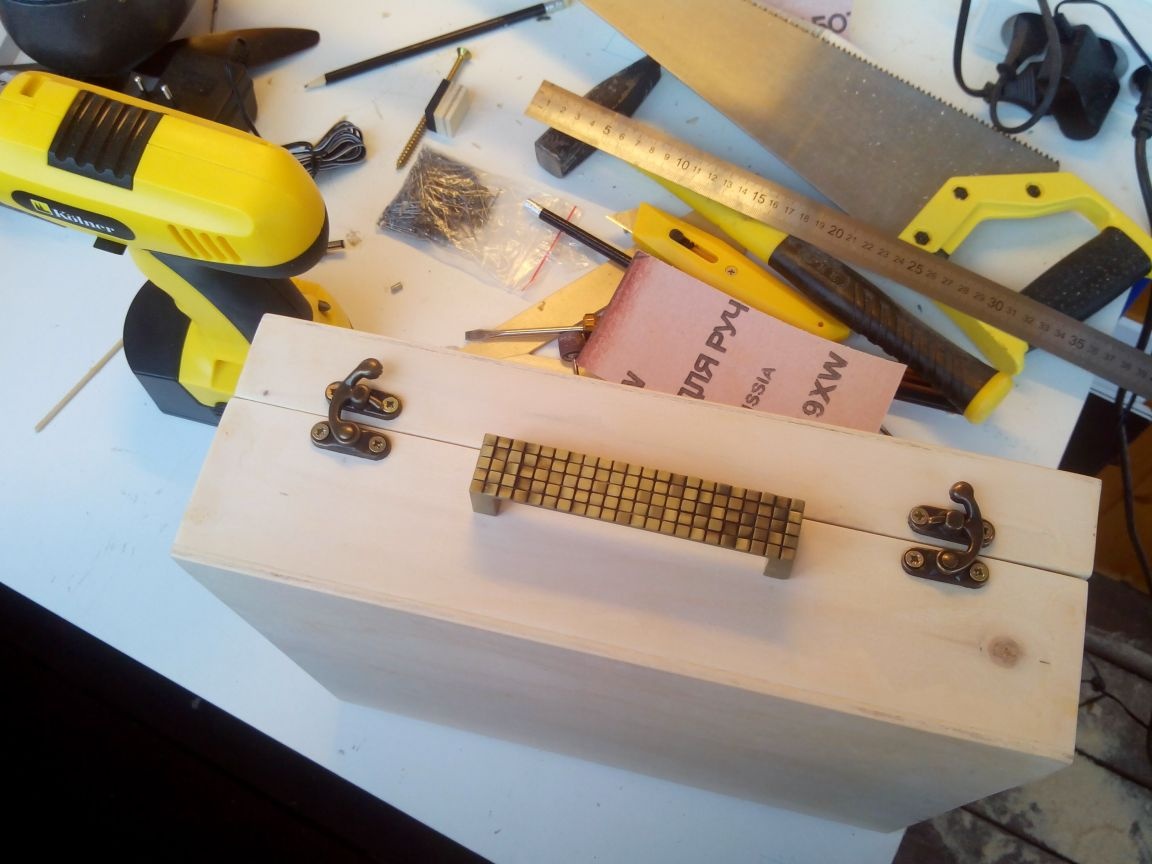
The handle and locks are ready.
Glue PVA sealants.
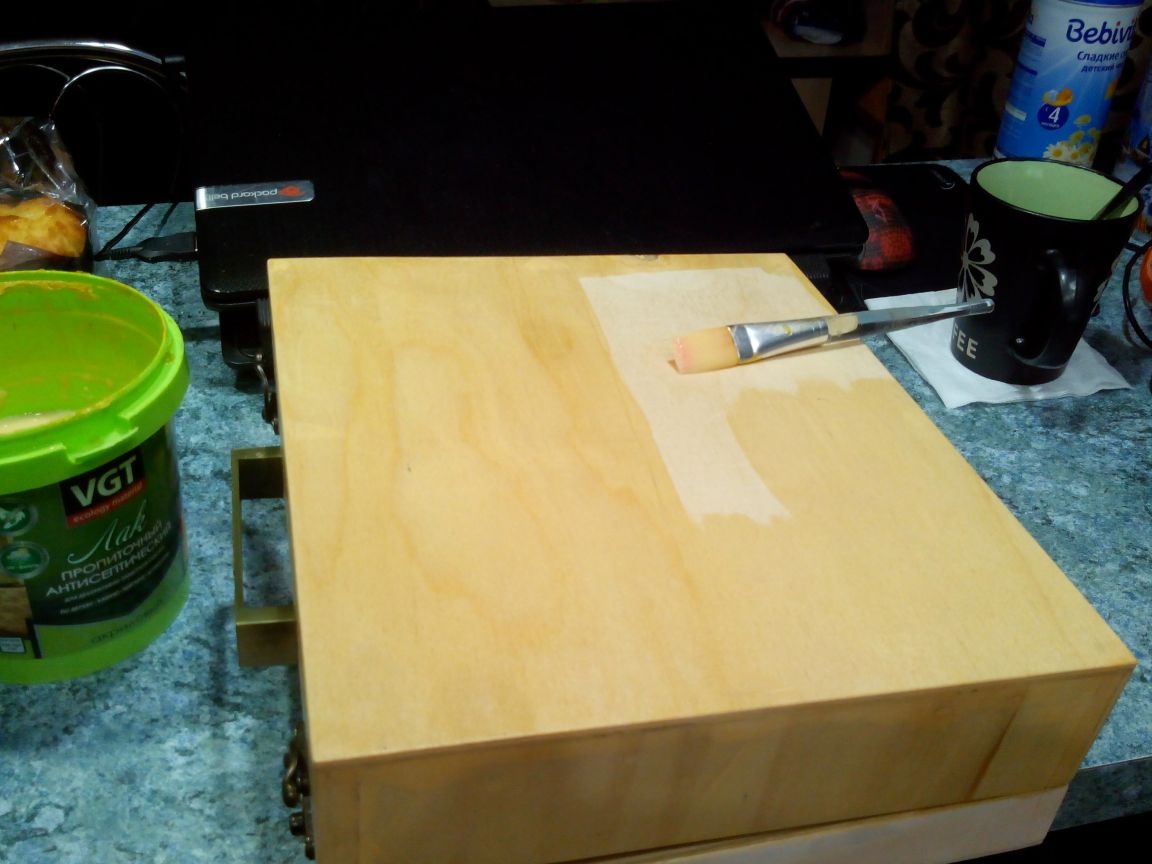
Step 6. Paintwork and final assembly
First, varnish the inside of the case.
Then we cover the outer walls with it.
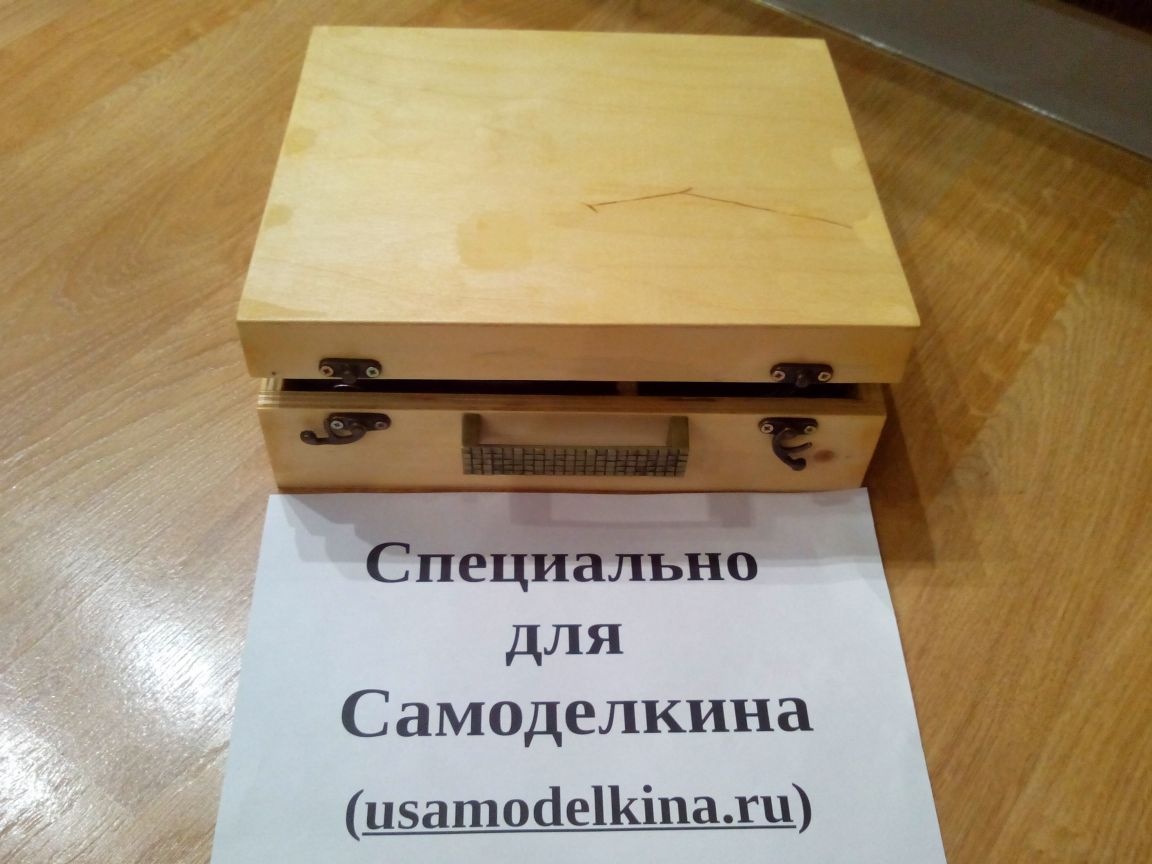
After the varnish dries, we put inside the drill, screwdriver, power supply and charger. As you can see in the photo, there is a place for roulette and a pair of pencils.
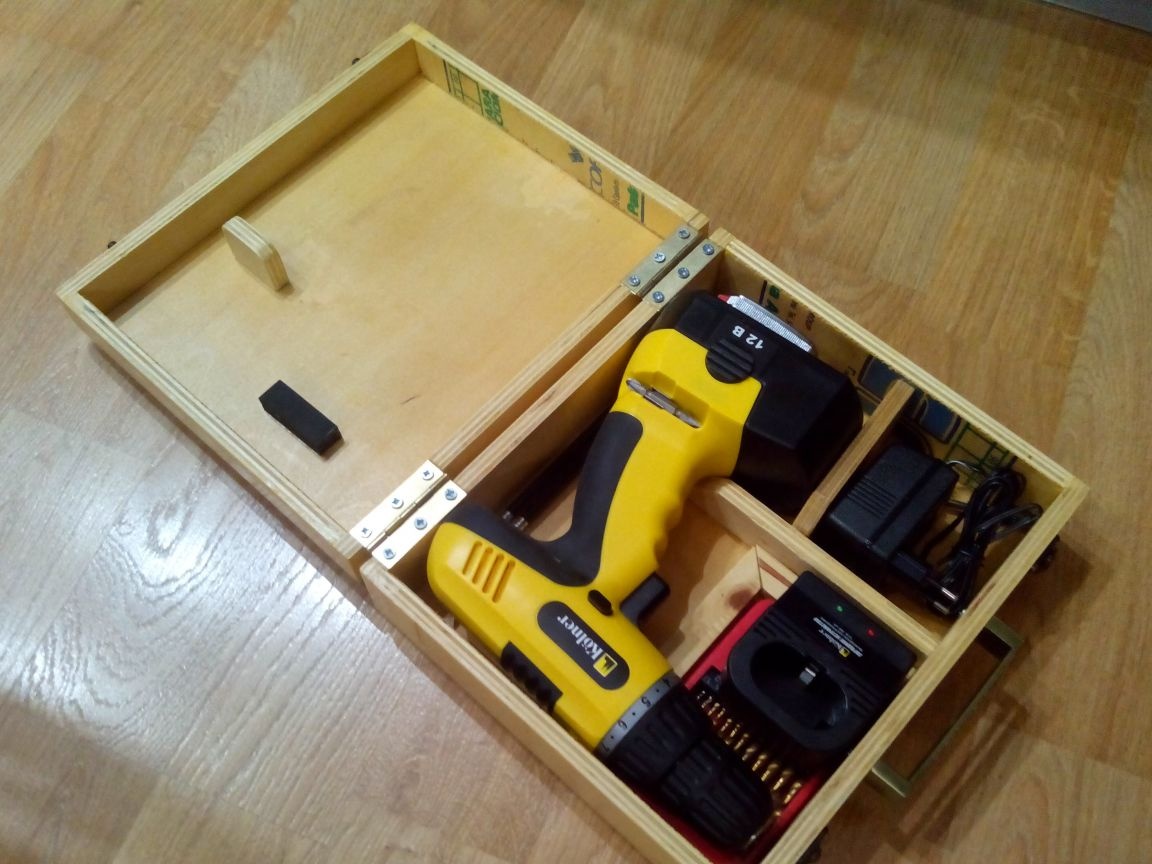
Everything, the suitcase is ready!