Dear visitors of the site, from the master class presented by the author, you will learn how to make a unique and rather cheap descent lighter from the material at hand
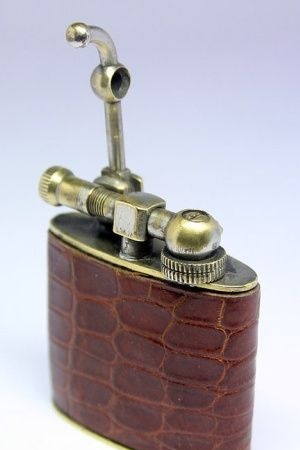
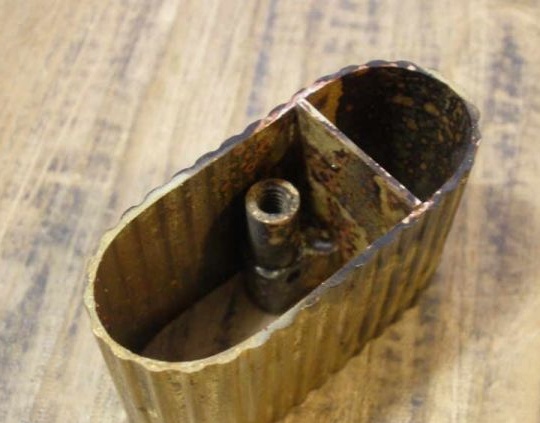
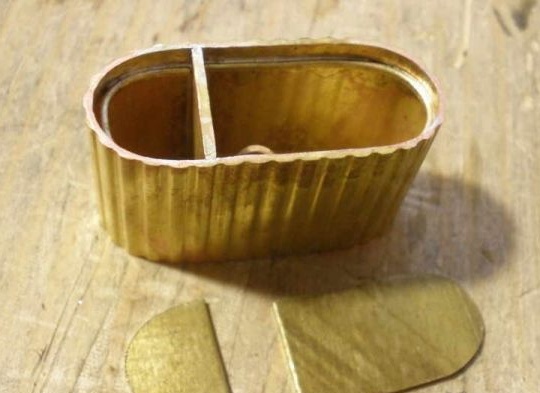
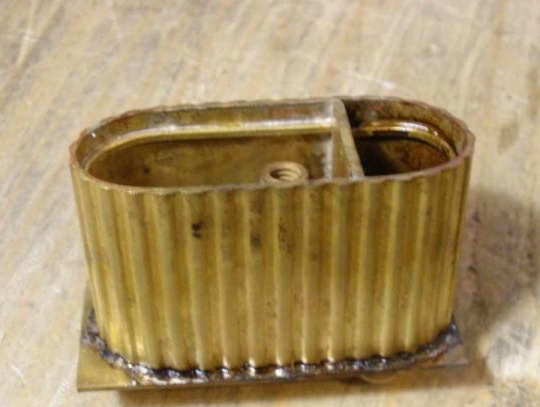
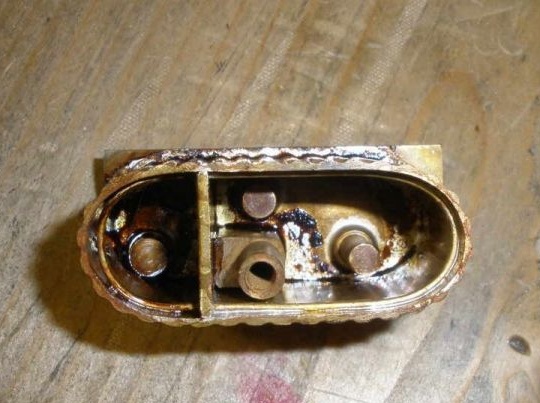
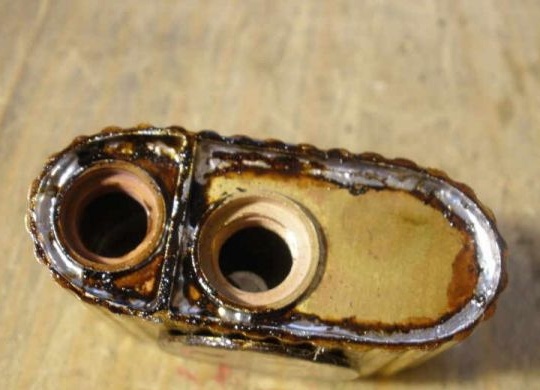
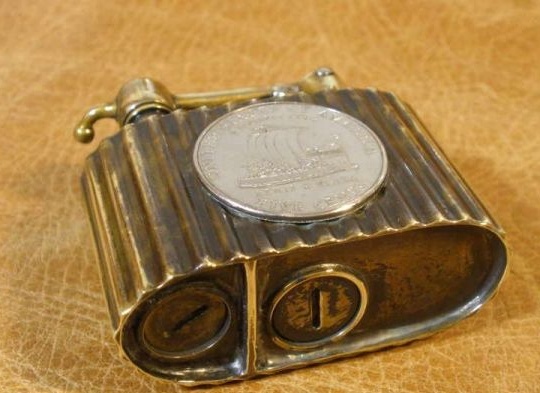
steampunk. One of the main advantages of this type of lighter is the presence of an additional tank with gasoline, in this case the body is divided into 2 parts, under the main tank filled with cotton wool soaked in gasoline and a second compartment with liquid fuel.
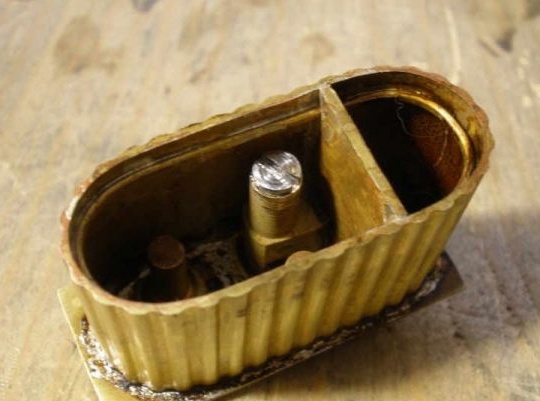
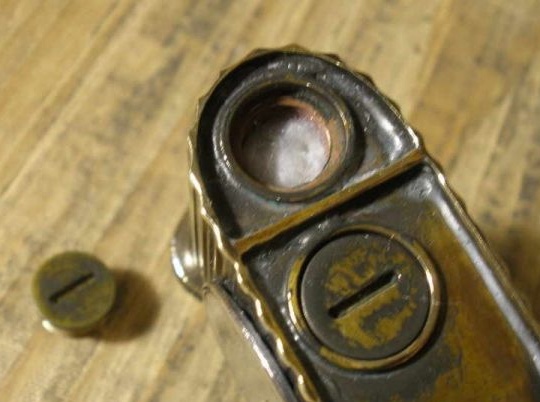
For refueling the main tank, a needle valve is provided that simultaneously prevents unwanted gasoline leakage. The valve is at risk for a screwdriver, a couple of turns are made and the channel opens, we consider up to 5 and the tank is refilled)
And so, let's take a closer look at the entire process of assembling the lighter, and also find out what exactly is needed for its manufacture?
Materials1. brass wheelhouse (ribbed)
2. wick
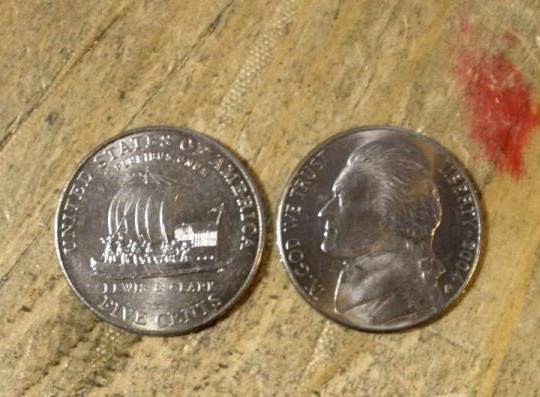
3. US 5 cents coins (2) pcs.
4. cotton wool
5. spring from the lighter (zippo)
6. brass bar
7. wheel
8. gasoline
9. flint
10. brass plate
11. brazing alloy
12. PIC
13. ammonia
Instruments1. lathe
2. drilling machine
3. vernier caliper
4. sandpaper
5. ammonia bath
6. hacksaw
7. incisors
8. file
9. drill
10. screwdriver
11. GOI paste
12. burner
The process of creating a refuelable lighter do it yourself.And so, it was mentioned above that this housing design has 2 tanks, namely the lighter itself is divided by a partition into 2 parts.
This is very convenient, because there are cases when gasoline unexpectedly ends in the main tank, and here it’s only worth opening the needle valve a couple of turns and the lighter is refueled again.
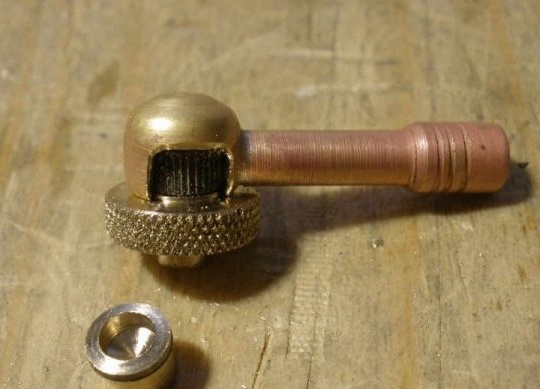
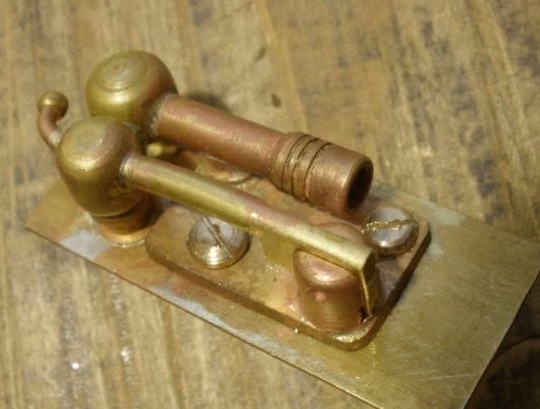
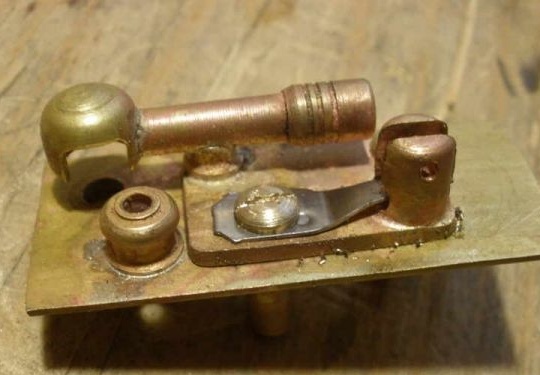
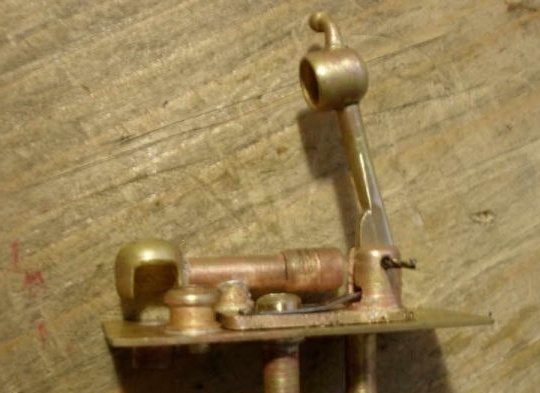
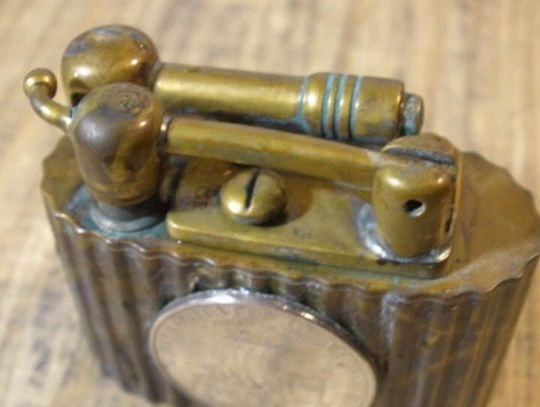
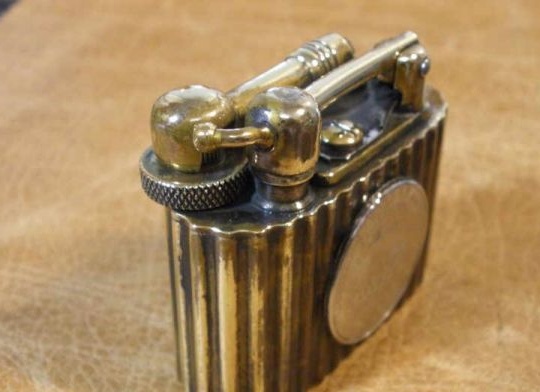
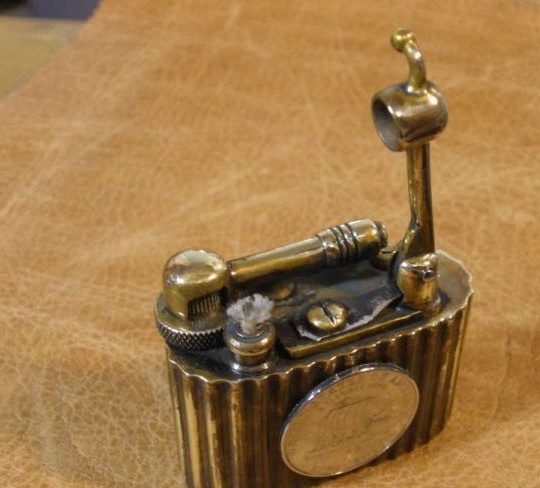
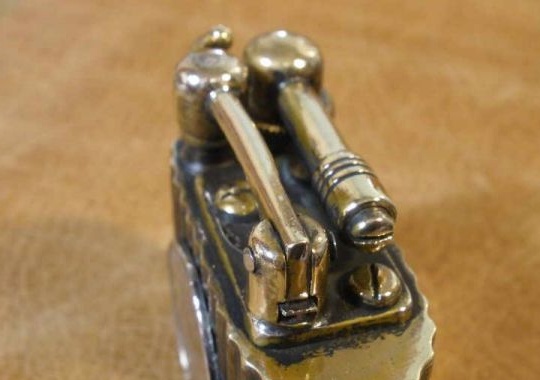
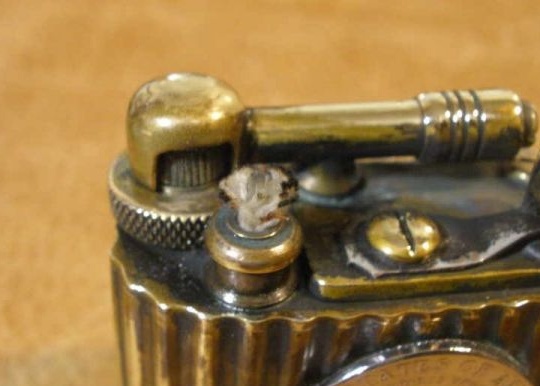
Also in this type of lighter there is a special difference, namely, the wheel with silicon is closed by a protective casing and is driven from the secondary wheel, thus there is no direct contact with the skin of the thumb.
-Why is it necessary?
-And this is necessary so that the lighter works flawlessly regardless of external factors. Because there are such cases when moisture or liquid gets on the fingers of the fingers and when trying to light a lighter with a wet hand, it simply refuses to work, and the reason for this is that the moisture got on the flint and until it dries, it’s possible to light the flint for at least 10 minutes. And with such protection as on this model, this factor is not terrible.
The author borrowed the idea at one of the forums on "rare lighters". Having seen (photo), he decided to repeat it.
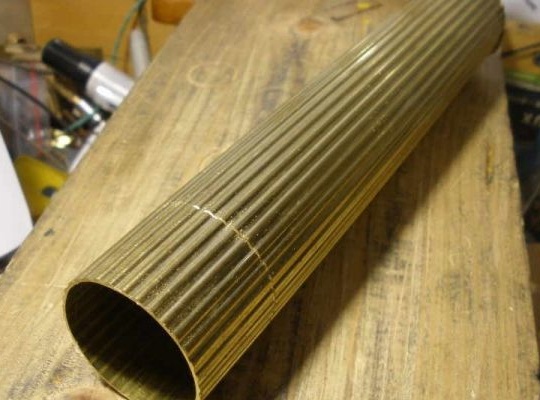
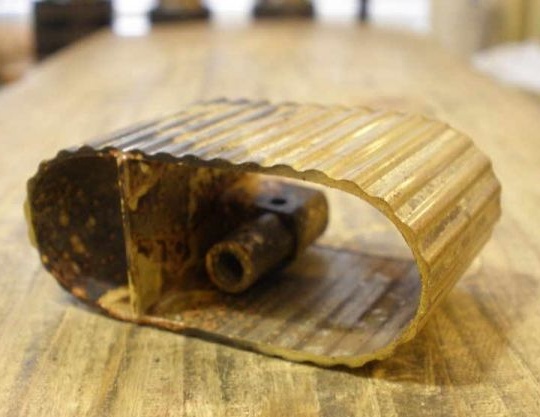
To make the case, the author used a brass tube with ribs, which he had left from parsing the old curtain of Soviet manufacture.
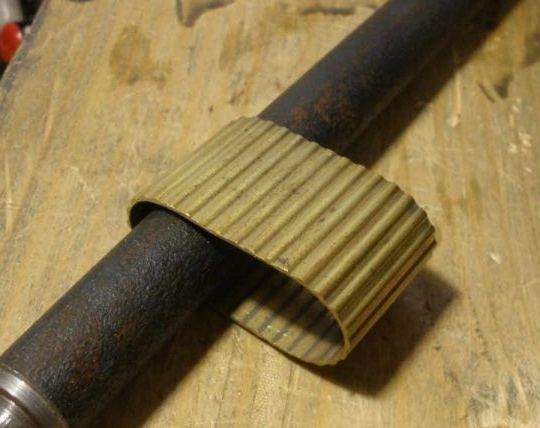
Saws off the required ring size from the pipe, warms up with a torch and gives the necessary shape.
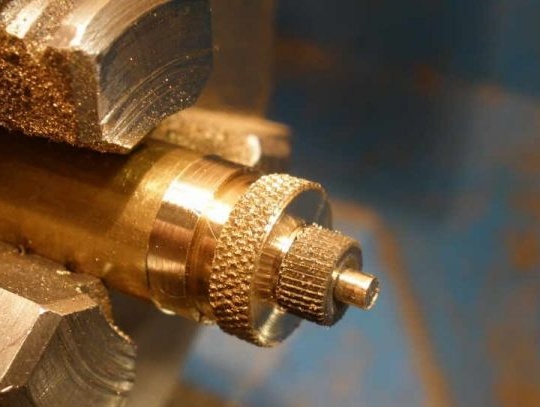
On a lathe grinds a lighter wheel.
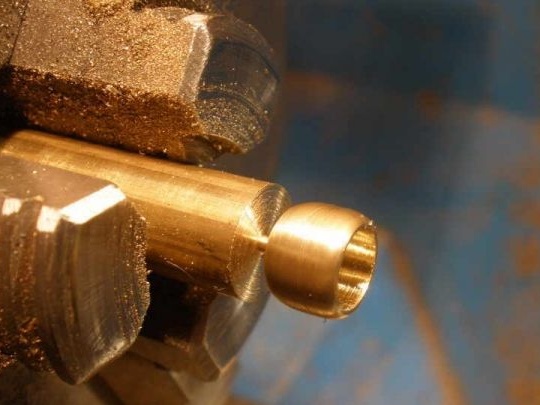
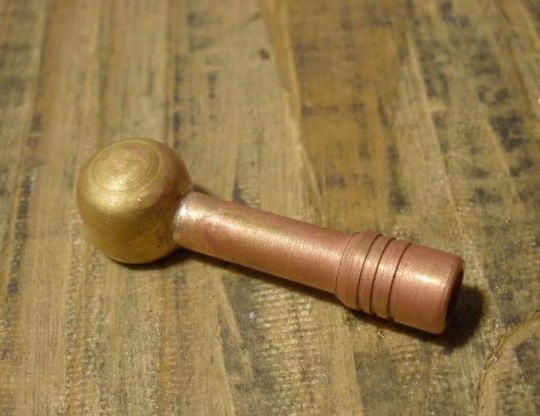
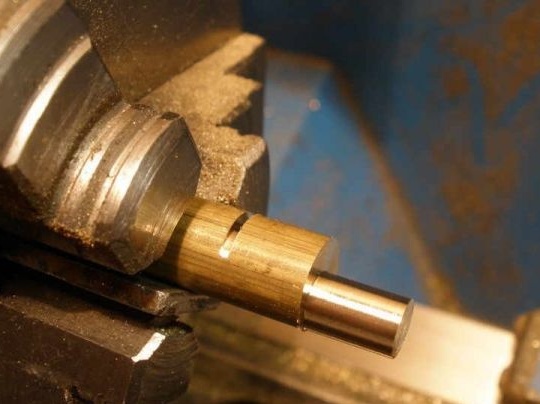
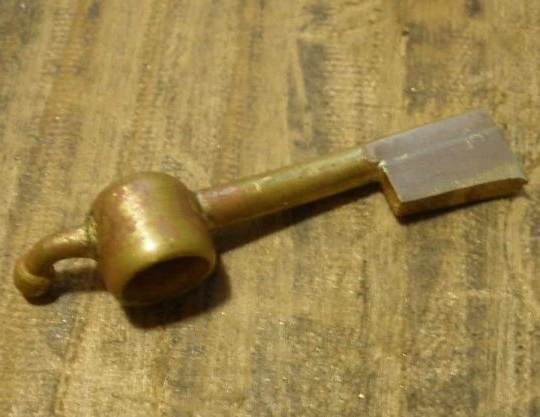
A cap is bored from a brass rod.
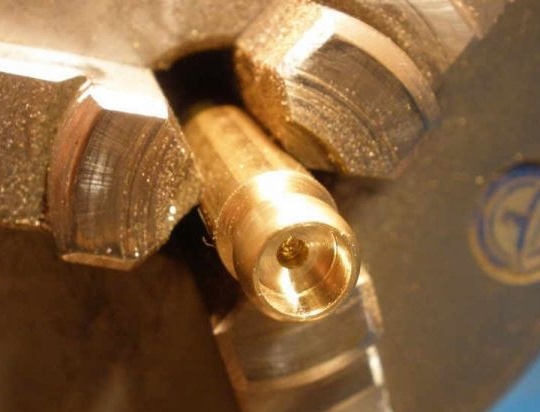
The inner part.
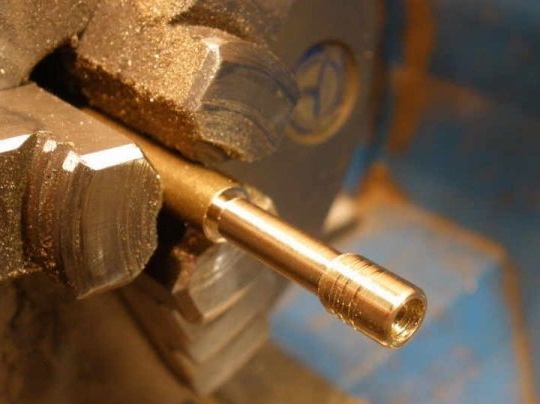
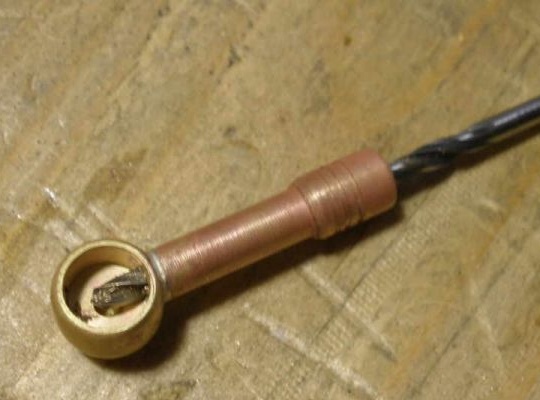
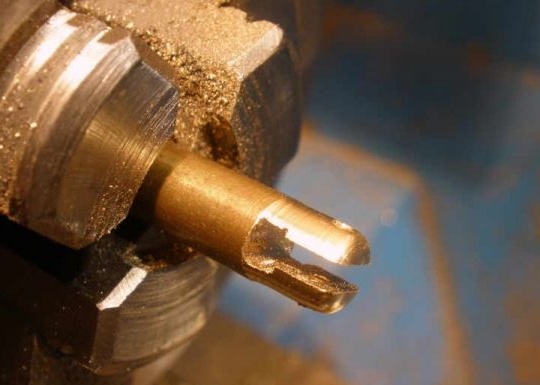
Next, the master makes a tube for the spring and silicon.
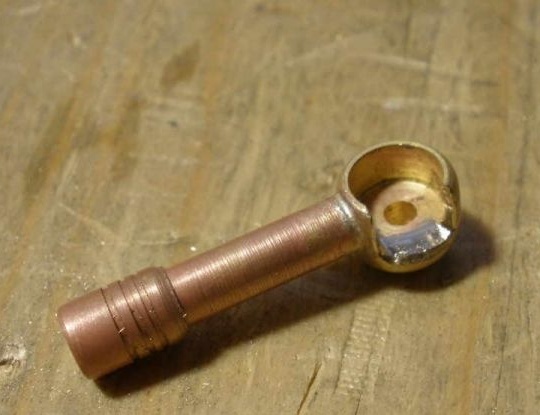
Solder the cap to the tube.
And drills using the tube as a guide conductor.
In the protection cap, a cut is made under a bunch of sparks.
Fitting the wheel and the lower landing roller.
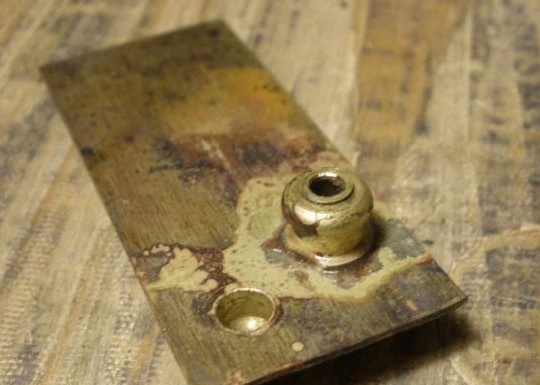
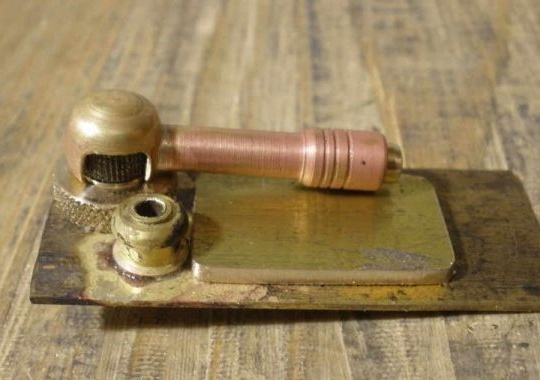
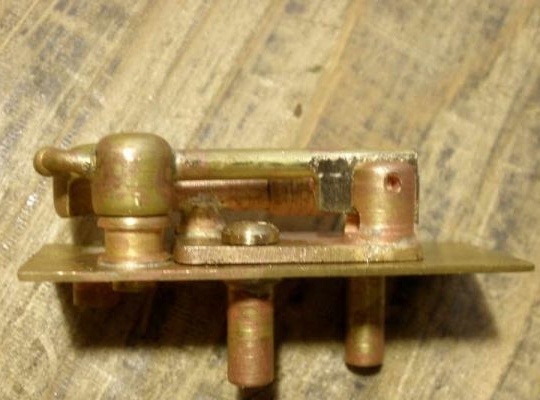
Next, the author proceeds to soldering the parts to the plate.
Fitting.
On the lathe, the stationary part of the cap joint is bored.
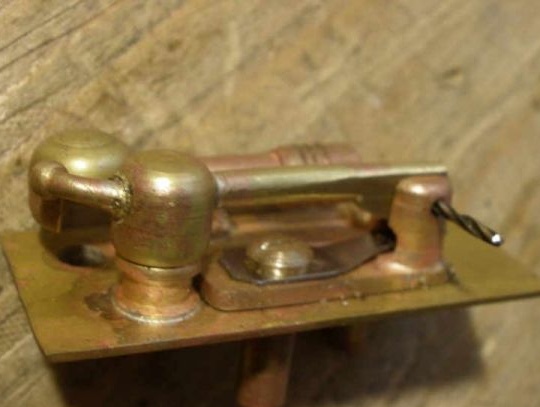
Clutching the plate in a vice, the master drills holes with a drill.
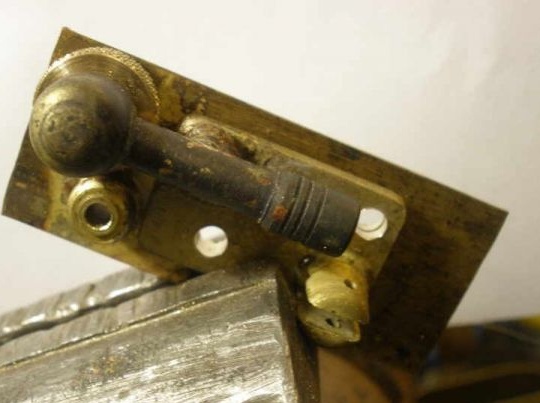
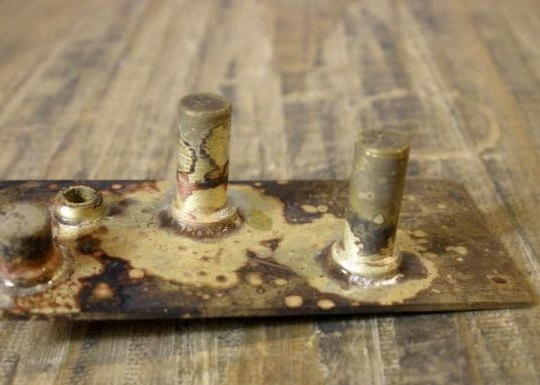
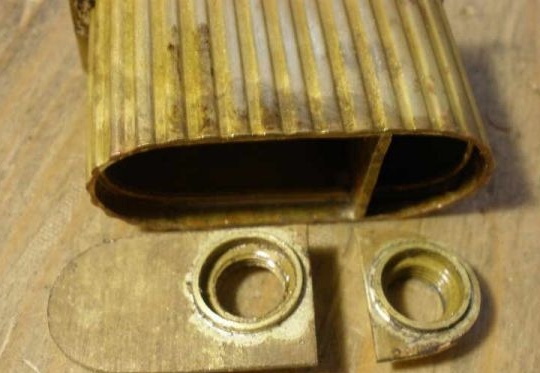
On the back side of the plate, opposite the drilled holes, brass bars for the blind thread are soldered so that the bolts are closed.
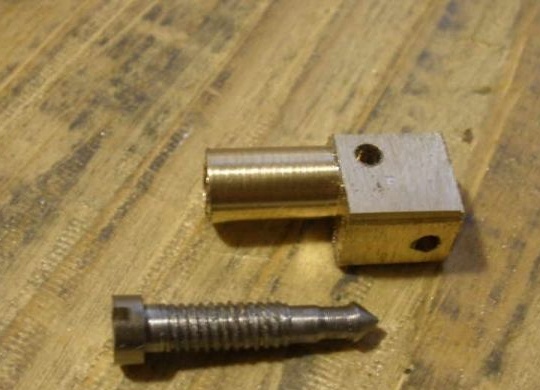
After which the author proceeded to create a needle valve body, boring on a lathe with a center offset.
That's actually what happened, the case with channels and a steel needle bolt, it is then a shut-off valve.
The lighter body turned out to be quite soft after heating and it was decided to strengthen it with a partition, thereby dividing it into 2 parts, the needle valve body was also soldered.
Here's what happened.
Made a cap with a rocker.
Fitting.
Preset parts.
Next, a spring is clicked into place on the rocker arm (taken from the zippo lighter).
Tries to open.
Closes.
Everything works fine, though the spring had to be cut a little, but it did not affect the serviceability of the work.
The master soldered a brass wire into the case, it is necessary for the convenience of installing the bottom plates.
Soldering the top of the lighter.
Preliminary tinny details.
The needle valve is screwed in, it is checked whether the solder has leaked into open channels. Everything is fine and you can continue to work.
Soldered filler neck.
Soldering is done at the pic.
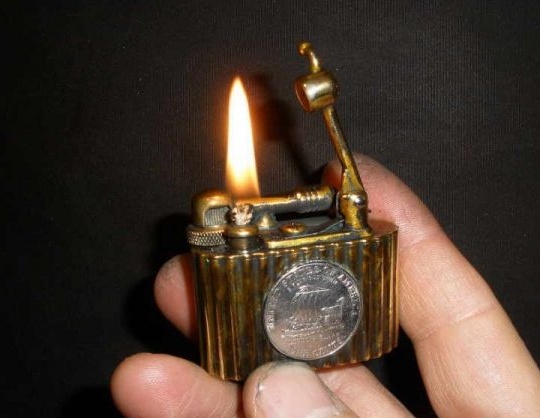
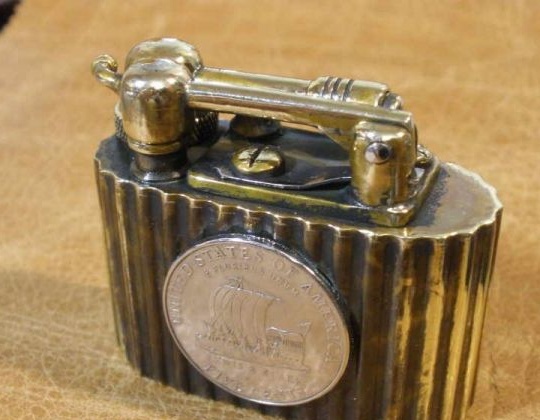
To decorate the lighter body, the master used US coins, namely 5 cents (2) pcs.
The coins were bored on a lathe, where half its thickness was removed, and then soldered to the body.
The case was also placed in an ammonia bath, and after being heated by a burner, as a result the product was covered with a noble patina. The author prepares the finished lighter for refueling, namely, stuffing cotton in the first tank.
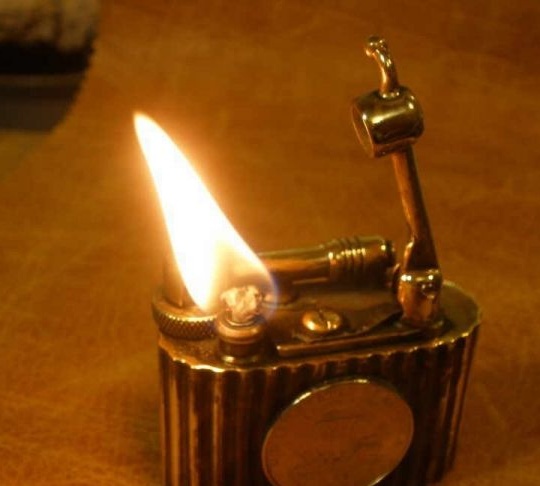
After refueling, the first tests are carried out. Teal .. Everything's on fire! Hooray !!!
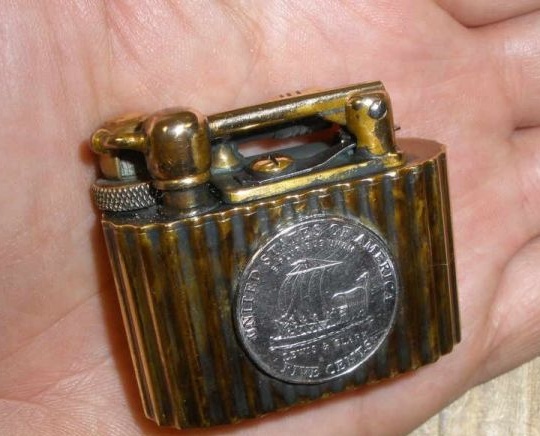
And according to the tradition established among the masters, control photos were taken.
Here is such a wonderful lighter from the author, and most importantly, that it is unique in its kind, which is very important today and appreciated not badly) The master advises everyone to do more creativity, develop their talent and create, success will definitely come to you.
This concludes the article. Thank you very much for your attention!
Visit us often, do not miss new items in the homemade world!
This article is for informational purposes only!
