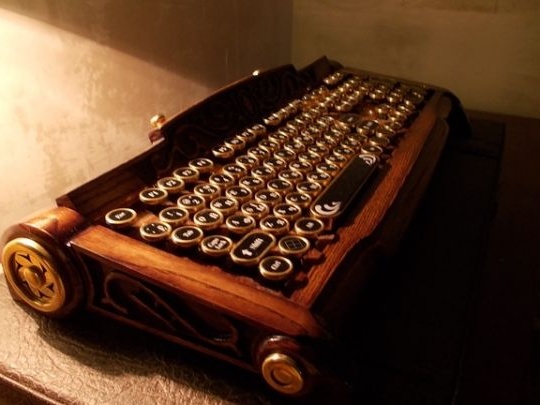
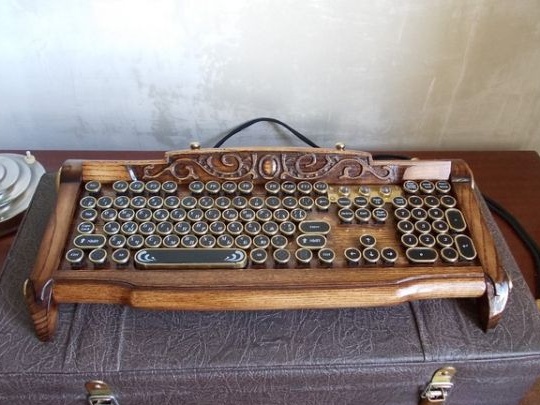
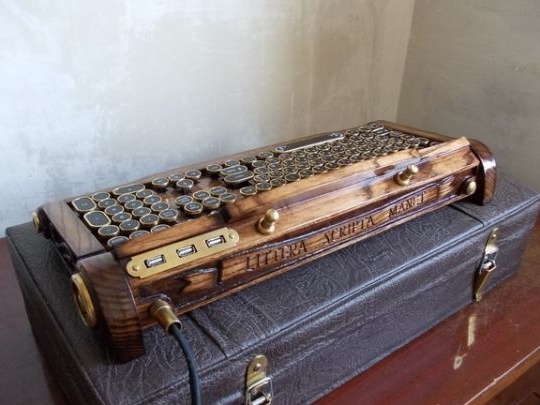
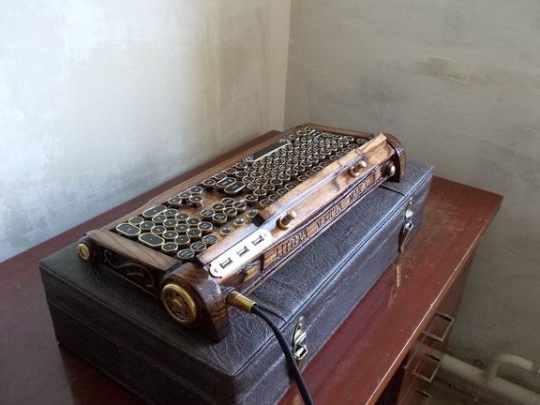
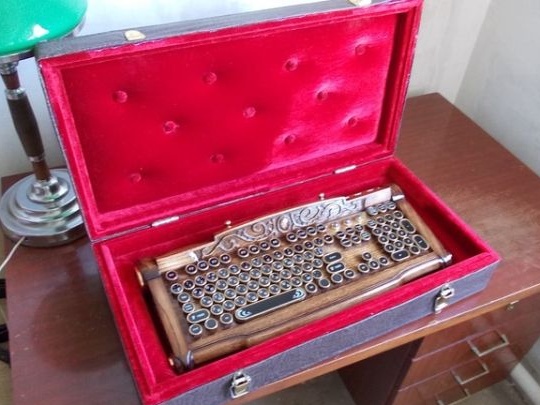
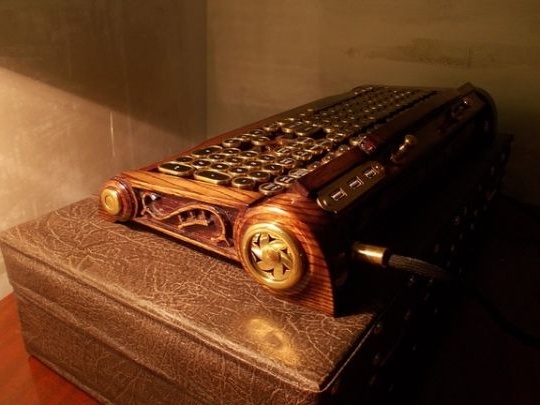
Dear site visitors, from the master class presented by the author, you will learn how to independently make a computer keyboard modding in a Victorian style.
Today, computer technology has tightly entered our daily lives, almost everything can be done in the virtual world: make purchases, communicate, play, study, model, work, and so on. And to work at the computer you need a keyboard "keyboard" as the youth affectionately calls it)))
But the standard plastic case has become boring and many are doing modding in order to betray their cybernetic friend to the utmost uniqueness.
So our author has long nurtured the idea of creating a completely new and high-unique keyboard, for which he combined "
steampunk"and Victorian, and what came of it, let's look further ...
Materials1. keyboard
2. brass bar
3. wood (ash)
4. MDF
5. LED
6. brass sheet
7. ammonia
8. wires
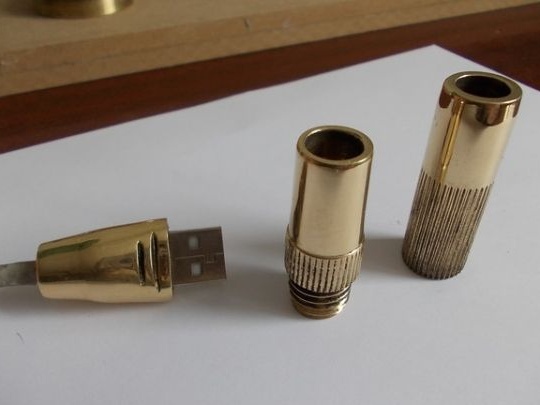
9. USB connectors
10. stain
11. varnish
12. solder
13. PIC
Instruments1. lathe
2. hacksaw
3. drill
4. vernier caliper
5. laser cutting machine
6. ruler
7. 3D modeling program (on computer)
8. set of chisels
9. shtihel
10. sandpaper
11. GOI paste
12. ammonia bath
13. file
14. file
15. burner
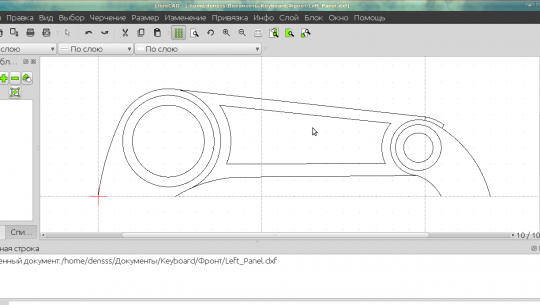
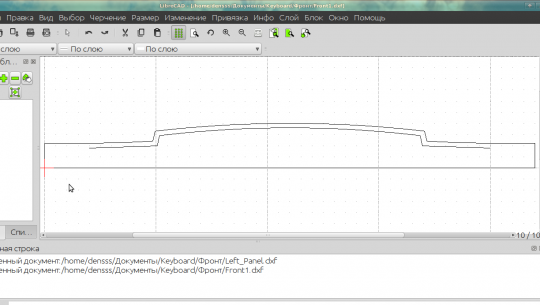
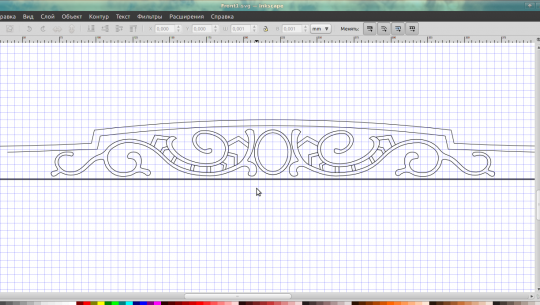
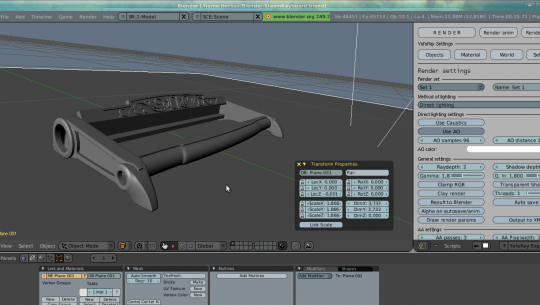
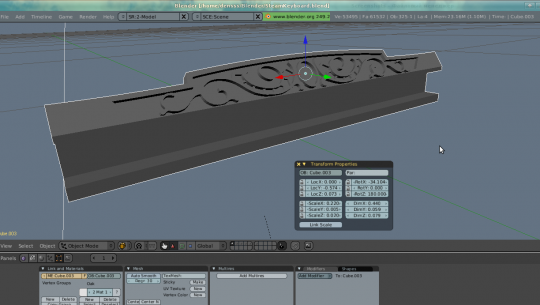
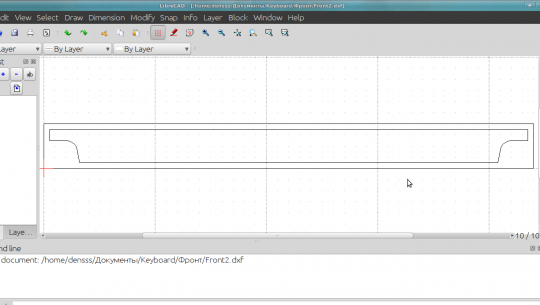
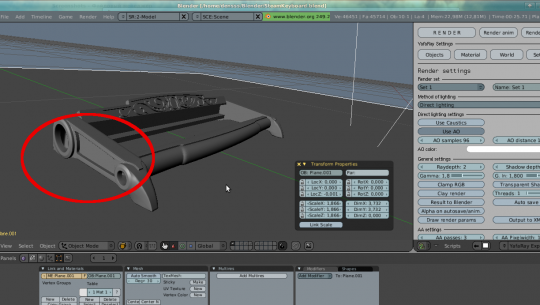
Keyboard Modding Process do it yourself.And so, the first thing the author began to model the future on a computer
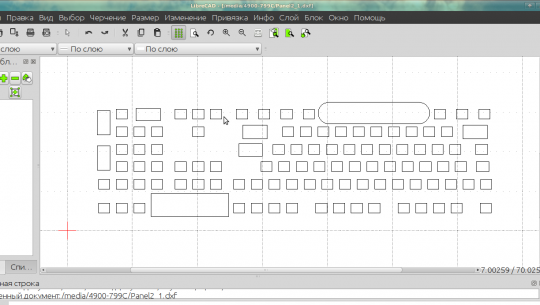
model keyboard case, the work was carried out complex and very painstaking. Here are the screenshots that the master copied for his followers.
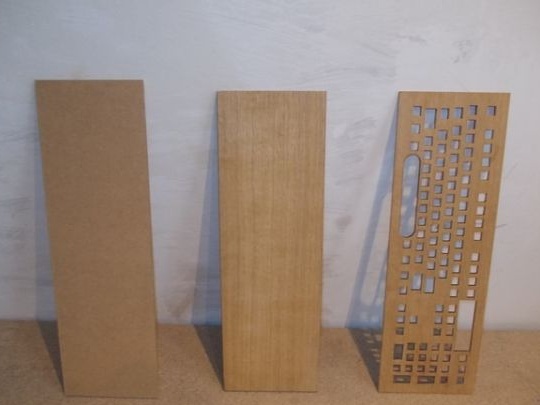
The base for the keyboard was cut from the MDF sheet using a laser cutting machine.
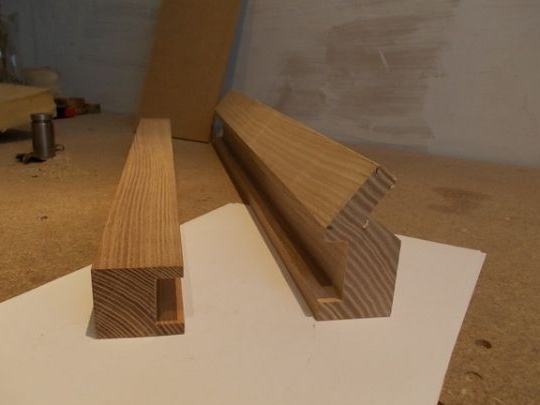
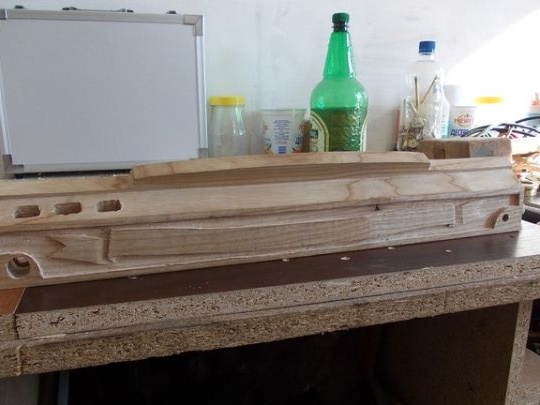
Ash blanks for the body.
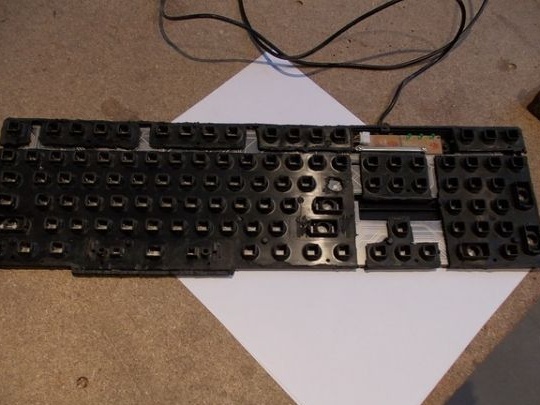
Protruding elements have been removed from the keyboard.
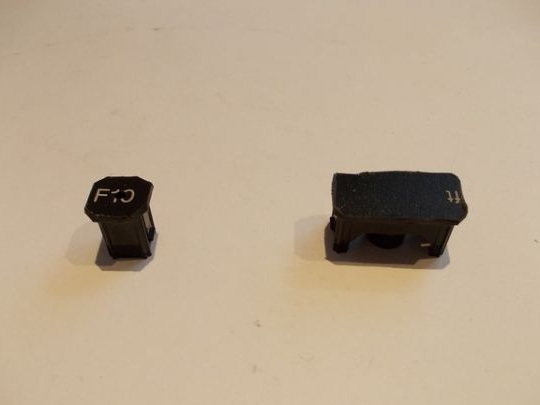
The buttons were also finalized.
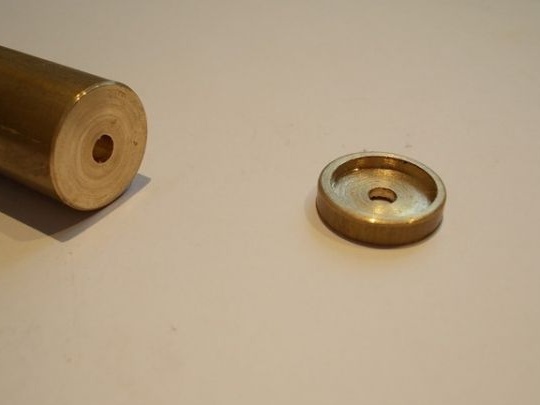
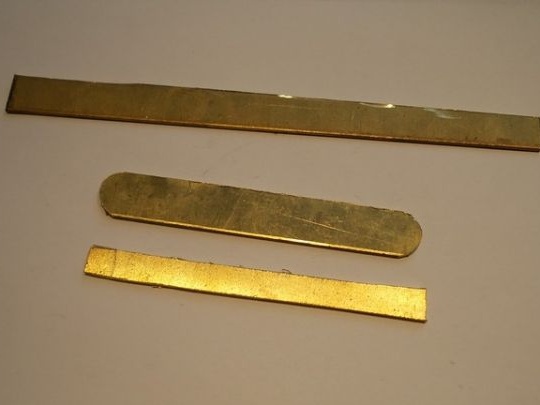
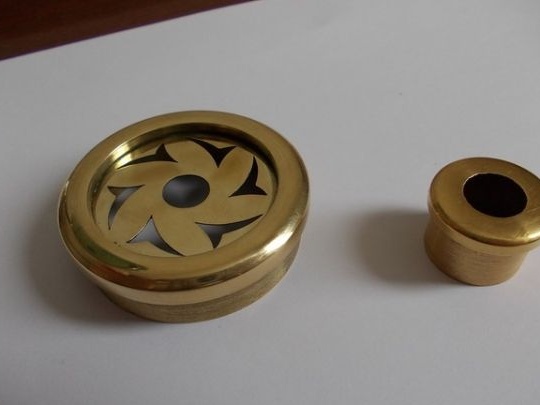
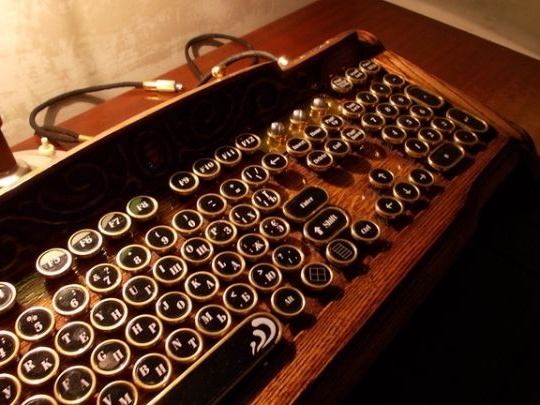
But the author makes the keys themselves directly from brass, namely from a brass bar, boring the sawn blanks on a lathe.
That's what happens, the inner part is selected, thereby the weight of the button is significantly reduced, which is pretty important.
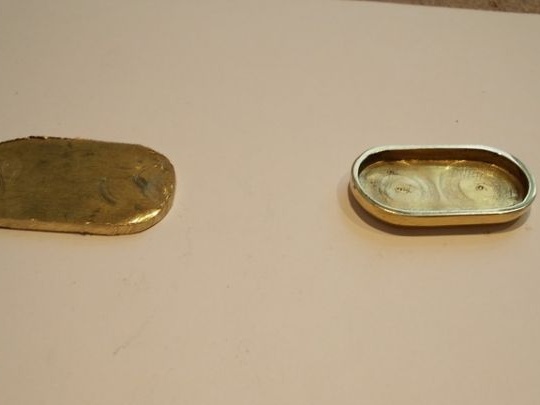
The author makes larger keys out of sheet brass.
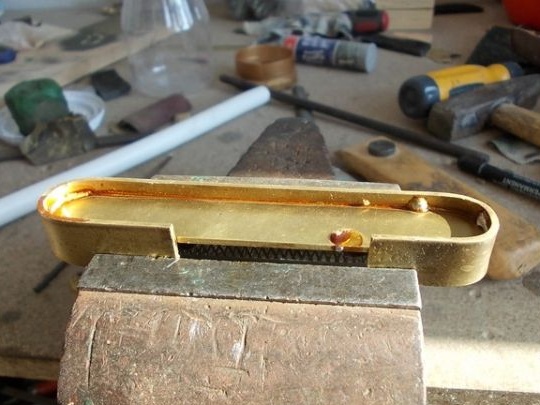
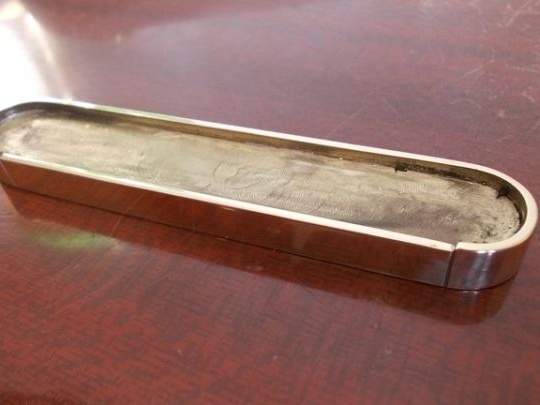
The button "Enter" the master also made of the same material and soldered.
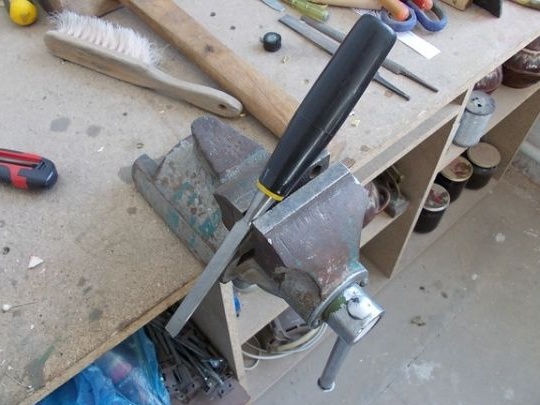
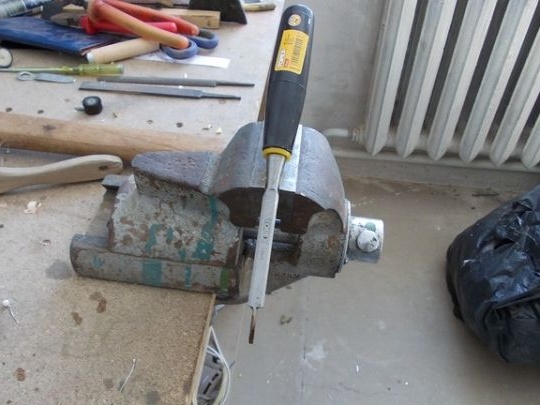
Clamped in a vice and filed the solder.
That's actually what happened.
Next, the wizard goes directly to the keyboard.
The fitting went well, all according to size and without jambs.
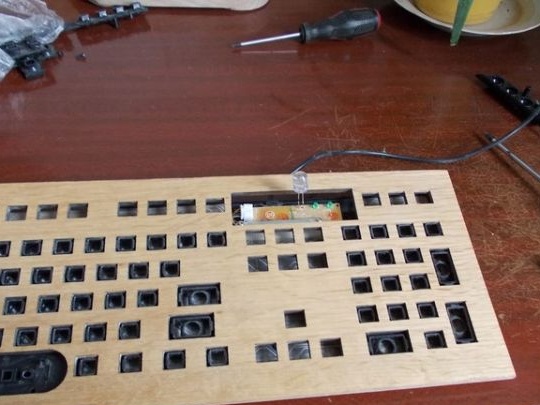
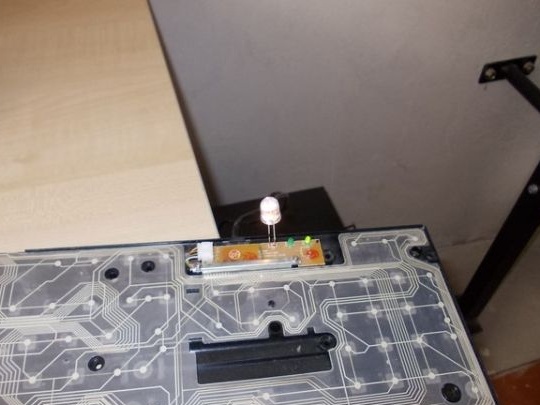
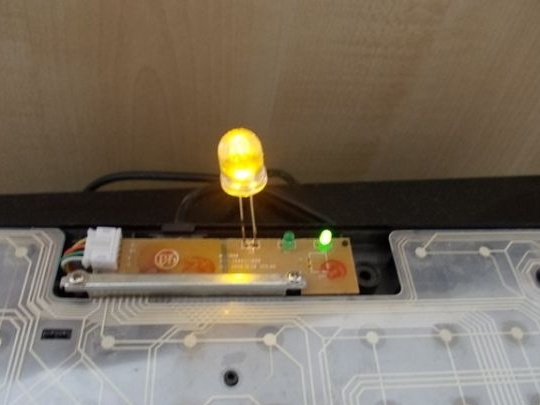
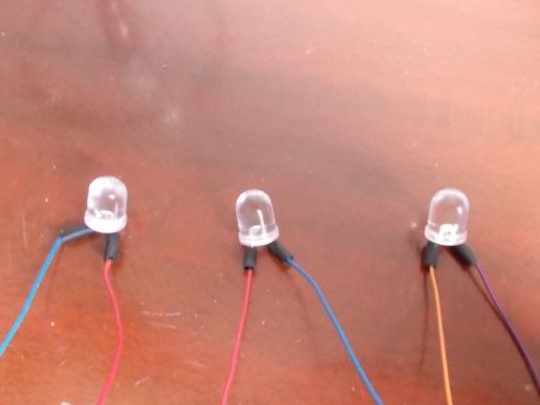
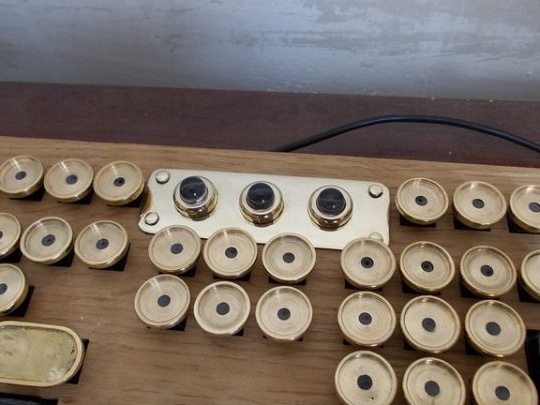
After which the author proceeded to the choice of LEDs.
Or white.
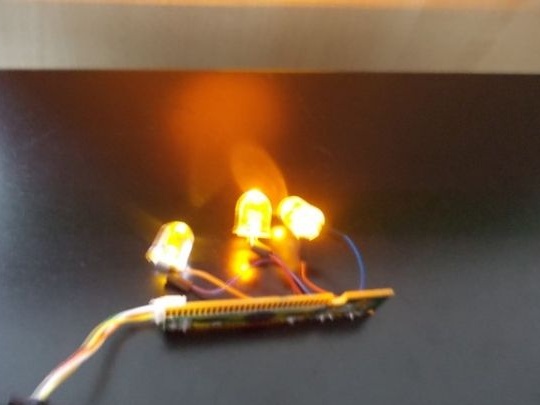
Connected, checked the glow.
In the beginning, the master wanted to disguise these LEDs for such shades.
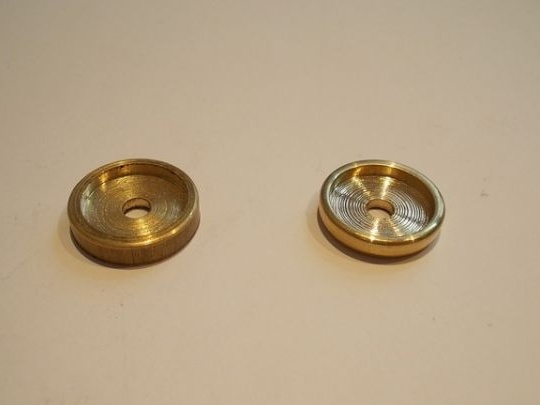
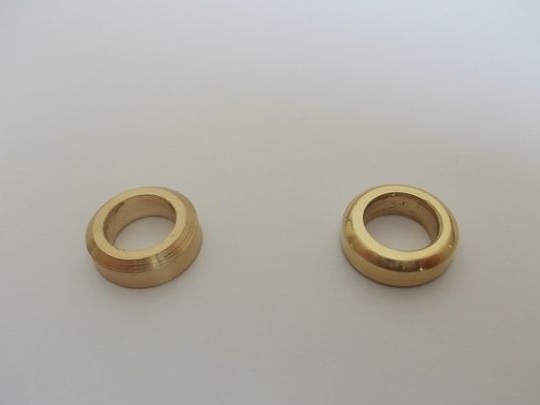
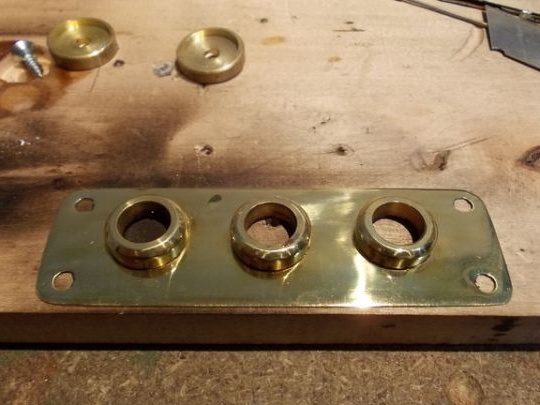
But I did not like the design and I had to make rings and solder to the plate.
Soldering to the plate.
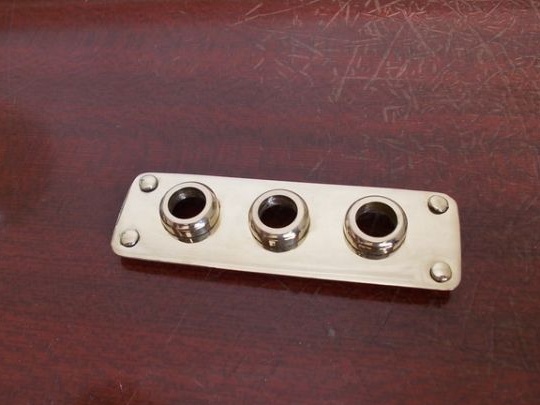
The cloves are soldered around the edges and polished to a shine.
So the LED sockets look directly on the keyboard.
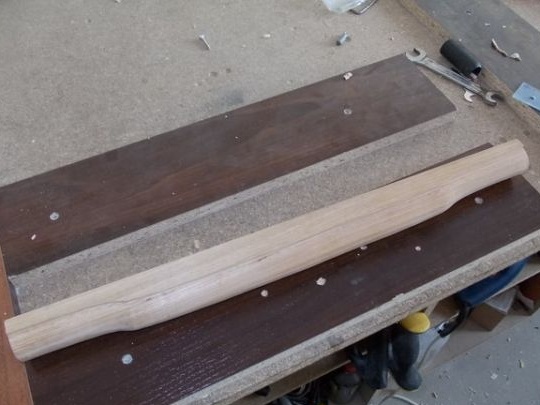
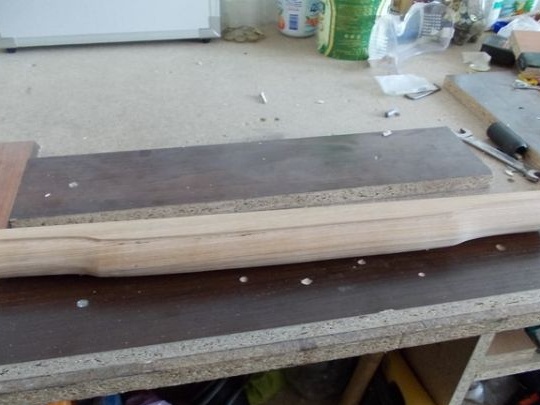
After which the author proceeds to woodwork, namely the manufacture of the keyboard case from ash.
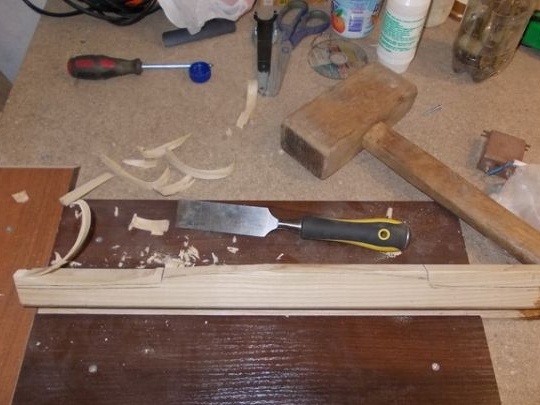
Gives the necessary shape with a mallet and a chisel.
Here is the result.
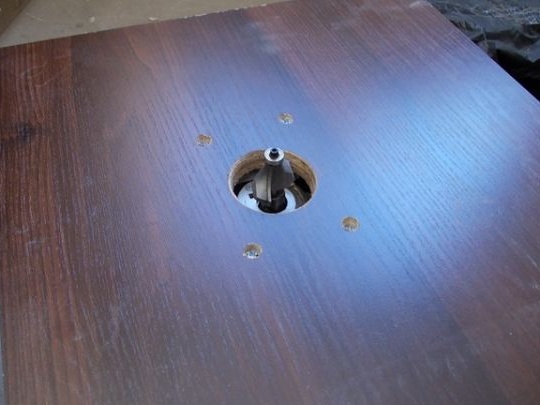
Then the master whipped up a milling table.
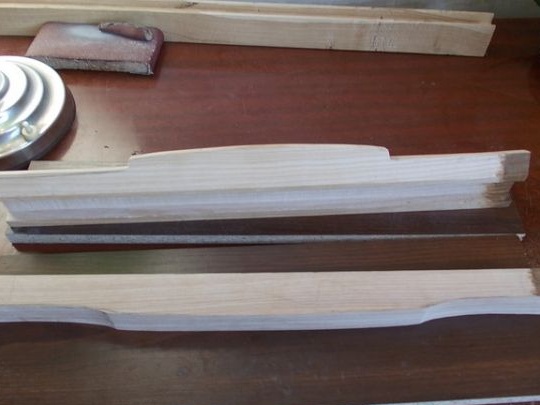
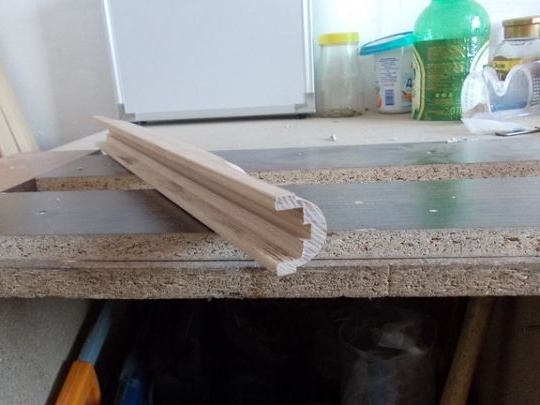
Further processes the wood on the machine.
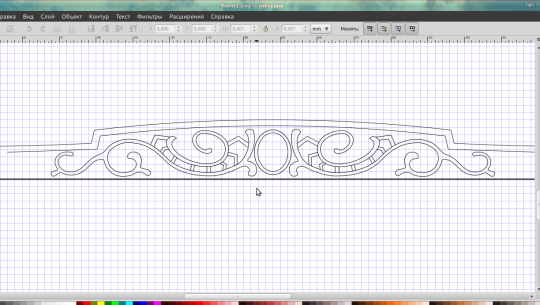
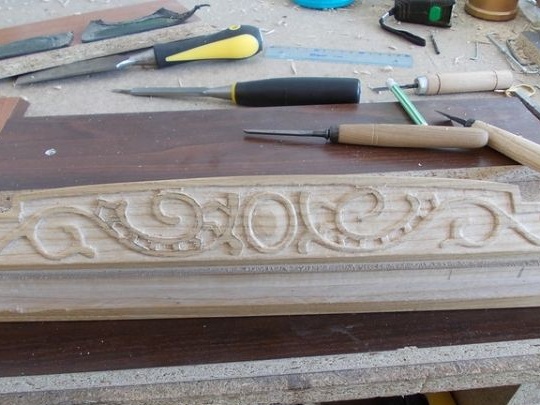
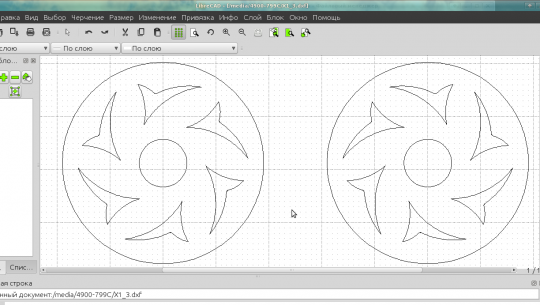
Then again the simulation on the computer, the future pattern of the case is drawn.
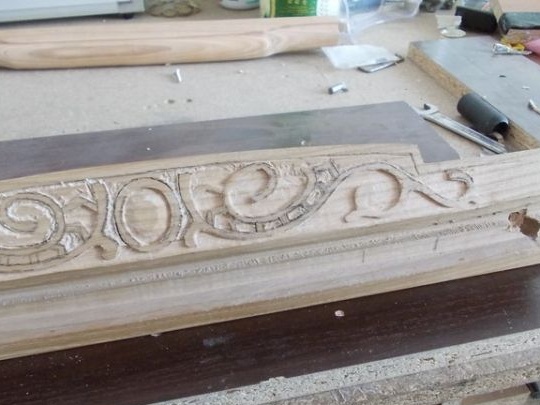
Wood chisels are made using chisels.
Another shemka.
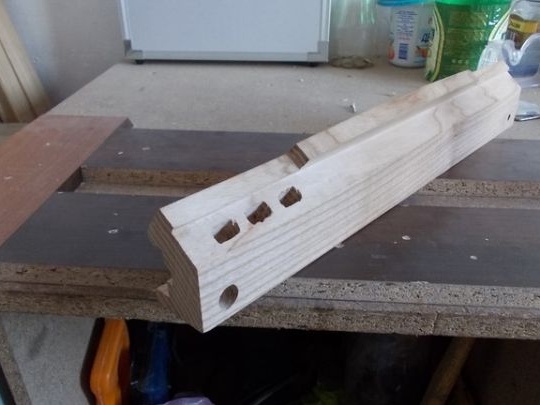
Holes for wires and USB are drilled.
Again, modeling the body, namely its end part.
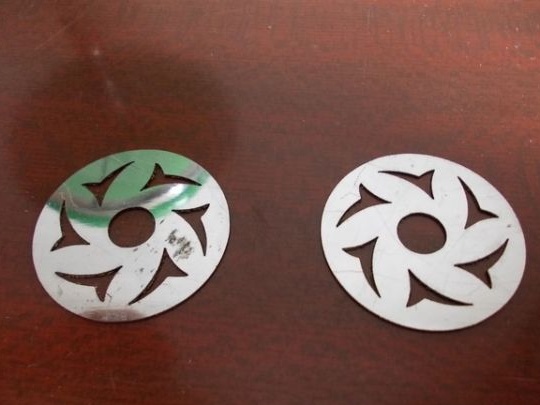
Decorating elements were made of brass.
Soldered.
For wires and plugs.
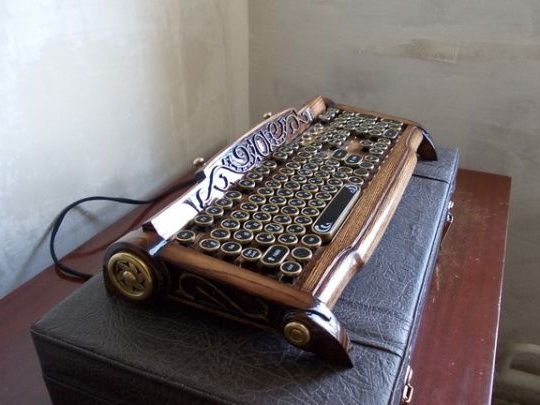
And now the work is completed, according to the established tradition, control photos were taken among the masters.
The author got such a wonderful Victorian-style keyboard, and most importantly, it is absolutely unique and has no analogues, which is very important nowadays. Also, manual labor is highly valued, for example, this product costs about $ 1 thousand not bad, right? So, guys reading this material, you are on the right track to your success. Engage more in creativity, develop talent, create!
This concludes the article. Thank you very much for your attention!
Come visit often, do not miss the latest in the world of homemade goods!
This article is for informational purposes only!
