Dear site visitors, from the master class presented by the author, you will learn how to make a unique case for flash cards in the style of "
steampunk"using wood (beech) for its creation, which has a very beautiful and noble texture, as well as spare parts from the old alarm clock: gears, springs, bolts, and of course non-ferrous metal - this is copper and brass.
Today, as we know, computerization is in full swing, all support systems work in digital format. Life with the creation and development of a computer has become very convenient, because much can be done simply without leaving home: work, study, buy))
The basis of everything is information carriers, which also become smaller and more compact every year, for example, a flash card is small, but can store tens of gigabytes of information.
Let's look at what the author will need to assemble the case?
Materials1. wood (beech)
2. brass sheet 0.5
3. gears
4. spring
5. epoxy resin
6. super glue
7. flash drive
8. plastic cap (from flash drive)
9. bolts
10. GOI paste
Instruments1. metal scissors
2. drill
3. file
4. file
5. sandpaper
6. mini chisel
7. hacksaw
8. toothpick
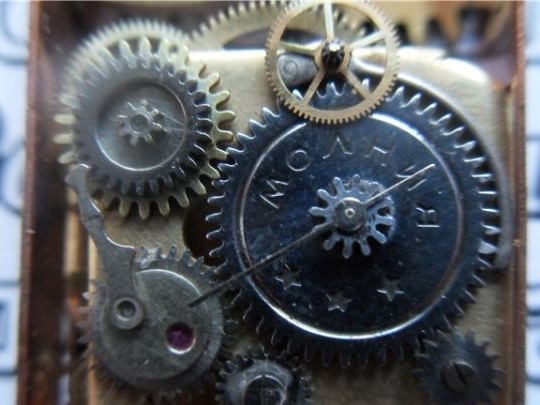
The process of manufacturing a flashcard case do it yourself.The master will make a flash drive out of wood (beech), and the so-called body kit or decor is made of brass and old gears and springs of an inoperative Soviet-made alarm clock. Steampunkers are very fond of retro gizmos created in the Soviet Union, because they are made of high quality material.
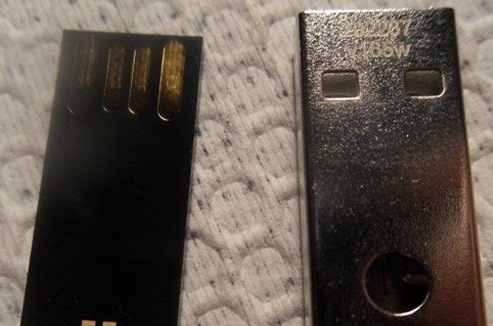
In one of the stores, the author bought a flash drive of the smallest size, as the master decided to devote more space in the case directly to decorating elements and style.
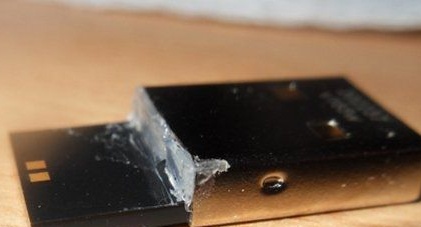
The metal element was further shortened with a file by about half. Next, the master with a glue gun glues a USB flash drive into the metal. According to the author, you need to be extremely careful so as not to fill the entire internal cavity)))
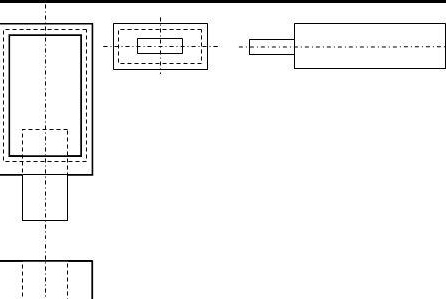
Then the author proceeds to manufacture the case itself, but at the beginning it carries out the drawing and continues to work on its basis.
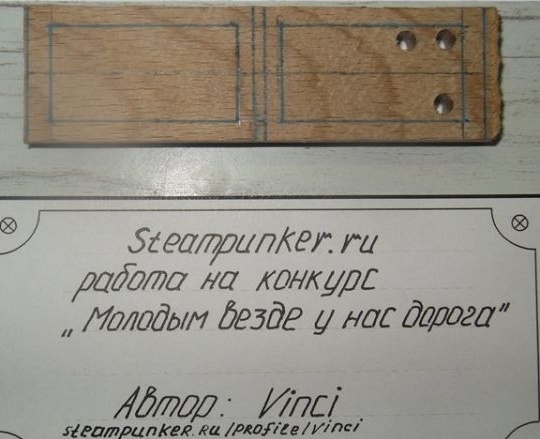
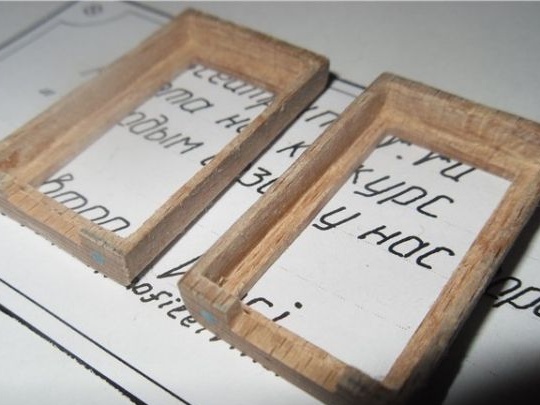
Here, from such a bar of wood (beech) purchased at a hardware store, the master will make a case. Marks according to the drawing.
Saws, drills, bores and it turns out he has 2 equal halves.
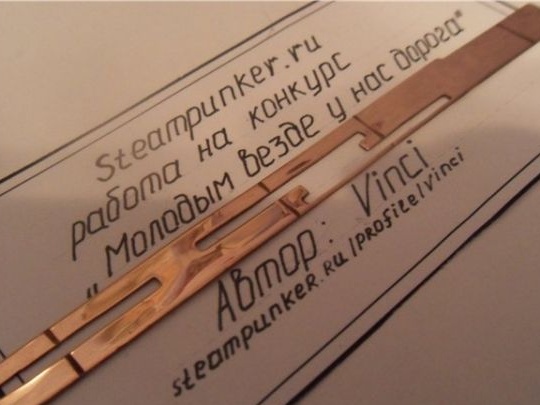
So far, everything is with a tree, then the author proceeds to work with metal, namely the creation of an internal case that will bear the whole burden of gears))) Preliminarily makes a drawing.
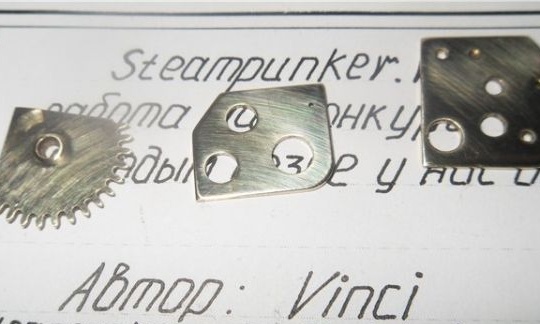
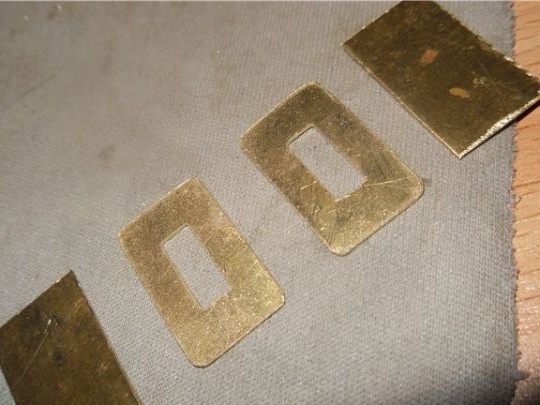
According to the drawing, he cuts a strip from a copper sheet 0.5 mm thick and with the help of a drill, file, emery paper gives this form.
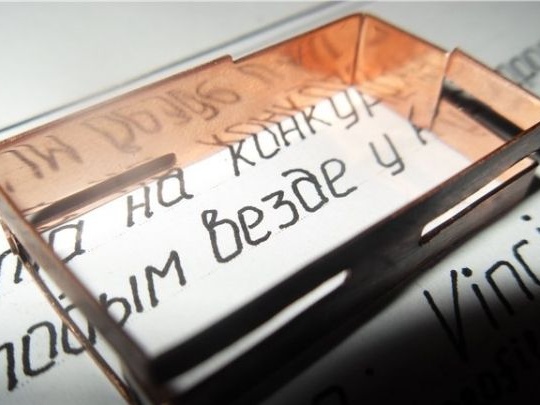
It bends into a box, previously at the place of the bend it makes a small cut with a file, so that when bending it turns out sharp corners, and not round.
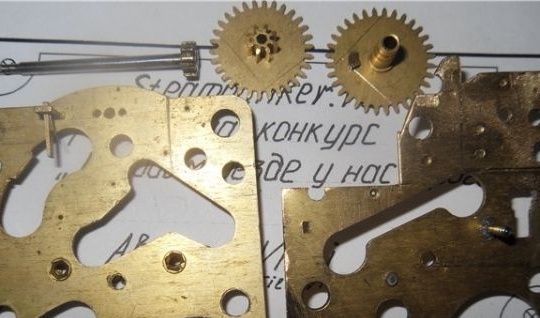
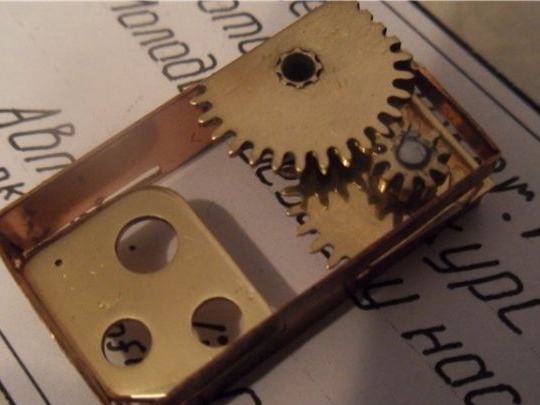
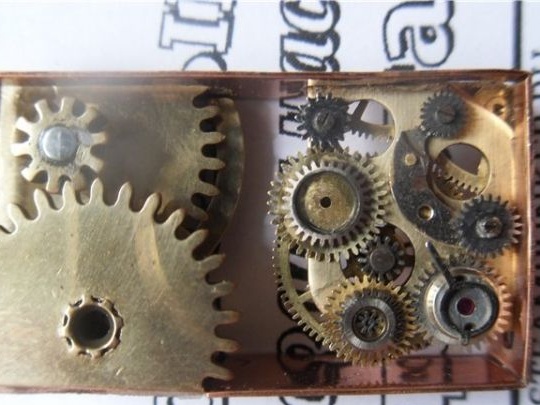
Then he proceeds to parsing the alarm clock and extracting from it the necessary elements: gears, bolts, and so on.
The author adjusts the received details to the size of the case, slightly cutting and shortening.
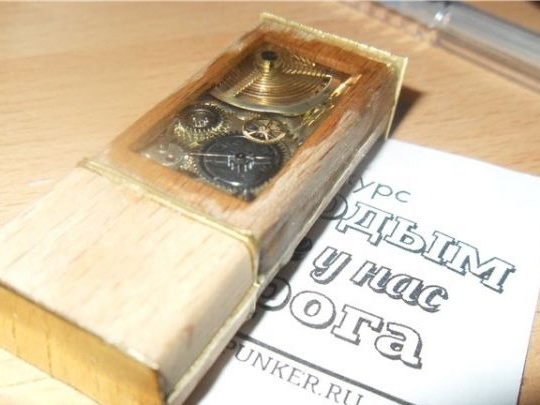
It is inserted inside and glued with super glue, today the master does not use a burner and solder for the reason that the cavity of the body will be smoothly filled with epoxy resin and the fastening of parts can be made weak, that is, just bait.
That's actually what happens.
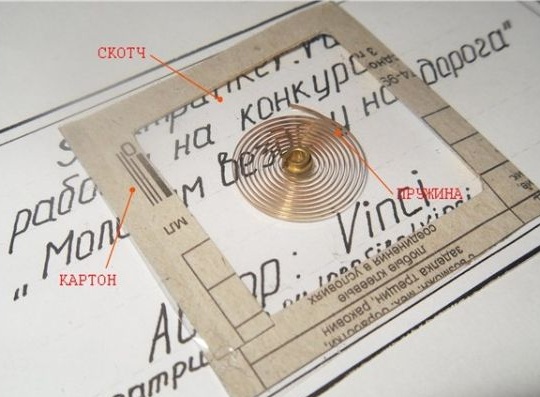
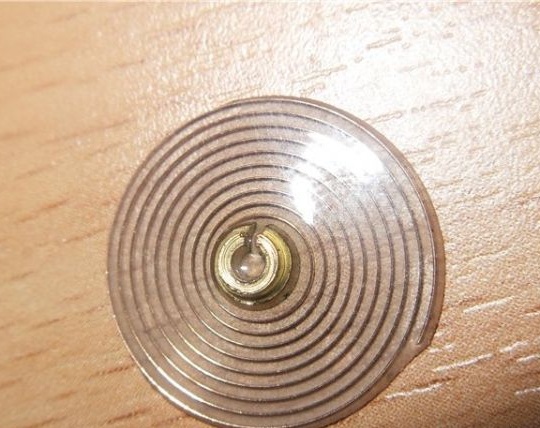
After which the master proceeds to the extracted spring, for her he came up with a form of tape and cardboard.
An epoxy resin is poured into the obtained form, which fills the space between the turns and in fact what is obtained as a result.
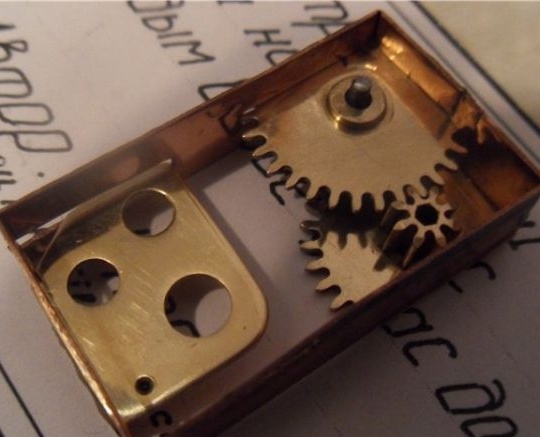
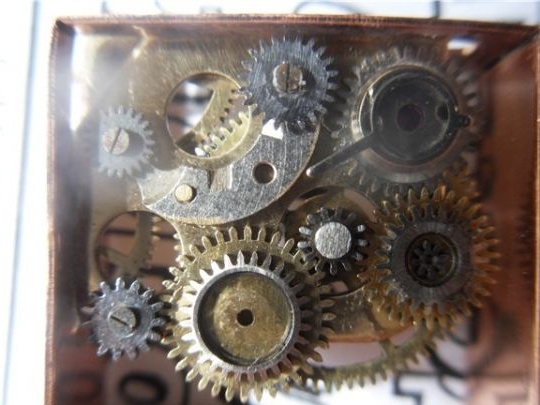
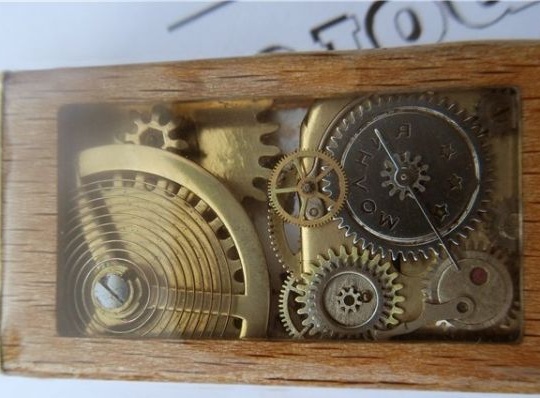
Continues to make up the internal gear composition.
The main thing is that everything blends in harmoniously.
Adds bolts.
It turns out very beautifully and aesthetically.
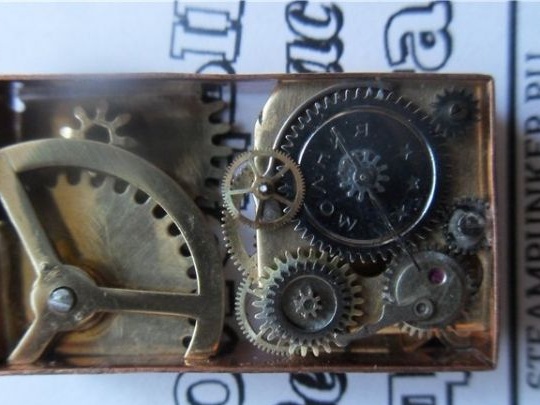
Now a prepared spring is placed inside the case, the author cut it a bit and adjusted it.
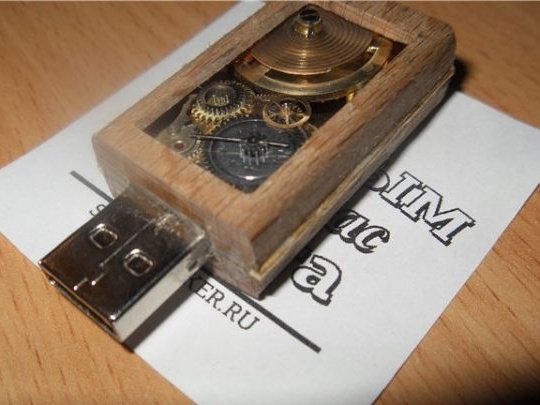
An approximate assembly of a wooden case.
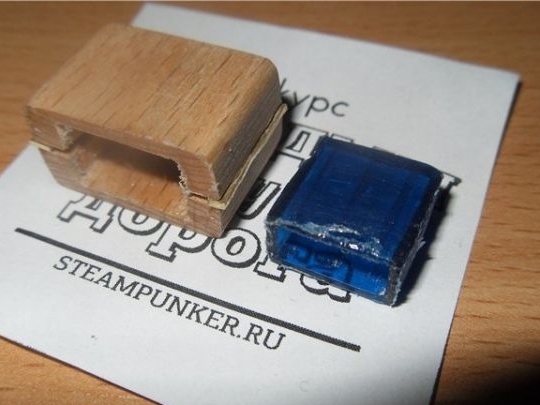
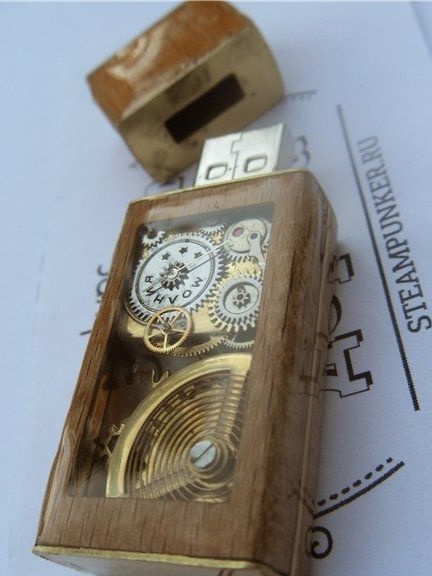
The cap also consists of 2 halves, a spacer made of brass is made between them and glued with super-glue, a shortened plastic cap is inserted inside, pre-coated with glue.
From the brass sheet with a thickness of 0.5 mm, the master makes overlays and glues.
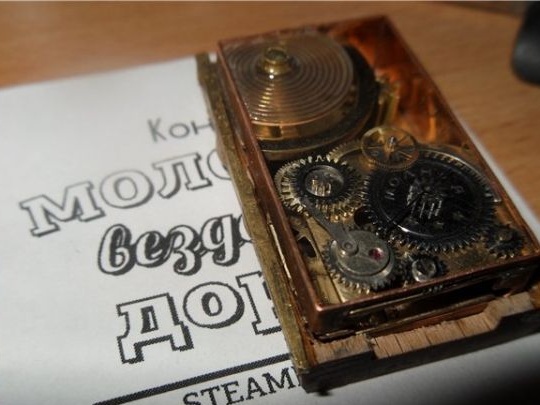
The cavity of the housing where the gears are located is filled with epoxy resin and left for a day to dry, after which the master grinds the surface.
Then an additional few hours of grinding wood and metal, and only then the product is varnished.
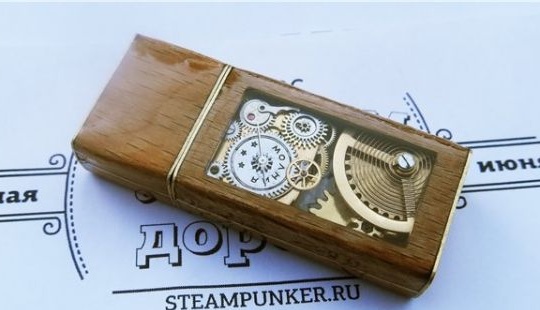
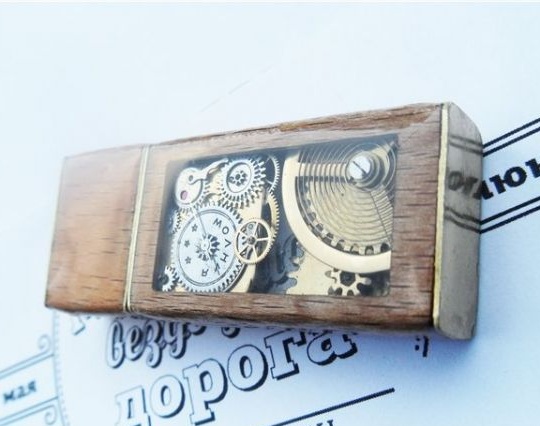
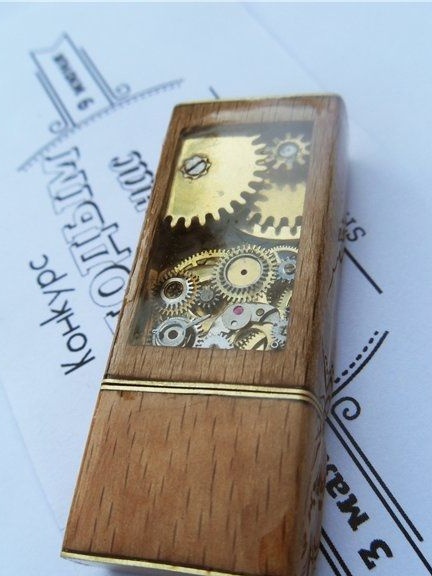
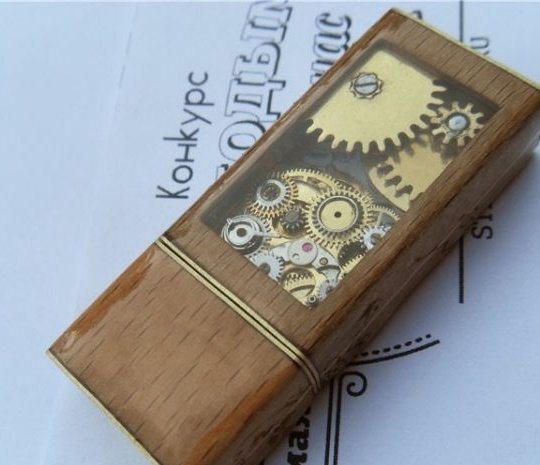
By tradition, among the masters, the author took control photographs of the finished product.
Here is such a wonderful and unique flash card that our hero turned out to be, people haven’t seen this before they sat down, and this is the whole point to surprise and interest people around.
Do more creativity, develop, learn from the masters and create.
This concludes the article. Thank you very much for your attention!
Come visit often, do not miss the latest in the world of homemade goods!
This article is for informational purposes only!