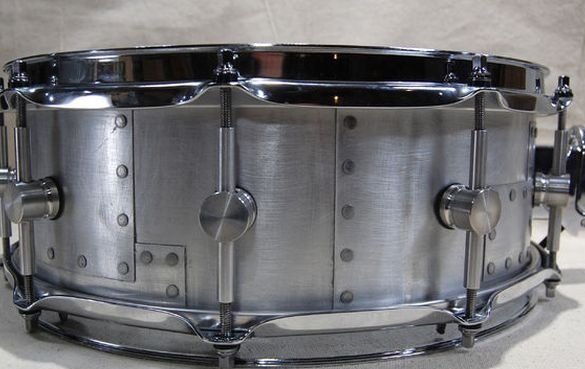
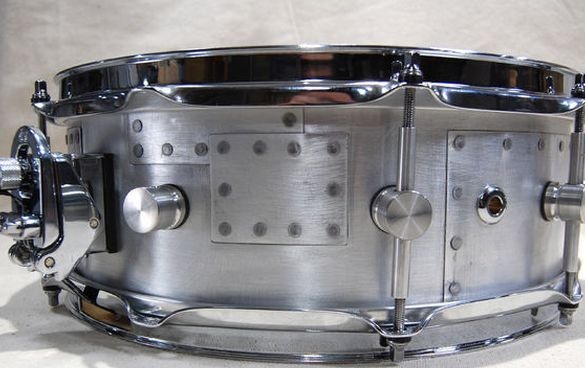
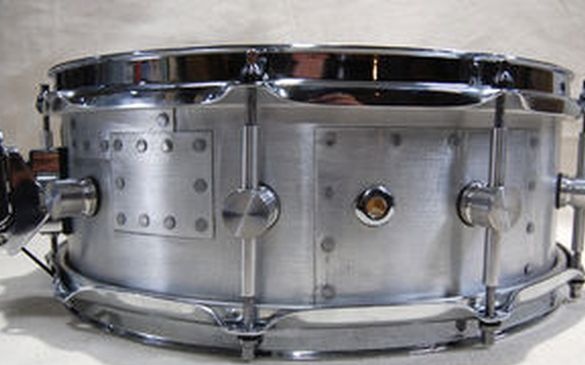
The drum kit includes several types of drums. In this article, together with the author, we will consider how to make a snare (lead) drum do it yourself. For its manufacture, the author used the following
Tools and materials:
-Sandpaper;
-Pencil;
-Dummy rug;
-Drilling machine;
-Sander;
-Acetone;
-Olyfa;
White alcohol
-Roulette;
- Clamps;
-Double-sided tape;
-A screwdriver;
-Awl;
-Hammer;
-Knife;
-Aluminum sheet;
-Epoxy adhesive;
-Wax;
-Screwdriver;
- Adjustable wrench;
-Nails;
-Nippers;
-Shell;
-Lags;
-Latch;
- The muzzle;
-Machine machine;
-Rim;
-Shock plastic;
-Resonance plastic;
Step One: Markup
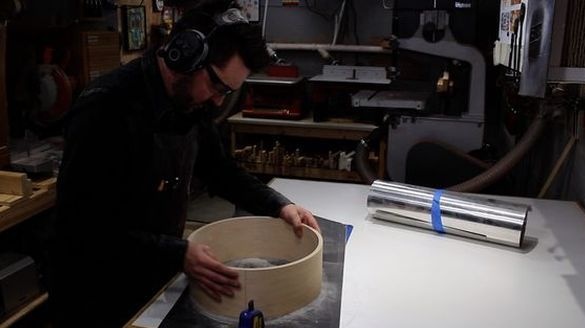
For the body, the author used a finished shell, consisting of 9 layers of wood. Such finished blanks with different number of layers and different sizes can be purchased at the company producing drums.
To begin with, the author needs to make markings for the logs on the shell, bolts, clamp, etc. For marking, the author uses a mock-up rug. The author’s dummy rug is special for marking drums of different diameters.
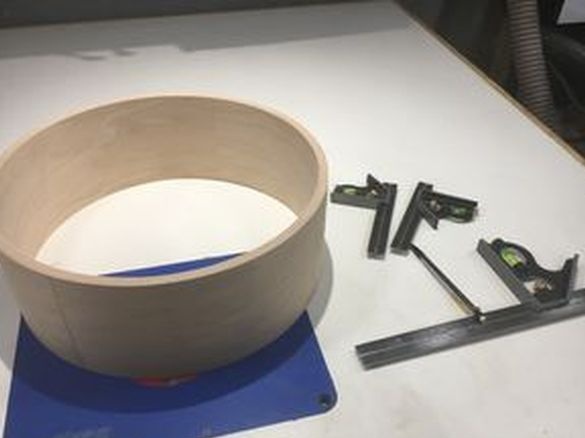
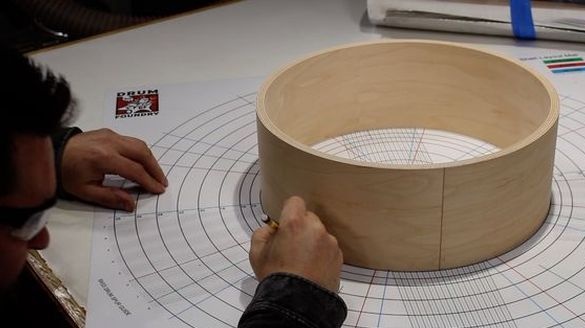
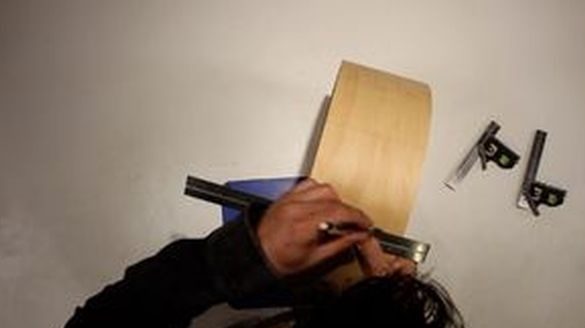
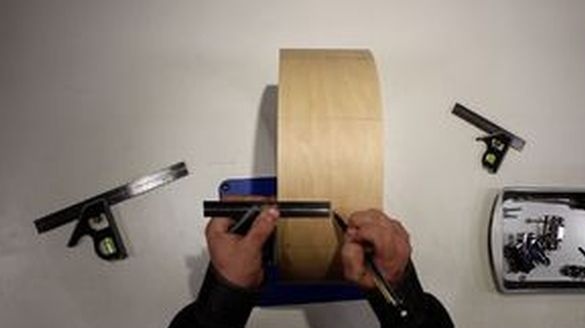
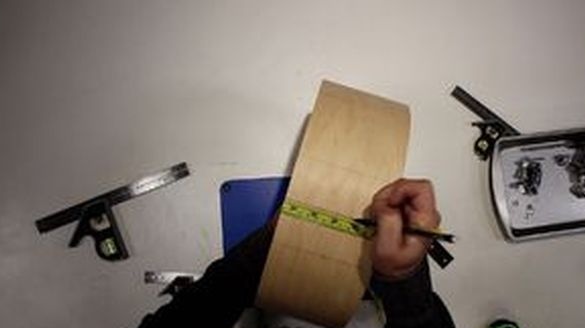
Step Two: Holes
With an awl, he does it. Drills the intended holes.
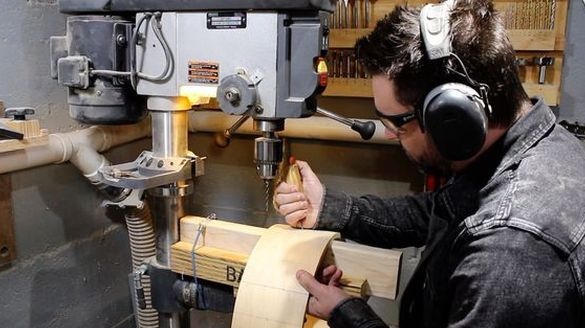
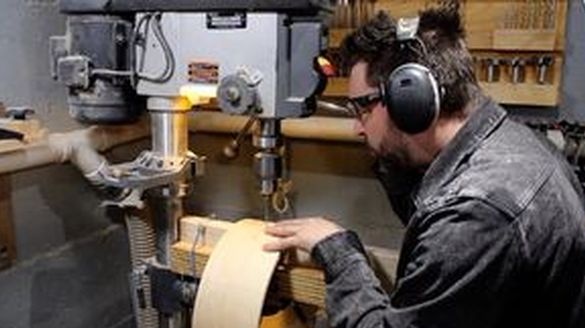
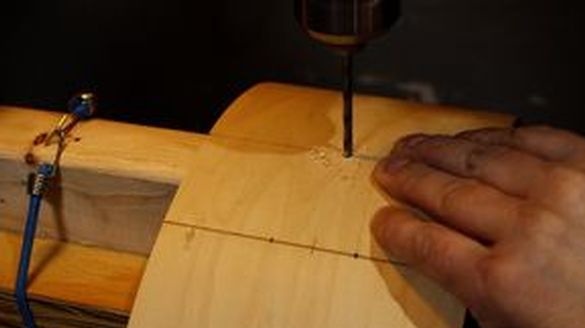
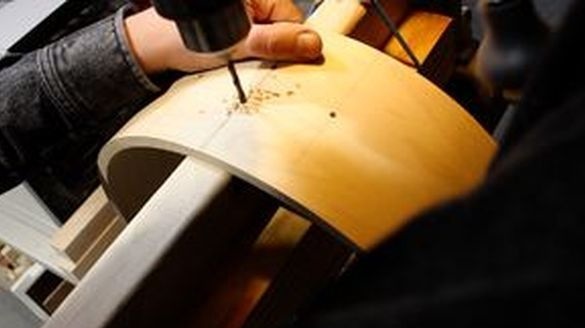
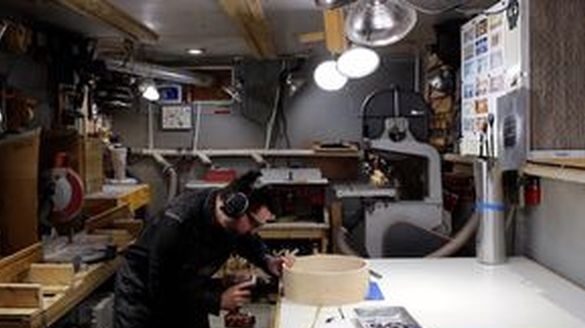
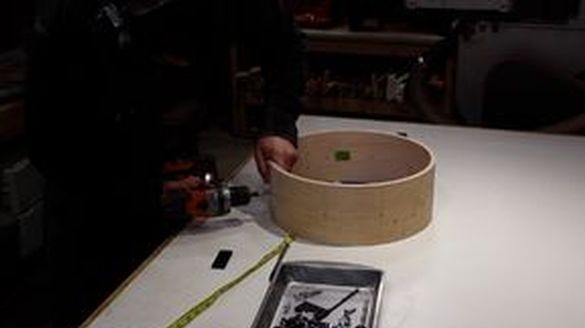
Step Three: Edge
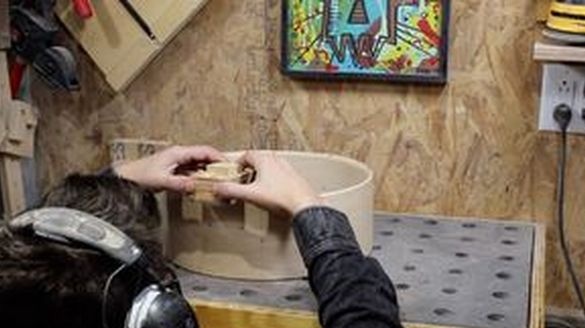
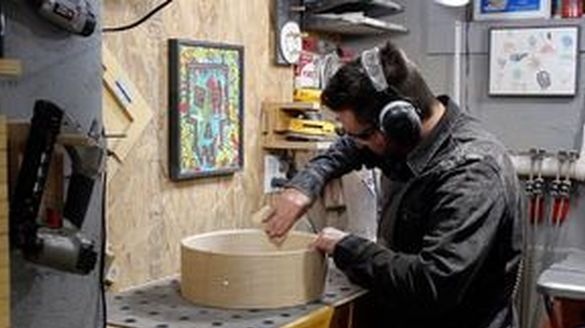
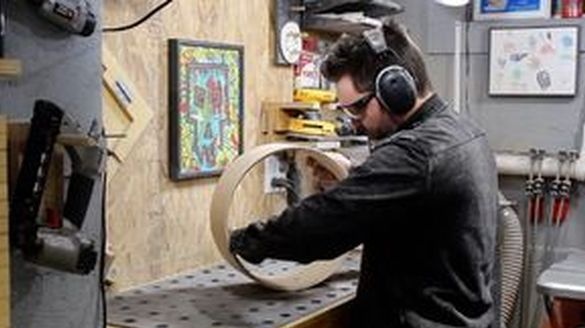
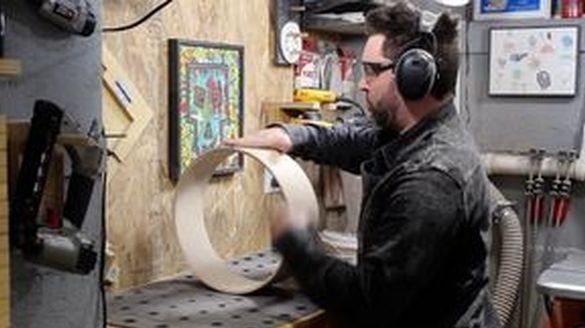
The shape of the edge affects the sound emitted by the drum. For this drum, the author made an edge at an angle of 45 degrees. I cut the edge on both sides, two layers on the outside and seven layers on the inside (This shell is made of nine layers). You can find out more about the edge and its effect on sound.
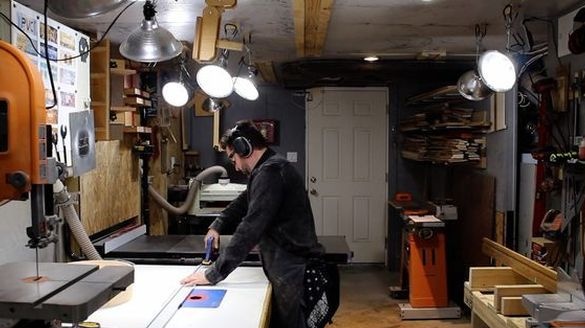
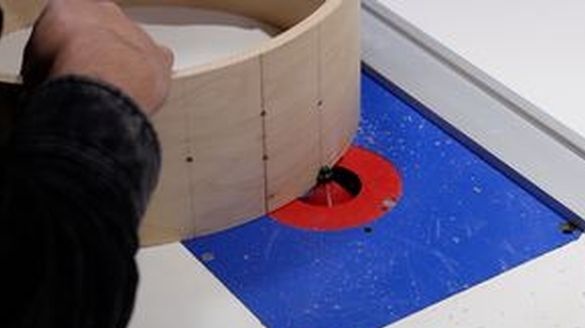
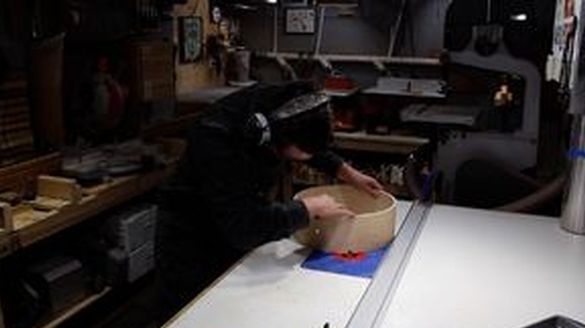
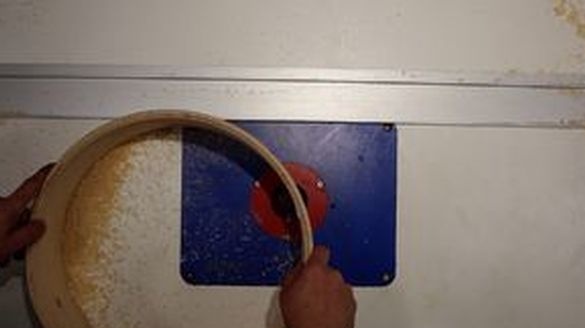
Grinds the edge.
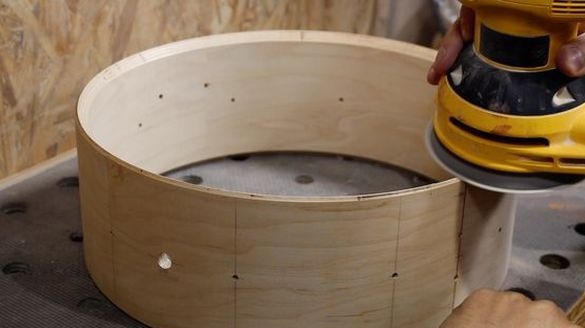
Fourth step: inscription and impregnation
To inscribe the inside of the drum, the author performed the following actions:
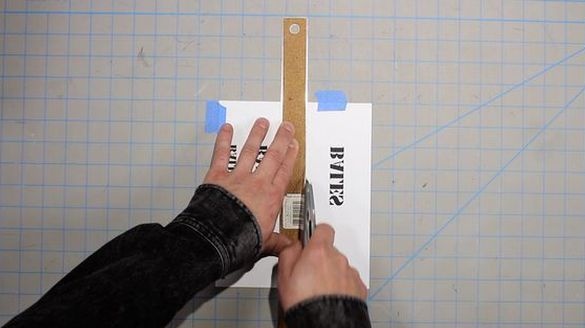
1) Printed on a laser (not inkjet) printer the inscription in mirror image
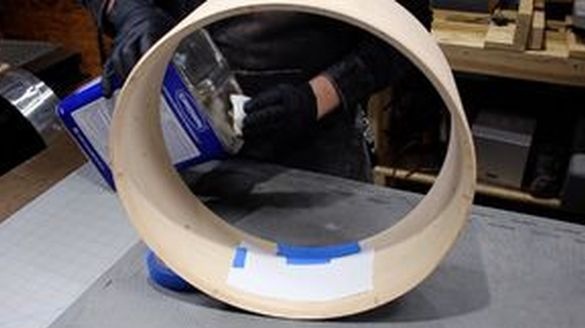
2) Put the paper with the inscription face to the surface and secured it
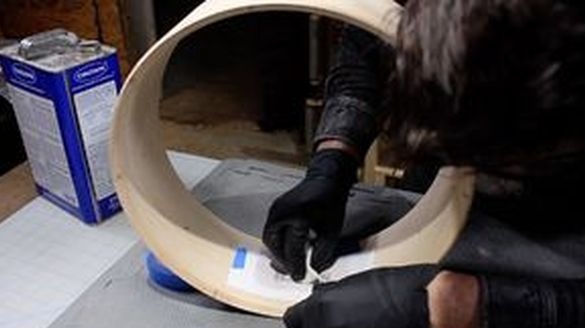
3) Wet a rag in acetone and gently wiped the paper
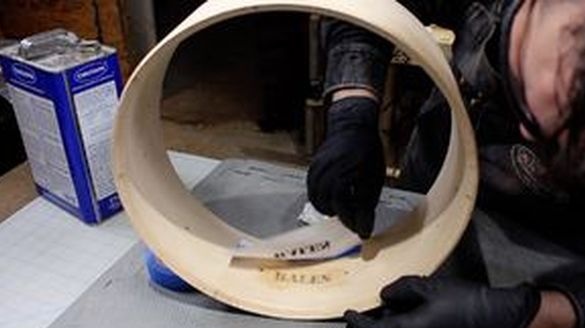
4) removed the paper
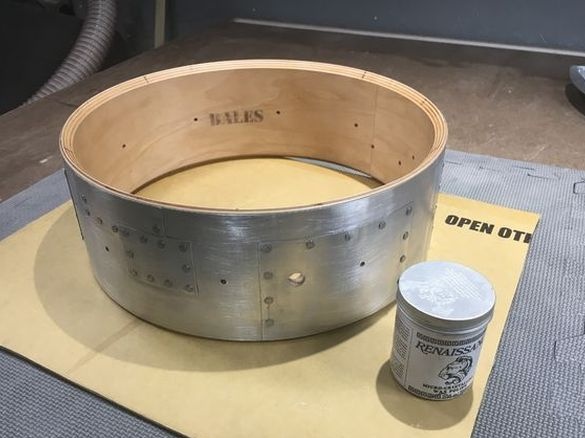
After removing the paper, an inscription remained on the surface. Then he treated the surface of the shell with a solution of drying oil with white alcohol 1: 1.
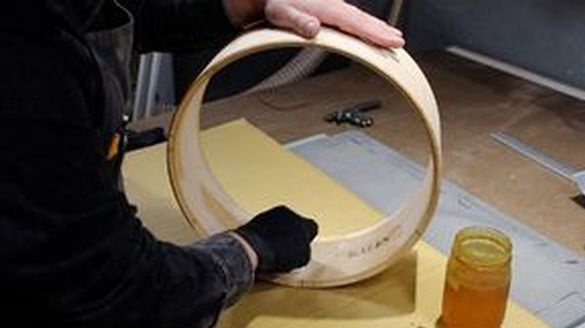
Step Five: Making a Metal Hoop
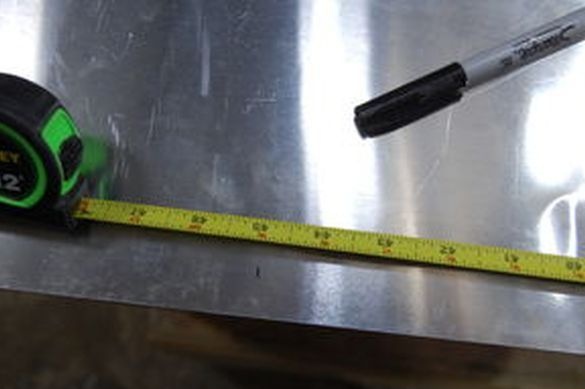
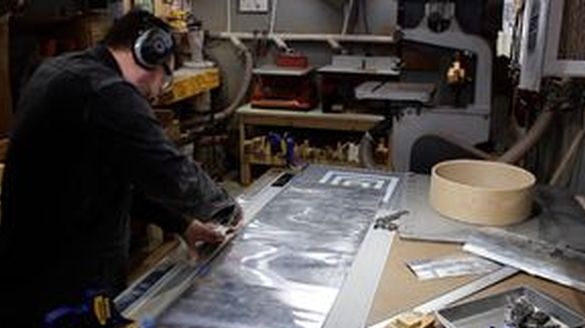
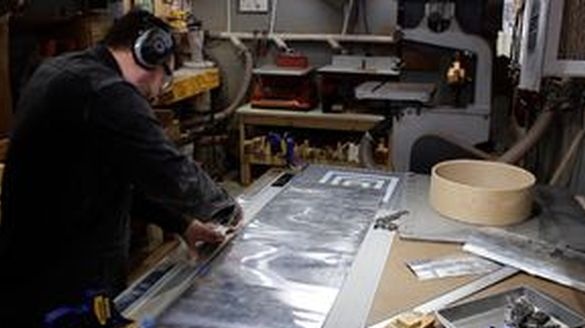
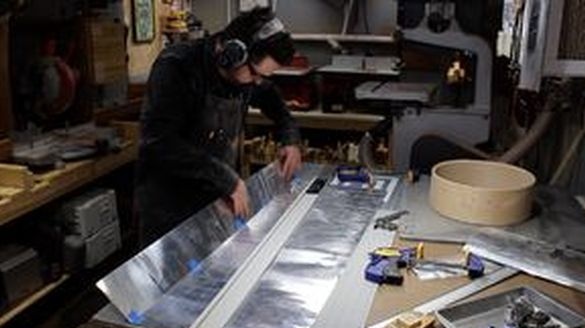
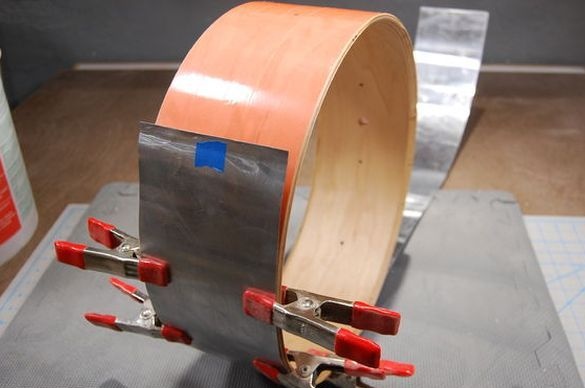
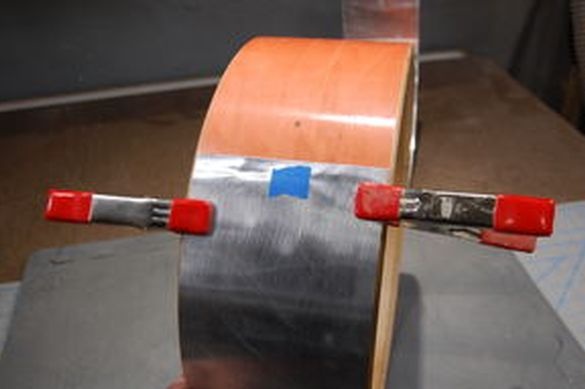
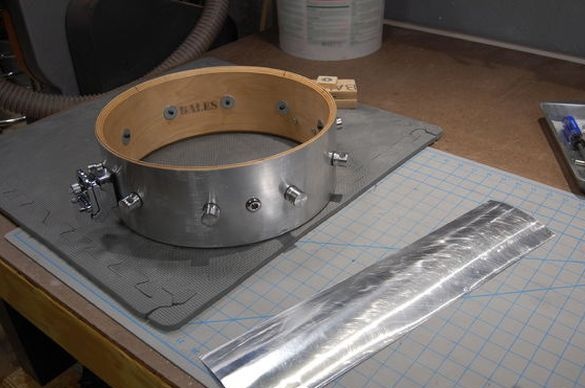
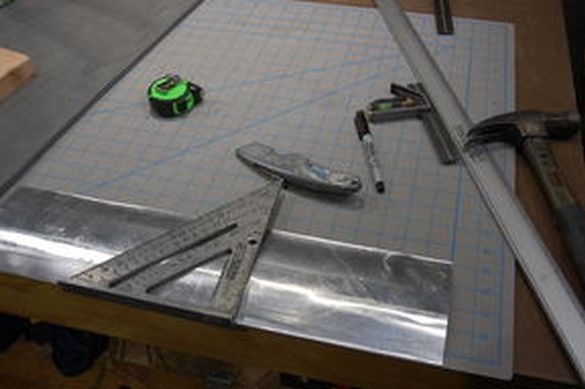
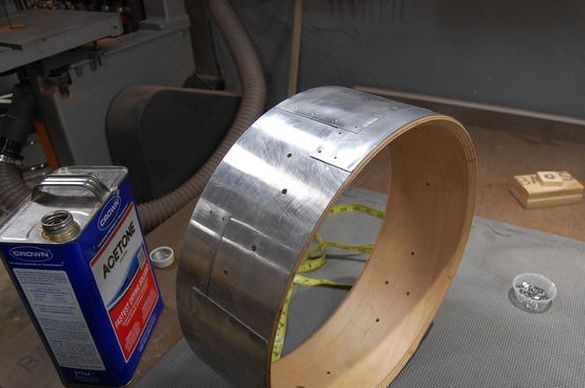
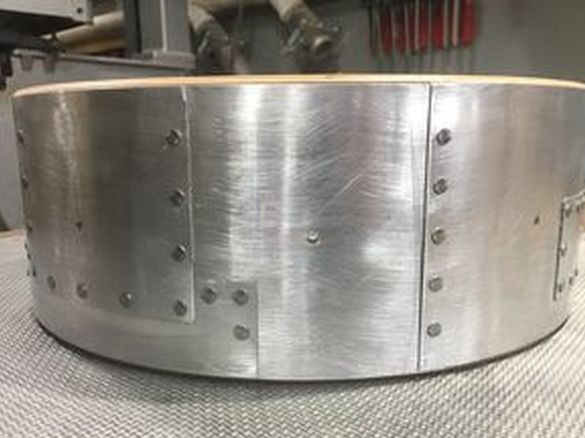
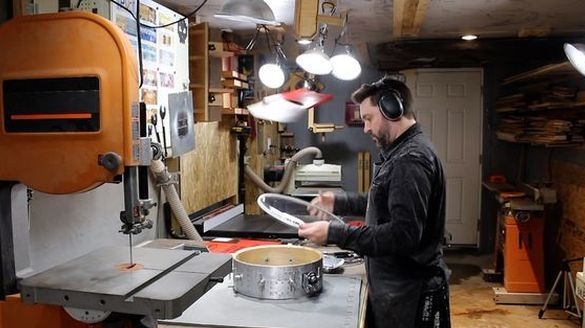
The hoop will play a purely decorative role, and will not affect the sound in any way. The author made a hoop from a thin aluminum sheet. The edge of the strip comes with an "overlap". From the side of the edges there is a small gap. Measured and cut a strip of the desired length. I cleaned the edges with sandpaper. A double-sided tape pasted around the circumference of the shell. I glued the strip to the side of the casing. The edge is also fixed with tape. For a stronger grip, the entire surface passed with a roller.
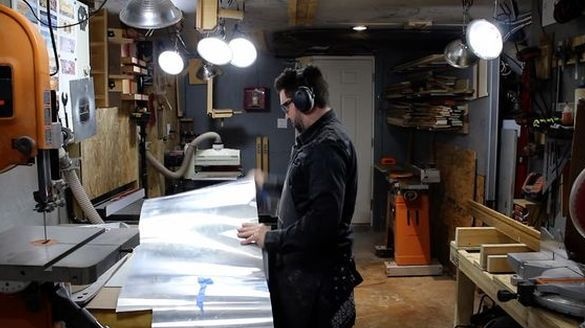
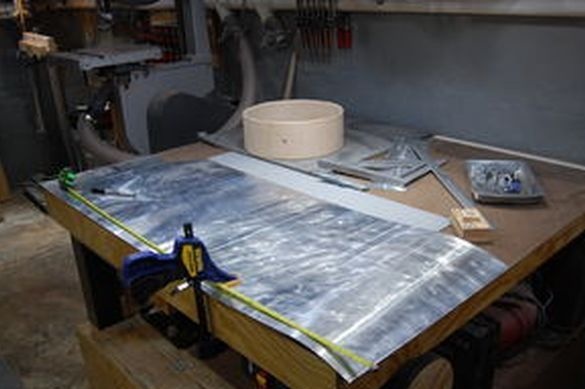
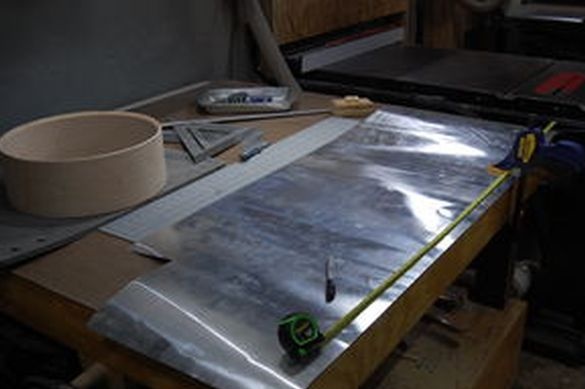
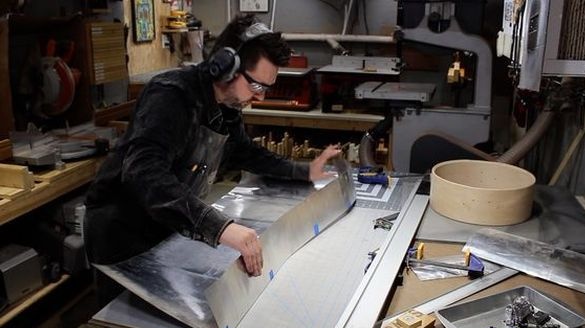
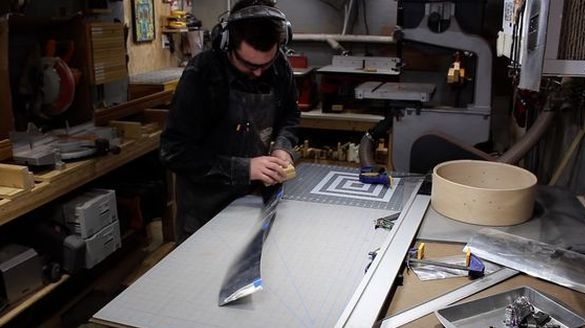
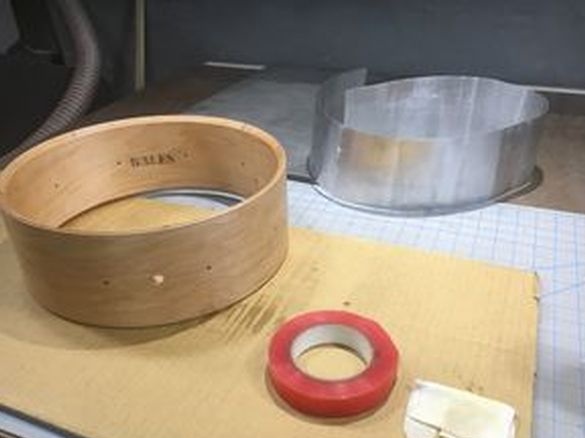
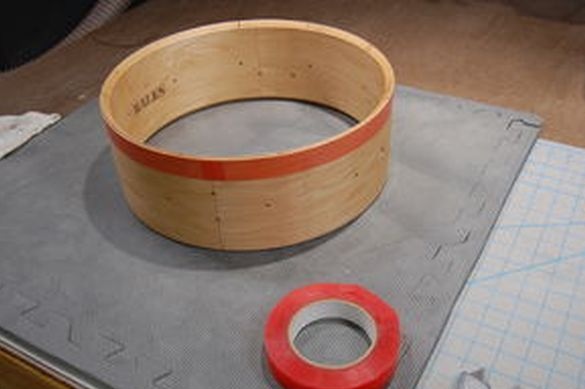
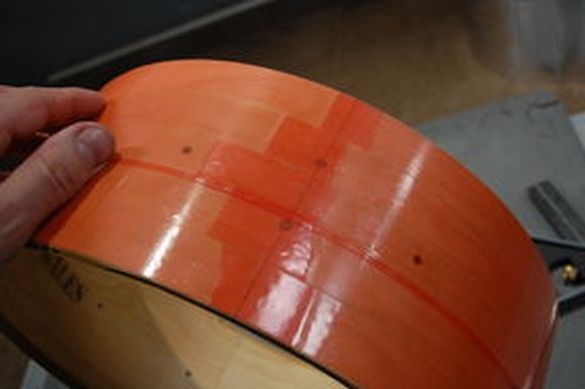
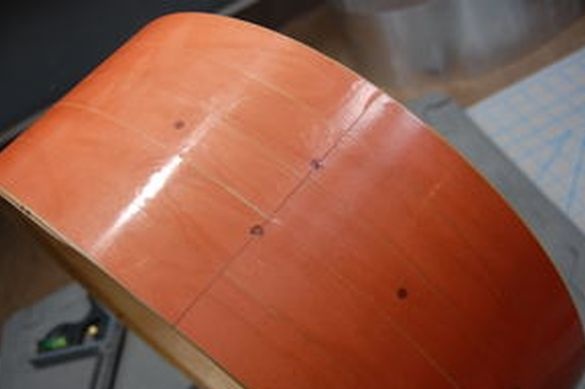
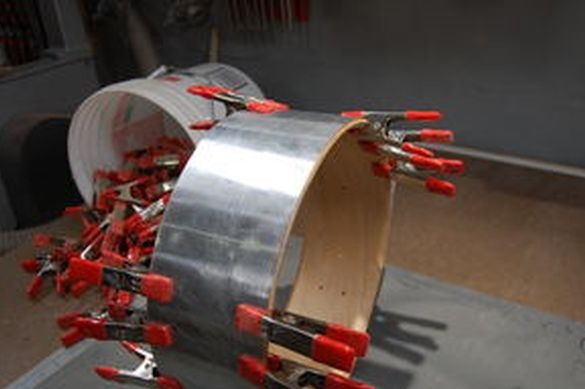
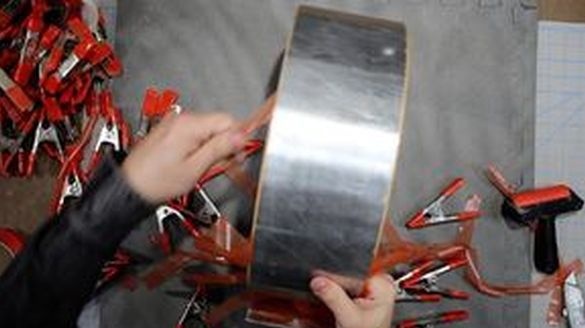
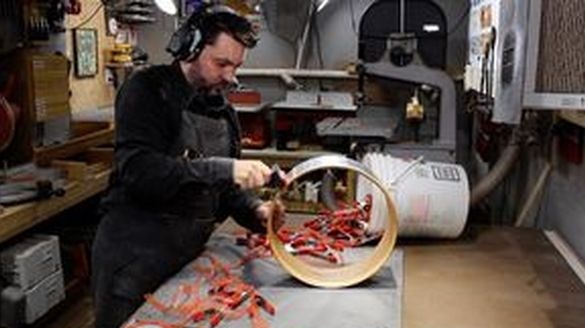
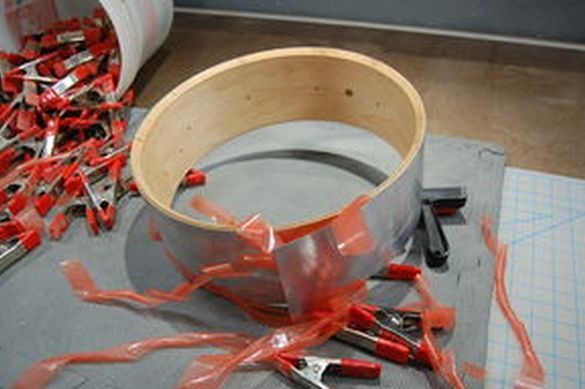
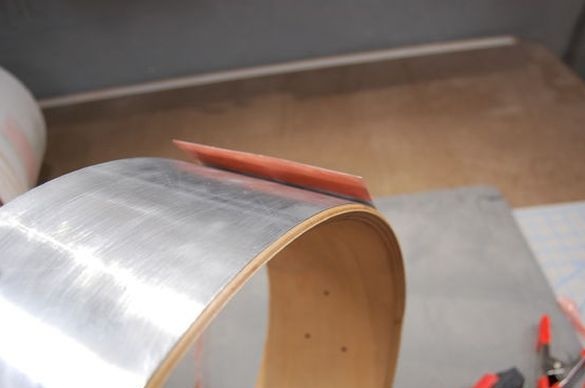
Drill holes.
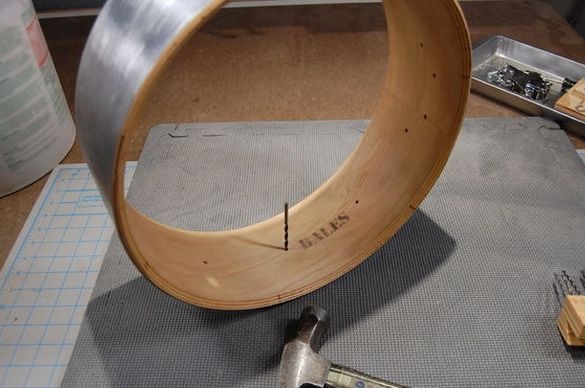
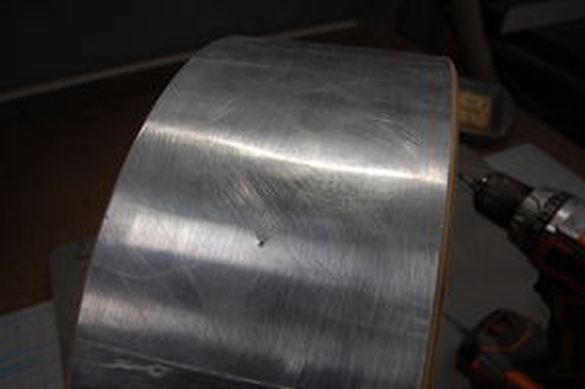
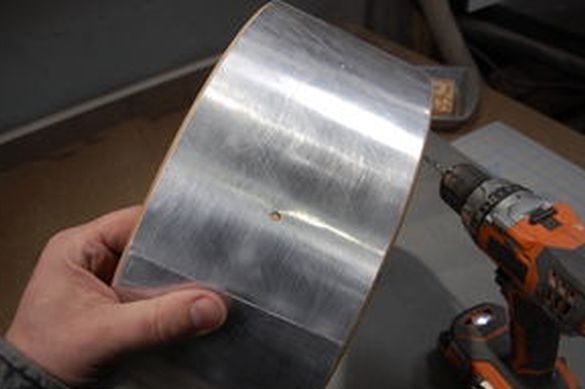
Step Six: Decorate
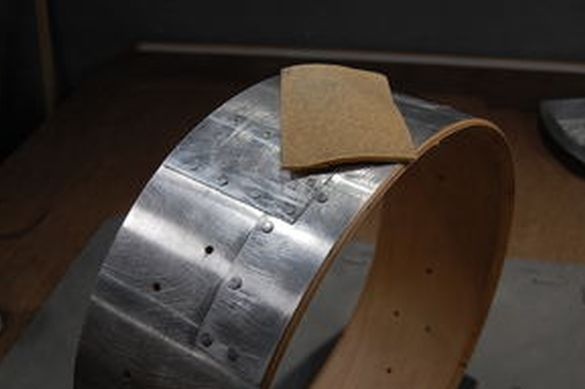
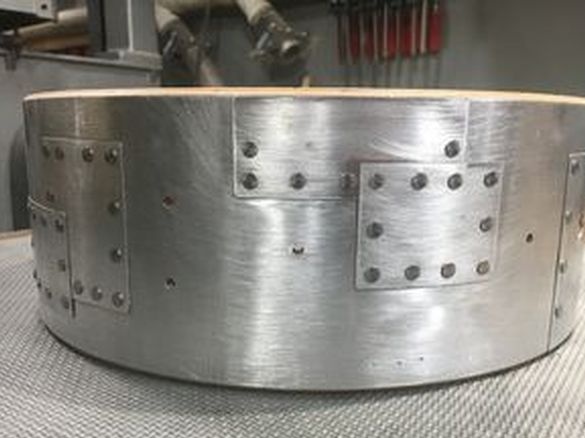
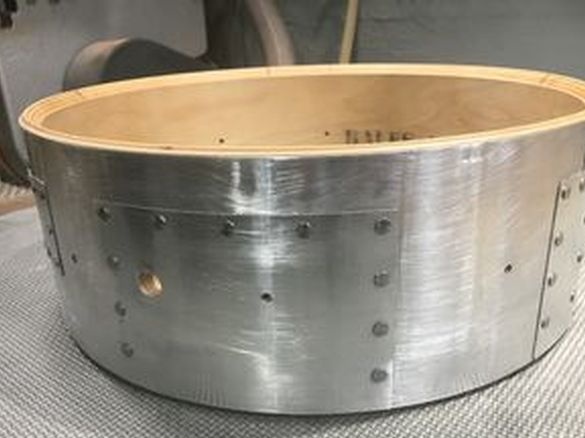
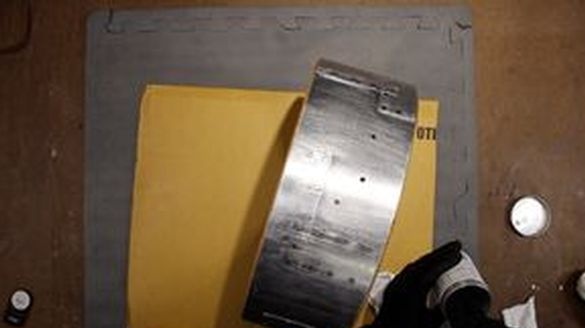
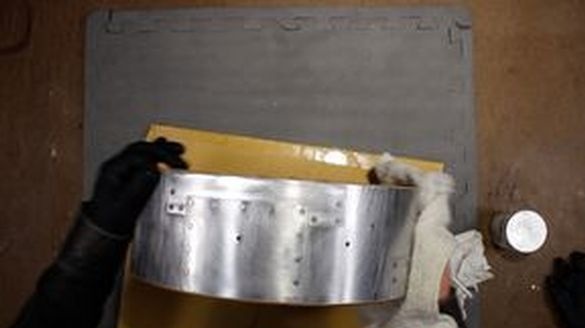
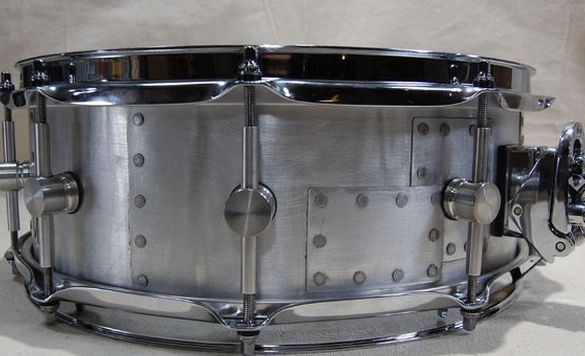
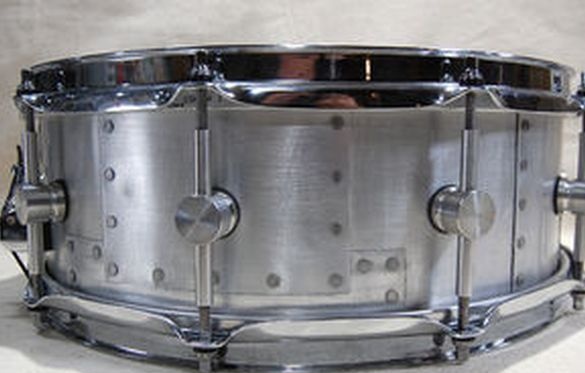
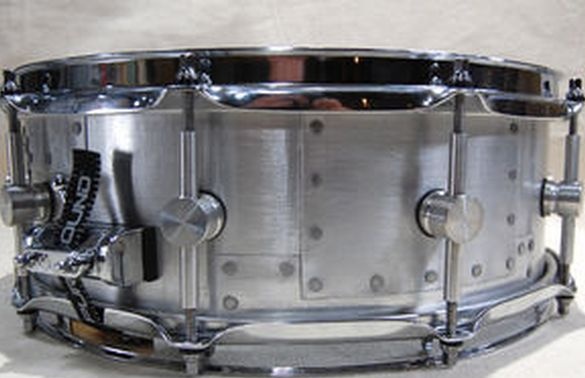
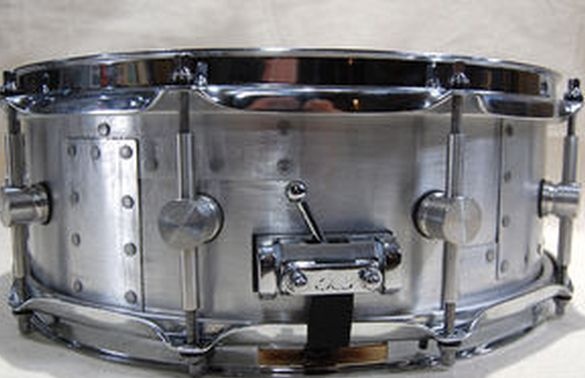
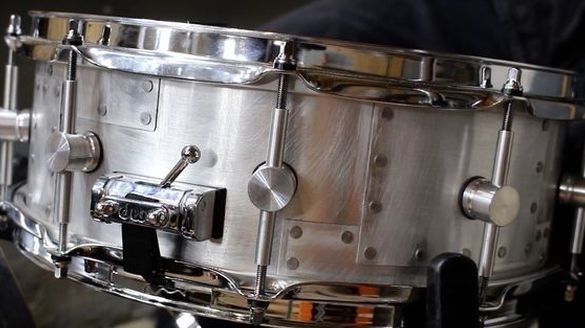
According to the author’s intention, to add style, aluminum strips with rivets should be installed on the strip. To understand where to place them, the author temporarily installed accessories and made markup. Then he cut out the linings and glued them to a double-sided tape.
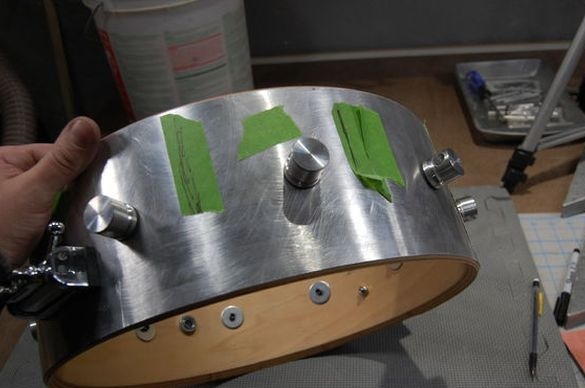
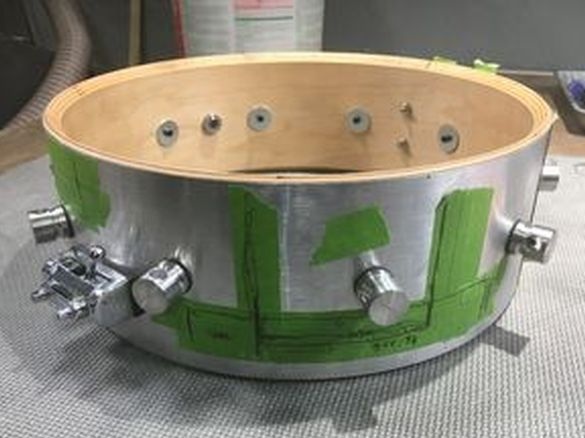
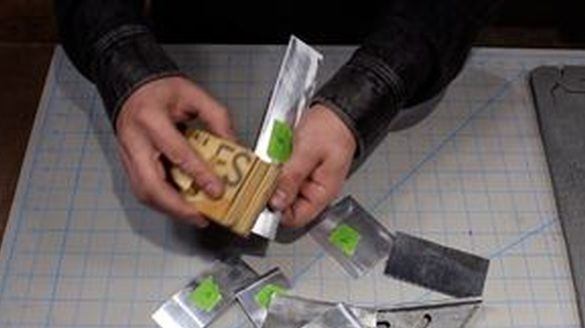
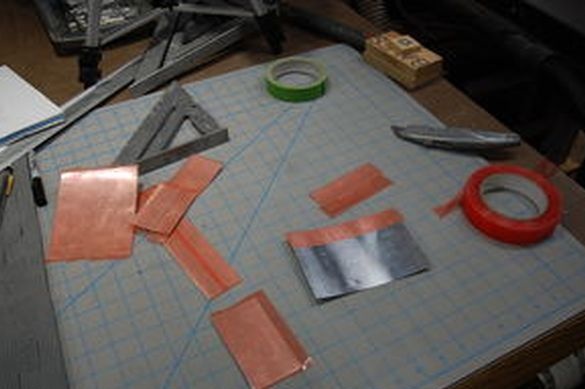
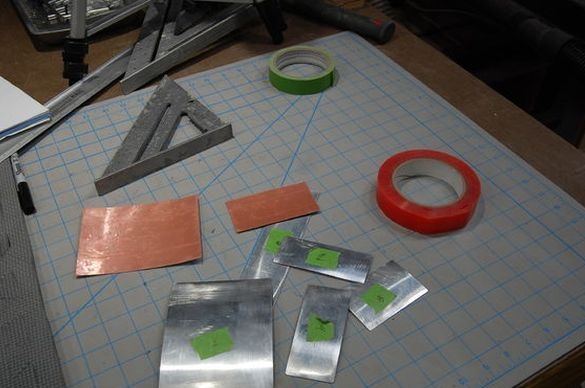
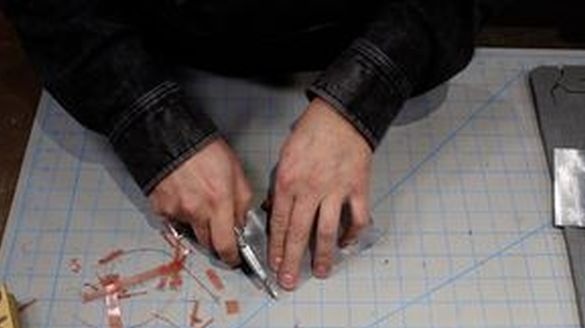
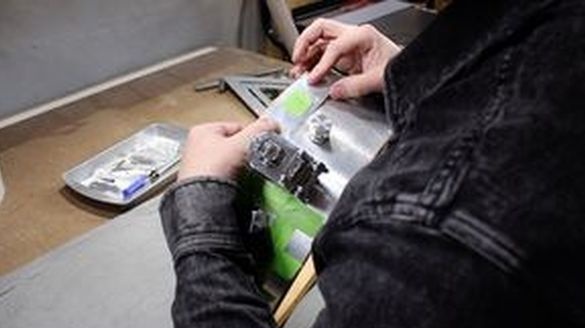
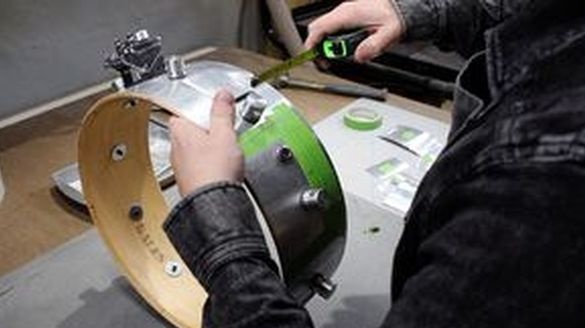
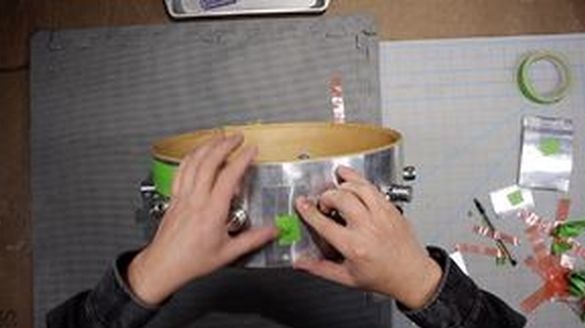
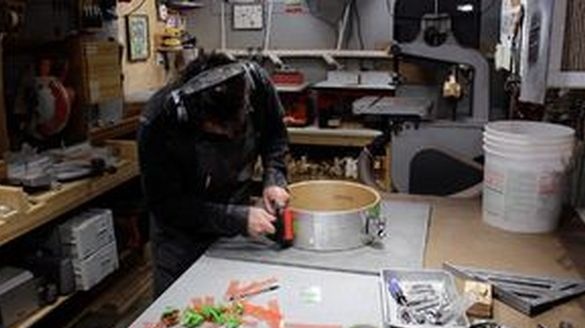
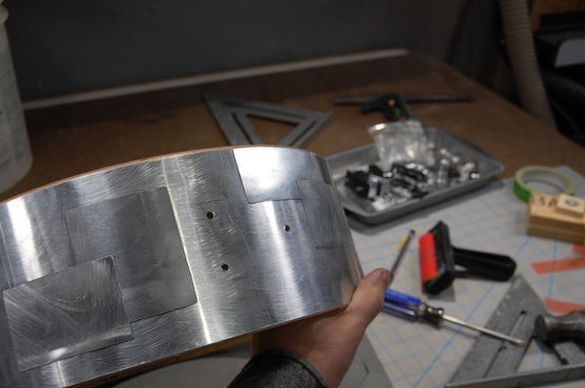
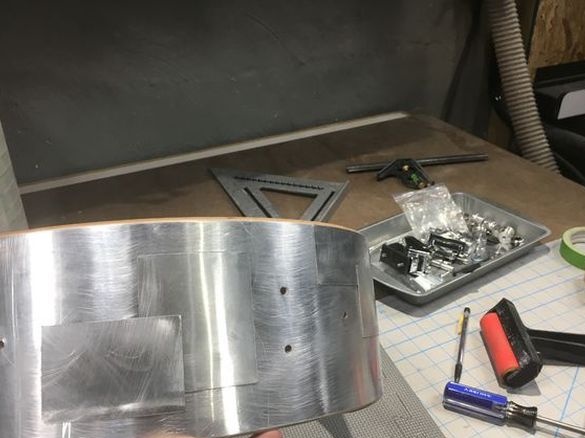
On the overlays, I marked and drilled the location of the rivets. Only aluminum is drilled, not a wooden shell.
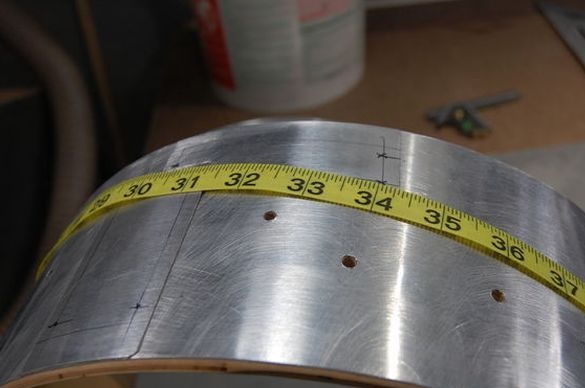
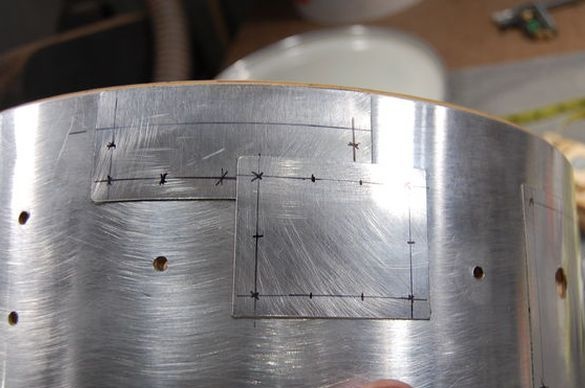
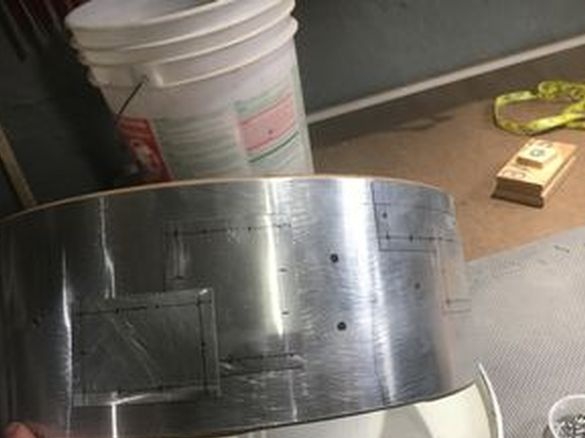
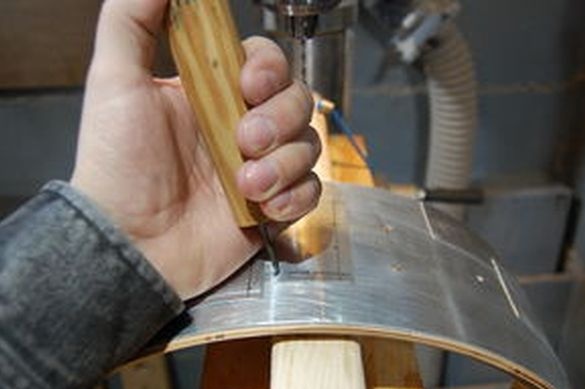
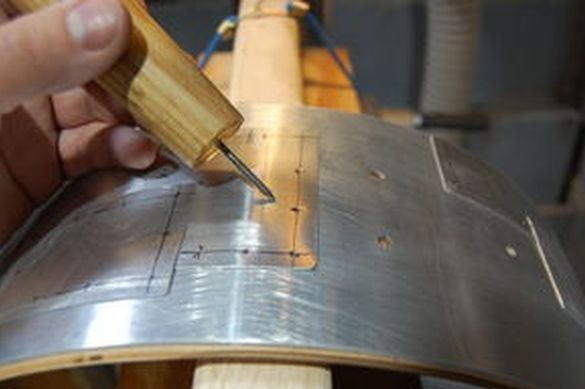
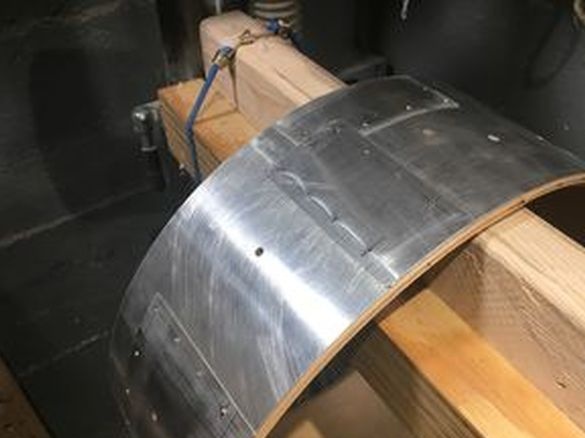
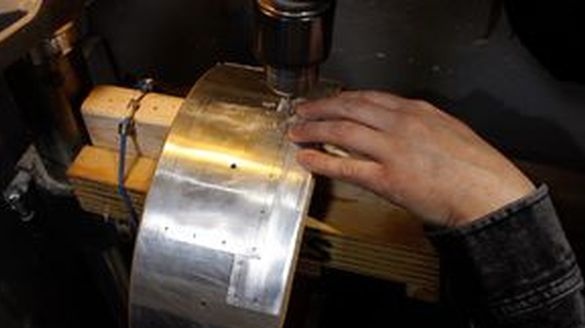
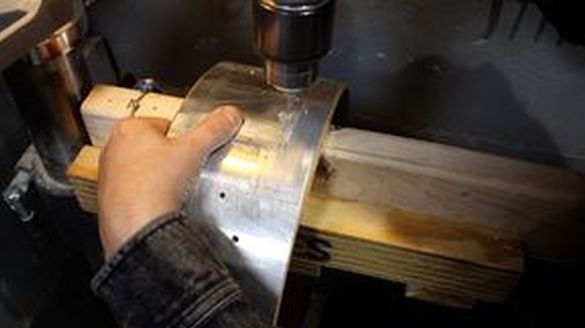
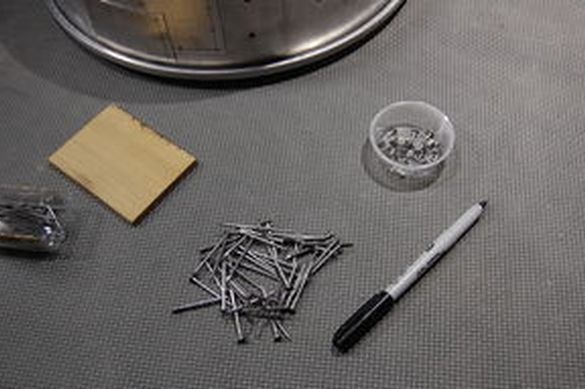
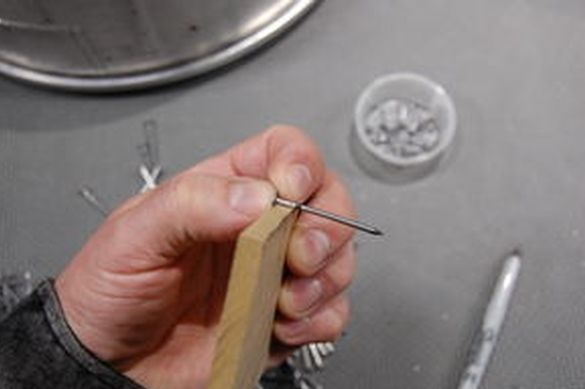
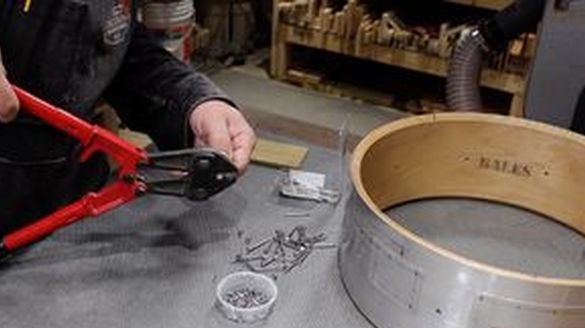
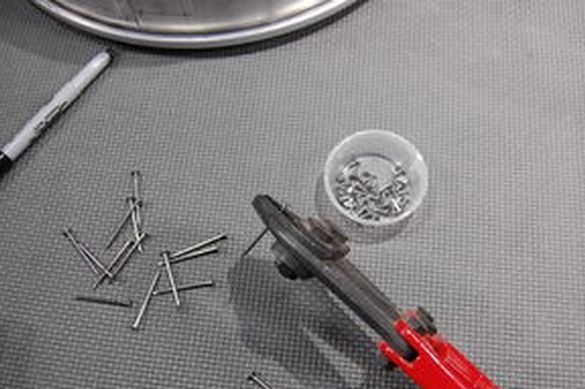
I cut the nails of the desired length. Set the nails into the holes. For fixing I used epoxy glue.
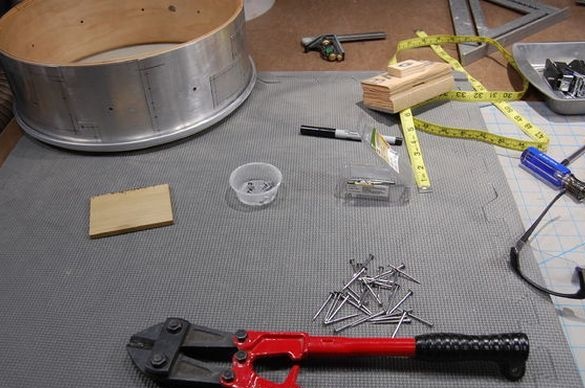
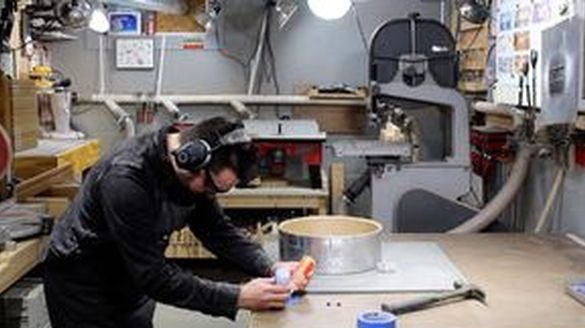
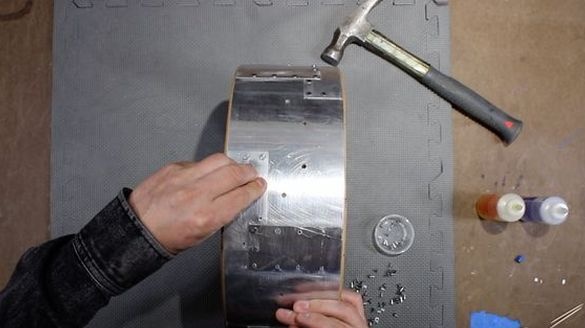
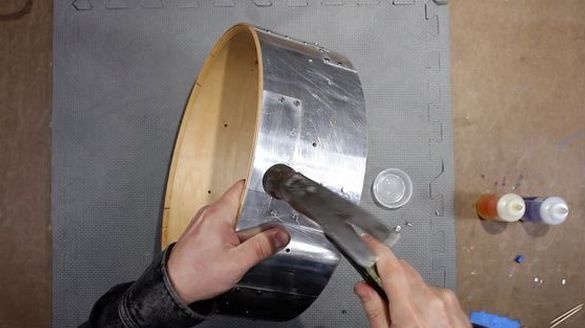
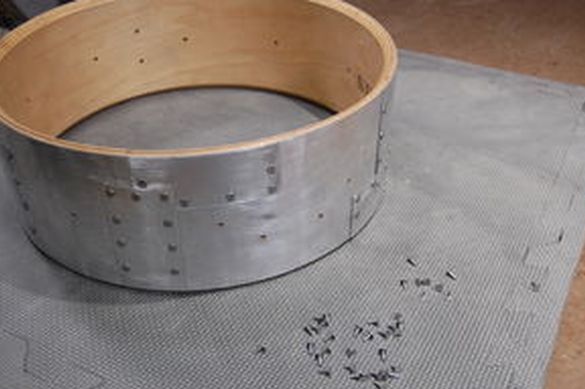
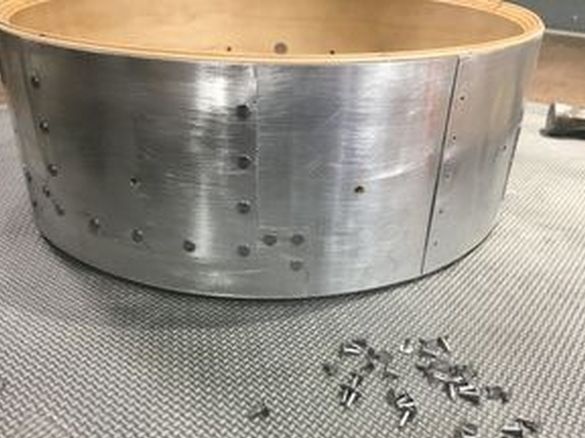
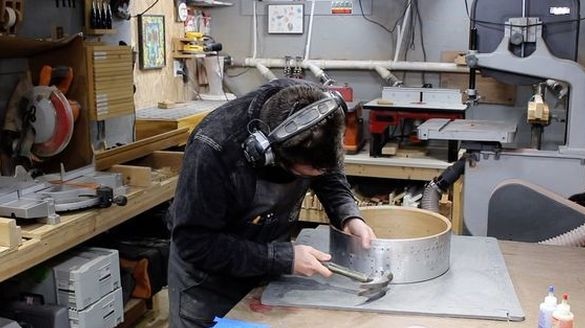
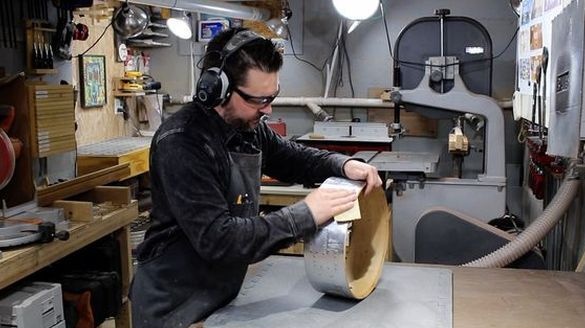
Further, the author polishes the metal parts with a sandpaper and applies wax.
Seventh step: assembly
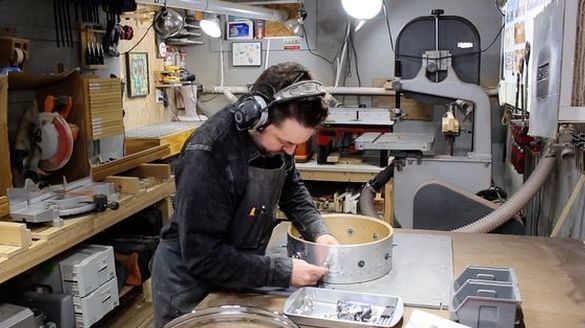
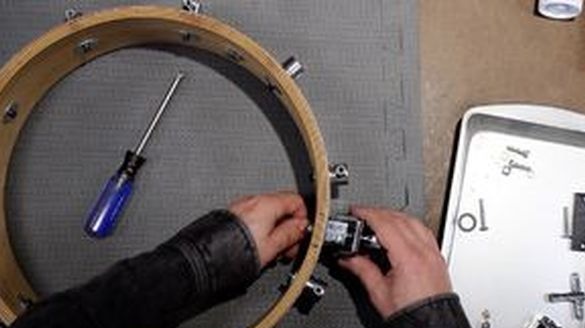
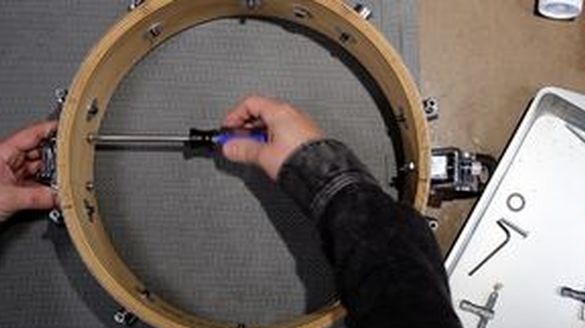
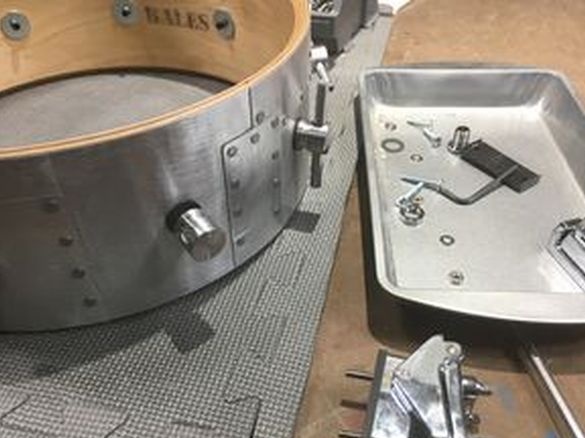
Further, the author collects the drum. Sets lags, shock and resonance plastic, rims, etc. Installs the bolts. Tunes the drum.
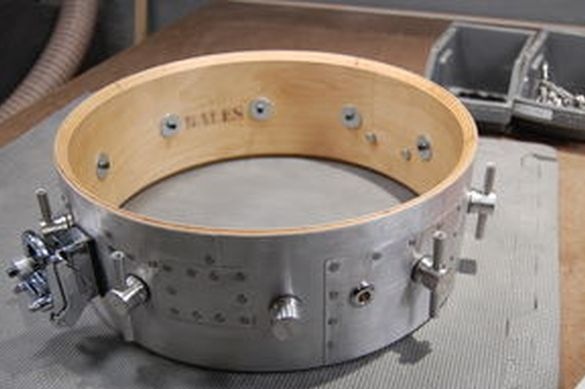
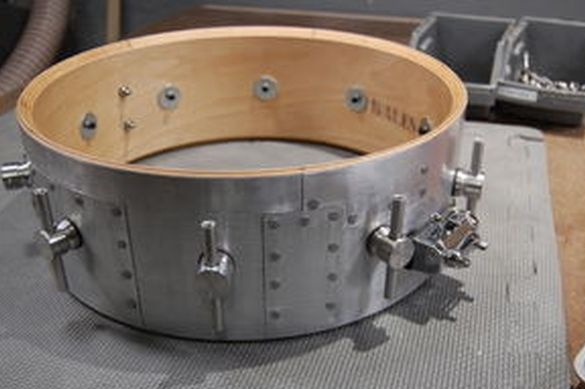
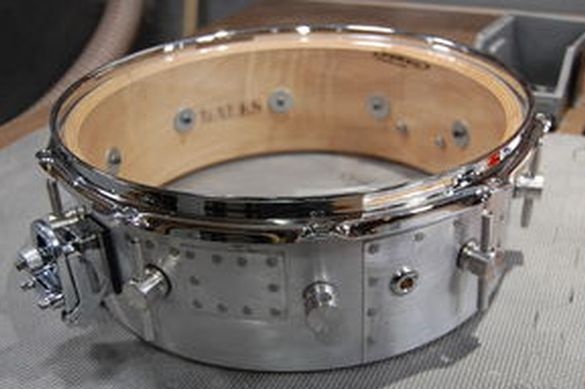
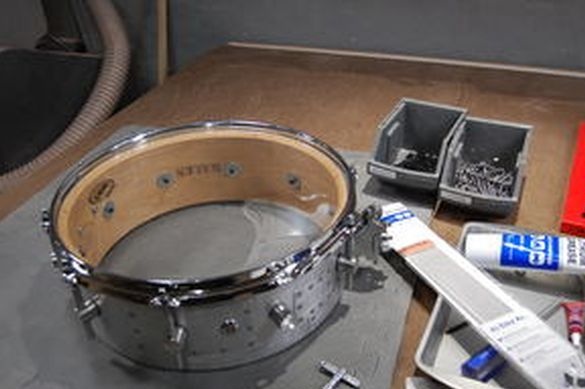
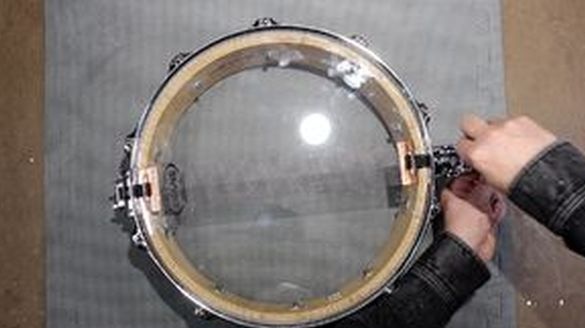
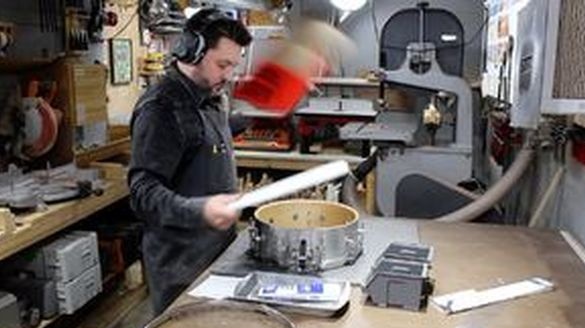
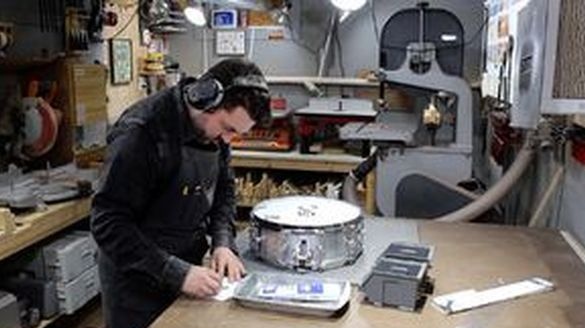
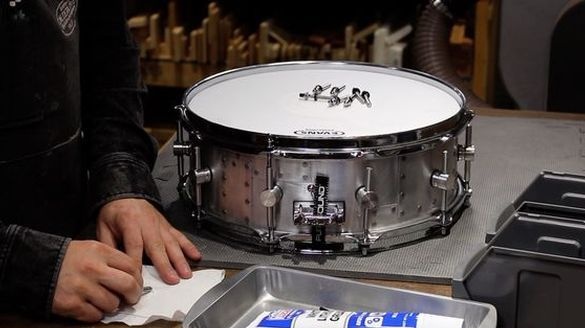
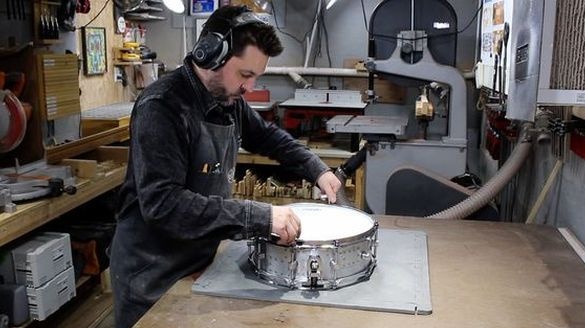
The snare drum is ready.
It remains to test it.

In detail, the manufacture of a snare drum can also be seen in the video.
