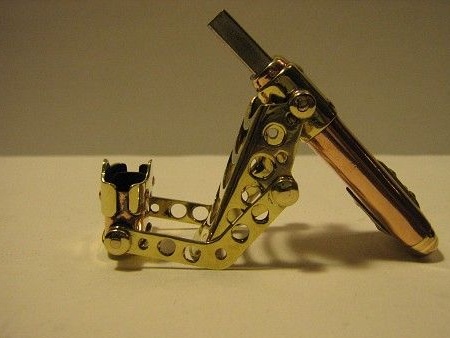
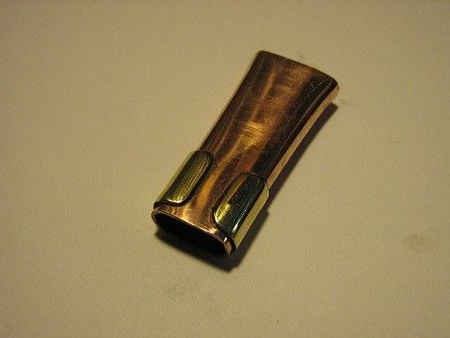
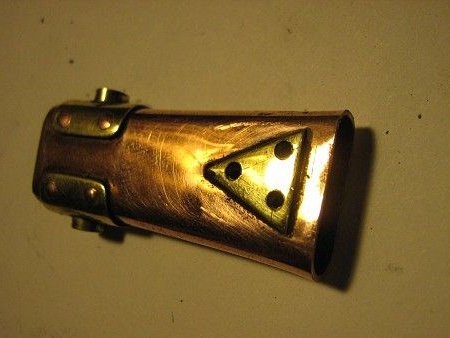
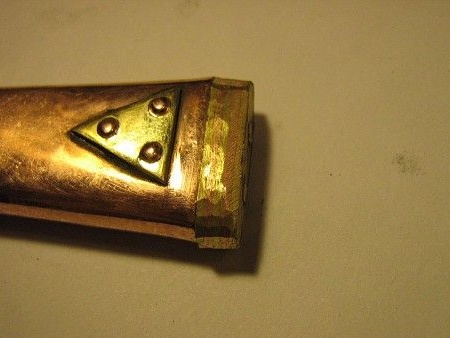
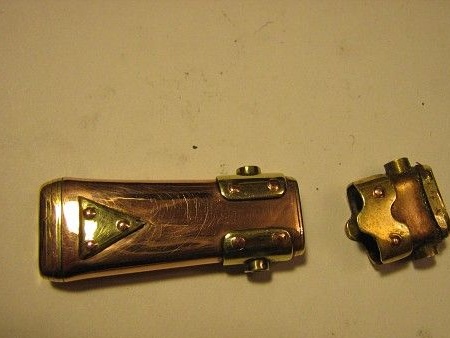
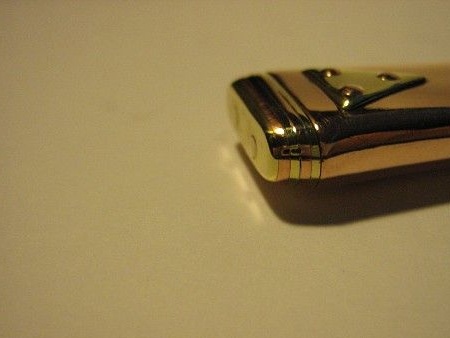
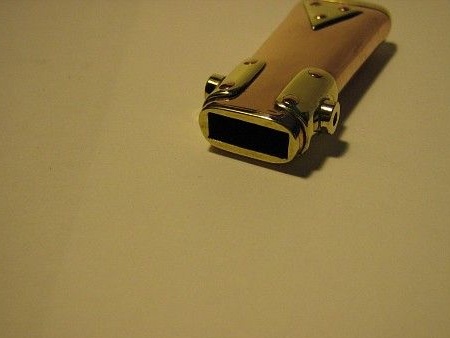
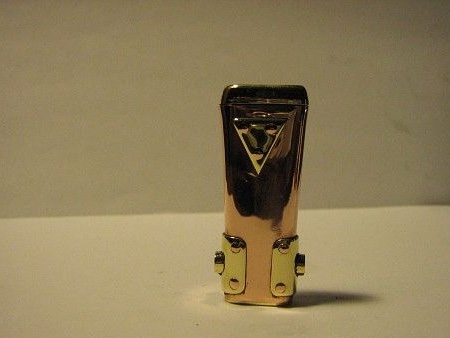
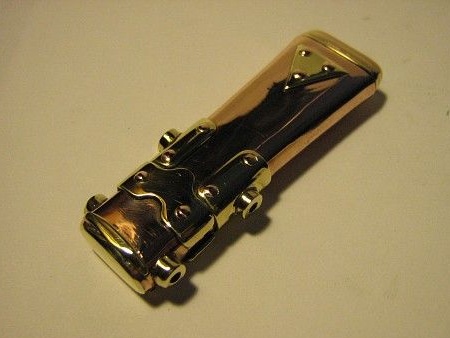
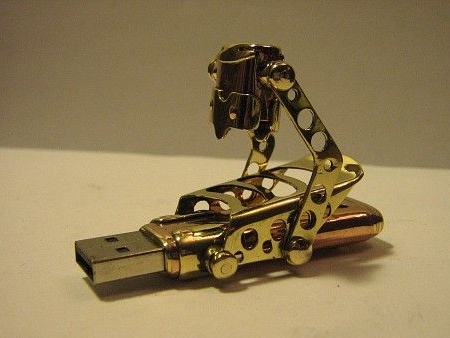
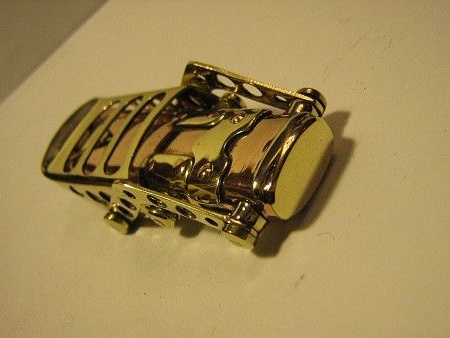
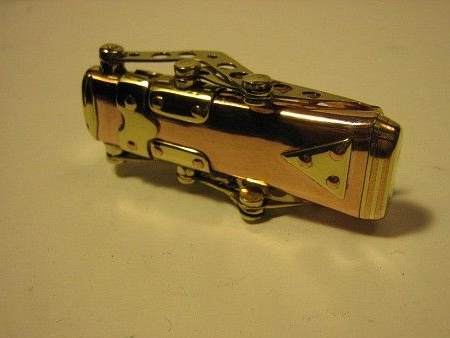
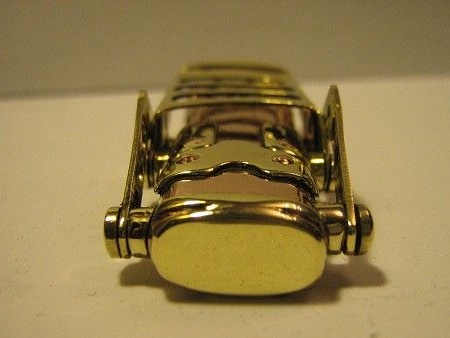
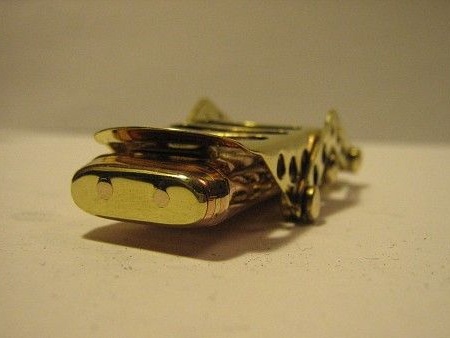
Dear visitors of the site, from the material presented by the author, you will learn how to independently make a flash drive with an opening cap on hinges, in the style of "
steampunk"The main material of the craftsmen, as always, is copper and brass, precious metals over time covered with a beautiful patina.
Today it is difficult to imagine life without an Internet computer and other gadgets and devices)) With their help, we can communicate for free in social networks, learn, work, buy and sell without leaving home. All this rests on information carriers, which are becoming more compact every year, for example, a flash card, with a small size it stores dozens of gigabytes of information. Basically, the standard cases are made of plastic, but this seemed boring to our master and he decided to create a unique case that was never seen before in the village for his flash drive. The design has hinges, the idea was borrowed from Soviet-made bottles.
And so, let's take a closer look at the entire process of assembling a flash card, and also find out what exactly was needed to create it?
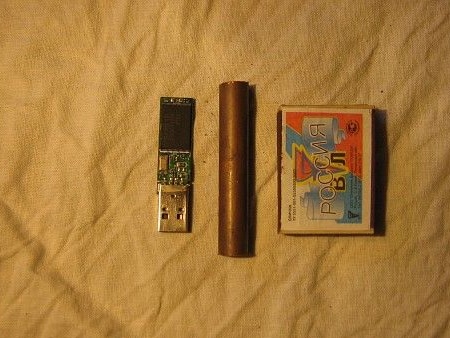
Materials1. copper tube
2. brass plate
3. flash card
4. brass bar
5. solder
6. copper plate
7. brass rivet
8. hot glue
Instruments1. drill
2. file
3. sandpaper
4. hacksaw
6. velvet
7. metal bar
8. hammer
9. vise
10. pliers
11. file
12. burner
13. vernier caliper
14. pasta GOI
The process of creating a flash drive with a hinge do it yourself.And so, the first thing that was done was to prepare a copper tube for making the case, but in diameter it turned out to be smaller than the size of the flash card itself, and then the author came up with the idea (to expand and wrinkle the tube, part it around the edges), which actually was successfully done.
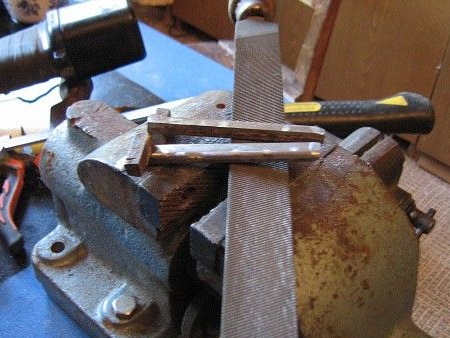
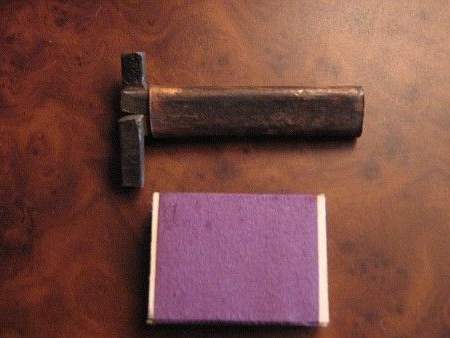
To give the necessary shape were such metal blanks.
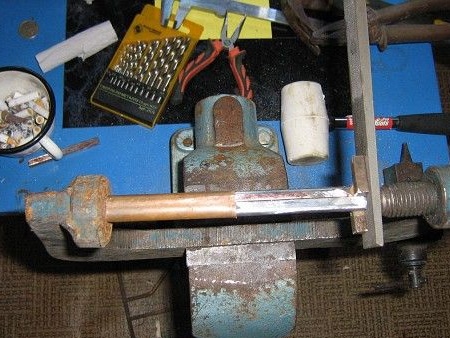
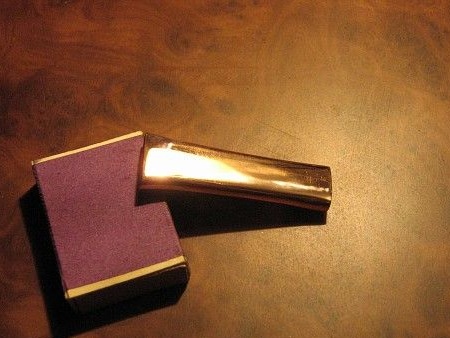
Metal is pressed into a copper tube.
That's what actually turns out.
The edges of the tube are slightly pulled.
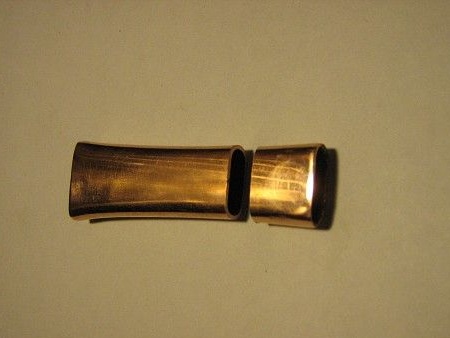
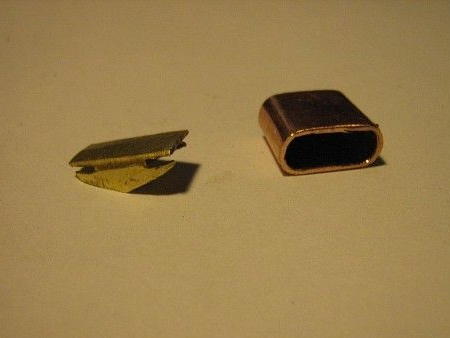
Sawed into the main body and cap.
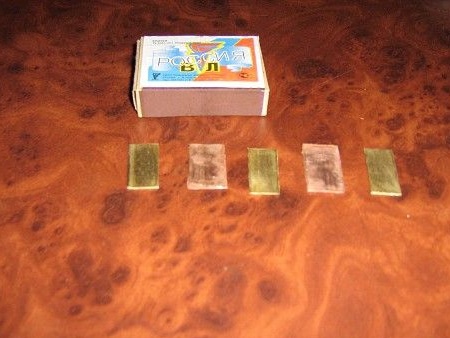
The end caps will be in the form of a sandwich, that is, puff of copper and brass.
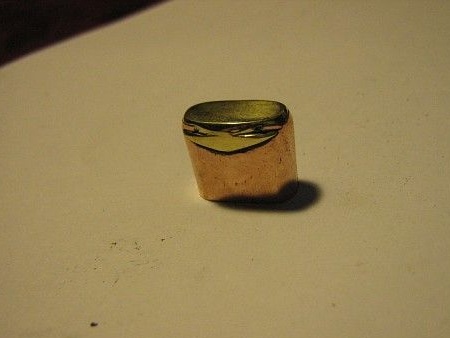
Previously, each part is serviced, and then it is assembled and clamped in a clamp, and then it is heated by a burner and a copper-brass billet is obtained.
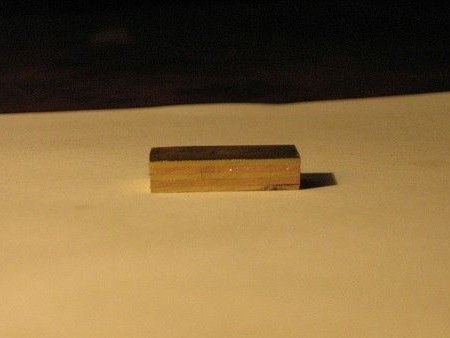
Here's a sandwich)
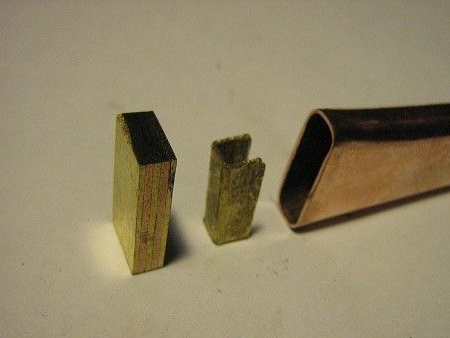
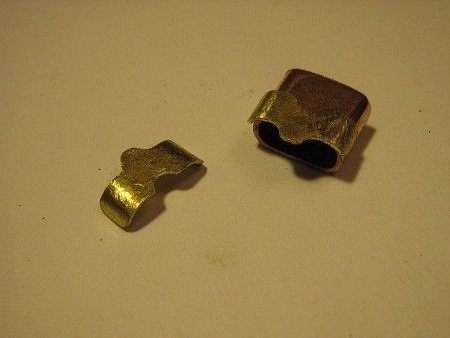
Fitting and manufacturing of the end part.
Next, the master makes a kit (decorative elements)
Here is the result.
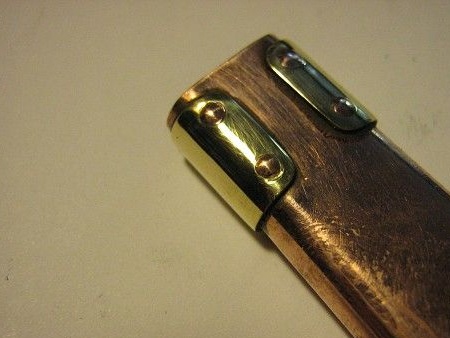
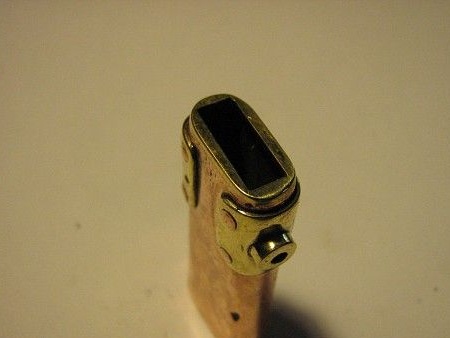
The author makes rivets with carvings and screw them in first, and then rivets them.
Result.
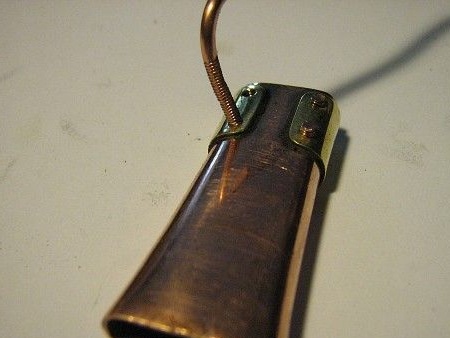
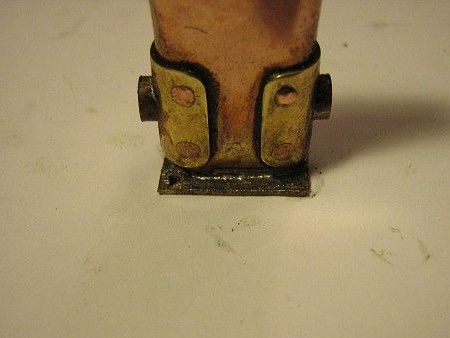
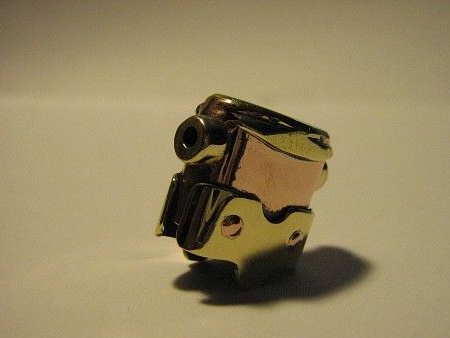
Then hinges are created.
Soldered to the body.
Something like this.
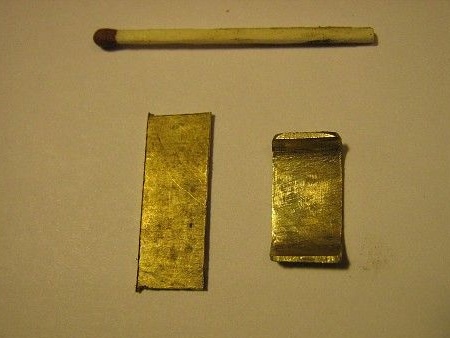
Kit for the cap.
Used brass.
Hone.
The result of work on the face.
The cap is polished.
Here is a case turned out.
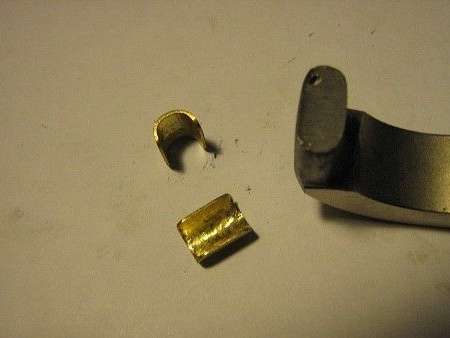
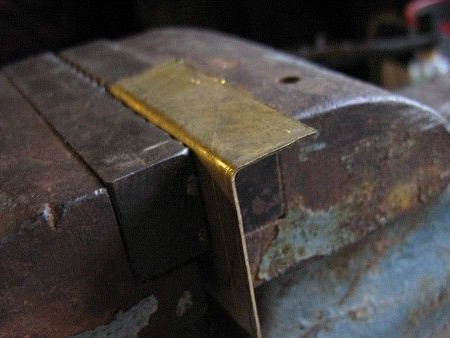
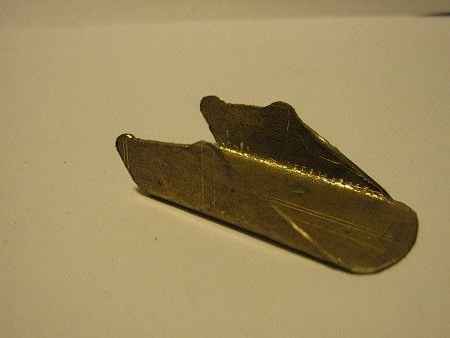
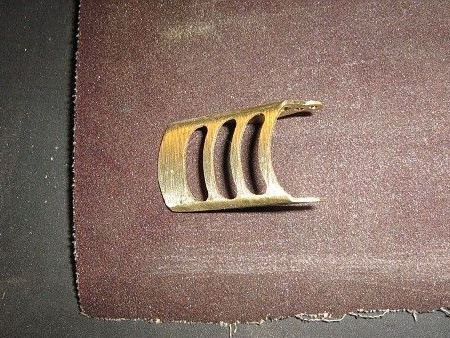
Next, the master makes a latch from a brass plate, which is clamped in a vice and there it is given the necessary shape.
The workpiece is prepared for further processing.
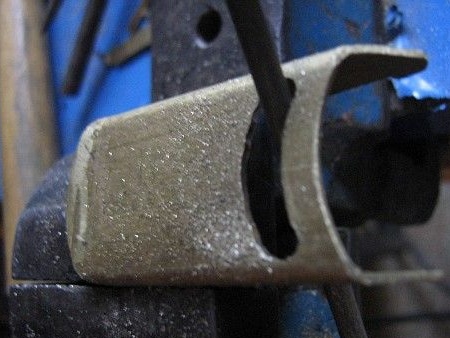
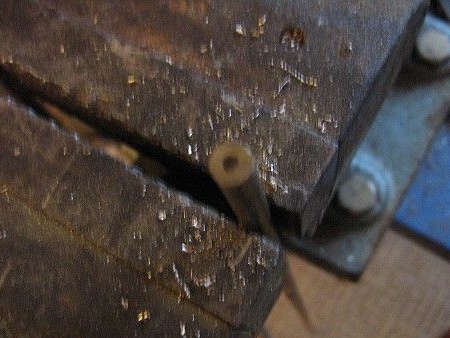
It is clamped again in a vice and a hole is drilled.
Bored.
Here is the result.
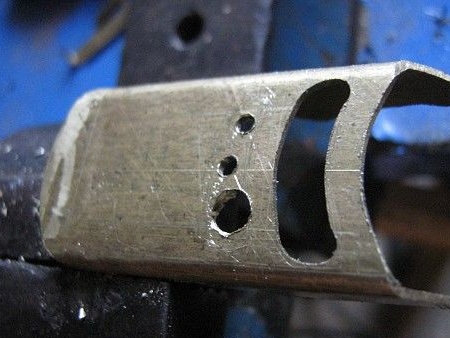
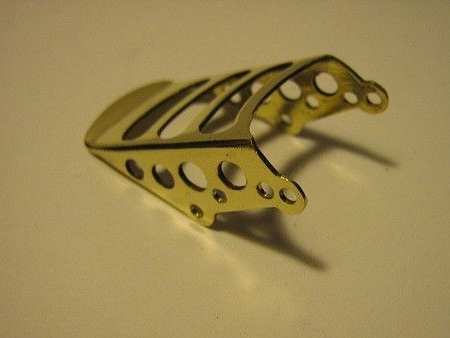
Further, to facilitate weight, holes are also drilled and bored.
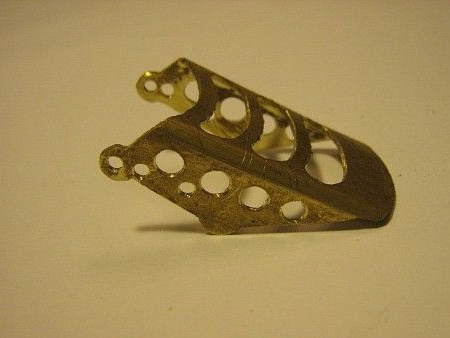
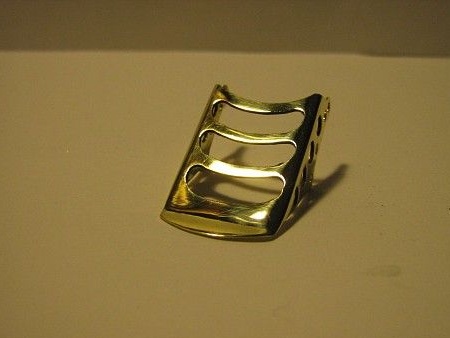
The latch is polished.
Total.
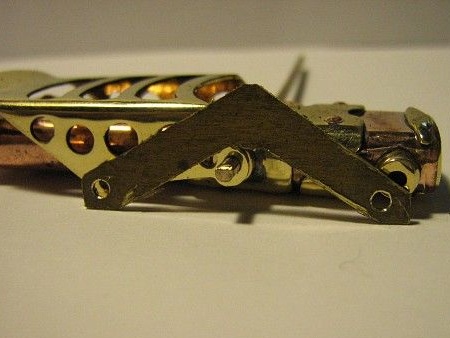
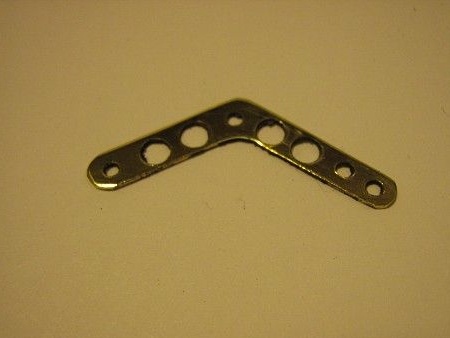
A lever is cut from a brass plate and holes are also drilled in it.
It has the form of a boomerang.
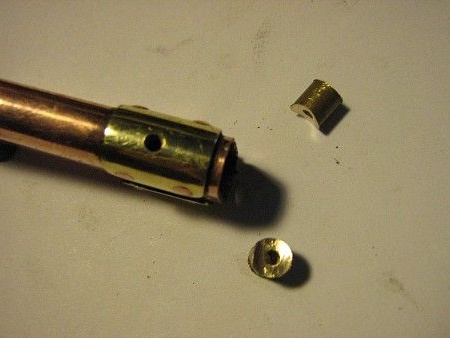
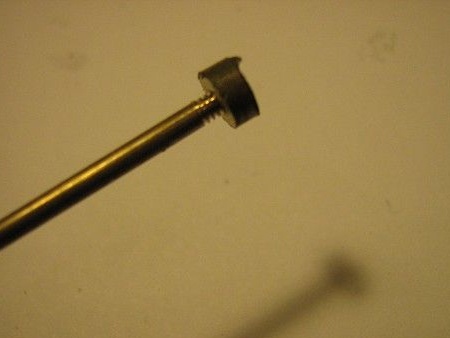
Further, according to the author, there was a very painful process of creating original fasteners and threading.
The details are very small.
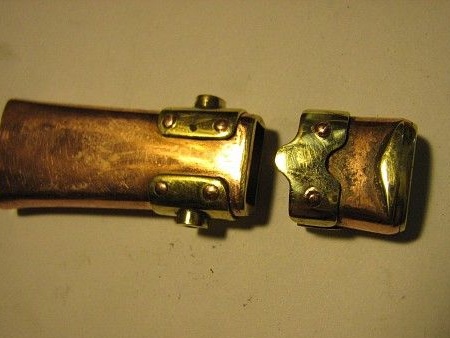
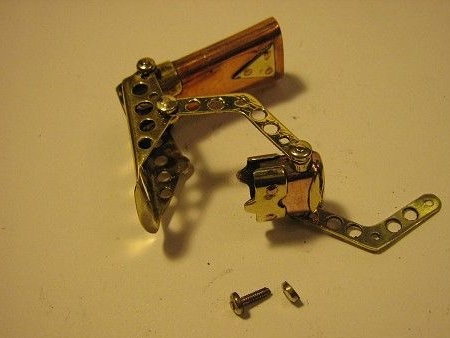
Then the master is engaged in the final assembly of the structure.
And now everything is assembled, polished and ready for control photographing, according to the already established tradition of steampunk masters.
Such a wonderful flash card was obtained by our author, and the most important thing is that it is unique in its kind and has no analogues, all the details are original and made by hand, today it is very well appreciated. So the guys who studied the material, you are on the right track to your success. Engage in creativity, develop your talent, create!
This concludes the article. Thank you very much for your attention!
Come visit often, do not miss the latest in the world of homemade goods!
This article is for informational purposes only.
