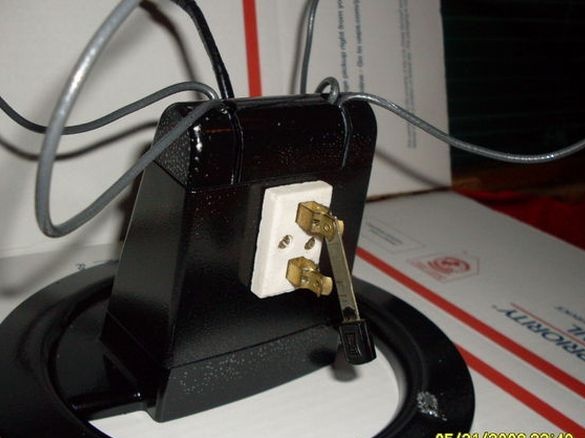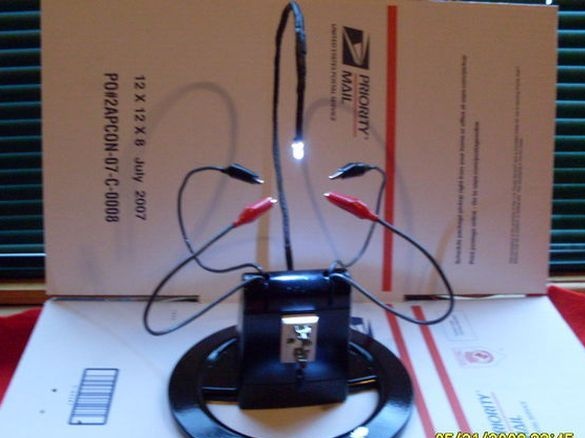
What can be done from such a seemingly unnecessary thing as a monitor support? the author decided to make it a "third hand", an assistant designed for safe and convenient soldering of printed circuit boards.
Tools and materials:
-Support;
-Bolts with nuts;
-Clips;
-Light-emitting diode;
-Resistor;
-Switch;
-Battery;
-Wire;
-Heat-shrink tubing;
-Soldering iron;
-Dremmel;
-Keys;
-Screwdriver;
Step One: Disassembly
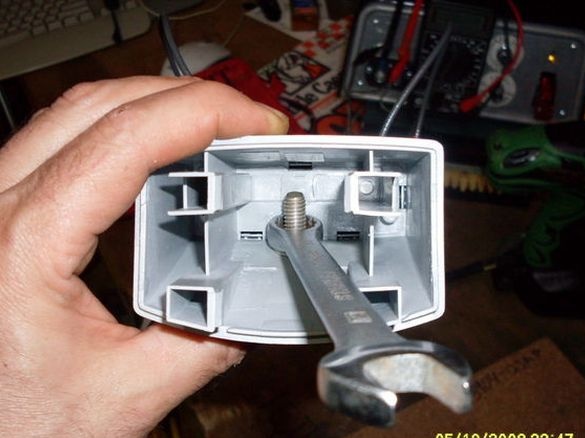
First, the author parses the stand.
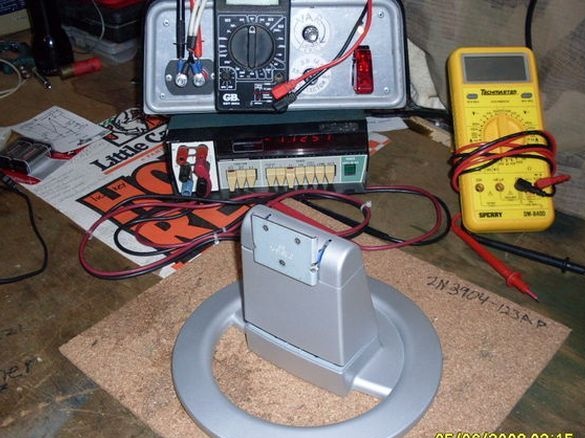
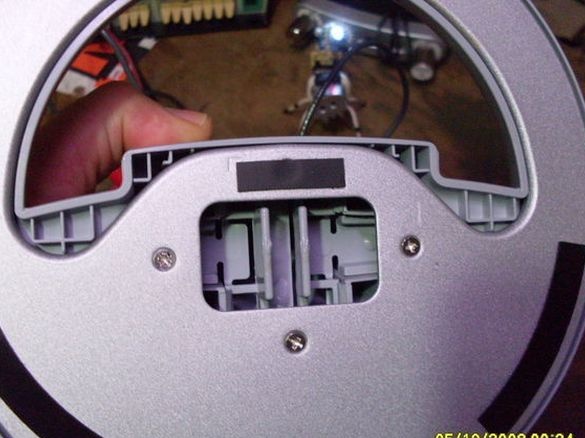
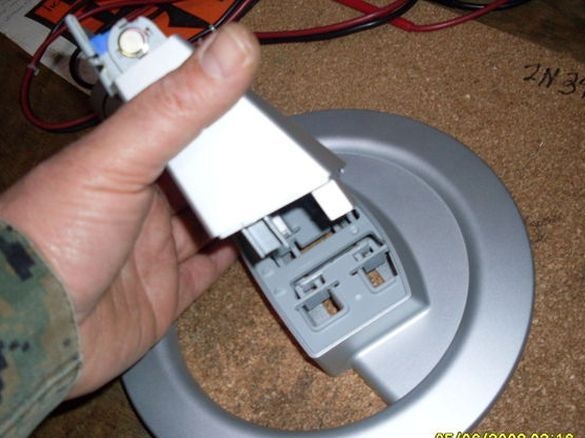
A battery will be installed in the cavity.
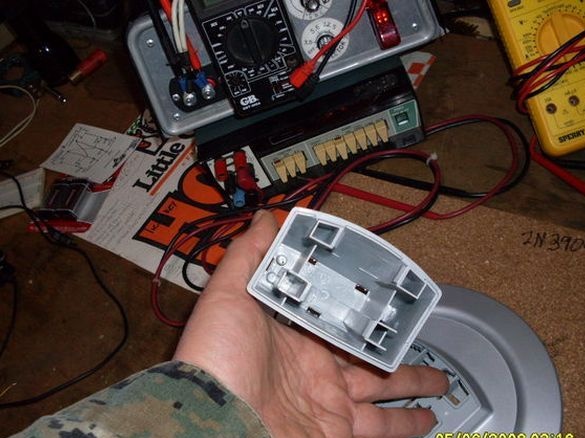
Removes the top.
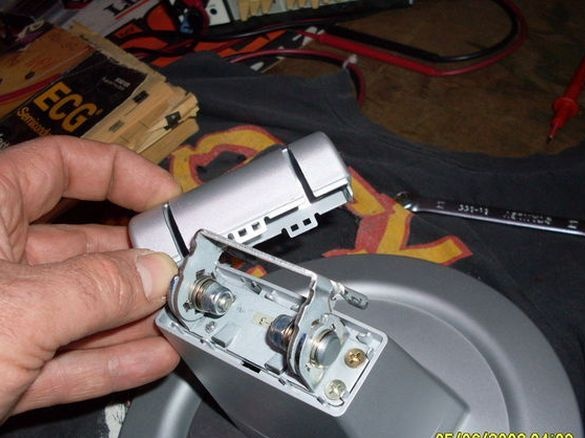
Step Two: Clips
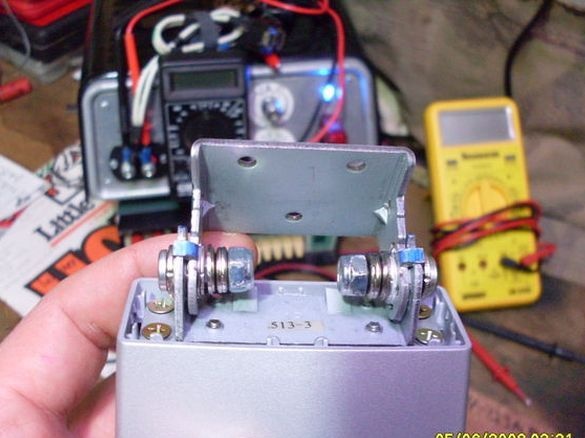
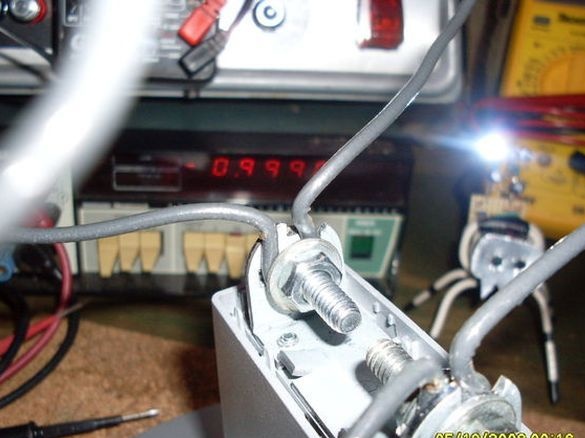
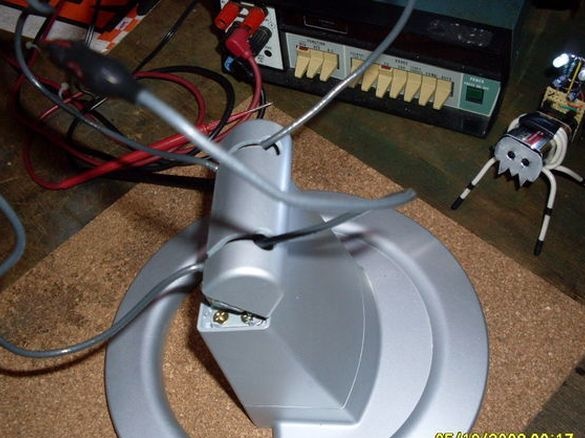
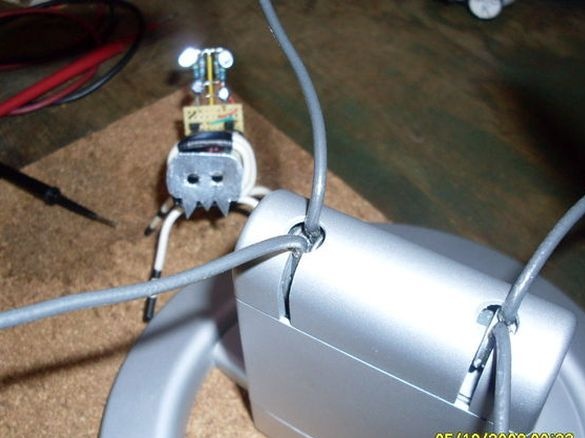
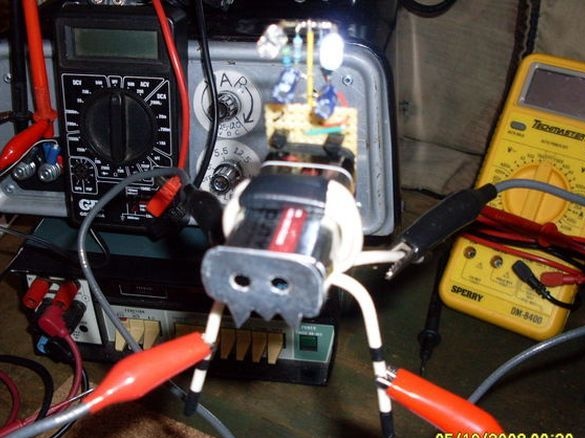
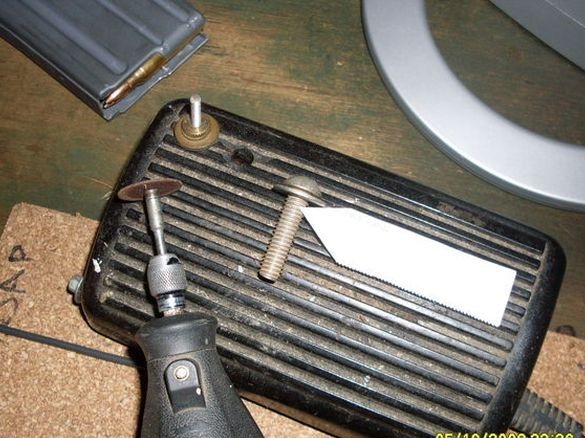
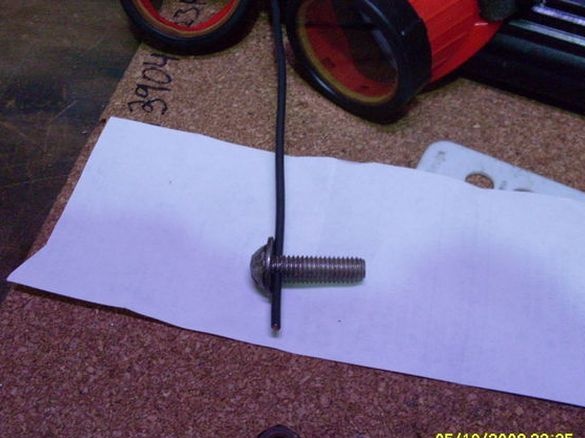
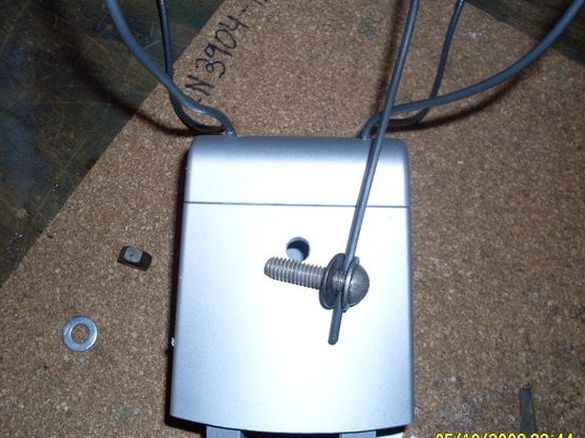
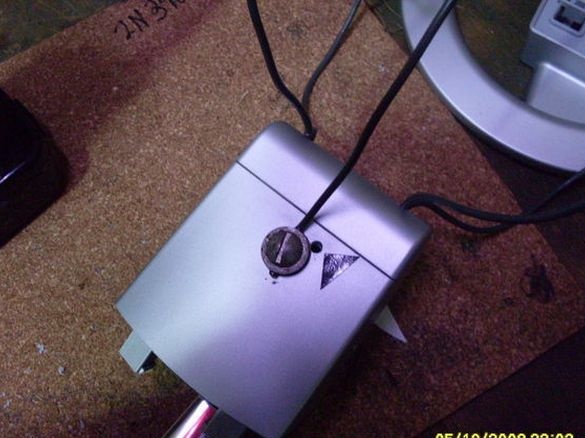
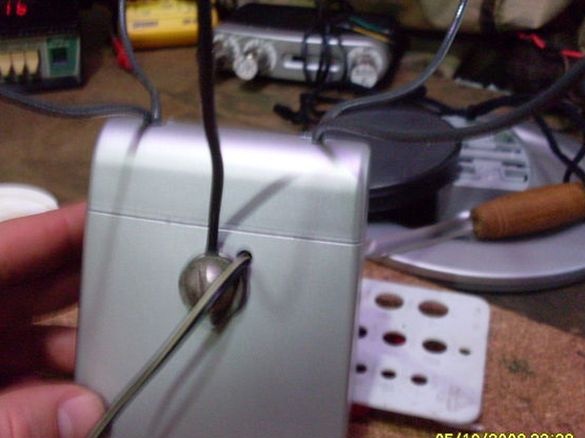
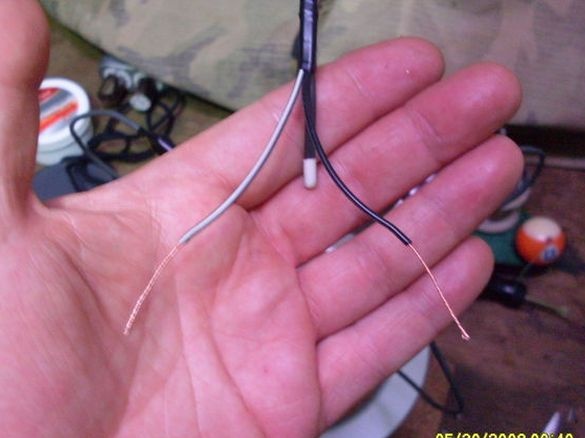
In the top plastic cover drills holes for wires. Takes out regular bolts and installs, in their place, others. A wire is fixed between the eyes and washers, wrapping it around the bolts. Replaces the cover. To the ends of the wires solder the clamps.
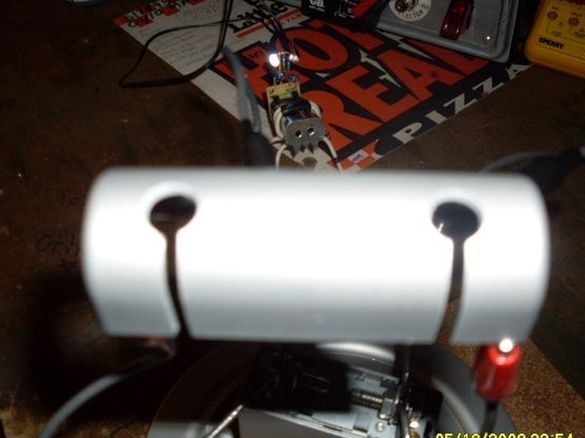
Step Three: LED
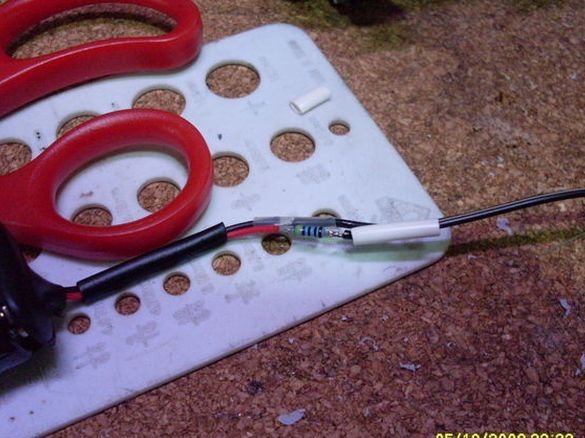
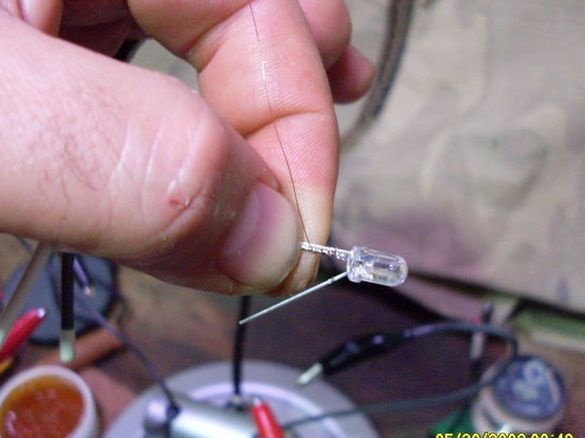
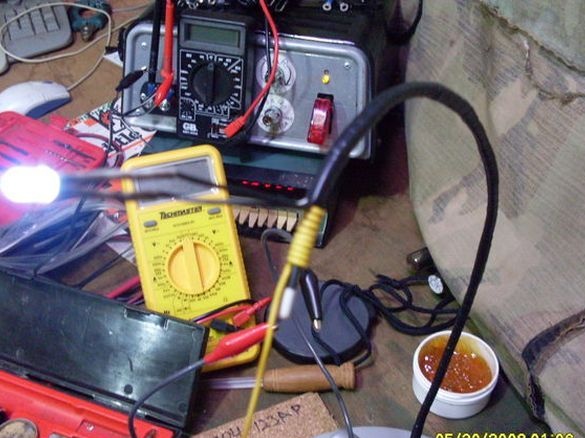
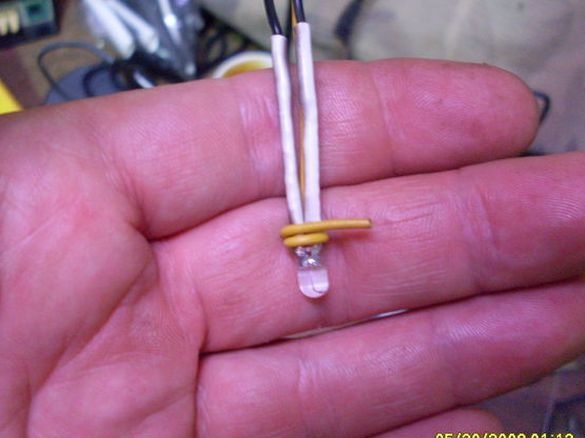
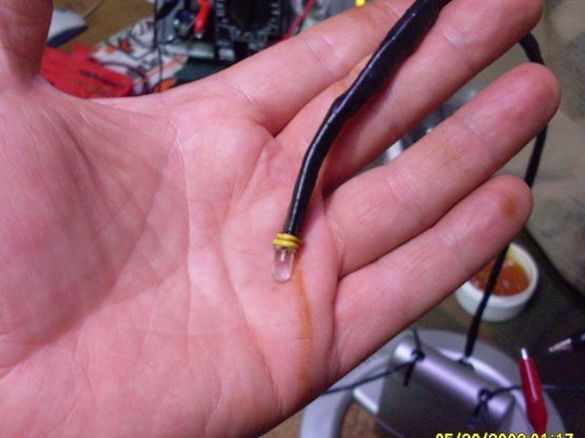
In the back of the case, two holes are drilled, the larger for the screw and the smaller for the wires. Screws the thick wire to the housing. Through the small hole pulls wires for the LED. From the battery compartment, a resistor is soldered to the wire. On the other hand, the LED is soldered. The ends are insulated with a heat shrink tube. Wraps the wires in one bundle, wraps with electrical tape. On the other side of the case, a switch is installed. Connects the switch, LED and battery in one circuit.
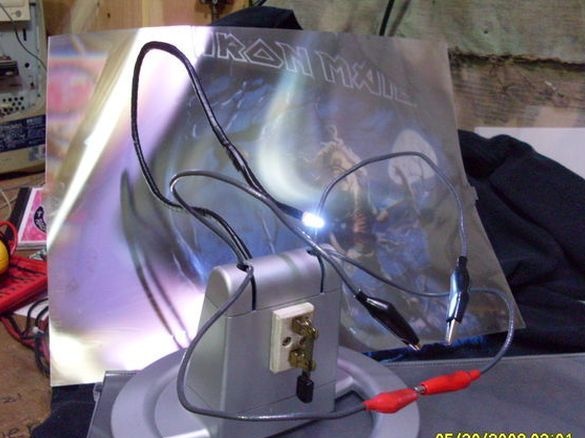
It remains to paint the stand and the holder "third hand" is ready.
