

Hello to all the inhabitants of our sites. A long time ago there was an idea to make a miniature bat out of wood, but due to the lack of a lathe, I could not afford it. And now there was a time, and also the conditions when it was possible to make a lathe, on it I already made a couple of others homemadebut today we’ll talk about how to make a miniature baseball bat do it yourself on this very machine. This homemade product will fit perfectly into any interior, and with its originality it will decorate any shelf or cabinet. Well, let's move on to the manufacturing process itself.
I suggest watching the manufacturing process on my channel.
In order to make a miniature bat with your own hands, you need:
* Oak flooring
* Hacksaw
* Wood lathe
* Moment glue
* Sandpaper
* Pencil and square
* Electric drill
* Drill
* Plywood
* Spray of black paint
* Clear nail polish
* Cutter
* Insulation tape or molar tape
All the details are ready, you can proceed with the assembly of the mini-bits.
Step one.
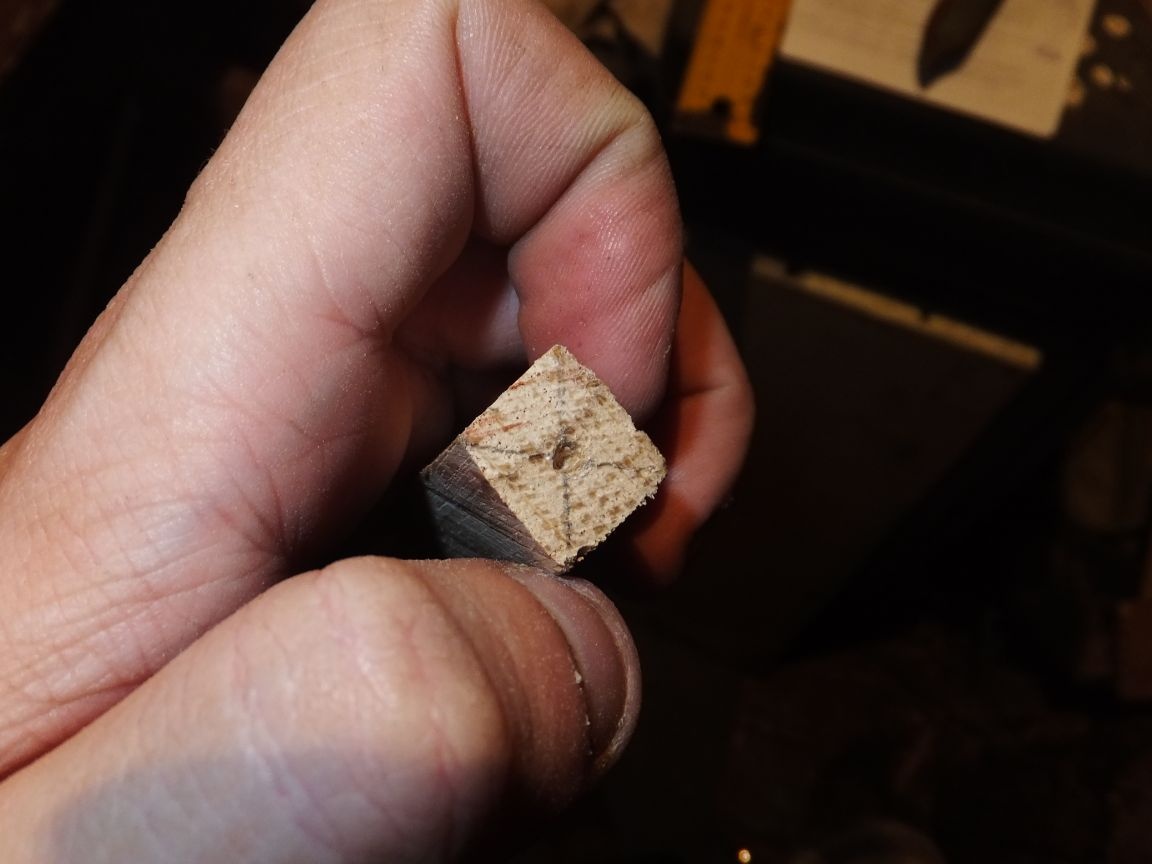
The first step is to prepare the workpiece. I decided to use oak flooring, which was not the first time that it showed itself well in my past home-made products, both in terms of strength and processing convenience, and the absence of porosity will allow to achieve a smooth surface during grinding.
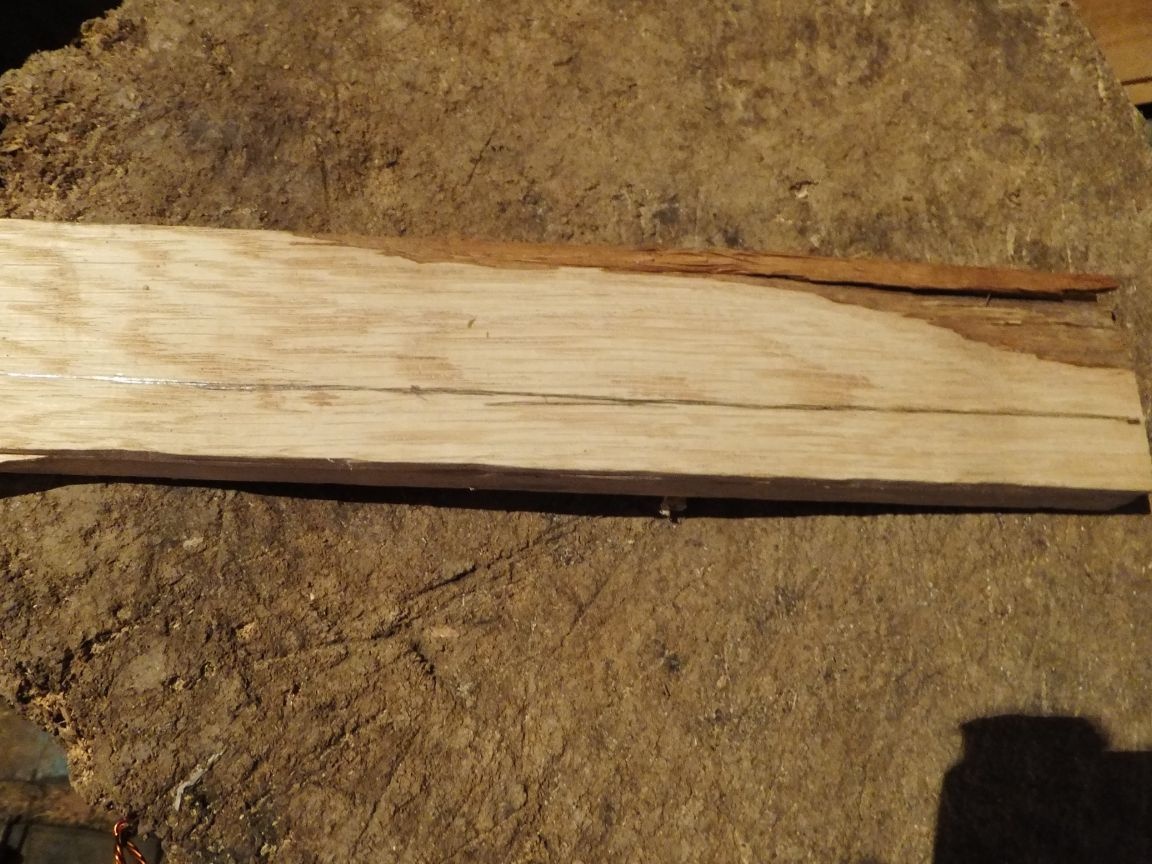
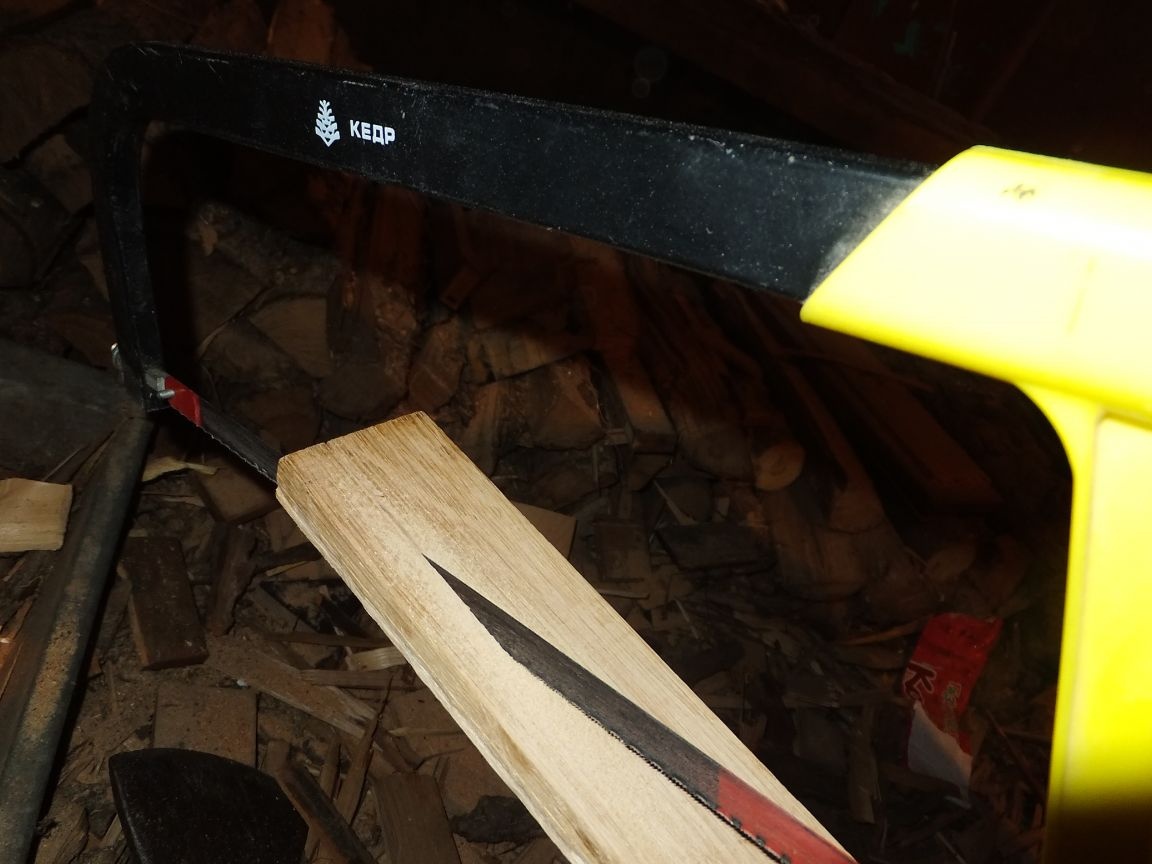
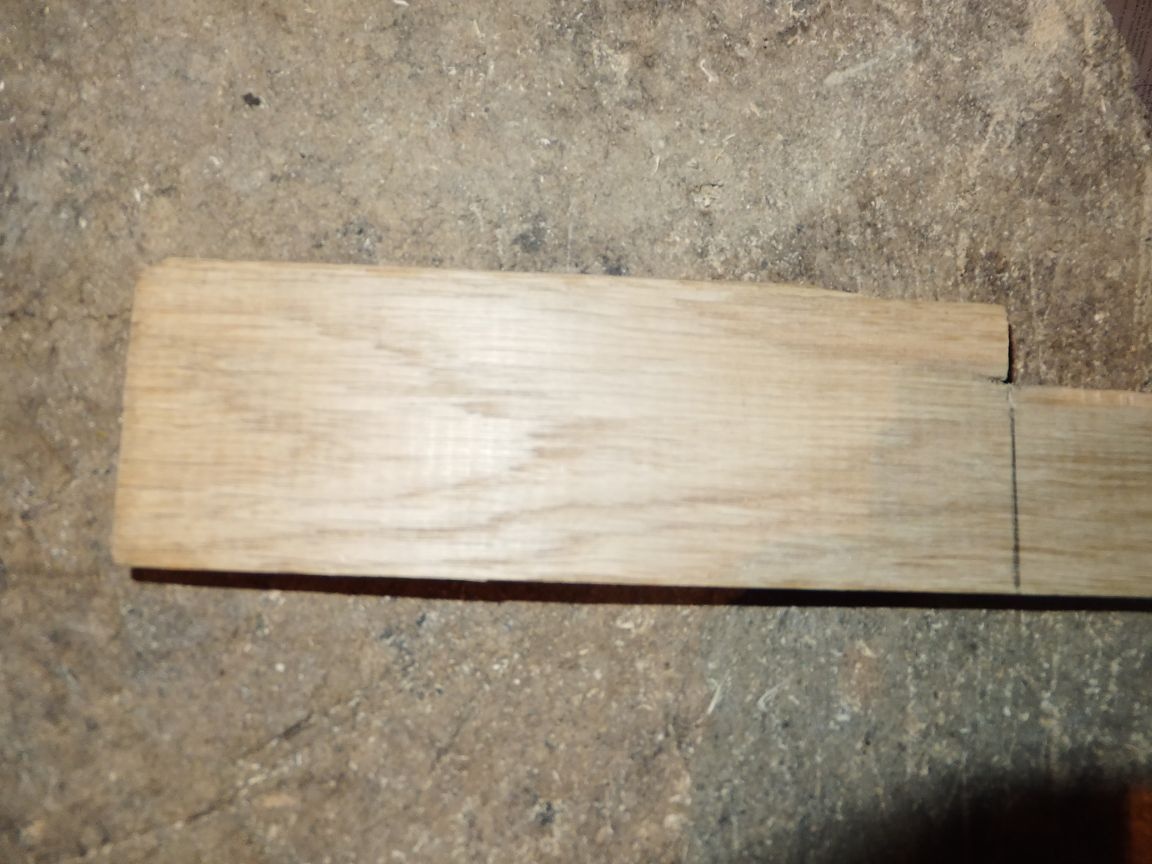
We saw the parquet into a thin strip, stepping 1.5 cm from the edge.
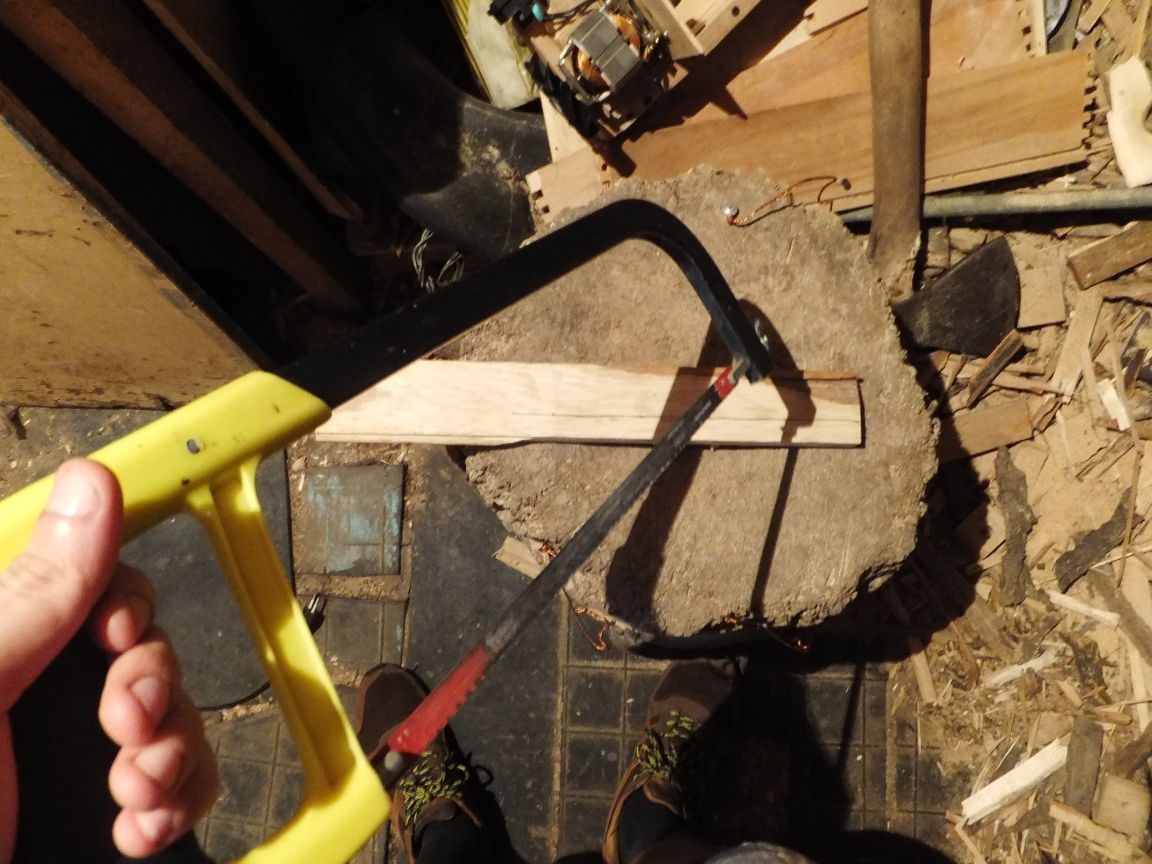
In this case, sawing is best done with a hacksaw, as small teeth leave less roughness than a hacksaw.
The length of the workpiece is 23 cm, but it was not possible to clamp it into the machine, so I sawed off a couple of cm to install it on the machine.
Step Two
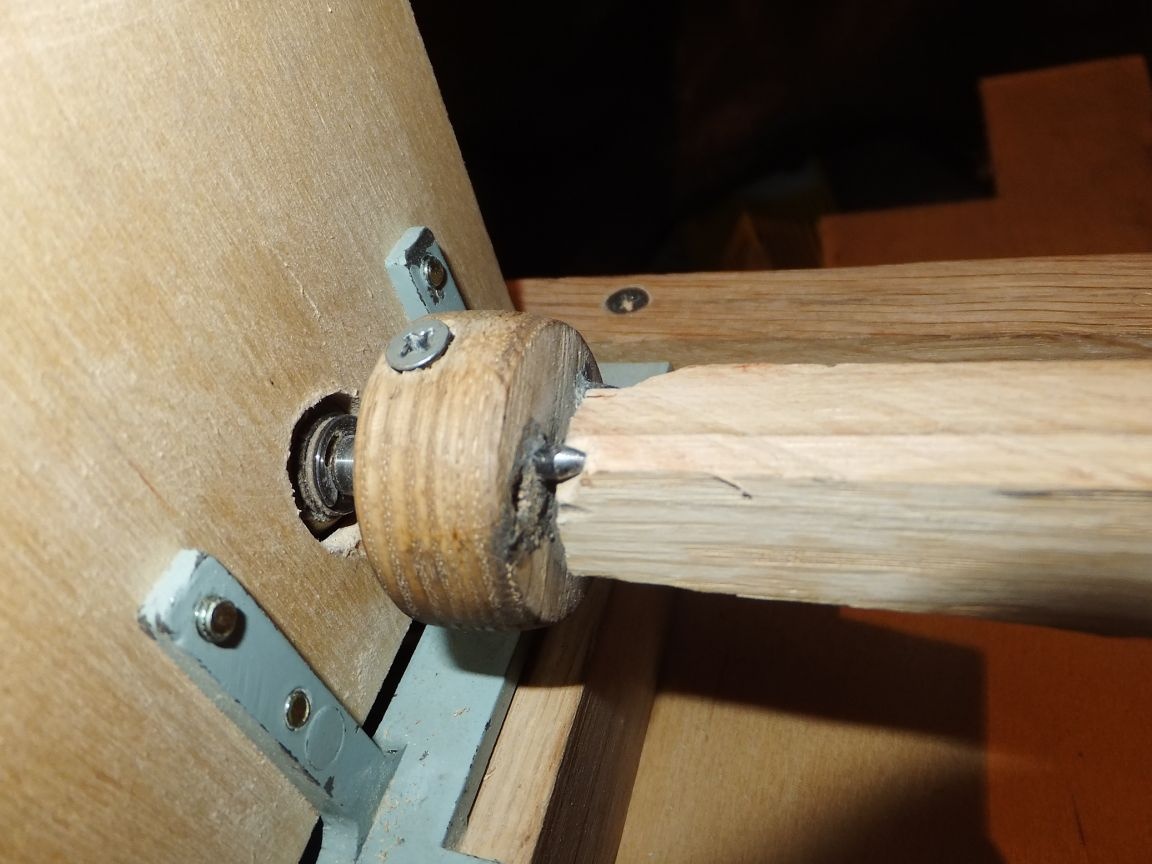
In order to fix the workpiece to the machine, it is necessary to make markings, draw cross lines and put a nail in the place of their intersection.


Now you can slightly fill the workpiece on the front headstock and fix the position with the center of the tailstock.
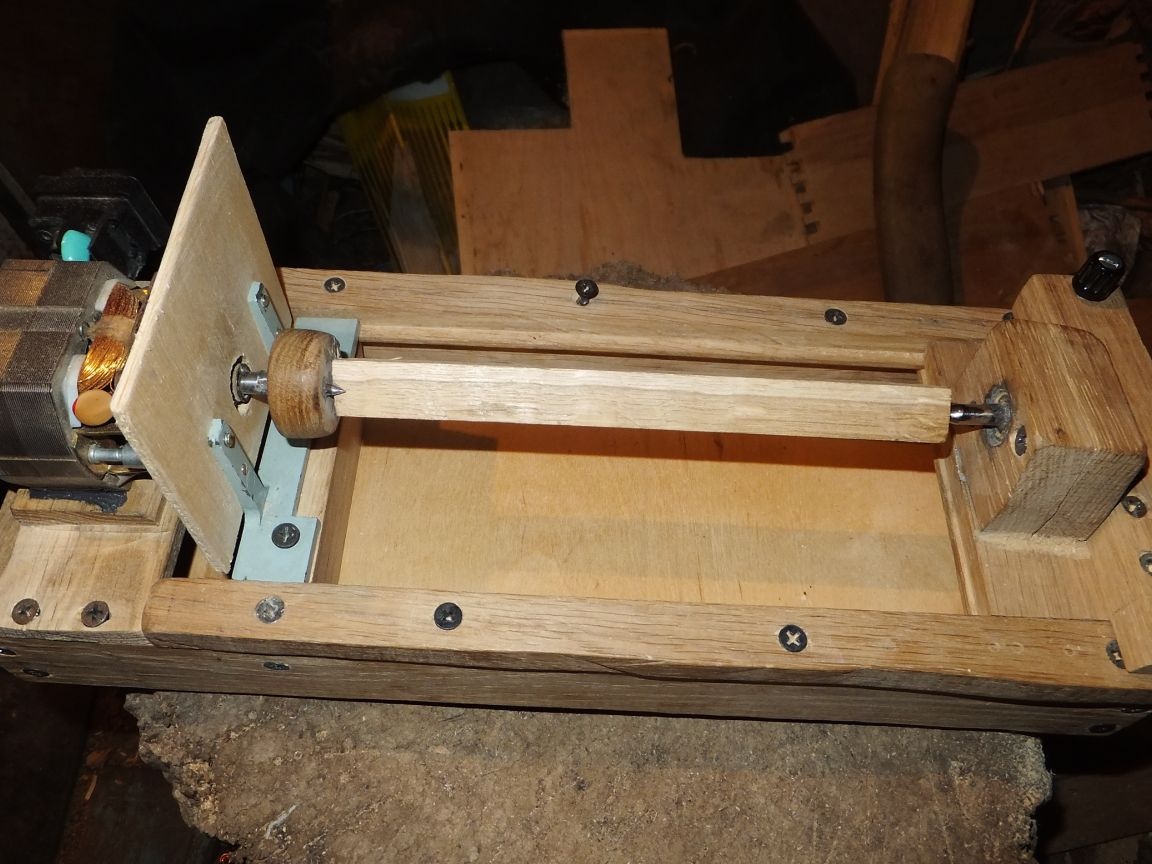
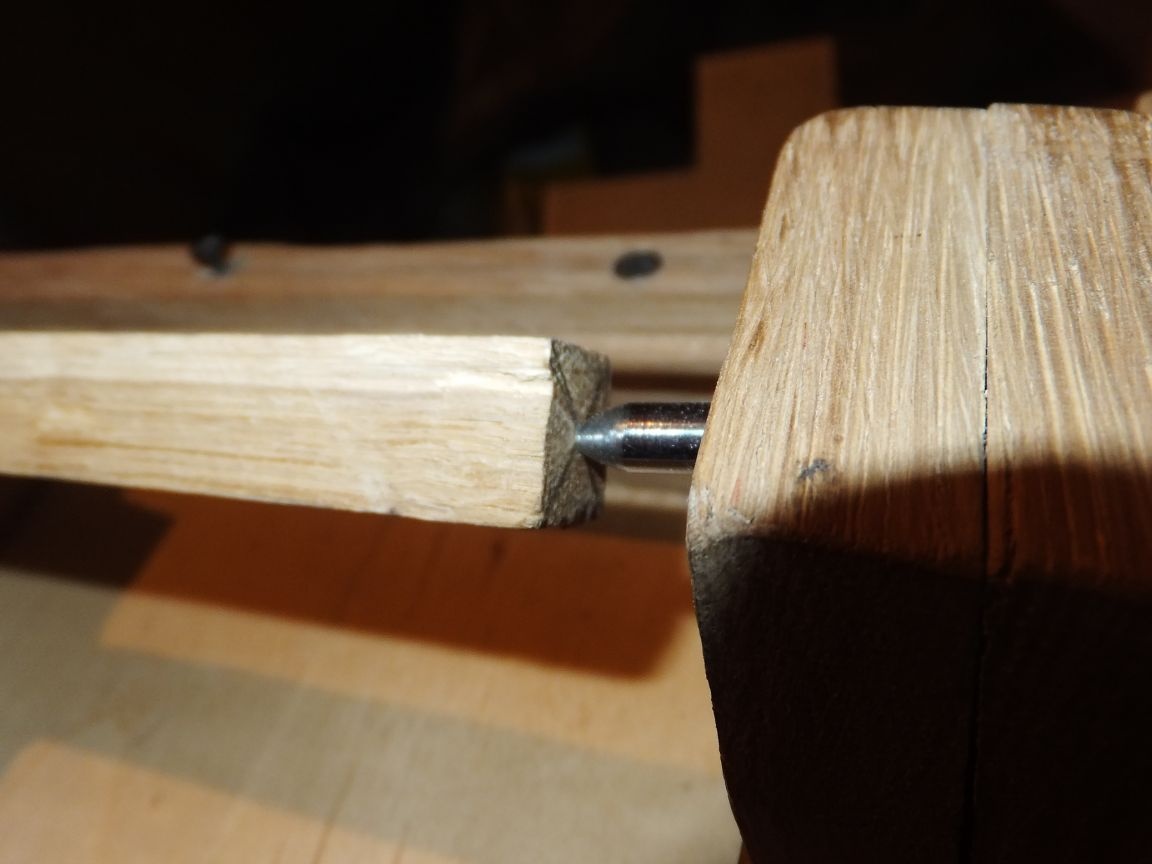
Before you turn on the lathe in the network, you need to make sure that the workpiece is firmly fixed and does not play.
Step Three
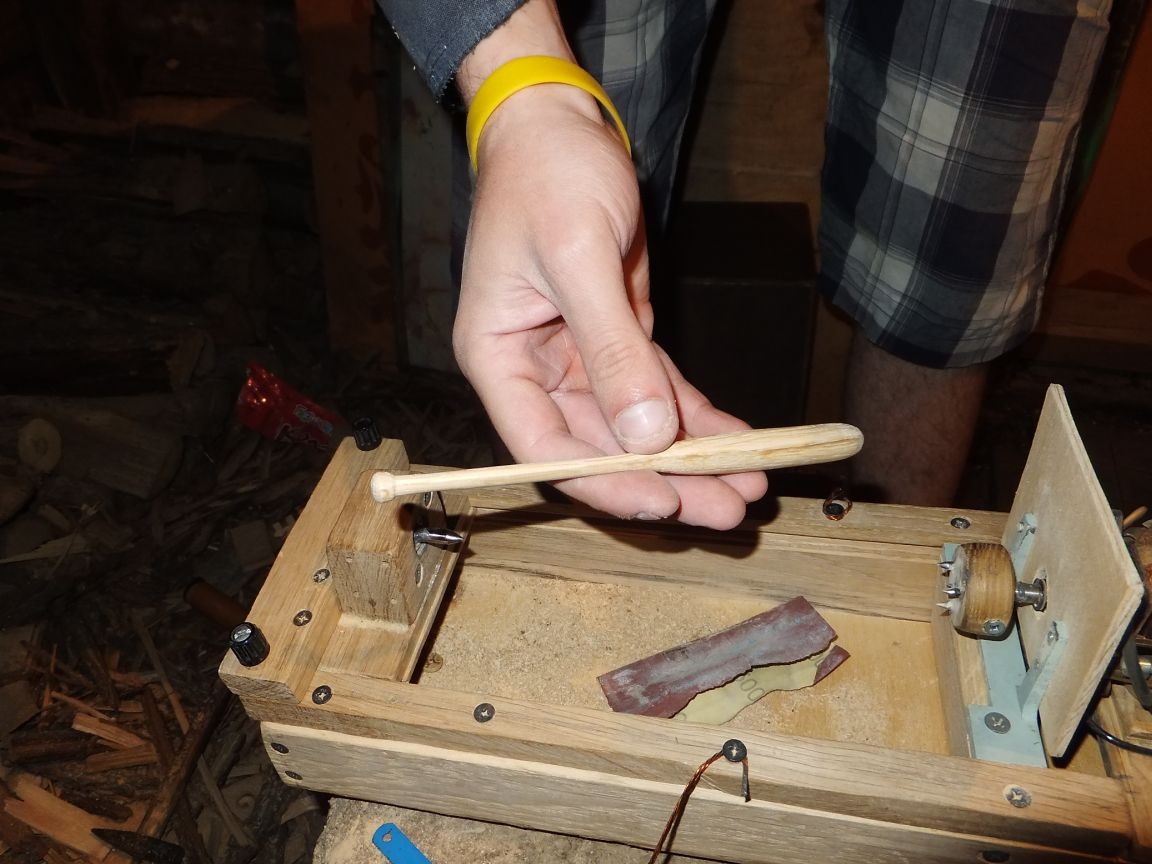
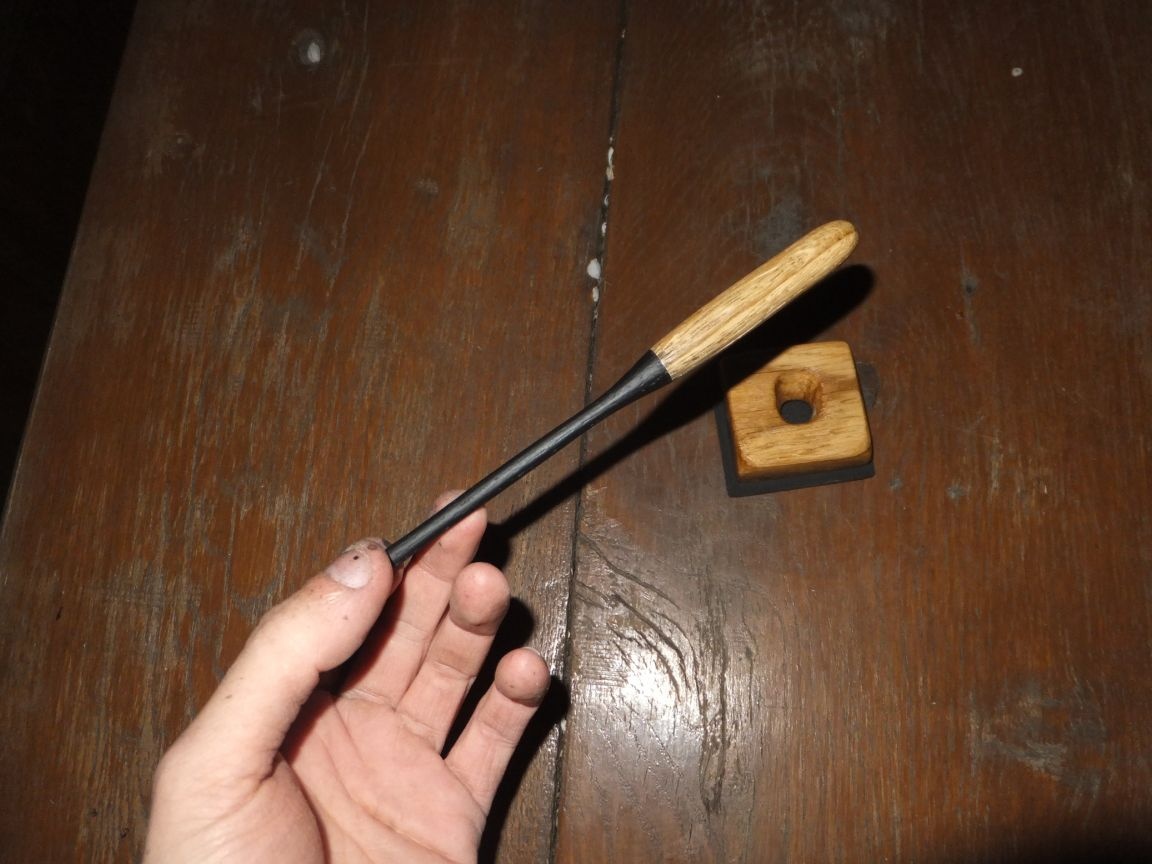
Now we put on goggles and turn on the lathe in the network. It's time to process the workpiece, first we pass the cutter along the entire length in order to give it a round profile, after which you can gradually grind the shape of a baseball bat. In my version, the impact part of the bit has a diameter of 13mm, and the handle is 6mm. Also do not forget to make a smooth transition from the handle to the shock. At the end of the handle we grind an emphasis, which in a larger bit is designed to prevent jumping from the hand. After the shape of the bit is ready to grind the product with sandpaper of medium grain size, then "null".
Step Four
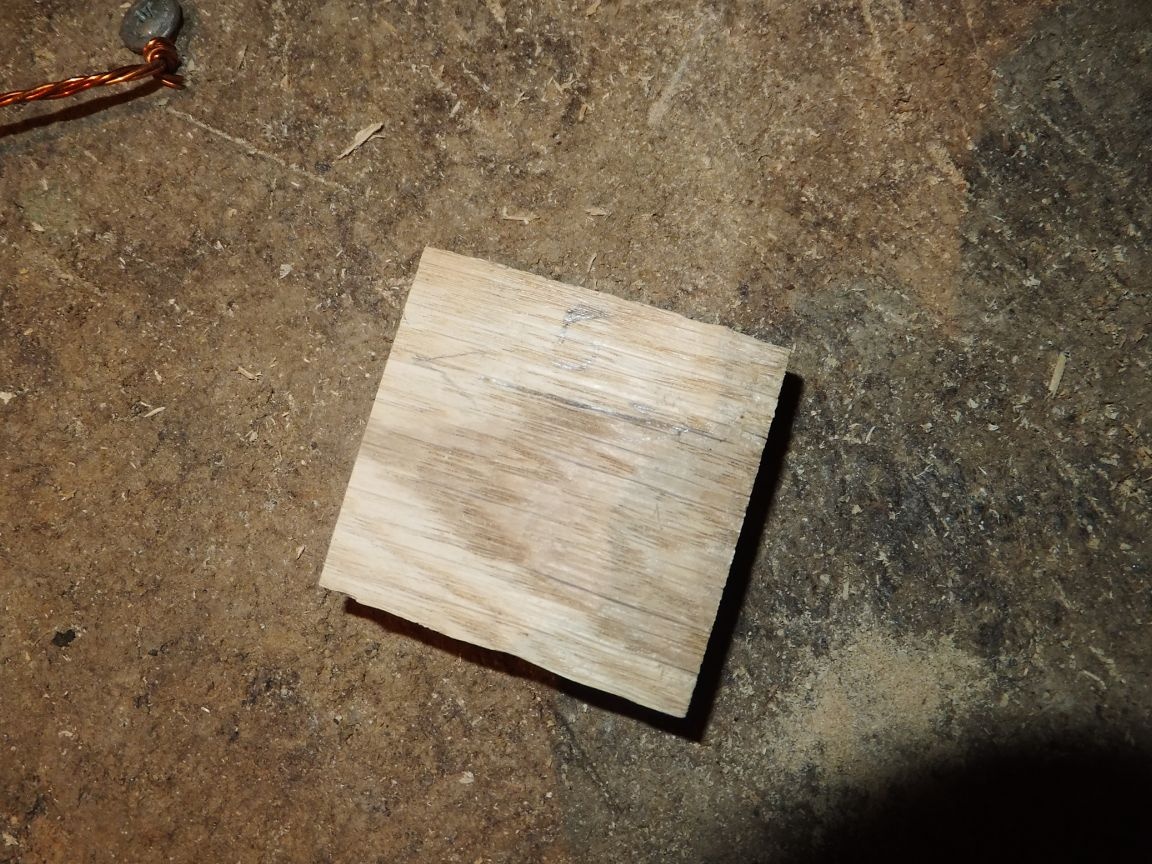
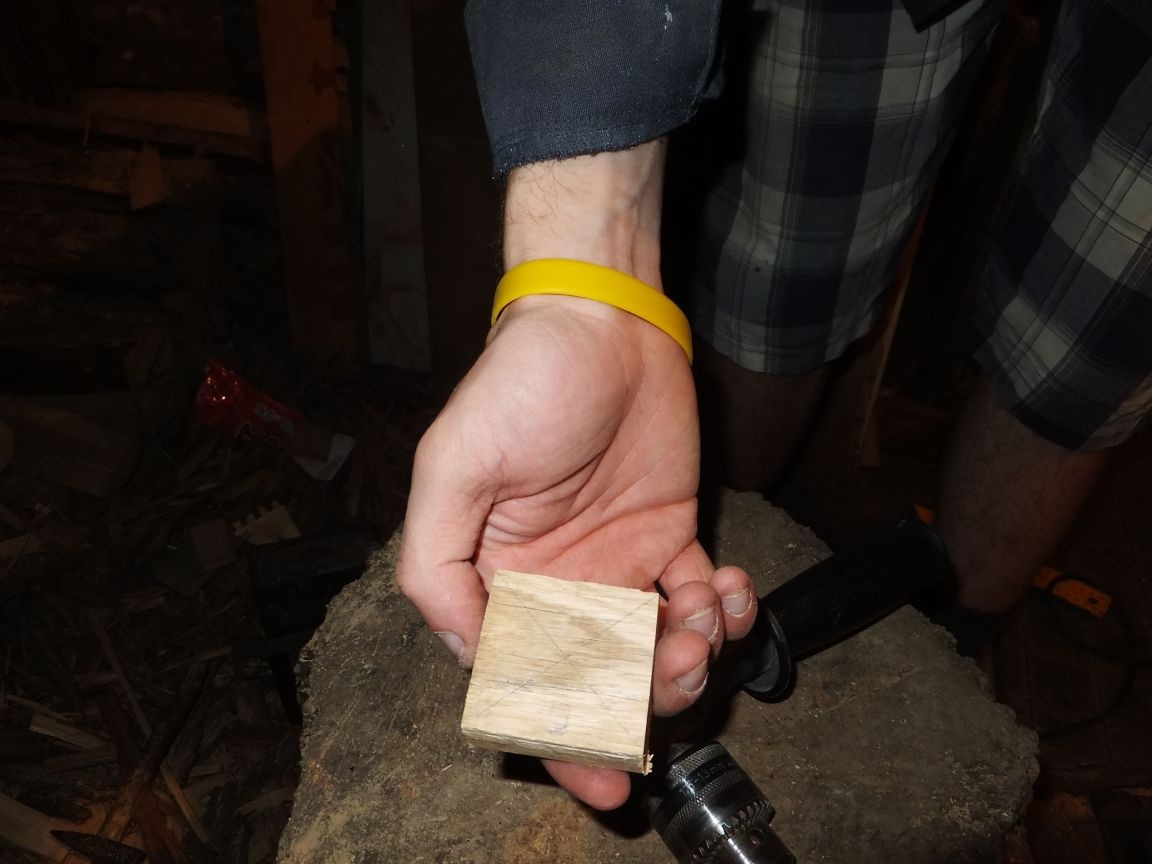
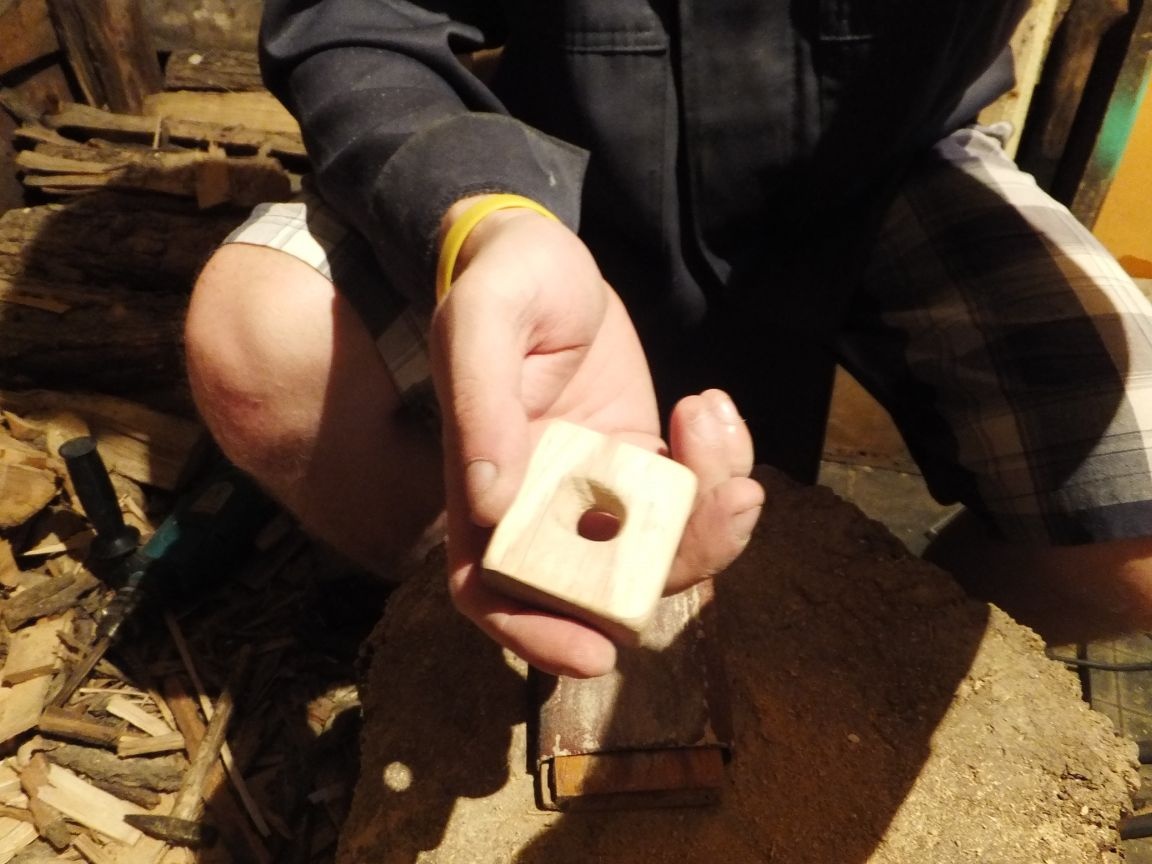
And so that the bat does not just lie on a shelf or a pedestal, you need to make a stand in which the bit will be kept at an angle. Let's make a stand from the same parquet. We cut out a square of 5cm * 5cm with a hacksaw in metal and sew up the saw cut places.

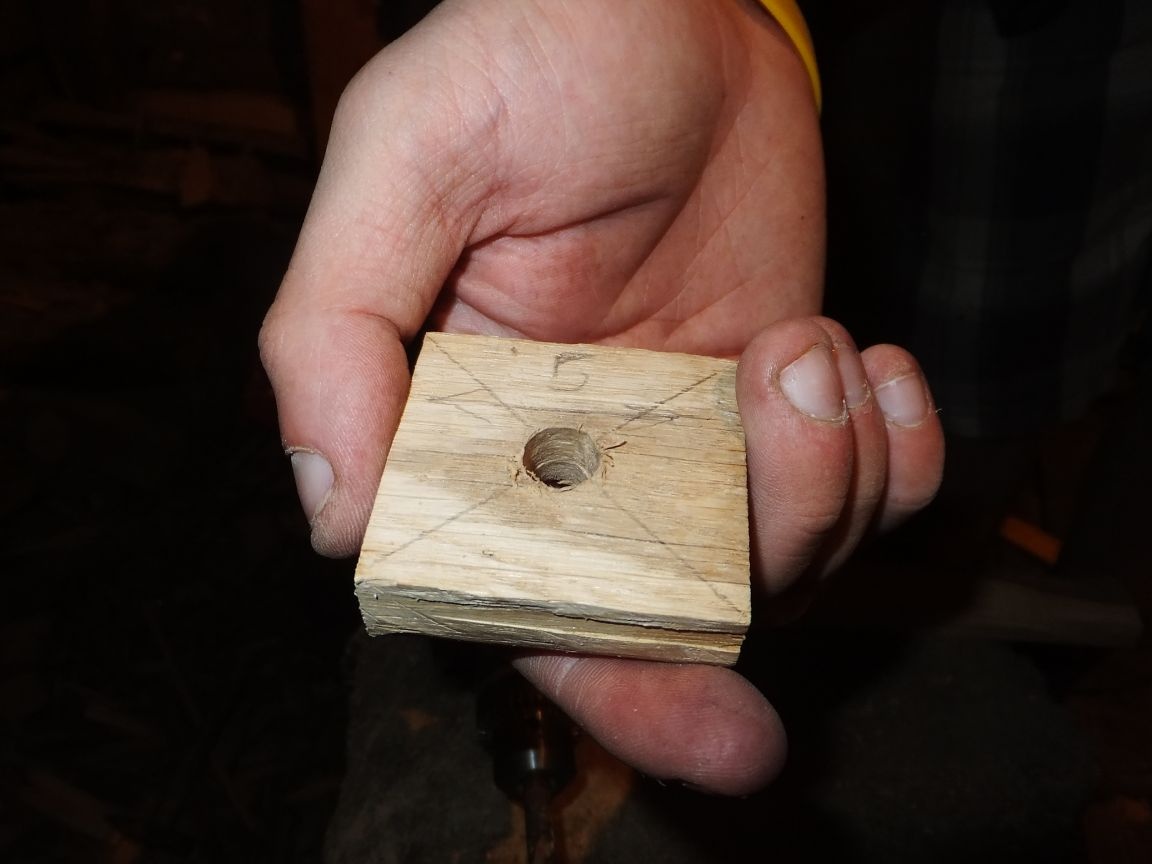
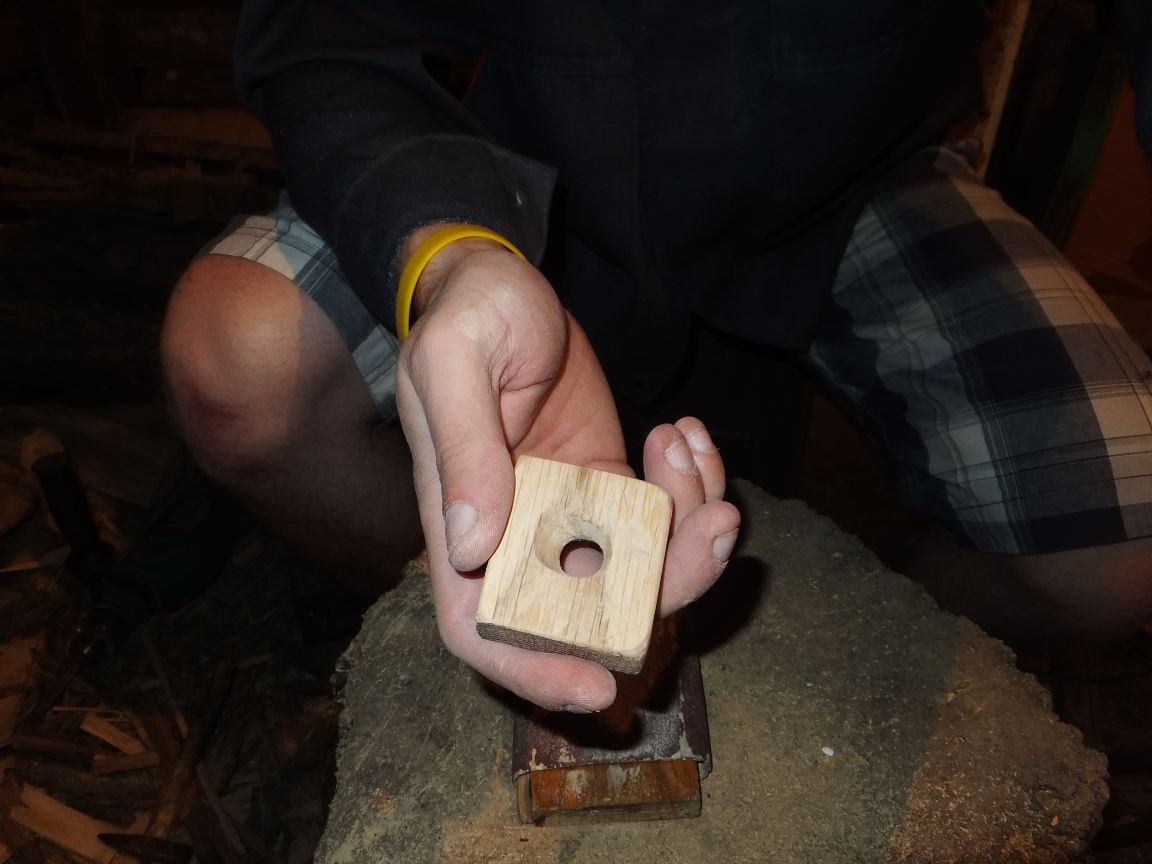
Then we take an electric drill with a drill approximately equal to the diameter of the bit and drill a hole in the middle in the middle of the future stand.
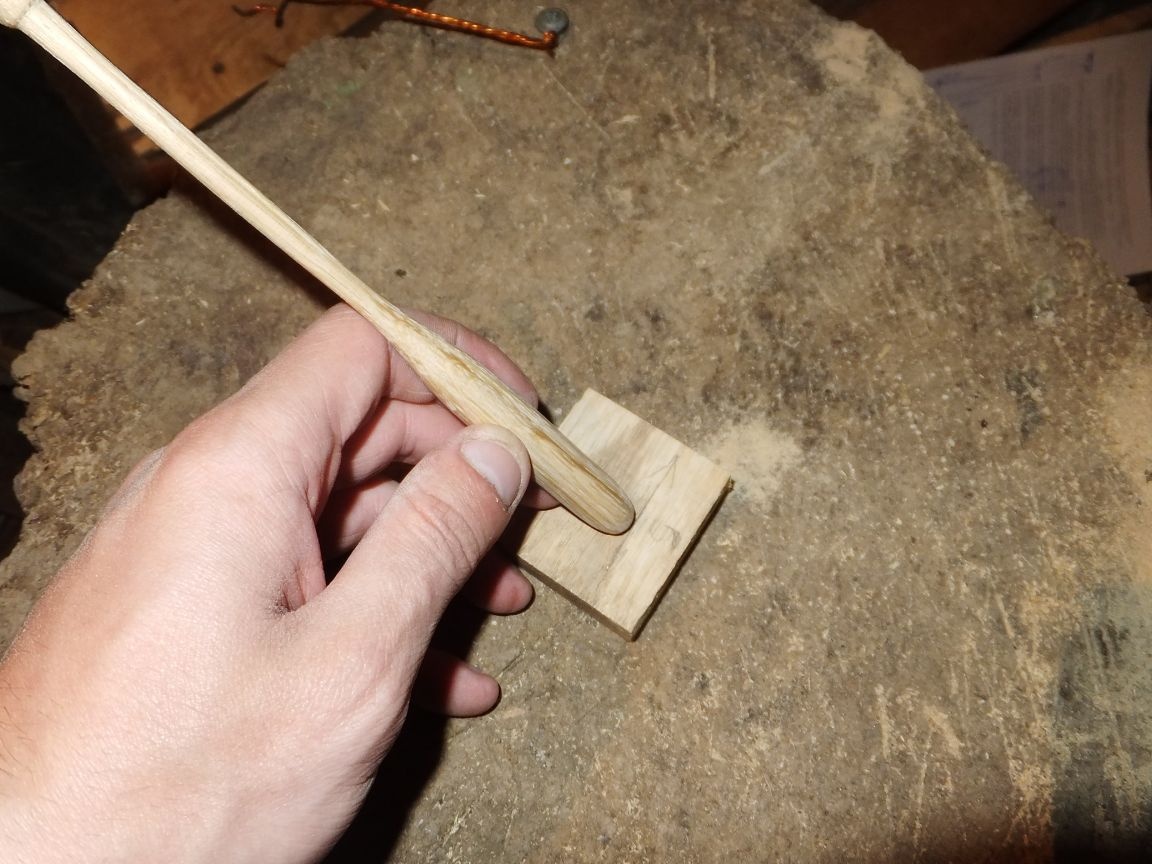
After that, install a larger drill bit and do the same until the bit is held in the hole on the stand.
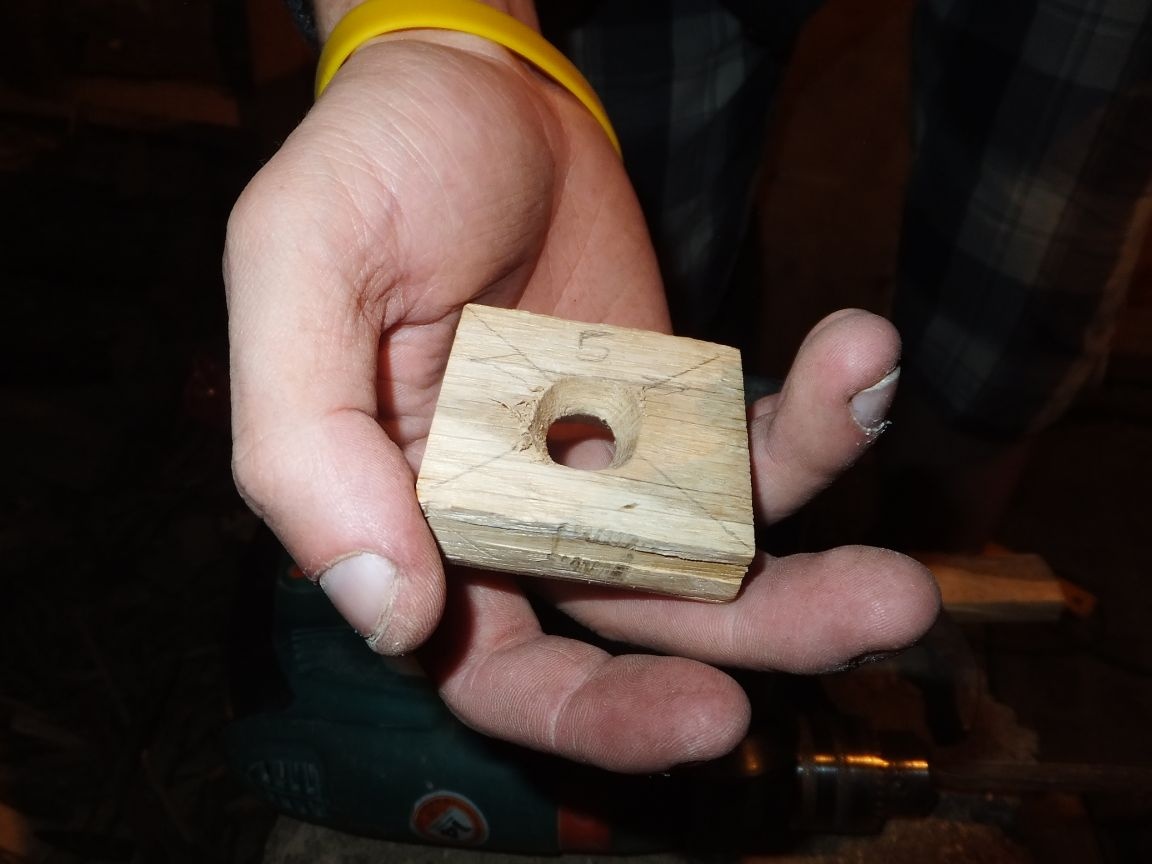
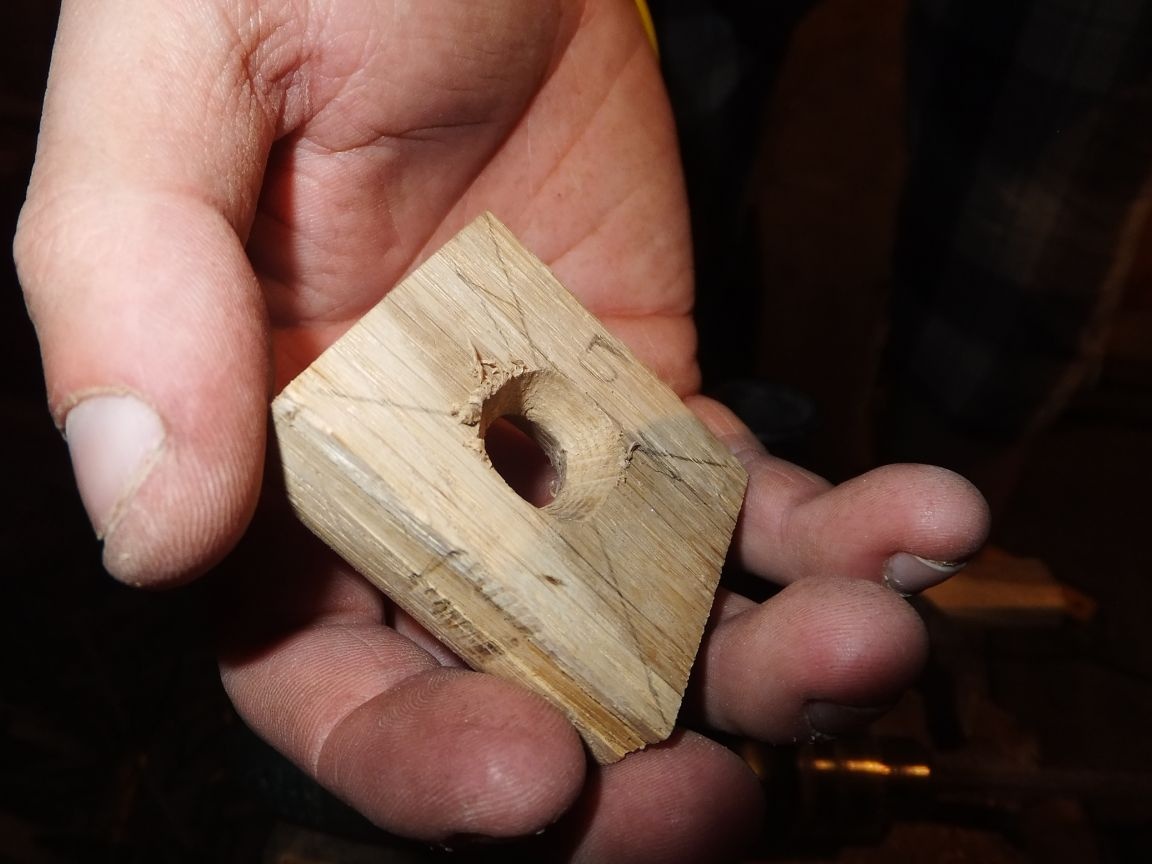
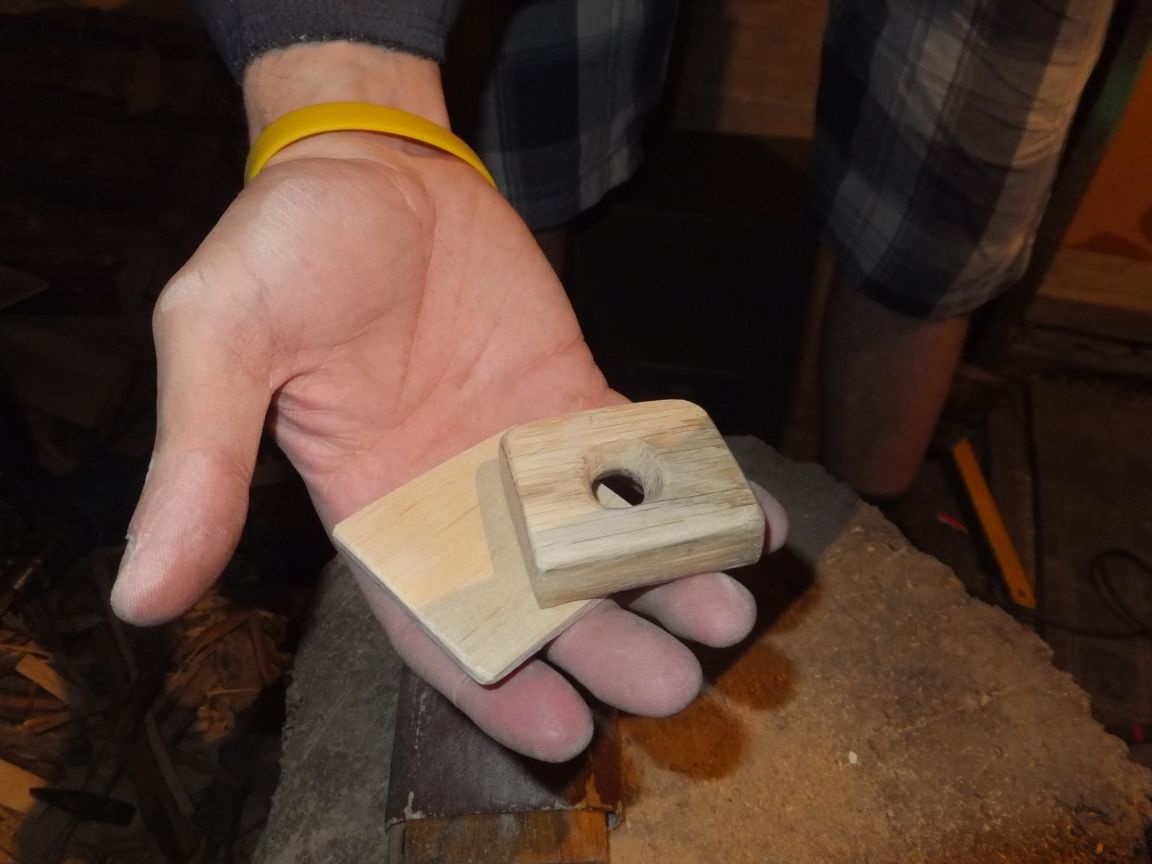
Now you need to refine the wooden square, namely, make the rounded corners with sandpaper.
Step Five
After I made the stand, I realized that something was missing, namely, a square from plywood a little larger in size, which we saw from a sheet of plywood with a metal hacksaw and also grind with an emery cloth, removing all burrs.

Step Six
It occurred to me to decorate the product, and also to protect it from external influences and weather conditions, without it in any way. To do this, I got a spray can of black matte paint and a clear varnish for wooden products.
We wrap the shock part of the bit with electrical tape or molar tape, whoever has something, so as not to touch it when painting, after which we cover the handle with a layer of black paint and wait for it to dry. Then we repeat the procedure a couple of times. We wind off the electrical tape (molar tape) and apply a thin layer of varnish to the impact part of the bit. For best results, the product will be coated with three layers of varnish.
Seventh step.
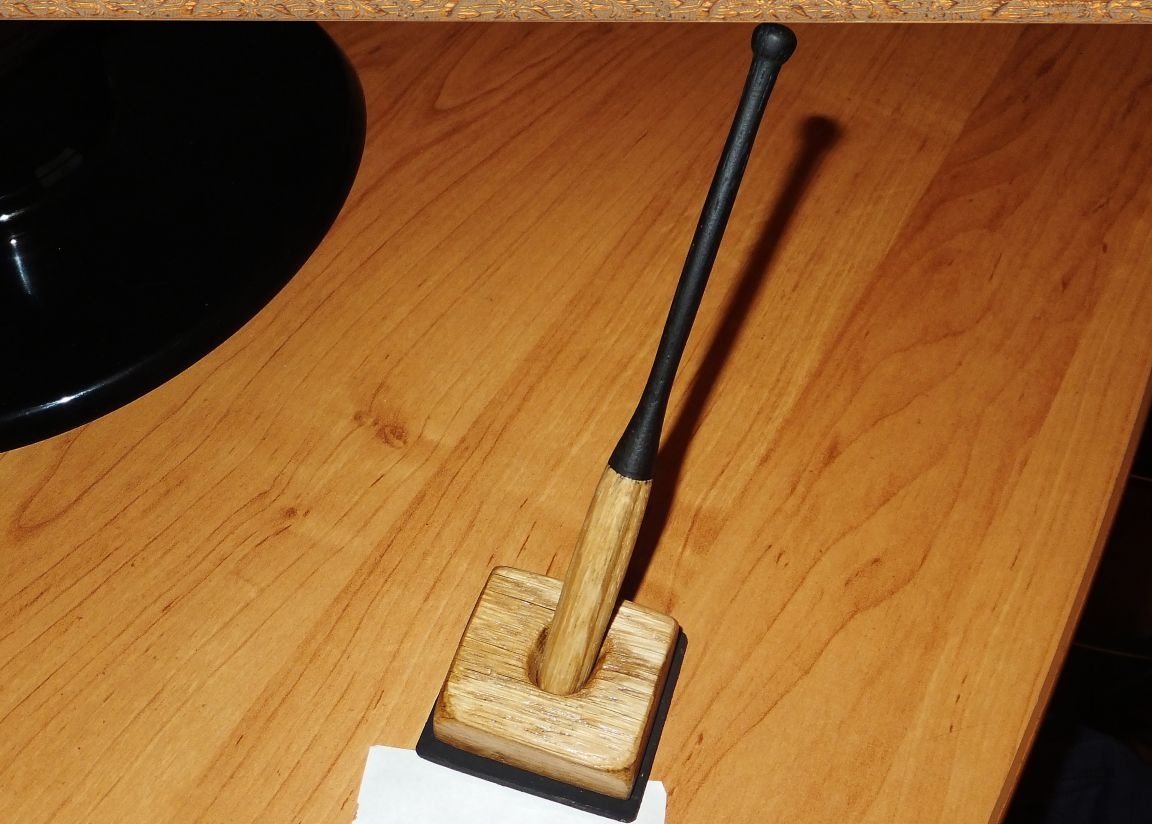
We paint the plywood square with black matte paint on all sides and after complete drying we glue the stand and this square of plywood. After the glue dries, the product can be considered finished.
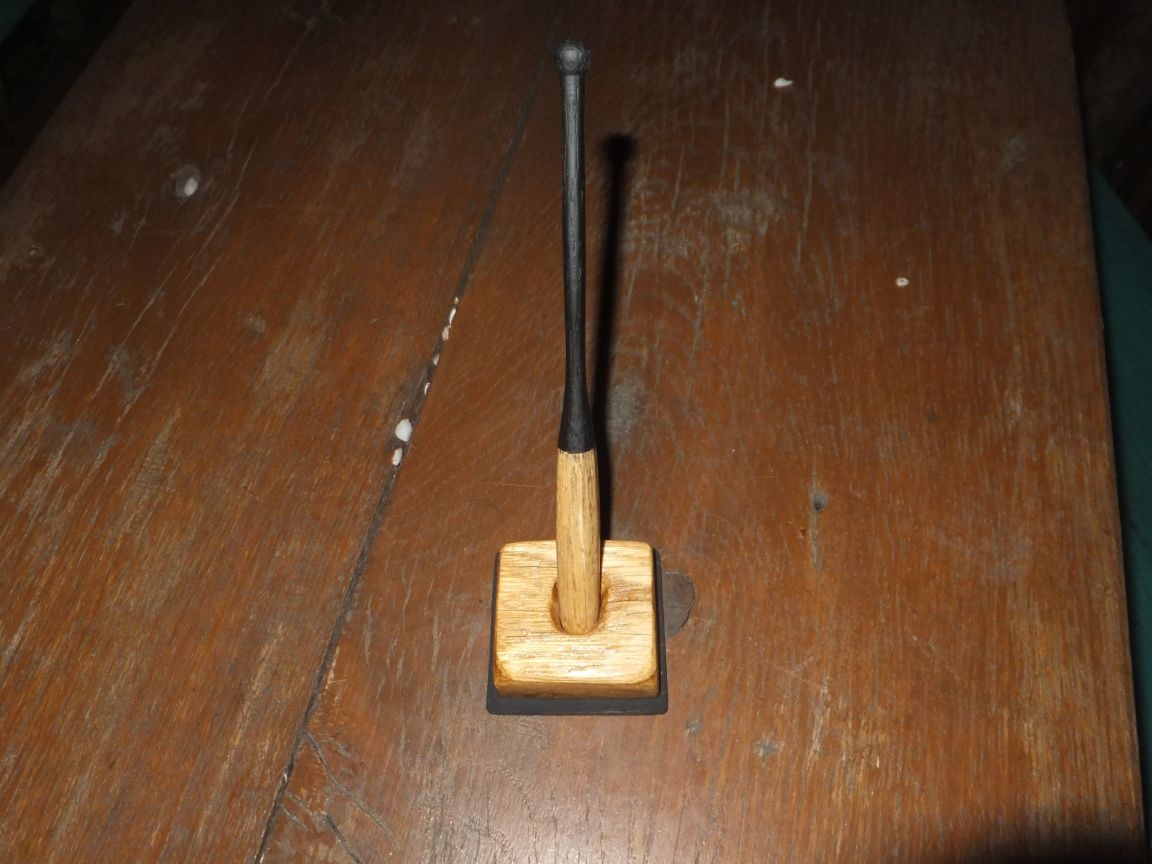
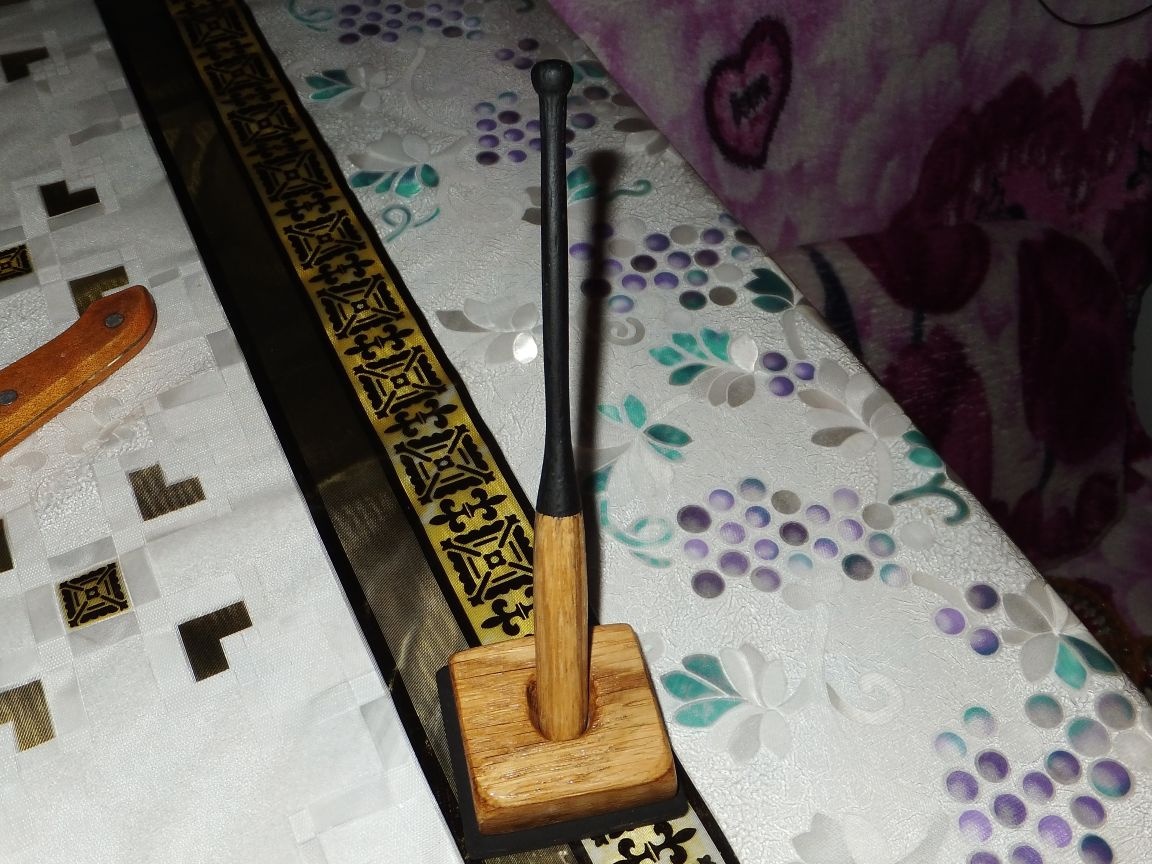
You can place it anywhere on a pedestal, shelf, etc. This homemade product is also perfect for a gift, because a thing made by oneself is original, and most importantly, done with a soul, but efforts were made to create it and it will be appreciated by the person who receives such a gift.
Thank you all for your attention, that's all for me, I wish you all good luck in new endeavors.