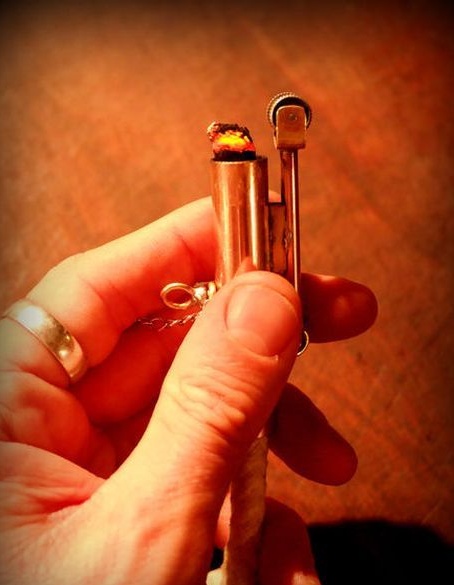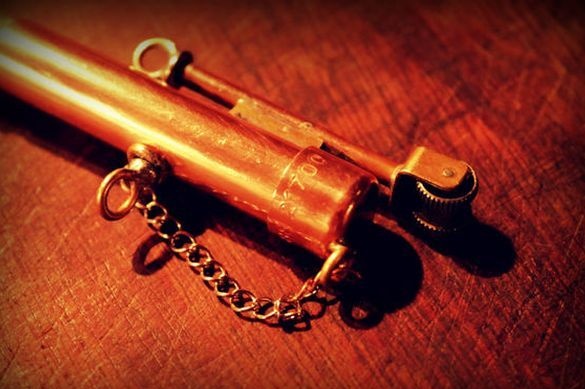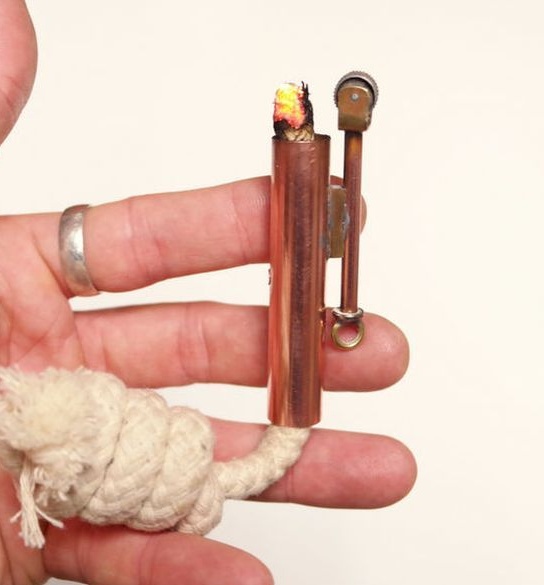
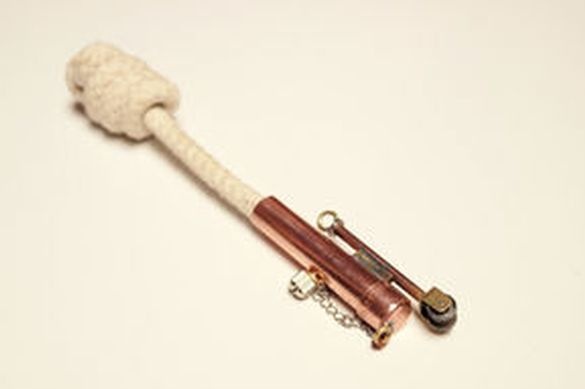
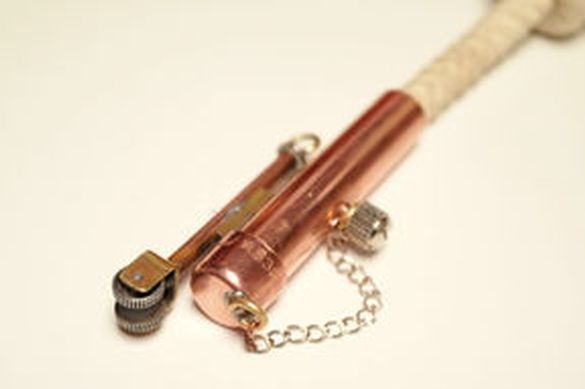
According to the author, such lighters used to be used by sailors to light pipes. Its main advantage is that it does not go out in the wind. To make such a lighter is not difficult and not expensive, but how it works can be seen in the video.
So let's get started.
Tools and materials:
-Silicone lighter;
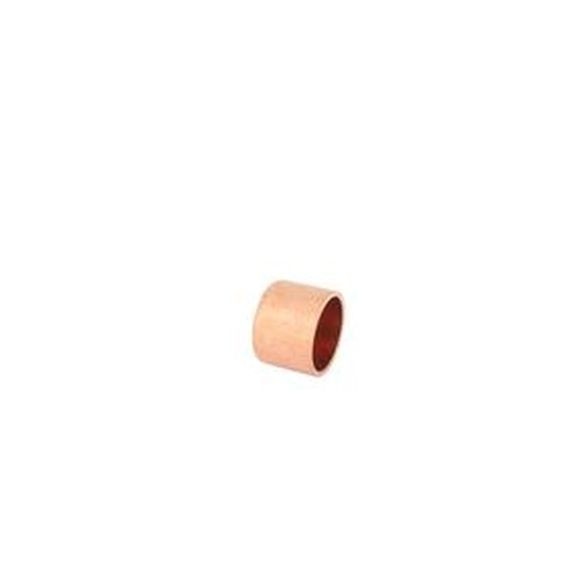
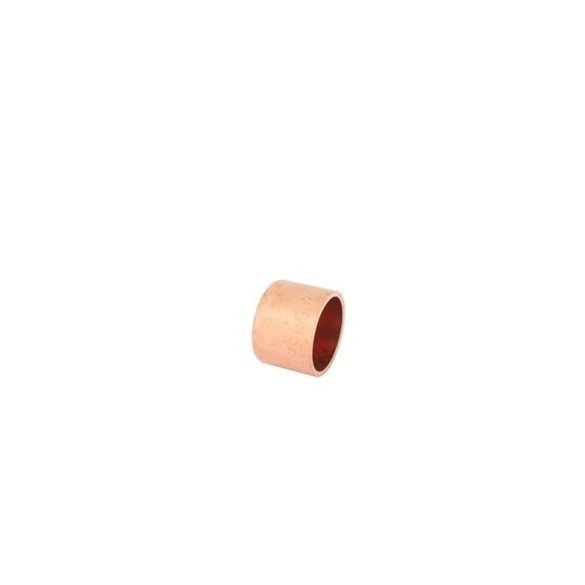
- Copper cap Ø 15 mm;
- Copper tube Ø 12.7 mm (1/2 ");
- Copper tube Ø 4.4 mm;
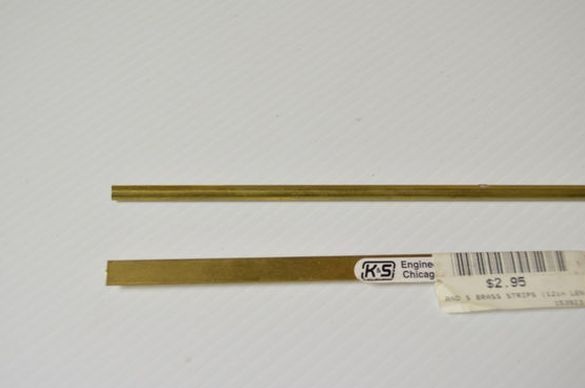
- Brass strip;
- Brass rectangular tube;
-Small screw;
-100% cotton rope;
-Chain;
-Forceps;
-Burner;
-Dremel;
-Nadfiles;
-Drill;
-Vise;
-Polish for metals;

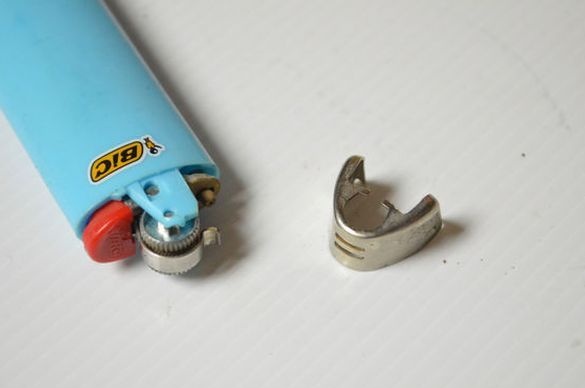
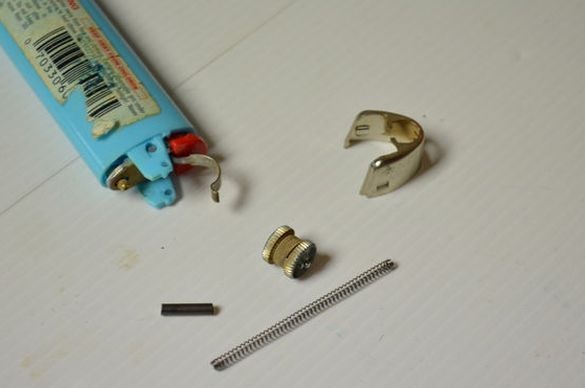
Step One: Disassemble the Lighter
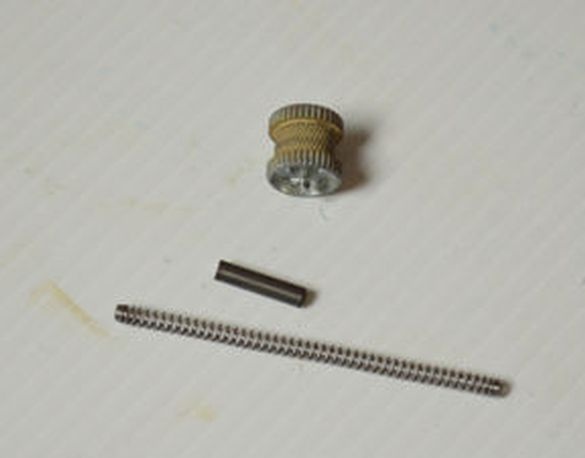
Parses a lighter. For further use, you need a silicon pebble, a spring and a wheel.
Step Two: Making a spark cutter
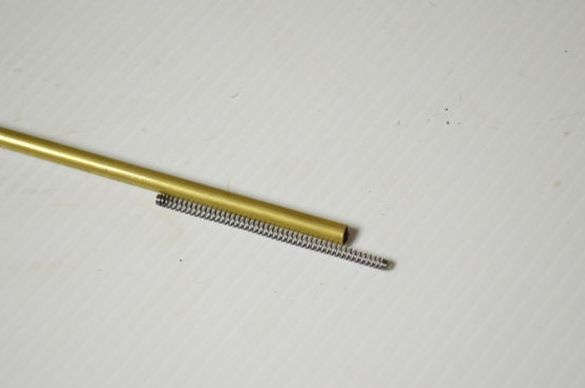
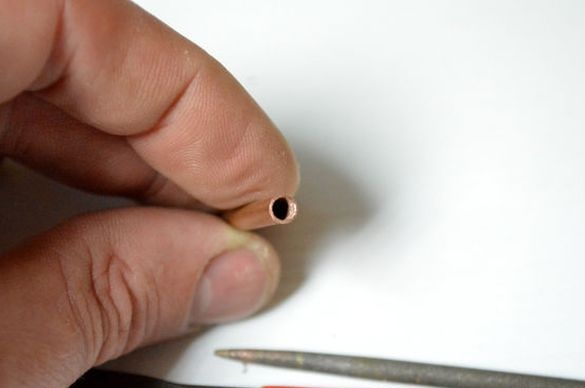
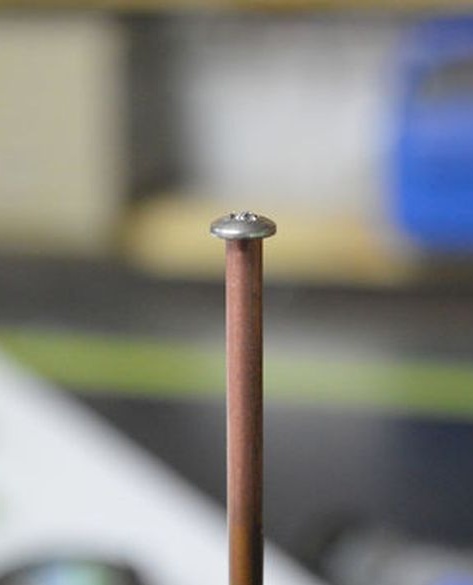
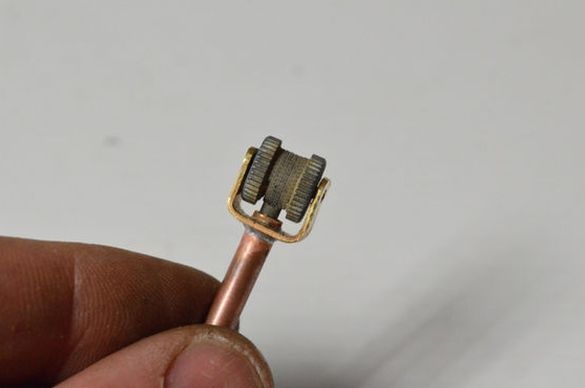
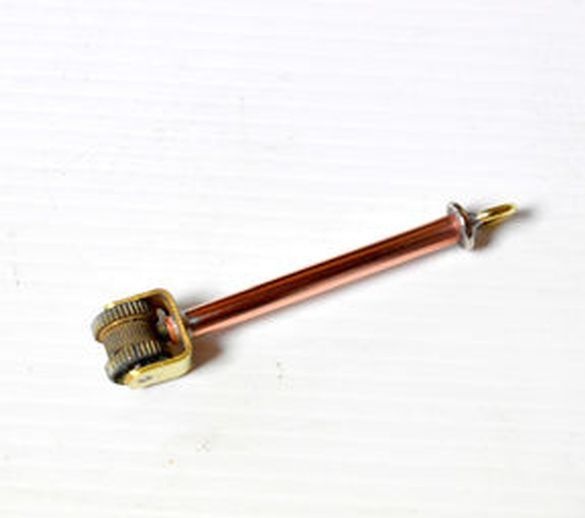
Cuts a thin tube, slightly shorter in length than the spring. Treats the edge with a file. Screws, on the one hand, a screw into the end of the tube. Solder a ring to the screw head.
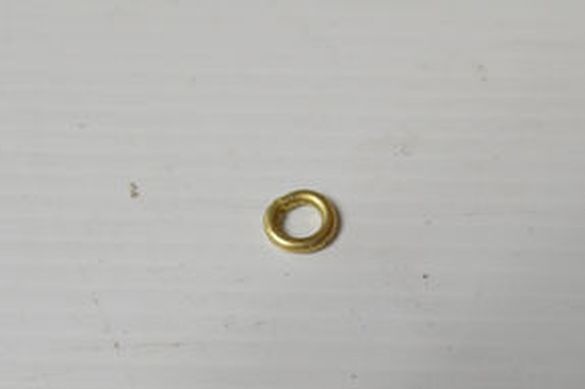
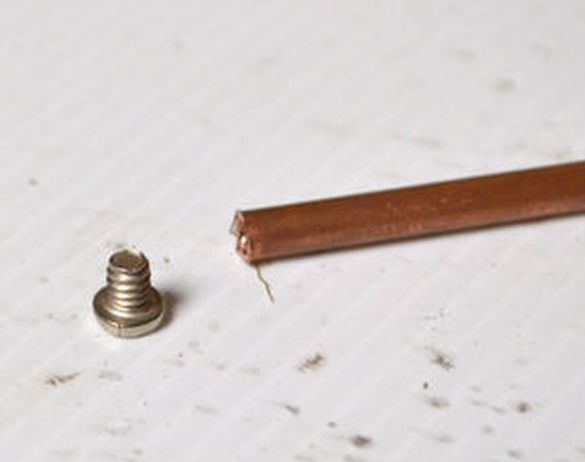
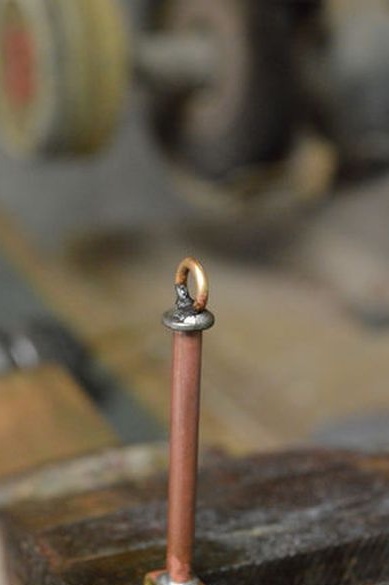
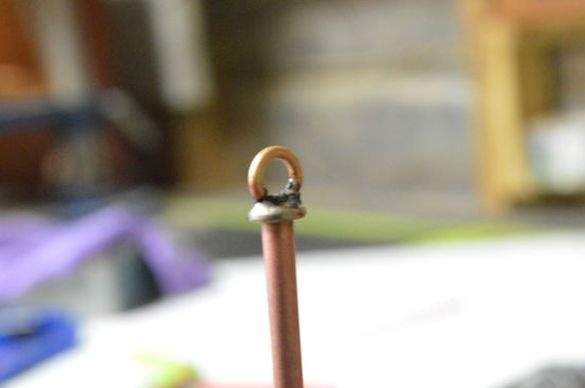
From a brass strip bends the bracket. Cuts off the excess part of the strip.
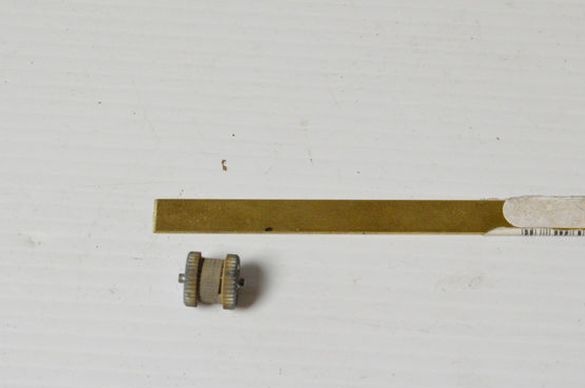
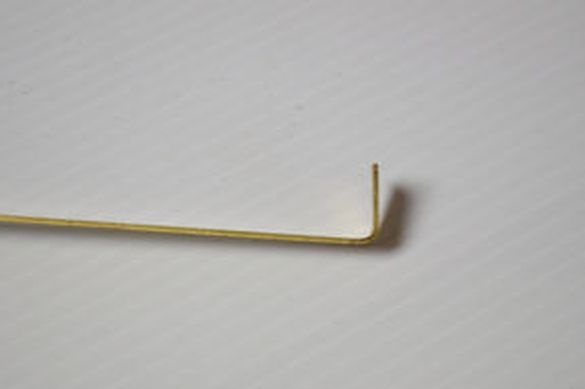
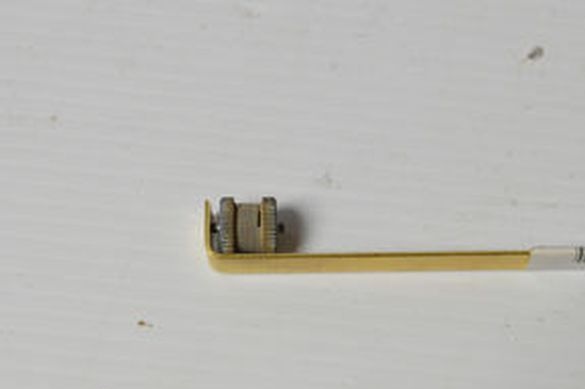
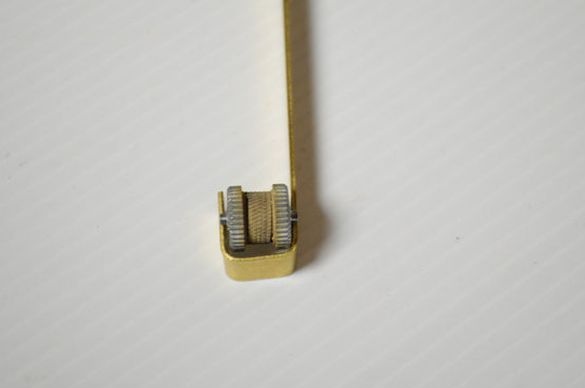
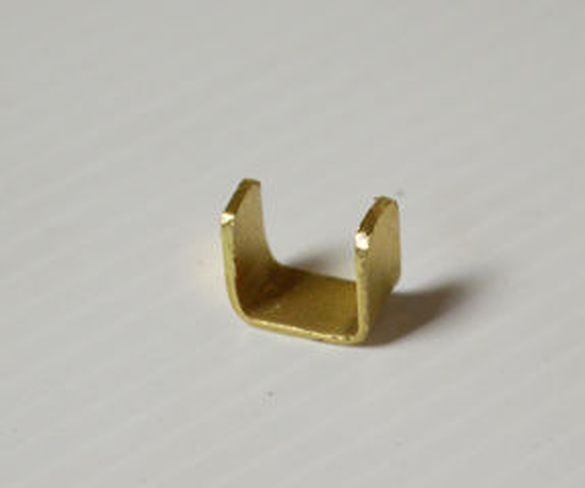
In the side walls of the bracket, drills holes for the wheel axis. Checks alignment, the wheel should spin freely.
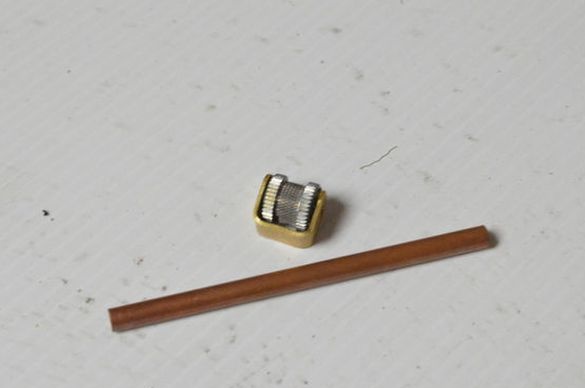
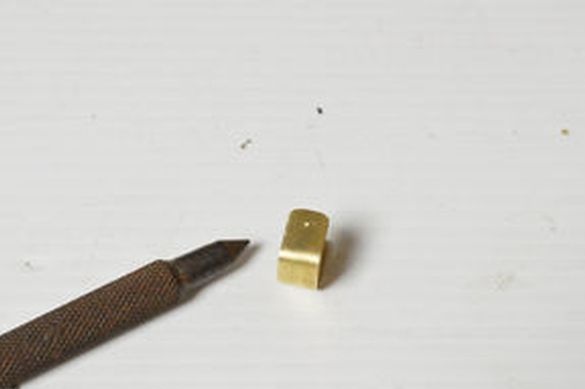
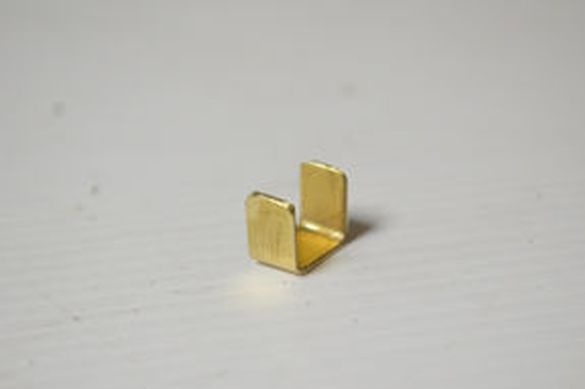
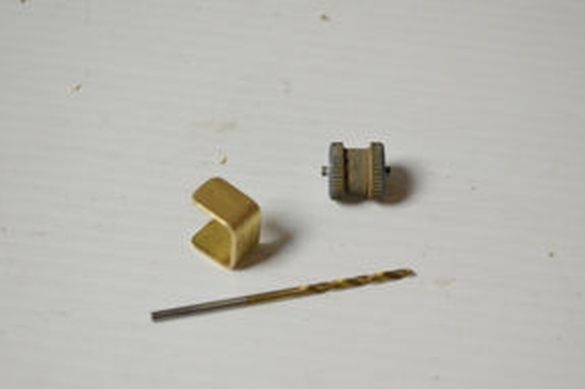
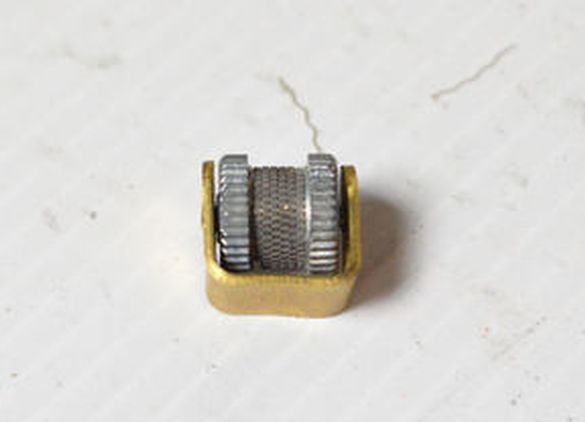
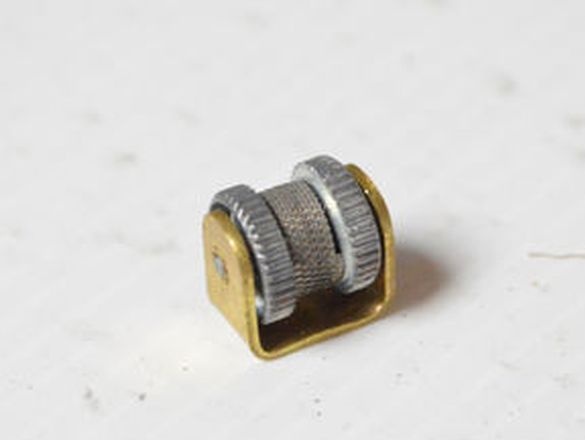
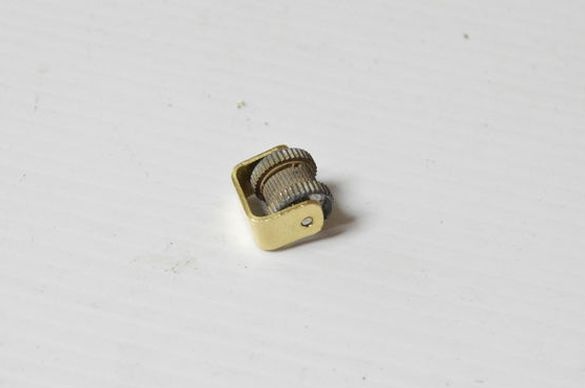
Drill another hole in the bracket along the diameter of the tube. Solder the bracket to the tube.
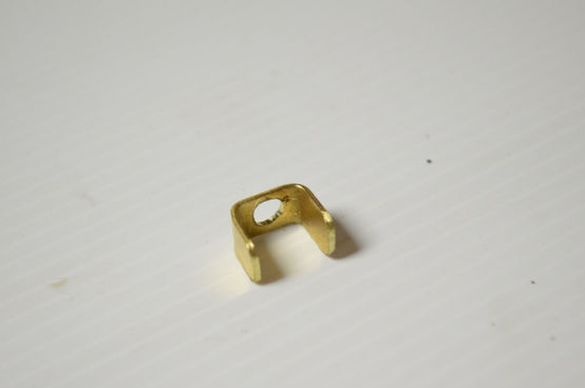
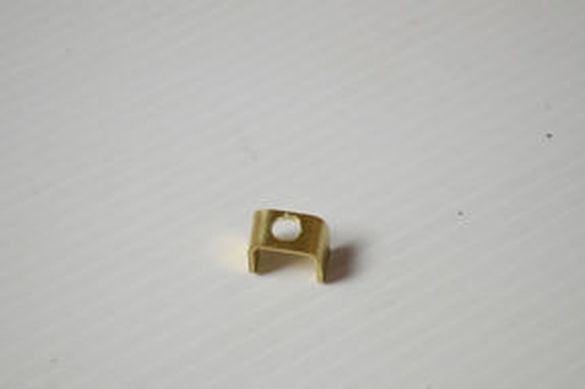
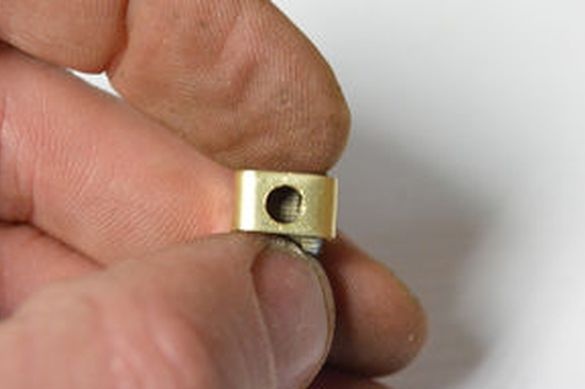
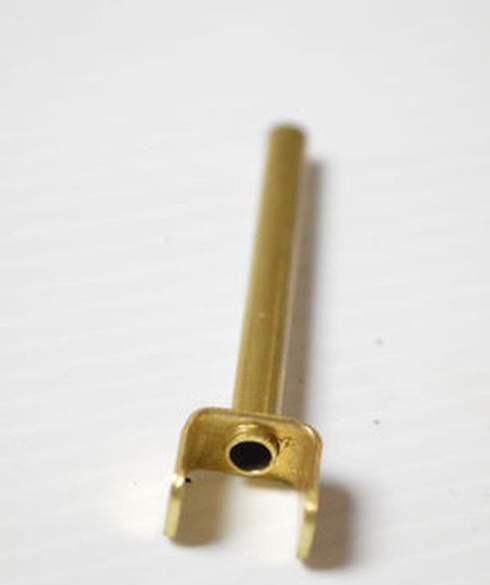
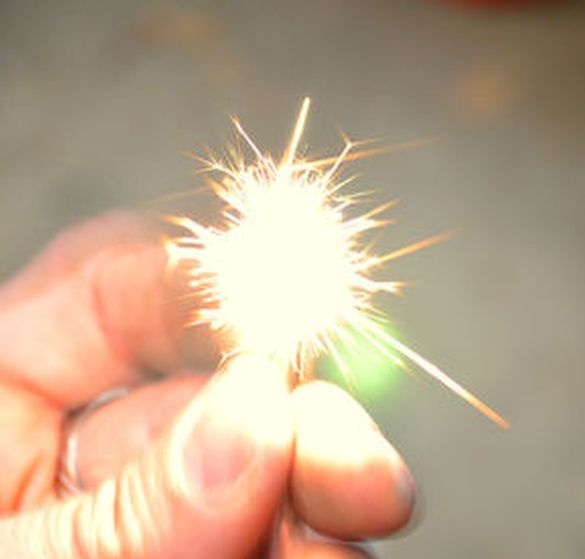
I installed a spring and flint in the tube. I installed a wheel in the bracket. Now you can check how sparks are carved.
Step Three: Connect Lighter Parts
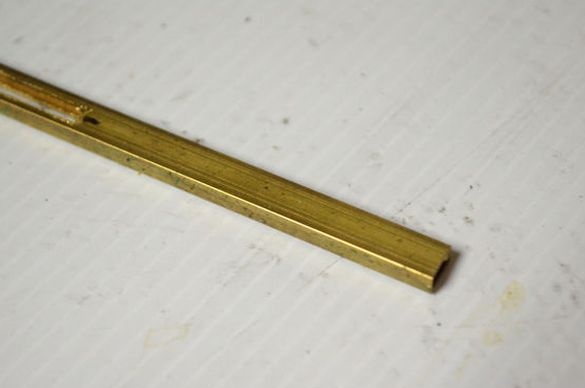
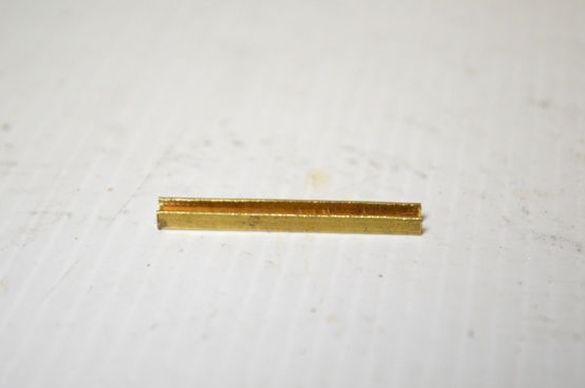
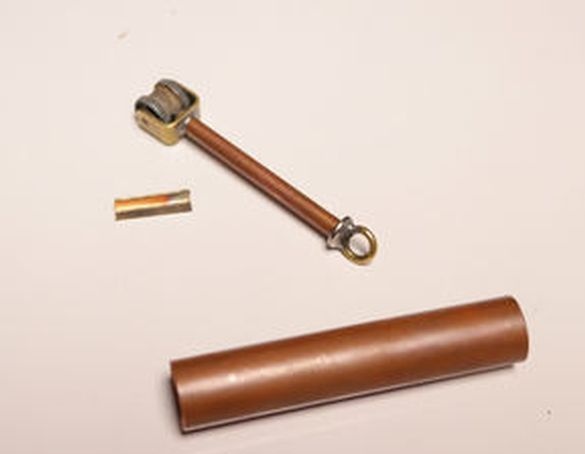
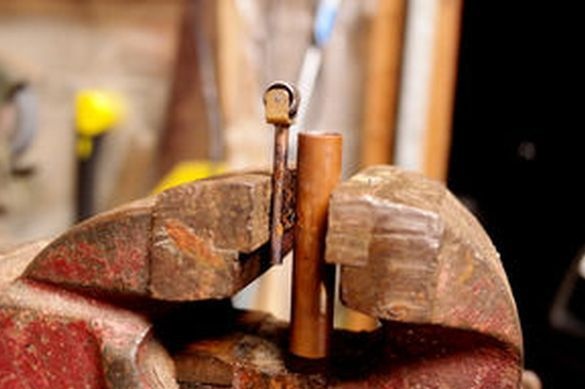
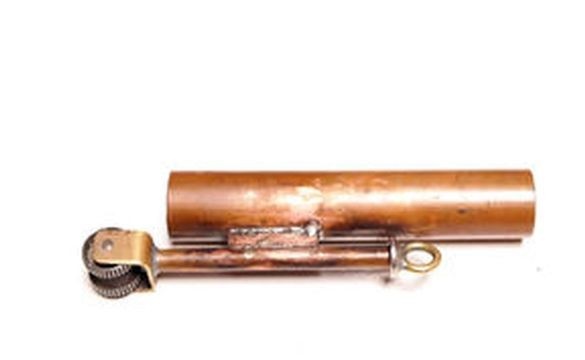
Slices a piece of rectangular tube. It is soldered, on one side, to the spark tube, and on the other side to a tube of a larger diameter. After soldering, polishes the lighter.
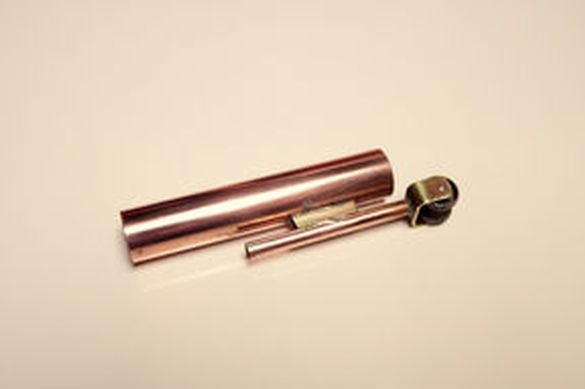
Step Four: Final
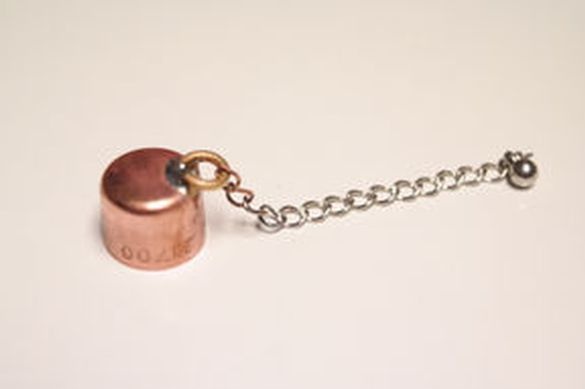
Solder the chain to the lid. He drills a hole in the tube and sets a screw in it; it will play the role of a stopper for the rope. The second end of the chain is soldered to the screw. Now the lid will not be lost.
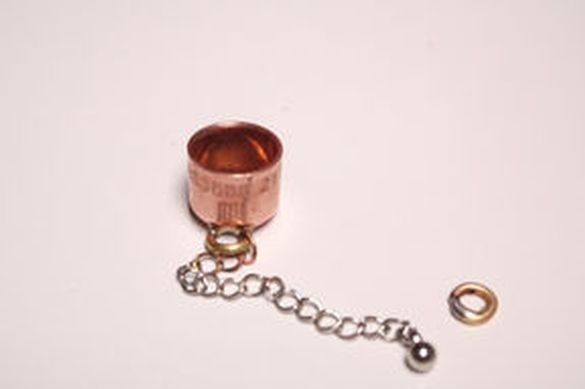
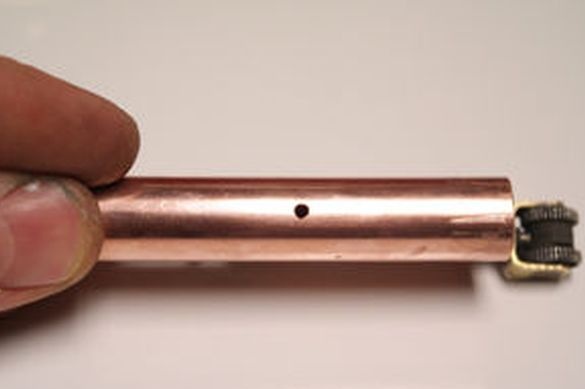
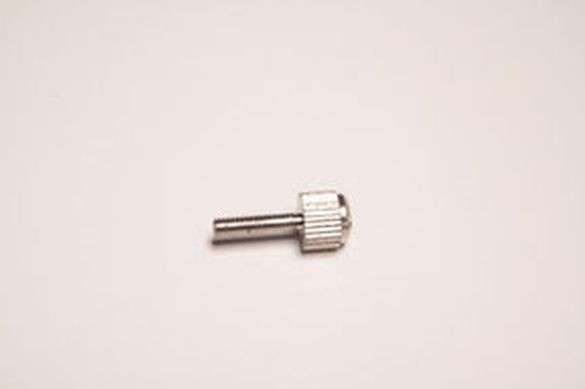
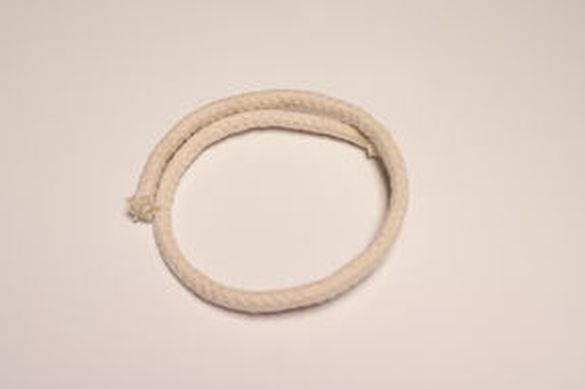
Pulls the rope into the tube. Now, so that it would immediately flare up, you need to fluff the end of the rope and char.
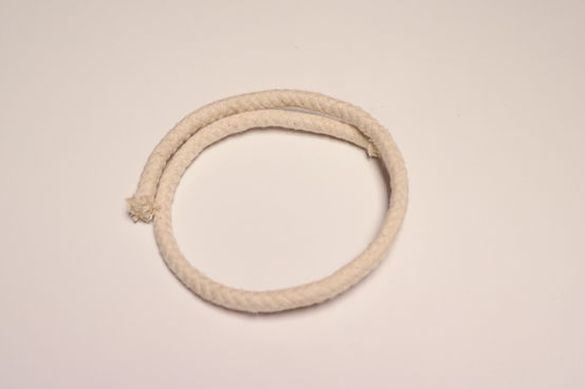
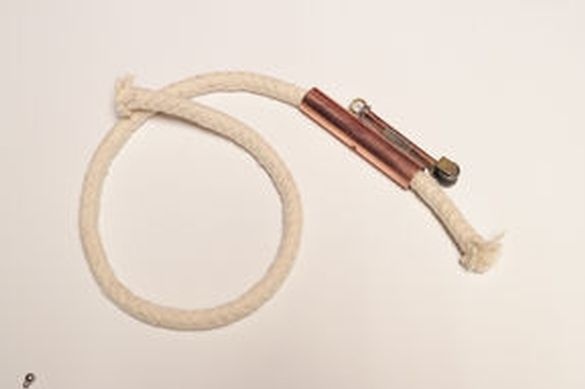
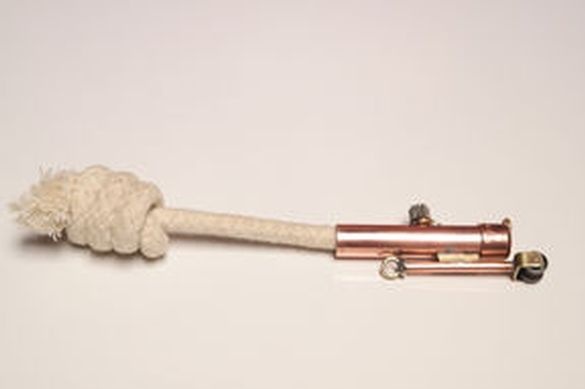
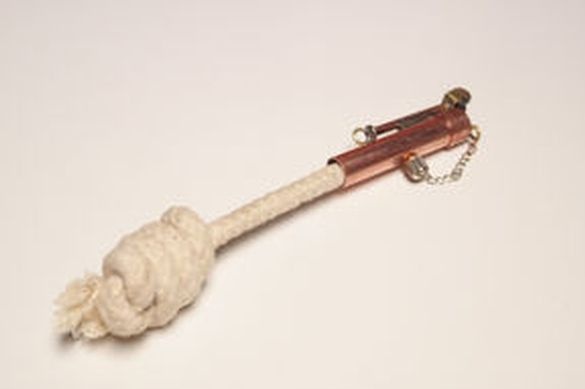
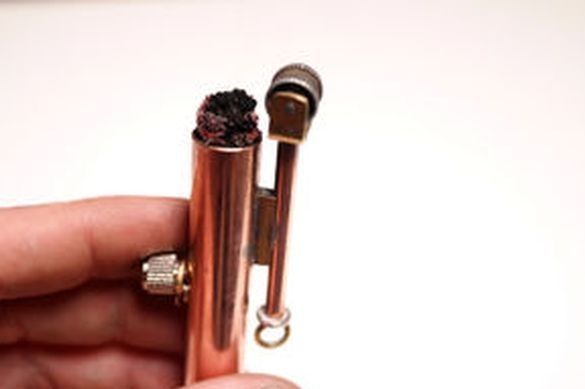
At the other end of the rope is a knot.
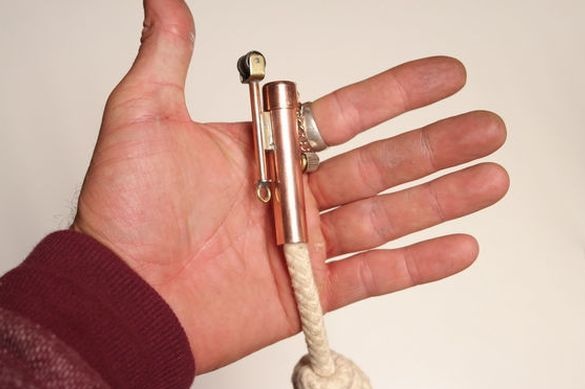
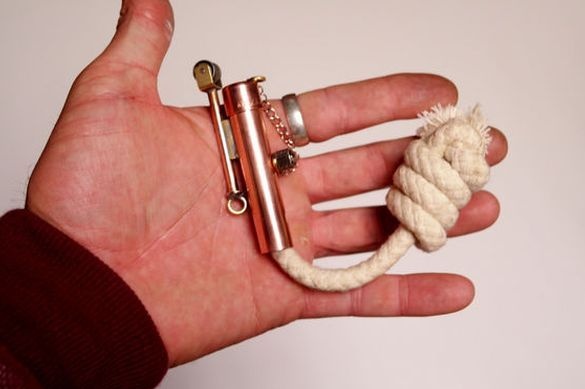
Everything, the lighter is ready.
