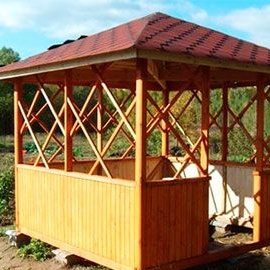
Dear site visitors, from the master class presented by the author, you will learn how to make a garden gazebo yourself and at the same time save. First of all
construction accomplished
do it yourself already subtracts from the estimate the costs of hiring a construction team or local craftsmen, you can also use some of the used material, for example, brick and planks. Based on this, the amount for the construction of a garden gazebo will be reduced in order.
Before starting the construction of this building, you should choose a suitable place on the site, preferably in a sunny and not blown through wind. Clear the perimeter and mark it with a tape measure, rope and pegs. The foundation for lightweight frame arbors is best suited columnar, it can be made of bricks, blocks, PVC pipes filled with concrete, or screw piles, it all depends on the characteristics of the soil on your site.
And so, let's find out what exactly the author will need to build a gazebo? And also consider the whole process more carefully and in stages, let's go ...
Materials1. beam with a section of 100x100
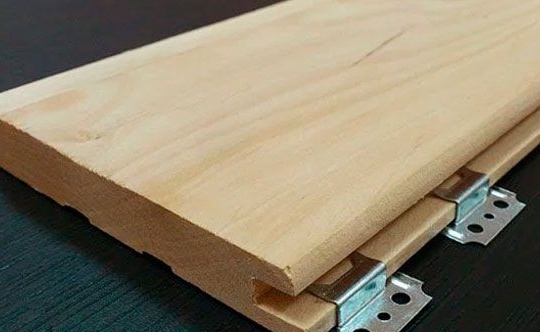
2. floorboard 40 mm
3. lining
4. board 30 mm
5. screws
6. nails
7. brick
8. sand
9. cement
10. shingles
11. galvanized nails 30 mm
12. roofing material
Instruments1. jigsaw
2. screwdriver
3. drill
4. hammer
5. hacksaw
6. roulette
7. shovel
8. trowel
9. mallet
10. level
11. ax
12. building pencil
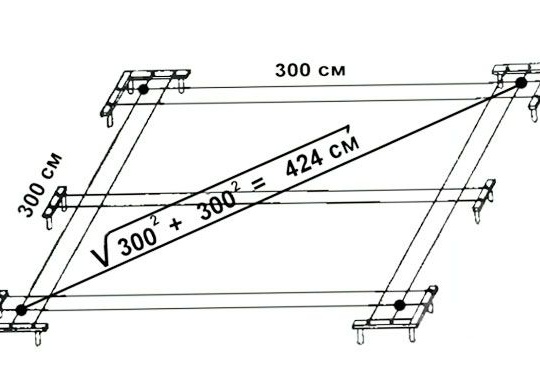
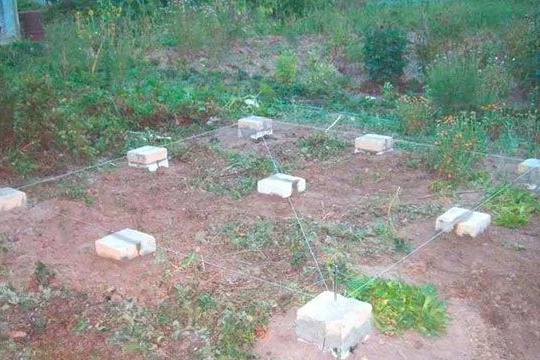
DIY garden gazebo construction.As in any business, and in construction, and even more so, it all starts with drawings and markings, as they say, "Measure seven times, cut once." The first thing is also laying the foundation, in our case it will be columnar in the amount of 9 columns around the perimeter laid out of used red and silicate bricks on a cement mortar. And so, the author presented us with a drawing of the markup with the dimensions given by which he built his gazebo.
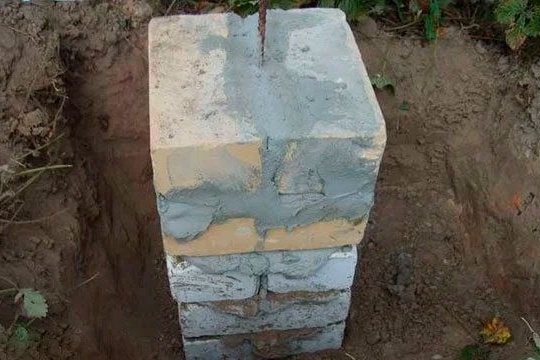
To create a columnar foundation, you should first dig a hole 40 cm deep according to the marking along the perimeter of the site, then lay a sand cushion, soak it with water and compact it. The pillar itself is laid out of brick.
Note!The author lays the bottom of the pillar of silicate brick, and the top of red is done because white brick is more resistant to moisture, and red begins to crumble over time.
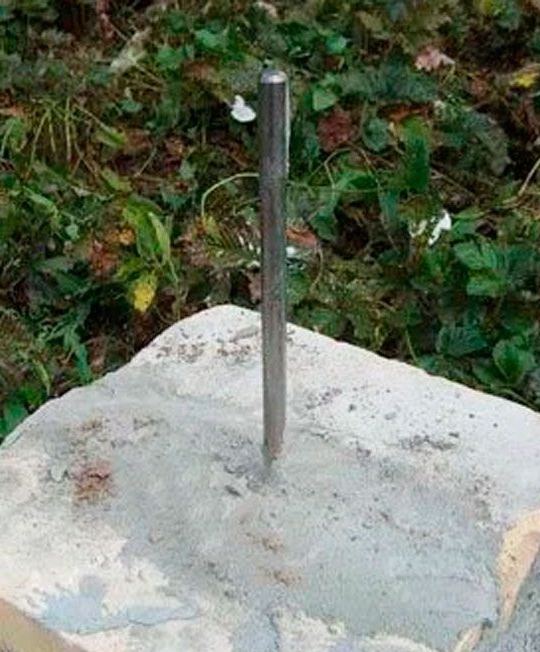
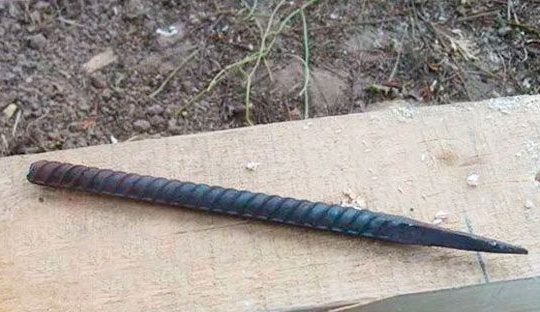
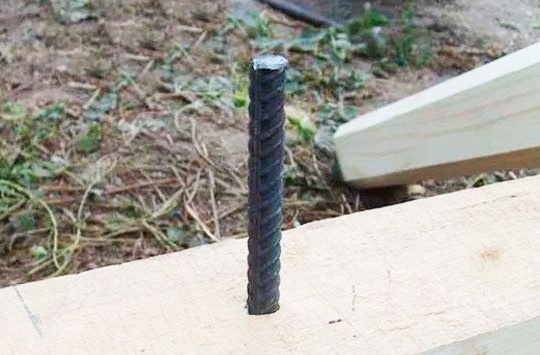
In the center of the column, steel reinforcement is installed, extending into the body of the column by about 40 cm, this is necessary for the subsequent installation of the lag.
And thus all 9 columns.
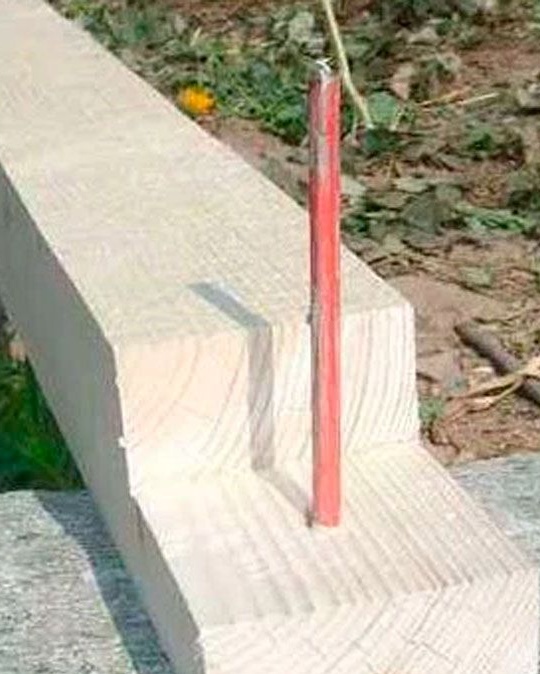
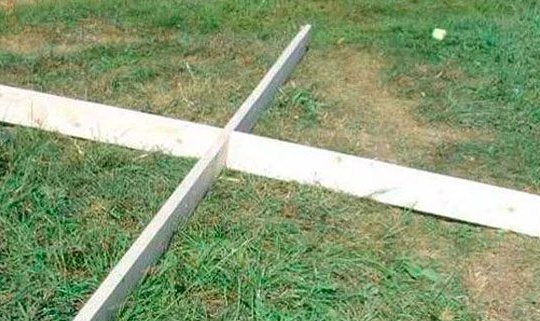
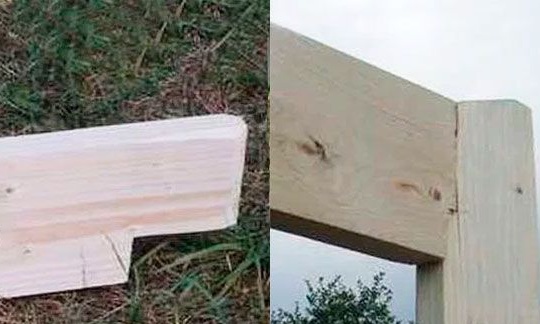
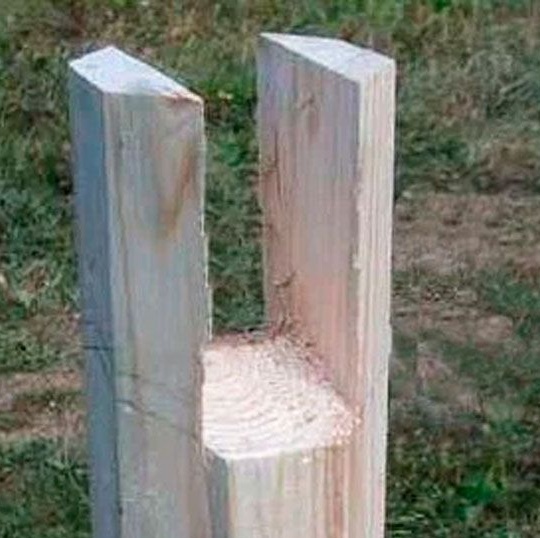
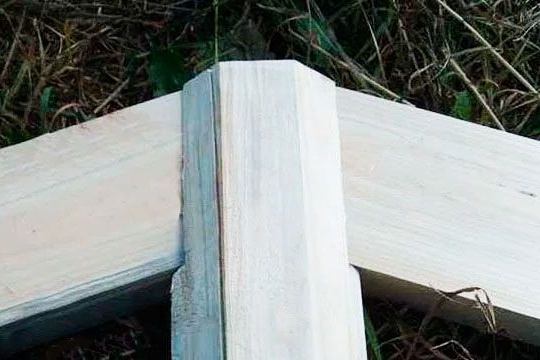
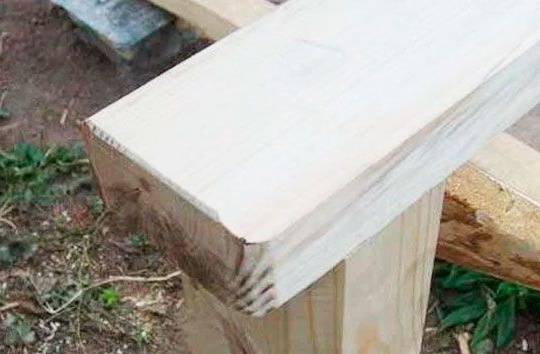
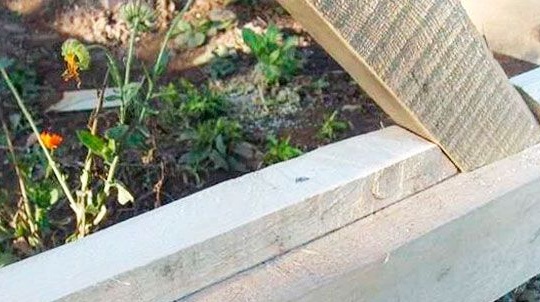
Wooden bars are laid on metal pins with a cross section of 100x100, a cut was previously made as in the photo, in order to combine 2 beams.
Do not forget to lay a waterproofing between the column and the lag, they mainly use roofing material, preferably in 2 layers.
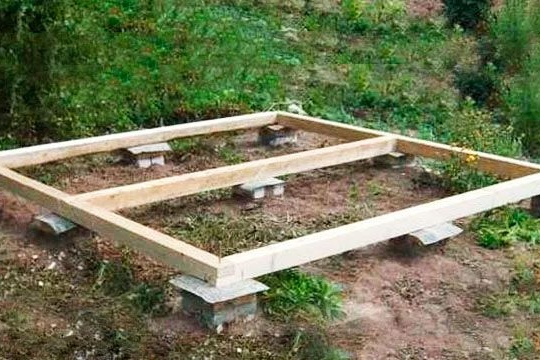
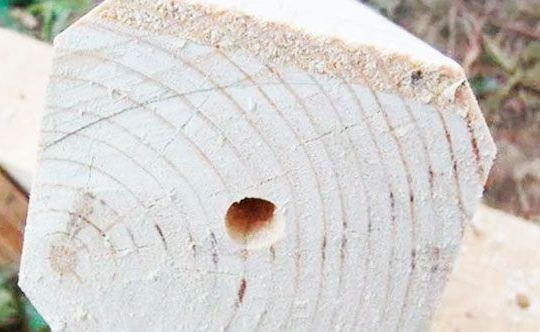
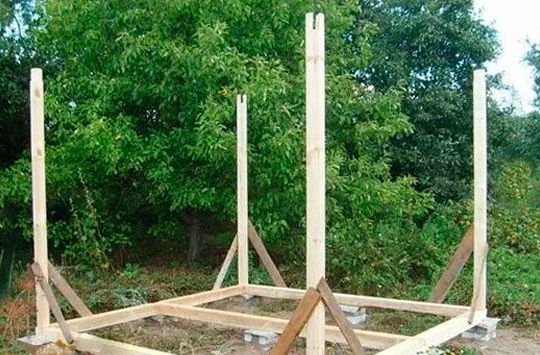
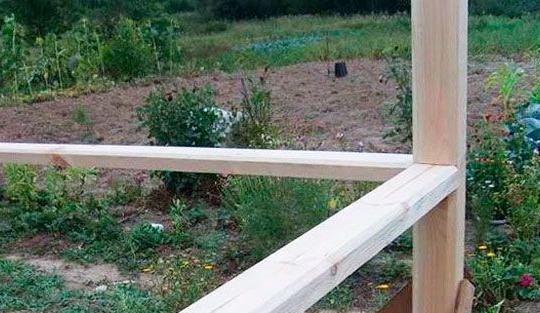
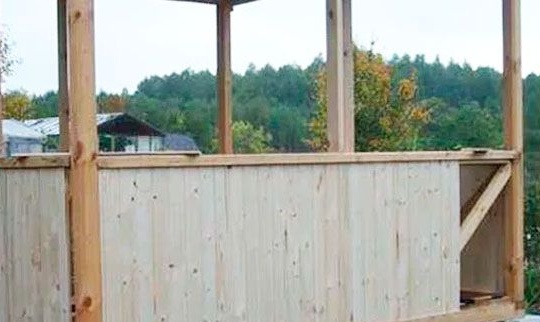
Then the master erects the frame and puts the vertical bars, pre-drilled a hole in the lower end part - this is necessary in order to put the beam on the protruding reinforcement from the column foundation.
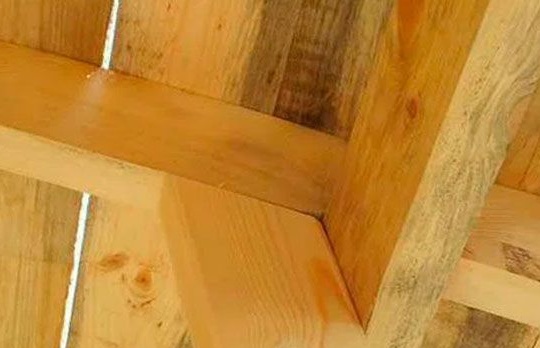
4 pillars were installed in the corners and fastened with temporary struts. Also, cuts of 40x100 mm were made in the upper part for the subsequent installation of rafters.
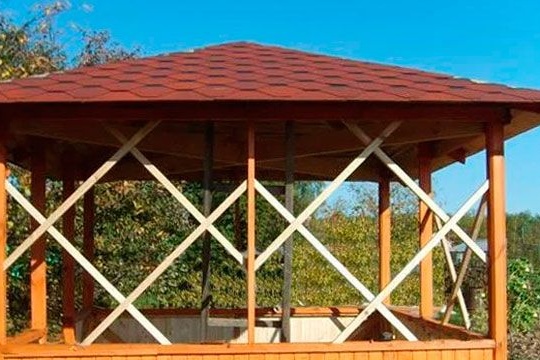
Next, the author takes 2 timber and fastens in the form of a crosshair.
Installs in sawn grooves.
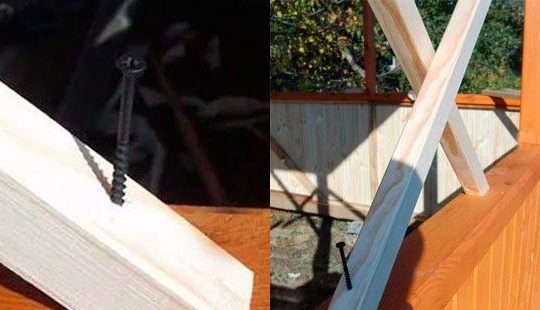
Crosshairs reinforces with bars bolted to the screws.
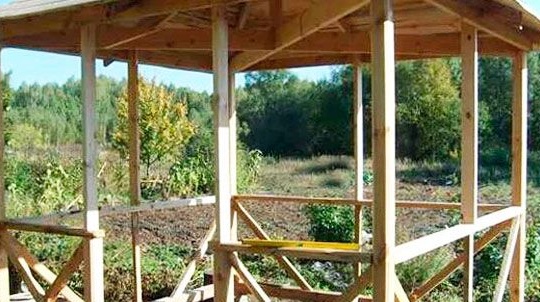
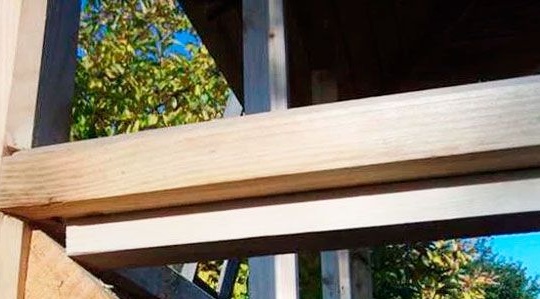
Here is such a design. Tying from the boards.
The railing is 1 meter from the floor.
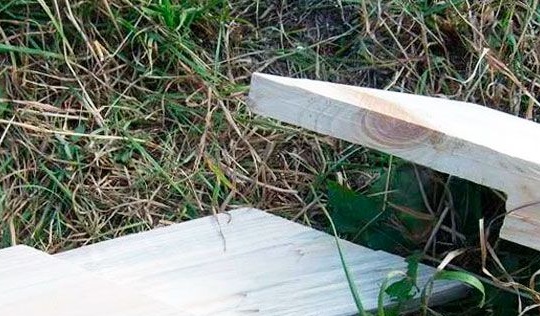
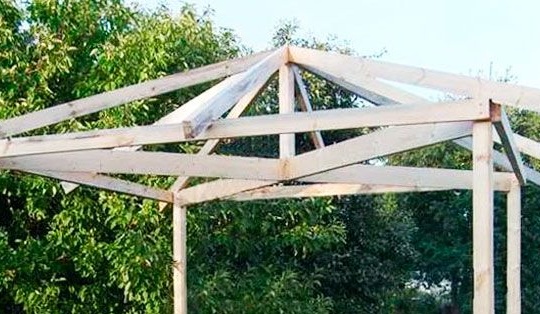
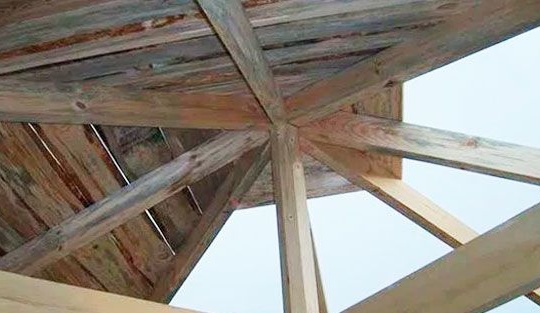
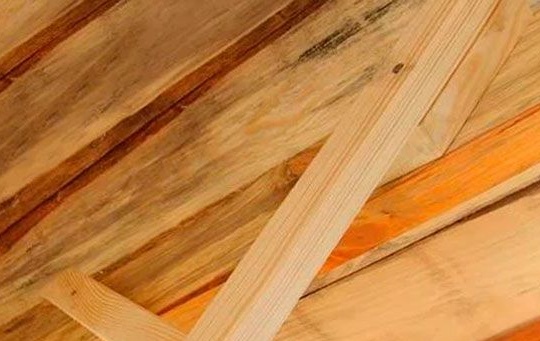
The frame of the gable roof is going.
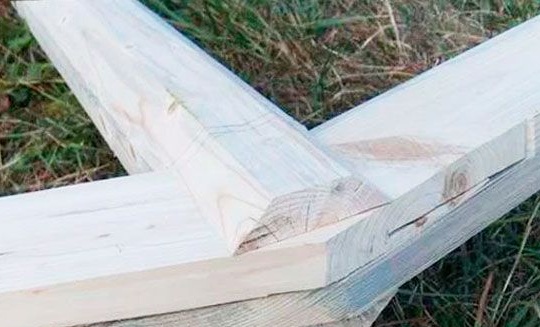
Grooves are cut out and fastened together.
Bonded bars are inserted into the sawn groove.
That's actually what happens.
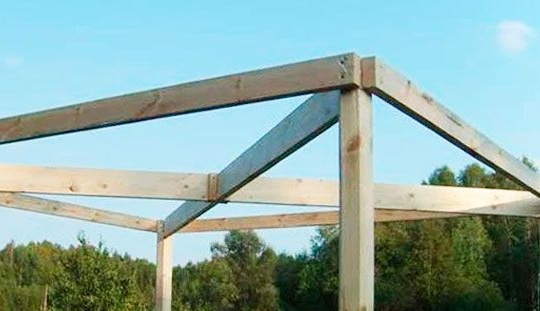
The resulting base is installed in place and 2 more rafters are added to it.
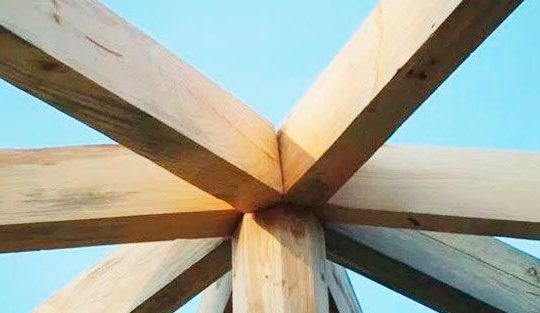
Then 4 more beams, in general, the rafter system consists of 8 rafters with a extension of 30 cm beyond the edge of the upper trim.
Here is the mount to the center.
Then the author makes an entrance to the gazebo and puts the railing on similar metal pins.
Drills a hole and clogs the fittings.
Railings are strengthened by braces of timber.
The edges of the railing are processed with sandpaper, so that they are smooth and there is no splinter.
Here is the result.
The crate is laid close to each other, because asphalt tiles will be laid on top of it, and it must be laid on an exceptionally flat surface.
Boards are used 30 mm.
On the lower part of the railing restrictive straps are sewn.
Mowing is done.
And it gets off with a lining, it is also possible with an ordinary board, only previously processed and planed.
The board is stuffed like this.
The roof is covered with shingles, it is advisable to mount it on galvanized nails. since they do not rust under the influence of moisture.
To make the entourage better))) the author makes a decorative crate of slats with a section of 30x40 and fastens them at an angle of 45
0 on self-tapping screws.
The master secures the second rail in this way. that is, he puts a piece of rail under the edge and fastens it.
After the floor is laid and the gazebo is ready to receive guests on weekends and holidays. As you see, if you want, you can build on your own, while saving a lot. Physical labor is also very useful. Engage more in creativity, work on yourself, create!
This concludes the article. Thank you very much for your attention!
Come visit often, do not miss the latest in the world of homemade goods!
This article is for informational purposes only!