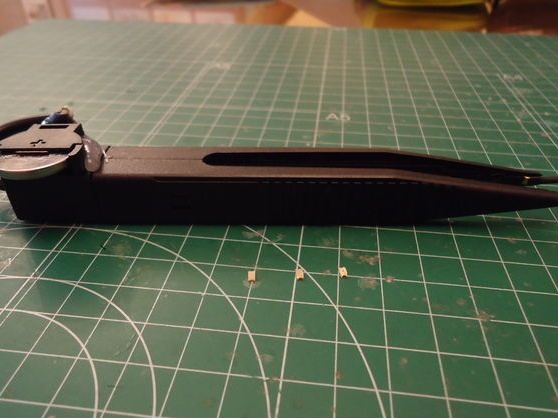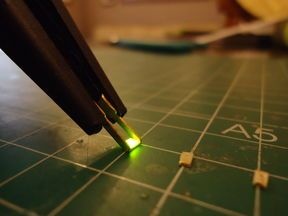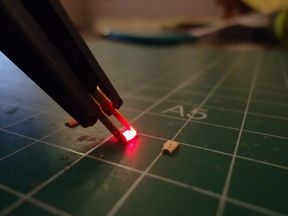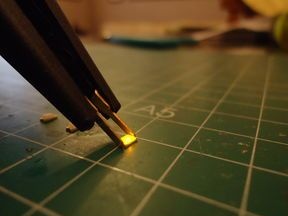
The author of this homemade often uses in its work SMD components resistors, capacitors, LEDs. That's just to check the polarity of the LEDs, he made a tester. You can certainly use a multimer, but it is longer and not so convenient.
So let's get started.
Tools and materials:
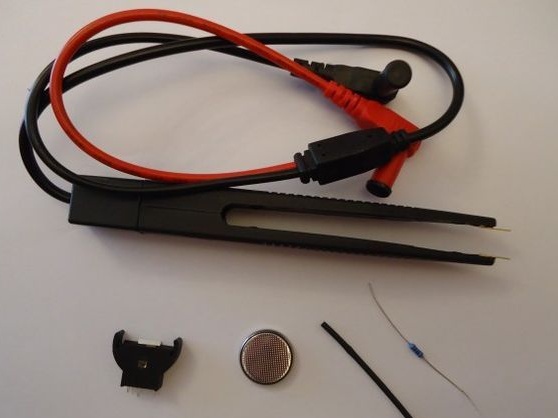
- Tweezers for multimer;
- battery compartment CR2032;
- battery CR2032;
- resistor 220 Ohm;
-Shrink tubes ;.
-Soldering iron;
- Thermogun;
Step One: How It Works
The principle of the tester is simple. When connecting the tester probes to the LED contacts, the circuit closes and if the polarity on the tweezers matches the polarity on the LED, it lights up. Since the author uses a 3V battery in the tester, according to the author, there will be no problems with reverse voltage.
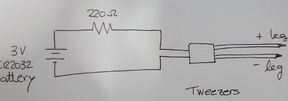
Step Two: Resistor
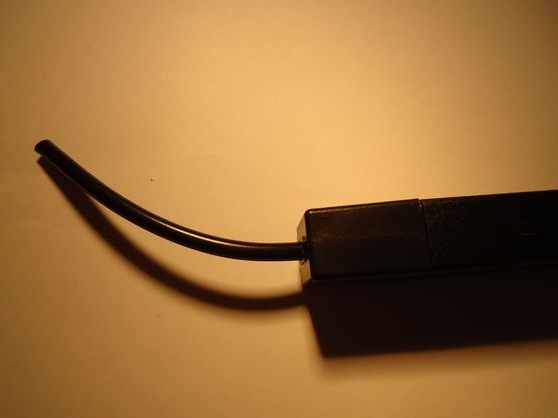
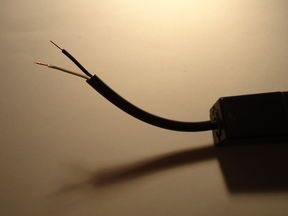
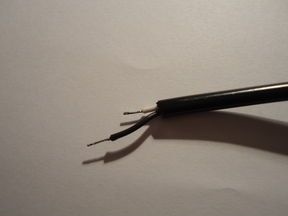
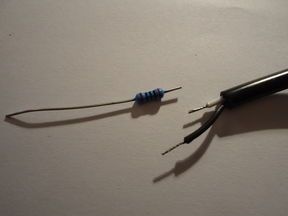
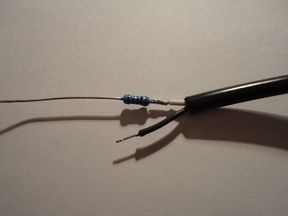
On tweezers leaves five centimeters of wire, cuts the rest. Strips the ends of the wire. Randomly determines the polarity, for example, white wire +, black -. A resistor is soldered to the positive wire.
Step Three: Battery Compartment
Observing polarity solders the contacts of the battery compartment. Insulates wires with heat pipe.
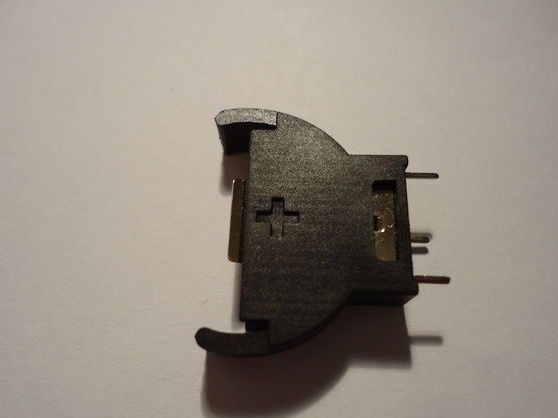
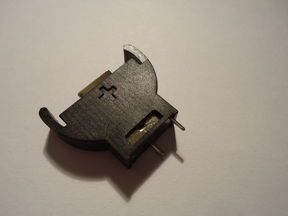
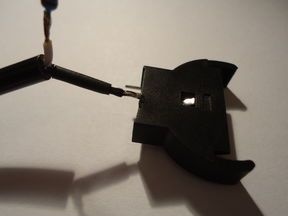
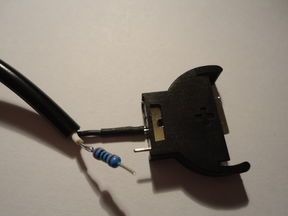
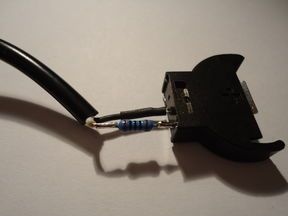
Secures the battery compartment to the tweezers with hot melt adhesive.
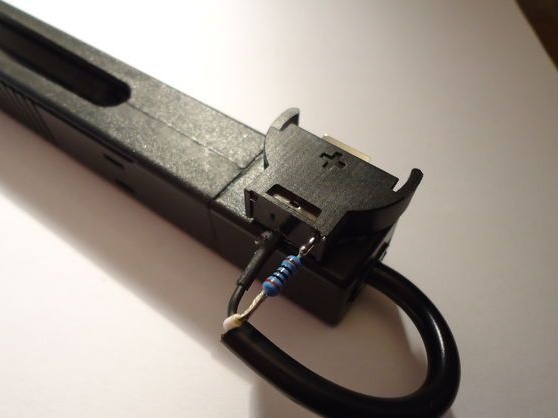
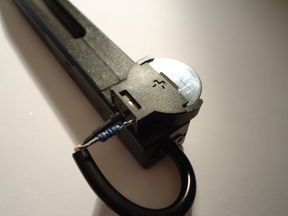
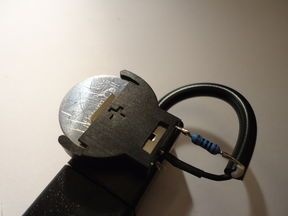
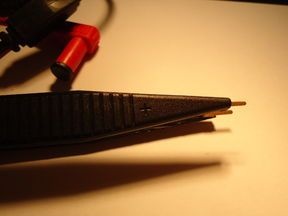
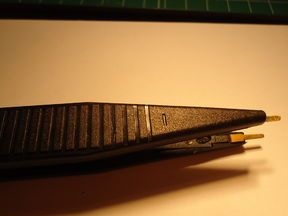
Now it remains to indicate the polarity on the legs of the tweezers and you're done.
