Dear site visitors, from the master class presented by the author, you will learn how to independently make a sauna in a city apartment and at the same time observe all the rules and regulations. Today, this phenomenon, like a sauna on the balcony, in the bathroom or in the pantry, will not surprise anyone, just a little bit of it is becoming commonplace for people who love bath heat and sit in the steam room. You must agree that it is very convenient to have your own small sauna in the apartment, you just don’t need to go to the country outside the city and drown the bath, and especially in winter, when the road is not close and even slippery. Also, you don’t have to rent a sauna cabin somewhere in the city for several hours and give money for it. And at any convenient time they warmed up their sauna and took a steam bath, rested their soul and body)
Mostly, you need to make a new and separate wiring with your machine and direct connection directly to the shield, as well as the wires must pass in the corrugated casing. Wiring and adherence to safety regulations should be given special attention!
And so, let's look at what exactly the author will need to build a sauna cabin? And also consider and analyze everything on the shelves) Well, look ...
Materials1. mineral wool
2. timber
3. clapboard (hardwood)
4. screws
5. foil
6. vapor barrier
7. dowel
8. aluminum adhesive tape
9. electric stove for sauna
10. stones for a bath stove
11. power cable
12. corrugated casing
13. metal corner
14. floor tiles
15. nails
Instruments1. hacksaw
2. trowel
3. putty knife
4. trowel
5. mallet
6. stationery knife
7. drill
8. punch
9. screwdriver
10. hammer
11. screwdriver
12. roulette
13. pencil
14. ruler
15. corner
16. level
The process of building a sauna in the apartment
do it yourself.
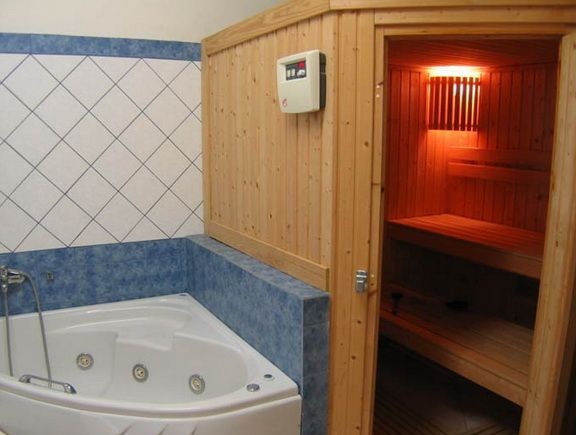
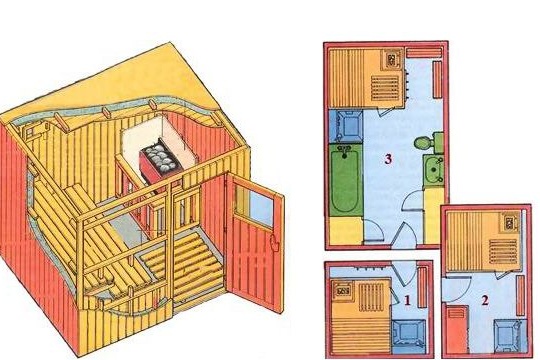
And so, the first thing is to decide where you will place the steam room, the basic and proven by the pioneers in this area 1 is of course the bathroom, it naturally fits the best. because it is designed for high humidity and temperature differences, as well as the floor has a waterproofing layer, and there will be no problems with the redevelopment. 2-location on the balcony, of course not necessary, but very fashionable today, especially among young people. 3-it is possible to convert a pantry under a sauna, if you do not need a pantry, you can safely make a sauna out of it)
Also, the author presented to our attention the layout of saunas and sizes, respectively.
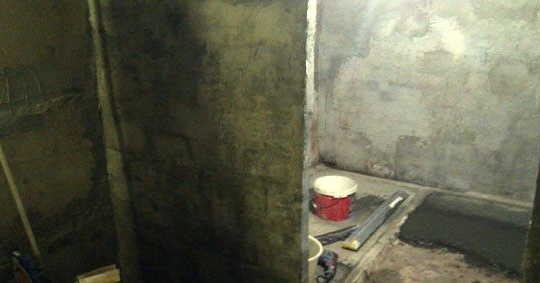
The master for creating a steam room still chose a bathroom, because it is more appropriate. First of all, the old tiles and plaster are removed from the walls, cleaned.
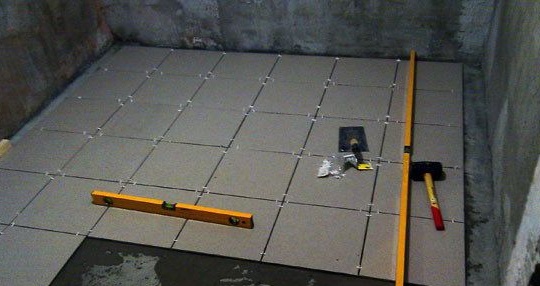
Further, the master lays ceramic tiles on the floor, as many lovers of this kind of saunas recommend laying a warm floor, so there will be uniform heating in the room and air circulation, and it’s nice to feet on a warm floor.
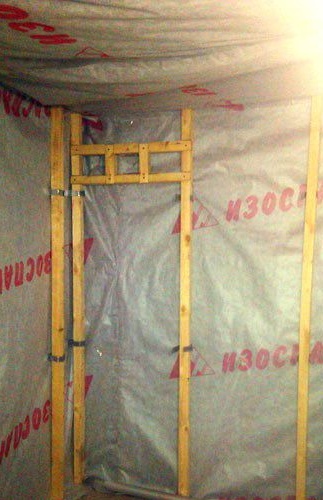
The walls are finished according to the standard and already by all memorized scheme. First, sheathed with a beam with a certain distance depending on the size of the insulation, and previously a vapor barrier material.
Another important point! In no case do not put handles with locks and latches on the door, only a magnetic latch is allowed.
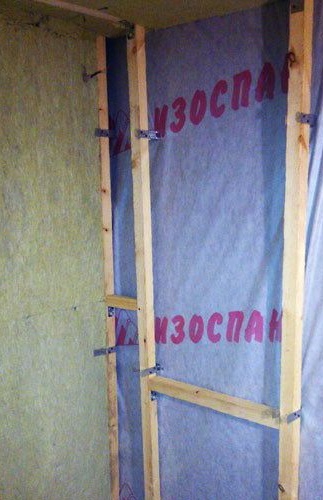
Lathing from a bar.
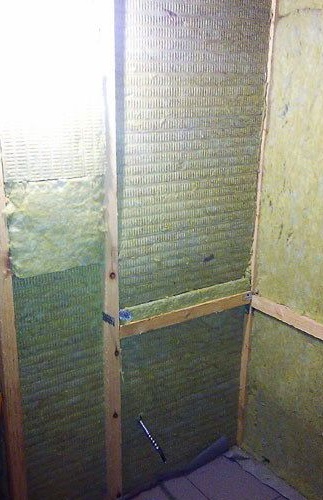
Insulation is laid in the resulting openings between the bars, mainly mineral wool.
Note! The distance between the bars should be 1.5-2 cm less than the size of the insulation - this is necessary so that the cotton wool is tightly laid and it is well kept even in the spacer.
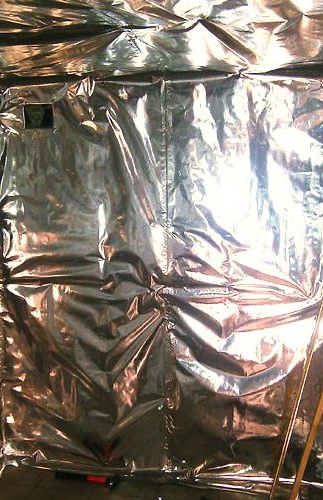
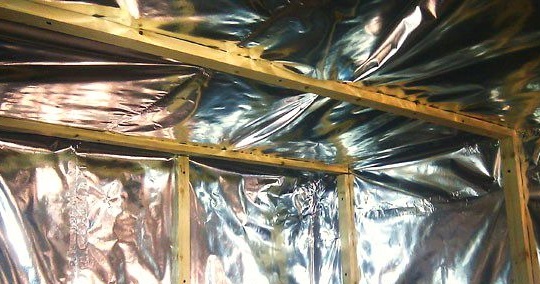
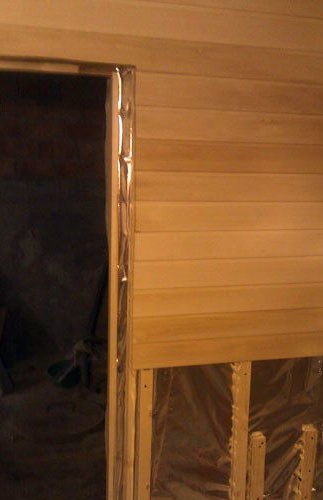
Further naturally aluminum foil, it is necessary to reflect and maintain the temperature in this room.
The junction of two sheets of foil is glued using foil or aluminum tape so that there is no heat loss and everything is tight to the maximum.
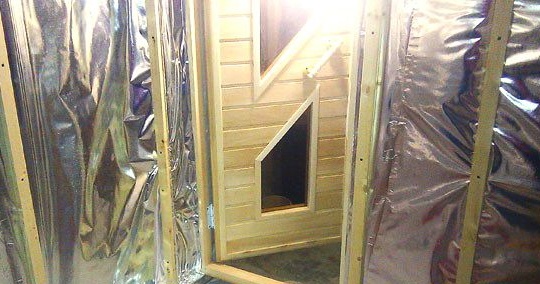
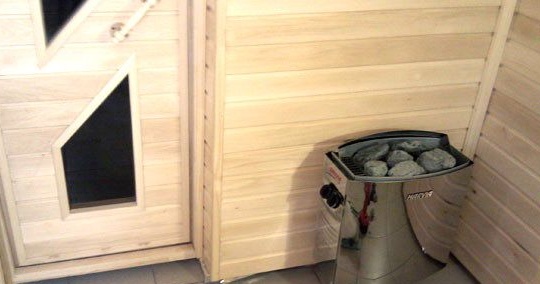
Another crate made of timber is also being made, already on top of the foil, it will be necessary for fixing the lining. The door master installed a purchased wooden with glass inserts, it can also be set out of tinted glass.
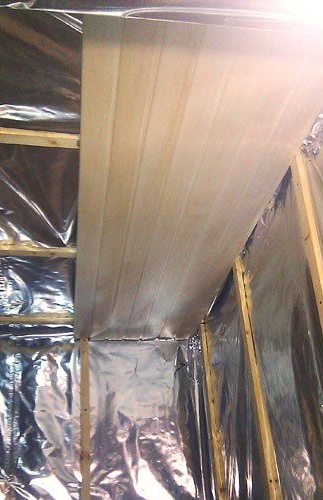
The lining was finished by the author from the ceiling.
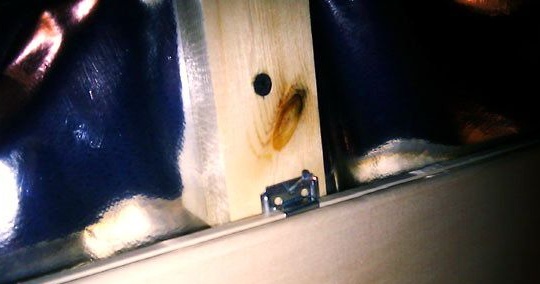
It is better to fasten the lining with metal clematars, and not to hammer a nail directly into the plank.
And thus throughout the room.
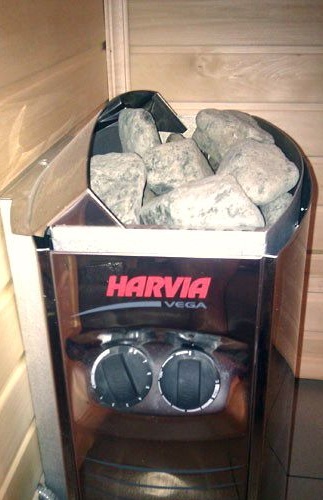
One corner should be provided for the installation of a sauna heater.
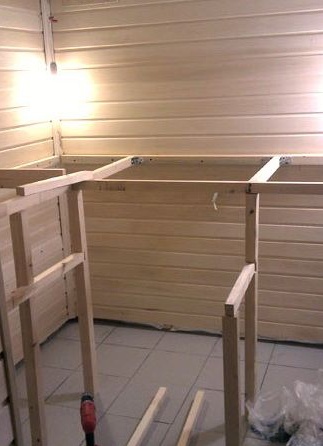
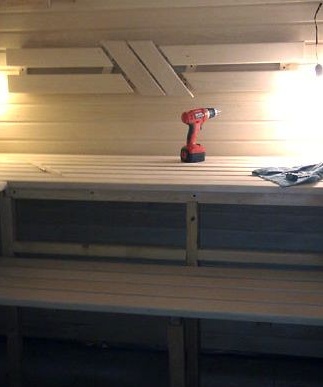
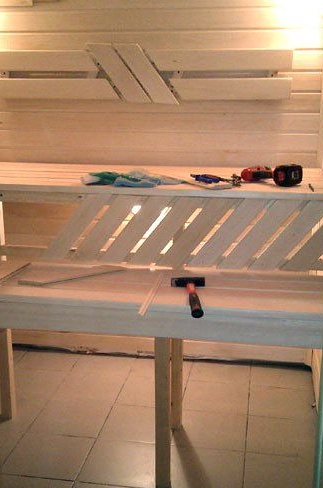
The most important thing in the sauna and in the bath is of course the shelves. The first shelf is installed at a height of 60-70 cm from the floor level, the second one is at least a meter from the same level.
First, the author makes the frame of the beam and twists it with self-tapping screws.
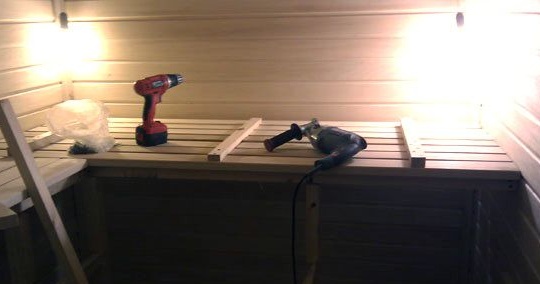
Then it tightens the boards, it is advisable to screw the screws from the back (flush) so as not to make holes in the boards and there were no metal elements by itself.
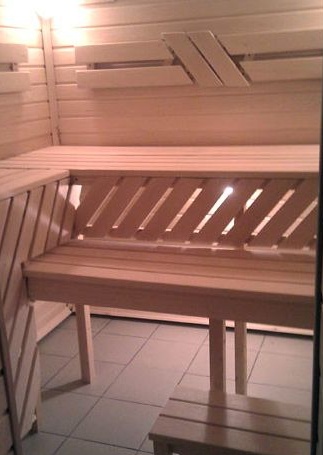
Lighting devices are installed.
Small backs from boards are made on the walls so as not to lean against the hot wall with your back.
Well and accordingly, an electric sauna heater is installed and connected to the mains. As already mentioned above, the cable should be in a corrugated casing and go separately from another network immediately to the shield and have its own machine.
That's the way our author built a small sauna in his bathroom, the location in the bathroom is much more profitable because after a steam room you can go out and take a cooling shower, but if your sauna is located on the balcony, you will have to jump like an Indian to the bathroom throughout the room :)))
You will also have to say goodbye to the bathroom and install a shower cabin or a foot sink instead. In general, you choose based on your tastes and preferences.
This concludes the article. Thank you very much for your attention!
Come visit often, do not miss the latest in the world of homemade goods!
This article is for informational purposes only!