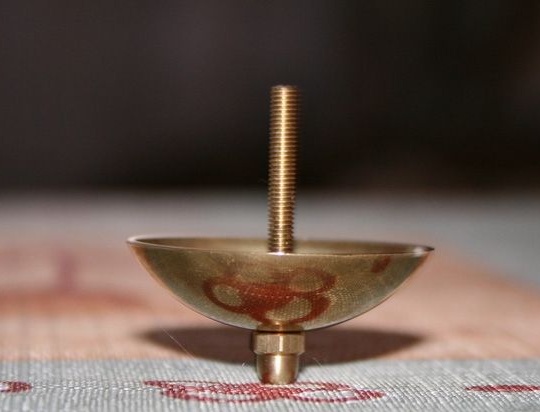
Dear site visitors, from the master class presented by the author, you will learn how to make a gift top yourself. The device and the design of this toy are extremely simple, many remember from their Soviet childhood how they dismantled old alarm clocks from their grandmothers and removed gears with a long shaft, and then twisted them on a flat surface, as they say "Not everyone will understand, but many will remember :))"
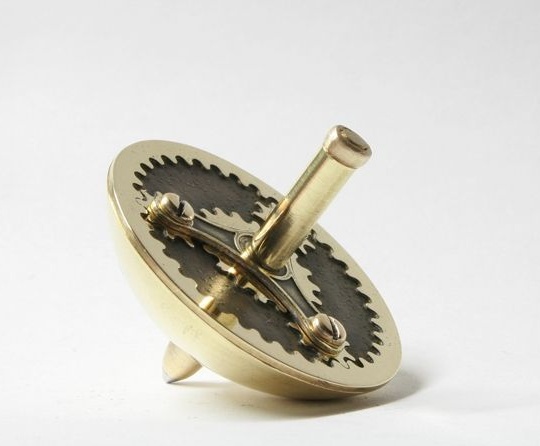
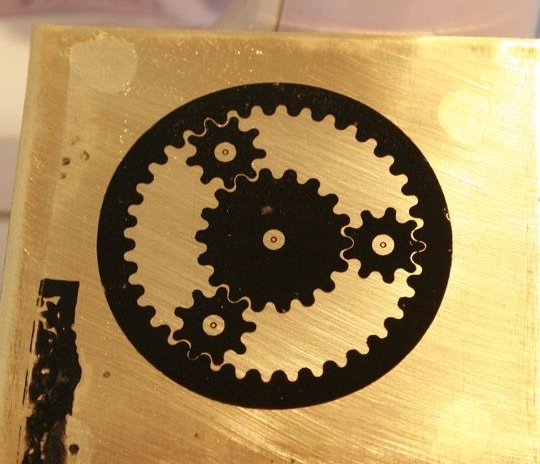
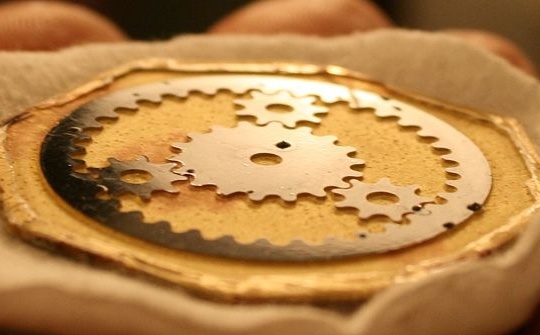
So our author decided to make another product with nostalgia for a carefree childhood, namely a spinning top. Why didn’t he dismantle the alarm clock)) and he made all the original parts out of brass, the pattern in the form of a planetary gear mechanism was also etched. Etching was carried out in ferric chloride.
And so, let's look at what exactly the author needed to assemble the top? And also all the stages of product creation.
Materials1. 0.8mm brass sheet
2. hairpin
3. cap nut
4. brass tube
5. cyanoacrylate adhesive
6. toner
7. brass nut
Instruments1. drill
2. metal scissors
3. anka
4. set of punzels
5. a plastic container with ferric chloride (for etching the picture)
6. file
7. vernier caliper
8. burner
9. hammer
10. pliers
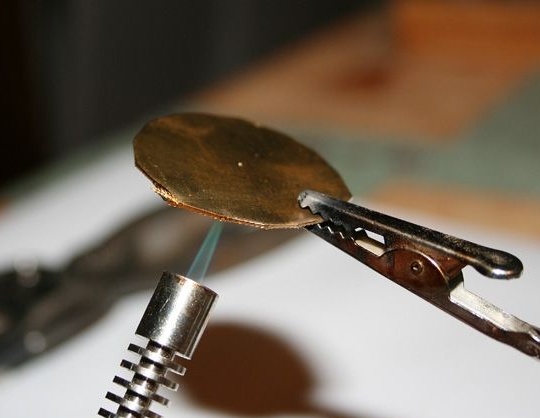
Spinning top process do it yourselfAnd so, as already mentioned above, the design and device of this little thing is pretty simple. The author also considered it and did not complicate everything)) The first step was to cut the base out of 0.8 sheet thick brass in the shape of a circle using metal scissors. Further, the obtained billet must be warmed up with a burner - this is necessary so that the metal becomes soft and pliable for the next stage of its formation.
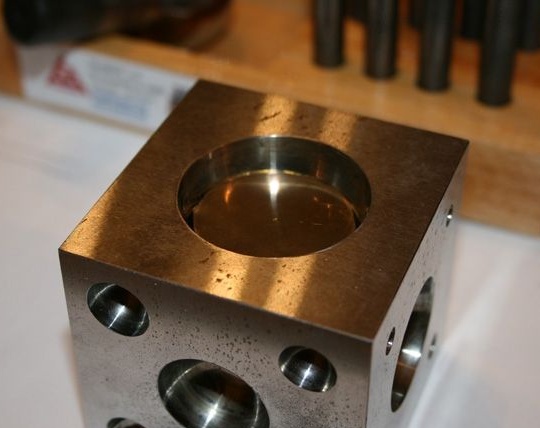
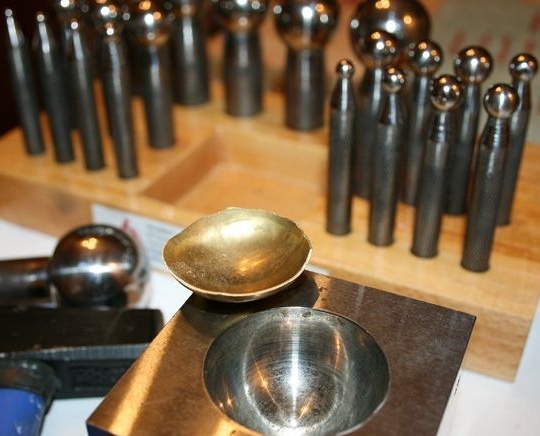
The blank will be formed using a metal cube with spherical recesses and it is called affectionately among the masters "Anka"
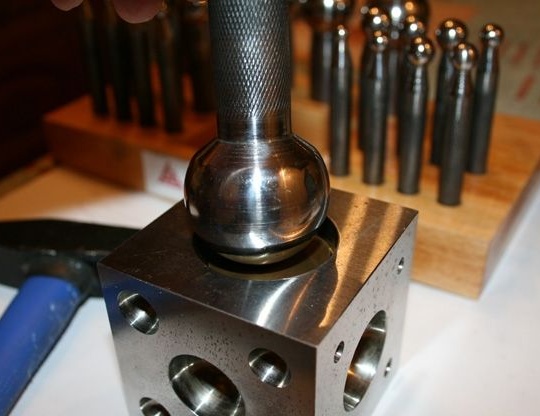
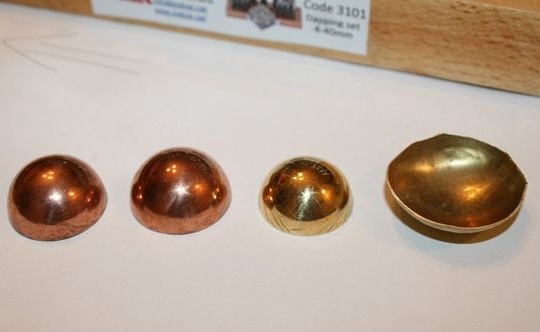
A piece of metal is laid in the hole of the required diameter and with the help of a punch the mechanical impact is made by hitting the hammer on the handle of this tool. Do not immediately strike a blow) And tactfully blow after blow to form the workpiece.
And such a bulge of metal is obtained)
The author trained a little but on scraps of metal in order to fill his hand, as they say.
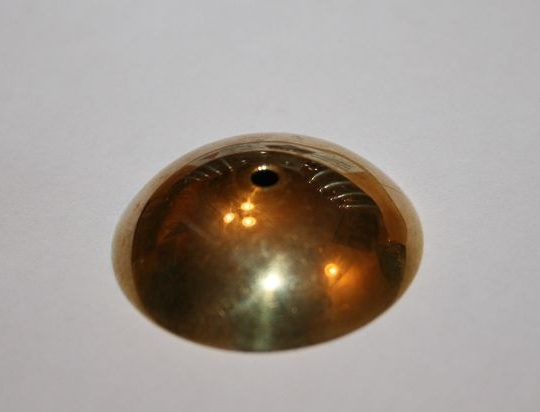
Roughnesses along the edges were removed with sandpaper, and a hole was drilled exactly in the center for the installation of a threaded brass pin.
Next, the master tried on and fixed with the nuts this same stud.
Made a trial torsion, everything works fine)
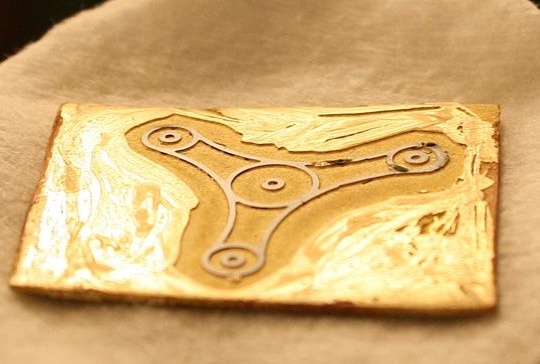
Etching pattern on metal To etch the image of the planetary mechanism on the metal surface, the author translated the picture and covered it with “toner” that does not react with ferric chloride, and coated the edges with cyanoacrylate glue so that the workpiece does not gouge.
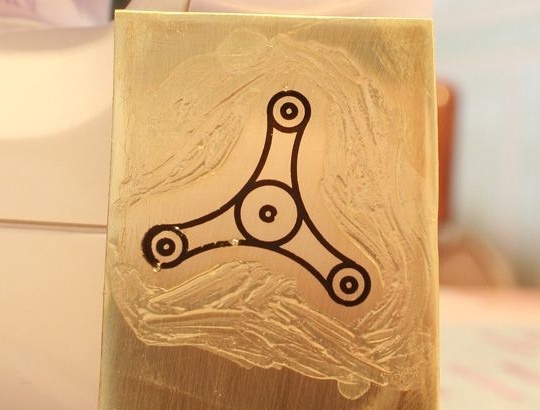
A planetary mechanism from above will be covered by a plate of the same brass and the pattern will be etched in the same way on the surface.
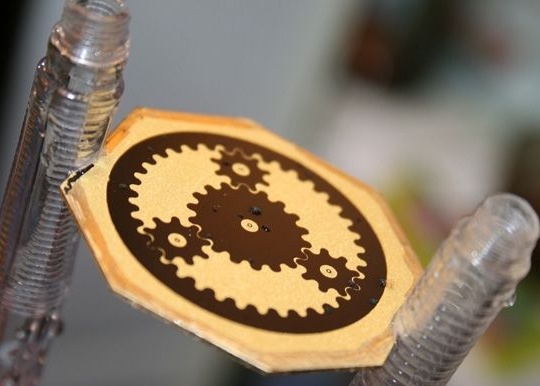
The author periodically takes out a workpiece with the help of plastic tubes in order to observe the process and so that no excess is etched.
In the end, this is what happened; the pattern is etched evenly, which is exactly what the master wanted.
Similar manipulations were also made with the etching of the plate for the planetary mechanism.
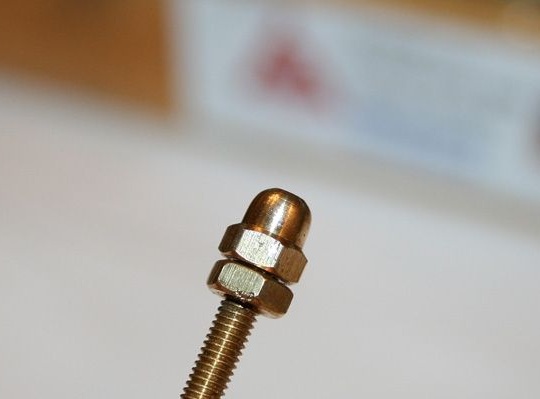
After all chemical processes, the blanks are washed with water, and in order to remove the layer of toner and glue, the author uses a burner, simply burning the applied composition, and then simply polishes it with sandpaper. After that, the master began to manufacture the top shaft from a brass stud with a cap nut at the end.
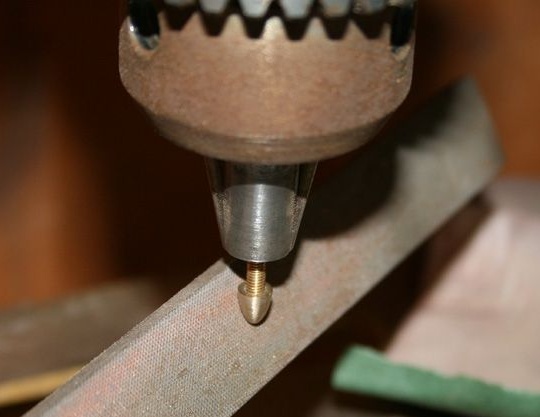
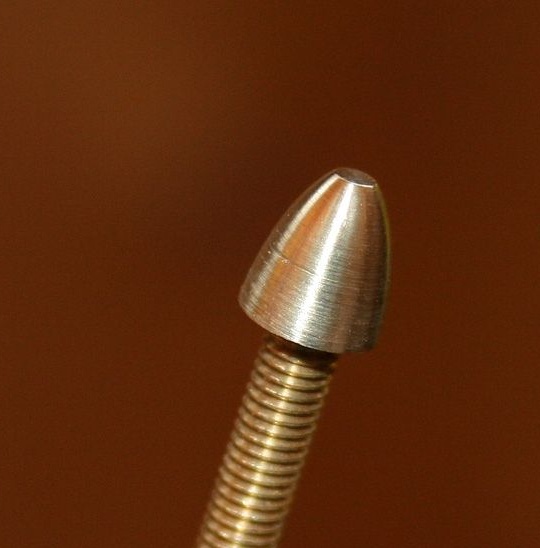
The screwed nut is locked with another nut, then the pin is clamped into the drill chuck and honed under the cone with a file.
That's actually what happens in the end.
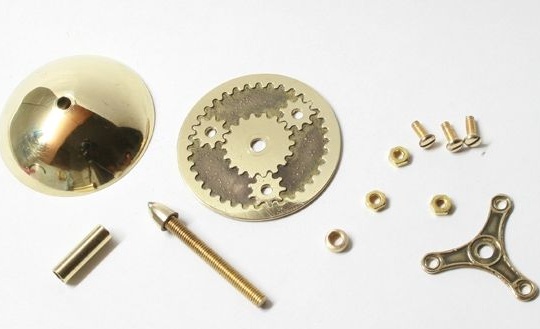
All parts are heaped before assembly.
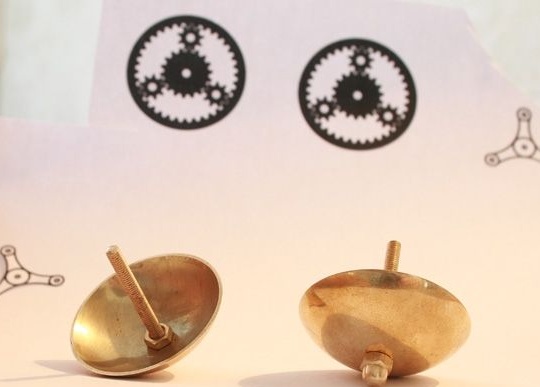
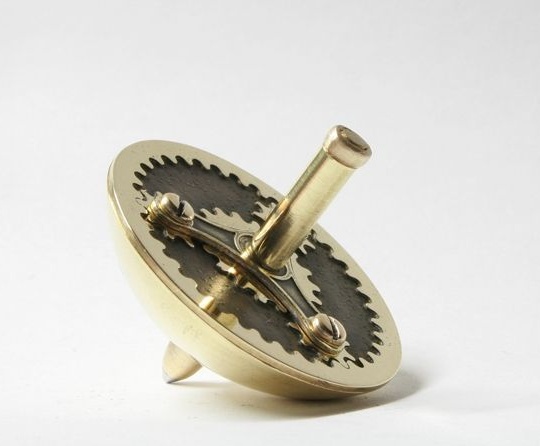
Everything is assembled and twisted into a single design. Note! A brass tube was put on the hairpin and tightened with a nut sharpened under the cylinder.
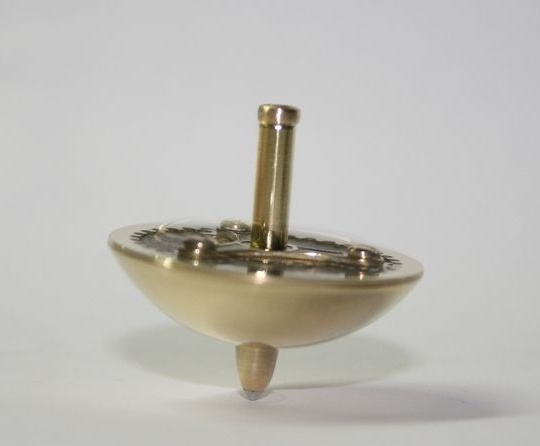
And actually such a spinning top turned out, the peculiarity is that this design is completely collapsible.
Another unique product of its kind came out of the hands of the master, which today is well appreciated, because uniqueness is the engine of creativity. So the guys familiar with this material, you are on the right track to their success. Engage in creativity, grow on yourself, create, learn from the masters!
This concludes the article. Thank you very much for your attention!
Come visit often, do not miss the latest in the world of homemade goods!
This article is for informational purposes only!
