Dear site visitors, from the material presented by the author, you will learn how to independently make a budget drilling machine out of a conventional electric drill.
Each artisan would like to have a similar machine in his household, because in comparison with factory counterparts it will cost tens of times cheaper, and if all spare parts and accessories are available, then generally free of charge.
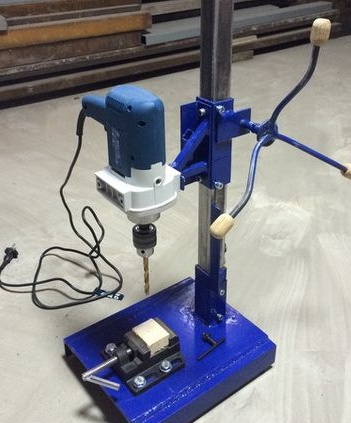
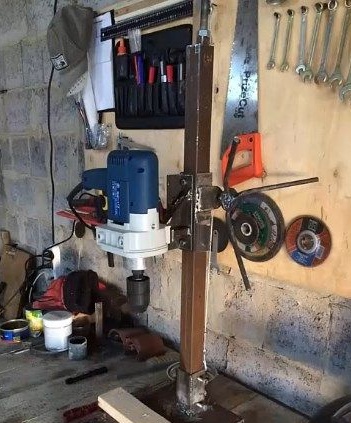
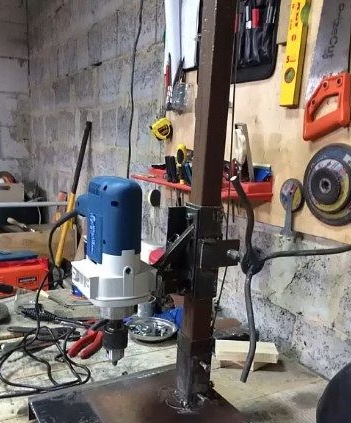
The author of this machine is Igor Stasyuk, for which many thanks to him he shared step-by-step photos of the assembly of the machine with the people. The design is quite interesting and at the same time simple. Corners and 4 legs are welded onto the base of a 3 mm sheet of metal, a 500 mm rod from a square tube is welded onto this plate, the slider is made of 2 corners welded into the pipe and put on a lifting column with a gap so that the slider can move up the column and down. The lifting mechanism is driven by a cable stretched from the top point to the bottom, and on the slider the cable makes several turns.
And so, let's carefully consider what exactly the author needed to assemble the machine? And also the whole phased process.
Materials1. sheet metal 3 mm
2. fittings
3. corner
4. cable
5. drill
6. vice for preparations
7. bolts, nuts, washers, engravers
8. drill clip
9. paint
10.prof square pipe
11. drill
Instruments1. welding machine
2. Bulgarian (angle grinder)
3. drill
4. file
5. vise
6. clamp
7. vernier caliper
8. ruler
9. corner
10. level
11. sandpaper
12. brush
13. hacksaw
14. emery
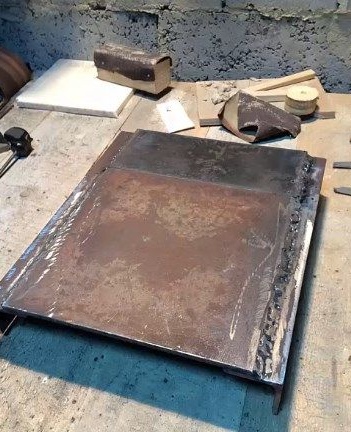
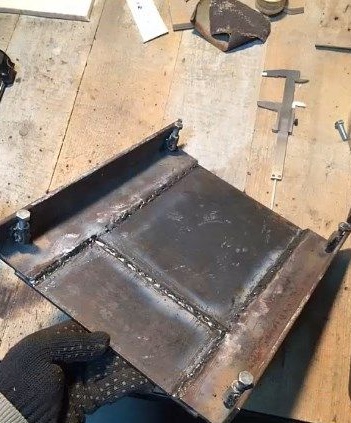
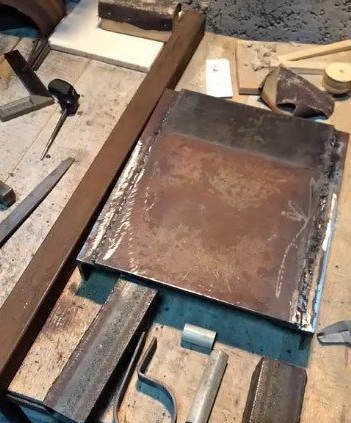
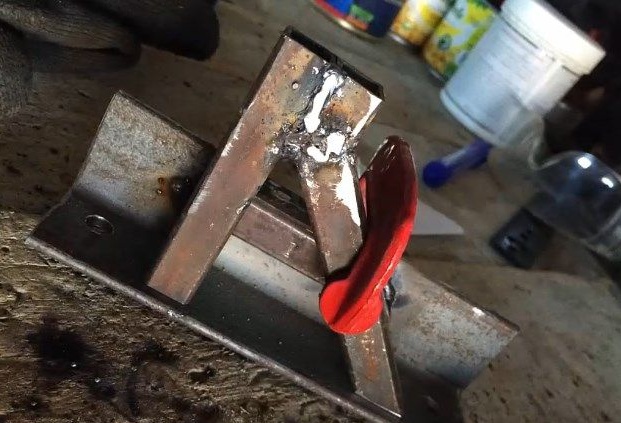
The process of creating a drilling machine from a drill.And so, first of all, the author makes the base of the machine tool from 3 mm sheet metal, cuts the workpiece using a grinder (УШМ), and welds 2 corners and 4 legs from a steel bar or reinforcement into the lower part. The length of the legs should be the same so that there is no skew of the bed.
Corners and legs are welded.
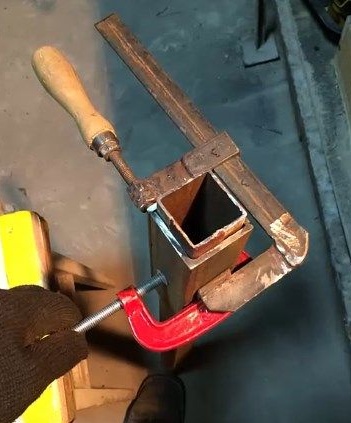
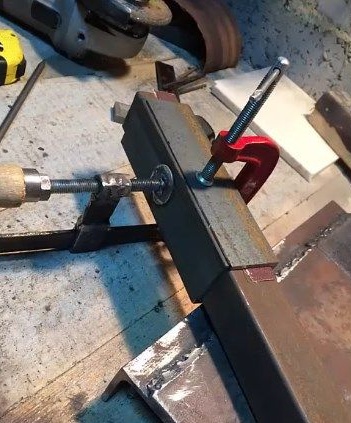
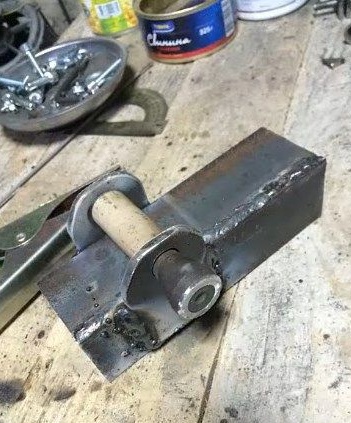
Making the slider! 2 angles are taken and applied to a square-shaped professional pipe that will serve as a lifting column and are pulled together with a clamp.
It is welded along the edges in order to simply make money for now, and only then to boil the normal seam specifically.
That's actually such a workpiece turned out.
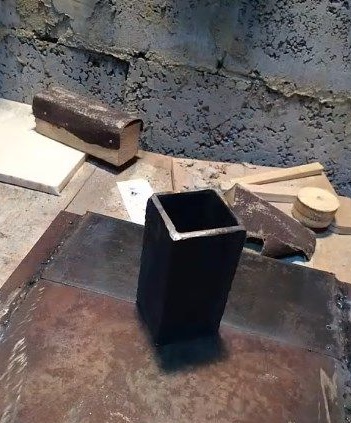
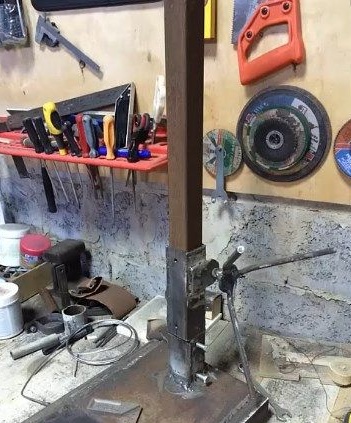
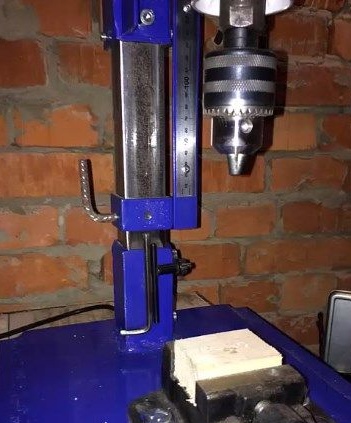
The lifting column is made of a professional square tube with a length of 500 mm.
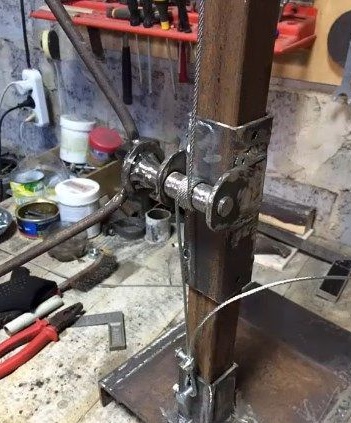
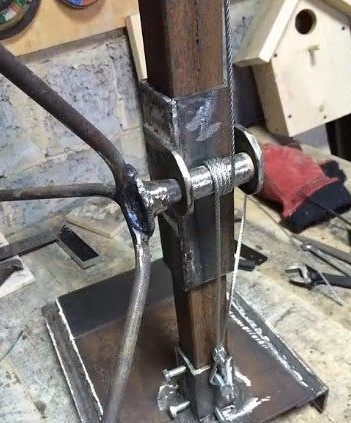
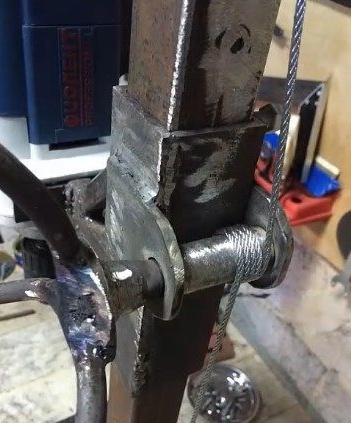
A bracket with a movable shaft is welded onto the body of the slider onto which the cable turns will be made.
A thread is cut in the drilled hole.
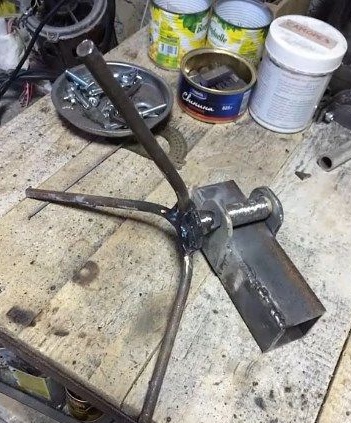
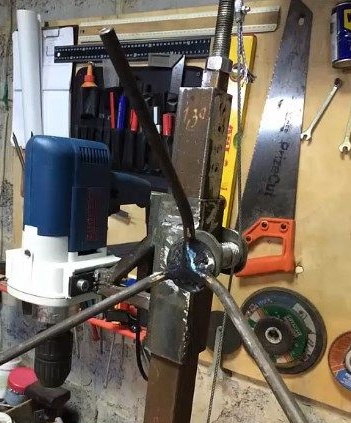
Handles of the lifting mechanism are made of fittings.
There is such a head on the shaft that will be the base for the handles.
And so, 3 handles are welded for the convenience of raising and lowering the drill through the mechanism.
Installed on a lifting column.
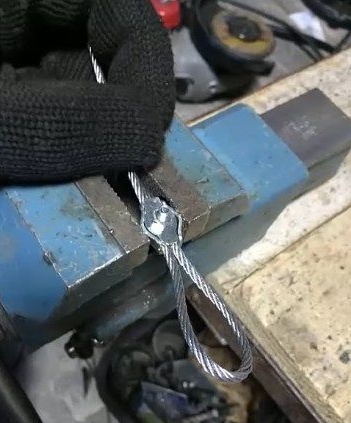
Such a loop is made at the end of the cable.
Attention!The cable is attached at the bottom with a loop, then several turns are made on the shaft and a tension is made in the upper part of the lifting column.
I hope the rise principle is clear and without explanation)
Next, an arm for a drill is made.
A square pipe is welded onto the corner.
For the convenience of welding, the author fastens the workpieces to each other using a clamp.
That's actually such a mount for an electric drill turned out.
Then a drill is installed and secured with a collar of bolts and nuts.
Now let's get back to the lift mechanism.
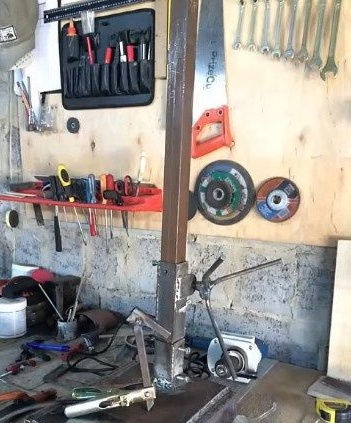
A nut is welded in the upper part of the lifting column and a bolt is screwed into it, a cable is fixed to the bolt, and when tightening and unscrewing the bolt, the cable is pulled to the optimum norm.
It is advisable to pre-lubricate the movable units with solid oil or lithol.
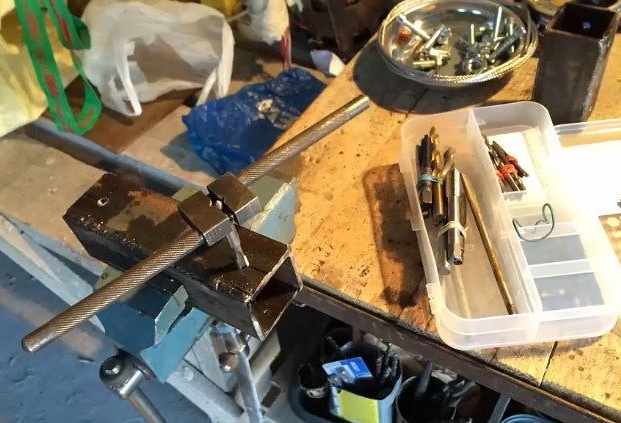
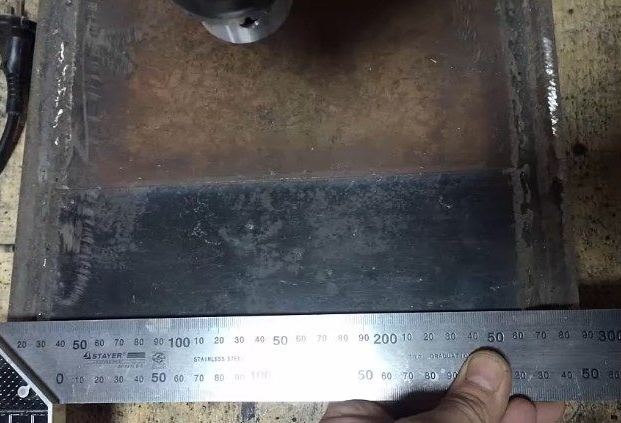
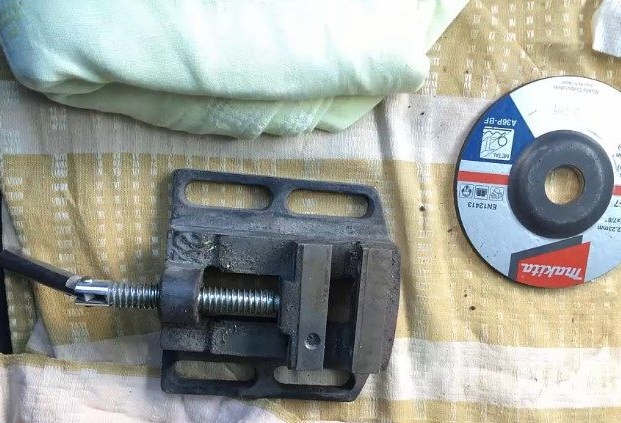
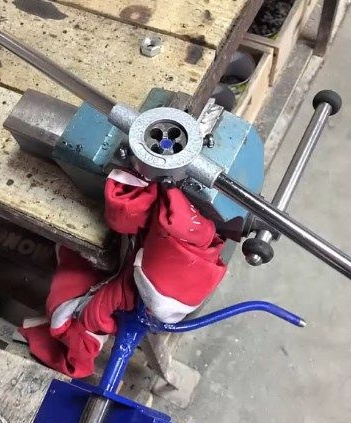
The author shows the width of the base and marks the place for the installation of a small vise for attaching blanks.
These small vise can be purchased at a hardware store in the tools section.
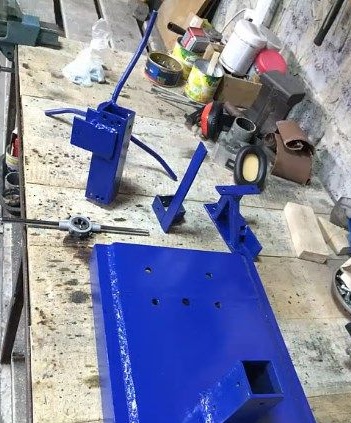
All details were polished by the master with sandpaper, and then painted.
The thread is cut.
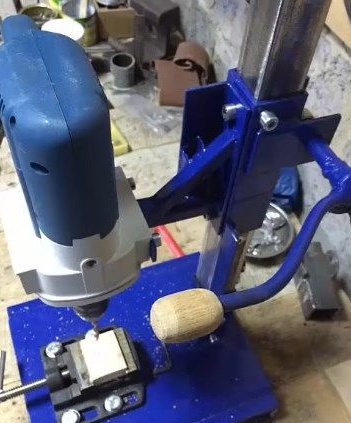
And now the vice is bolted to its rightful place. And now the author is already drilling holes in wooden handles for the machine.
Installation of wooden heads on handles.
That's actually such a wonderful machine turned out from our master.
The author of this machine is Igor Stasyuk. Well done! Skillful fingers!
Engage more in creativity, grow on yourself, create and success will certainly come to you.
This concludes the article. Thank you very much for your attention!
Come visit often, do not miss the latest in the world of homemade goods!
This article is for informational purposes only!