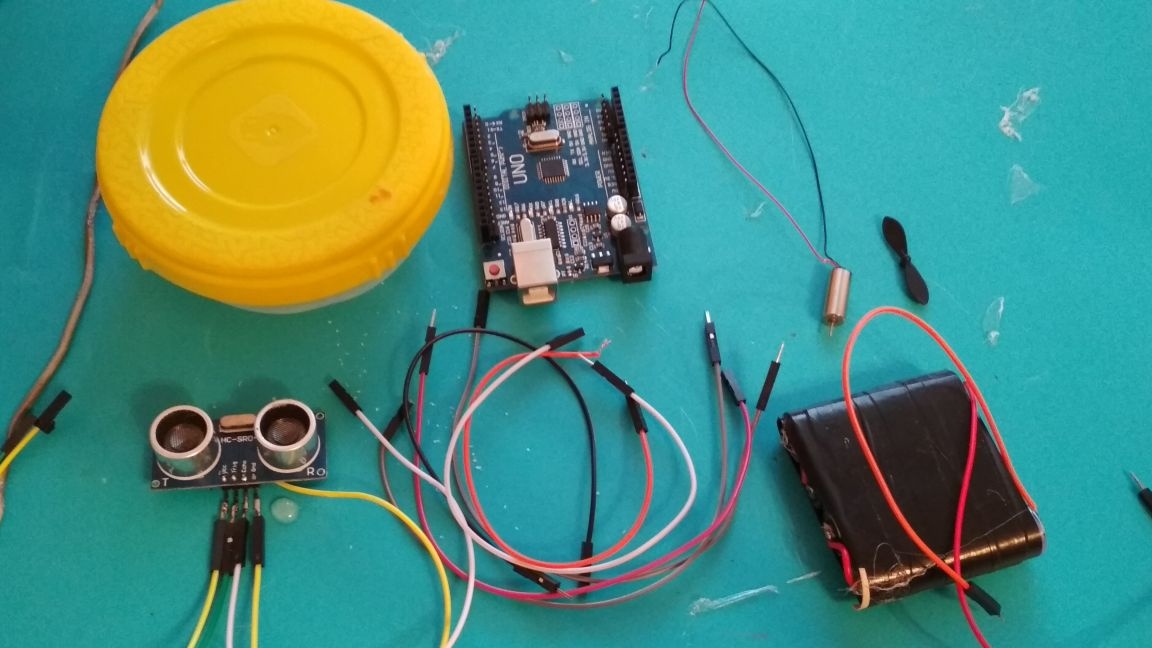
And so for an automatic fan we need:
-pay Arduino uno (took here)
low voltage motor
-Papa-Mom type wires
- Conventional wires
-switch
-ultrasonic
-Plastic container
- small propeller
- a bolt about 5 cm long and 1 cm wide
nut to bolt
- 6-12 volt battery (I use 4 1.5V batteries connected in series to which two mother-to-mother wires are soldered with the mother exit cut off
thick wire
From the tools we need:
soldering iron
glue gun
-stationery knife
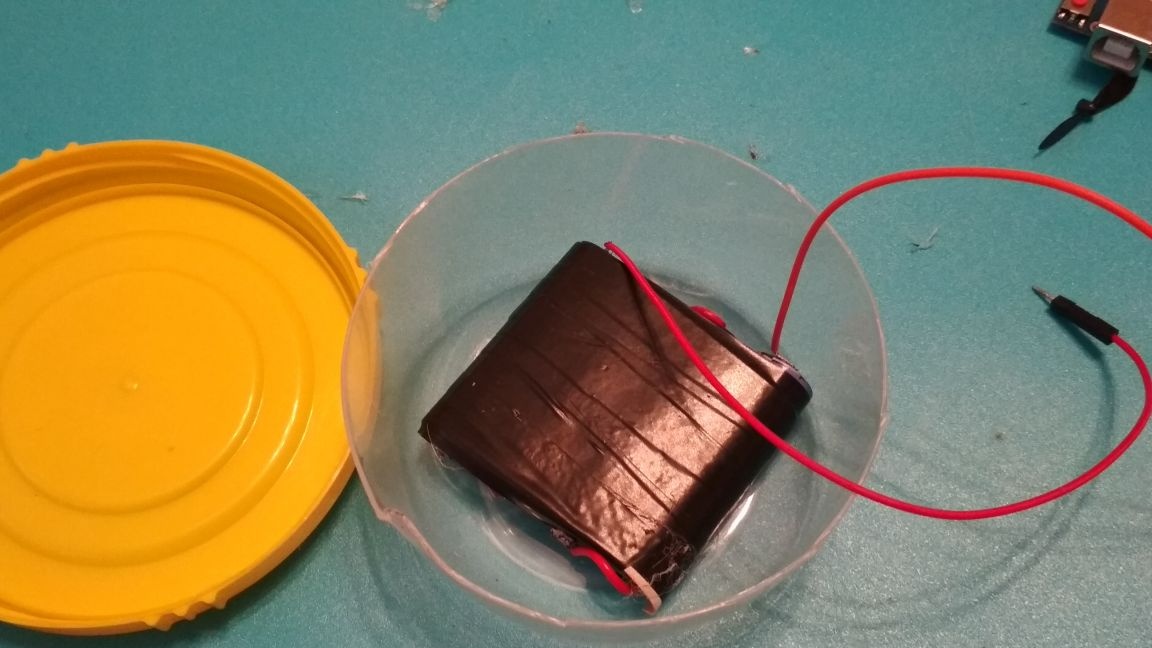
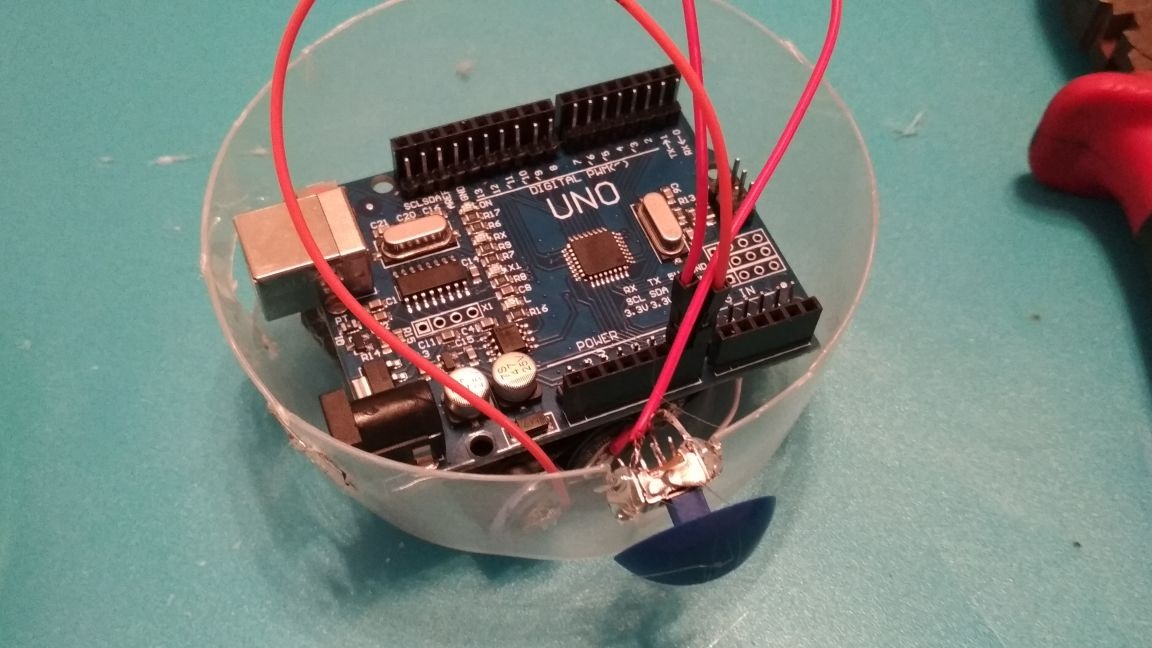
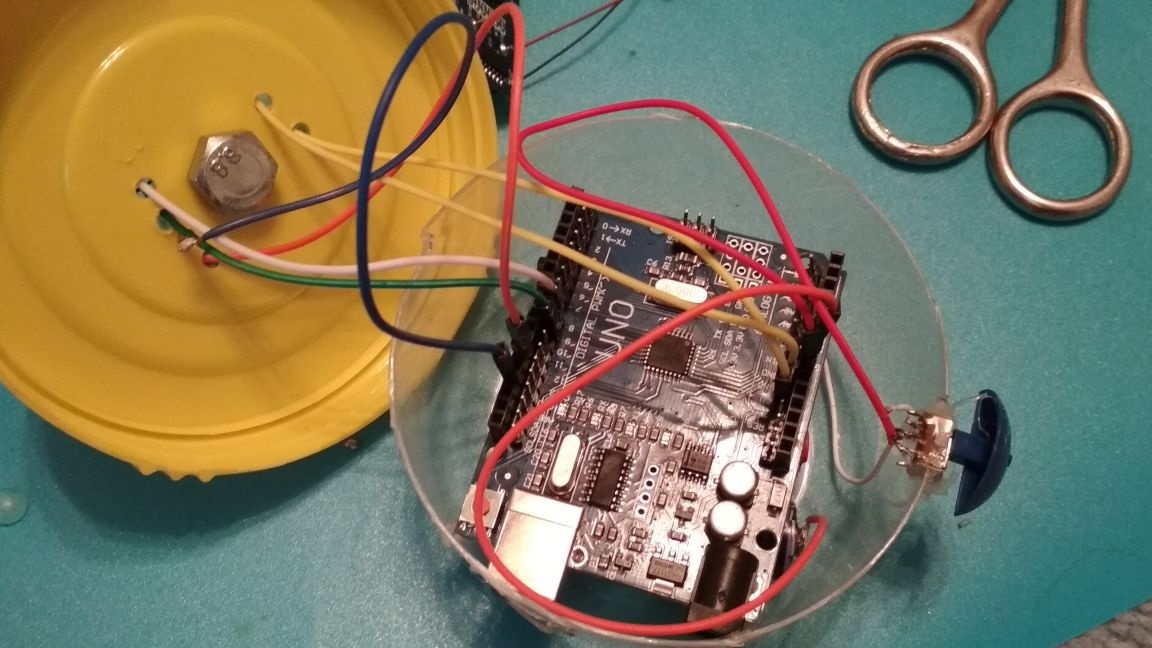
And so, first of all, we take our power source and put it on the bottom of the container (I use the 16-bit fixed price container I like)
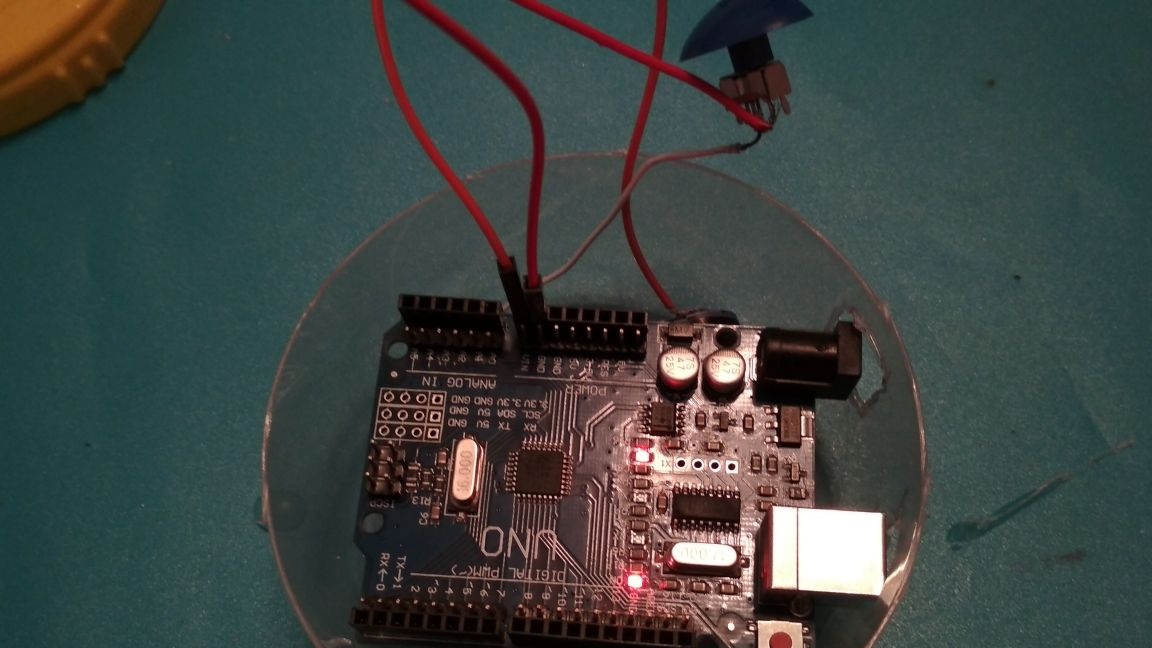
Then we put the Arduino Uno board on top:
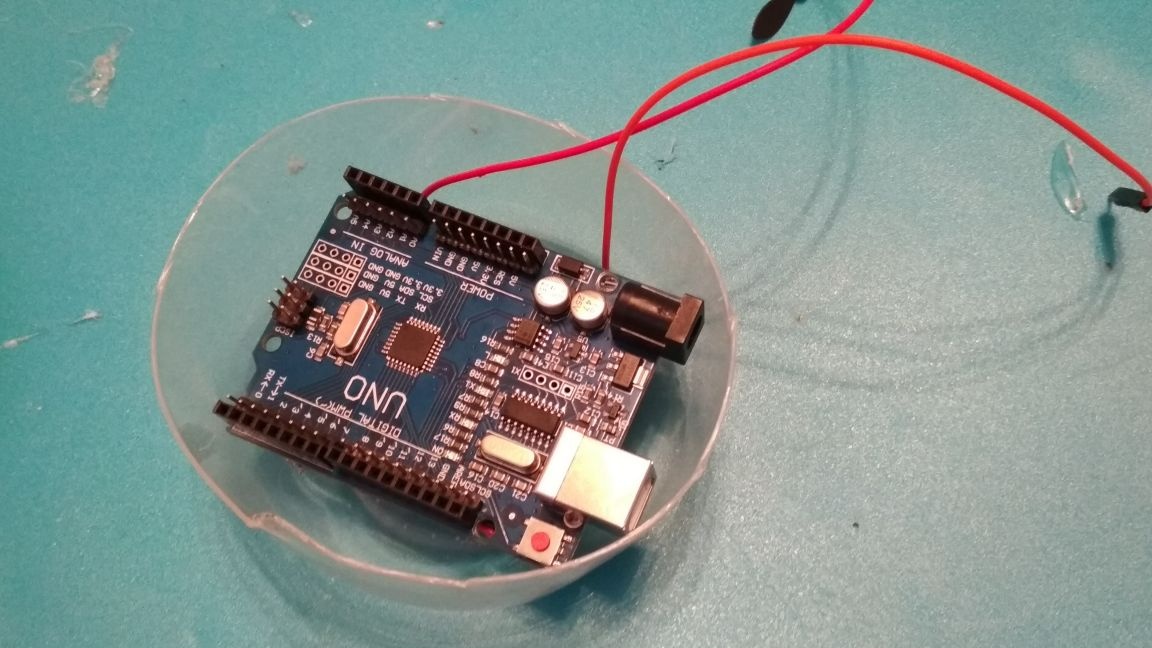
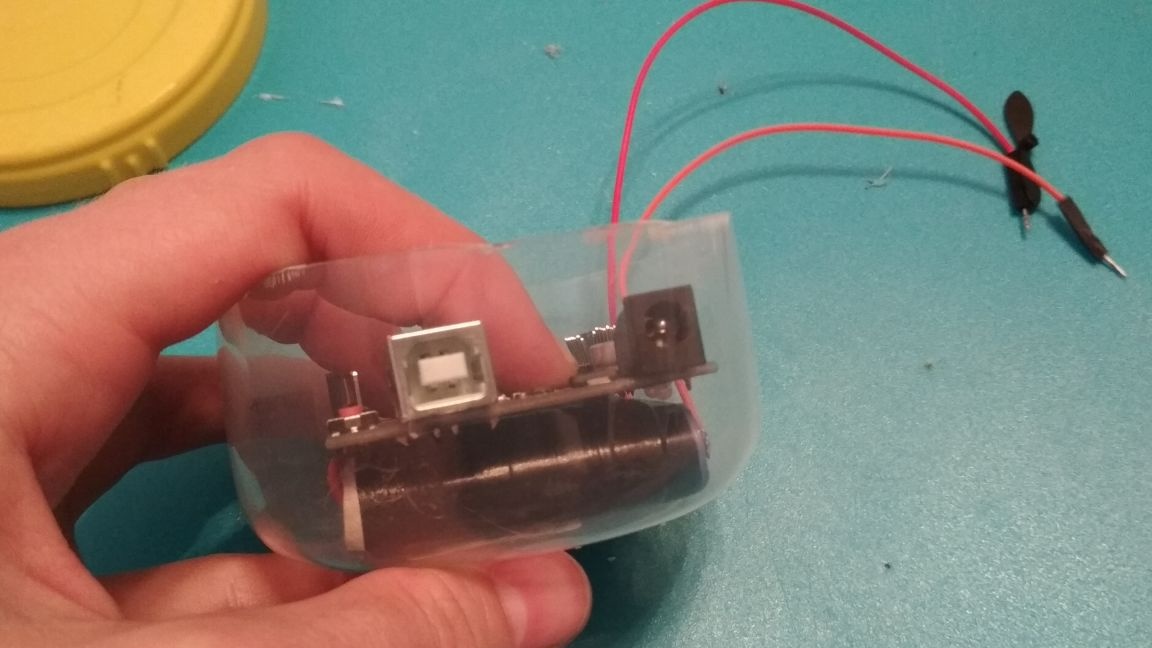
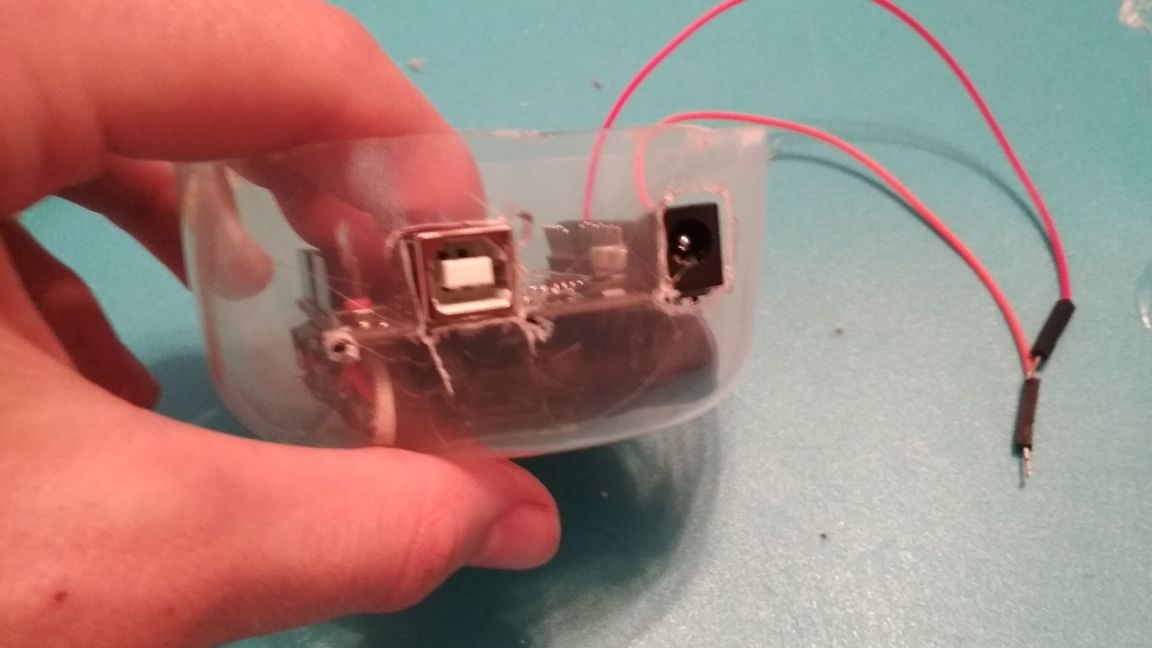
Since the board comes out very much, mark 2 holes for the connectors and cut them out:
We add a switch to the power source, then connect the plus power to the uin output on the arduino, and minus to Gnd:
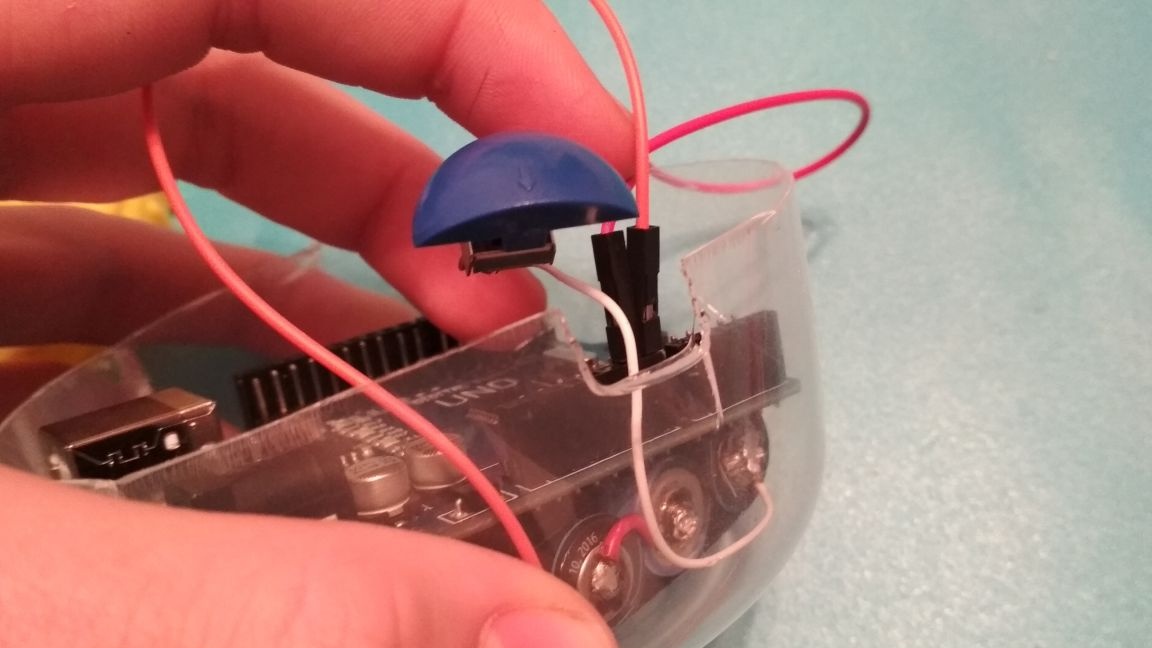
On the side of the container (also in the lid if necessary), make a groove for the switch and glue it there:
if the red LEDs on the Arduino board light up when the switch is turned on, then we connected the power correctly.
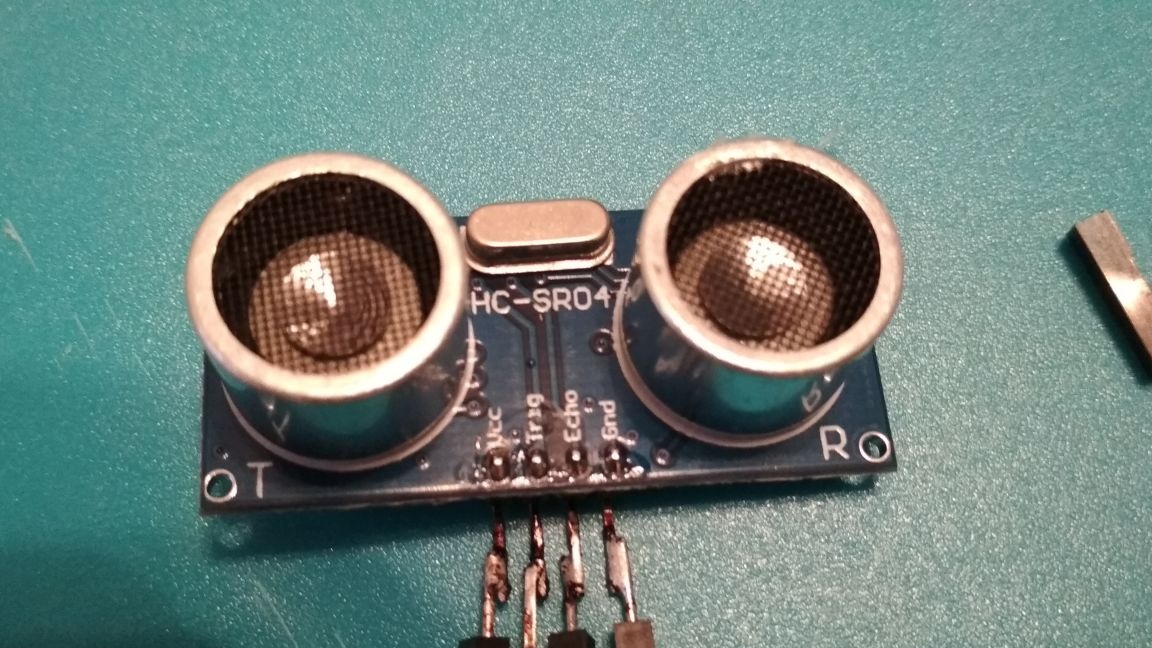
We take an ultrasonic range finder and solder to its outputs (vcc, Echo, Trig, Gnd) dad-mom type wires
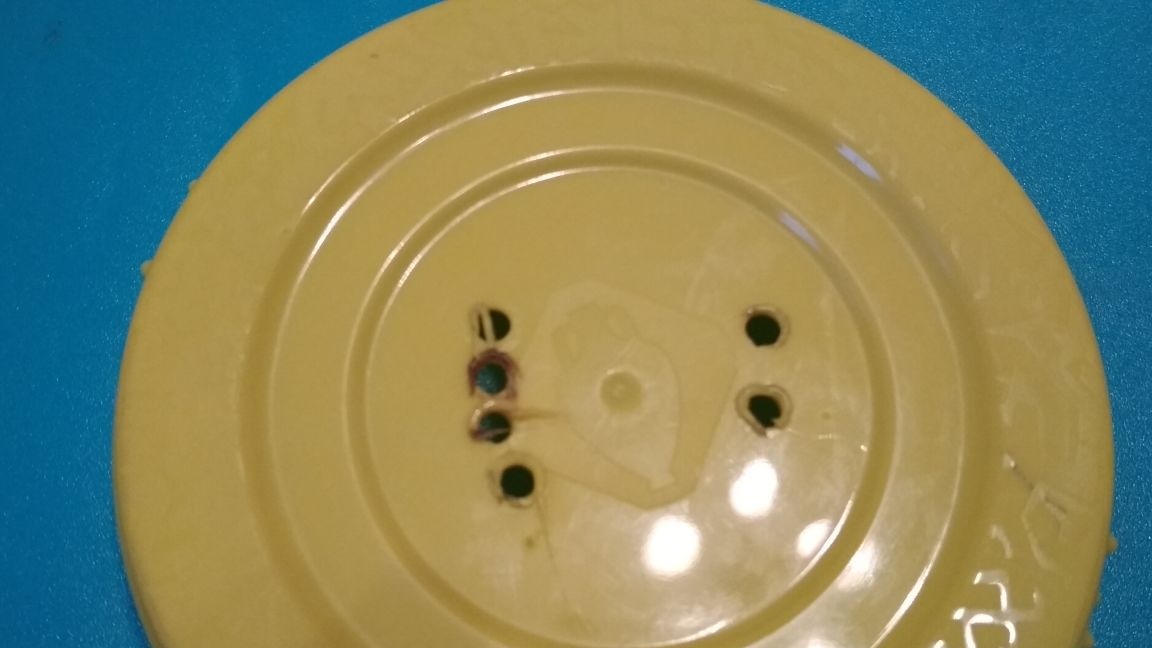
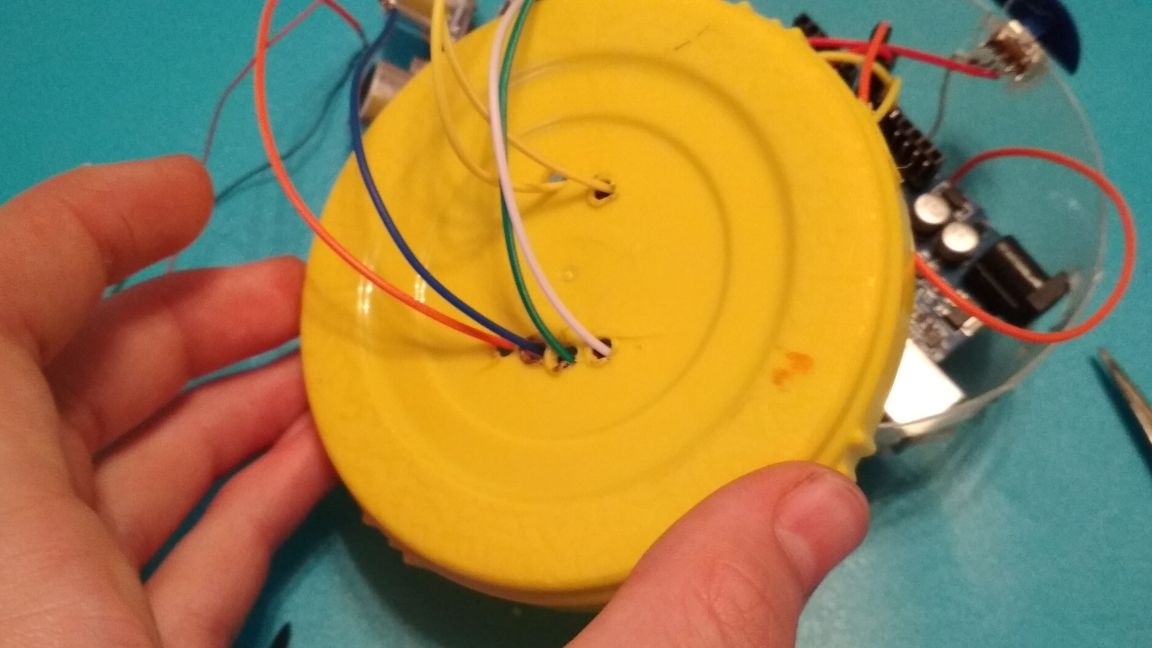
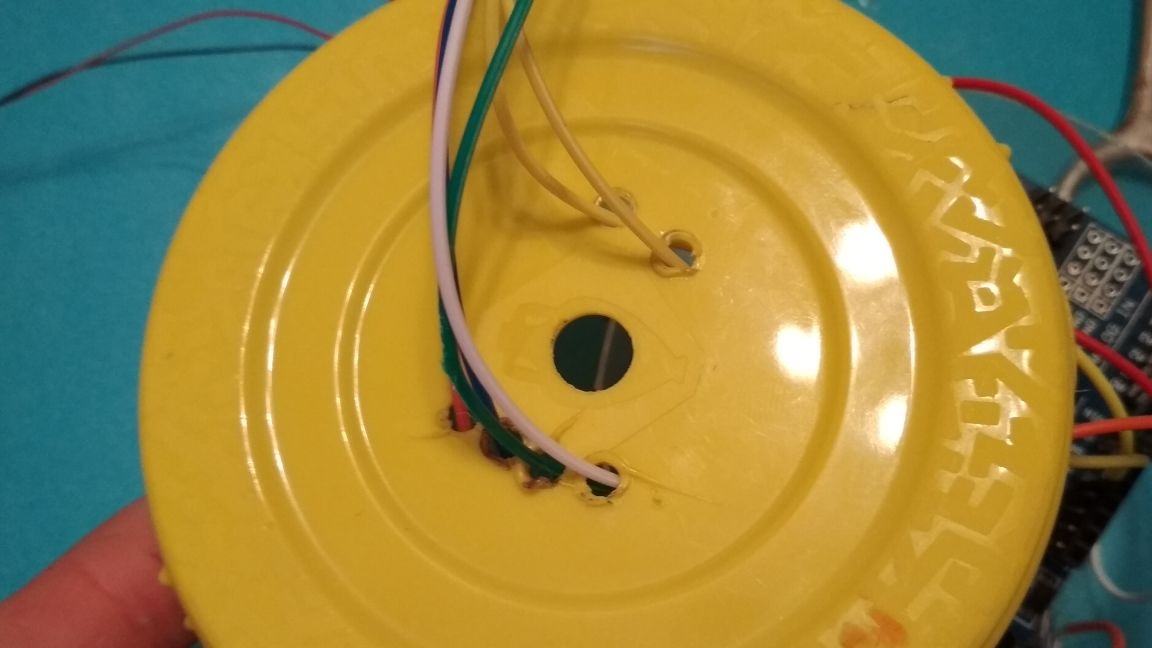
In the container lid we make 6 small holes, 2-under the wires of the motor, 4-under the wires of the ultrasonic sensor:
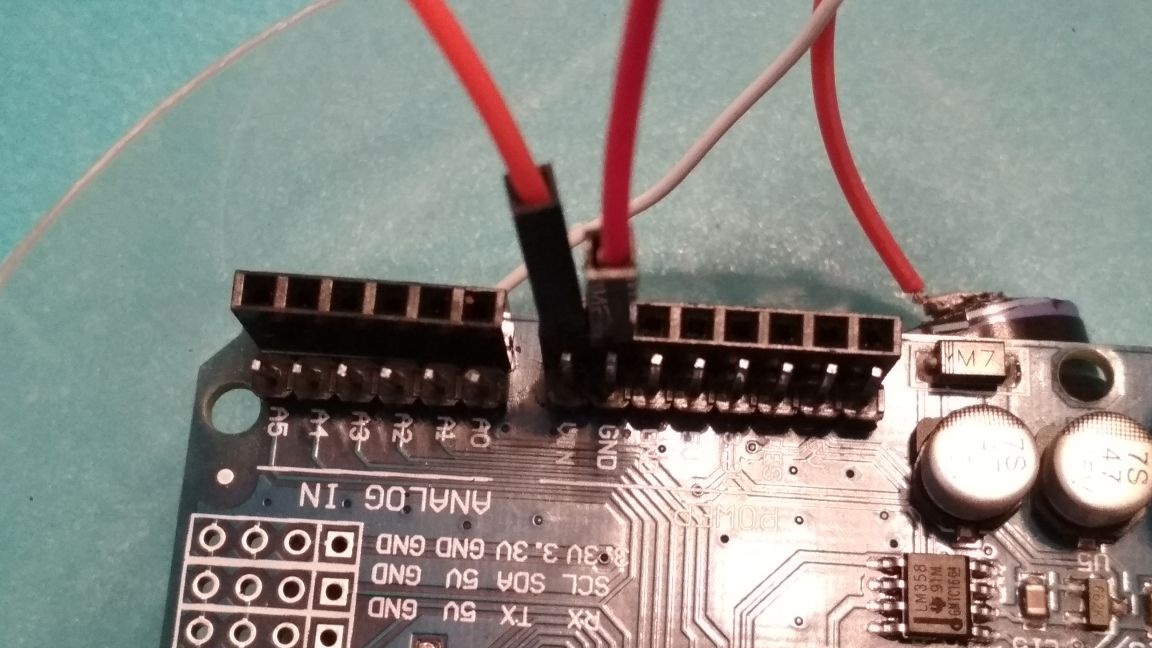
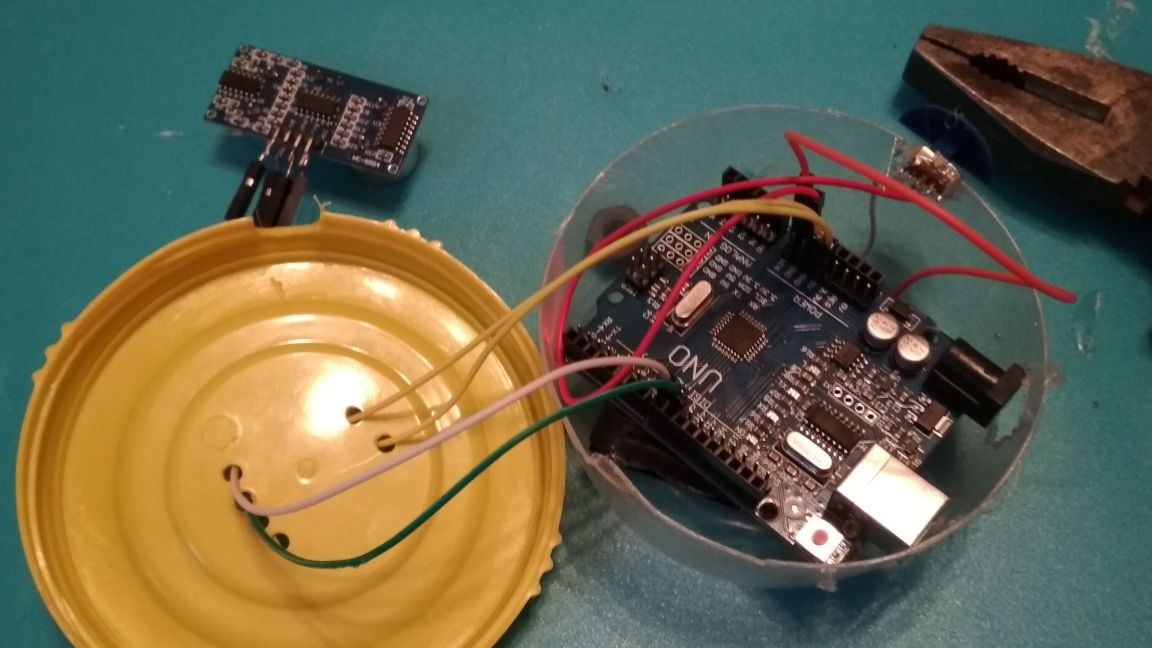
We pass the wires from the sensor through the holes in the lid, and connect them as follows to the arduino board: vcc to the output 5 v, Gnd to Gnd, echo to 9 digital pin, and trig to 8
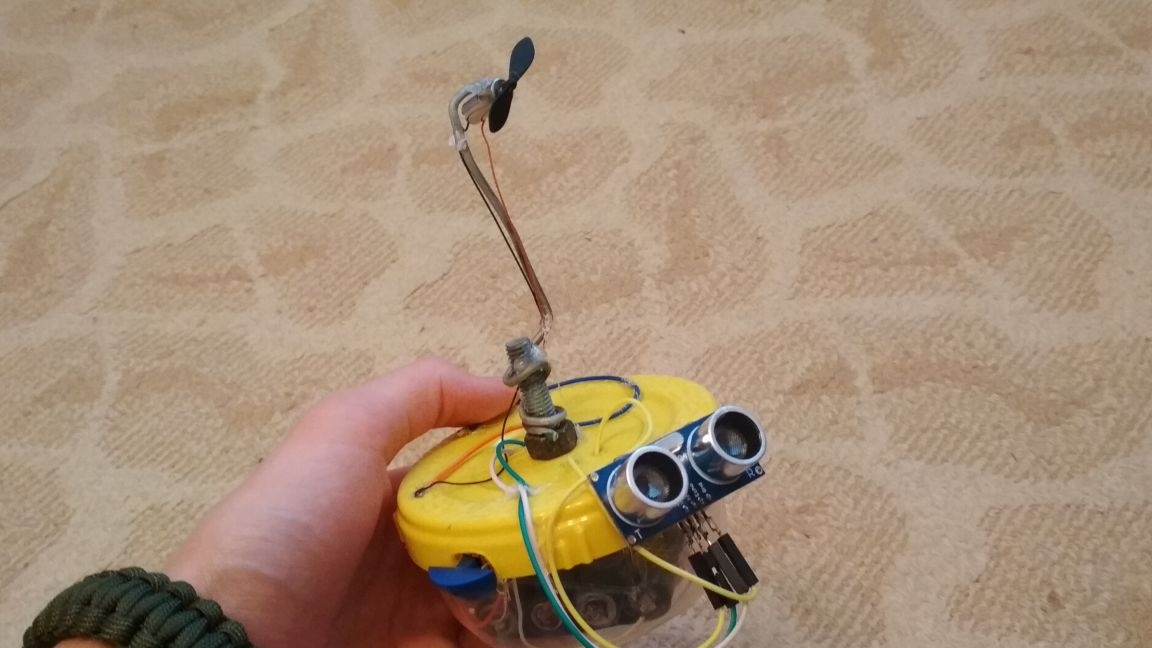
We put a propeller on the motor axis, I will use a small factory one, since there is no other, but it is better to use a larger propeller, or even a homemade one:
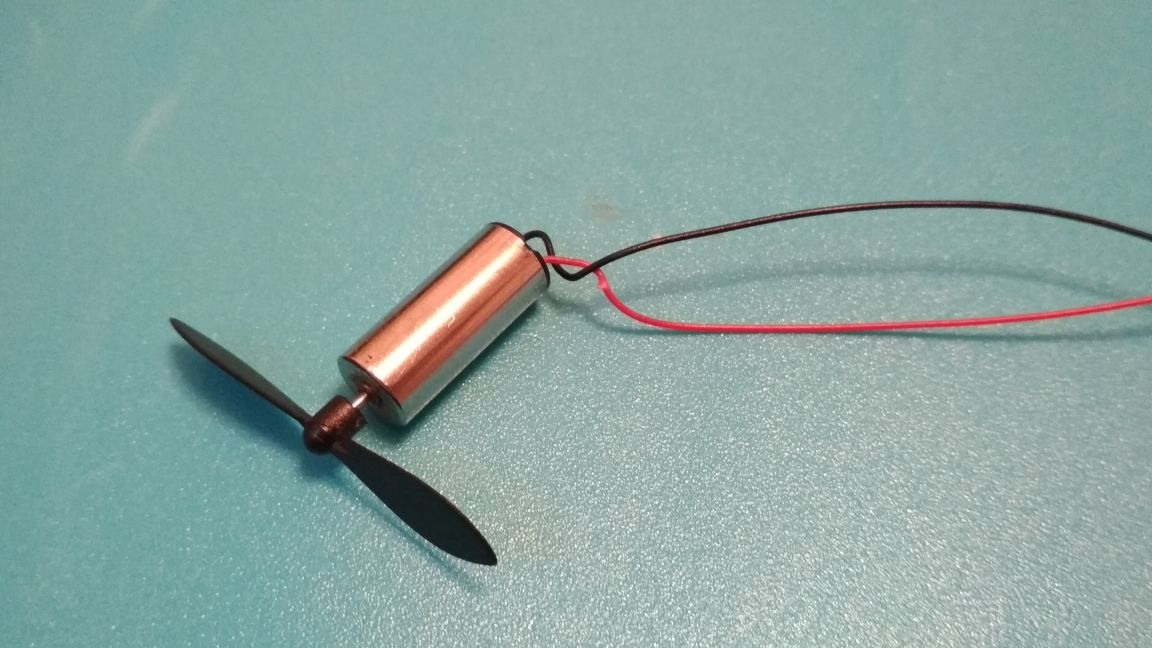
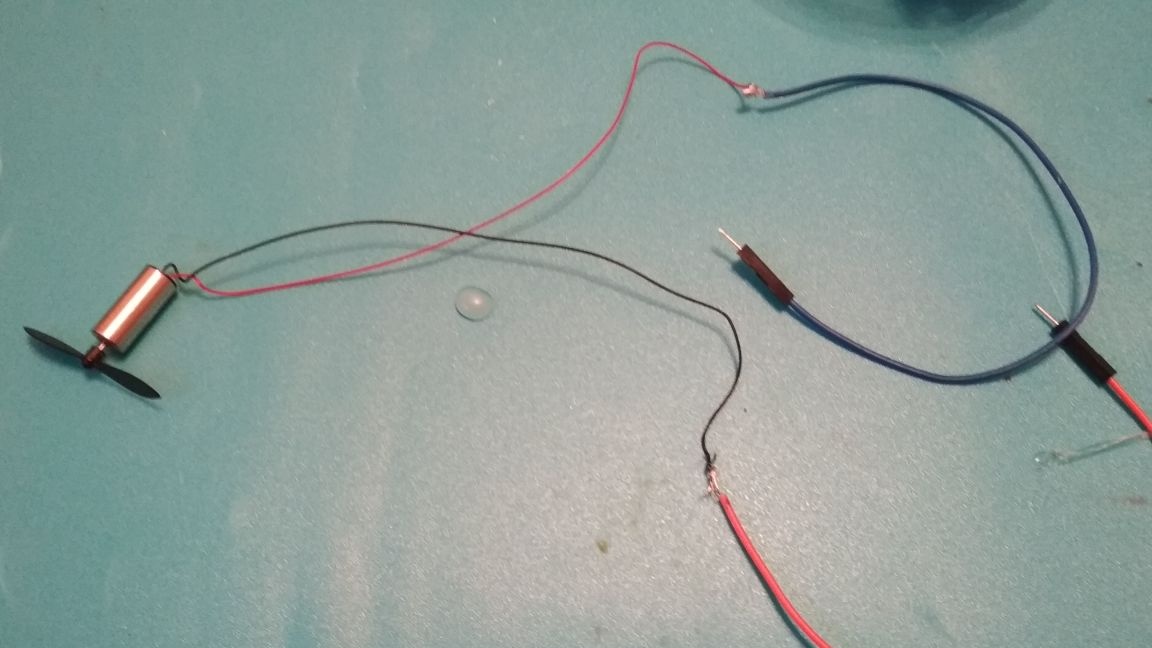
Solder two dad-to-mum wires to the motor with a pre-cut exit "mum"
Pass the wires from the motor through the remaining holes in the cover:
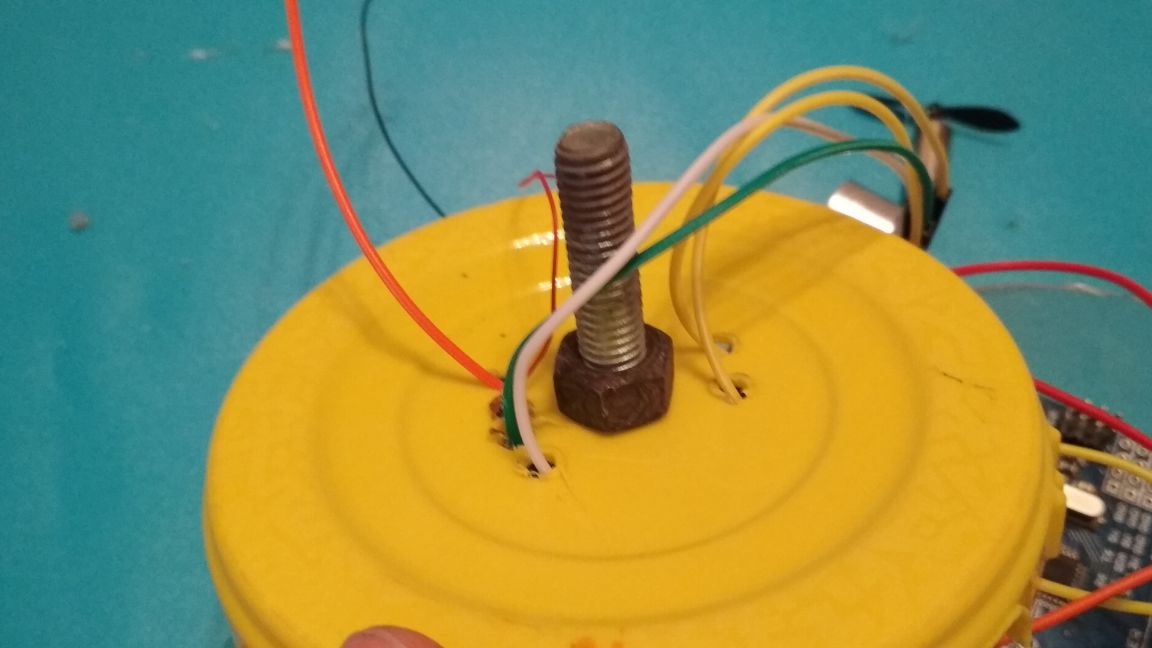
We take a bolt with a nut and, using a staggered drill or a soldering iron, make a hole in the cover for the diameter of the bolt:
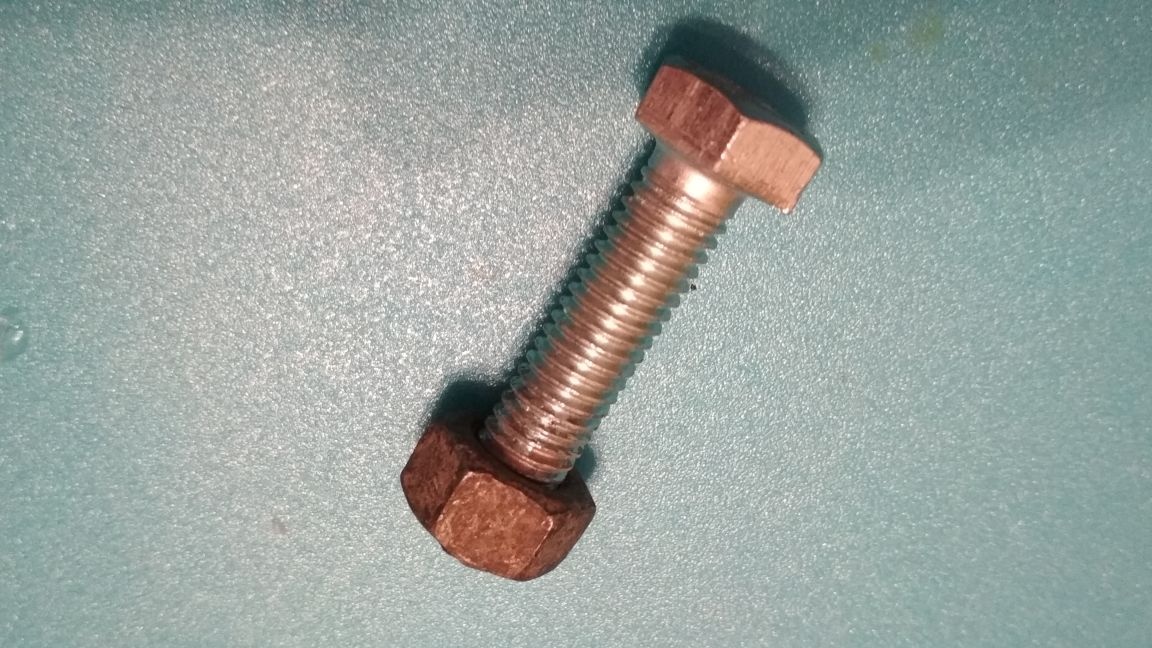
Insert the bolt from the bottom up and tighten the nut:
We connect one wire from the motor to the Gnd output on the arduino board, and the other to the 10th pin:
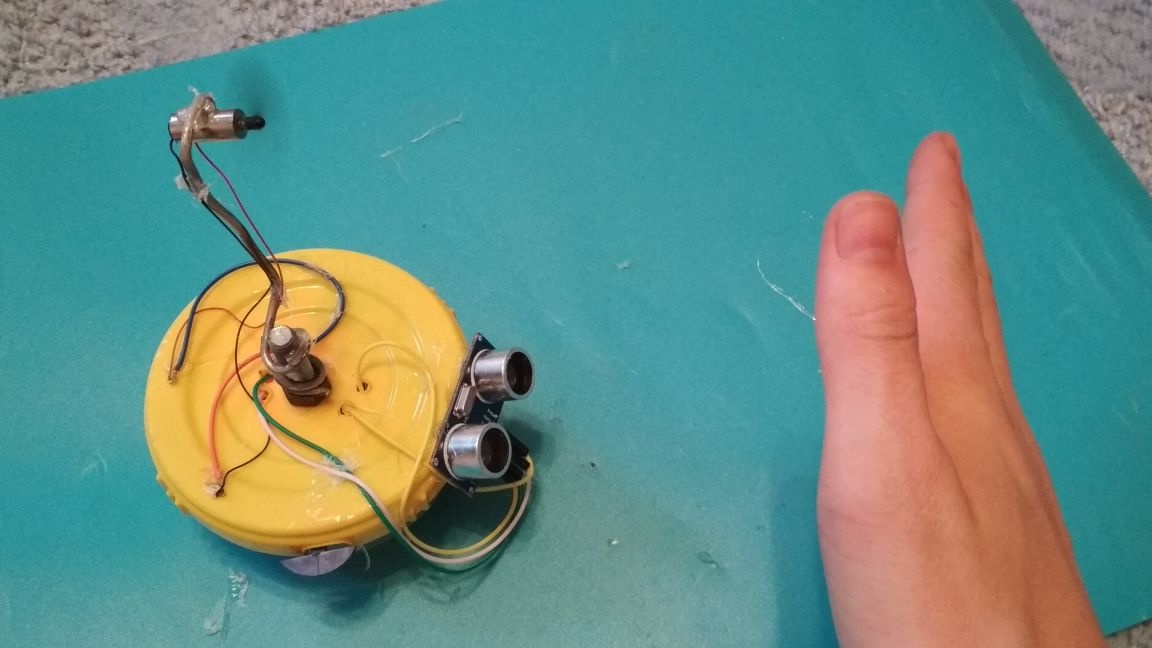
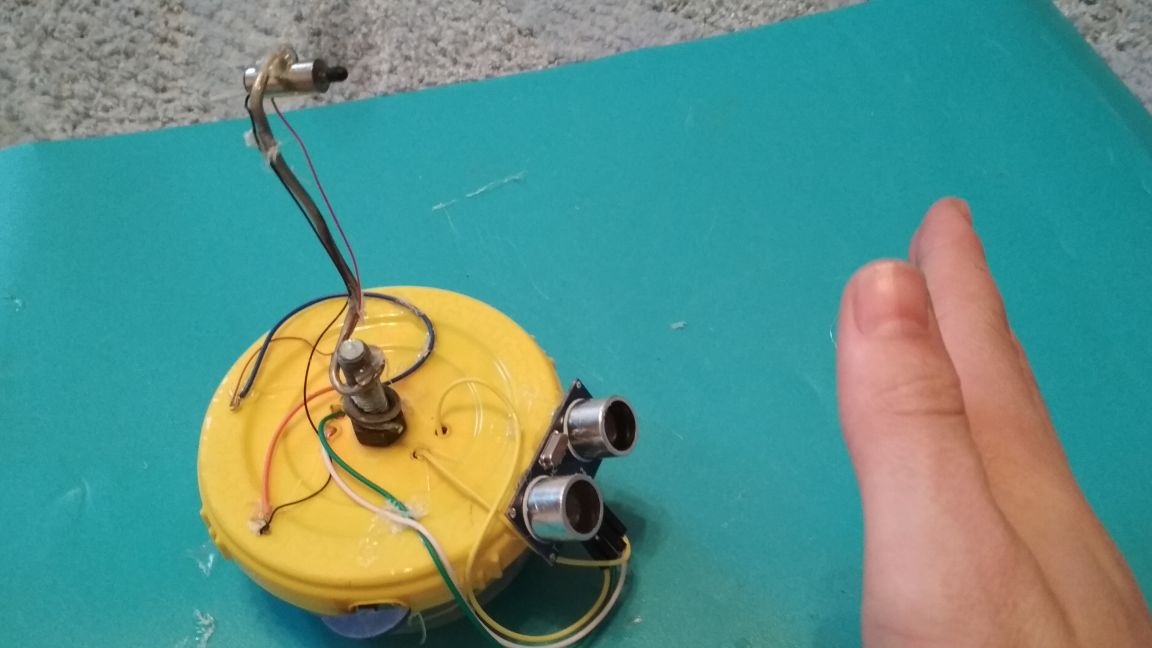
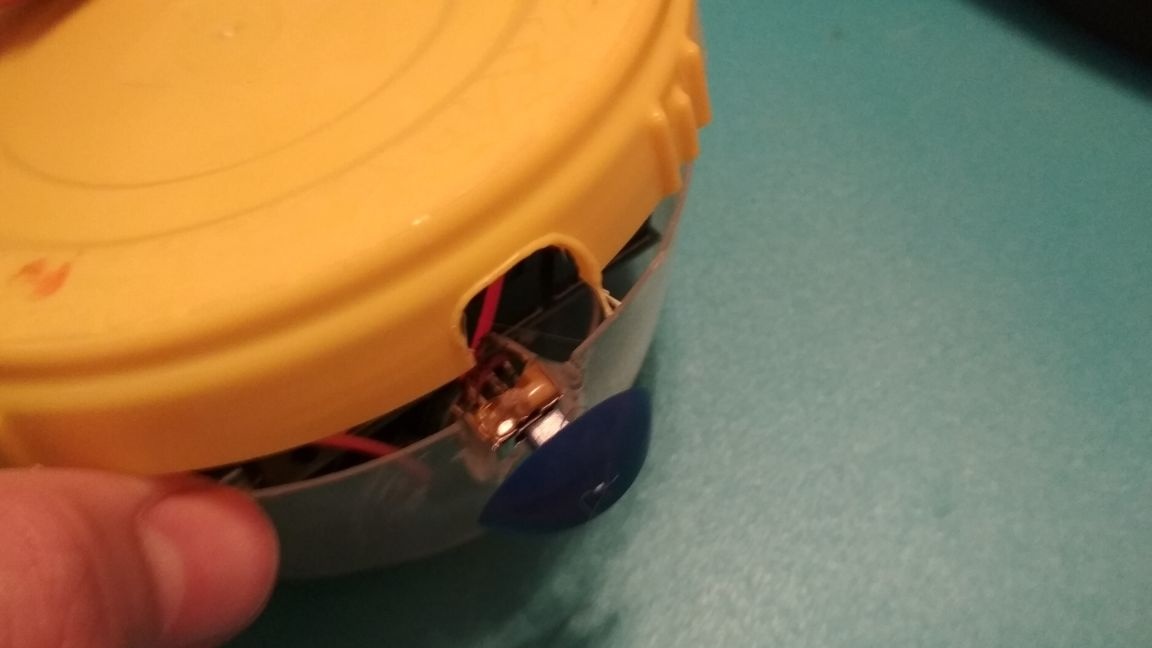
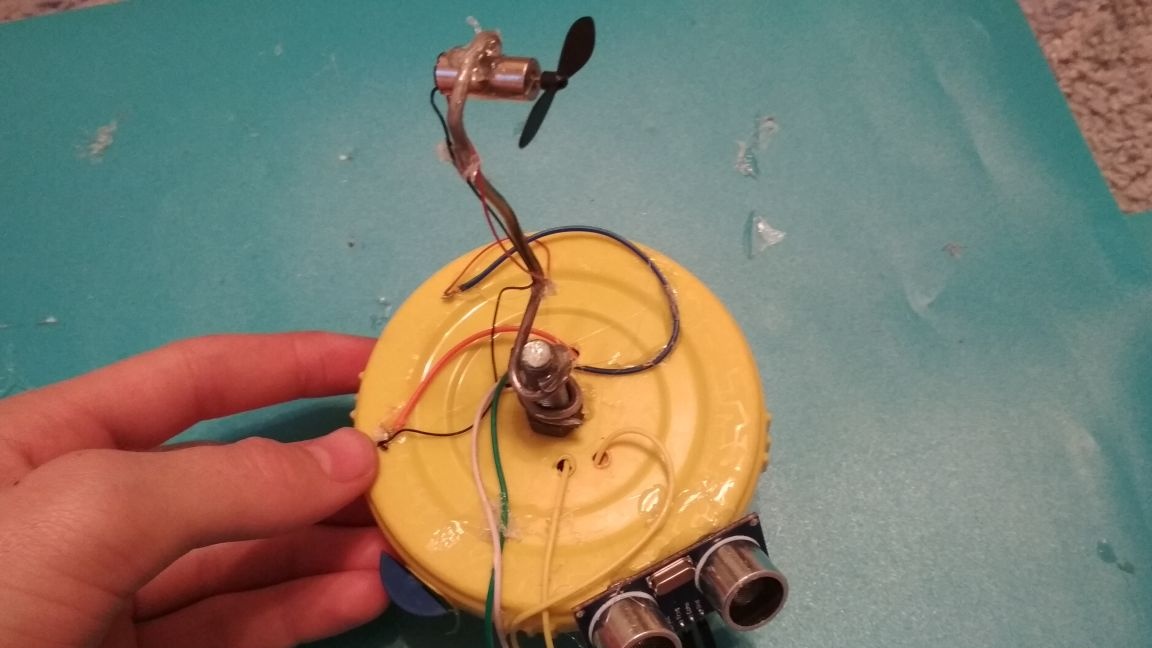
We put on the lid and glue the ultrasonic rangefinder, as shown in the photo, also glue all the dangling wires:

We wind and glue a thick wire to the bolt:
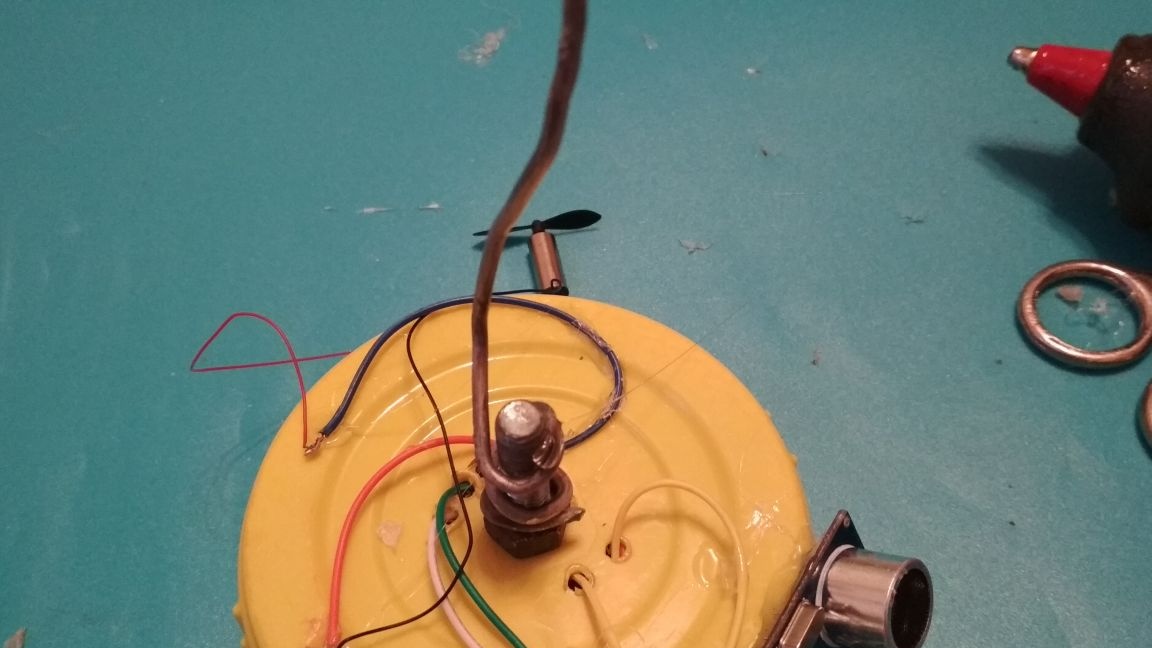
We fasten our motor to the top of the wire, the wire will act as an adjustable guide:
Now the time has come, for me personally the most difficult step, or rather to write the firmware, you do not need to write anything, just launch the Arduino IDE application, connect the Arduino board to the computer using a special adapter that usually comes with the board, copy the sketch in the Arduino IDE which is given below, in the program we click on the "download" button after which the sketch should be loaded on the arduino board.
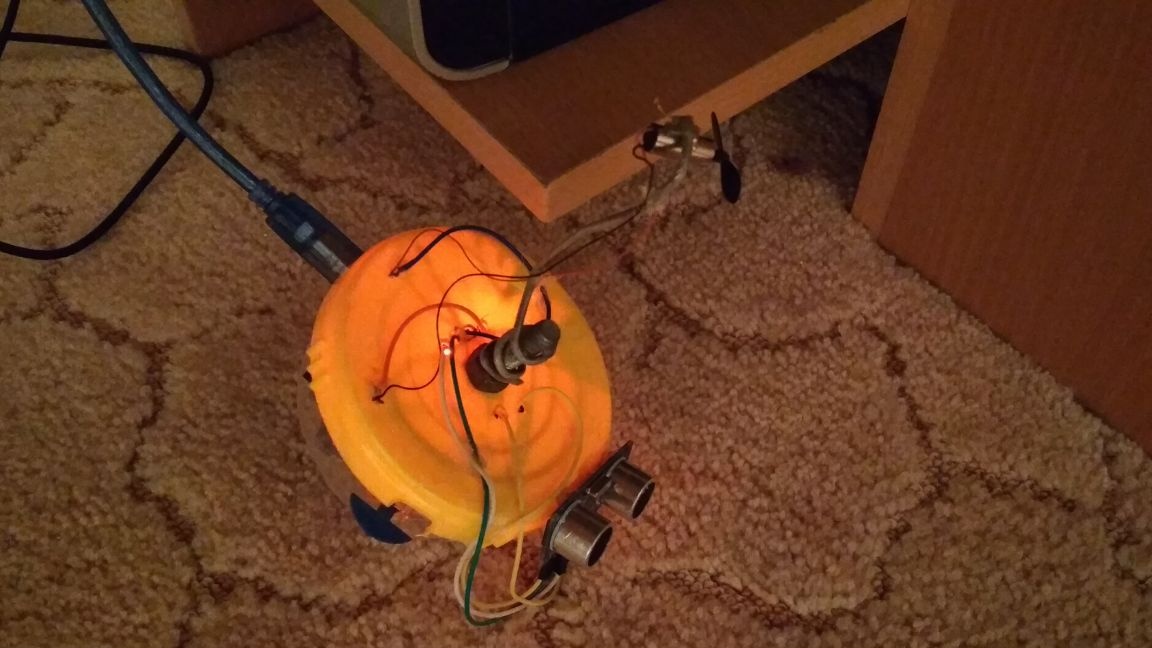
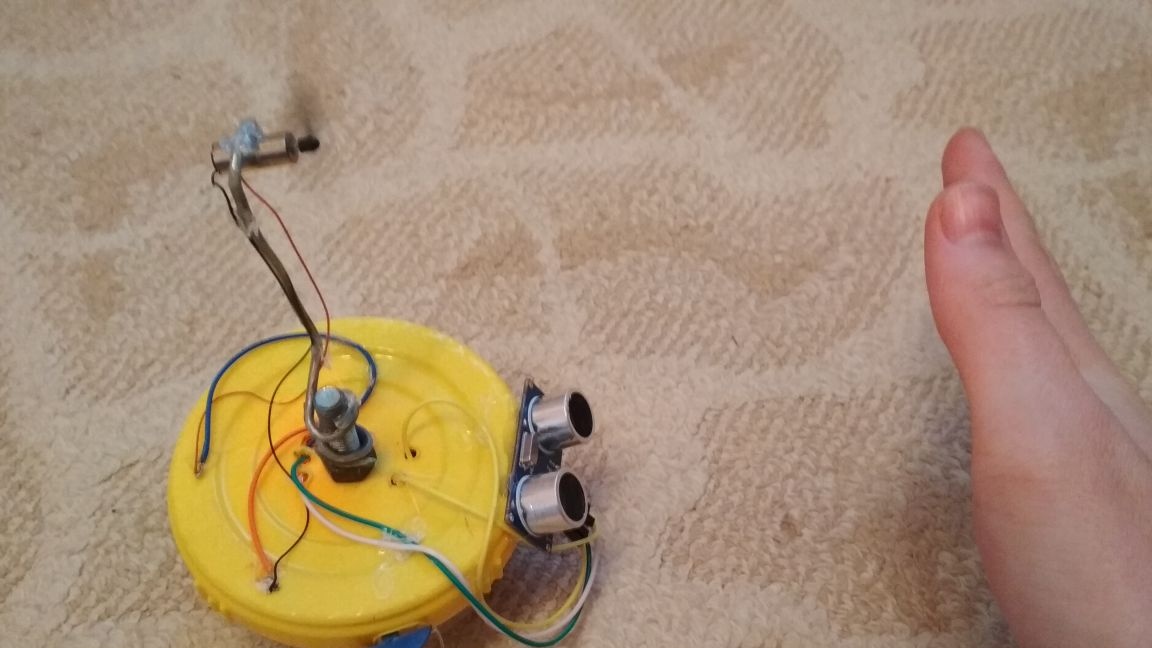
If everything is done correctly, then when the object is brought closer than 20 cm to the ultrasonic sensor, the propeller should start spinning. We disconnect our design from the computer and test our device from our power source, for this we simply turn the switch from the off state to the on state

Sketch (in this sketch, the motor is called the word led):
int echoPin = 9;
int trigPin = 8;
int led = 10;

void setup () {
Serial.begin (9600);
pinMode (trigPin, OUTPUT);
pinMode (echoPin, INPUT);
pinMode (led, OUTPUT);
}

void loop () {
int duration, cm;
digitalWrite (trigPin, LOW);
delayMicroseconds (2);
digitalWrite (trigPin, HIGH);
delayMicroseconds (10);
digitalWrite (trigPin, LOW);
duration = pulseIn (echoPin, HIGH);
cm = (duration / 58) +3;
Serial.print (cm);
Serial.println ("cm");
// delay (1000);
if (cm & lt; 20) {
digitalWrite (led, HIGH);
} else {
digitalWrite (led, LOW);
}
delay (100);
}
That's it! Our automatic or smart fan is ready! You may not believe it, but even such a small propeller blows pretty well at a distance of 50 cm, but ideally you need to use a larger propeller and a motor with a higher number of revolutions (I used low-voltage because of the very low current consumption). I hope this homemade useful to someone.