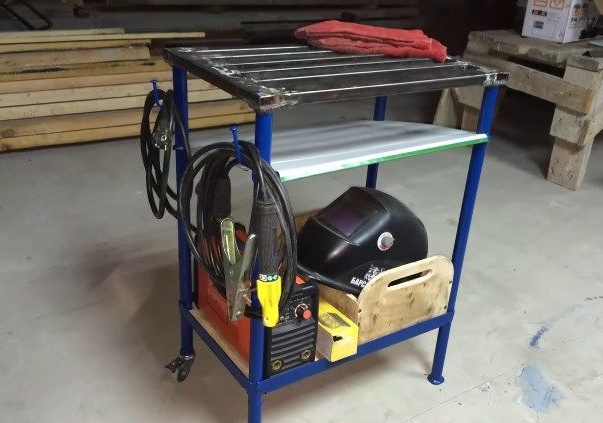
Dear site visitors, from the master class presented by the author, you will learn how to independently make a welding table with a shelf for the inverter, electrodes, masks and tools, moreover, this table is transportable due to 2 wheels located on the legs, which makes it convenient and mobility, can be rolled around the workshop or
the garage from place to place) In addition to all this, of course, it’s also the convenience of welding, because everything is at hand, and the tabletop itself is made in the form of a grill from a square-shaped professional pipe, under the tabletop there is a special shelf installed at an angle to remove crumbling sparks and scale . The lattice worktop is convenient in that welding will not stick to it, unlike a solid table.
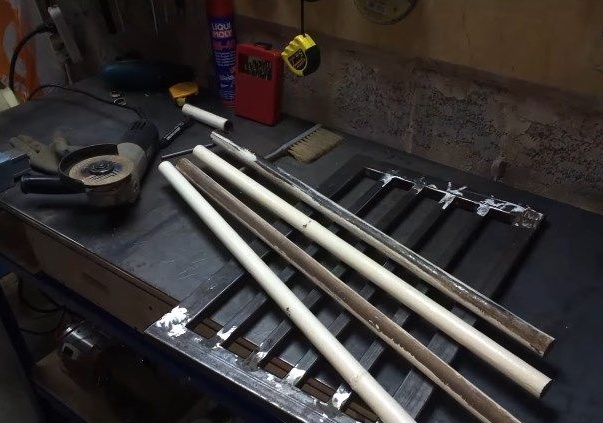
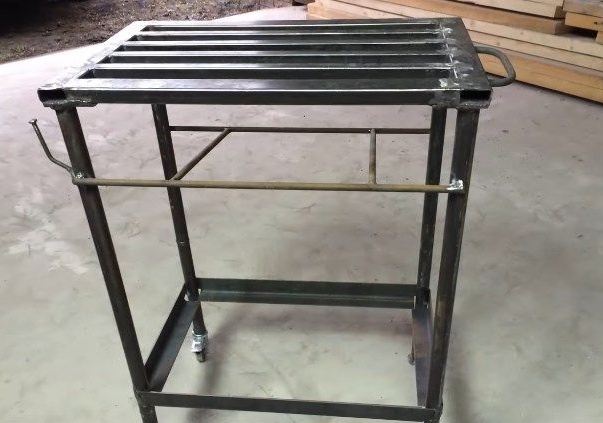
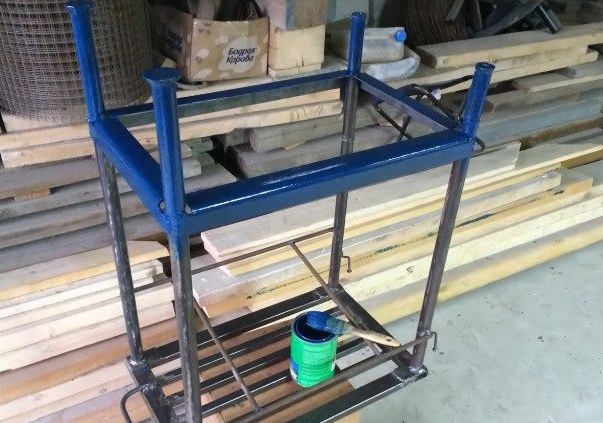
In the beginning, the countertop itself is assembled from a professional pipe 50x50 this is for the base, and the inner 30x30, the distance is about 30-50 mm. The author made the legs out of a round pipe, 2 of which he screwed on the wheels. In the lower part around the perimeter, a corner is welded for installing a shelf of thick plywood.
And so, let's look at what exactly is needed to build a table? And also we will analyze on the shelves the whole step-by-step process.
Materials1. professional square tube dimensions: 50x50 and 30x30
2. round pipe for legs
3. corner
4. plywood
5. nut
6. nail 150 mm 2 pcs
7. paint
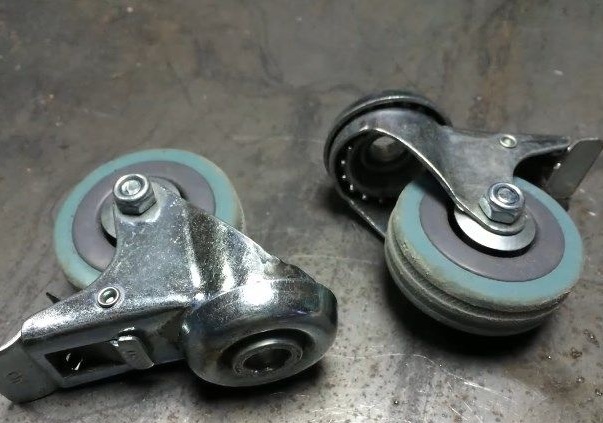
8. wheels from the shopping cart) 2 pcs
9. metal plates 4 pcs
Instruments1. welding machine
2. drill
3. Bulgarian (angle grinder)
4. emery
5. sandpaper
6. hammer
7. ruler
8. corner
9. level
10. marker
11. roulette
12. vise
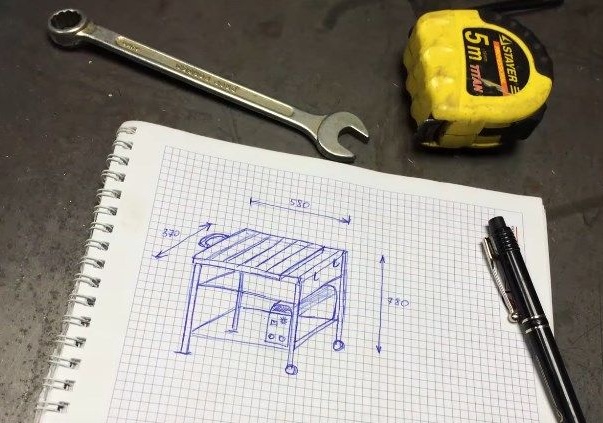
Step-by-step instructions for assembling a welding table do it yourself. And so, first of all, the author made the calculations and drew a small freehand drawing on the notebook sheet, also presented his sizes, 370x580x780, but in each case the sizes will be different, because the table needs to be made for itself and its growth - this plays an important role in labor productivity and ease of welding.
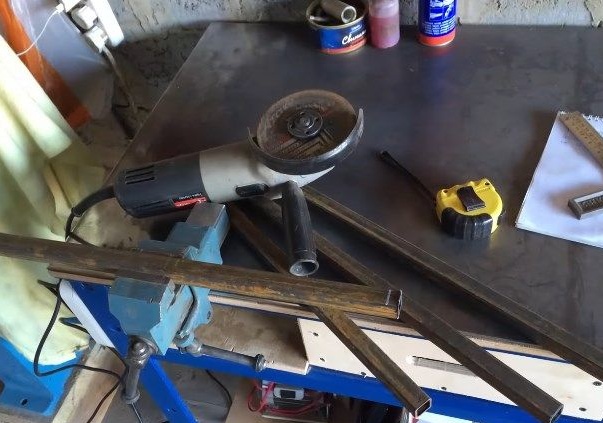
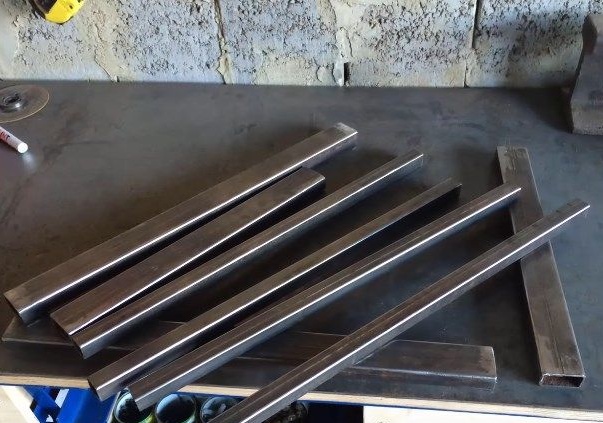
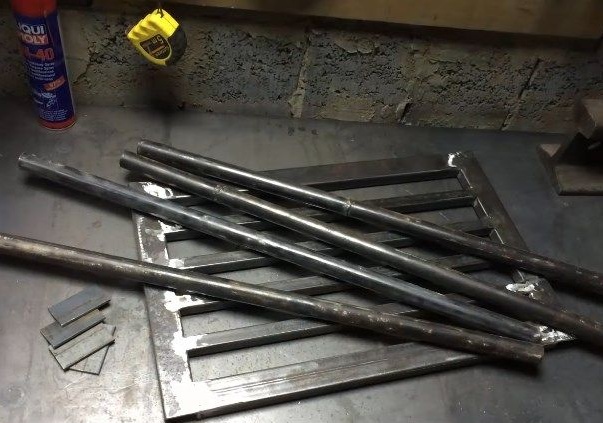
Further, with the help of a grinder (angle grinder), the author begins to saw a square-shaped professional pipe, first of all for the base, then 4 pieces for the subsequent creation of the rectangle.
Then it cuts a thinner pipe 30x30, it will play the role of the lattice itself.
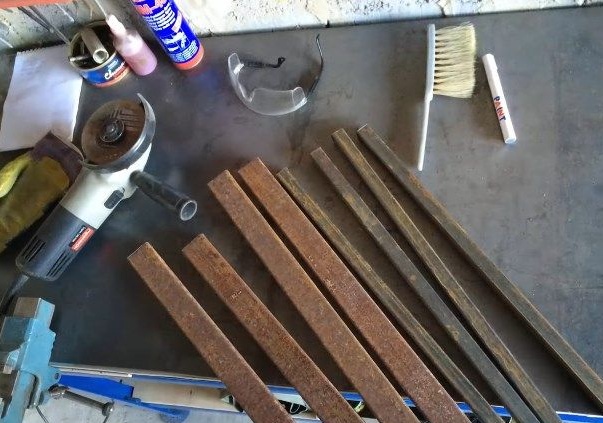
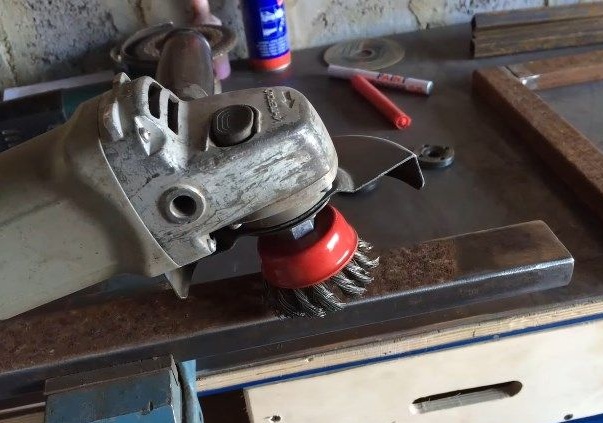
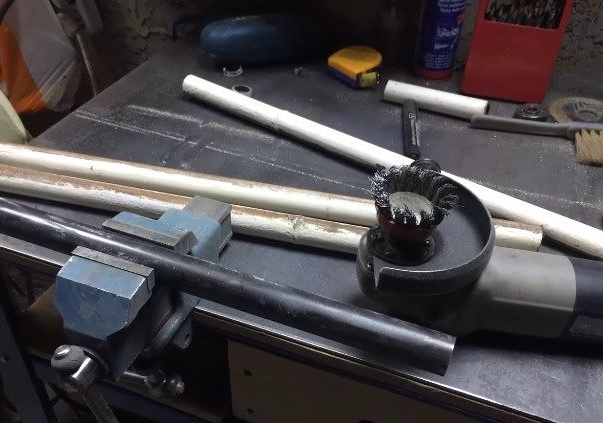
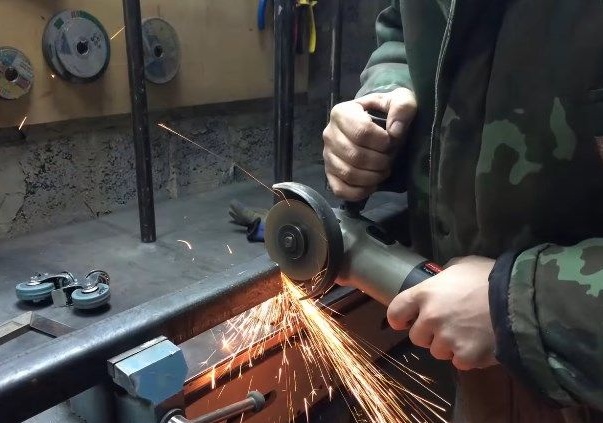
All obtained blanks must be processed and cleaned from rust with a grinder (angle grinder).
And so, everything is prepared for the subsequent welding process.
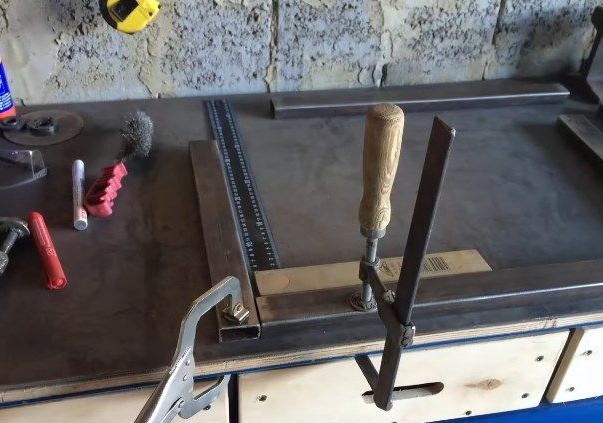
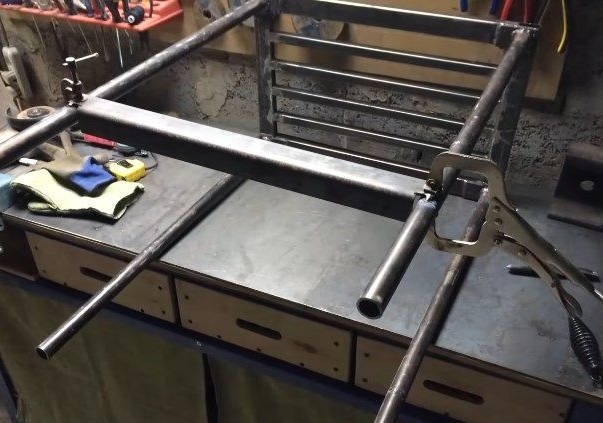
To get the correct rectangle and the metal did not lead, the author uses a corner and clamps.
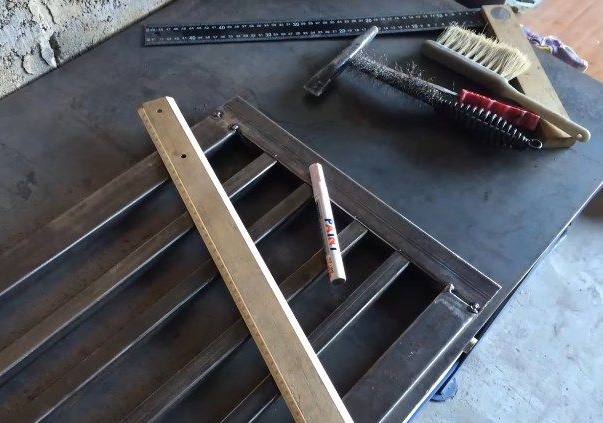
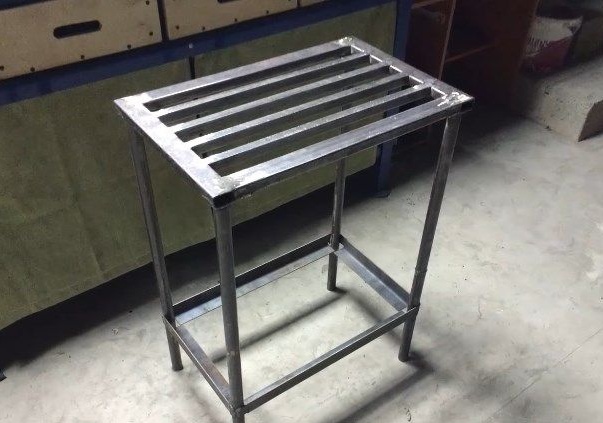
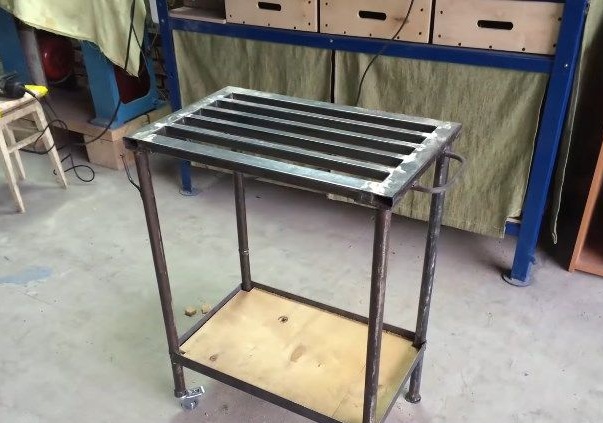
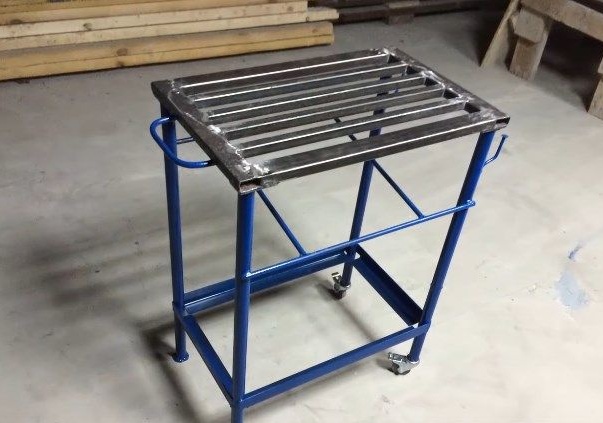
That's actually what we get in the end, a grid welded from a professional square tube with a pitch of 30 to 50 mm, depending on the preferences of the welder.
Then the welder cleans the welding spots with a grinder.
4 billets are cut from a round pipe for the manufacture of table legs, the material was used second-hand, after repair of the heating system a lot of efficient iron remained)
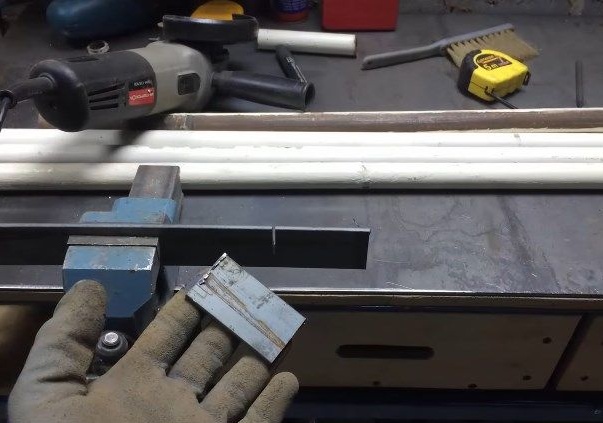
The workpiece is clamped in a vice and processed using angle grinders to a characteristic metallic luster, that is, the paint must be completely removed.
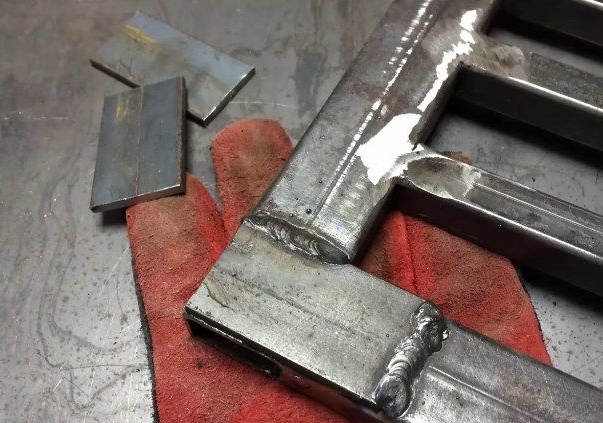
After the legs are ready, the author still makes a base for them from metal plates.
It is welded on all 4 corners.
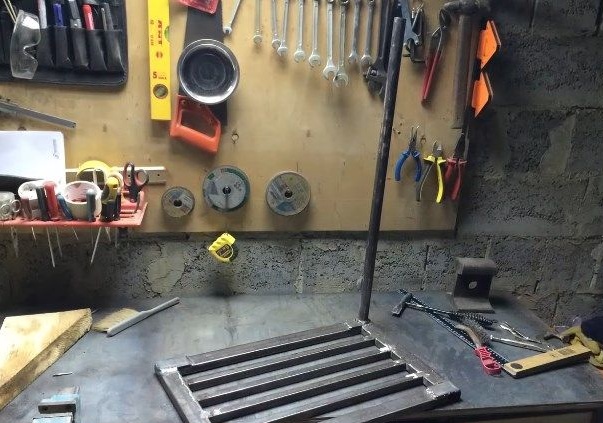
Prepared table legs.
Welds, accuracy and attention are required here, the legs must be evenly welded otherwise the table will be oblique).
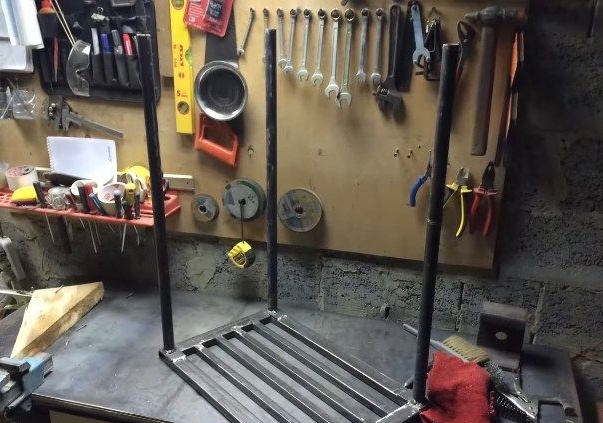
And now 3 legs in its rightful place.
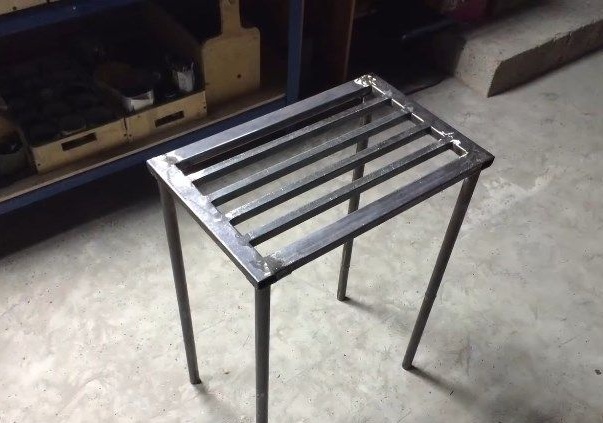
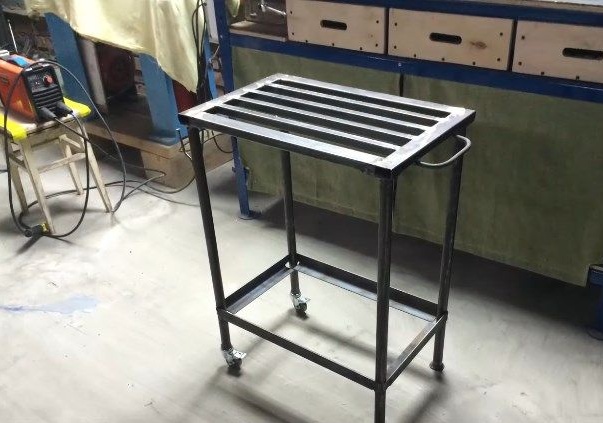
The main work has been completed, there is a countertop on four legs, but there is still a lot of work to relax.
To install a shelf made of thick plywood at the bottom of the table, you need to prepare a base for it from a metal corner. The blanks are also cut using a grinder, in total 4 corners will be needed.
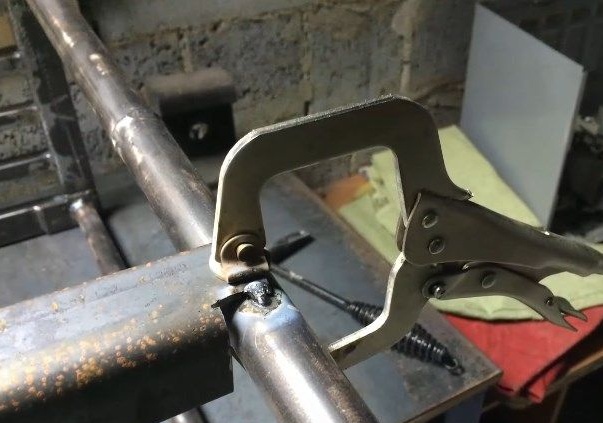
Welds a corner to the bottom of the legs.
For the convenience of welding, uses a clamp and clamps.
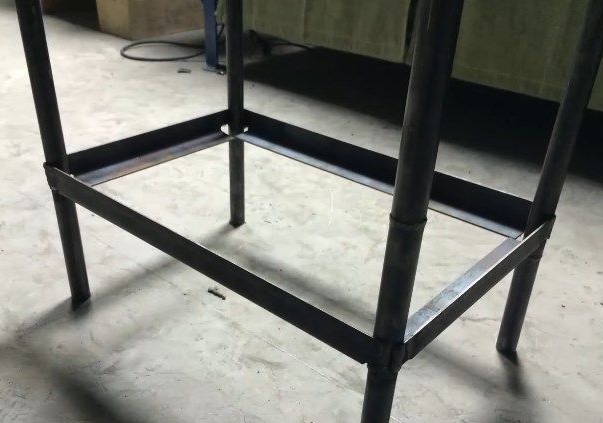
That's actually what happens.
The base under the shelf is ready.
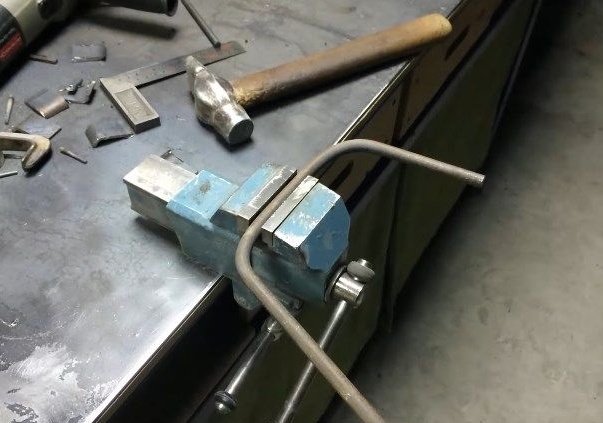
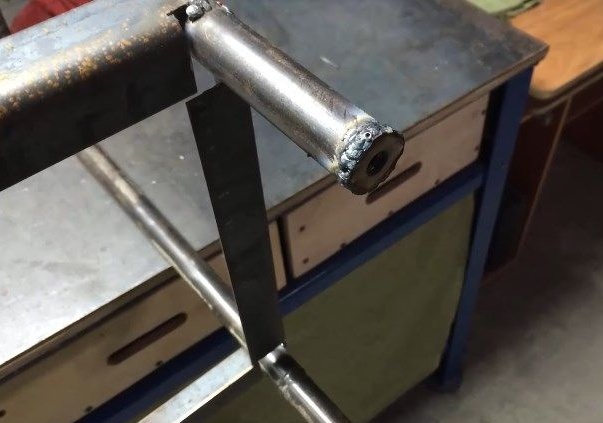
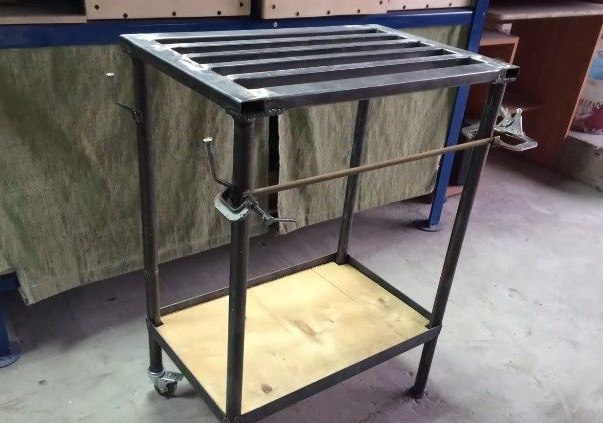
Then the master makes a handle for convenient transportation from a metal bar with a thickness of 8-10 mm, a segment of the required length is clamped in a vice and gives shape.
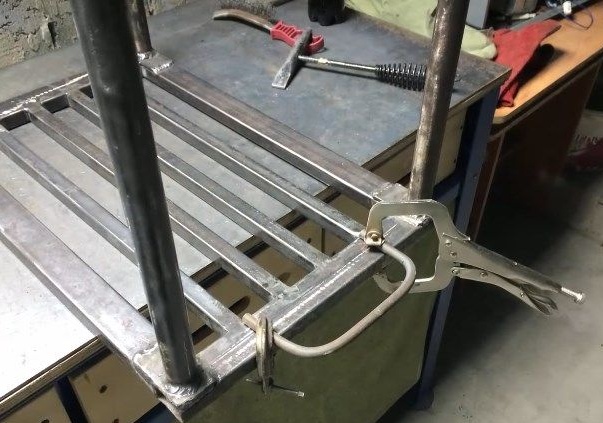
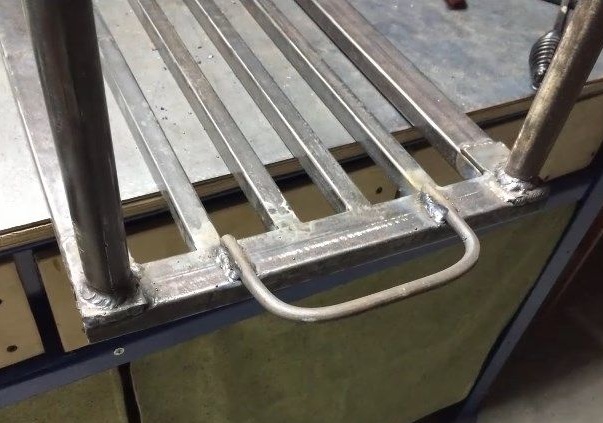
Welds to the bottom of the base of the countertop.
Here is such a simple and convenient handle turned out.
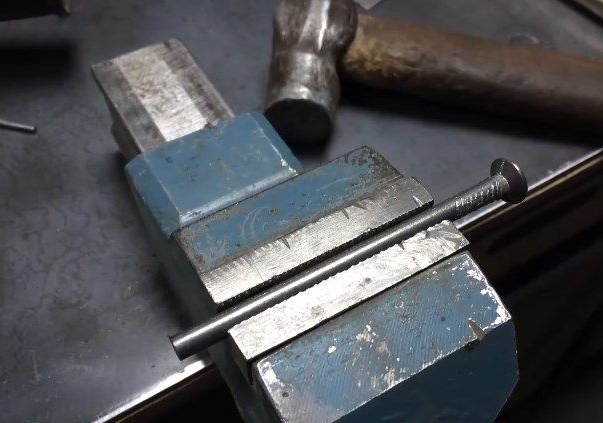
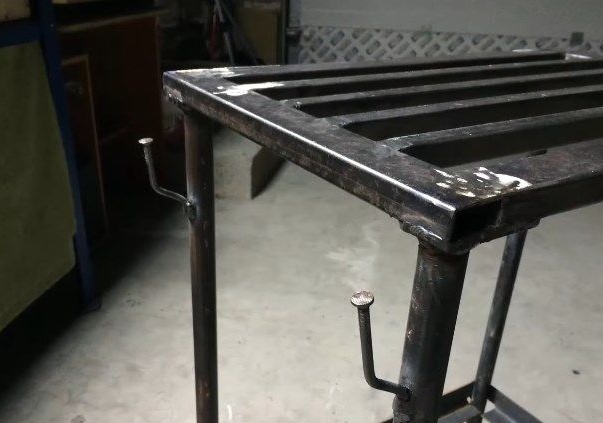
After that, the author makes hangers for placing electrical wires from the inverter. Why a nail of 150 mm is taken, the sharp part is sawn off and the necessary shape is given with the help of a vice and a hammer.
And then they simply weld to the legs in the place where the inverter itself is supposed to be located directly.
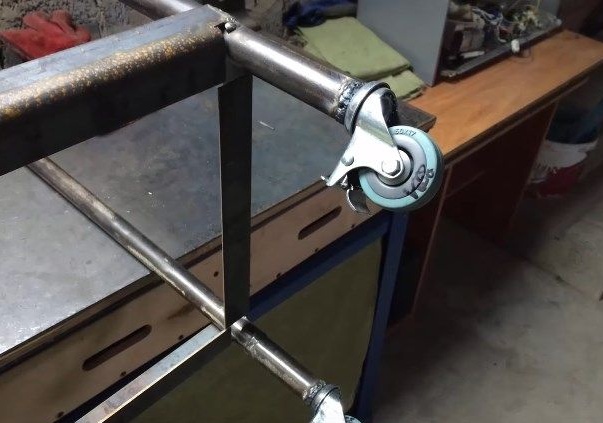
For convenient transportation, the author decided to fasten the wheels from the grocery shopping cart to 2 legs)
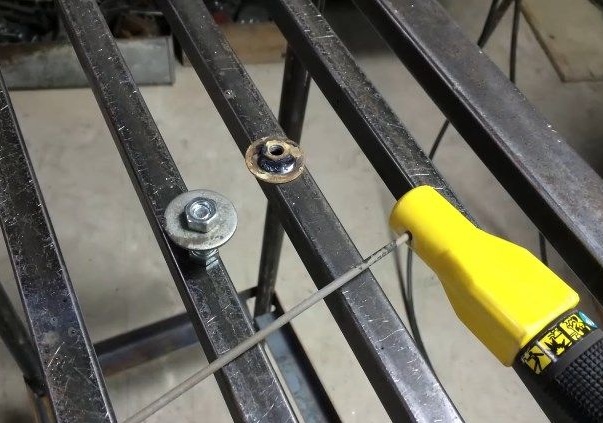
These nuts were welded into the base of the legs.
That is, having a threaded connection in the leg, you can easily screw the wheel.
And so the table on wheels can be driven around the workshop))
Attention!Pay your attention to the fact that the legs of the table are the same and the countertop is level, do not forget that when the wheels are built up, the height of the legs will change.
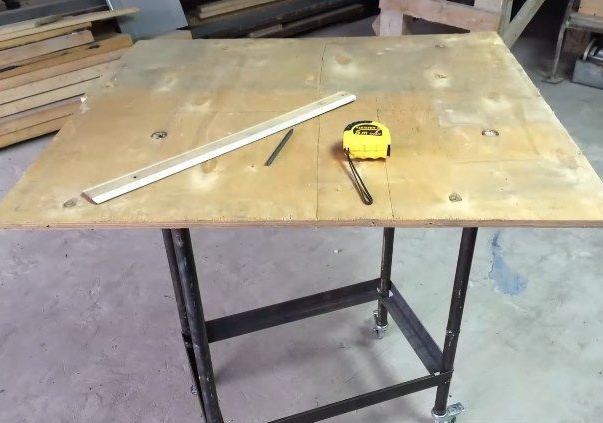
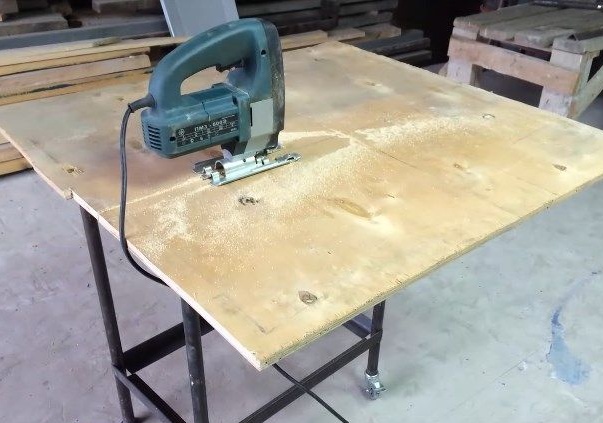
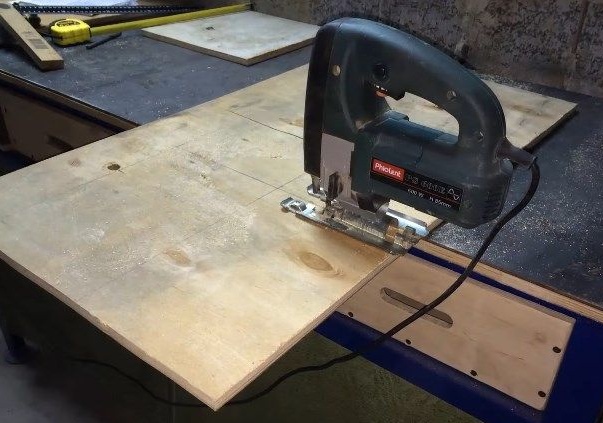
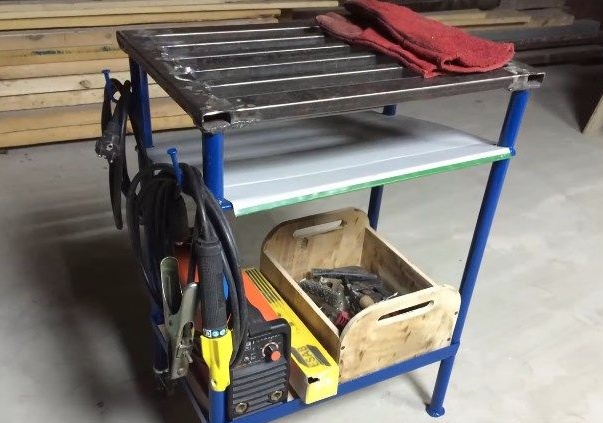
Then a shelf is made to accommodate the inverter, tool, etc. The material is thick plywood, which dissolves in size using a jigsaw.
Saws according to the applied size.
Sets, everything went perfectly, as it was)
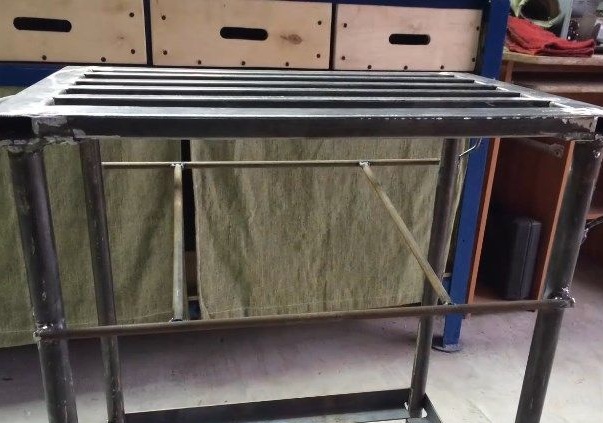
To protect the inverter from sparks and dross flying in all directions during welding, and especially they will fly down through the trellised worktop, so to avoid this, the author came up with a protection shelf located under the slope, so that the sparks rolled down the slope and flew away from the table in side. The basis is a steel bar.
Welds like this.
Note! Under the slope!
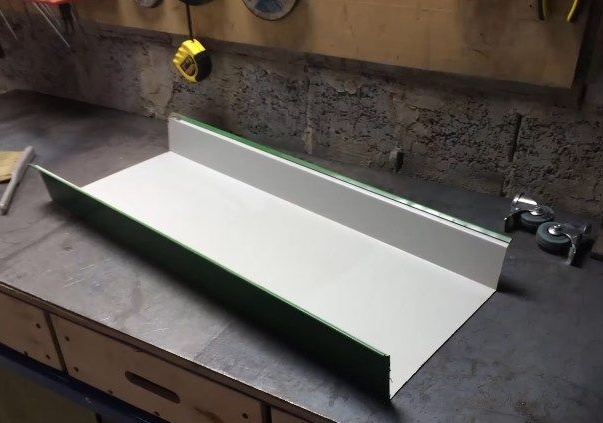
The protection itself is made of ordinary roofing iron, the author just had a small piece after repair, so it came in handy)
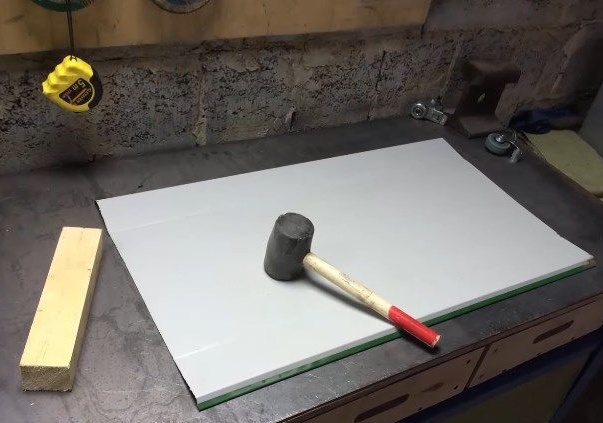
He straightened it with a mallet and bent along the edges of the sides in order to lay them directly on the base of a steel bar.
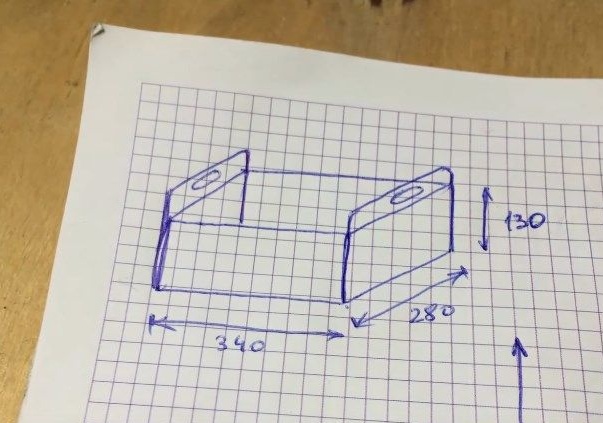
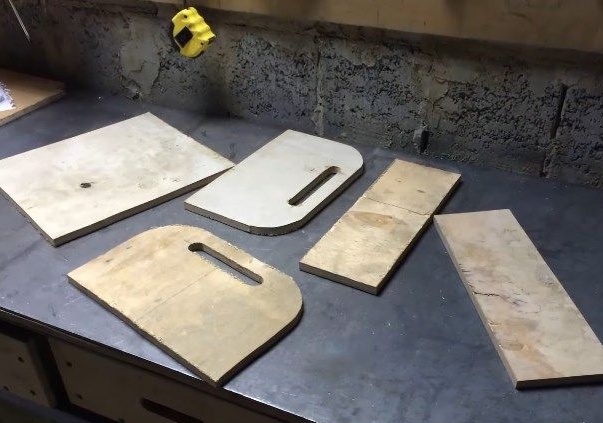
Then the author is engaged in the manufacture of a box for a welder’s tool, taking as a basis all the same plywood. Pre-threw a sketch of the future chest)
I applied dimensions to the surface and cuts it out using a jigsaw.
These are the blanks.
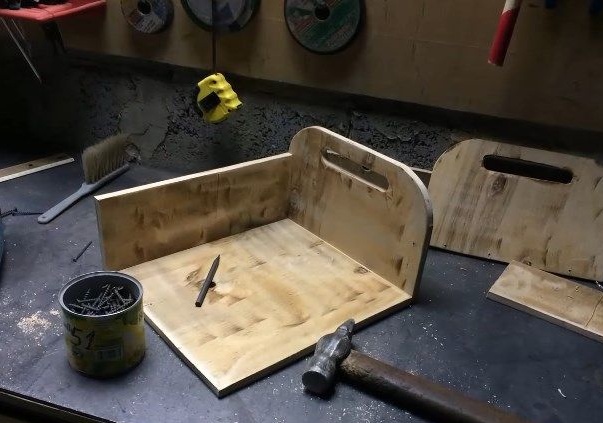
He begins to collect all the details in a single design, fastens with screws.
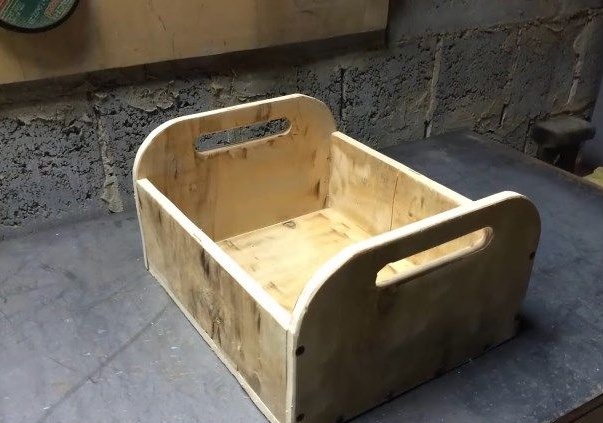
And in such a neat box it turned out, he processed the edges with sandpaper.
Next, the master proceeds to painting the table, for which he uses ordinary paint for metal coatings.
The table top, as you understand, should not be painted.
Collects everything and arranges on shelves.
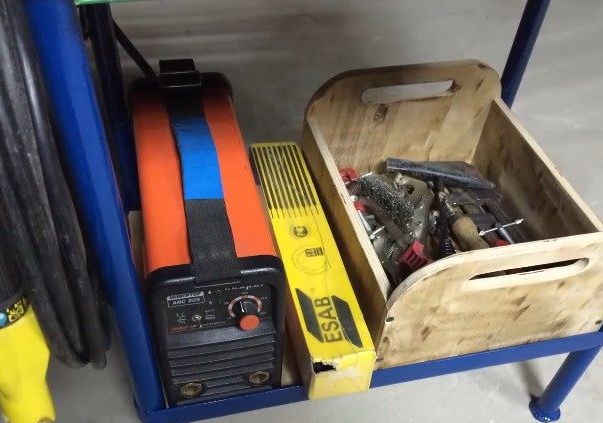
On the lower shelf is an inverter, electrodes and a tool box.
Such a neat and convenient welding table turned out, and most importantly, it can be transported through the garage or workshop due to the installed wheels, which again increases labor productivity. The material presented is of good quality and it is advisable to add it to your bookmarks so as not to lose.
This concludes the article. Thank you very much for your attention!
Come visit often, do not miss the latest in the world of homemade goods!
This article is for informational purposes only!