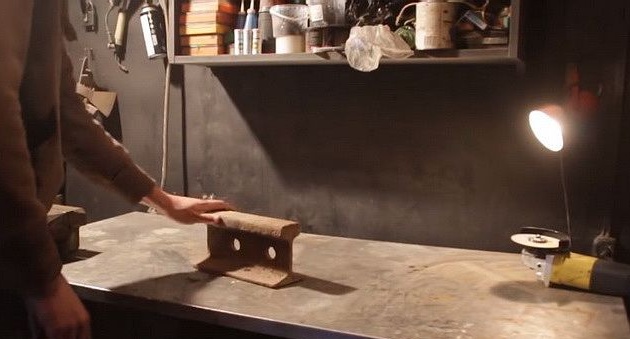
Dear visitors of the site, from the material presented by the author, you will learn and learn how to make the anvil yourself. Here, the master took a segment of the usual rail, the desired length of the workpiece should be at least 30 cm, on the advice of those people who already made such anvils and subsequently worked with them in their workshops and garages.
Of course, this type is far from a professional model, but for private use for economic purposes, it’s not bad at all) It’s perfect for straightening small workpieces, flattening a metal bar and wire, as well as nails, respectively))
In principle, any rail can be used, but preferably KR-140 because it consists of more durable steel according to GOST 4121, and also has a structural advantage in the form of a wider neck, which will provide anvil with better stability.
And so, let's look at what exactly is needed to create an anvil? And we will analyze the entire step-by-step process on the shelves.
Materials1. rail 30 cm
2. stump, log block (for installing anvil)
3. black paint in a spray can
Instruments1. Bulgarian (angle grinder)
2. rasp
3. corner
4. marker
5. stroke
6. sandpaper
7. lamp
8. hammer
9. ruler
10. workbench
11. vise
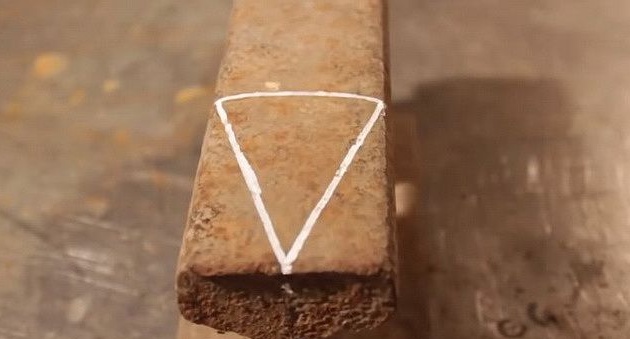
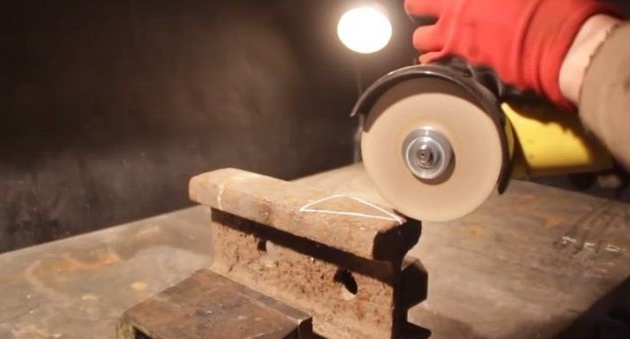
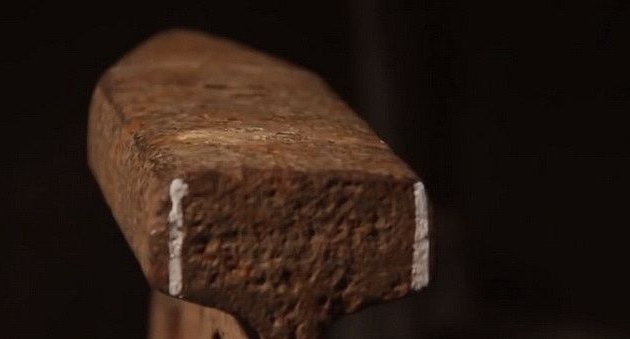
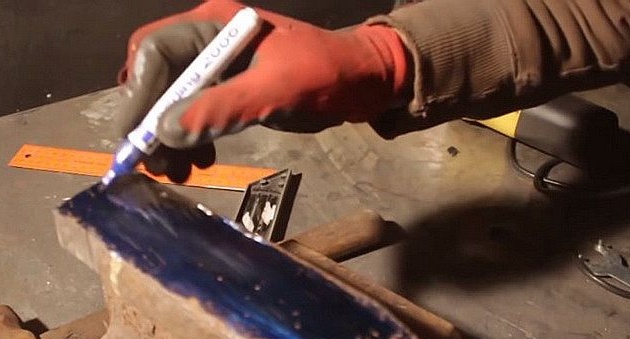
Step-by-step instructions for making rail anvils do it yourselfAnd so, the first thing you need to do is mark up the workpiece, namely, you need to measure 40% of the length and make a note - this will be the length of the nose or horn, as they say, then you need to find the middle at the beginning of the nose, make a mark and draw 2 lines from it , the result should be a triangle. Then the excess is removed with a grinder and a hammer.
First of all, there should be a good table or workbench. The master takes the workpiece.
Marks up.
The result is a triangle.
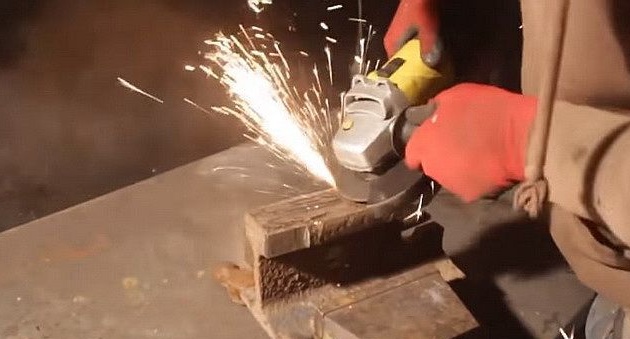
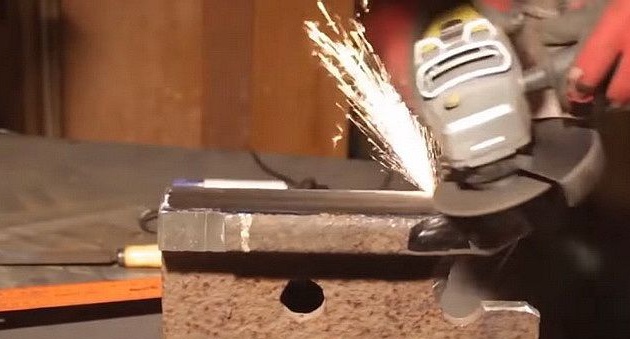
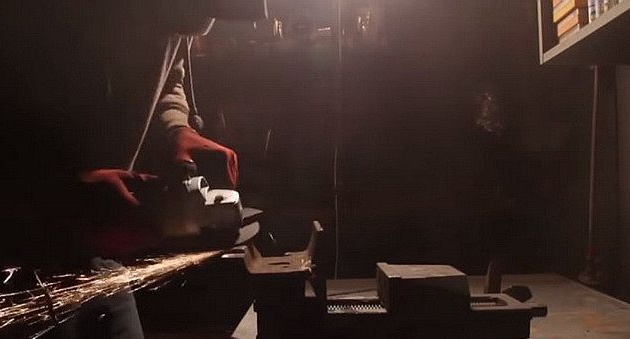
With the help of a grinder removes excess.
Work with the grinder (angle grinder) should be carefully observing the safety precautions!
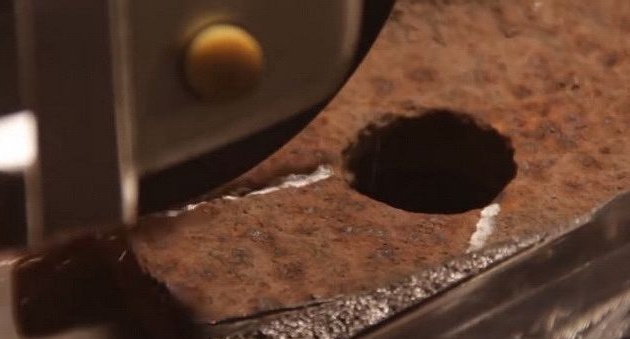
Edges are also processed using a grinder.
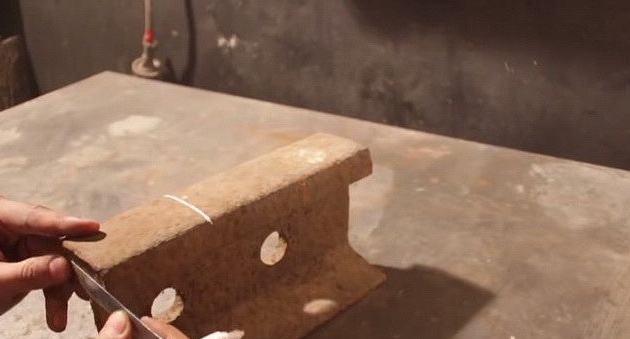
Having laid the rail on its side, draw lines from the edge to the hole.
It’s not necessary to saw off according to the marked marking, to saw it to the very end, when it remains a little bit, it is better to beat it off with a hammer.
That's actually what happened.
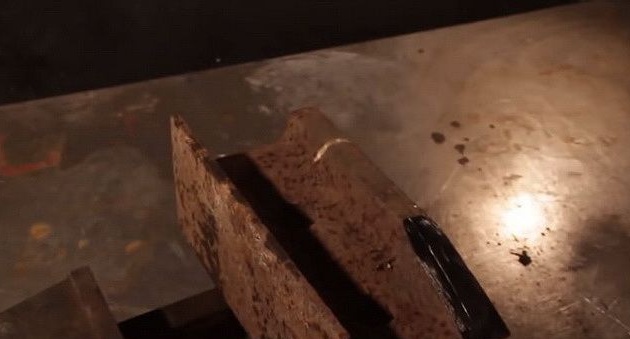
Next, the master proceeds to manufacture the tail section. Marks with a stroke.
Sawing off.
Here is the result.
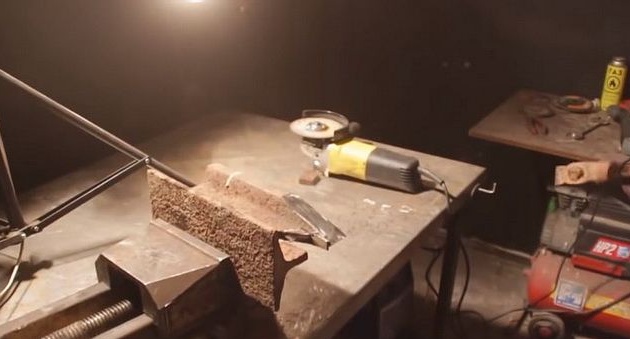
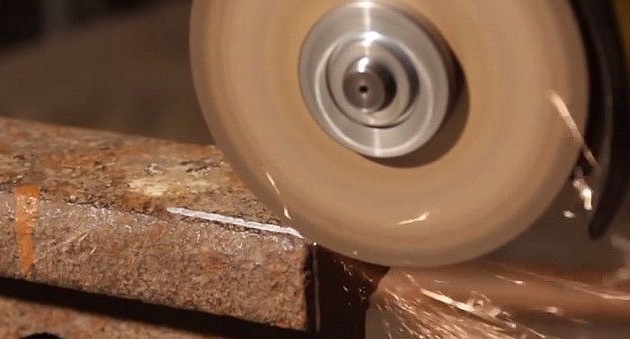
Next, the author begins to clean and level the work surface.
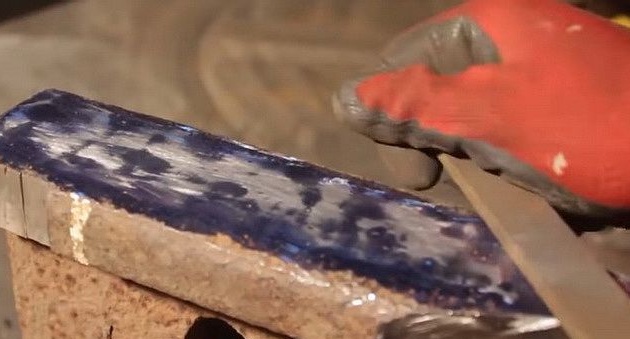
After removing the rust layer, the master paints the area with a blue marker - this is necessary in order to reveal all the irregularities.
The treated surface with a marker, the master passes through a file, and in the end all the bumps appeared.
But already on the grinder everything is aligned.
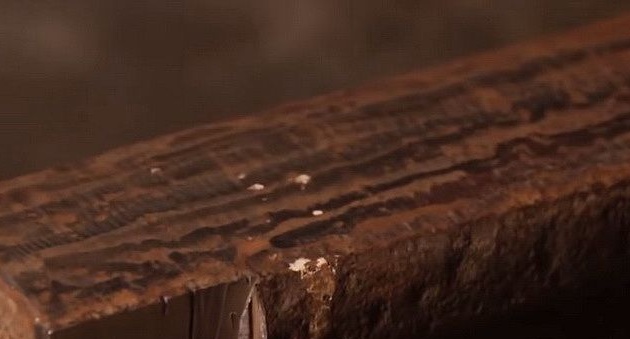
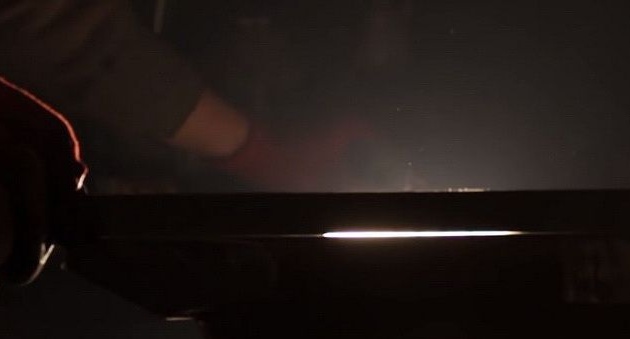
After that, the main light in the workshop is turned off and a lamp or a lantern is taken, the light is sent directly to the anvil itself and a corner is applied, thereby the master looks at the places where there are bumps and defects.
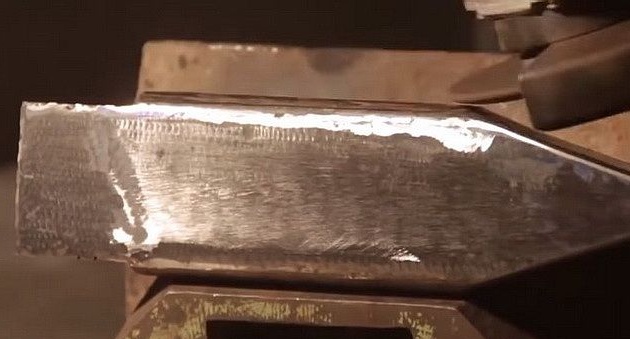
Then it goes through again with a grinder and smooths everything down to a perfectly smooth surface.
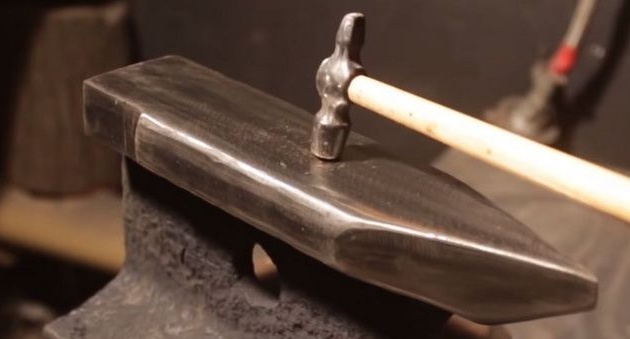
Here is such a smooth and shiny work surface.
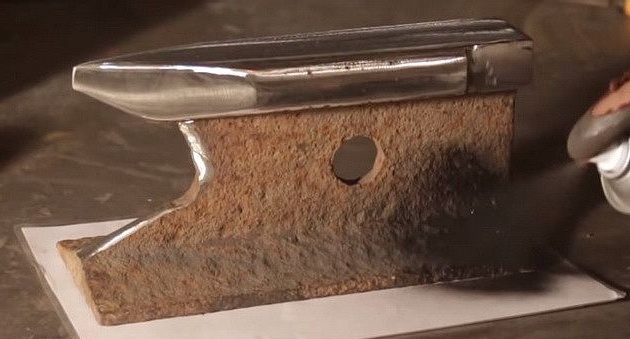
The author covers the lower part of the home-made anvil with black paint from a spray can, directly on the rust) But it is better, of course, to clean the same angle grinder with a grinding wheel.
Thus, the master made for his workshop or
the garage a budgetary anvil that will serve him for many years. The creation process is of course time-consuming, but quite willing to have their own anvil)
This concludes the article. Thank you very much for your attention!
Come visit often, do not miss the latest in the world of homemade goods!
This article is for informational purposes only!