Dear site visitors, from the master class presented by the author, you will learn how to make a vise for your workshop yourself, or
the garage, by and large, just from scrap metal)
A low-cost tool is very good for its cheapness in manufacturing, and if all the necessary materials are available, then generally free, which is again very important in our time. Factory analogues in construction stores are sometimes not very cheap, so our author decided to make his own, and then shared with the people his drawings, step-by-step and detailed photo instructions for assembling a vise, for which I would like to thank him.
To assemble a vise, metal will be required in the form of a channel, sheet metal, M 6 bolts with nuts, washers, engravers. All these components can be easily obtained at the scrap metal collection point, the thrifty owner always has a supply of scrap metal)
And so, let's carefully consider how the master collected his vise and what exactly did he need for this?
Materials1. corner 50x50 mm
2. channel number 6 0.5 m
3.18 M6 bolts with nuts, washers, engravers
4. a screw with a large thread (from an old vice or a plumbing valve)
5. sheet metal 4-5 mm
6. piece of thick metal for sponges 10 mm
7. paint
8. coarse screw nut
9. steel bar for handle
Instruments1. welding machine
2. drill
3. Bulgarian (angle grinder)
4. brush
5. sandpaper
6. wrench
7. vernier caliper
8. metal ruler
9. marker
10. file
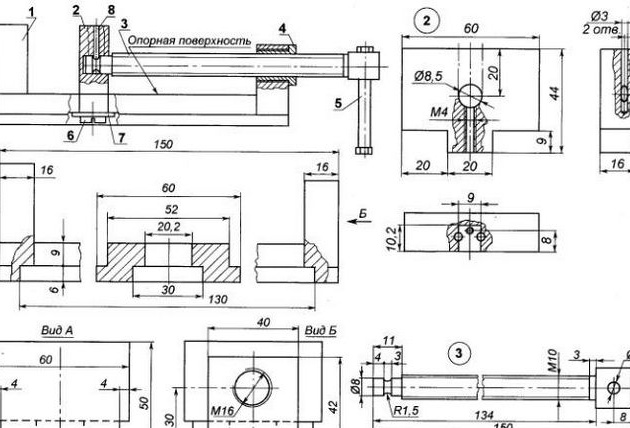
Step-by-step vise assembly instructions do it yourself.The author, of course, first drew up a drawing and presented it for review and study to those people who directly want to repeat and make the same neat yews for their workshop or garage. Let's look at the drawing of the wizard.
A diagram with a detailed description is also presented.
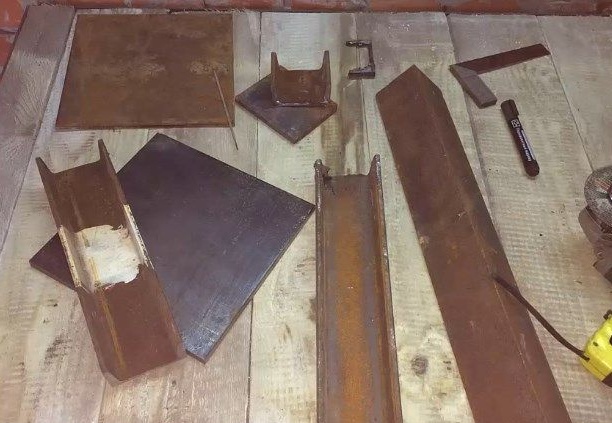
After the theory, we turn to practice, namely, the above materials should be prepared.
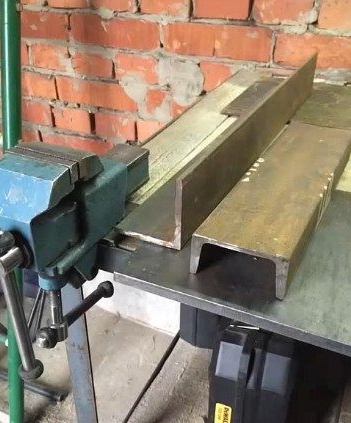
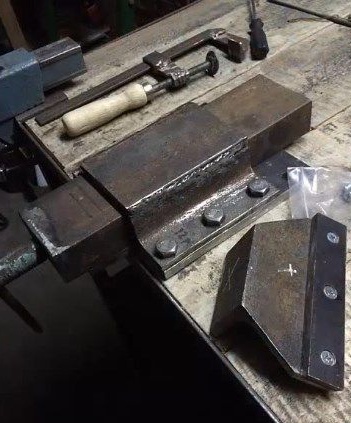
And so, the author has a corner, a channel and a steel sheet of 4-5 mm.
The channel will play a moving role in this design.
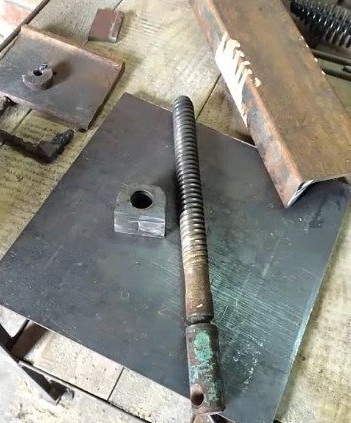
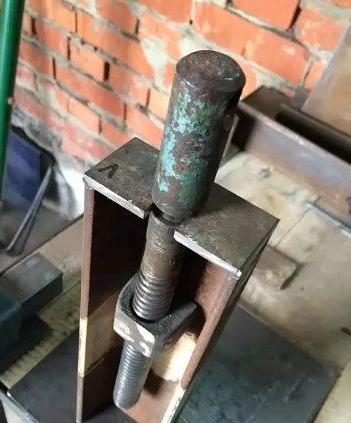
Also, the author took out a screw and a nut with a large thread, from old and broken vices. Note! The thread must be large, the store studs vryatli fit, because the metal is damp and the thread with a strong tightening will break.There is still an option to get such a screw from a plumbing valve, with a naturally shut down one)) Or go to the reception center where you can certainly find and purchase this screw cheaply.
Fitting.
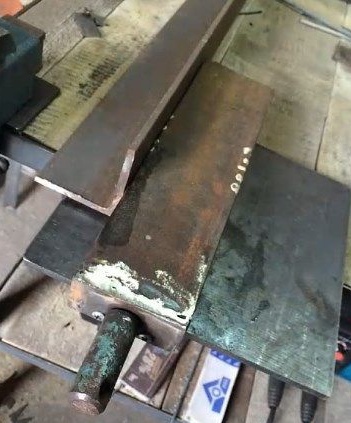
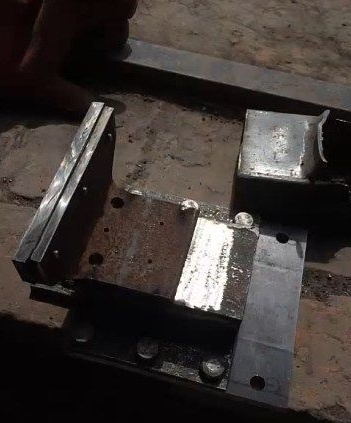
The screw will be located inside the channel, for which such a plate with a recess has been cut out of sheet metal using a grinder.
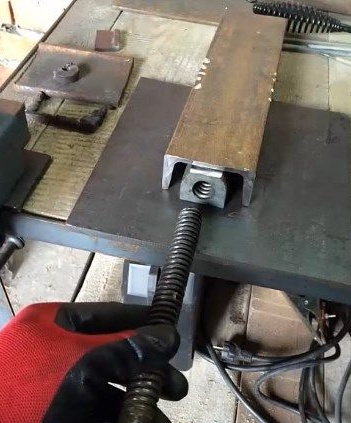
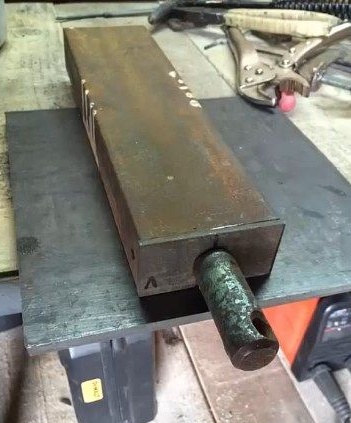
Test insert for a permanent job)
Actually, this is how it looks.
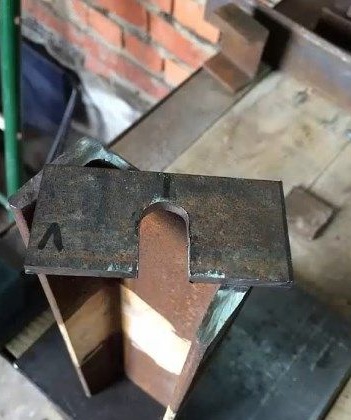
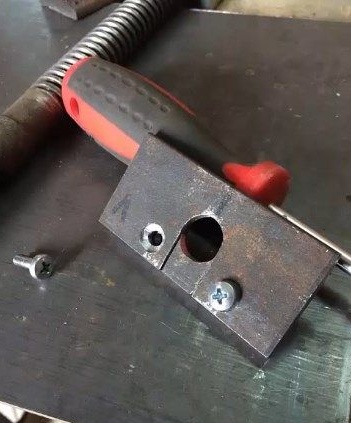
For reliable fastening on the reverse side, the master imposes a plate and bolts it.
In finished form.
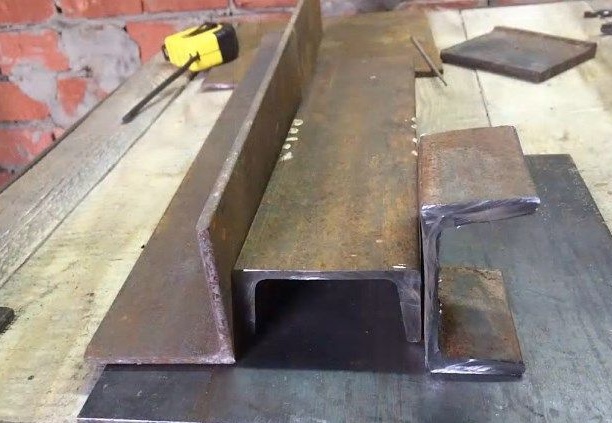
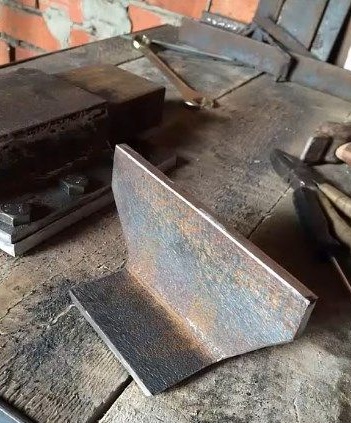
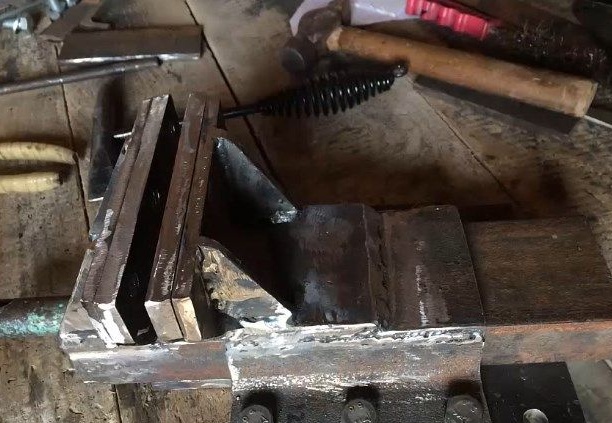
Further, the author proceeds to the fixed part of the vise, namely, cuts off 2 parts of the corner and tries on.
Levels and marks the workpiece using a building corner.
The master saws the plate according to the drawing.
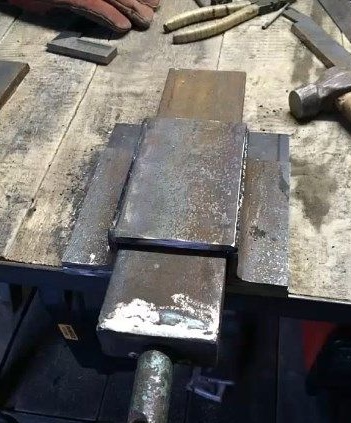
Fitting a corner before welding.
Here's a design from 2 corners and a piece of metal turned out.
Thus it will be located.
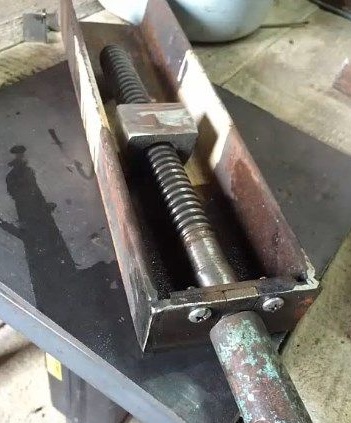
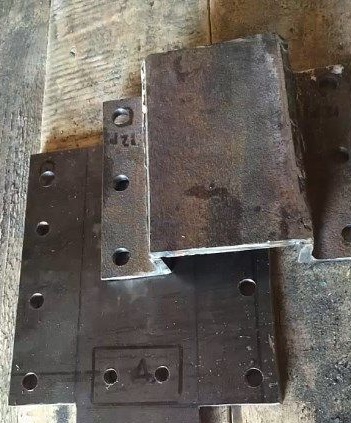
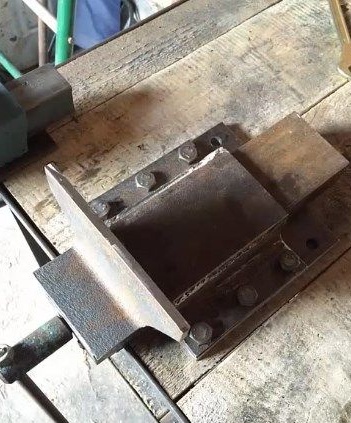
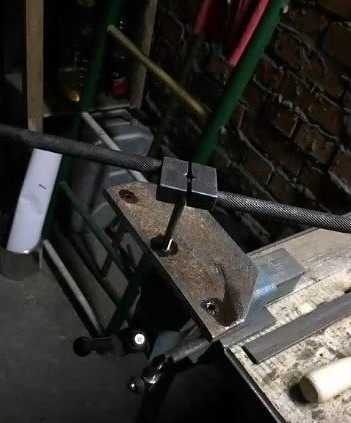
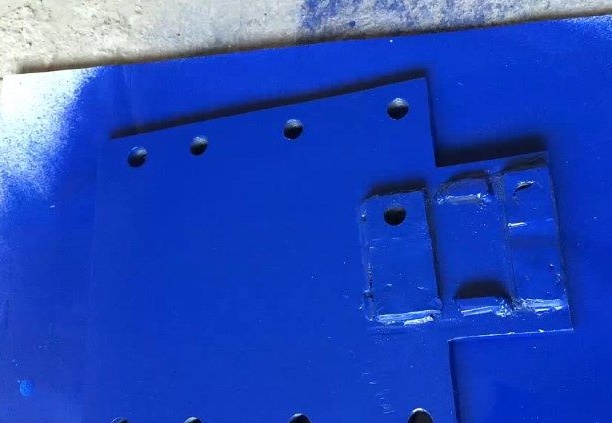
Holes were drilled for fastening.
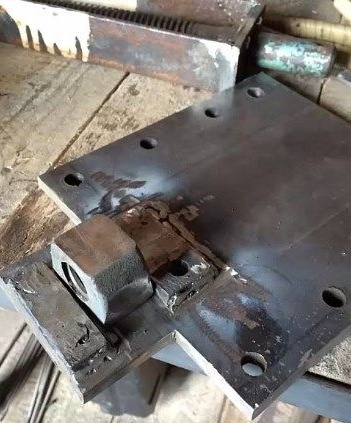
Fixed nut with a large thread, is mounted as follows.
From the corner 50x50 the master with the help of a grinder cuts his lips.
Fitting.
Something like this will look further.
Made a second clamping plate.
Tightens a lip made of thick metal.
It tries to make threaded connections, it is more reliable, because welding can even fly off when striking.
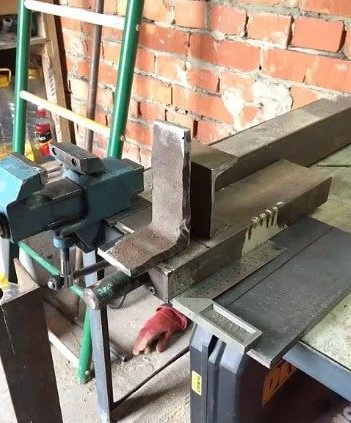
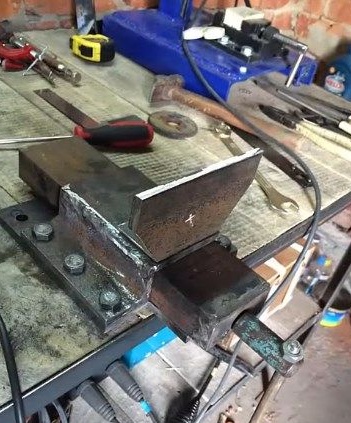
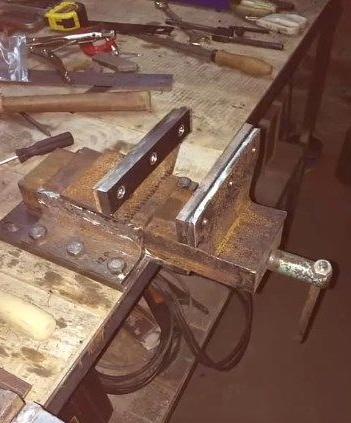
That's actually what happens.
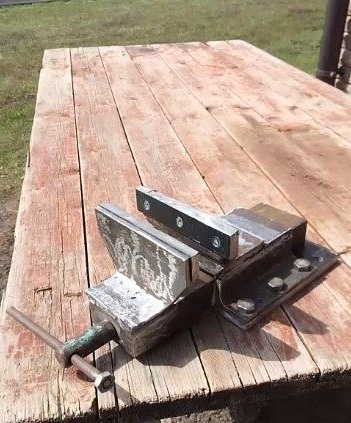
The bed is attached to the workbench using bolts, a screw is inserted into the screw.
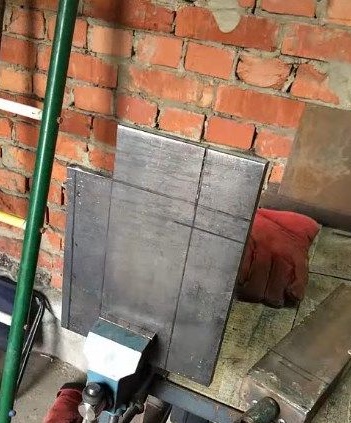
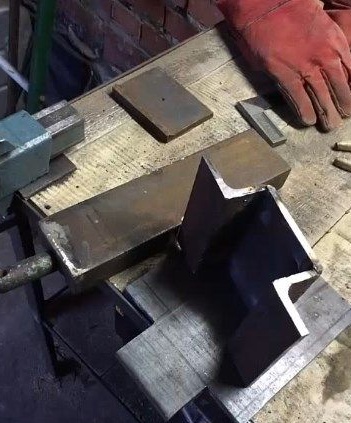
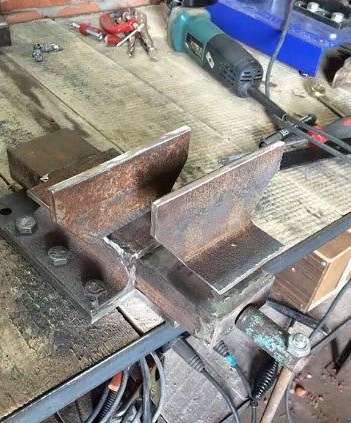
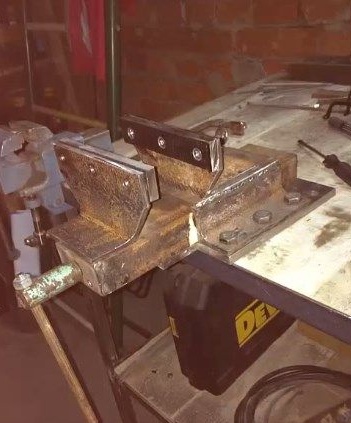
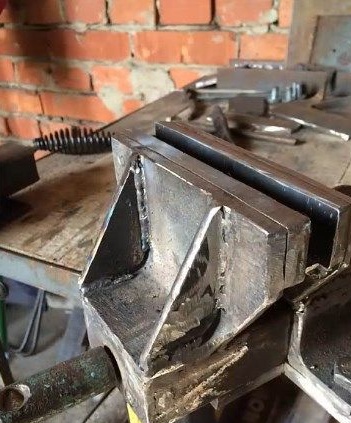
Subsequently, the author decided to strengthen the design.
That is, on the back side of the clamping plate, it was decided to weld kerchiefs made of metal.
The design is disassembled.
It is cleared.
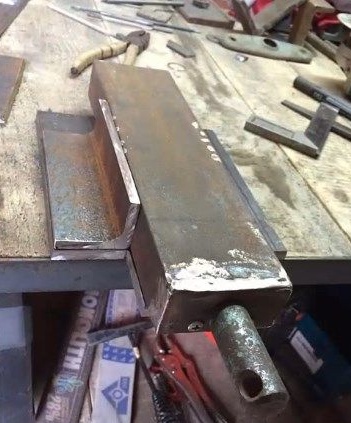
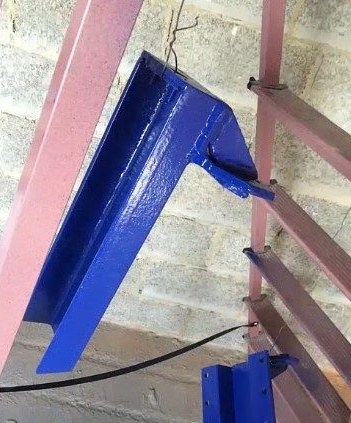
And such a gain is welded here.
What actually happened as a result.
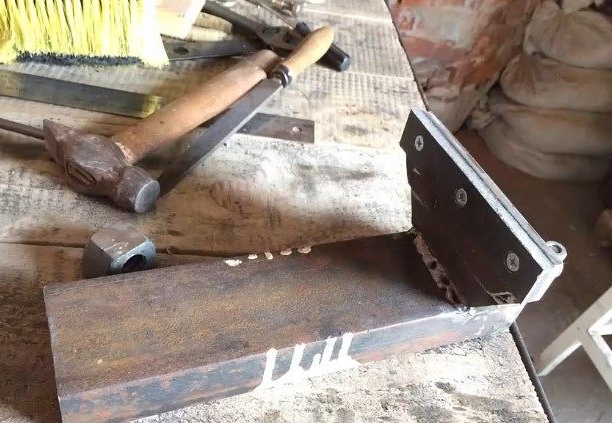
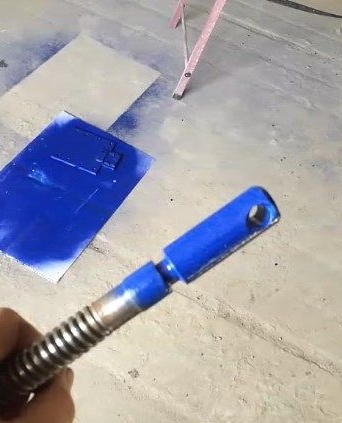
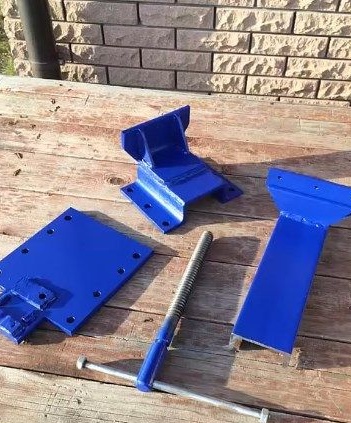
Next, the vise is again disassembled, for subsequent painting.
It is best to paint metal surfaces with a bullet machine or paint spray.
It is not recommended to paint the thread in any case, because the paint will still be erased.
After all the parts have dried, they can be assembled in one.
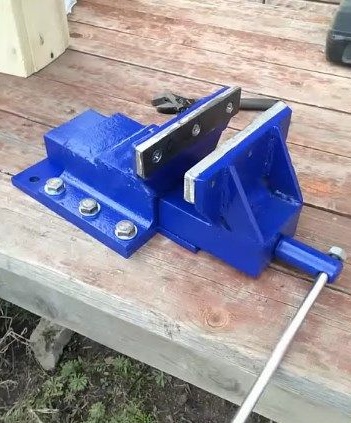
That's actually such a wonderful vice got from our author, which is what he wanted from his plan. Thanks to his ingenuity and skillful hands, the master got his own budgetary vice, while saving money for the family budget)
This concludes the article. Thank you very much for your attention!
Come visit often, do not miss the latest in the world of homemade goods!
This article is for informational purposes only!